
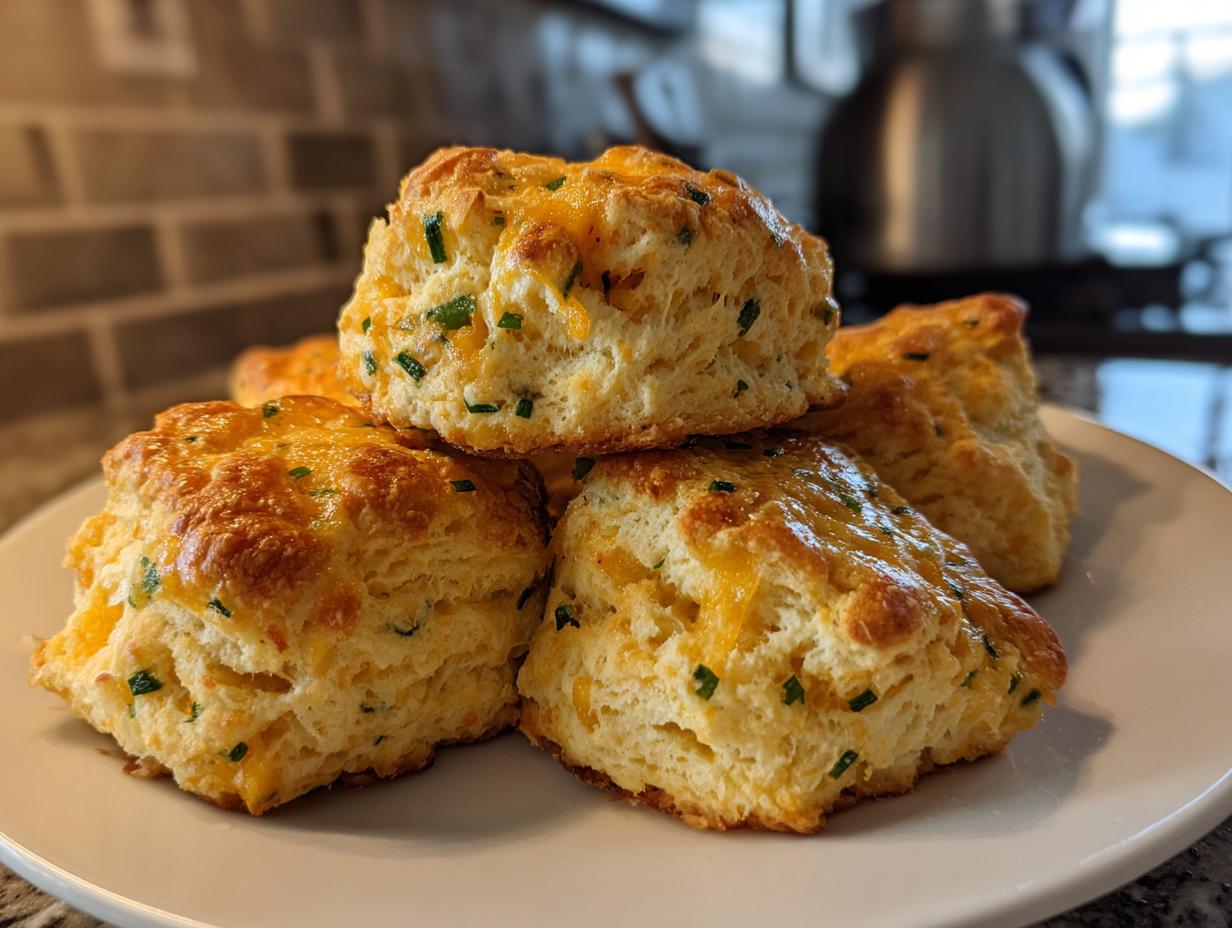

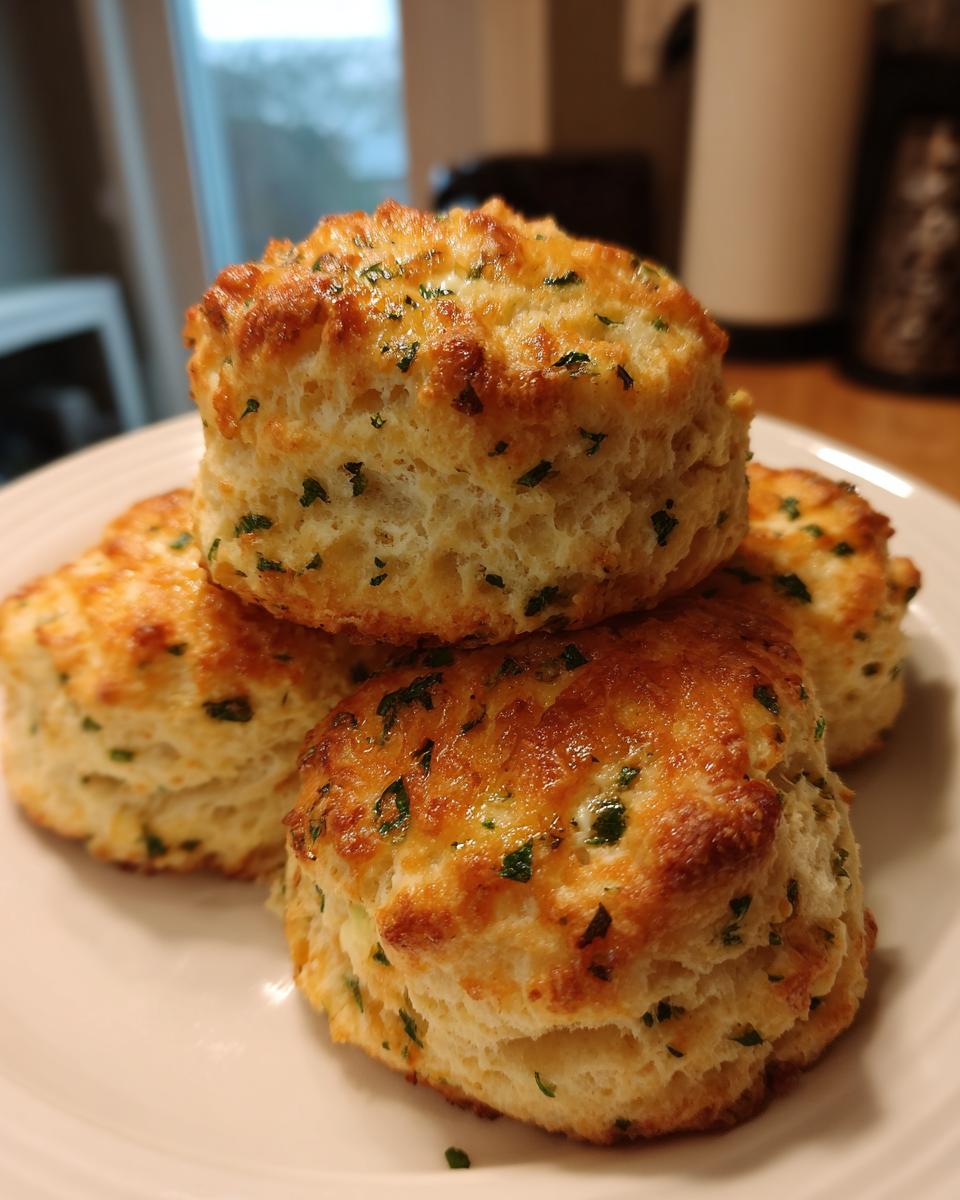
Oh, you HAVE to try these Cheddar Chive Biscuits! Seriously, they’re just one of those recipes that makes you feel all warm and fuzzy inside, just like baking with Grandma used to. They’re perfectly buttery, wonderfully flaky, packed with sharp cheddar, and have that fresh pop from chives. Whether you’re looking for a showstopper for brunch, the perfect side for a hearty soup, or a chewy base for a killer breakfast sandwich, these biscuits hit the spot every single time. They’re the kind of food that brings people together, and honestly, they’re surprisingly easy to whip up!
- Why You'll Love These Cheddar Chive Biscuits
- Gather Your Ingredients for Perfect Cheddar Chive Biscuits
- Crafting Your Cheddar Chive Biscuits: Step-by-Step
- Tips for Baking the Best Cheddar Chive Biscuits
- Ingredient Substitutions and Variations
- Serving Suggestions for Your Cheddar Chive Biscuits
- Make-Ahead and Storage: Freezer Friendly Biscuits
- Frequently Asked Questions about Cheddar Chive Biscuits
- Nutritional Information
- Share Your Cheddar Chive Biscuit Creations!
Why You’ll Love These Cheddar Chive Biscuits
Seriously, you’re going to adore these biscuits. Why? Well, for starters, they’re ridiculously easy to make – perfect for those mornings when you need something special without a lot of fuss. Plus, the flavor is just out-of-this-world good: that sharp cheddar and fresh chive combo is savory heaven! And the texture? Oh my goodness, they’re so buttery and flaky, they practically melt in your mouth. They’re super versatile, too – great with eggs, alongside your favorite soup, or piled high for a breakfast sandwich.
Gather Your Ingredients for Perfect Cheddar Chive Biscuits
Okay, let’s get our ducks in a row for these beauties. You’ll want to gather up a few simple things, and the key here is keeping things COLD. Trust me, it makes all the difference for that flaky texture we’re going for. You’ll need:
- 2 cups of all-purpose flour – your pantry staple!
- 1 tablespoon of baking powder – for that lovely lift
- 1 teaspoon of salt – just to make all those flavors shine
- 1/2 teaspoon of baking soda – a little extra buddy for lightness
- 1/2 cup (that’s one stick!) of cold unsalted butter, cut into little cubes. Get it nice and chilly!
- 1 cup of cold buttermilk – this is super important for tenderness!
- 1 cup of shredded sharp cheddar cheese – go for sharp, it’s got more personality!
- 2 tablespoons of chopped fresh chives – for that fresh, oniony zing!
Crafting Your Cheddar Chive Biscuits: Step-by-Step
Alright, let’s get these glorious biscuits into the oven! It’s a pretty straightforward process, but pay attention to those little details – that’s where the magic happens! If you love a good breakfast recipe, you’ve come to the right place.
Preheating and Preparing Your Baking Sheet
First things first, crank up your oven to 425°F (220°C). Pop a sheet of parchment paper onto a baking sheet – this makes cleanup a breeze and ensures they don’t stick!
Combining Dry Ingredients for Cheddar Chive Biscuits
Grab a big bowl and whisk together your flour, baking powder, salt, and baking soda. Giving them a good whisk makes sure everything is evenly distributed so you don’t get any surprise salty bites!
Cutting in the Cold Butter
Now for the texture secret! Add your cold, cubed butter to the dry stuff. Use a pastry blender or your fingertips to cut it in. You’re looking for a mix that looks like coarse crumbs, with some little pea-sized bits of butter still hanging out. Those little butter pockets are what create those flaky layers!
Adding Cheese and Chives
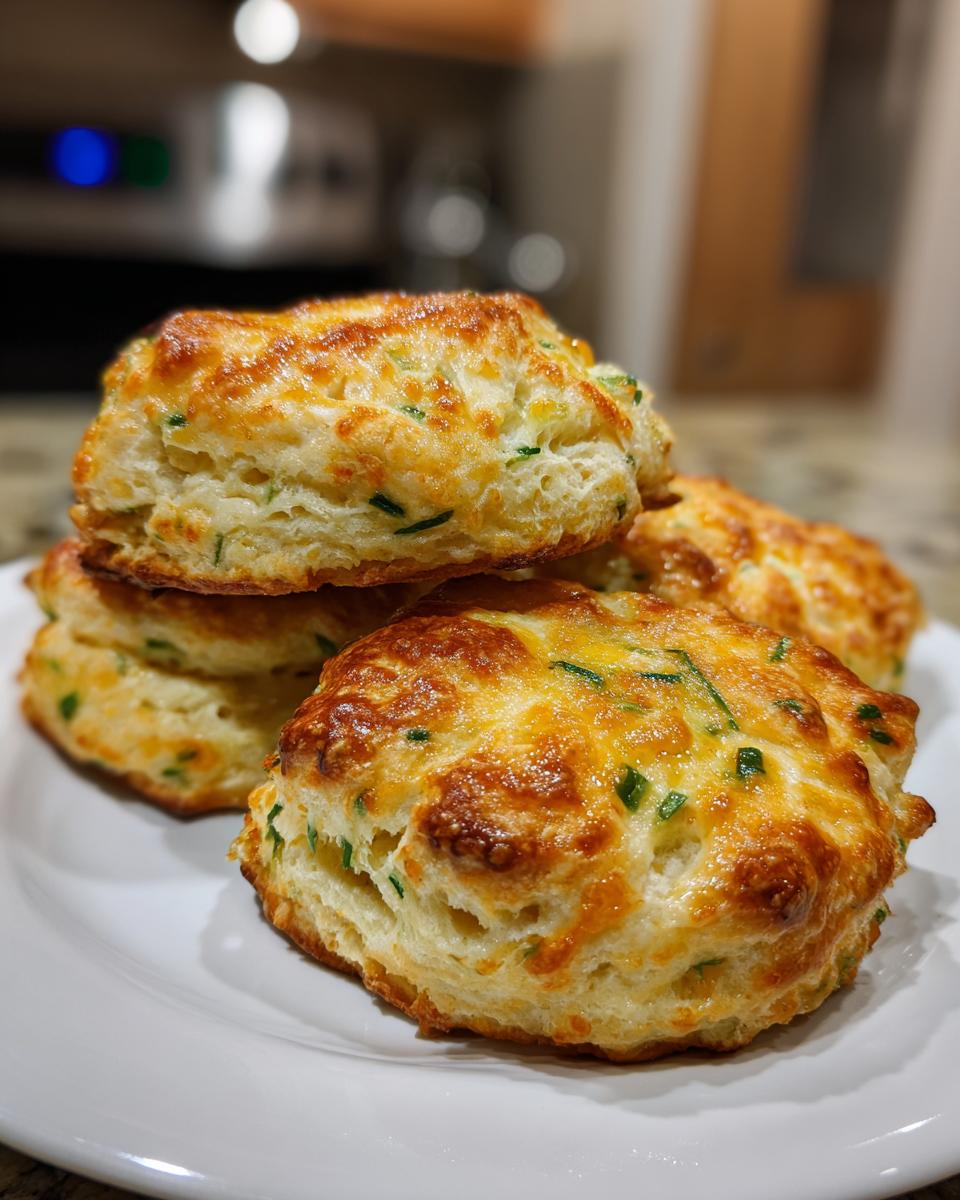
Gently stir in your yummy shredded cheddar and those bright green chives. Just give them a quick mix so they’re distributed throughout the mixture.
Incorporating the Buttermilk
Pour in that super cold buttermilk and stir it all up until it *just* comes together. Seriously, don’t go crazy mixing! Overmixing is the enemy of tender biscuits, so stop as soon as you don’t see dry flour anymore.
Forming the Biscuits: Drop vs. Cut
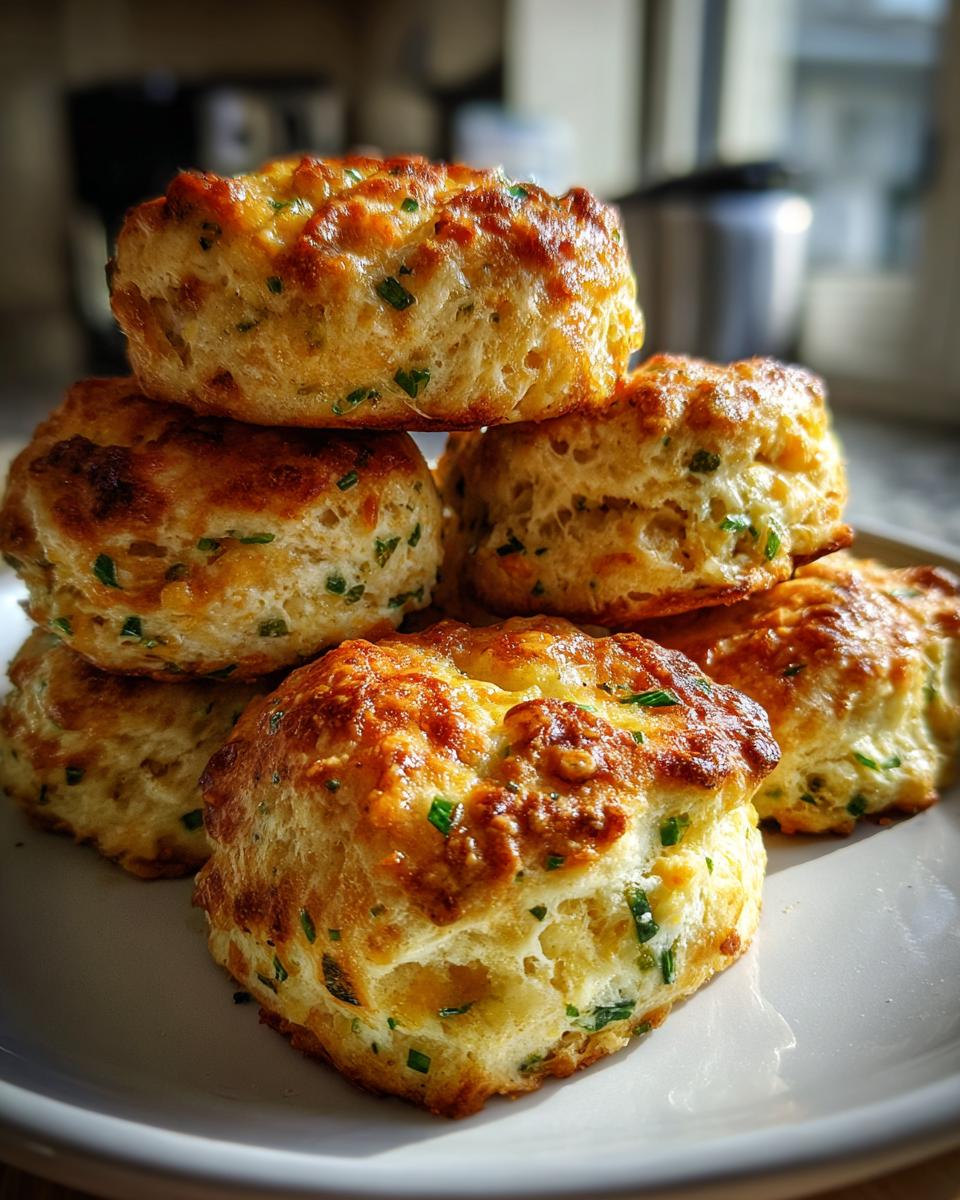
Now you have a choice! You can either drop heaping spoonfuls of that dough onto your prepared baking sheet for gloriously rustic drop biscuits. Or, if you’re feeling a bit fancy, turn the dough out onto a lightly floured surface. Gently pat or roll it to about 3/4-inch thick, then use a biscuit cutter to make neat little rounds. Place those on your baking sheet too!
Baking Your Cheddar Chive Biscuits to Golden Perfection
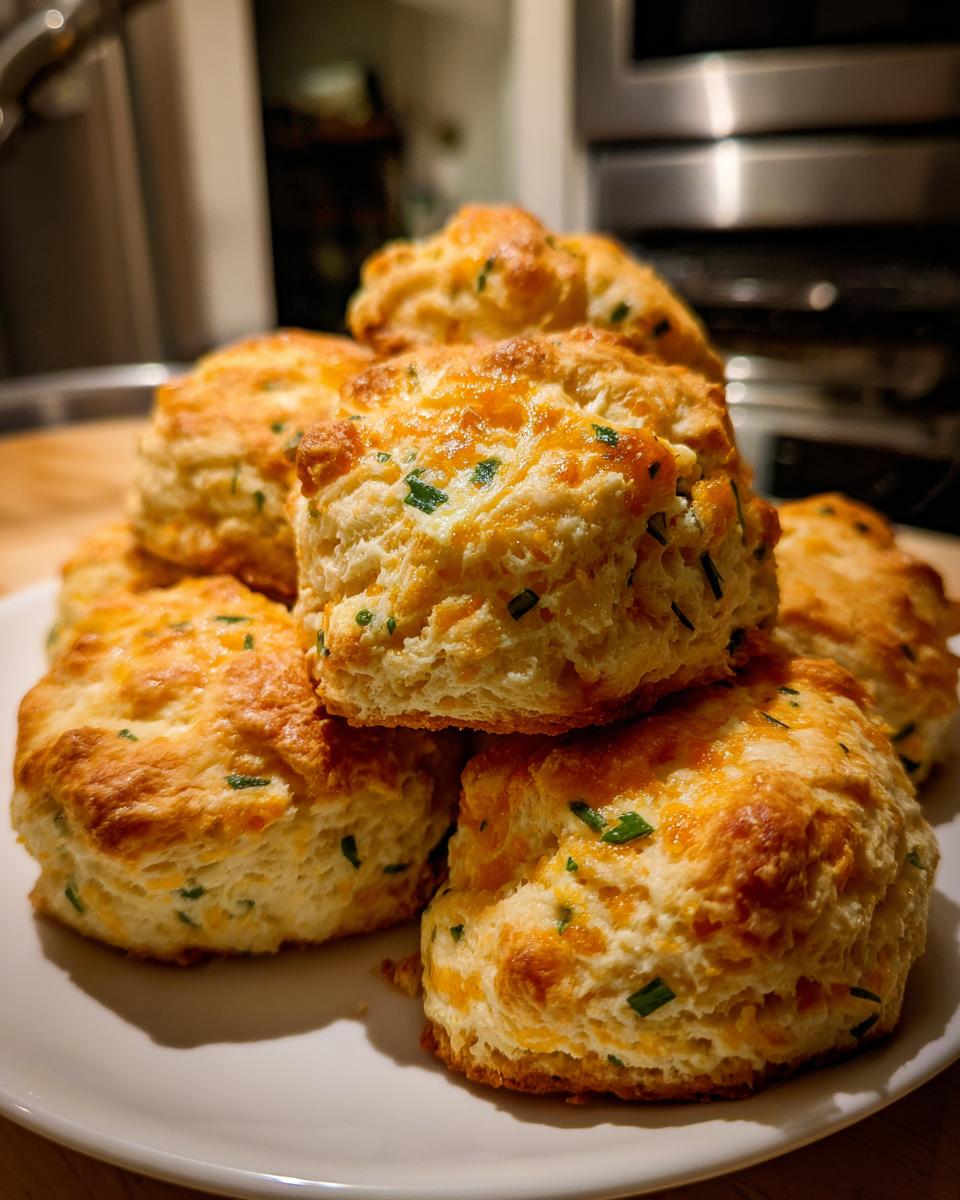
Pop them into that hot oven for about 12 to 15 minutes. You want them to be beautifully puffed up and golden brown on top. Give them a peek near the end – they bake quickly!
Tips for Baking the Best Cheddar Chive Biscuits
Okay, let’s talk about how to make sure these cheddar chive biscuits turn out absolutely perfect every single time. It’s not complicated, but a few little tricks make a huge difference! These aren’t just my own little secrets; they’re born from lots of kitchen triumphs (and yes, a few fails too!). Think of it like making a good homemade ranch dressing – simple ingredients that need a little care.
The Importance of Cold Ingredients
This is HUGE, you guys. Seriously, keep that butter and buttermilk COLD. When those cold butter pieces hit the hot oven, they steam and create pockets, which is what gives you those amazing flaky layers. Warm ingredients? Well, that just leads to sad, flat biscuits.
Avoid Overmixing the Dough
I know it’s tempting to knead and fuss with the dough, but resist! Overmixing develops the gluten in the flour, and that’s what makes biscuits tough. As soon as that buttermilk is *just* incorporated and you don’t see any dry flour stragglers, stop mixing. A slightly shaggy dough is exactly what you want for tender, fluffy biscuits.
Ingredient Substitutions and Variations
Now, I love my classic cheddar chive biscuits just the way they are, but don’t be afraid to play around! Sometimes you want a little something different, or maybe you’re out of an ingredient. That’s totally okay! Think of recipes like this, or even something like a gluten-free banana bread, as a starting point.
Cheese and Herb Swaps
Not a fan of sharp cheddar? No problem! Monterey Jack, Colby, or even a good Gruyere would be SO yummy. And if chives aren’t your thing, try some fresh parsley, dill, or even a pinch of rosemary.
Dairy-Free or Gluten-Free Options
Making these dairy-free is a bit trickier since butter and buttermilk are key to the texture, but using a good vegan butter and a plant-based milk with a little lemon juice can work in a pinch! For gluten-free, you’ll want a good 1-to-1 baking blend designed for biscuits.
Serving Suggestions for Your Cheddar Chive Biscuits
These incredible cheddar chive biscuits are so versatile! They’re absolutely divine alongside a steaming bowl of Irish Bacon, Cabbage, and Potato Soup or a rich Creamy Sausage Soup. And don’t even get me started on how they transform a simple breakfast sandwich! Just slice one open, add a fried egg, some bacon, maybe a little avocado – boom! Instant crowd-pleaser for brunch or a hearty start to your day.
Make-Ahead and Storage: Freezer Friendly Biscuits
Honestly, one of my favorite things about these cheddar chive biscuits is how perfectly store. If you’ve got any leftovers (which is rare in my house!), or if you just want to get a head start on a busy week, they freeze like a dream! Just let them cool completely – like, totally room temperature – and then pop them into an airtight container or a good freezer bag. They’ll keep for about a month. When you’re ready for a biscuit fix, just reheat them in a 350°F (175°C) oven for about 5 to 10 minutes until they’re warm and delicious again. It’s like having fresh biscuits anytime! Having great breakfast options ready to go is a lifesaver, and these biscuits are perfect for that.
Frequently Asked Questions about Cheddar Chive Biscuits
Got questions about these cheesy, chive-y delights? I’ve got answers! These are some of the things folks often wonder about when making my cheddar chive biscuits.
Can I use self-rising flour for these cheddar chive biscuits?
While you *can*, I really don’t recommend it. Self-rising flour already has leavening agents and salt in it, and it can throw off the balance of these biscuits, making them a bit unpredictable. Stick with all-purpose flour for the best, most consistent results!
What kind of cheddar cheese is best for these biscuits?
Definitely go for a sharp cheddar! It has a much bolder flavor that really stands out against the buttery biscuit. A good aged white cheddar or even a smoked cheddar would be delicious too. Avoid pre-shredded if you can, as it often has anti-caking agents that can affect texture.
My biscuits are tough, what did I do wrong?
Oh, that’s almost always from overmixing the dough after adding the buttermilk! When you mix too much, you develop the gluten in the flour, which makes biscuits chewy and tough instead of tender and flaky. Stop mixing as soon as the dough just barely comes together. A little shaggy is perfect!
Nutritional Information
Just a heads-up, my friends! The numbers below are estimates for just one biscuit, and they can wiggle around a bit depending on the exact ingredients you use. But generally, you’re looking at around 180 calories, 9g of fat (about 5g of that is saturated), and 20g of carbs per biscuit. It’s all part of that delicious, homemade goodness!
Share Your Cheddar Chive Biscuit Creations!
I truly hope you have so much fun making these cheddar chive biscuits, and I’m dying to hear how they turn out for you! Did you try them with your favorite soup, or did they become the star of a breakfast sandwich? Drop a comment below and give them a rating – it really helps other bakers out! And if you snap a pic, tag me on social media because I absolutely love seeing what you create in your kitchens! Feel free to reach out through my contact page if you have any other questions!
PrintCheddar Chive Biscuits

Buttery, flaky biscuits loaded with sharp cheddar and fresh chives, perfect for serving with soups or breakfast sandwiches.
- Prep Time: 15 min
- Cook Time: 15 min
- Total Time: 30 min
- Yield: 12-16 biscuits 1x
- Category: Side Dish
- Method: Baking
- Cuisine: American
- Diet: Vegetarian
Ingredients
- 2 cups all-purpose flour
- 1 tablespoon baking powder
- 1 teaspoon salt
- 1/2 teaspoon baking soda
- 1/2 cup (1 stick) cold unsalted butter, cut into cubes
- 1 cup cold buttermilk
- 1 cup shredded sharp cheddar cheese
- 2 tablespoons chopped fresh chives
Instructions
- Preheat your oven to 425°F (220°C). Line a baking sheet with parchment paper.
- In a large bowl, whisk together the flour, baking powder, salt, and baking soda.
- Cut in the cold butter using a pastry blender or your fingertips until the mixture resembles coarse crumbs with some pea-sized pieces of butter remaining.
- Stir in the shredded cheddar cheese and chopped chives.
- Pour in the cold buttermilk and stir until just combined. Do not overmix.
- For drop biscuits: Drop spoonfuls of dough onto the prepared baking sheet.
- For cut biscuits: Turn the dough out onto a lightly floured surface. Gently pat or roll the dough to about 3/4-inch thickness. Cut out biscuits using a biscuit cutter and place them on the baking sheet.
- Bake for 12-15 minutes, or until golden brown and puffed.
- Serve warm.
Notes
- For best results, ensure your butter and buttermilk are very cold.
- These biscuits freeze well. Let them cool completely, then store in an airtight container or freezer bag for up to 1 month. Reheat in a 350°F (175°C) oven for 5-10 minutes.
- You can substitute regular milk for buttermilk if needed, but the texture will be slightly different.
Nutrition
- Serving Size: 1 biscuit
- Calories: 180
- Sugar: 1g
- Sodium: 350mg
- Fat: 9g
- Saturated Fat: 5g
- Unsaturated Fat: 4g
- Trans Fat: 0g
- Carbohydrates: 20g
- Fiber: 1g
- Protein: 4g
- Cholesterol: 25mg