
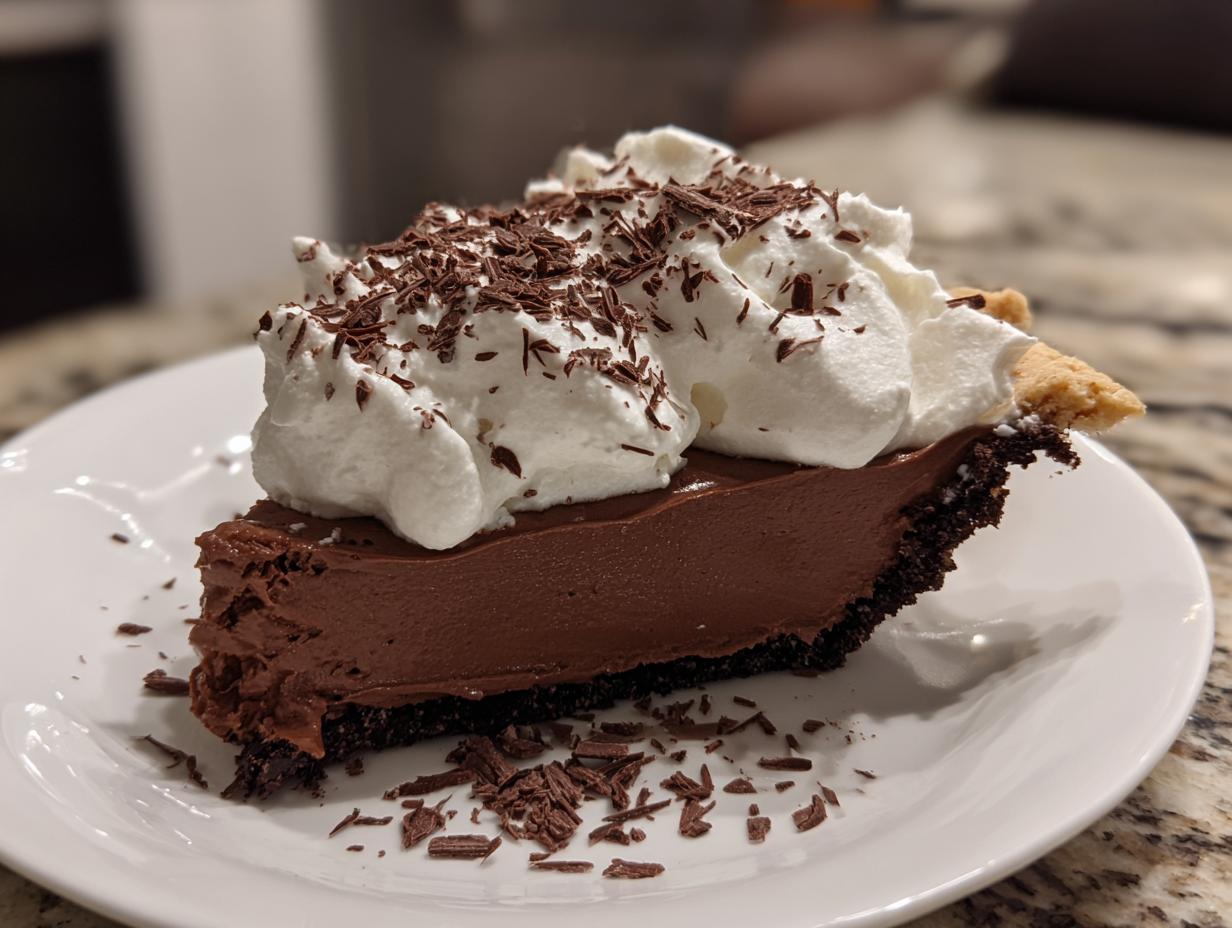

The holiday season just wouldn’t be the same without that magical feeling in the air, and for me, it always involves a little bit of chocolate! There’s something so comforting and decadent about a rich chocolate dessert when snowflakes are falling (or at least the thought of them is!). This Christmas Chocolate Pie is the perfect embodiment of that holiday cheer – it’s got this incredibly silky, smooth filling that just melts in your mouth, and it looks so festive all dressed up. It reminds me a lot of the joy my grandmother felt when she’d bake for our family gatherings. This recipe is all about capturing that spirit of sharing something truly special, and trust me, this pie is pure holiday magic.
- Why You'll Love This Christmas Chocolate Pie
- Choosing Your Perfect Christmas Chocolate Pie Crust
- Ingredients for Your Festive Chocolate Pie
- Crafting the Silky Christmas Chocolate Pie Filling
- Assembling and Chilling Your Holiday Chocolate Pie
- Festive Toppings for Your Christmas Chocolate Pie
- Tips for Christmas Chocolate Pie Success
- Frequently Asked Questions about Christmas Chocolate Pie
- Nutritional Information
- Share Your Festive Creations!
Why You'll Love This Christmas Chocolate Pie
Seriously, this pie is a holiday game-changer! Here’s why you’ll be making it year after year:
- Super Easy to Make: Even if you’re not a baking pro, you can totally nail this.
- Make-Ahead Magic: Bake it a day or two ahead and save yourself stress on the big day!
- Crowd-Pleaser Guaranteed: Who can resist rich, silky chocolate? Everyone loves it!
- Festive & Beautiful: It looks stunning on any dessert table, especially with those fun toppings.
Choosing Your Perfect Christmas Chocolate Pie Crust
Okay, so the crust is the foundation of our amazing Christmas Chocolate Pie, and we’ve got two fantastic options for you. Both are delicious, but they bring a little something different to the party. Think about what you’re craving – something flaky and buttery, or super chocolatey and easy-peasy?
Classic Pastry Crust
You can’t go wrong with a traditional, flaky pastry crust! It bakes up so beautifully golden and gives you that lovely contrast to the super smooth, rich chocolate filling. It’s a little more hands-on, but oh-so-worth-it for that classic pie vibe.
Easy Oreo Chocolate Pie Crust
Now, if you’re looking for pure chocolatey heaven with minimal fuss, the Oreo crust is your best friend! Just crush up some Oreos (the whole cookie, filling and all!), mix ’em with a little melted butter, press it into your pie plate, and bake it for a few minutes. It’s practically no-bake if you prep it ahead, and seriously, it makes this Oreo chocolate pie creation out of this world. It’s a winner every single time!
Ingredients for Your Festive Chocolate Pie
Alright, it’s time to gather our goodies for this amazing Christmas Chocolate Pie! You’ll be surprised how simple these ingredients are, but wow, do they come together to make something spectacular. Trust me, the quality of your ingredients really makes a difference here, especially the milk and the chocolate!
- 1 (9-inch) unbaked pie crust (you choose – pastry or that super easy Oreo one!)
- 1/2 cup granulated sugar
- 1/4 cup cornstarch
- 1/4 teaspoon salt
- 3 cups milk (whole milk works best for creaminess!)
- 4 large egg yolks, just give them a quick whisk
- 2 tablespoons unsalted butter, softened is fine
- 1 teaspoon vanilla extract
- 4 ounces bittersweet chocolate, chopped up nice and fine
- 1 cup heavy cream, for whipping up dollops of goodness
- Chocolate shavings or curls, for that fancy touch
- A little crushed peppermint candy, if you’re feeling extra festive!
Crafting the Silky Christmas Chocolate Pie Filling
Now for the part that makes this pie truly sing – that luscious, silky chocolate filling! Honestly, learning to make stovetop custard felt like unlocking a secret weapon in my kitchen. My dad always made these amazing barbecues, but my grandma was the queen of desserts, and she taught me that patience is key with creamy fillings like this. She’d always say, “Don’t rush the custard, it needs to get to know the heat!” This is where the magic happens for our Christmas Chocolate Pie, turning simple ingredients into something utterly decadent. It’s a little bit of technique, but totally achievable!
Mastering Stovetop Custard Techniques
Okay, pay attention here, because this is super important. We’re going to cook our filling on the stovetop, and the secret to it being perfectly smooth and creamy, not scrambled eggs, is gentle heat and constant stirring. When you whisk together the sugar, cornstarch, and salt, then add the milk, you’re setting the stage. Cook it over medium heat, stirring *all the time*, until it thickens up nicely and just comes to a boil. After that, we do this thing called tempering the egg yolks. It sounds fancy, but it’s just slowly whisking a little bit of that hot milk mixture into your beaten yolks. This gently warms them up so they don’t get shocked when they go back into the hot saucepan. Then, pour that back in and cook for just 2 more minutes– no boiling! This step is crucial for that gorgeous, super-smooth chocolate cream pie texture we’re aiming for.
Incorporating the Rich Chocolate Flavor
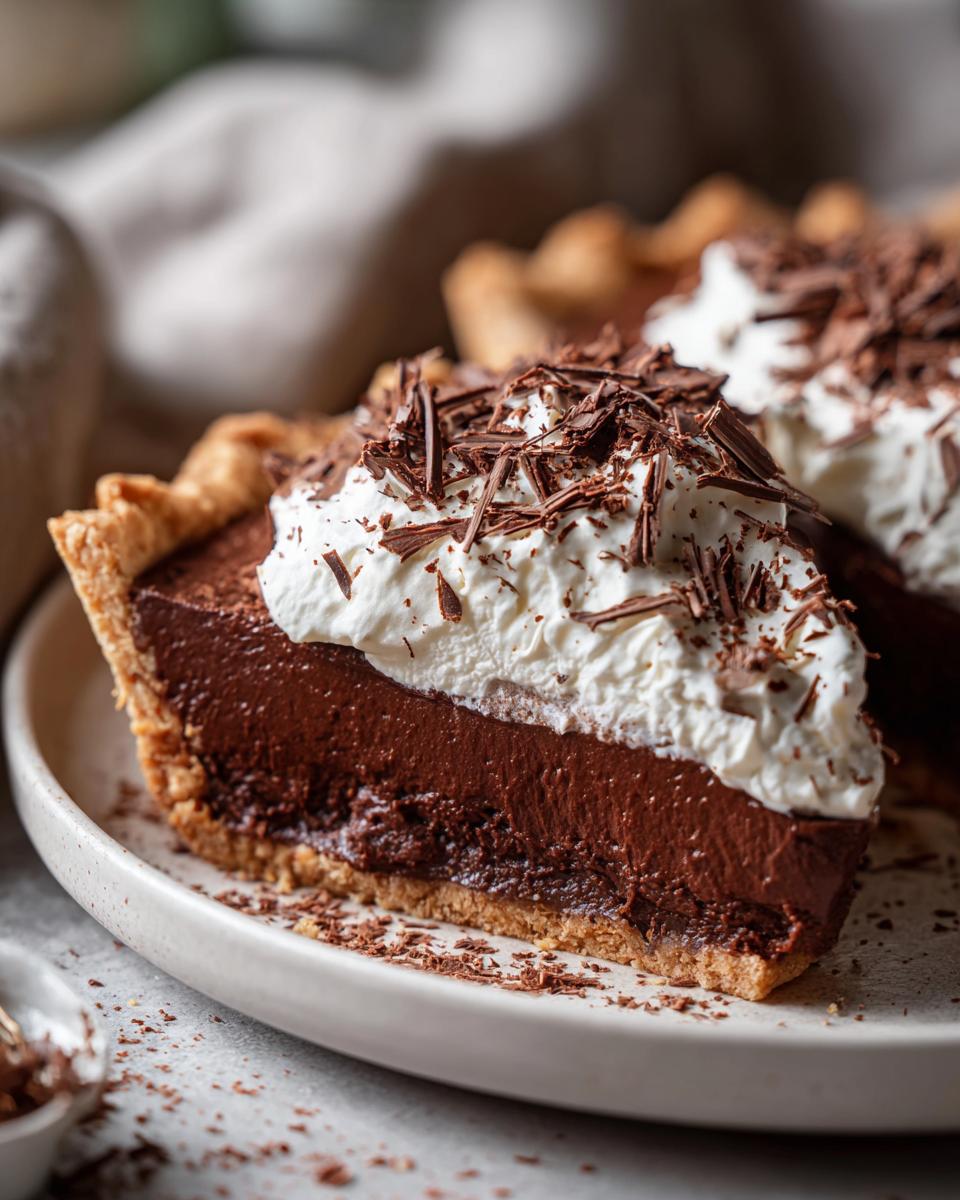
Once that custard base is cooked perfectly, take it off the heat. This is where the real chocolatey goodness comes in! Stir in that butter until it’s all melty and gorgeous, then add your finely chopped bittersweet chocolate. Keep stirring gently until every last bit of chocolate is melted and you have this uniform, glossy, super-rich chocolate filling. The smell alone is just heavenly! It’s that moment you know your Christmas Chocolate Pie is going to be an absolute showstopper. For more silky smooth pie goodness, check out my other chocolate cream pie recipe too!
Assembling and Chilling Your Holiday Chocolate Pie
Okay, you’ve made that incredible silky chocolate filling – it smells amazing, right? Now it’s time to pour all that goodness into your prepared crust. Just gently spoon or pour it in, making sure it’s nice and even. This is another one of those perfect make ahead holiday desserts because the magic really happens in the fridge. To get that super smooth, luscious top that just screams “eat me!”, you absolutely *have* to cover the pie directly with plastic wrap. Press it right onto the surface of the filling. This stops that weird skin from forming. Then, pop it into the refrigerator for at least 4 hours, or even better, overnight. Trust me, this chilling time is crucial for the best Christmas chocolate pie!
Festive Toppings for Your Christmas Chocolate Pie
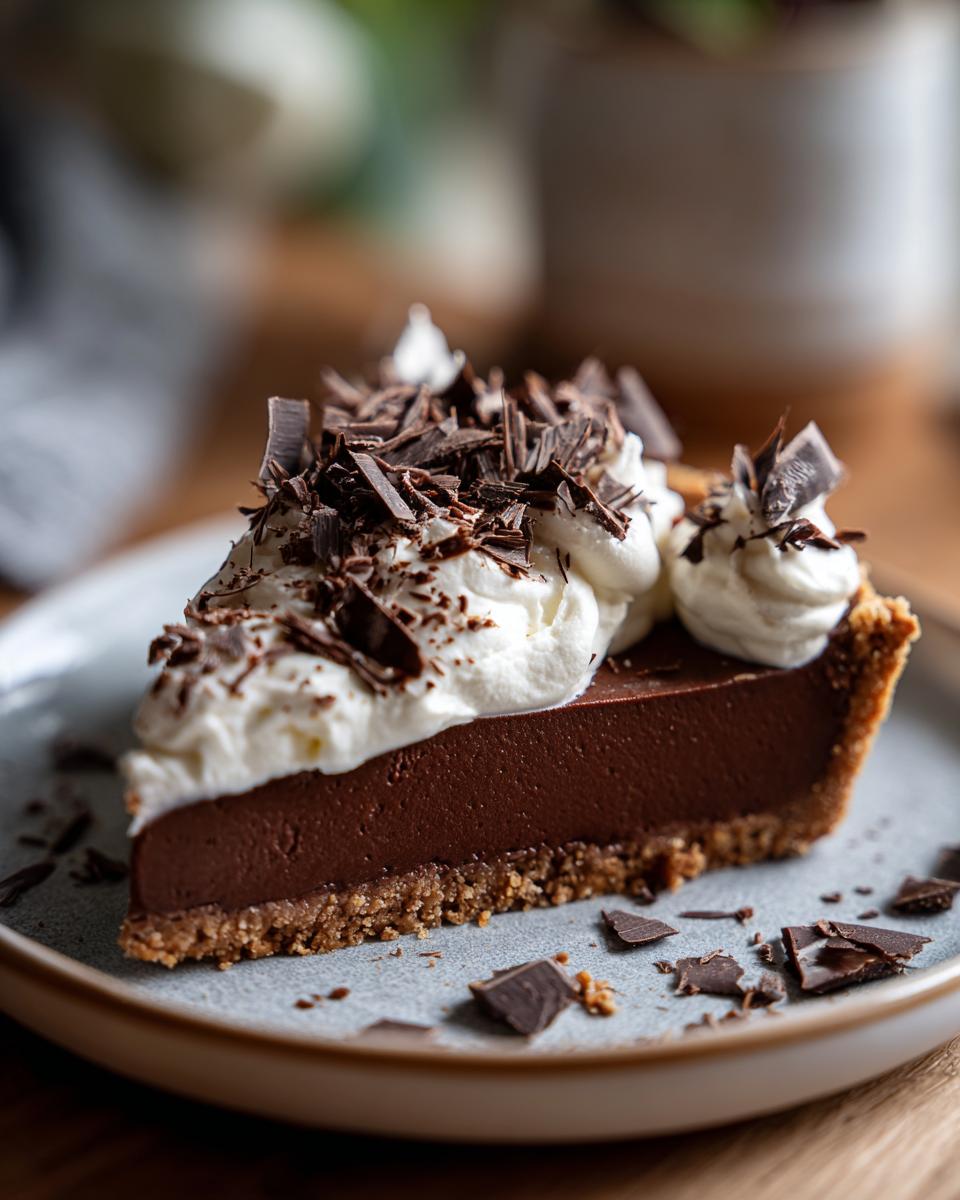
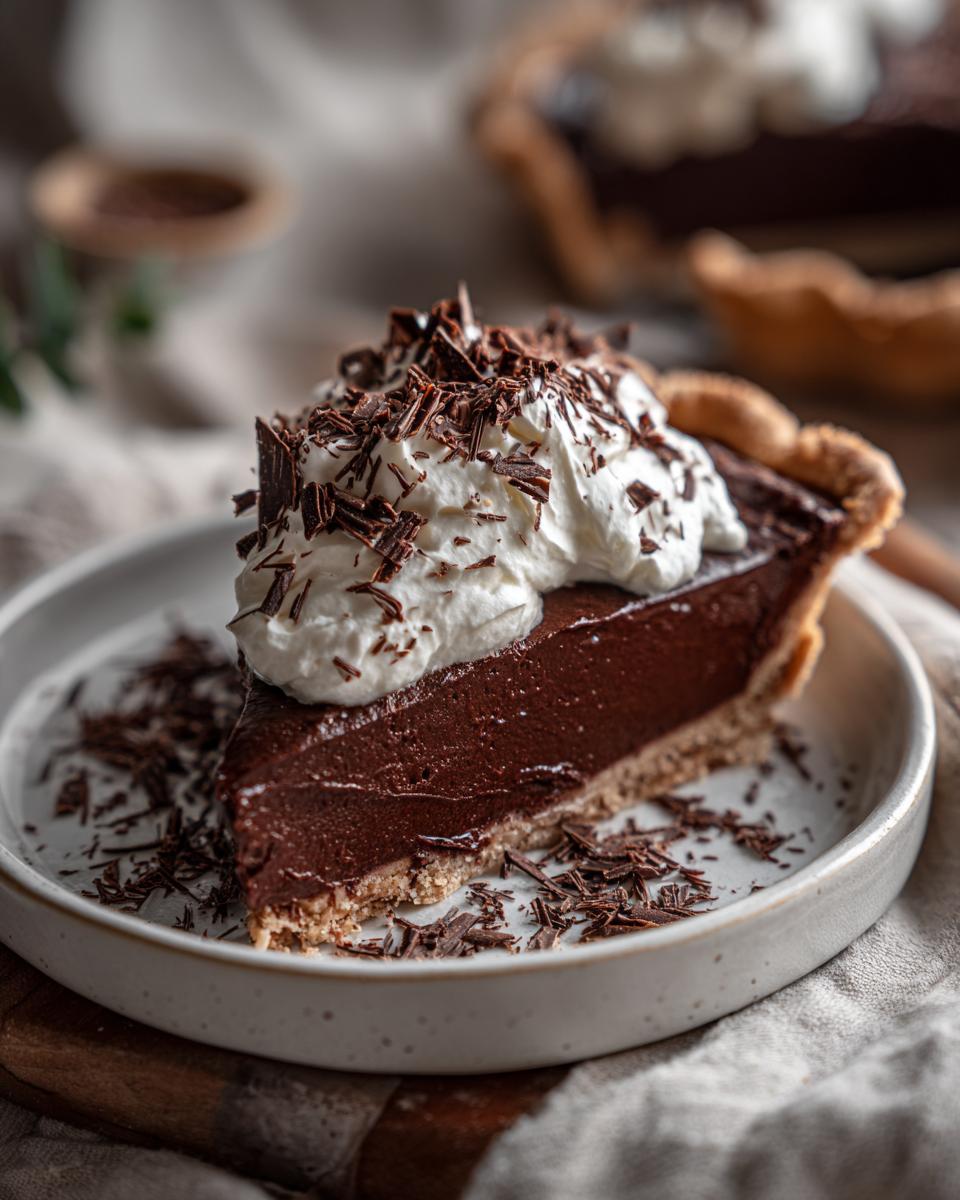
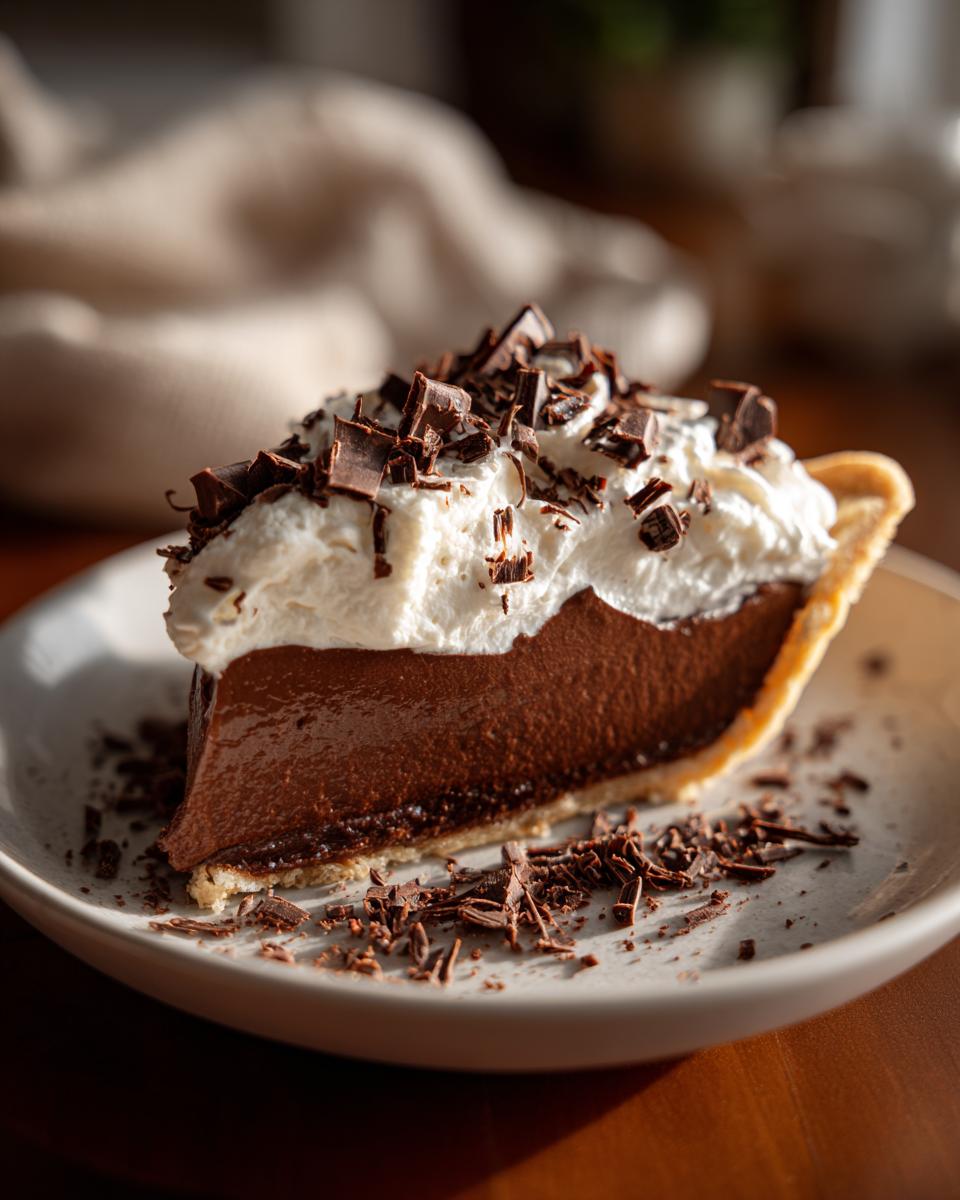
Almost there! Your incredible Christmas Chocolate Pie is chilled and ready, and now it’s time for the fun part – making it look as gorgeous as it tastes. This is where we really lean into those festive chocolate desserts vibes! The absolute best way to top this Christmas chocolate pie? A big, beautiful swirl of freshly whipped cream. You can whip yours up with a little sugar and vanilla until it holds lovely soft peaks. Then, just dollop it all over the top. For that extra bit of sparkle and crunch, I love showering it with delicate chocolate shavings or curls – you can get these at most grocery stores or quickly make your own with a vegetable peeler and a chocolate bar. And for a real holiday punch, a sprinkle of crushed peppermint candy is just *chef’s kiss*! It adds a beautiful pop of color and a hint of minty freshness that’s just perfect for Christmas.
Tips for Christmas Chocolate Pie Success
Alright, let’s talk about making this Christmas Chocolate Pie absolutely perfect! I’ve learned a few little tricks over the years, and sharing them means you’ll have the best darn pie ever. Remember, baking is all about having fun and a little bit of know-how goes a long way. So, here are my top tips to make sure your pie is a total winner, especially since this is one of those wonderful make ahead holiday desserts that just makes life easier!
Ingredient Quality Matters
You know, for something as simple and delicious as this Christmas chocolate pie, the ingredients really do shine. Using good quality chocolate makes a huge difference in that deep, rich flavor, and good whole milk makes the filling extra creamy. It doesn’t have to be fancy expensive stuff, but just a little nod to quality really elevates the whole pie!
Preventing a Skin on Your Chocolate Filling
This is such a simple step, but it’s honestly a game-changer for that beautiful, silky smooth texture! As soon as you pour that warm chocolate filling into your pie crust, you’ve got to toss a piece of plastic wrap right on top, touching the surface. This little trick stops that dreaded skin from forming while it chills, ensuring every single bite is wonderfully smooth and dreamy. You’ll thank me later!
Frequently Asked Questions about Christmas Chocolate Pie
Got questions about whipping up this festive treat? I’ve got answers! This amazing Christmas chocolate pie is pretty straightforward, but a few little tips can make all the difference. Let’s dive in!
Can I make this Christmas Chocolate Pie ahead of time?
Oh, absolutely! This is one of my favorite make ahead holiday desserts. You can whip up the whole pie, crust and all, up to 2 days in advance. Just keep it covered in the fridge. Add the whipped cream topping right before you serve it so it stays nice and fluffy!
What’s the best way to store leftovers?
Just pop any leftover slices back into the pie plate, cover it tightly with plastic wrap (or transfer to an airtight container), and keep it in the refrigerator. It’ll stay delicious for a good 2-3 days. Honestly though, it never lasts that long in my house!
Can I use a different type of chocolate?
You definitely can! While bittersweet or semi-sweet chocolate is what gives this chocolate cream pie that perfect balance of richness without being too sweet, you could also try milk chocolate. Just be aware that using milk chocolate will make the filling sweeter and a bit less intensely chocolatey. If you use dark chocolate, even better – it’ll be super decadent!
Nutritional Information
Just a heads-up, the nutritional info for this Christmas chocolate pie is an estimate and can change a bit depending on exactly what you use. But roughly, one slice is around 450 calories, with about 28g of fat and 45g of carbs. It’s a decadent treat, perfect for those holiday celebrations!
Share Your Festive Creations!
I would absolutely LOVE to hear what you think of this Christmas chocolate pie! Did you try it for your holiday dessert board? Please leave a comment below and tell me how it turned out. If you snapped a pic, share it on social media and tag me – I love seeing your baking adventures! And if you have any fun variations, I’m always eager to hear new ideas! You can also reach out via my contact page.
PrintChristmas Chocolate Pie
A festive, make-ahead chocolate pie with a silky filling, perfect for holiday dessert boards. Choose between a classic pastry crust or an easy Oreo crust.
- Prep Time: 20 min
- Cook Time: 10 min
- Total Time: 4 hr 30 min
- Yield: 8 servings 1x
- Category: Dessert
- Method: Stovetop
- Cuisine: American
- Diet: Vegetarian
Ingredients
- 1 (9-inch) unbaked pie crust (pastry or Oreo crust)
- 1/2 cup granulated sugar
- 1/4 cup cornstarch
- 1/4 teaspoon salt
- 3 cups milk
- 4 large egg yolks, lightly beaten
- 2 tablespoons unsalted butter
- 1 teaspoon vanilla extract
- 4 ounces bittersweet chocolate, finely chopped
- 1 cup heavy cream, whipped
- Chocolate shavings or curls, for garnish
- Crushed peppermint candy, for garnish (optional)
Instructions
- Prepare your chosen pie crust (pastry or Oreo) and set aside.
- In a medium saucepan, whisk together the granulated sugar, cornstarch, and salt.
- Gradually whisk in the milk until smooth.
- Cook over medium heat, stirring constantly, until the mixture thickens and comes to a boil. Boil for 1 minute, stirring constantly.
- Remove from heat. In a small bowl, whisk the egg yolks. Gradually whisk about 1 cup of the hot milk mixture into the egg yolks to temper them.
- Pour the tempered egg yolk mixture back into the saucepan with the remaining milk mixture.
- Return the saucepan to medium heat and cook, stirring constantly, for 2 minutes more. Do not boil.
- Remove from heat. Stir in the butter and vanilla extract until the butter is melted and fully incorporated.
- Add the chopped bittersweet chocolate and stir until the chocolate is completely melted and the filling is smooth.
- Pour the chocolate filling into the prepared pie crust.
- Cover the surface of the pie directly with plastic wrap to prevent a skin from forming.
- Chill in the refrigerator for at least 4 hours, or until firm.
- Before serving, remove the plastic wrap and top the pie with whipped cream.
- Garnish with chocolate shavings or curls and crushed peppermint candy, if desired.
Notes
- For an Oreo crust: Crush 24 Oreo cookies into fine crumbs and mix with 6 tablespoons of melted butter. Press into a 9-inch pie plate and bake at 350°F (175°C) for 8-10 minutes. Let cool completely.
- To temper egg yolks: Slowly whisk a small amount of the hot liquid into the beaten egg yolks before adding the yolks back to the main pot. This prevents the yolks from scrambling.
- For a silky smooth filling, ensure you stir constantly while cooking the custard and do not let it boil vigorously after adding the tempered egg yolks.
- This pie can be made up to 2 days in advance and kept refrigerated. Add the whipped cream topping just before serving.
- Consider this pie as a delightful alternative to traditional holiday cakes, fitting perfectly into your meal planning for a stress-free celebration.
Nutrition
- Serving Size: 1 slice
- Calories: 450
- Sugar: 40g
- Sodium: 200mg
- Fat: 28g
- Saturated Fat: 16g
- Unsaturated Fat: 12g
- Trans Fat: 0g
- Carbohydrates: 45g
- Fiber: 3g
- Protein: 5g
- Cholesterol: 100mg