


If you’re anything like me, staring at leftover risotto on a Sunday night feels like a missed opportunity. But I’m here to tell you those leftovers are pure gold! That’s where we transform simple cooked rice into the most incredible, crunchy, cheesy things you’ve ever tasted: Classic Cheesy Arancini, or as most people just call them, fried rice balls. My grandmother taught me that the best cooking is about seeing potential where others see scraps, and whipping up these savory bites is proof of that. We’re taking something humble and turning it into a gourmet appetizer, and trust me, you won’t believe how quickly these come together!
- Why This Is the Best Recipe for Crispy Rice Balls
- Essential Ingredients for Perfect Fried Rice Balls
- How to Prepare Your Stuffed Rice Balls Step-by-Step
- Mastering the Fry: Achieving Golden Fried Rice Balls
- Serving Suggestions for Your Homemade Rice Balls
- Storage and Reheating Instructions
- Troubleshooting Common Issues When Making Arancini
- Quick Answers: Your Rice Ball Questions
- Approximate Nutritional Data for Cheesy Fried Rice Balls
Why This Is the Best Recipe for Crispy Rice Balls
I’ve tried a lot of ways to use up extra rice, but nothing compares to these Arancini. Seriously, forget complicated cooking; this recipe turns leftovers into a showstopper appetizer. If you’re looking for that perfect balance, you’ve found it!
- They’re the absolute champion of leftover rice recipes—no waste here!
- That golden crust is the result of a dedicated breading process, making it a brilliant crispy rice balls tutorial.
- The melty, gooey center guarantees they hit the mark every time as a cheesy rice balls appetizer.
Essential Ingredients for Perfect Fried Rice Balls
Okay, you need to treat this first step like a non-negotiable rule. The secret sauce to making sturdy, hold-together fried rice balls is temperature! Everything—and I mean everything—must be completely chilled. We are using 3 cups of cold, cooked risotto or even just short-grain white rice. Cold rice is firm; warm rice turns into mush when you try to form it. Alongside the rice, we need that gorgeous mix of shredded mozzarella and grated Parmesan for the flavor and the melt. Don’t skip the egg, flour, or the breadcrumbs—those are our structural engineers!
Ingredient Notes and Substitutions for Your Rice Balls
When it comes to the rice itself, I always push for Arborio or Carnaroli if you’re using leftover risotto, because that starchiness helps bind everything without needing a ton of extra egg. If you’re swapping cheese, make sure whatever you use melts well; Provolone works beautifully too! Since the recipe is naturally vegetarian—hello, no meat filling here—it’s great for guests who skip meat. But truthfully, the breadcrumbs are key for that classic crunch, so try not to substitute those unless you absolutely have to.
How to Prepare Your Stuffed Rice Balls Step-by-Step
Alright, this is where the fun starts! Once your cheese is cubed tiny and everything is cold—I mean refrigerator-cold—we get to the assembly line. First, gently fold the cheese and Parmesan right into that cold rice mixture. Please mix tenderly! If you mash it, you’ll break down the rice grains and lose that perfect texture we talked about earlier. You want it just combined. Now for the thrilling part: making your stuffed rice balls.
Take about two tablespoons of the mixture and flatten it out in your palm. Think of it like making a mini hamburger patty, but softer. Pop a little cube of mozzarella right in the center—don’t be shy, but don’t use too much, or it’ll explode! Carefully wrap the rice around the cheese, gently cupping it into a tight little sphere. Repeat until you have a nice batch ready for bed.
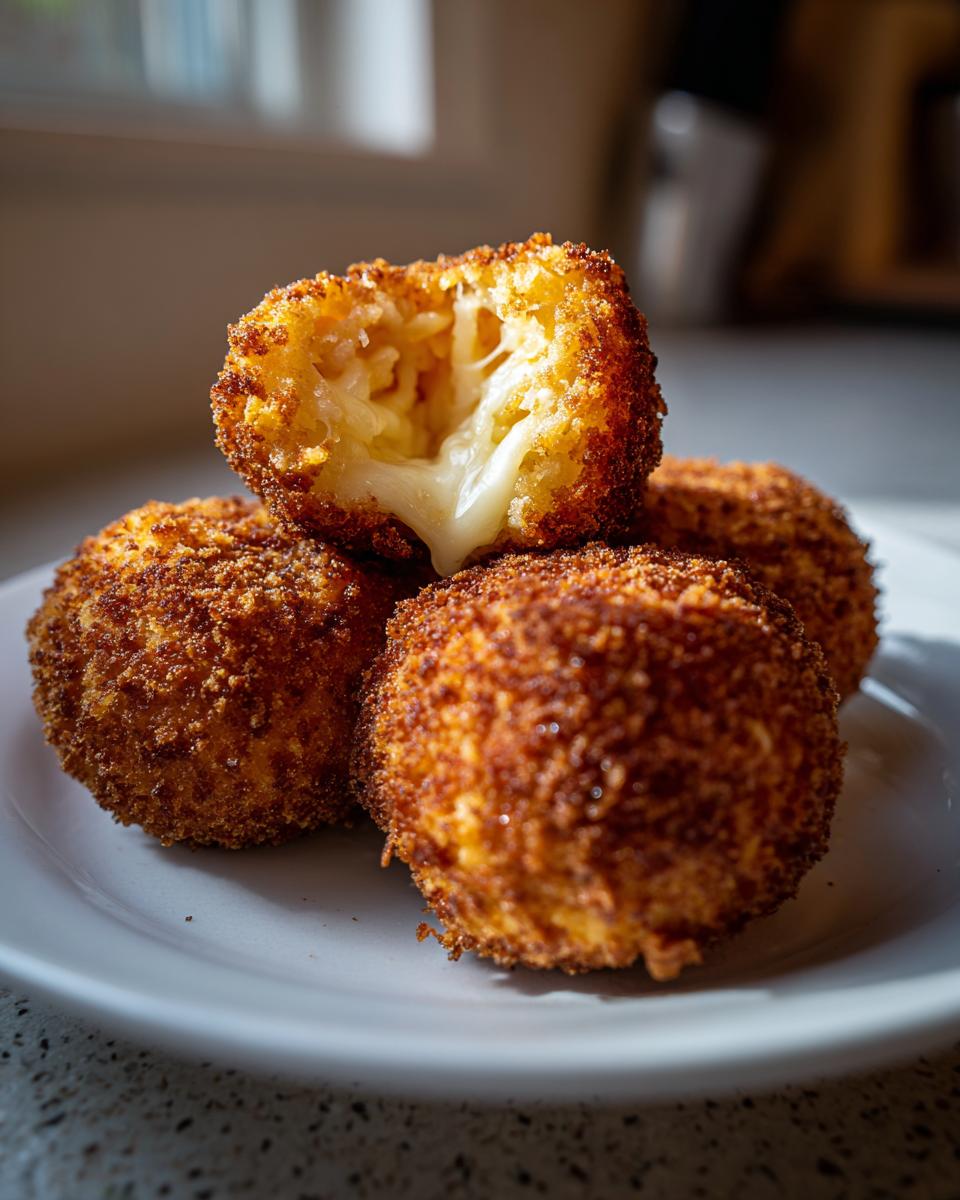
Next, the dredging station! Set up your flour, then your breadcrumbs. Toss each ball lightly in the flour first—shake off the excess, we don’t want clumps sticking around! Then, you must roll it aggressively in the breadcrumbs. Press them in a little bit to make sure every single surface is covered from top to bottom. The full coating is what gives you that amazing golden crust later on once it hits that 350°F (175°C) hot oil.
Expert Tips for Forming and Breading Crispy Rice Balls
If your balls feel squishy or start coming apart while you’re rolling them, that’s a cry for help from the rice—it’s too warm! Pop the entire tray back into the fridge for 10 minutes; chilling locks everything down. When you’re breading, coverage is everything. If you miss one tiny spot, that’s where the oil will sneak in, and your ball might deflate later. When it comes time to fry, no matter how tempting it is, never cram too many rice balls into the pot at once. Overcrowding drops the oil temperature immediately, and you end up with soggy, oily messes instead of perfectly crispy spheres.
Mastering the Fry: Achieving Golden Fried Rice Balls
This is the part Dad always loved most when grilling—making the cooking an actual event! When it comes to achieving that perfect golden brown shell, temperature control is everything. You need at least two inches of vegetable oil in a sturdy pot, heated exactly to 350°F (175°C). Seriously, grab a thermometer; guessing leads to sad, greasy results! We’re aiming for that beautiful exterior that promises a crunchy bite, which is why this is such a sought-after golden fried balls recipe.
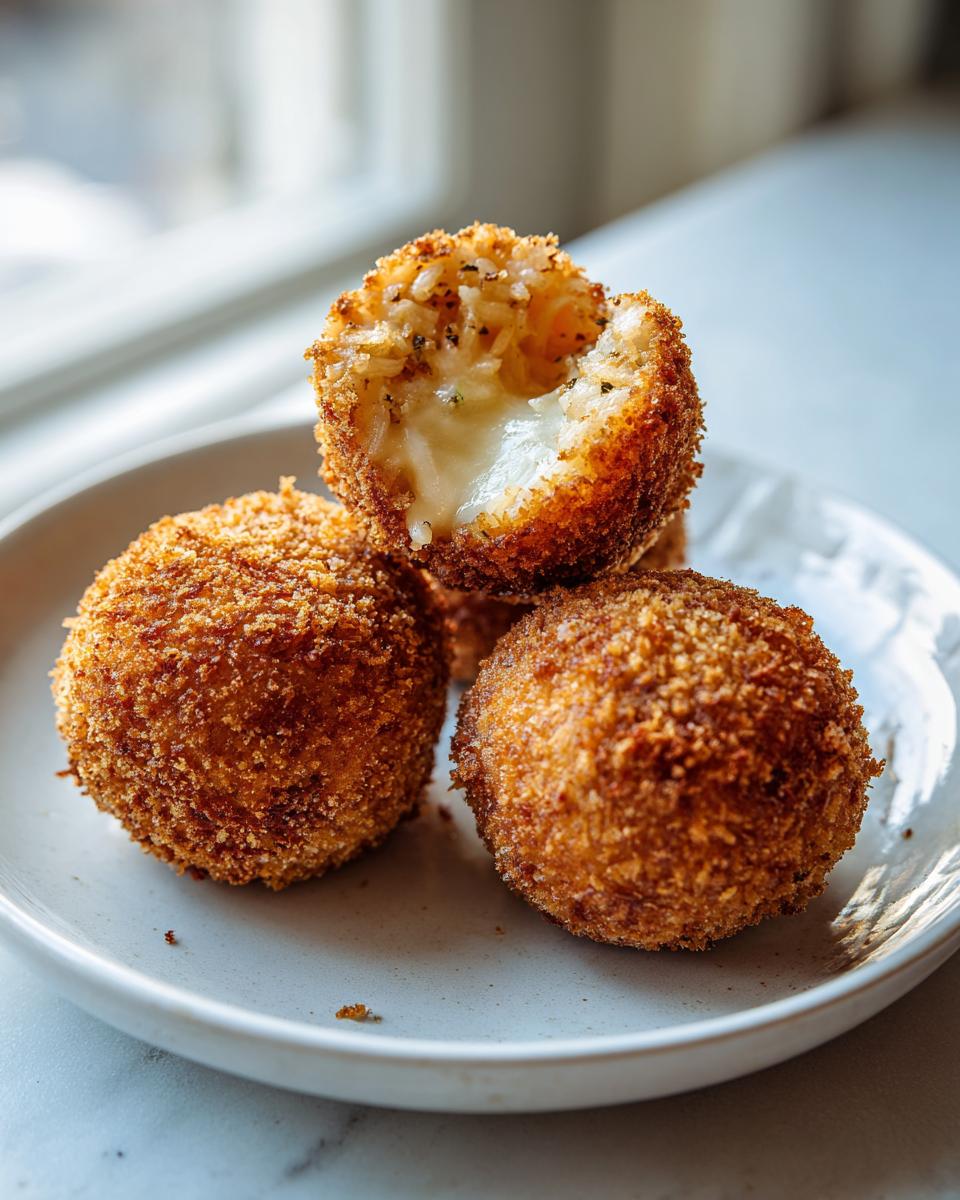
Work in small batches—maybe three or four of the breaded rice balls at a time. If you toss too many in, the oil temperature plummets, and that crispness vanishes instantly. Let them tumble around gently for about three or four minutes until they look like little edible jewels. Once they are deep gold, lift them out with a slotted spoon and move them fast onto a wire rack lined with paper towels. We want those crunchy exteriors, not soggy bottoms!
Serving Suggestions for Your Homemade Rice Balls
Now that you have these magnificent, hot, crispy beauties, you need the right stage for them! I always serve these Arancini immediately while the mozzarella is still totally liquid inside. The absolute classic pairing is a side of warm, bright marinara sauce for dipping—it just cuts through the richness perfectly. But honestly, these make such a fantastic simple finger food rice for any party. If you want to bulk up dinner, try serving them on top of a big, simple salad, or maybe alongside some of my famous garlic parmesan chicken meatballs! Who needs complicated sides when you have these perfect little rice balls?

Storage and Reheating Instructions
When the party’s over, don’t fret about the extras! Once totally cooled, these cheesy rice balls keep beautifully in an airtight container in the fridge for about three days. The microwave is your enemy here; it turns crunchy things sad and soft in seconds. To resurrect that glorious crispness, pop them in a 375°F oven or your air fryer for just 8 to 10 minutes. That quick blast of dry heat brings back the gold!
Troubleshooting Common Issues When Making Arancini
Even the best cooks run into little snags, and mastering these fried beauties is no different! If your little rice balls are cracking open in the oil, nine times out of ten it’s because you didn’t chill the mixture long enough or you overstuffed them. Make sure that cheese center is small and snug! If your flour and breadcrumbs just won’t stick, that usually means you skipped wiping down the rice balls after flouring. Remember that quick dusting of flour acts like glue for the breadcrumbs. A little patience now saves you from messy oil splatters later!
Quick Answers: Your Rice Ball Questions
I get so many questions flooding my inbox after people try this recipe, which is wonderful! You guys are truly eager to learn how to make the best easy rice ball recipe. One of the biggest ones is definitely about the rice base. Can I just use regular leftover plain rice instead of risotto?
Yes, absolutely! While risotto gives you that superior creamy bind because of the starch, you can certainly use leftover plain rice, especially short-grain varieties. Just be sure it’s nice and sticky! If it seems dry, add a tiny bit more Parmesan and perhaps a splash of milk or another egg yolk just to get it to hold its shape when you roll it. This is how you turn simple leftover rice recipes into something amazing.
Another common query is about frying versus baking. Sure, baking is an option if you want a lighter snack, but you won’t get the true crunch that makes these Arancini legendary. For the very best result, stick to the frying method! We want those gorgeous golden bites that scream “appetizer perfection.” If you try to bake them, you’ll need to brush them generously with oil and watch them closely so they don’t dry out halfway through.
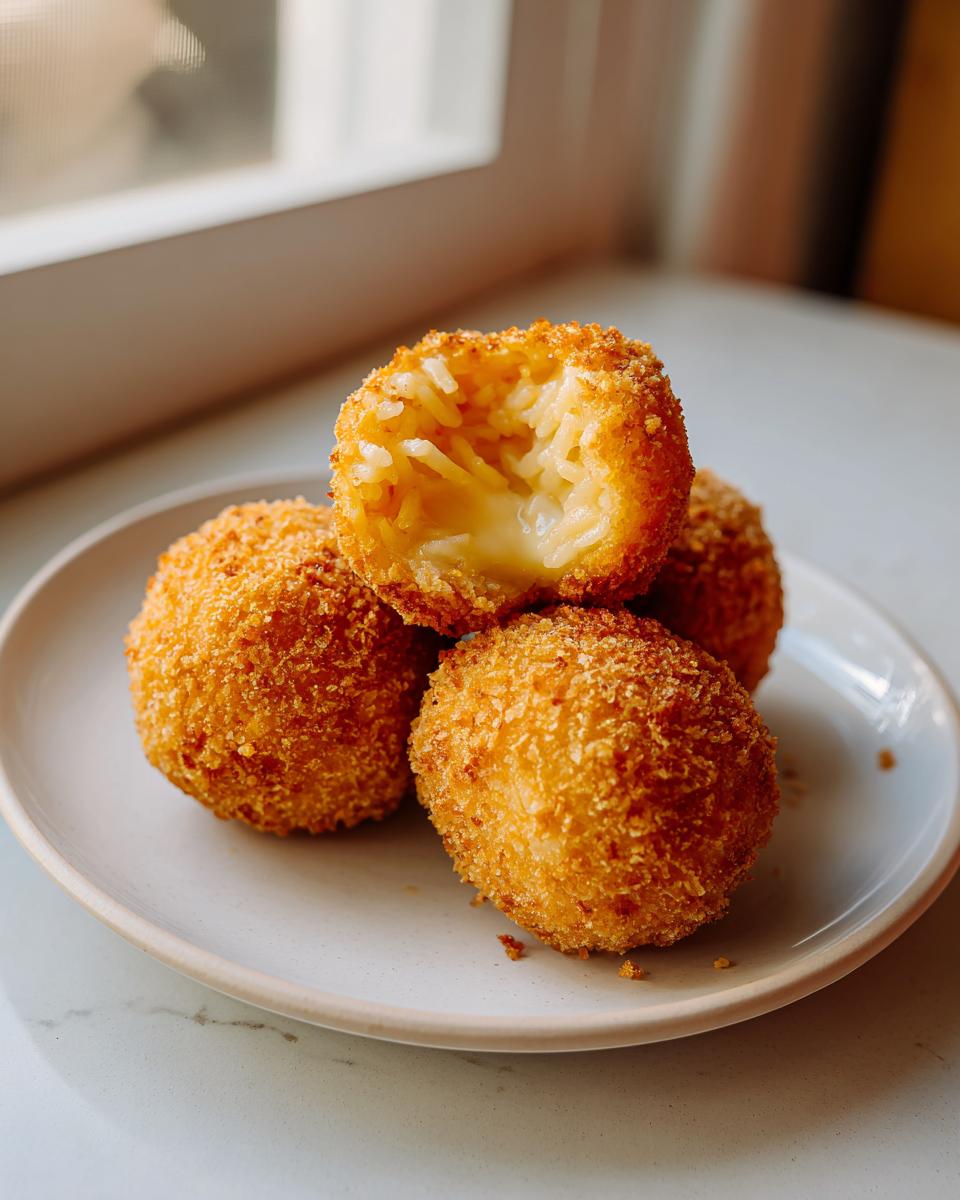
And finally, what about fillings? While my recipe is for classic cheesy rice balls, you can totally stuff these! Think pea-sized bits of chopped ham or even a tiny square of smoked mozzarella for an extra flavor punch for your next savory rice bites.
Approximate Nutritional Data for Cheesy Fried Rice Balls
You know how it is; once we fry things up, the nutrition facts can change based on how much oil those gorgeous rice balls soak up! But based on the core ingredients, here is what you can generally expect per two balls. Remember, these values are estimates unless you weigh every single ingredient perfectly!
- Calories: 320
- Fat: 18g (8g saturated)
- Carbohydrates: 28g
- Protein: 12g
We keep the sugar pretty low since this is a savory appetizer, which is another reason I love this recipe so much!
PrintClassic Cheesy Arancini: Crispy Fried Rice Balls from Leftover Rice

Make crispy, golden Italian rice balls, or Arancini, using leftover risotto or rice. These savory bites are stuffed with mozzarella cheese and make an excellent appetizer or snack.
- Prep Time: 20 min
- Cook Time: 15 min
- Total Time: 35 min
- Yield: About 12 rice balls 1x
- Category: Appetizer
- Method: Frying
- Cuisine: Italian
- Diet: Vegetarian
Ingredients
- 3 cups cooked risotto or short-grain white rice (cold)
- 1 cup shredded mozzarella cheese
- 1/2 cup grated Parmesan cheese
- 1 large egg, lightly beaten
- 1/4 cup all-purpose flour
- 1 teaspoon salt
- 1/2 teaspoon black pepper
- 1 cup plain breadcrumbs
- Vegetable oil, for frying
Instructions
- In a medium bowl, combine the cold rice, mozzarella cheese, Parmesan cheese, egg, salt, and pepper. Mix gently until just combined; avoid overmixing.
- Scoop about 2 tablespoons of the rice mixture and flatten it in your palm. Place a small cube of mozzarella cheese (about 1/2 inch) in the center. Gently form the rice around the cheese to create a tight ball shape. Repeat until all the mixture is used.
- Set up a dredging station: place the flour in one shallow dish, and the breadcrumbs in another.
- Lightly roll each rice ball in the flour, shaking off any excess. Then, roll the floured ball thoroughly in the breadcrumbs, pressing lightly so the crumbs adhere completely.
- Pour vegetable oil into a deep, heavy-bottomed pot or deep fryer to a depth of about 2 inches. Heat the oil to 350°F (175°C). Use a thermometer to monitor the temperature.
- Carefully place 3 or 4 rice balls into the hot oil, ensuring you do not overcrowd the pot. Fry for 3 to 4 minutes, turning occasionally, until they are deep golden brown and crispy on all sides.
- Use a slotted spoon to remove the fried rice balls and place them on a wire rack lined with paper towels to drain excess oil.
- Serve the Arancini immediately while the cheese inside is melted. These are great served alongside a simple marinara sauce for dipping.
Notes
- Using cold, day-old risotto or rice helps the balls hold their shape better during frying.
- For a different flavor profile, consider adding finely chopped cooked ham or peas to the rice mixture before forming the balls.
- If you prefer a less oily option, you can bake these at 400°F (200°C) for 15-20 minutes, brushing them lightly with oil first. This method is good if you are focused on meal planning for lighter options.
Nutrition
- Serving Size: 2 balls
- Calories: 320
- Sugar: 2
- Sodium: 450
- Fat: 18
- Saturated Fat: 8
- Unsaturated Fat: 10
- Trans Fat: 0
- Carbohydrates: 28
- Fiber: 1
- Protein: 12
- Cholesterol: 55