
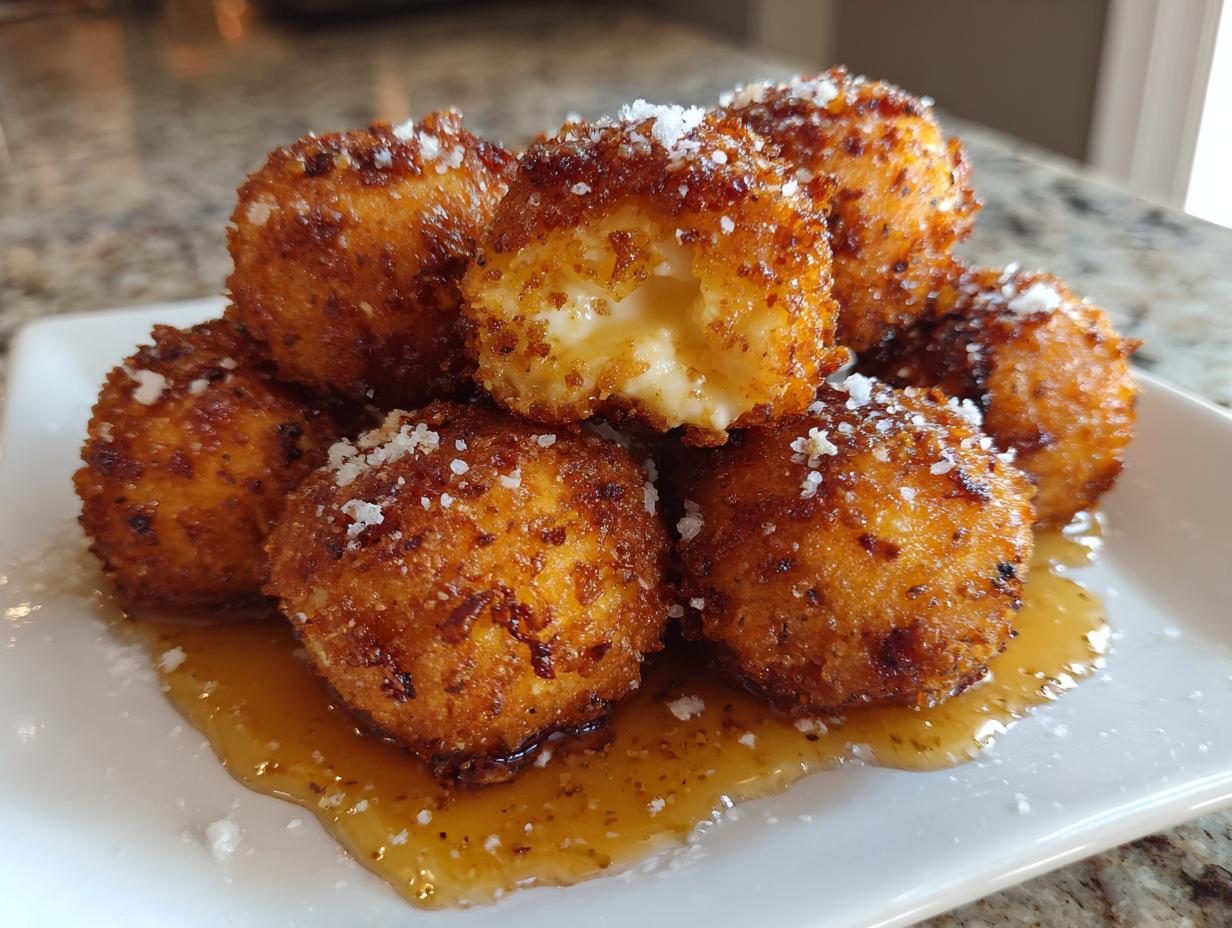

If you’re anything like me, I love bringing something truly special to the holiday table or a big gathering, but I absolutely hate spending the entire party hovering stressfully over the stove! That’s why I’ve perfected appetizers that feel totally luxurious but are secretly simple to pull off. Forget the sad old cheese ball logs; we’re stepping up the game today. These crispy fried goat cheese balls with honey drizzle are the answer to every party host’s wish list. They hit that perfect spot: creamy on the inside, unbelievably crunchy on the outside, and that sweet-and-savory combination is just addictive!
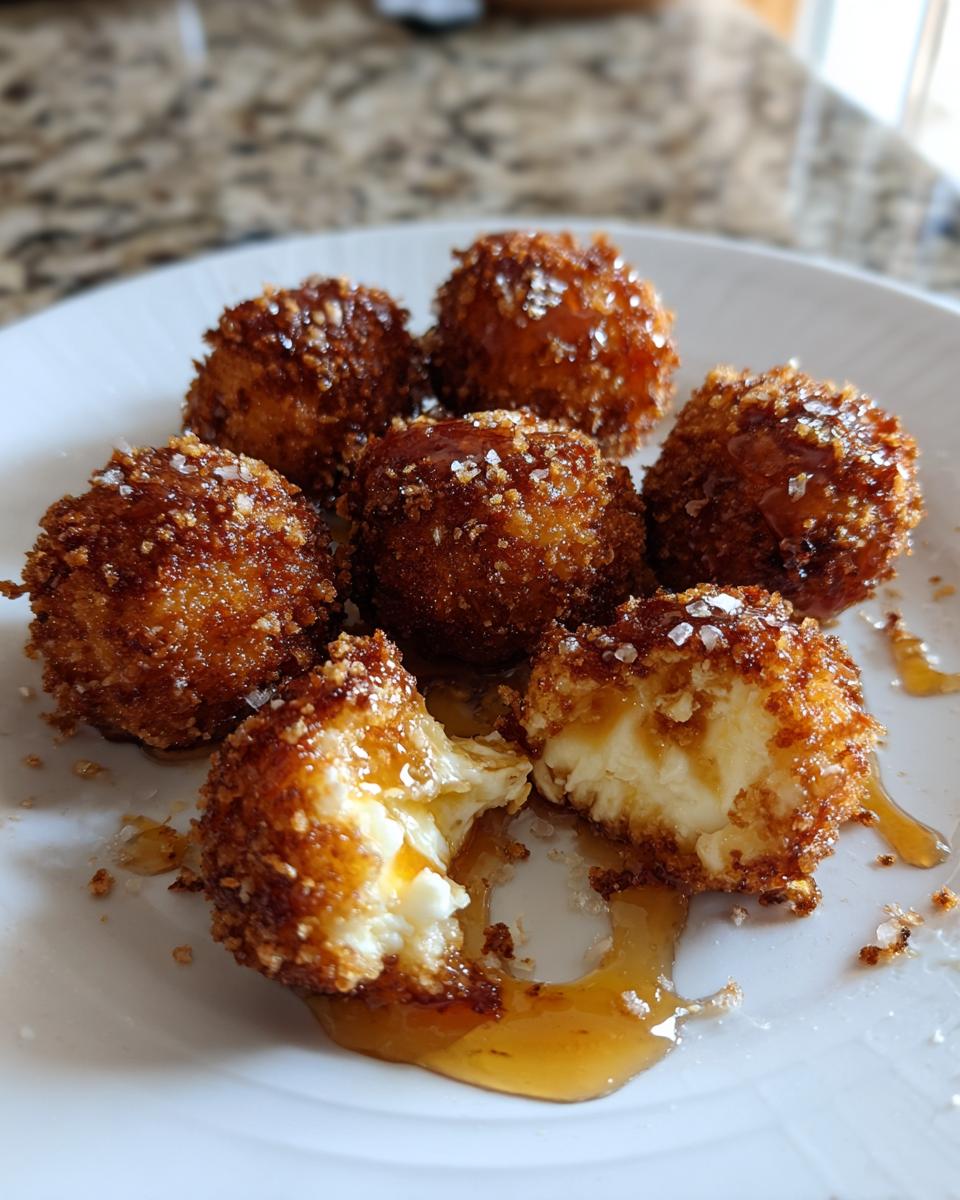
Seriously, these crispy fried goat cheese balls are about to become your new favorite appetizer. The best part? You can make the actual cheese centers way ahead of time, which means less scrambling when guests arrive. My grandmother always taught me that feeding people is an act of love, but being present while you feed them is even better. We’re going to make food that screams, “I tried *so* hard,” when in reality, you just followed a few easy steps right here.
If you’re looking for more show-stopping but manageable appetizers, make sure you check out all my latest easy appetizer recipes on the blog. Trust me, no one needs to know how easy these crunchy bites really are!
- Why These Crispy Goat Cheese Balls Are Essential Party Food
- Gathering Ingredients for Perfect Goat Cheese Balls
- Step-by-Step Guide to Making Crispy Goat Cheese Balls
- Mastering Make-Ahead Goat Cheese Balls for Parties
- Serving Suggestions for Your Elegant Goat Cheese Balls
- Troubleshooting Common Goat Cheese Balls Issues
- Storing and Reheating Leftover Goat Cheese Balls
- Nutritional Estimate for Crispy Goat Cheese Balls
- Share Your Experience Making These Goat Cheese Balls
Why These Crispy Goat Cheese Balls Are Essential Party Food
Okay, why do I think these goat cheese balls need to be on your next holiday spread? Because they solve all the appetizer problems in one perfect, golden sphere! They manage to look like something you spent hours crafting, but they come together so fast once you know the trick.
These little gems hit every requirement for great appetizer ideas for parties:
- Texture Magic: That warm, creamy center just melts in your mouth, perfectly contrasted by that loud, satisfying crunch of the panko coating. It’s the best contrast!
- Make-Ahead Winner: This is huge for me. You can roll and coat these entirely one day before your big event. They just chill out in the fridge until you’re ready to fry them.
- Sweet Meets Savory: Pairing the slightly tangy goat cheese base with that mandatory drizzle of honey? Talk about gourmet flavor without the gourmet effort. They are truly elegant party snacks.
- Portion Control: Serving them as bite-sized balls means no messy knives needed, and everyone gets a perfect portion every time.
If you want your holiday cheese platter to shine, you need something warm and instantly impressive. These deliver every single time.
Gathering Ingredients for Perfect Goat Cheese Balls
Let’s talk about pulling together the components for these amazing goat cheese balls. Don’t worry, we aren’t raiding any specialty supplier stores! You just need good quality basics. Remember, when you’re frying something this quick, the quality of the initial cheese mix really shines through.
We’re using the full eight ounces of that soft goat cheese, but you *must* make sure it’s at room temperature so it blends smoothly later. Then we mix in four ounces of room-temperature cream cheese—that stops them from getting too crumbly when you roll them. Don’t forget the little bits of pecan and chive for texture and freshness! When you get to the coating phase, skip the regular breadcrumbs; we absolutely need that light, airy crunch that only Panko breadcrumbs can give you.
Ingredient Notes and Substitutions for Goat Cheese Balls
So why the two kinds of cheese? Well, plain goat cheese is wonderfully tangy, but honestly, it can get a little sad and loose when heated too fast. That cream cheese addition is my secret handshake for keeping everything firm enough to roll but still ridiculously creamy once it hits the hot oil. It’s the perfect stabilizer!
Now, about the coating. Panko is king here for crispiness. If you are absolutely determined not to fry them—maybe you’re trying out the air fryer first—you can try rolling the second time in finely crushed pecans mixed with Parmesan cheese instead of the panko. That gives you a baked crust that’s still delicious, but seriously, that fried texture with the honey is next-level!
Step-by-Step Guide to Making Crispy Goat Cheese Balls
Alright, let’s get into the action! This process has three distinct phases, and if you follow them, you’re going to have perfectly shaped, beautifully coated goat cheese balls that never fall apart. Remember how I mentioned checking out my other appetizers? That patience I talk about in my philosophy? It really comes into play during the chilling steps here!
Preparing the Goat Cheese Balls Base
First things first, we need that smooth base. Grab your bowl with the softened cheeses, the pecans, chives, and seasonings. Mix it up good! You want it totally uniform—no little lump of plain cream cheese hiding somewhere, okay? Once it’s silky smooth, this is where your clean hands come in. Roll them out into nice, neat little spheres, about an inch—think a large marble size. Pop these rolled balls onto a sheet pan lined with parchment paper and get them into the fridge for at least an hour. This chilling step is non-negotiable, trust me! It makes rolling in that crunchy coating so much easier.
Breading Technique for Maximum Crunch on Goat Cheese Balls
Time for the crunch layer! Set up your little breading assembly line: flour in the first dish, those beaten eggs in the next, and the Panko breadcrumbs in the last one. Work quickly here so the cheese doesn’t get too warm.
Take a chilled ball and give it a good toss in the flour—shake off the excess! Then dip it fully into the egg wash, let that drip off for just a second, and finally, roll it hard into the Panko. You need to gently press the crumbs onto the cheese ball so they really stick. If you skip pressing, they’ll fall off when they hit the heat! After they are all coated, put them back in the fridge for another 30 minutes. This second chill helps the coating set up perfectly so we don’t have any frying disasters.
Frying and Finishing Your Goat Cheese Balls
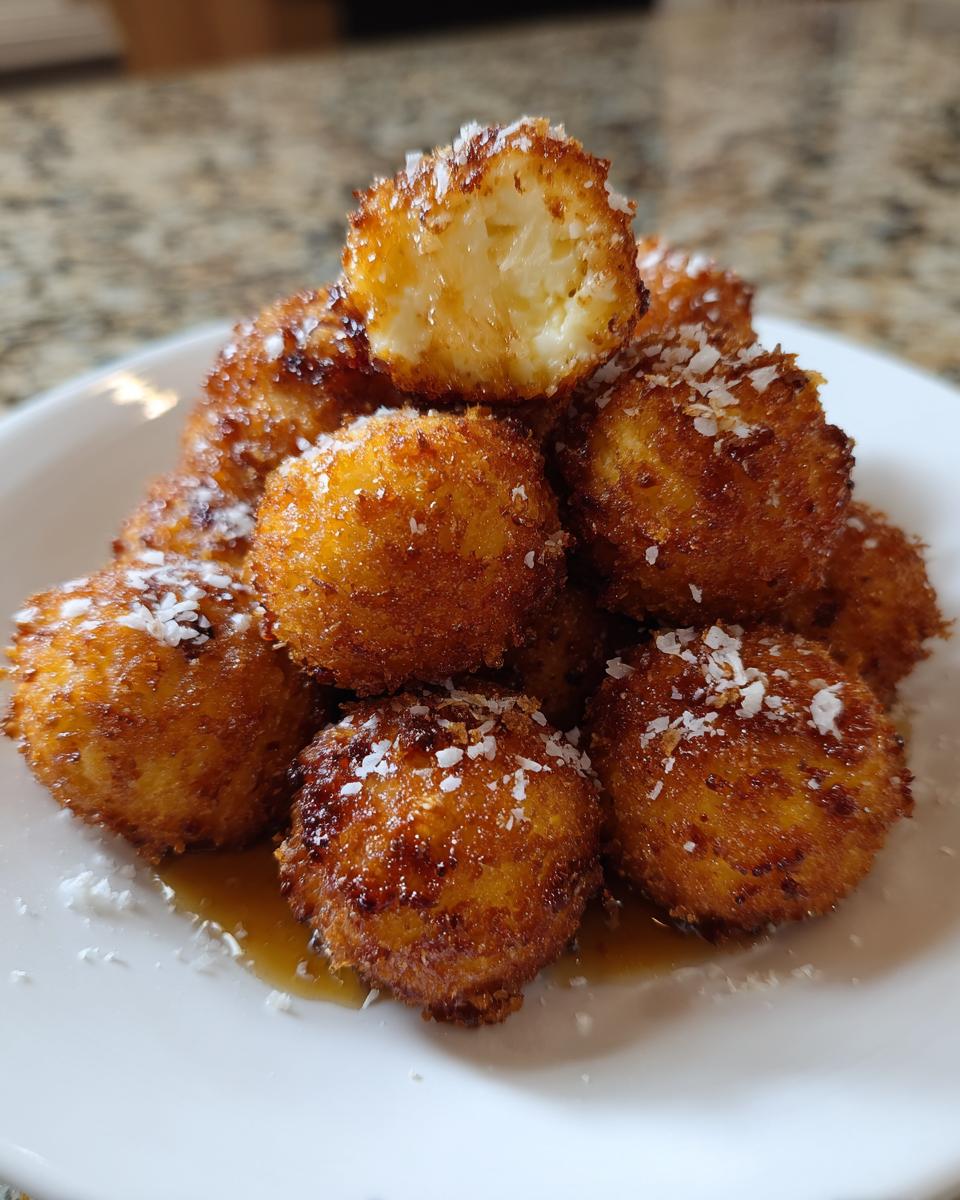
We are going for that rich, golden brown color here, so heat your oil up to a steady 350°F. Don’t put too many balls in at once; we need that oil temperature to stay consistent, or they get greasy! Drop them in carefully and let them cook for just 2 to 3 minutes until they’re the color of toasted pecans. Scoop them out quickly and put them on a rack to drain off any extra oil.
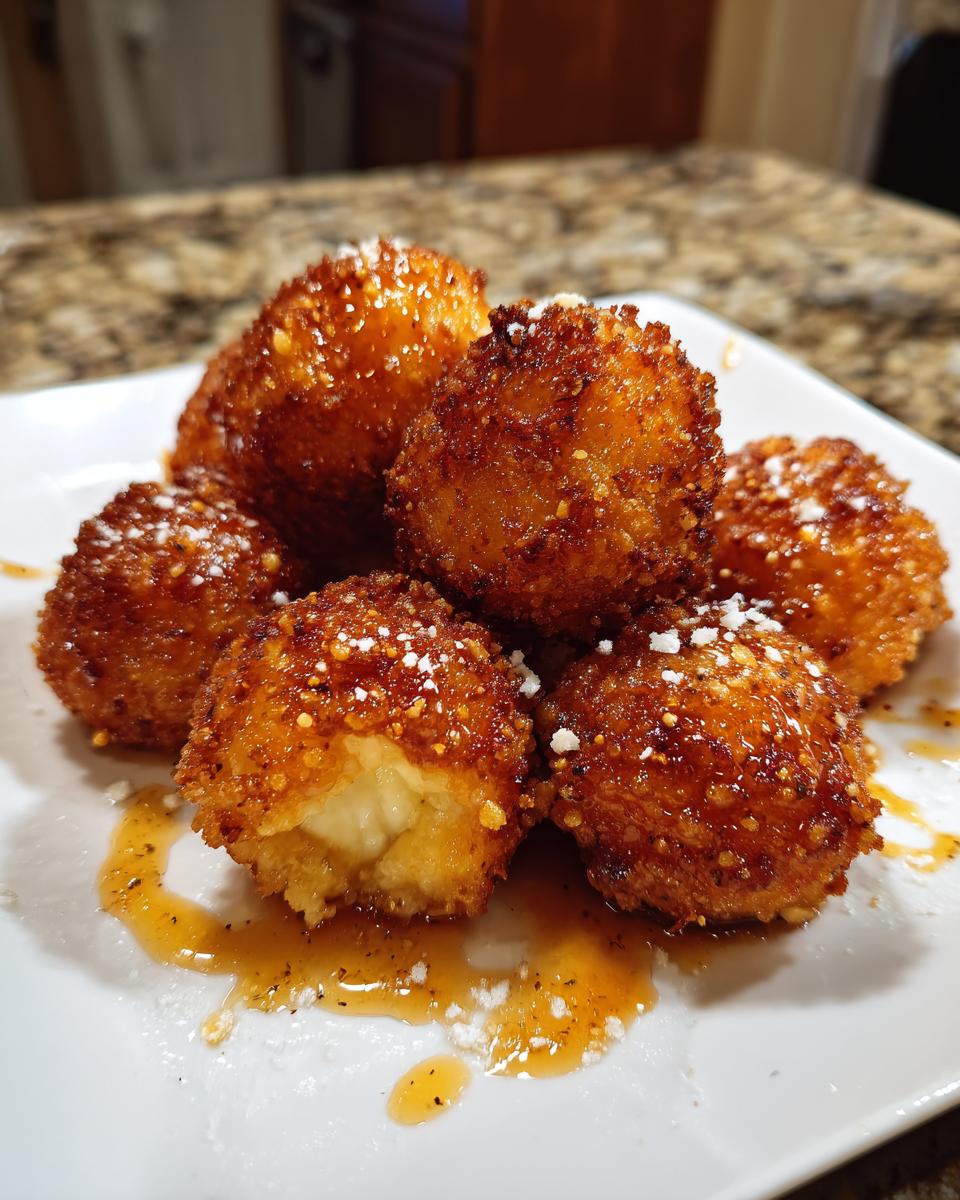
Now for the grand finale! Arrange those beauties on your prettiest platter. You HAVE to drizzle them with honey—it’s what makes them pop! Sprinkle just a tiny bit of flaky sea salt over the top to balance that sweetness. If you’re trying to keep things streamlined, know that you can totally use an air fryer! Set it to like 380°F for about 8 to 10 minutes, flipping them halfway through, and spray them lightly with some cooking oil first. You’ll get a great result, even if it’s not quite the same deep crunch as the true air fryer cheese balls comparison.
Mastering Make-Ahead Goat Cheese Balls for Parties
This is likely my favorite part for anyone hosting, especially during the busy holiday season. Who wants to panic on Thanksgiving when they could be relaxing? You can absolutely prepare these goat cheese balls in advance! For the actual cheese mixture—that lovely tangy base—you can mix it up and roll it out a full 24 hours ahead of time. Just keep those balls covered tightly in the fridge.
But here’s the secret weapon for total party peace: you can freeze them *after* you’ve breaded them! Once they are coated in that beautiful Panko layer, lay them on wax paper and pop them in the freezer until solid. Then, transfer them to a freezer bag. While a traditional no bake cheese ball is great for no-cook situations, these require frying, but preparing them frozen like this saves you crucial time right before the guests arrive.
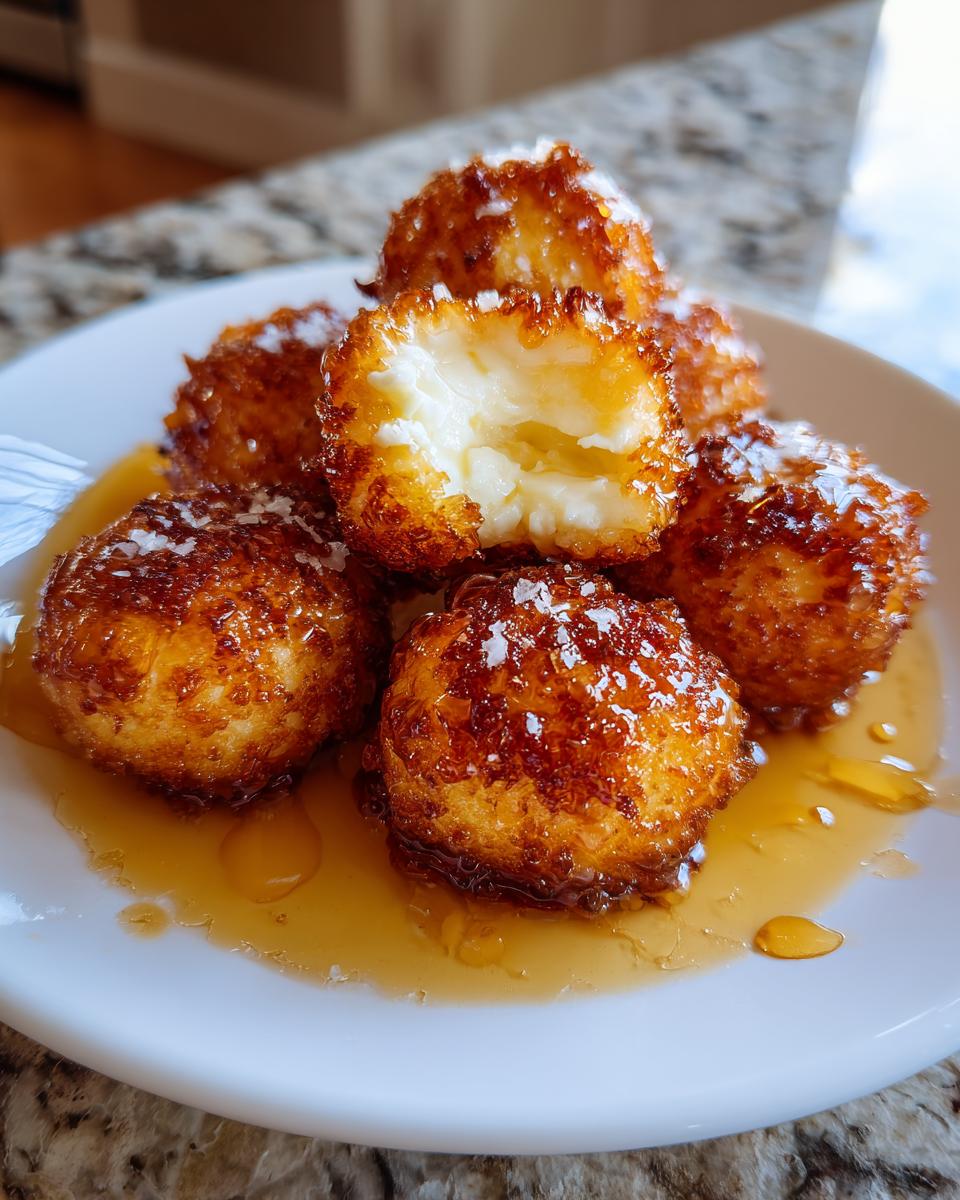
When it’s time to serve, just fry them straight from frozen—you’ll just need to add an extra minute or so to the cooking time until that crust is perfect. If you want to see a fantastic, naturally no-bake option that uses similar creamy bases, you should check out my cranberry pecan cheese ball recipe!
Serving Suggestions for Your Elegant Goat Cheese Balls
Now that you have these warm, crunchy, honey-drizzled beauties, presentation is everything! These aren’t just finger food; they are stars on your serving ware. To make them look truly special for your next batch of festive appetizers, arrange them on a beautiful platter—maybe a slate board or a white ceramic dish works best to make that golden crust pop.
The honey drizzle is key, but you need balance! I love adding some tartness right next to them. Think thinly sliced green apples or perhaps some crisp, peppery arugula beneath the balls. It keeps the whole holiday cheese platter from feeling too heavy. A sprinkle of fresh rosemary on the platter also adds a lovely aroma that hints at how elegant these little goat cheese balls truly are!
Troubleshooting Common Goat Cheese Balls Issues
It happens to the best of us! Even when you follow the steps for your amazing goat cheese balls perfectly, sometimes frying can be a little unpredictable. Don’t panic; we can usually fix these hiccups with one quick adjustment—it almost always comes down to temperature or chilling.
The number one issue I hear about is the goat cheese mixture just melting or dissolving in the hot oil before it even gets golden. If your balls are collapsing or oozing out, I promise you, it’s because they weren’t cold enough. The cheese mixture being room temperature when you mixed it is fine, but rolling them and then immediately coating and frying them is a recipe for disaster. You absolutely *must* give them that hour (minimum!) in the fridge before coating, and that extra 30 minutes after coating before they hit the oil.
If the Panko coating isn’t sticking, you probably rushed the dredging station. When you dip them from the egg wash into the Panko, you need to gently press the crumbs on, almost like you’re tucking them in. Give them a little loving squeeze to make sure every spot is sealed. If you’re seeing spots where the oil is immediately bubbling aggressively around the ball, your oil is too hot! Turn the heat down slightly—too hot, and the outside burns before the inside warms up enough to hold its shape.
And finally, if you decide to cook from frozen (which is a great make-ahead trick!), remember that the outside takes longer to insulate itself. You need to add a full minute, maybe even two, to that fry time. Patience pays off!
Storing and Reheating Leftover Goat Cheese Balls
So, you had a party and there are a few delicious, crispy goat cheese balls left over! That’s a good problem to have, but let’s be honest, leftovers are never quite the same as when they come piping hot out of the fryer. My first piece of advice? These are *meant* to be eaten fresh. That contrast between the hot interior and the crunchy shell fades fast once they cool down.
If you have cooked leftovers, I really suggest eating them the next day—maybe toss them cold onto a bed of peppery greens for a fresh salad—but don’t try to reheat them in the microwave! That will just turn the coating soggy and the cheese mushy. If you absolutely must reheat them, use a toaster oven or an actual oven set to about 350°F for maybe five or six minutes. You’re just trying to warm them through, not deep fry them again.
Now, if you’re smart and you used those great make-ahead freezer instructions from earlier, you’re in great shape! Those uncooked, breaded balls freeze beautifully. If you froze them, they can last easily for a month or two in a sealed bag. Just remember to add that extra minute or two when frying them straight from the deep freeze. Keeping them uncooked before freezing is the secret to keeping your future party planning stress-free!
Nutritional Estimate for Crispy Goat Cheese Balls
I always feel a little sheepish putting numbers next to my favorite comfort food, because honestly, when you’re enjoying a platter of these warm, honey-drizzled goat cheese balls, you aren’t thinking about macronutrients! But since we are talking about balanced entertaining and good food done right, I went ahead and got a general estimate based on the exact recipe above.
Remember, because these are fried and use rich cheeses, they aren’t exactly ‘light snacking,’ and these numbers can absolutely shift based on how thick your honey drizzle is or if you decide to go homemade with your vegetable oil versus using a different cooking fat. Please take this as a general guideline, not gospel!
Here’s the basic breakdown, calculated for a serving size of about four of those delicious, bite-sized spheres:
- Calories: Around 350 per serving
- Fat: Roughly 28 grams (that’s where the creamy deliciousness lives!)
- Saturated Fat: About 15 grams
- Carbohydrates: Around 15 grams (mostly from the coating and the honey)
- Protein: About 10 grams
- Sugar: Close to 12 grams (again, mostly that glorious honey!)
- Sodium: Roughly 280 mg
If you are worried about the fat content, just remember what I mentioned earlier about the air fryer option! While deep frying gives that ultimate crunch, using an air fryer cuts down significantly on the added oil absorbed by the outside coating. Either way, these are meant to be an elegant treat, not an everyday thing. Enjoy them guilt-free!
Share Your Experience Making These Goat Cheese Balls
Wow! That’s it! You have officially mastered the recipe for these incredible, crispy goat cheese balls. Don’t you just feel like a total party pro now? They look so fancy, and you know how easy they were to pull off—especially since you planned ahead!
Now, I really, truly want to hear all about it. Did you stick with the honey drizzle, or did you try a little apricot preserve swirl like some folks do? Are you going to try them with herbs next time, or did the simple salt and pepper base win you over? Drop a comment below and tell me how the frying went for you! Seeing your successes makes my entire week.
Speaking of favorites, these bites are definitely going into my rotation for every big spread now. If you’re looking for another easy, creamy favorite that’s perfect for setting out before the main event, you’ve got to check out my recipe for smoked cream cheese. It’s a whole different vibe, but just as impressive!
Give this recipe a bookmark or a quick five-star rating above while you’re telling me your secrets! And hey, if you have a go-to party appetizer that you swear by—the one appetizer you *always* get asked to bring—I’d love to know what it is in the comments down below! Let’s swap party secrets!
PrintCrispy Fried Goat Cheese Balls with Honey Drizzle (Make-Ahead Option)
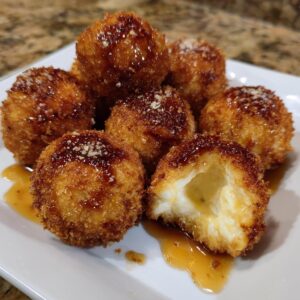
Make these crispy fried goat cheese balls for an elegant, warm appetizer. They are creamy inside, crunchy outside, and finished with a sweet honey drizzle. You can prepare the cheese mixture ahead of time.
- Prep Time: 25 min
- Cook Time: 15 min
- Total Time: 40 min
- Yield: 4 servings 1x
- Category: Appetizer
- Method: Frying
- Cuisine: American
- Diet: Vegetarian
Ingredients
- 8 oz soft goat cheese, room temperature
- 4 oz cream cheese, softened
- 1/4 cup finely chopped pecans
- 1 tablespoon fresh chives, minced
- 1/2 teaspoon garlic powder
- 1/4 teaspoon salt
- 1/4 teaspoon black pepper
- 1 cup all-purpose flour
- 2 large eggs, beaten
- 1 1/2 cups panko breadcrumbs
- Vegetable oil, for frying
- 1/4 cup honey, for drizzling
- Flaky sea salt, for finishing
Instructions
- Combine the goat cheese, cream cheese, chopped pecans, chives, garlic powder, salt, and pepper in a medium bowl. Mix until completely smooth and uniform.
- Roll the cheese mixture into small, uniform balls, about 1 inch in diameter. You should get about 18-20 balls.
- Place the cheese balls on a parchment-lined baking sheet. Chill in the refrigerator for at least 1 hour, or up to 24 hours, to firm up. This step is important for easy coating.
- Set up a standard breading station with three shallow dishes: one with flour, one with the beaten eggs, and one with the panko breadcrumbs.
- Working with a few chilled balls at a time, dredge each ball first in the flour, shaking off excess. Dip it into the egg mixture, letting excess drip off. Finally, roll it thoroughly in the panko breadcrumbs, pressing gently to make sure the crumbs adhere completely.
- If you plan to fry later, return the coated balls to the refrigerator for another 30 minutes to set the coating.
- Heat about 2 inches of vegetable oil in a heavy-bottomed pot or deep fryer to 350°F (175°C). Monitor the temperature closely.
- Carefully fry the cheese balls in batches, turning occasionally, until they are golden brown and crispy, about 2-3 minutes per batch. Do not overcrowd the pot.
- Remove the fried balls with a slotted spoon and place them on a wire rack set over paper towels to drain excess oil.
- Arrange the warm goat cheese balls on a serving platter. Drizzle generously with honey and sprinkle lightly with flaky sea salt before serving.
Notes
- For a make-ahead option, complete steps 1 through 4, then freeze the coated balls on the baking sheet until solid. Transfer frozen balls to a freezer bag. Fry directly from frozen, adding about 1 minute to the frying time.
- If you prefer not to deep fry, you can cook these in an air fryer at 380°F (195°C) for 8-10 minutes, flipping halfway, until golden. This method requires light spraying of the balls with cooking oil before air frying.
- These appetizers pair well with fresh fruit or a simple green salad, offering a nice alternative to complex meal planning.
Nutrition
- Serving Size: 4 balls
- Calories: 350
- Sugar: 12
- Sodium: 280
- Fat: 28
- Saturated Fat: 15
- Unsaturated Fat: 13
- Trans Fat: 0.1
- Carbohydrates: 15
- Fiber: 1
- Protein: 10
- Cholesterol: 55