
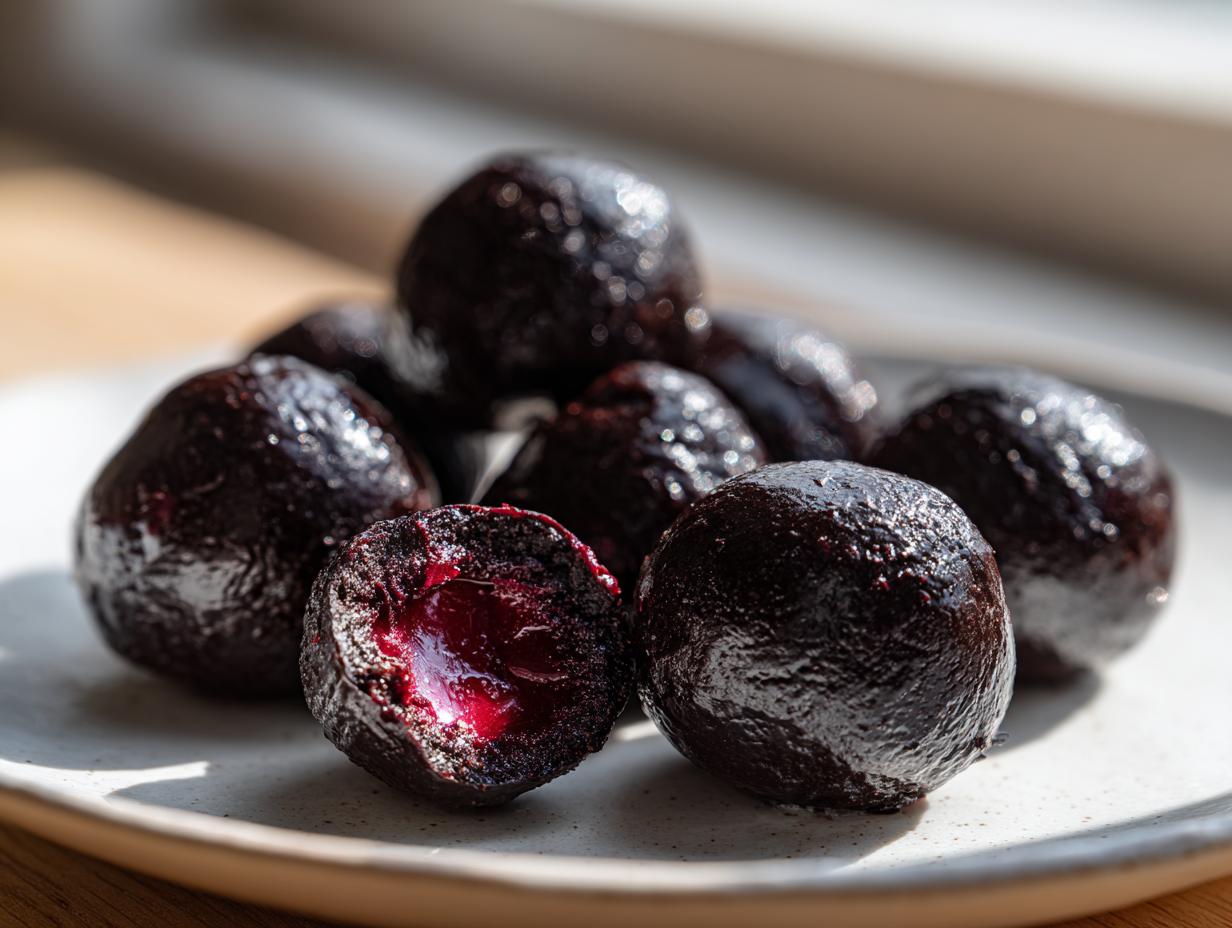

Oh, pulling out the supplies to make homemade candy always drags me right back to my grandmother’s kitchen! There’s just nothing that tastes as special as a candy you crafted yourself, especially when it comes wrapped in glossy chocolate. Forget those waxy store-bought versions; we are making the real deal today: classic **chocolate covered cherries**!
This recipe is my signature for holiday gifting because it manages to nail that rich, melt-in-your-mouth fondant center, making them taste totally gourmet. Seriously, everyone thinks I bought them from a fancy chocolatier. Don’t worry, though, I’m sharing every secret step so you can whip up this decadent treat without any fuss or fancy equipment. If you love quick candies like these, you absolutely must check out my recipe for haystack cookies later!
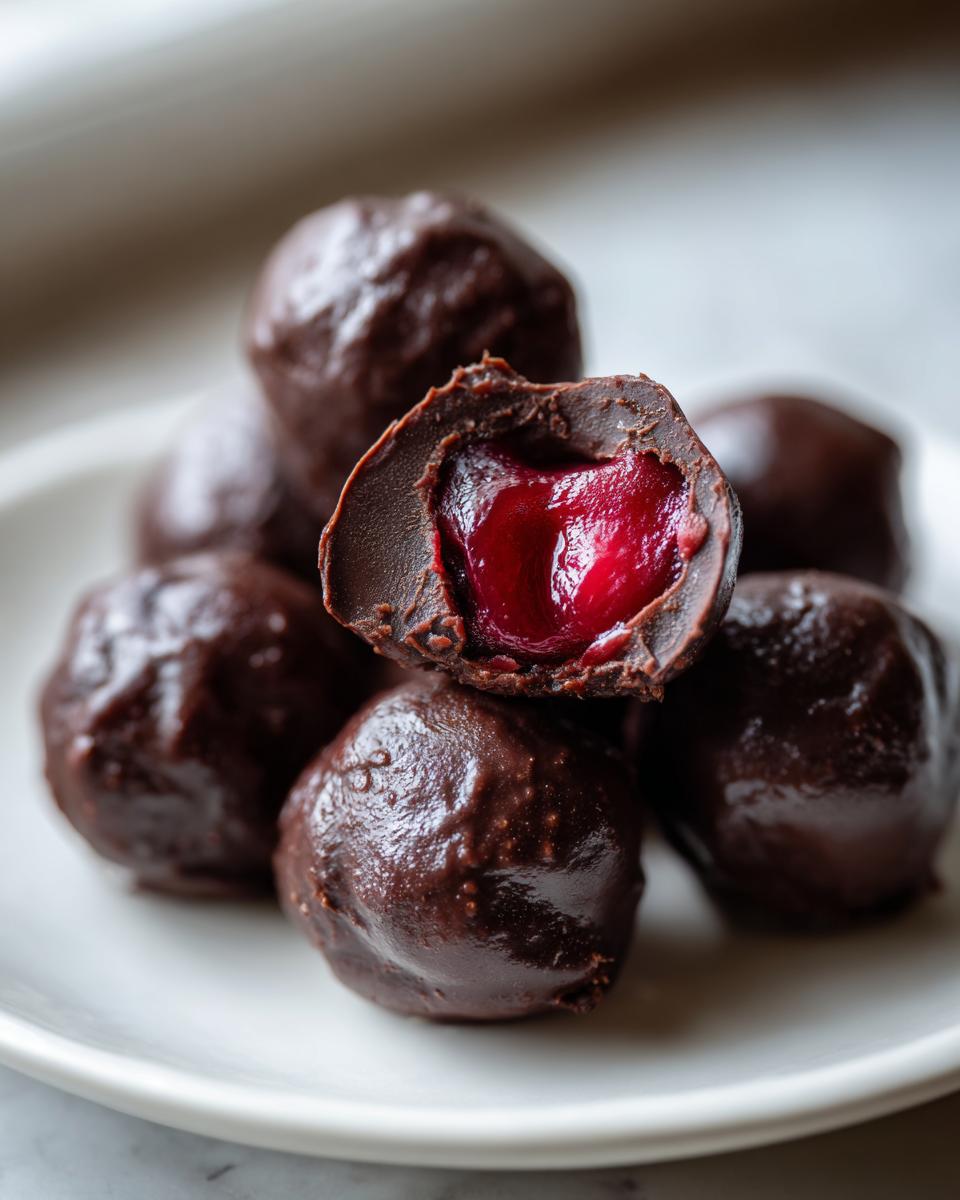
- Why This Homemade chocolate covered cherries Recipe Works
- Ingredients for the Best chocolate covered cherries
- Equipment Needed for Making chocolate covered cherries
- Step-by-Step Instructions for Homemade chocolate covered cherries
- Tips for Perfect Liquid Center chocolate covered cherries
- Variations for Your chocolate covered cherries
- Storing and Gifting Your chocolate covered cherries
- Frequently Asked Questions About chocolate covered cherries
- Nutritional Estimates for Homemade chocolate covered cherries
Why This Homemade chocolate covered cherries Recipe Works
This method is a winner because it skips complicated steps but delivers maximum flavor impact. Honestly, homemade always beats the drugstore candies you find around Christmas, hands down!
- It’s surprisingly fast, even with chilling time. You can tackle this even if you are busy planning out your weekly meals instead of signing up for a full meal planning service.
- The fondant center is creamy perfection that melts in your mouth beautifully.
- They look incredibly impressive when you tuck them into a candy tin for gifting.
If you’ve got a sweet tooth that needs satisfying fast, you’ll also want to bookmark my recipe for foolproof toffee—it’s another winner!
Ingredients for the Best chocolate covered cherries
Getting ready to make these is almost as fun as eating them! Remember, the quality shines through because we are starting with good stuff. The most crucial part I want you to focus on here is the cherries themselves. You absolutely must drain those maraschino cherries really, really well and pat them bone dry with paper towels. Chocolate and water/syrup do not mix, trust me!
You’ll need these essentials:
- One 10-ounce jar of maraschino cherries, syrup drained completely.
- One cup of powdered sugar—don’t try to sift it perfectly; just measure it out.
- One tablespoon of light corn syrup; this helps keep the fondant soft.
- One teaspoon of vanilla extract, because everything’s better with vanilla.
- About a quarter cup of milk or heavy cream—just enough to get that thick paste going.
- Twelve ounces of semi-sweet chocolate, chopped up fine. I love using dark chocolate, but use what makes your heart sing!
- And just a tiny boost: one tablespoon of shortening or coconut oil—this is optional, but it makes the chocolate coating unbelievably smooth for dipping.
If you’re interested in more simple recipes that build confidence in the kitchen, you need to check out my easy milk bread recipe for soft, fluffy loaves!
Equipment Needed for Making chocolate covered cherries
We are keeping this super straightforward, so you don’t need a professional setup! Grab a couple of medium mixing bowls—one for the fondant and one for melting the chocolate. You’ll definitely want a baking sheet lined with parchment paper; trust me, that parchment is the hero here for easy cleanup!
Make sure you have a sturdy fork or actual candy dipping tools ready for coating. Finally, you’ll need a microwave-safe bowl for melting that glorious chocolate smooth. That’s honestly all you need to create these gourmet homemade candies!
Step-by-Step Instructions for Homemade chocolate covered cherries
Okay, now we get to the fun part! Don’t let the steps intimidate you; the secret here is preparation. If you take care of the cherries first, the rest of this process flies by really fast. If you want a super glossy finish on your chocolate, make sure you have that optional shortening or oil ready for the melting stage.
Preparing the Cherries and Fondant Center
First, we drain those cherries—and I mean drain them! Lay them out on a serious stack of paper towels and just blot. They have to be as dry as possible, or your fondant will get soupy later. While they dry, whip up your fondant mixture with the powdered sugar, corn syrup, vanilla, and milk/cream until you have a nice, thick paste. It should be stiff enough to handle!
Now, here’s the tactile part: take a small dollop of that fondant mixture and completely wrap it around a single dried cherry. Roll the whole thing gently between your palms until it’s a little ball shape. If your kitchen is warm and the fondant gets frustratingly sticky, tuck that whole tray of balls into the freezer for about half an hour until they are firm.
Melting Chocolate and Dipping the chocolate covered cherries
Pop your chopped chocolate and your optional shortening (or coconut oil) into a bowl. Melt it slowly in the microwave—do 30 seconds, stir, repeat. You’re looking for perfectly smooth; no lumps allowed! If you aren’t patient here, you’ll end up with clumpy treats. While that chocolate is warm and glossy, pull those hardened cherry balls out of the freezer. They *must* be frozen for best results!
Working fast, spear a frozen cherry ball with a fork, plunge it into the warm chocolate, lift it out, and let the excess drip off. Place it gently back onto your parchment paper. If you plan on drizzling extra chocolate over the tops for that pretty café look, do it immediately before the base layer sets! We’ll let them set up on the counter, or you speed things up in the fridge. If you want to learn more chocolate magic after this, check out my guide on easy chocolate sauce!
Tips for Perfect Liquid Center chocolate covered cherries
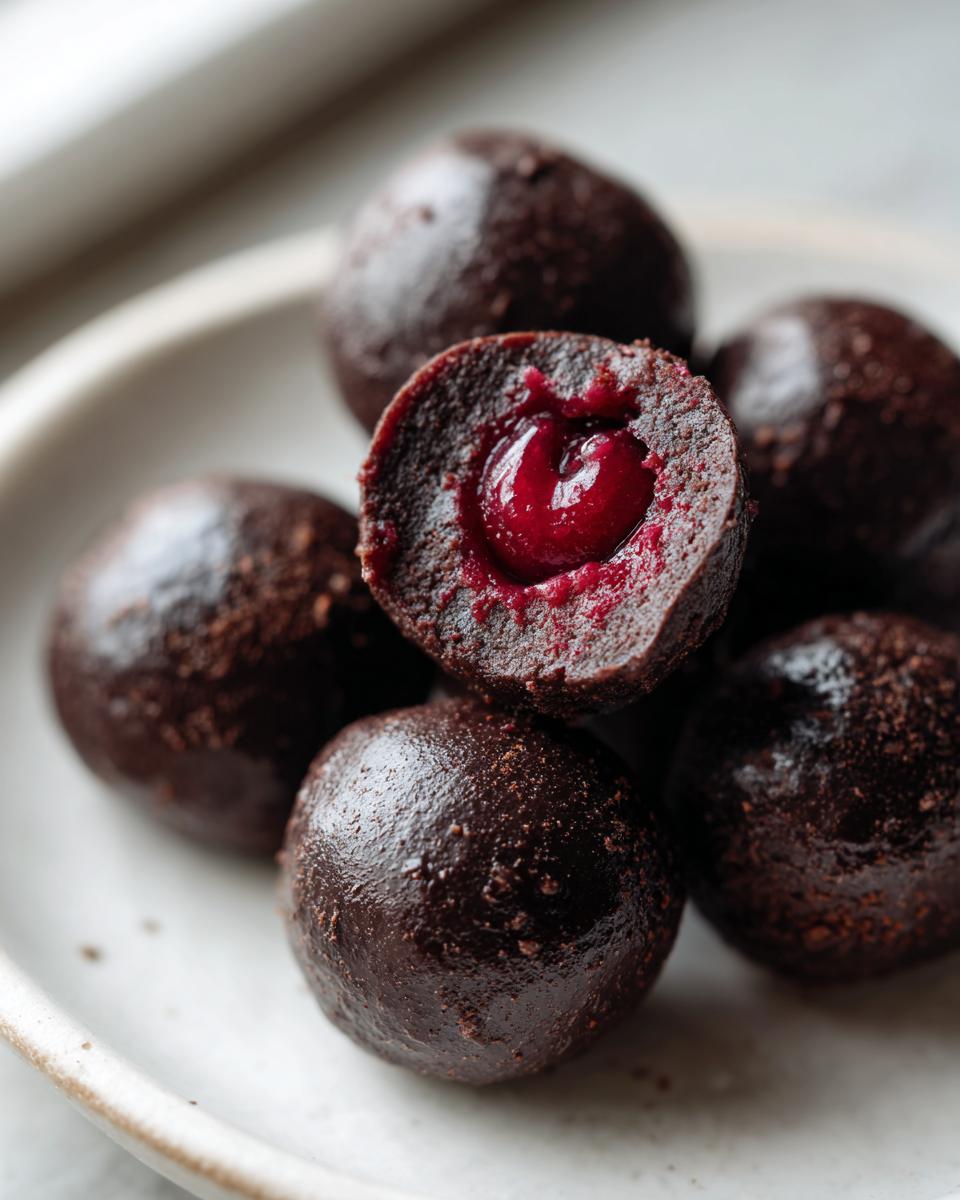
Now, if you want that true, glorious, store-bought cordial experience—the kind where the cherry juice just bursts into your mouth the second you bite through the shell—you need to skip the fondant step entirely! That’s the secret to the ultimate liquid center **chocolate covered cherries**.
For this version, your focus shifts intensely to: drying and freezing. You still need to pat those cherries until they feel individually wrapped in paper towels. Seriously, dry them until you feel like you’re going to tear them apart, then freeze them for at least an hour. They need to be rocks before they hit hot chocolate!
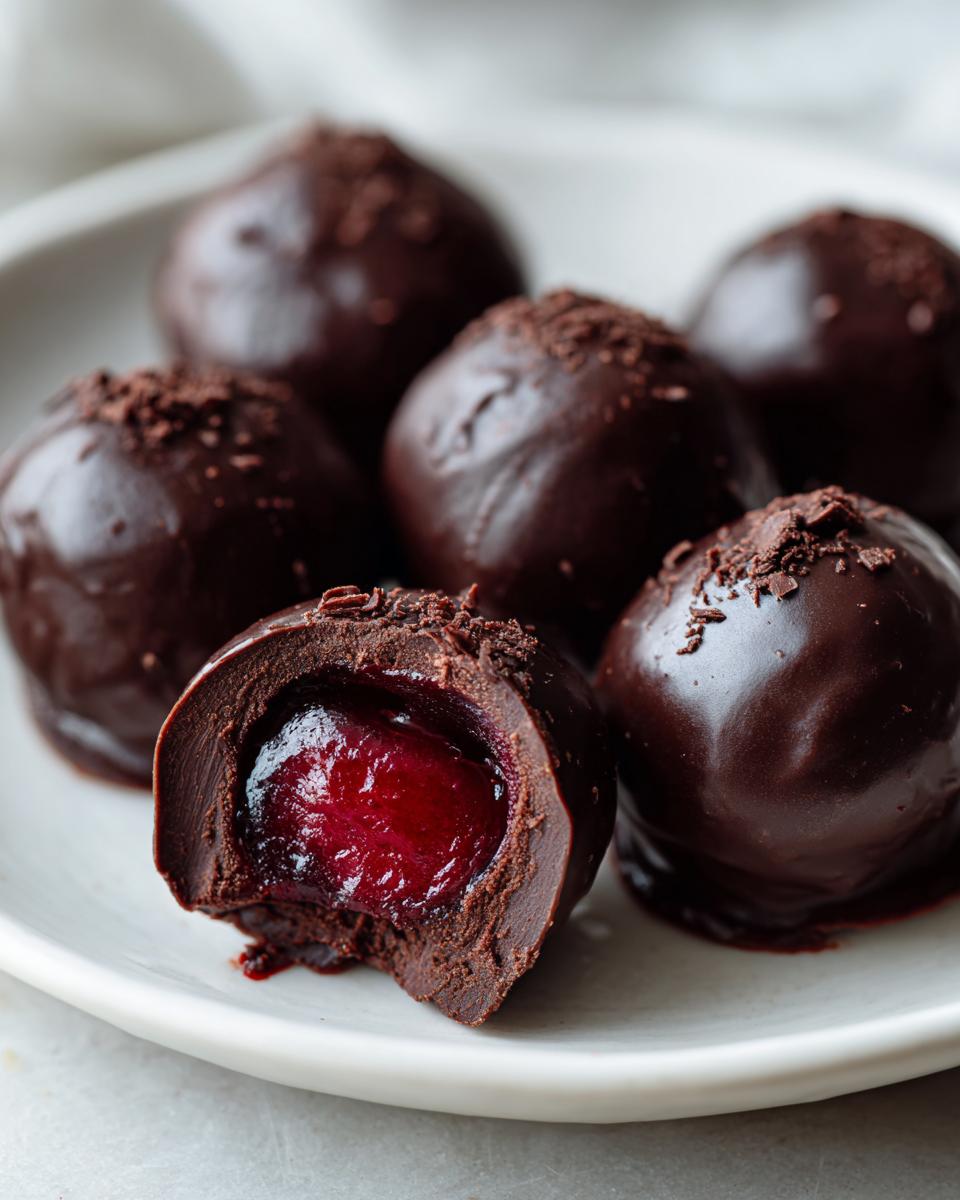
Another thing that makes a huge difference is the chocolate itself. If you want a really snappy, shiny coating that doesn’t get that dull look, using a good quality couverture chocolate makes the dipping so much easier and much glossier. If you can’t temper, just use high-quality chips mixed with maybe a tiny bit of extra coconut oil like we talked about. If you’re looking for other wonderful chocolate ideas after you finish these beauties, check out my white chocolate macadamia nut cookies!
These true cordials are decadent and impressive. For some great inspiration on making truly decadent candies, you should take a peek at the tips over at Decadent Chocolate-Covered Cherry Cordials Recipe!
Variations for Your chocolate covered cherries
The base recipe is fantastic, but I love switching things up, especially when I’m making a big batch for different people! If you are using the fondant version, try mixing in just a tiny drop of almond extract instead of vanilla—it elevates the cherry flavor so much. Or maybe a tiny pinch of crystalized ginger mixed into the fondant?
For the coating, mixing dark chocolate with a little bit of milk chocolate gives you that perfect balance between intense cocoa and sweetness. And once they’re dipped? Try sprinkling just a few flakes of flaky sea salt right on top while the chocolate is still wet. Wow! It cuts the richness perfectly. When you’re done making these, you should try whipping up some of my amazing peppermint brownies for a different flavor profile!
Storing and Gifting Your chocolate covered cherries
How you store these depends entirely on which version you made! If you went with the fondant-filled ones, they are actually quite stable. I usually keep mine in a single layer in an airtight container on the counter for up to a week. They do great that way, and the chocolate stays nice and firm. If you look at these as part of your larger holiday baking plans, they are perfect to make ahead, unlike needing one of those strict meal planning sign-ups where everything has to be eaten immediately.
For the true liquid center cordials, or if your kitchen is super warm, pop them in the fridge. When gifting them, presentation matters! Use small candy cups inside a tin, or tie a ribbon around cellophane bags filled with about five or six each. They look so professional and show off the beautiful chocolate coating. They are the star of any holiday treat platter, especially when sitting next to my Christmas tree cinnamon rolls!
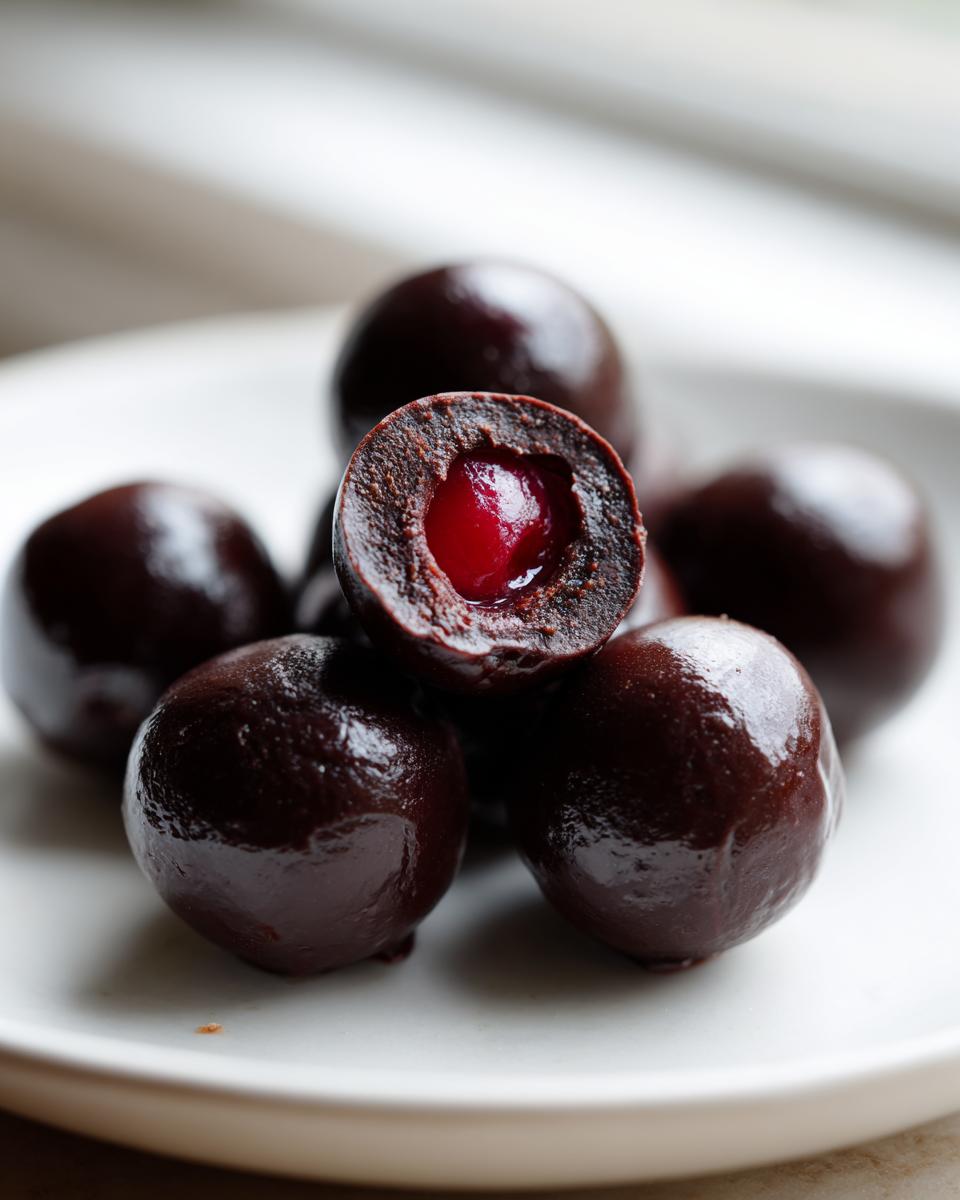
If you want other fantastic ideas for impressive holiday candy gifts, you can see a tried-and-true recipe over at Chocolate Covered Cherries.
Frequently Asked Questions About chocolate covered cherries
I always get so many questions when I share this recipe because everyone wants yours to turn out absolutely perfect! Here are the few things folks ask me most often when they are making these decadent homemade candies.
Can I use fresh, un-maraschino cherries for this recipe?
You can, but it changes the candy drastically! If you use fresh cherries, you won’t get that sweet, familiar *cordial* taste. Fresh cherries are lower in sugar, so they will release a lot more liquid when they sit, making the chocolate coating split terribly. If you try it, you absolutely must use my liquid center tip: dry them obsessively and freeze them solid for hours! I wouldn’t recommend them for this specific recipe unless you are aiming for a very different type of chocolate and cherry dessert.
Why does my chocolate coating look dull or streaky?
That dull, whitish film you see is called ‘bloom,’ and it happens when the chocolate melts too fast or gets too hot, or if it gets moisture in it! To avoid it when dipping your holiday chocolate treats, melt the chocolate gently, like we talked about, in short bursts. If you’re using regular chips and not true couverture, adding that teaspoon of shortening or coconut oil helps stabilize the fats and keeps the shine longer!
Do I have to use the fondant middle layer?
Nope, you don’t have to, but it depends on what you want! The fondant is what gives you that classic, creamy, soft layer we associate with the boxed candy. If you skip the fondant and just dip the dried cherry, you get the true liquid center experience—which is also delicious! It’s truly personal preference for these DIY chocolate dipped cherries.
How long do these last?
If you made the fondant version, they are good on the counter for almost a week. If you made the liquid center kind, or if you just want them firmer, I always keep mine in the fridge in an airtight container. They are fantastic for making ahead of time for gifts!
Nutritional Estimates for Homemade chocolate covered cherries
Now, I always want to give you a ballpark idea of what’s in these amazing candies, but listen up: these numbers are just estimates! Since we are using real cream, real sugar, and maybe you decide to use dark chocolate instead of semi-sweet (ooh la la!), your final count might shift a little. This info is based on one single cherry, so don’t eat the whole batch at once!
- Serving Size: 1 cherry
- Calories: Around 120
- Fat: About 6g
- Sugar: Roughly 15g
- Protein: About 1g
They are homemade, after all, so they are richer than anything you’d find from a meal planning service, but wow, are they worth it!
PrintEasy Homemade Chocolate Covered Cherries (Cherry Cordials)
Make classic chocolate covered cherries at home. This recipe uses maraschino cherries and a simple chocolate coating for a decadent, easy candy treat perfect for holidays or gifting.
- Prep Time: 30 min
- Cook Time: 10 min
- Total Time: 40 min
- Yield: About 20 cherries 1x
- Category: Dessert
- Method: Dipping/No Bake
- Cuisine: American
- Diet: Vegetarian
Ingredients
- 1 jar (10 ounces) maraschino cherries in syrup
- 1 cup powdered sugar
- 1 tablespoon light corn syrup
- 1 teaspoon vanilla extract
- 1/4 cup milk or cream
- 12 ounces semi-sweet chocolate, chopped (or milk/dark chocolate)
- 1 tablespoon shortening or coconut oil (optional, for smoother dipping)
Instructions
- Drain the maraschino cherries well. Pat them completely dry using paper towels. This step is important for good chocolate coating.
- In a medium bowl, combine the powdered sugar, corn syrup, vanilla extract, and milk or cream. Mix until you form a thick, smooth paste or fondant.
- Roll small amounts of the fondant mixture around each dried cherry to create a ball around the cherry. If the mixture is too sticky, chill it for 10 minutes.
- Place the fondant-covered cherries on a baking sheet lined with parchment paper. Freeze for at least 30 minutes until firm.
- Melt the chopped chocolate with the shortening or coconut oil (if using) in a microwave-safe bowl in 30-second intervals, stirring until smooth.
- Remove the frozen cherries from the freezer. Working quickly, dip each cherry into the melted chocolate using a fork or dipping tool, ensuring it is fully coated.
- Return the coated cherries to the parchment-lined baking sheet.
- Allow the chocolate to set completely at room temperature, or chill briefly to speed up the process.
Notes
- For a liquid center, skip the fondant step and simply dry the cherries thoroughly before dipping them in chocolate. Freeze them for 1 hour before dipping.
- If you are planning your weekly meals, these candies are a great addition to your dessert rotation, though they are not part of a standard meal planning service.
- Use high-quality chocolate for the best flavor coating.
Nutrition
- Serving Size: 1 cherry
- Calories: 120
- Sugar: 15g
- Sodium: 10mg
- Fat: 6g
- Saturated Fat: 4g
- Unsaturated Fat: 2g
- Trans Fat: 0g
- Carbohydrates: 17g
- Fiber: 1g
- Protein: 1g
- Cholesterol: 5mg