
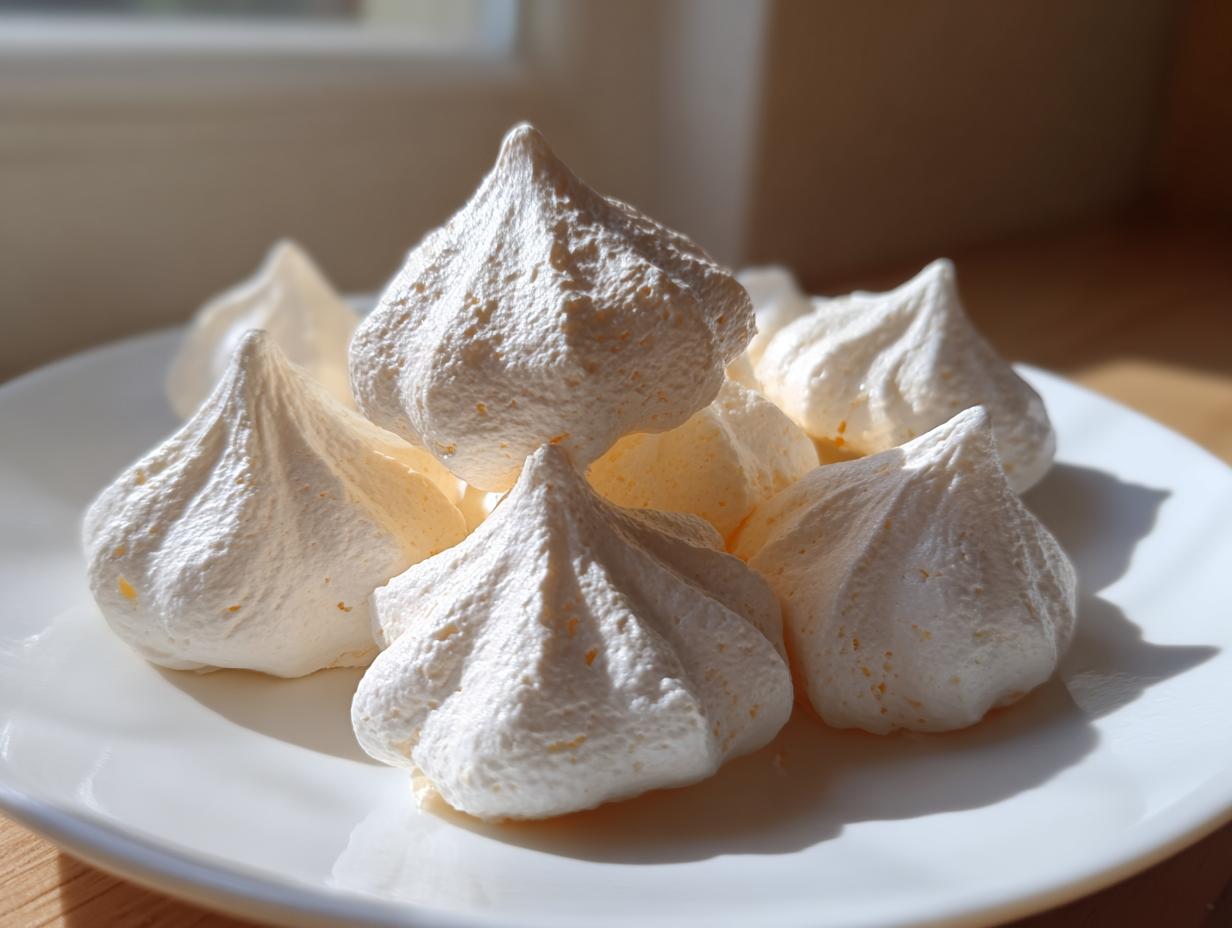

Oh, the quest for that perfect, delicate texture! If you’ve ever been defeated by weeping, sticky meringue, trust me, I’ve been there too. But after years of playing around in real kitchens—honing my skills learned from my grandmother and, well, a lot of trial and error—I finally cracked the code. I’m absolutely thrilled to share what I call the Ultimate Easy Meringue Cookies: Light, Crisp, and Perfectly Sweet. This isn’t just another recipe; it’s the straightforward method that finally delivered the cloud-like, shatteringly crisp meringue cookies I always dreamed of. You don’t need fancy techniques, just a little patience and the right approach! For more of my tested-and-true kitchen wisdom, you can always check out my main blog page.
- Why This Easy Meringue Cookies Recipe Works (EEAT Focus)
- Ingredients for Perfect Meringue Cookies
- How to Make Meringue Cookies: A French Meringue Cookies Tutorial
- Baking Tips for Meringue Success (Avoiding Common Issues)
- Meringue Cookie Variations and Flavor Twists
- Storage and Keeping Your Meringue Cookies Fresh
- Frequently Asked Questions About Meringue Cookies
- Serving Suggestions for Elegant Meringue Desserts
- Understanding the Nutrition in Your Simple Meringue Recipe
- Share Your Sweet Meringue Kisses Creations
Why This Easy Meringue Cookies Recipe Works (EEAT Focus)
I know you’ve seen dozens of recipes out there, but stick with me here because this easy meringue cookies recipe is built on fundamentals that actually deliver results. A big reason these come out perfectly crisp and airy every single time is that we’re using the French meringue base. It’s the simplest method, relying on raw egg whites whipped with sugar—no cooking the sugar required first!
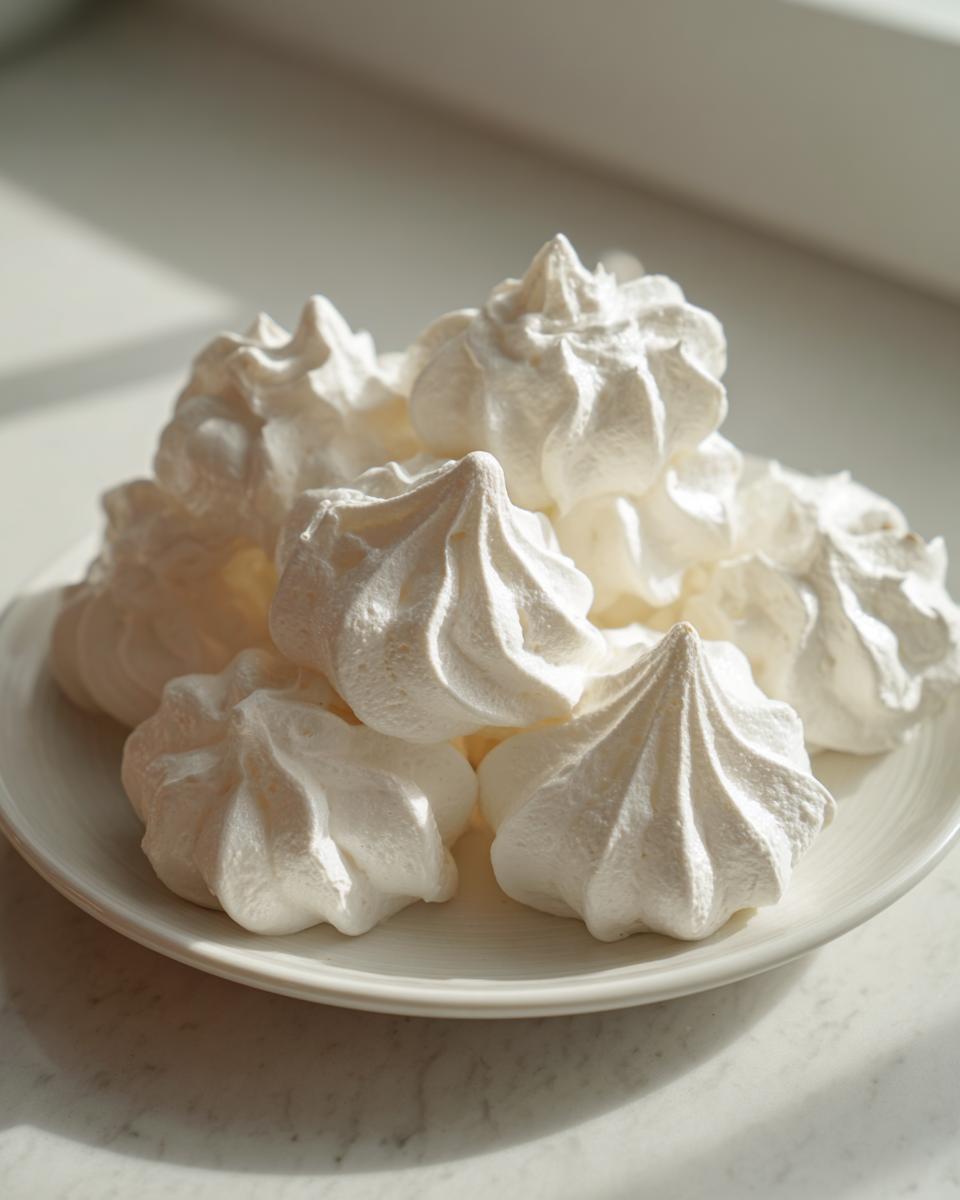
But the technique doesn’t stop once the meringue is piped. The real magic, the secret that stops them from weeping or cracking the second they hit the counter, is the baking itself. We bake them low and slow, which gently dries them out rather than aggressively cooking them through. If you’ve ever wondered about the science behind this, you can see some great foundational explanations about French meringue.
Then comes the cooling—oh, the cooling! Remember how I learned patience from my grandmother? This step demands it. You turn the oven off and just leave them in there to slowly acclimate to room temperature. This gradual decrease in heat keeps that delicate structure intact. It’s a trick I use for my bakery-style blueberry muffins too; slow temperature changes are key for fluffy baked goods! See my muffin tricks here.
Ingredients for Perfect Meringue Cookies
You only need a few simple things for these incredibly light and airy cookies, but the details matter, trust me! When I learned to bake, I realized that even the smallest deviation from the ingredient list could change the final outcome from heaven to heartbreak. Make sure you have everything ready before you even think about whipping those whites.
Here is exactly what you need for about three dozen of these melt in your mouth cookies, which happen to be naturally gluten free, by the way:
- 4 large egg whites, and this is important—they absolutely must be at room temperature. Cold eggs don’t whip up to that glorious height!
- 1 cup granulated sugar. We use only this for the classic, bright sweetness.
- 1/2 teaspoon cream of tartar. This is our stabilizer—it keeps those egg whites from collapsing on you.
- 1 teaspoon vanilla extract. For just a hint of warmth and fragrance.
- Pinch of salt. Just a tiny bit to balance out all that sweetness. Don’t skip it!
How to Make Meringue Cookies: A French Meringue Cookies Tutorial
Okay, now that we have our ingredients ready, it’s time to dive into the real action. Watching the magic happen as egg whites transform into stiff, beautiful peaks is one of my favorite parts of any baking adventure. This whole process is really a condensed french meringue cookies tutorial, and the absolute most important thing you need to remember before you start is that your equipment must be spotless. I mean spotless! Any hint of fat or grease—from leftover butter or even a fingerprint—and your egg whites will refuse to whip up properly. I usually give my bowl and whisk a quick wipe down with a little vinegar just to be extra sure.
We’re going to follow the process step-by-step to ensure you master these light and airy cookies on your first try. This method guarantees you get those delicate, sweet little cloud shapes we’re aiming for.
Whipping the Egg Whites to Stiff Peaks
First things first, get your mixing bowl (remember, totally clean!) and toss in those room-temperature egg whites and the cream of tartar. Start mixing on a medium speed. We don’t want to rush this initial stage; let those whites get a little foamy and form soft peaks—they should look sort of like the foam on a cappuccino. Once you hit that soft peak stage, it’s time for the sugar.
This next part demands patience! Keep the mixer running, but add the cup of sugar *slowly*, about one tablespoon at a time. Seriously, count to 30 between each spoonful! Once all the sugar is incorporated, crank the speed up to high. Now, you beat it until it’s absolutely stiff, gorgeously glossy, and holds those lovely, firm peaks straight up when you lift the whisk. How do you test it? Take a small dab between your thumb and forefinger and rub it. If you feel any grittiness at all, keep whipping! That means the sugar hasn’t fully dissolved yet.
Piping and Baking Your Meringue Cookies
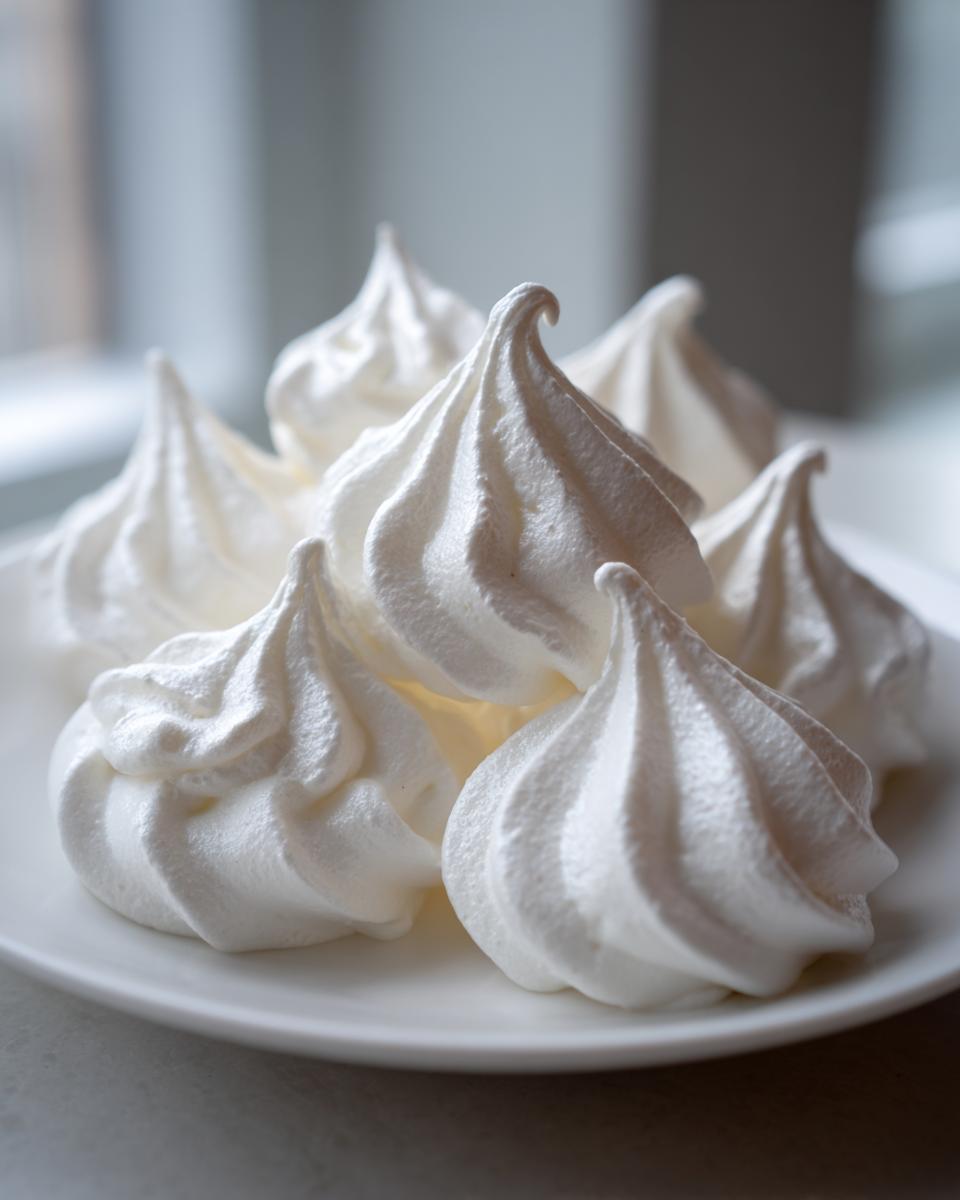
Once that meringue is perfect, fold in your vanilla and salt gently—we don’t want to knock all that beautiful air out! Now, get your piping bag ready. I love using a star tip, like a Wilton 1M, because it gives you those gorgeous ridges, but even just spooning little dollops for rustic meringue cookies works wonderfully. Pipe them evenly spaced on your parchment-lined baking sheets.
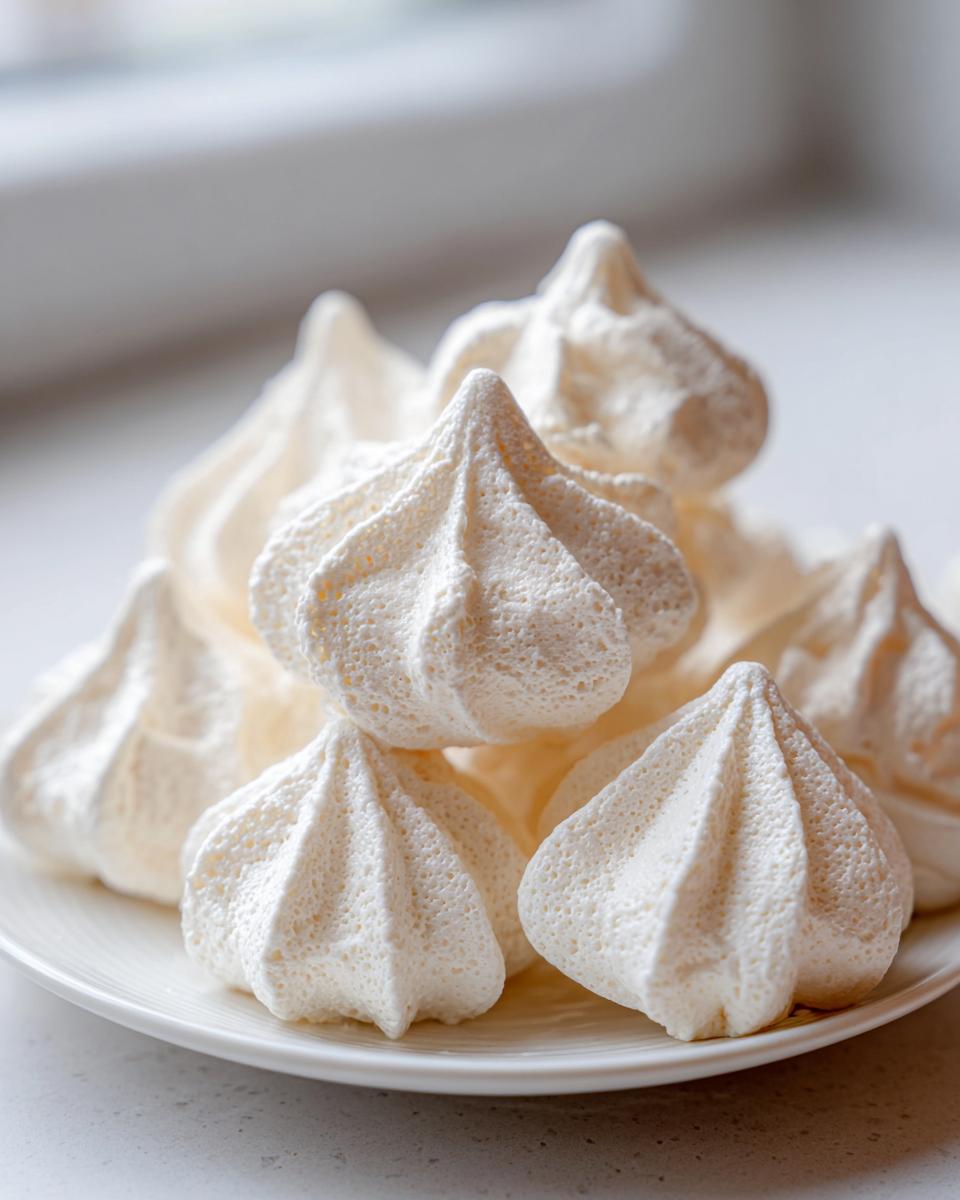
Preheat your oven to the lowest setting—we’re talking 200 degrees Fahrenheit. We’re not baking these; we’re drying them out! Drop them in and let them go low and slow for about an hour to an hour and a half. If you’re feeling festive, this is the perfect time to pipe in fun ways, like tiny little Christmas meringue cookies shapes or swirls. They should look dry and lift easily when done.
The Critical Cooling Step for Crispy Meringue Dessert
Don’t you dare open that oven door when the baking time is up! If you rush the temperature change, the sudden shift will cause steam inside the cookie to contract rapidly, and bam—cracks everywhere. To achieve that ultimate crispy meringue dessert texture, turn the oven entirely off. Prop the door open just a tiny crack using a wooden spoon—just enough for air circulation. Leave your delicate meringue cookies inside that cooling oven chamber for at least an hour, or until the oven unit is completely cool to the touch. This slow cool-down is what locks in the airy structure and keeps your meringues shatteringly crisp.
Baking Tips for Meringue Success (Avoiding Common Issues)
Listen, I want you to have success right out of the gate because there is nothing sadder than investing time into such a delicate treat only to have it fall apart on you! Knowing these baking tips for meringue will save you so much heartache. The biggest enemy of a perfect meringue is moisture, whether it’s hiding in your ingredients or hanging heavy in the air.
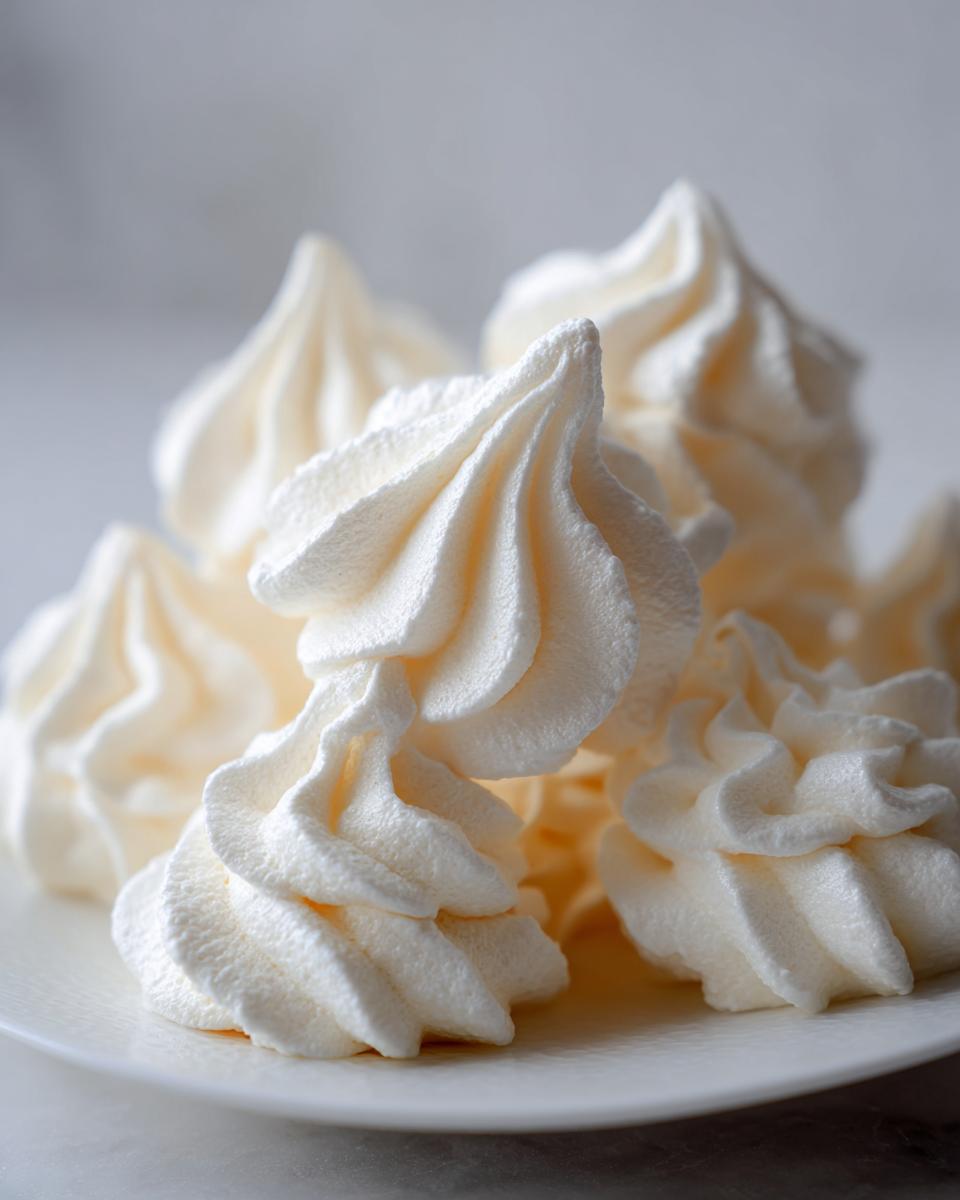
Rule number one, which I’ve already hammered home, is using room temperature egg whites. They whip higher and hold onto that air better, which is crucial for structure. But if you’re finding your meringue gets weep-y or sticky after it cools, check the weather! If it’s a rainy or super humid day, put the mixer away. Meringue just absorbs that moisture, no matter what fancy stabilizing agent you use. It’s far better to wait for a dry day.
Finally, remember the low-and-slow bake. If you bake these lovely little treats too hot, the outside cooks before the inside dries out, leading to that dreaded cracking during the cooling process. Trust me, dedicating the patience for that slow cool-down, just like I do when making my soft butter pecan cookies, is what guarantees that perfect, melt-in-your-mouth crunch.
Meringue Cookie Variations and Flavor Twists
One of the things I adore most about these meringue cookies is how blank the canvas is once you master the basic whip. Since the base is so simple—just egg whites and sugar—we can introduce some fun twists without messing up that incredible light and airy cookies texture we worked so hard to achieve. This is where you can really get creative, especially if you’re planning ahead for festive occasions!
If you want to make specific holiday meringue treats, color is your best friend. Forget liquid food coloring; it will deflate your stiff meringue instantly because it introduces too much water. Instead, grab some gel food coloring. You only need the tiniest dab on the tip of a toothpick. Once your vanilla is mixed in, gently fold in that color until you get a soft swirl or a uniform shade for things like pink Easter eggs or green Christmas trees.
Flavor extensions are just as fun. While vanilla is classic, try swapping it out for almond extract for a slightly richer, almost floral taste, or even a little peppermint extract if you’re making wintery shapes. If you want to skip the extract entirely, a teaspoon of finely ground freeze-dried fruit powder (like raspberry) mixed in with the sugar works wonders!
And for the grand finale, a little coating makes these look incredibly professional and elevates them to true elegant meringue desserts. Once your cookies are completely cooled and dry (and I mean completely!), you can dip just the very bottom of your meringue kiss into slightly melted chocolate. You could even drizzle it with caramel if you’re feeling extra decadent—my chocolate caramel cake proves I love that combination! Just set the dipped cookies chocolate-side down on a clean sheet of parchment paper until the coating sets up firm. Perfection!
Storage and Keeping Your Meringue Cookies Fresh
Once these beauties are completely dry—that means they’ve finished their long, slow cooling period in the oven—you need to handle storage like a secret agent protecting vital documents. Moisture is literally the sworn enemy of these little wonders. If you store them anywhere humid or where they can absorb kitchen smells, you’ll wake up to sticky, chewy bottoms instead of your intended melt in your mouth cookies.
So, no refrigeration, ever! The fridge is basically a humidity chamber, and we want zero part of that action happening with these delicate treats. You need an airtight container, plain and simple, and they must be stored at room temperature.
Make absolutely sure they are 100% cool before you seal them up. If there’s any lingering warmth, that will cause condensation inside the container, turning your lovely, crisp exterior soft overnight. I usually let mine sit out on the counter for a good hour after they come out of the oven environment, just to make sure they’ve settled.
You can line the crisp meringue dessert with a paper towel on the bottom of the container. This isn’t strictly necessary, but it acts as a little backup moisture sponge just in case you didn’t let them cool quite long enough. They hold up surprisingly well; honestly, they are great for about a week sealed up tight.
If you are making them way ahead of time for a big party or for gifting—and I often do, because they store so well—you can even freeze them, but this requires an extra step. I suggest you make my chocolate covered cherry recipes around the holidays instead, as they freeze better if you are concerned about moisture control!
Frequently Asked Questions About Meringue Cookies
I always get so many questions once people try their hand at these tricky little sweets. It’s natural! Meringue is temperamental, but once you understand the small rules, you’ll be whipping peaks like a pro. Here are some of the questions I hear most often about getting these beautiful meringue cookies just right.
Is this recipe safe for someone who needs a gluten free meringue?
That’s an easy yes! One of the best things about starting with the French meringue method—which is what we used here—is that it’s entirely flourless. We are only dealing with egg whites, sugar, vanilla, and a stabilizer like cream of tartar. So, yes, these are naturally gluten free, making them a wonderful choice for your holiday trays or for guests with sensitivities. You can confidently serve these light and airy cookies to everyone!
What’s the difference between the French, Swiss, and Italian meringue methods?
This is a great technical question! I focused on the French method because it is the simplest for beginners. In the French method (what we did), you beat cold egg whites with sugar at room temperature until stiff peaks form. Swiss meringue is next in difficulty; you heat the egg whites and sugar over a double boiler while whisking until the sugar dissolves before whipping them to stiff peaks. Italian meringue is the trickiest; you slowly stream hot sugar syrup into already whipped egg whites while they are mixing. It yields the absolute most stable meringue, but honestly, for these simple kisses, the French is all you need!
I want to pipe interesting shapes. How do I make sure I can pipe meringue shapes well?
If you want to move beyond simple kisses and try out some fancy swirls—or perhaps even little holiday shapes like trees—the consistency we talked about in the steps is everything! You are looking for those stiff, glossy peaks that stand straight up without bending over at the tip. If your meringue is too soft (the “medium peak” stage), it will flatten right out as soon as you pipe it, and you’ll just have flat discs instead of lovely, tall shapes. Make sure you’ve beaten it until there is absolutely no sugar grit left between your fingers!
Why do my meringue cookies turn sticky after a day?
Ah, the dreaded stickiness! As I mentioned in the tips section, stickiness means your meringue has absorbed moisture from the air. This happens for two reasons: either you didn’t bake them long enough (they weren’t dried out sufficiently) or you stored them improperly. You must keep them in a truly *airtight* container at room temperature. If you live somewhere humid, they’ll absorb moisture much faster. If they start getting tacky, you can actually put them back into a very low oven (like 180°F) for about 30 minutes to dry them out again!
Serving Suggestions for Elegant Meringue Desserts
These little sweet puffs look amazing just sitting pretty on a platter, but once you see how versatile they are, you’ll start thinking of them as the perfect finishing touch for so many things. Who doesn’t want to elevate their dessert game? I found that when I started using these meringue cookies not just as cookies but as toppings, they truly transformed into what I call elegant meringue desserts.
They are naturally beautiful, being light, crisp, and perfectly white, which means they contrast wonderfully with rich, darker desserts. For example, imagine taking one of these simple meringue kisses and setting it right on top of a slice of my homemade strawberry shortcake cheesecake. It adds height and a wonderful textural contrast between creamy filling and airy crunch. So good!
Another favorite way I present them, especially when I’m having people over in the afternoon, is right next to a strong cup of dark roast coffee or espresso. The deep, slightly bitter flavor of the coffee cuts through the intense sweetness of the meringue perfectly. It’s a classic pairing for a reason!
Think about using them as garnishes too. If you make a lovely chocolate mousse or even a dark chocolate pudding, sprinkling broken pieces of meringue over the top gives you a gorgeous texture reminiscent of chopped nuts but much lighter. They’re also fantastic tucked into the top of trifles or layered desserts just before serving so that the crispness lasts until they hit the table. Honestly, once you start thinking of them as more than just a cookie, your whole dessert presentation just gets easier and prettier!
Understanding the Nutrition in Your Simple Meringue Recipe
Since we are cutting back to such simple ingredients—mostly just egg whites and sugar—I always find people are pleasantly surprised when they look at the nutrition facts for these melt in your mouth cookies. I always tell folks who are watching their intake closer that baking is a science, and these are wonderfully light treats!
Now, I want to stress something important right up front: these numbers are just my estimate based on the precise ingredients I used in my test kitchen, so they might vary slightly depending on the exact size of your eggs or the specific brand of sugar. But for general planning, it gives you a great baseline for these beautiful, simple cookies.
Here is the breakdown, per cookie (assuming this recipe yields the full 3 dozen):
- Serving Size: 1 cookie
- Calories: About 45
- Sugar: Around 11g (Remember, this is almost entirely from the granulated sugar we added!)
- Protein: 1g
- Fat: 0g (Yes, zero fat! That’s the magic of skipping the butter here!)
- Saturated Fat: 0g
- Cholesterol: 0mg
- Sodium: Just 5mg
- Carbohydrates: 11g
See? They’re practically angel food! They are inherently gluten free meringue treats, which you already know, but seeing the zero fat and zero cholesterol facts just confirms they are a light treat that feels indulgent without being heavy. If you’re ever looking for hearty, filling meals that still let you play with fresh vegetables, you should take a look at my white bean mushroom stew recipe to balance things out!
Share Your Sweet Meringue Kisses Creations
Now that you have whipped up your own batch of beautiful, melt-in-your-mouth treats, I really, truly want to see what you made! Baking is something we should always share, whether it’s a big family potluck or just showing off on social media. These little puffs are so photogenic, and I can’t wait to see your results.
Did you stick to the simple vanilla flavor, or did you decide to try that fun chocolate dipping trick I mentioned? Maybe you even piped some adorable christmas meringue cookies shapes! Whatever you whipped up, please take a photo and tag me! I love seeing how you make these recipes your own in your kitchens.
If you loved how light and airy these turned out, please come back and drop a rating for the recipe below. Knowing these meringue cookies worked perfectly for someone else’s kitchen makes all my hours of testing worth it. It helps other bakers feel confident trying this classic recipe too!
And hey, if you’re looking for another quick, fun recipe for your gatherings—especially one that’s almost as ridiculously easy as this meringue—you have to check out my best 3-ingredient frozen hot chocolate recipe. It’s another winner for easy, impressive entertaining!
Don’t be shy! Share your beautiful sweet meringue kisses in the comments below. I’m always around answering questions, but mostly, I’m just excited to see what you create from this simple formula!
PrintUltimate Easy Meringue Cookies: Light, Crisp, and Perfectly Sweet
Make light, crisp, and perfectly sweet meringue cookies using this simple French meringue recipe. These melt-in-your-mouth treats are naturally gluten free and perfect for holiday baking or elegant desserts.
- Prep Time: 15 min
- Cook Time: 90 min
- Total Time: 105 min
- Yield: About 3 dozen 1x
- Category: Dessert
- Method: Baking
- Cuisine: American
- Diet: Gluten Free
Ingredients
- 4 large egg whites, room temperature
- 1 cup granulated sugar
- 1/2 teaspoon cream of tartar
- 1 teaspoon vanilla extract
- Pinch of salt
Instructions
- Preheat your oven to 200 degrees Fahrenheit. Line two large baking sheets with parchment paper.
- Make sure your mixing bowl and whisk attachment are completely clean and dry. Add the egg whites and cream of tartar to the bowl.
- Beat the egg whites on medium speed until soft peaks form. This usually takes about 3 to 5 minutes.
- Slowly add the granulated sugar, one tablespoon at a time, while continuing to beat the mixture on medium-high speed. Wait about 30 seconds between each addition.
- Once all the sugar is added, increase the speed to high and beat until the meringue is stiff, glossy, and holds firm peaks. When you rub a bit between your fingers, you should not feel any sugar granules.
- Beat in the vanilla extract and salt until just combined.
- Transfer the meringue to a large piping bag fitted with a star tip (like a Wilton 1M) or use a spoon for rustic dollops.
- Pipe or drop small kisses onto the prepared baking sheets, leaving about one inch between each cookie. For Christmas meringue cookies, you can pipe small tree shapes.
- Bake for 1 hour to 1 hour 30 minutes. The exact time depends on the size of your cookies and your oven. They should look dry and lift easily from the parchment paper.
- Turn off the oven, but leave the meringue cookies inside with the oven door slightly ajar (prop it open with a wooden spoon) for at least 1 hour, or until the oven is completely cool. This slow cooling prevents cracking and ensures a crisp texture.
- Store the crispy meringue dessert in an airtight container at room temperature.
Notes
- Room temperature egg whites whip up higher and create more stable meringue.
- For best results, avoid high humidity days, as meringue absorbs moisture easily.
- If you want colorful holiday meringue treats, add a few drops of gel food coloring after the meringue is stiff.
- To make these melt in your mouth cookies even more special, you can dip the cooled bottoms in melted chocolate.
Nutrition
- Serving Size: 1 cookie
- Calories: 45
- Sugar: 11
- Sodium: 5
- Fat: 0
- Saturated Fat: 0
- Unsaturated Fat: 0
- Trans Fat: 0
- Carbohydrates: 11
- Fiber: 0
- Protein: 1
- Cholesterol: 0