


Oh, if there is one thing that instantly screams ‘comfort’ in my kitchen, it’s the smell of homemade bread baking. You know that moment when you pull something out of the oven and it’s impossibly soft, warm, and begging for a smear of butter? That’s exactly what we’re making today! I’m sharing what I truly believe is The Best Soft, Fluffy Copycat Texas Roadhouse Rolls with Cinnamon Honey Butter.
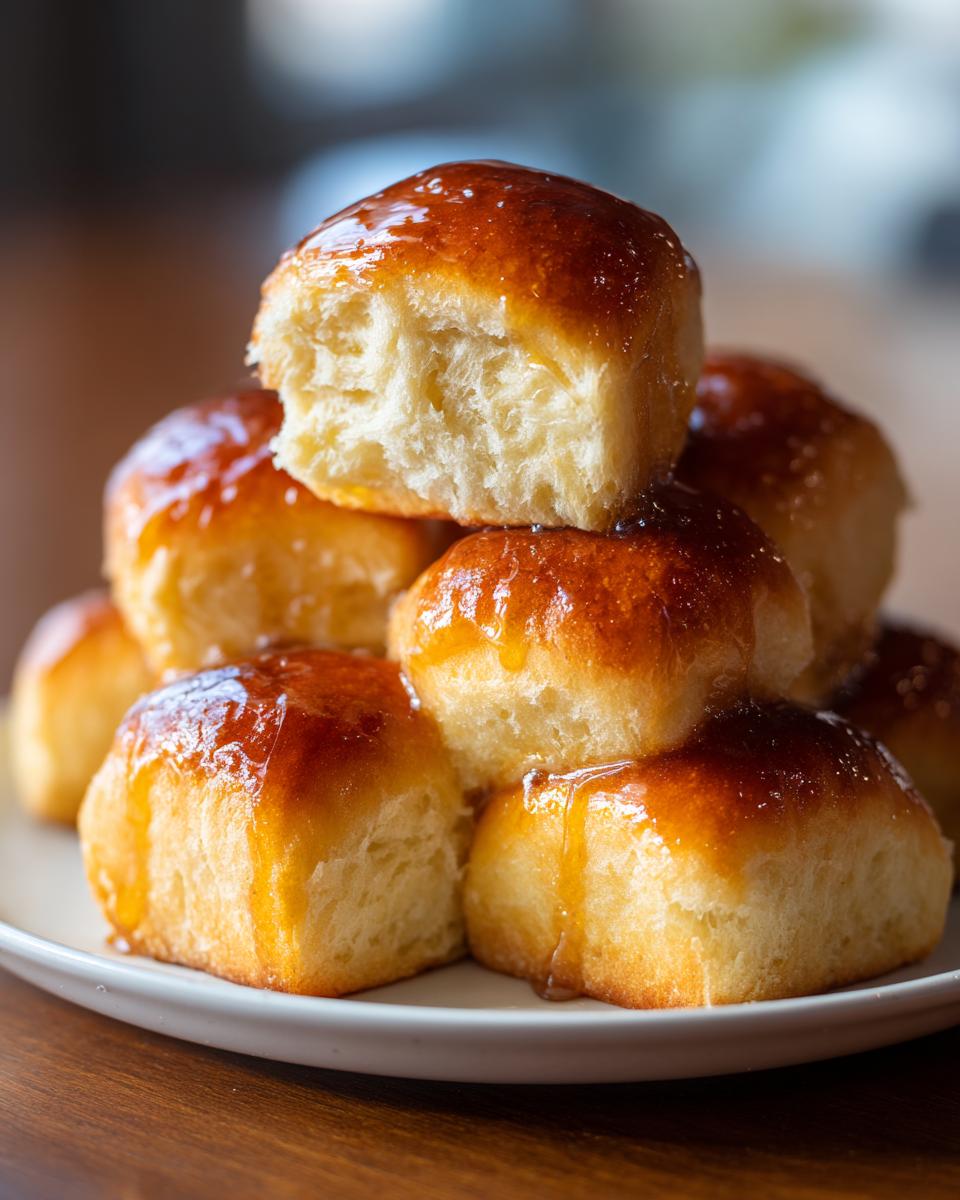
For me, baking these kinds of classic comfort food brings people together, and I love sharing that passion I learned growing up, which you can read more about over on my About page. I’ve spent countless hours testing yeast recipes to bring that perfect, slightly sweet, incredibly fluffy texture of those famous restaurant rolls right here to your home kitchen. Trust me, once you try these, you won’t look back!
- Why You'll Love These Soft Dinner Rolls
- Essential Ingredients for Fluffy Homemade Rolls
- Expert Tips for Perfect Buttery Yeast Rolls
- Step-by-Step Instructions for Making These Rolls
- Variations: From Garlic Butter Rolls to Parker House Rolls Recipe
- Storage and Reheating Instructions for Leftover Rolls
- Frequently Asked Questions About These Rolls
- Serving Suggestions for Your Warm Buttery Rolls
- Nutritional Estimates for These Homemade Rolls
Why You’ll Love These Soft Dinner Rolls
I know you’re busy, especially during the week or getting ready for a big holiday dinner, so I made sure these rolls deliver maximum flavor with minimum fuss. My goal was creating something that tastes like it took hours but actually comes together surprisingly quickly. You can find more easy side dishes like this in my Side Dishes category!
Here’s why these will become your go-to recipe:
- They are unbelievably soft! We’re talking pillowy perfection that practically melts when you bite into it.
- The cinnamon honey butter is non-negotiable—it takes these from great to “I need three more right now.”
- The recipe is surprisingly straightforward. If you can follow basic mixing instructions, you can nail these yeast rolls on your first try.
- They are absolutely perfect for soaking up any sauce or gravy left on your plate. Seriously, don’t waste a drop!
Essential Ingredients for Fluffy Homemade Rolls
Okay, let’s talk about what you need to buy! When it comes to making truly great, soft dinner rolls, the quality and specificity of your ingredients really matter. Don’t go eyeballing the yeast, trust me on this one. We want those fluffy clouds, not sad, flat pancakes. Here is the list—get everything ready before you start mixing!
For the Dough:
- 1 cup warm water (make sure it’s between 105-115°F—if it’s too hot, you’ll kill the yeast!
- 2 ¼ teaspoons active dry yeast (that’s one standard packet, but measure it out exactly!)
- 1 tablespoon granulated sugar (this is the yeast’s breakfast)
- 1 teaspoon salt
- ¼ cup unsalted butter, melted, plus extra for brushing later
- 1 large egg, lightly beaten
- 3 ½ cups all-purpose flour, plus whatever you need for dusting your counter
For the Cinnamon Honey Butter:
This topping is pure magic, so please don’t skip it! You want this butter nice and soft so it spreads easily over the hot bread.
- ½ cup unsalted butter, softened (leave this out about an hour before baking)
- ¼ cup honey
- 1 teaspoon ground cinnamon
Expert Tips for Perfect Buttery Yeast Rolls
Look, making any yeast bread, especially soft dinner rolls, can feel intimidating, but it really comes down to a couple of small, non-negotiable steps. First, remember that water temperature I mentioned? If it’s over 120°F, you’ve basically made yeast tea—it won’t bloom, and your dough won’t rise. Use a thermometer if you can!
Second is the kneading. You need to put some effort in! Kneading for a solid 5 to 7 minutes by hand develops the gluten structure that traps all those lovely gases, making the rolls fluffy rather than heavy after the bake. If you need more pointers on developing that gluten, check out my tips for easy milk bread. A happy, elastic dough means perfect rolls every time.
Step-by-Step Instructions for Making These Rolls
Alright, let’s get our hands dusted and start baking! It’s really simple when you break it down. Remember, these steps are what bring you those fluffy, warm rolls everyone asks for at potlucks. I’ve mapped out the process so there are no surprises when you’re elbow-deep in dough!
Activating the Yeast and Mixing the Dough
First things first: your yeast needs waking up! Mix your warm water, the yeast, and the sugar together in a big bowl. You have to wait 5 to 10 minutes until it looks foamy on top—that’s how you know the yeast is alive and ready to work its magic. Once it’s foamy, stir in your salt, melted butter, and the beaten egg. Then, start tossing in that flour slowly until everything looks shaggy. Don’t worry if it looks messy right now; that’s normal!
Kneading, First Rise, and Shaping the Rolls
Now for the workout! Turn that shaggy dough onto a lightly floured surface and you absolutely must knead it for a full 5 to 7 minutes. That’s how we build that beautiful elastic structure. Pop the dough into an oiled bowl, cover it up, and let it sit in a warm spot for a full hour until it doubles in size. Gently punch it down, divide it into 12 equal balls, and then let those balls puff up again for another 30 to 45 minutes. They need that second rest!
Baking and Finishing with Honey Butter
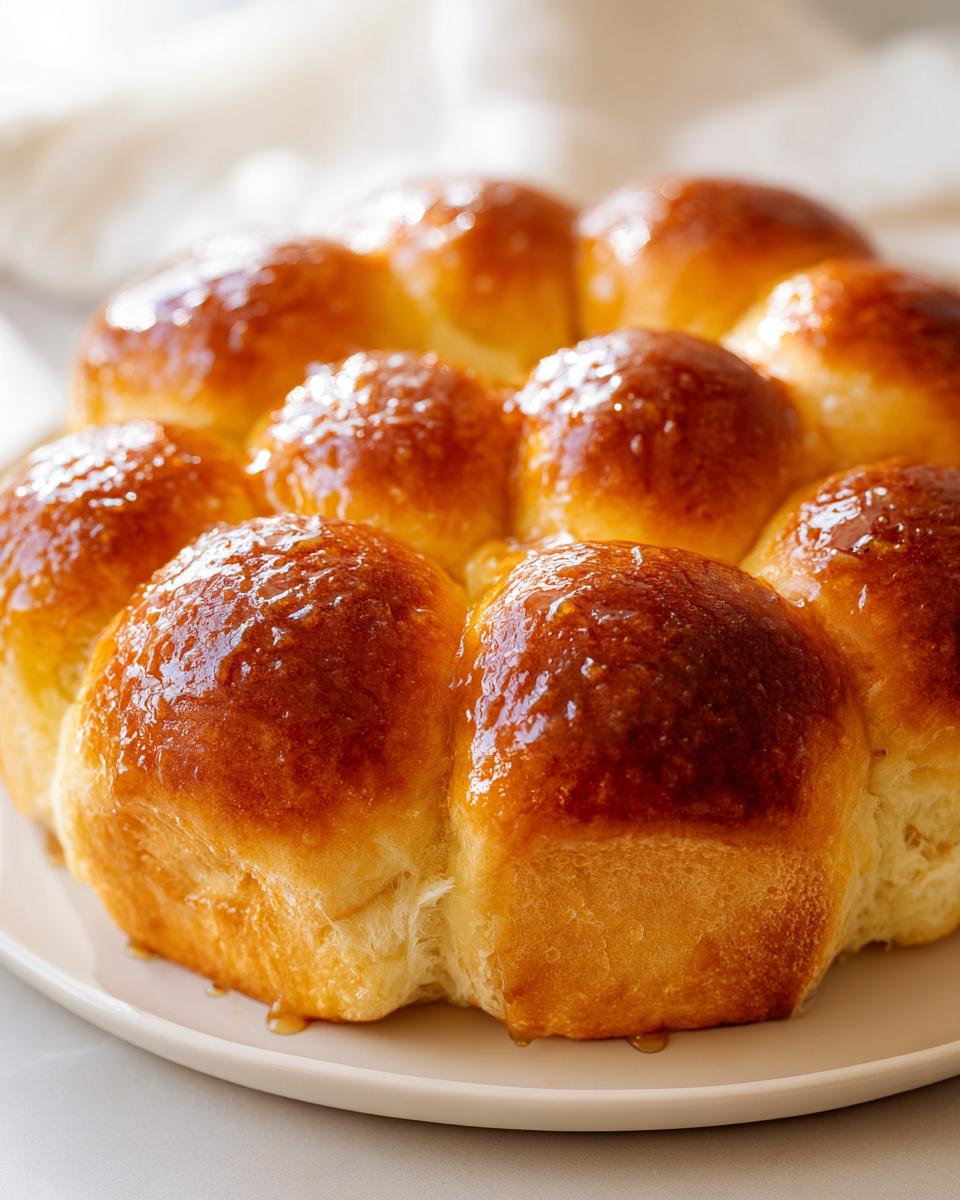
You need to preheat your oven to 375°F (190°C) while those little dough balls are getting puffy. Bake them for about 15 to 18 minutes until they are gorgeously golden brown. The second they come out, grab that pre-mixed cinnamon honey butter—which should be nice and soft—and brush it all across the tops. The heat melts that butter right in, giving you those perfect warm buttery rolls. Serve them immediately! If you want more bread recipes, check out my guide on easy bread rolls recipe.
Variations: From Garlic Butter Rolls to Parker House Rolls Recipe
One of the best things about mastering a fantastic, soft base recipe, like these yeast rolls, is how easily you can pivot and make something totally different next time! You don’t need a whole new recipe; you just need a little imagination and maybe a sprinkle of garlic powder.
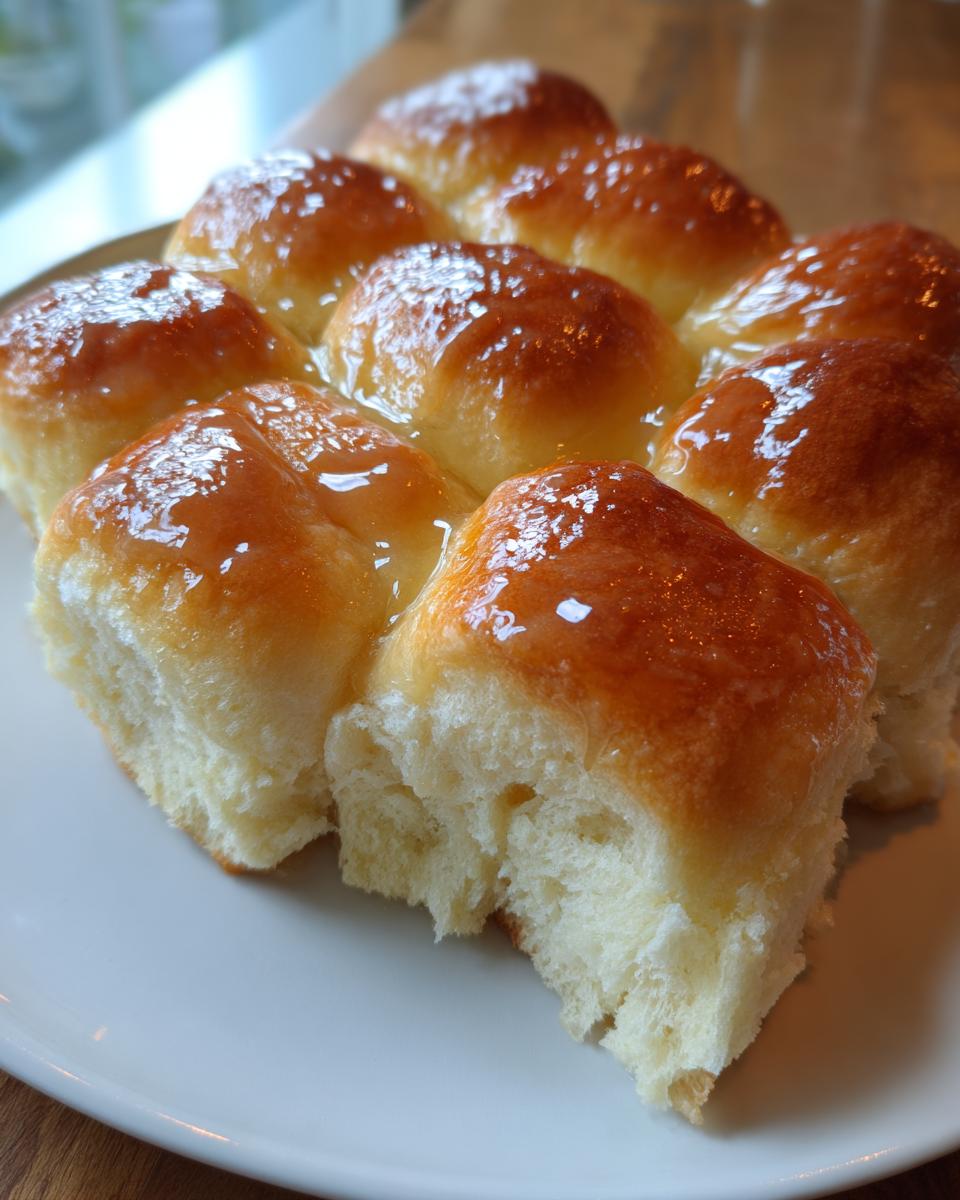
Since everyone seems to love a good flavor twist, here are a couple of ways to adapt this exact dough for different cravings. If you ever want to dive deeper into cheesy options, check out my recipe for buttery cheese garlic rolls!
Making Savory Garlic Butter Rolls
This is my go-to if we aren’t having something sweet after dinner. Right after the rolls come out of the oven, skip the cinnamon honey butter entirely. Instead, melt about ¼ cup of butter and whisk in 2 teaspoons of garlic powder, 1 teaspoon of dried parsley, and a big pinch of salt. Brush that all over the tops immediately. You get that incredible savory flavor that screams comfort food baking!
Creating Fluffy Parker House Rolls by Shaping
If you want to make classic Parker House style rolls, it’s all about the fold! Instead of shaping the dough into simple balls in Step 6, roll each piece of dough very thin, maybe into a small oval. Melt about 2 tablespoons of butter and brush it lightly over the top of the flattened dough. Fold the dough in half, like closing a book, and lightly pinch the folded edge. This creates their signature look and gives them those beautiful, fluffy layers when they bake up in the pan.
Getting That Texas Roadhouse Copycat Texture
For those who really want that intense, slightly sweet, melt-in-your-mouth restaurant taste, remember that the key is the *second* rise and the butter bath. Make sure you are arranging them close together in the pan so they steam each other slightly while baking. If you want an even deeper dive into copying that specific restaurant flavor, I found a great guide on Diy Rhodes Rolls Recipes that breaks down the nuances of that style!
Storage and Reheating Instructions for Leftover Rolls
I always hope there are leftovers because these rolls taste phenomenal the next day, too! But just like any good yeast bread, if you don’t store them correctly, they can get dry fast. If you have any leftover rolls—and I mean any—you need to deal with them straight away!
For short-term storage (1 to 2 days), the trick is trapping that moisture inside. Once the rolls are completely cool—and I mean stone cold, otherwise you steam them hostage—tuck them into an airtight container or a large zip-top bag. Keep them right there on the counter at room temperature. Don’t put them in the fridge! The cold air dries out yeast bread like nothing else. If you’re planning further ahead, these freeze beautifully, too.
Bringing Them Back to Life: The Softening Trick
So, how do you get that “fresh-out-of-the-oven” texture back? You can’t just microwave them; that makes them rubbery, and nobody wants that sad experience. My favorite way is the oven method, which is gentle and effective.
- Preheat your oven to a low temperature, around 300°F (150°C).
- Gather the rolls you want to eat and put them in a shallow baking dish or wrap them tightly in aluminum foil. Foil works best to keep the moisture in.
- Let them heat up for about 8 to 10 minutes. You want them steaming hot all the way through.
- The second you pull them out, give ’em another quick brush of melted regular butter—not the cinnamon honey kind, save that for the first batch! This restores that wonderful buttery finish we loved so much when they were fresh.
If you’re really in a rush, you can toss a roll into the microwave for 10 to 15 seconds with a damp paper towel draped over it. It won’t be as good as the oven, but it works in a pinch when dinner is waiting!
Frequently Asked Questions About These Rolls
I totally get it; when you’re trying out a new scratch-made recipe, especially one involving yeast, you probably have a few little questions rattling around in your head before you start. Don’t worry, I’ve been there! I always check these things before I dive in, hoping to save myself a trip to Google later. If you’re looking for more hands-on guidance for your first time baking bread, my yeast roll recipe for beginners post is super helpful!
Can I make these rolls ahead of time?
Yes, absolutely! One of the reasons these are so perfect for holidays is that you can do a lot the day before. The best method for making these soft dinner rolls ahead is the refrigeration method. After you’ve shaped the balls and placed them snugly in the pan (Step 6), cover the whole thing tightly with plastic wrap and pop it into the fridge. They can proof slowly overnight! Just pull them out about an hour before you want to bake them so they can warm up slightly, then bake as directed. This makes getting those warm rolls on the table so much easier!
Why didn’t my yeast foam up when making these rolls?
Oh, that’s the saddest sight, isn’t it? You wait patiently, and nothing happens. Nine times out of ten, it comes down to the water temperature. If the water was too cold (under 100°F), the yeast is just sleepy and needs a little more warmth to wake up. But more often, the water was simply too hot—over 120°F—and it killed the little guys! If you see absolutely no foam after 10 minutes, you have to scrap that batch of water and start the yeast activation over with correctly tempered water. Don’t try to substitute the yeast or add baking soda hoping to fix it; you really need that fresh, happy yeast for fluffy homemade rolls.
Can these be made into quick dinner rolls if I’m in a huge hurry?
While I highly suggest following the rise times for the absolute best texture, I know life happens! To speed things up and turn these into almost quick dinner rolls, you need to create a super warm environment for the initial rise. Try heating your oven for just two minutes until it’s warm to the touch, then turn it OFF. Place your covered dough inside that warm, turned-off oven. This controlled warmth can often shorten the first 1-hour rise down to about 35 or 40 minutes. Remember, the second rise is crucial for that fluffy texture, so don’t rush that one too much!
What if I don’t have a deep 9×13 pan?
No pan, no problem! These delicious rolls are flexible. If you use a 9×9 inch square pan, they will just bake up a bit taller, and you might need an extra 3 to 5 minutes in the oven because the dough piles higher. If you have a large round pizza pan, you can place them in a ring shape, leaving a bit more space between them. Just watch them closely near the 15-minute mark—the edges might brown faster!
Serving Suggestions for Your Warm Buttery Rolls
Honestly, these warm buttery rolls are almost a meal all by themselves, especially drenched in that cinnamon honey butter! But if you’re smart about it, they’re the absolute perfect side dish to anchor any comfort food baking spread you put together. They just elevate everything they sit next to, seriously.
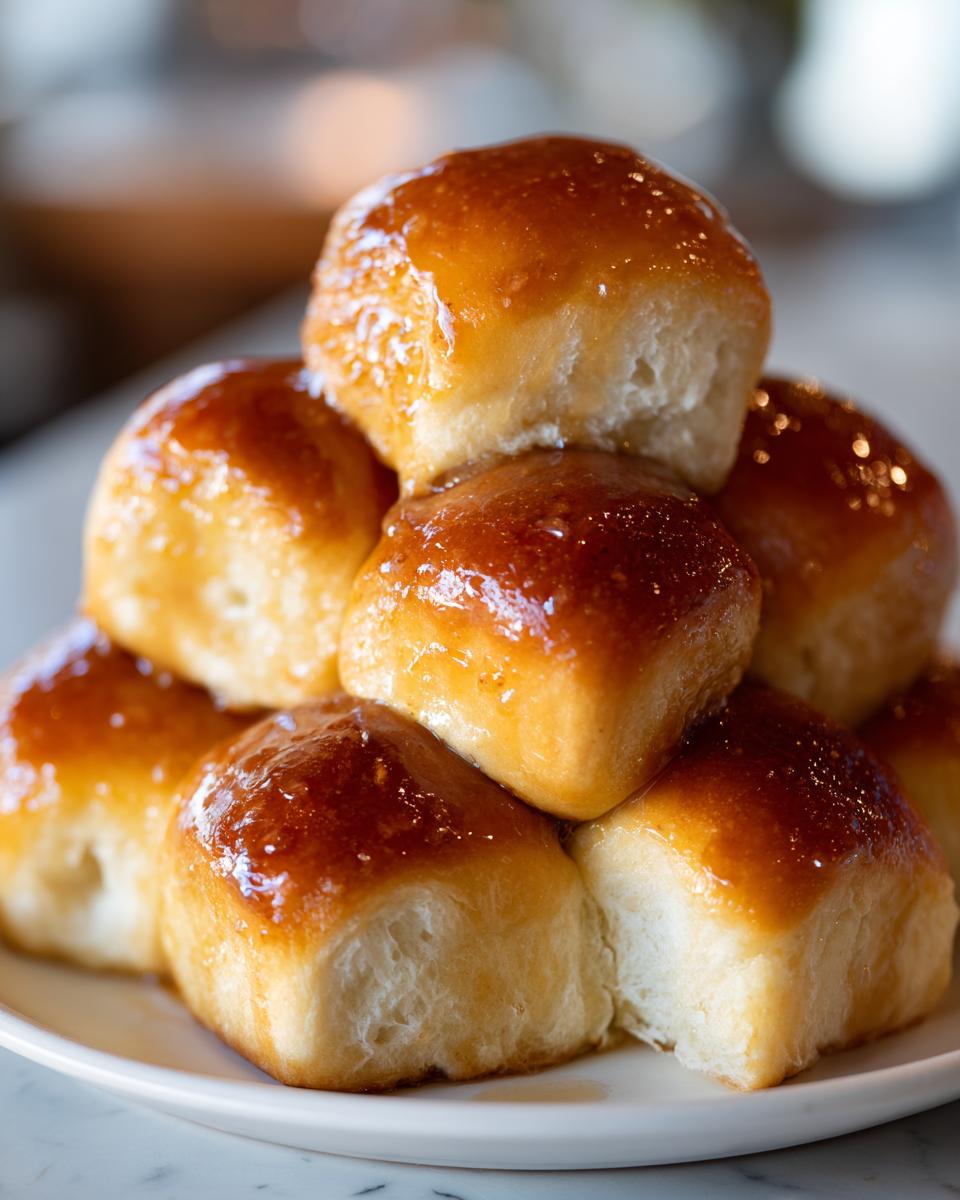
For a weeknight win that feels a little bit fancy without any extra effort, serve these alongside a big bowl of hearty chili or a creamy tomato soup. They’re built for dipping! That soft crumb just soaks up every last drop of savory liquid. If you’re looking for something substantial to pair them with, I highly recommend making my recipe for ultimate melt-in-your-mouth pot roast—the rolls are perfect for mopping up that rich gravy.
When the holidays roll around—Thanksgiving, Christmas, Easter—that’s where these really steal the show. You can easily swap out the cinnamon honey butter for plain melted butter if you want, especially if your main dish is already very sweet, like a glazed ham. They are the ultimate holiday rolls recipe because they are soft enough for Grandma but easy enough for me when I’m managing five other dishes!
Remember how I said they make great garlic butter rolls? If you go that savory route, they are spectacular served alongside baked Italian dishes, like lasagna or chicken parmesan. They become your built-in garlic bread accompaniment!
Nutritional Estimates for These Homemade Rolls
Now, I know that when we’re talking about buttery, fluffy yeast dough slathered in honey butter, we aren’t exactly aiming for a diet food moment! But sometimes it’s nice to get a ballpark idea of what’s in the goods we are making, right? I always keep this information handy for planning meals, even if I don’t look at it too closely while eating.
The numbers below are just my team’s best estimate for one standard roll (assuming you divide the dough into the 12 pieces listed in the recipe). Keep in mind that these figures can change wildly depending on the exact brands of flour or butter you choose. It’s all about enjoying that homemade goodness when it’s fresh!
Approximate Nutritional Snapshot (Per Roll)
- Calories: 250
- Fat: 12g (containing 7g Saturated Fat)
- Carbohydrates: 31g
- Sugar: 6g (That sweet honey contributes quite a bit here!)
- Protein: 5g
- Sodium: Around 300mg
See? Not bad for something that tastes like it belongs on a fancy restaurant table every night! The fat content is mostly from the necessary butter, which gives these rolls that incredible, melt-in-your-mouth texture we love so much. Enjoy them warm, and don’t worry too much about the fine print!
PrintThe Best Soft, Fluffy Copycat Texas Roadhouse Rolls with Cinnamon Honey Butter
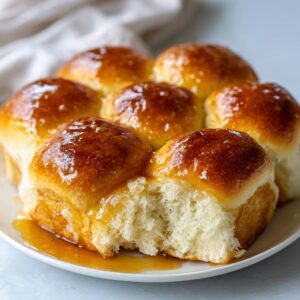
You can make soft, fluffy, buttery dinner rolls at home that taste just like the restaurant favorite. This easy recipe uses simple ingredients and yields warm, comforting rolls perfect for any meal.
- Prep Time: 20 min
- Cook Time: 18 min
- Total Time: 1 hr 38 min
- Yield: 12 rolls 1x
- Category: Side Dish
- Method: Baking
- Cuisine: American
- Diet: Vegetarian
Ingredients
- 1 cup warm water (105-115°F)
- 2 ¼ teaspoons active dry yeast
- 1 tablespoon granulated sugar
- 1 teaspoon salt
- ¼ cup unsalted butter, melted, plus more for brushing
- 1 large egg, lightly beaten
- 3 ½ cups all-purpose flour, plus more for dusting
- For the Cinnamon Honey Butter:
- ½ cup unsalted butter, softened
- ¼ cup honey
- 1 teaspoon ground cinnamon
Instructions
- Combine the warm water, yeast, and sugar in a large bowl. Let this mixture sit for 5 to 10 minutes until it becomes foamy. This shows the yeast is active.
- Stir the salt, melted butter, and beaten egg into the yeast mixture.
- Gradually add the flour, mixing until a shaggy dough forms.
- Turn the dough out onto a lightly floured surface. Knead the dough for 5 to 7 minutes until it becomes smooth and elastic.
- Place the dough in a lightly oiled bowl, turning it once to coat. Cover the bowl with plastic wrap or a clean kitchen towel. Let the dough rise in a warm place for 1 hour, or until it has doubled in size.
- Gently punch down the risen dough. Divide the dough into 12 equal pieces. Roll each piece into a smooth ball.
- Arrange the dough balls in a lightly greased 9×13 inch baking dish, leaving about 1 inch of space between them for spreading.
- Cover the dish again and let the rolls rise for another 30 to 45 minutes, or until they are puffy.
- Preheat your oven to 375°F (190°C).
- Bake the rolls for 15 to 18 minutes, or until they are golden brown on top.
- While the rolls bake, prepare the butter: In a small bowl, mix the softened butter, honey, and cinnamon until fully combined.
- As soon as the rolls come out of the oven, brush the tops generously with the cinnamon honey butter mixture.
- Serve the warm, buttery rolls immediately.
Notes
- If you want quicker results, ensure your water temperature is correct for activating the yeast. Water that is too hot will kill the yeast.
- For extra soft rolls, cover the pan with foil for the first 10 minutes of baking, then remove the foil to allow the tops to brown.
- You can make the cinnamon honey butter ahead of time and store it in the refrigerator for up to one week. Let it soften slightly before serving.
Nutrition
- Serving Size: 1 roll
- Calories: 250
- Sugar: 6
- Sodium: 300
- Fat: 12
- Saturated Fat: 7
- Unsaturated Fat: 5
- Trans Fat: 0
- Carbohydrates: 31
- Fiber: 1
- Protein: 5
- Cholesterol: 35