
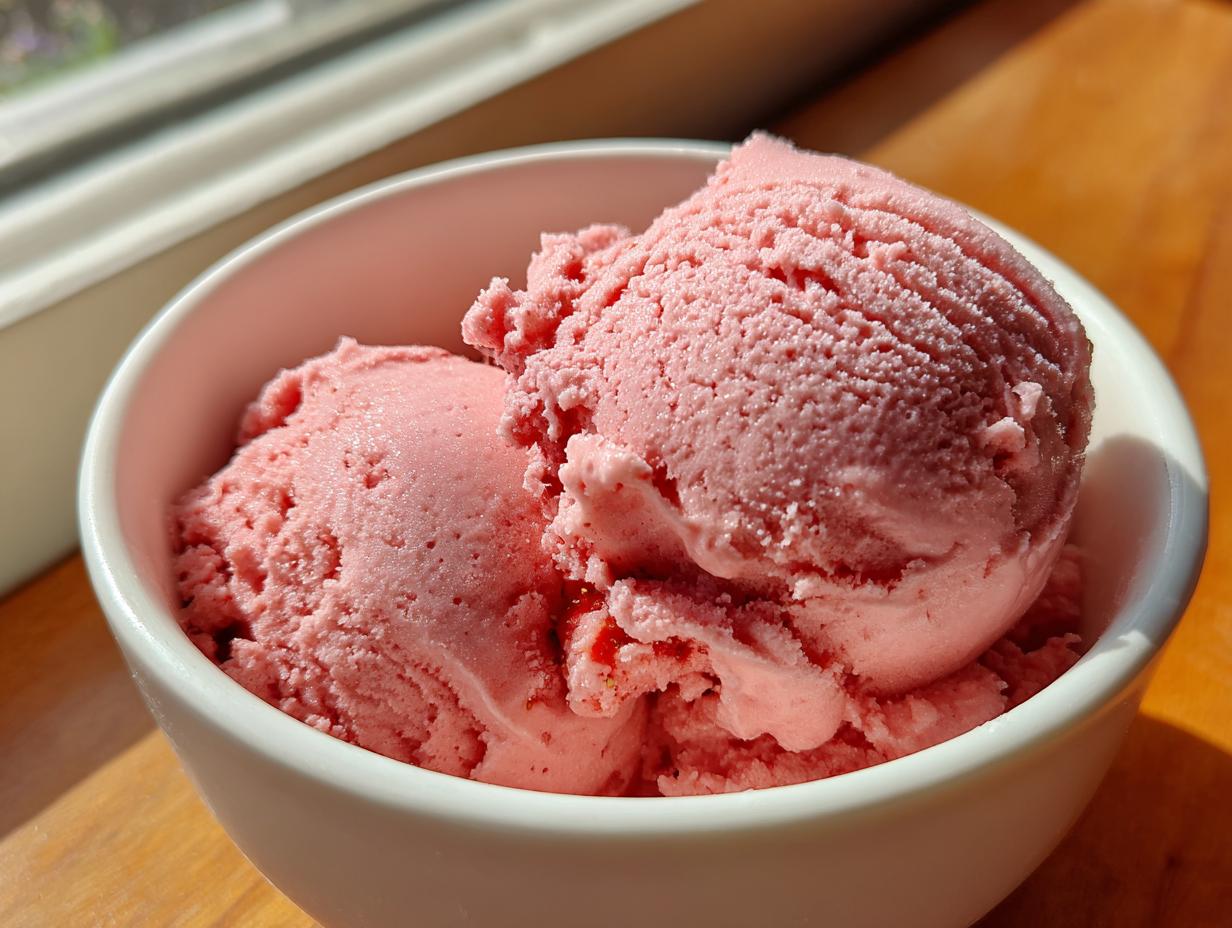

Well hello there, I’m Sarah, and I am just thrilled you stopped by my little kitchen corner today! There’s nothing quite like coming in from the summer heat and digging into a giant scoop of homemade frozen dessert, right? If you’re dreaming of that perfect scoop—bursting with real fruit flavor—but you don’t want to drag out the heavy equipment, I have the dream solution for you. Forget those fancy machines for a minute! This is hands-down the **best no-churn strawberry ice cream recipe** you’ll ever try. We keep the ingredients simple and focus on quality—that’s my “Cut, Cook, Taste” philosophy shining through—which results in the silkiest, most incredible **strawberry ice cream** you can imagine, all without needing to churn a single thing! If you want to know more about my journey from a Midwestern kitchen to focusing on simple, delicious food, check out my story here.
- Why This No Churn Strawberry Ice Cream Recipe Works So Well
- Gathering Ingredients for Your Easy Strawberry Ice Cream
- Step-by-Step Instructions for Perfect No Churn Strawberry Ice Cream
- Adapting Your Strawberry Ice Cream Recipe for Other Methods
- Serving Suggestions for This Summer Strawberry Dessert
- Storage and Reheating Instructions for Creamy Strawberry Ice Cream
- Frequently Asked Questions About Making Strawberry Ice Cream
- Estimated Nutritional Data for Your Strawberry Ice Cream
- Share Your Sweet Strawberry Dessert Ideas
Why This No Churn Strawberry Ice Cream Recipe Works So Well
I know what you’re thinking: “No-churn means icy and terrible.” Trust me, I thought that too until I perfected this formula! This recipe is what I consider the absolute best way to get **creamy strawberry ice cream** without relying on an expensive machine.
- It’s inherently an egg free strawberry ice cream, which skips the cooking step entirely!
- It uses pantry staples you always have on hand for a truly easy strawberry ice cream experience.
- The result is shockingly smooth—seriously, it tastes like you stood over a machine for hours!
Achieving Creamy Strawberry Ice Cream Texture Without Churning
The secret sauce here isn’t actually a sauce; it’s the structure we build! We use cold, stable heavy whipping cream whipped to stiff peaks. This traps tons of air. Then we stabilize that air with sweetened condensed milk. That combination creates a solid, icy-but-smooth framework that keeps your strawberry ice cream from turning rock hard. You get that luscious texture without ever worrying about tempering eggs or ice crystals.
Using Fresh Strawberry Ice Cream Flavor
This is where my “Cut” philosophy comes in. Store-bought extracts just don’t cut it when you’re making something so simple. I insist on using fresh strawberries for the puree. Nothing beats that bright, slightly tart flavor of real fruit shining through. It turns a good dessert into a dazzling one. That vibrant, fresh taste is what makes this version of strawberry ice cream truly special.
Gathering Ingredients for Your Easy Strawberry Ice Cream
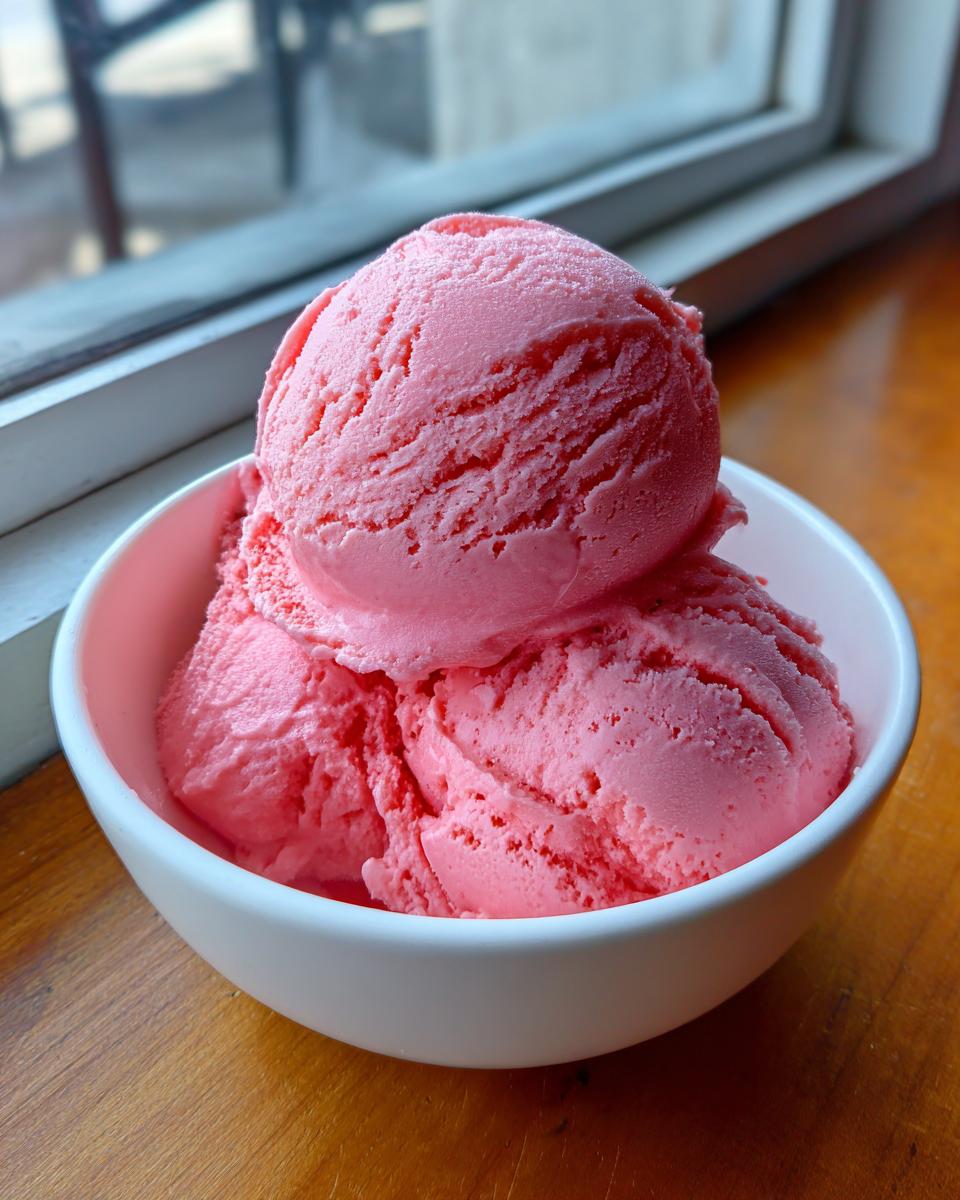
Okay, let’s talk about what you need to scoop up this amazing easy strawberry ice cream. Since this recipe has so few components—just four main players—quality matters a whole bunch! You’ll need heavy whipping cream and sweetened condensed milk, both chilled straight from the fridge. Then we add vanilla and those gorgeous fresh strawberries. That’s it! It’s shockingly simple, but don’t let the short list fool you; the texture payoff is huge.
Ingredient Notes and Substitutions for Homemade Strawberry Ice Cream
First rule: your heavy whipping cream absolutely must be cold. Like, refrigerator cold. If it’s room temperature, it won’t whip up into those beautiful stiff peaks we need to trap the air. For the condensed milk, look for the good stuff—the full-fat canned kind (that’s the version everyone raves about!). I always go for the brand that has that creamy, thick quality, ensuring my homemade strawberry ice cream sets up perfectly.
When preparing the fruit, make sure you wash, hull, and puree your fresh berries before you even start whipping the cream. You want everything ready to go because once that cream whips, you need to fold everything in quickly to lock in all that air.
Step-by-Step Instructions for Perfect No Churn Strawberry Ice Cream
This is where we move from gathering our beautiful ingredients to actually “Cooking” and tasting! Making the best **strawberry ice cream** without a machine comes down to patience in two key areas: getting the air into the cream and being gentle when mixing everything together. Follow these steps exactly, and I promise the texture will blow you away. If you ever want to try making real strawberry preserves to swirl in (instead of just the puree), you should check out my freezer jam recipe—it’s amazing!
Preparing the Fresh Strawberry Puree
First things first, we tackle the fruit. Grab your cup of fresh strawberries. Wash them up, take those little green tops off, and toss them into your food processor or blender. Run it until you have a smooth, bright red puree. You need about 1 cup total. Now, here’s a little trick I learned to really deepen that fruit flavor—it’s called macerating! If you have an extra 30 minutes, slice about half of your strawberries, toss them with just a teaspoon of sugar, and let them sit before you puree the rest. This pulls out their natural juices and makes the final **strawberry ice cream** taste even more intense and summery.
Whipping Cream and Folding the Base for Creamy Strawberry Ice Cream
Next up is creating volume! In your biggest, perfectly clean bowl (any grease will stop the cream from whipping, so be sure it’s spotless), whip that cold heavy cream. Use your electric mixer—handheld or stand—and beat it until you get stiff peaks. You want peaks that stand straight up when you lift the whisk. This takes commitment, usually 3 to 5 minutes. While that’s happening, quickly whisk your cold condensed milk and vanilla in a separate bowl. Now, the crucial part: folding! Take about a third of your whipped cream and mix it right into the condensed milk mixture to lighten it up. Then, gently fold the rest of the cream in using a spatula. Be delicate here! You are trying to keep all those air bubbles! Finally, fold in your strawberry puree until you have a nice, soft pink swirl. Don’t go crazy mixing, or you’ll deflate your base!
Freezing Your Homemade Strawberry Ice Cream
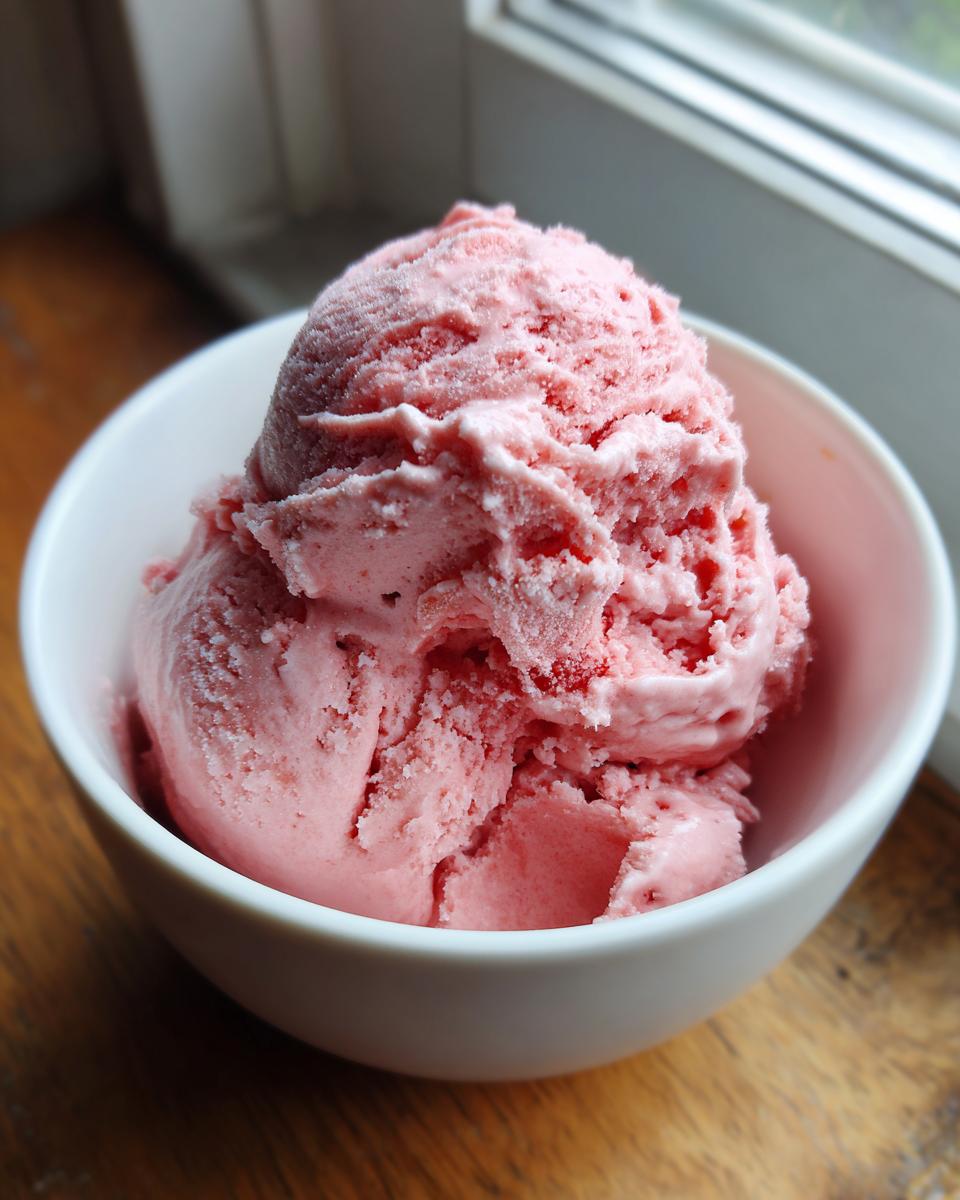
Time to tuck our mixture in for a long nap! Pour everything into a freezer-safe loaf pan or any airtight container you have. Before you put the lid on, take a sheet of plastic wrap and press it directly onto the surface of the ice cream base. I cannot stress this enough: pressing that plastic wrap right onto the surface is the *only* way to stop sneaky little ice crystals from forming on top of your beautiful **homemade strawberry ice cream**. Cover it fully and slide it into the back of your freezer for at least six hours. Honestly, overnight is better if you can wait! When you are ready to serve, pull it out and let it sit on the counter for about 5 to 10 minutes. This little resting period makes all the difference between chipping at it and getting perfectly scoopable, decadent ice cream!
Adapting Your Strawberry Ice Cream Recipe for Other Methods
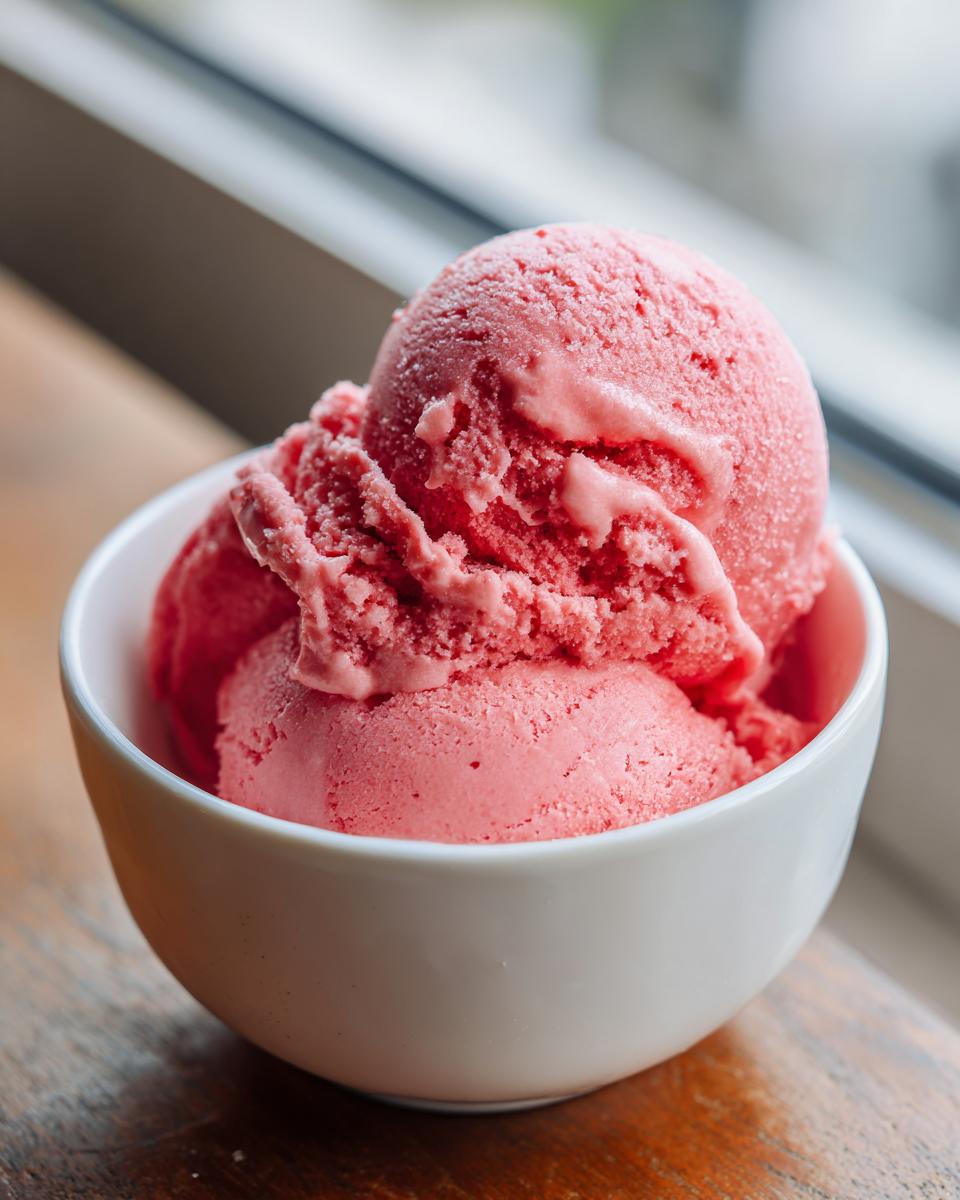
Now, I know not everyone wants the no-churn method all the time! While my recipe is designed to be fool-proof without equipment, I always want you to have options here at Cut Cook Taste. If you happen to have an ice cream maker or that newfangled Ninja Creami machine, you can absolutely use this base mixture. We love having options for our **strawberry ice cream**, whether it’s a busy Tuesday or a slow Sunday afternoon.
Tips for Ice Cream Maker Strawberry Recipe Success
If you are using a traditional ice cream maker, the trick is chilling, chilling, chilling! Because we aren’t using a custard base, our heavy cream and condensed milk mixture needs to be ice cold before it goes into your machine. I usually mix everything up—whipped cream, milk, puree—and then pop the whole thing in the fridge for at least four hours, or until it’s barely above freezing. Once it’s super cold, churn it according to your machine’s instructions. It usually takes about 20 to 25 minutes, and the result is an incredibly smooth, classic **ice cream maker strawberry recipe**!
And speaking of the Ninja Creami, wow, that machine is popular these days! If you’re looking into making **ninja creami strawberry ice cream**, the concept is similar, but you’ll want to use slightly less liquid overall and mix your strawberries in right at the start of the base creation process so it blends perfectly upon the first spin. You can see a great example of how they handle that over here, which is helpful if you’re already familiar with that machine’s cycle times.
Quick Strawberry Frozen Treat Variations
The beauty of this base is its flexibility. If you’re looking for something even simpler than what I laid out—maybe just a quick fix for that craving—you can scale back to a **3 ingredient strawberry ice cream** by only using the cream, condensed milk, and puree (skipping the dedicated vanilla here). It’s lighter, but still delicious!
If you want to jump straight to something decadent, this is the perfect canvas for a **strawberry cheesecake ice cream**. Before you freeze your base in Step 6, gently fold in about a cup of crushed graham crackers and a few spoonfuls of softened cream cheese that you’ve whisked until smooth. Fold it gently, just until you see ribbons of cheesecake flavor running through your pink base. It’s heaven, I’m telling you!
Serving Suggestions for This Summer Strawberry Dessert
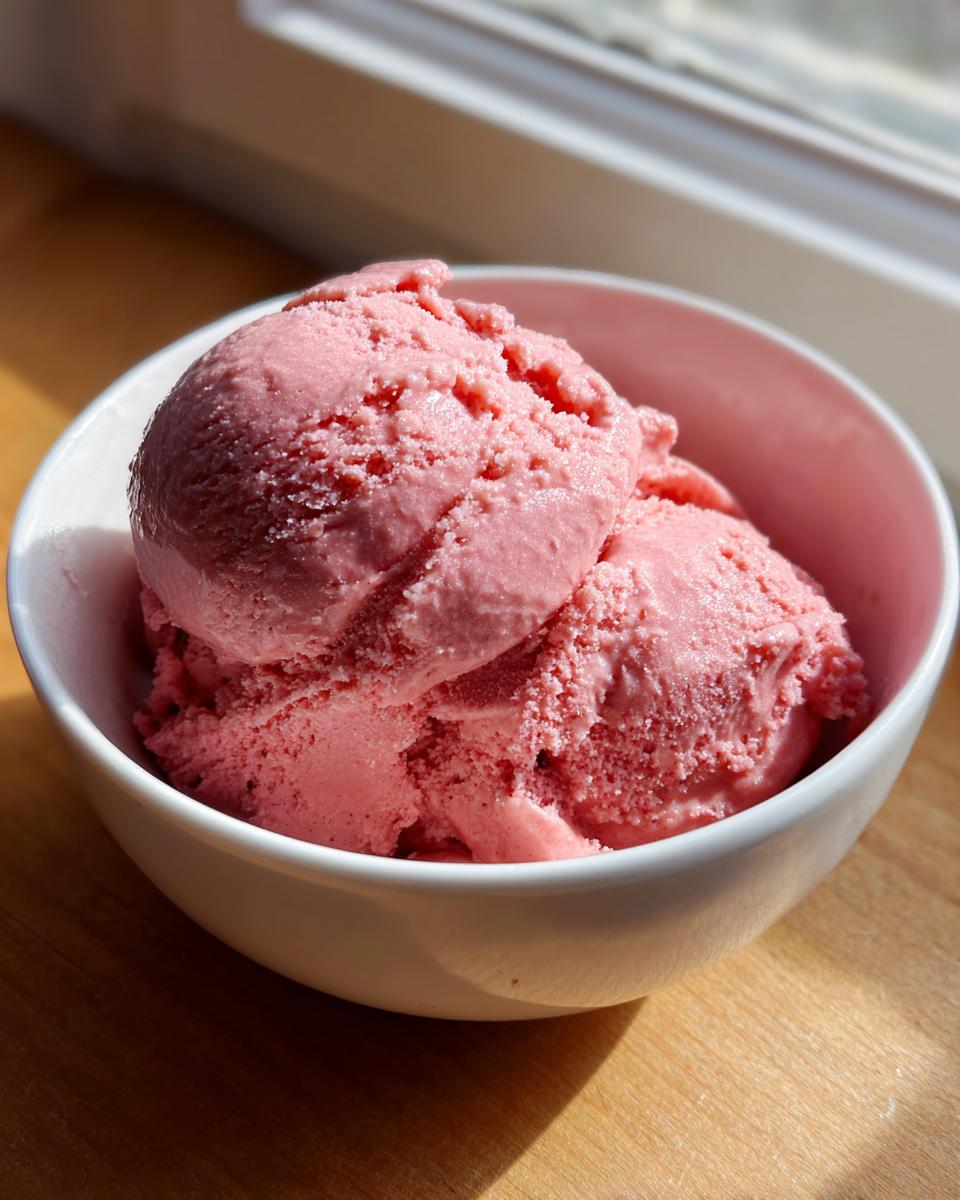
Now that you’ve made the creamiest **strawberry ice cream** ever, the final step is the “Taste” element! This bright, fresh dessert shines all on its own, of course. But if you’re serving it up at a summer gathering, I have some favorite ways to present it. Dusting the bowl with a little extra fresh mint makes it look instantly elegant.
You absolutely have to try it layered over warm, buttery shortcake—it’s basically a magnificent ice cream sundae that can’t be beat. If you need a great base recipe for that, you’ll want to check out my classic shortcake recipe. Enjoy this perfect **summer strawberry dessert**!
Storage and Reheating Instructions for Creamy Strawberry Ice Cream
We want this perfect **creamy strawberry ice cream** to taste just as good next week as it does today! Since this is a no-churn recipe, it behaves a little differently than commercial ice creams, so proper storage is the name of the game to keep those lovely air pockets intact and stop ice crystals from creeping in.
The very first thing you must do once you’ve poured your base into the freezer-safe container is press plastic wrap directly onto the surface. I know I harp on this, but it’s the number one defense against freezer burn and those ugly, crunchy white spots that ruin the texture of **strawberry ice cream**.
Once the plastic is on, snap that airtight lid on securely. If you’re using a loaf pan, you can even wrap the entire thing in foil after the lid is on for an extra layer of protection. For the best flavor and texture, try to enjoy your **homemade strawberry ice cream** within two to three weeks. After that, the density starts to change, and while it will still taste fine, it might not be quite as dreamy smooth.
Now, you don’t “reheat” ice cream, of course, but you do need to “wake it up” for scooping! Because we used a high-fat base, it sets up quite firm. When you’re ready to serve, just pull the container out of the deep freezer and leave it on the counter for about 5 to 10 minutes. This short rest allows the mix to soften just enough so you can get those perfect, clean scoops without breaking your server! Enjoy every second of that luscious **strawberry ice cream**!
Frequently Asked Questions About Making Strawberry Ice Cream
I know you might have a few lingering questions, especially if you’re new to the **no churn strawberry ice cream** game. It’s totally normal! I’ve gathered the most common things folks ask me when they are trying this recipe for the first time. Don’t forget, if you have more questions after this, pop over to my main blog page and leave a comment!
Can I use frozen strawberries instead of fresh for this no churn strawberry ice cream recipe?
Oh, absolutely! Life happens, and sometimes the fresh berries aren’t looking perfect or they are out of season. Yes, you can use frozen strawberries, but you can’t just toss them in frozen. You need to thaw them out a bit first—just until they are soft—and then you must drain off any excess watery liquid from the thawing process. We want the flavor, not the extra water, or it will thin out our base way too much and make your **creamy strawberry ice cream** icy!
How long does homemade strawberry ice cream last in the freezer?
For the absolute best texture, I always tell people that this **homemade strawberry ice cream** is best eaten within two to three weeks. Since we aren’t using commercial stabilizers, the texture starts to change slightly after that mark. It won’t go bad, but it might get a little firmer as time goes on. If you promise to keep it sealed super tight with that layer of plastic wrap touching the surface, you’ll manage to keep it delicious for longer!
What makes this the best strawberry ice cream if I don’t have a machine?
If you ask me, this *is* the **best strawberry ice cream** regardless of equipment! The reason it rivals the slow-churned stuff is all down to the high-fat content we whip in. The combination of heavy whipping cream folded into the sweetened condensed milk creates such a rich, stabilized structure. This base traps air beautifully and prevents those large ice crystals from forming. It yields a superior, dense, and wonderfully **creamy strawberry ice cream** that just melts perfectly on your tongue. It’s magic, I swear!
Estimated Nutritional Data for Your Strawberry Ice Cream
Alright, my friends, now we get to the part where we talk numbers! I always like to offer up an estimate of the nutritional breakdown for my recipes, just so you have all the information you need. Remember, this **strawberry ice cream** is a treat, and making it yourself using fresh fruit means you know exactly what’s going into every scoop!
These figures are calculated based on the ingredients list provided for a standard serving size. Keep in mind that because we are making **homemade strawberry ice cream** from scratch, the actual counts can vary slightly depending on the brands of heavy cream or condensed milk you choose. But overall, this gives you a fantastic guideline!
- Serving Size: 1/2 cup
- Calories: 320
- Sugar: 35g
- Fat: 18g (11g Saturated Fat)
- Carbohydrates: 38g
- Protein: 5g
Since this recipe is egg free strawberry ice cream and relies on cream and milk rather than a cooked custard, you see those higher fat numbers, but that’s what gives us that truly amazing, rich mouthfeel. Enjoy this wonderful **sweet strawberry dessert idea** knowing exactly what you’re treating yourself to!
Share Your Sweet Strawberry Dessert Ideas
And just like that, we’ve made pure magic without ever touching an ice cream maker! I truly hope you enjoy digging into every spoonful of this incredibly easy **strawberry ice cream**. It brings me so much joy knowing that a recipe perfected right here in my kitchen can end up at your family gatherings or just be the perfect reward after a long Tuesday.
This is where the “Taste” part of my philosophy comes into play. I built this site to connect with you, the home cook! I absolutely love hearing how your batches turned out. Did you add a swirl of chocolate? Did you try adding some lime zest to brighten up the berry flavor?
Please take a moment to leave a rating right below the recipe card. Five stars for **creamy strawberry ice cream**? I blush! And if you snapped a picture of your beautiful, pink scoops, I would be beyond thrilled if you shared it with me! Tag me on social media or send a note through my contact page. Knowing you enjoyed this **summer strawberry dessert** makes all the testing and tasting worthwhile. Happy scooping, friends!
PrintEasiest No-Churn Creamy Strawberry Ice Cream
You can make this rich and creamy homemade strawberry ice cream without an ice cream maker. This no-churn recipe uses simple ingredients to capture the fresh flavor of summer strawberries.
- Prep Time: 15 min
- Cook Time: 0 min
- Total Time: 6 hr 15 min
- Yield: 6 servings 1x
- Category: Dessert
- Method: No-Churn
- Cuisine: American
- Diet: Vegetarian
Ingredients
- 2 cups heavy whipping cream, cold
- 1 (14 ounce) can sweetened condensed milk, cold
- 1 teaspoon vanilla extract
- 1 cup fresh strawberries, hulled and pureed
Instructions
- Prepare your strawberries: Wash, hull, and puree the fresh strawberries until smooth. You need about 1 cup of puree.
- In a large bowl, whip the cold heavy whipping cream using an electric mixer until stiff peaks form. This takes about 3 to 5 minutes.
- In a separate bowl, gently whisk together the cold sweetened condensed milk and vanilla extract.
- Fold about one-third of the whipped cream into the condensed milk mixture to lighten it.
- Gently fold the remaining whipped cream into the mixture until just combined. Do not overmix.
- Fold in the strawberry puree until the mixture is evenly pink and swirled.
- Pour the mixture into a freezer-safe container, such as a loaf pan or an airtight container. Cover the surface directly with plastic wrap to prevent ice crystals.
- Freeze for at least 6 hours, or until firm. For the best texture, let it soften on the counter for 5 to 10 minutes before scooping and serving your creamy strawberry ice cream.
Notes
- For a more intense strawberry flavor, you can macerate the sliced strawberries in a tablespoon of sugar for 30 minutes before pureeing them.
- If you want a vibrant pink color, you can add one drop of red food coloring when mixing in the puree.
- This recipe is egg free, making it a great option for a quick frozen treat.
Nutrition
- Serving Size: 1/2 cup
- Calories: 320
- Sugar: 35
- Sodium: 65
- Fat: 18
- Saturated Fat: 11
- Unsaturated Fat: 7
- Trans Fat: 0.5
- Carbohydrates: 38
- Fiber: 1
- Protein: 5
- Cholesterol: 60