
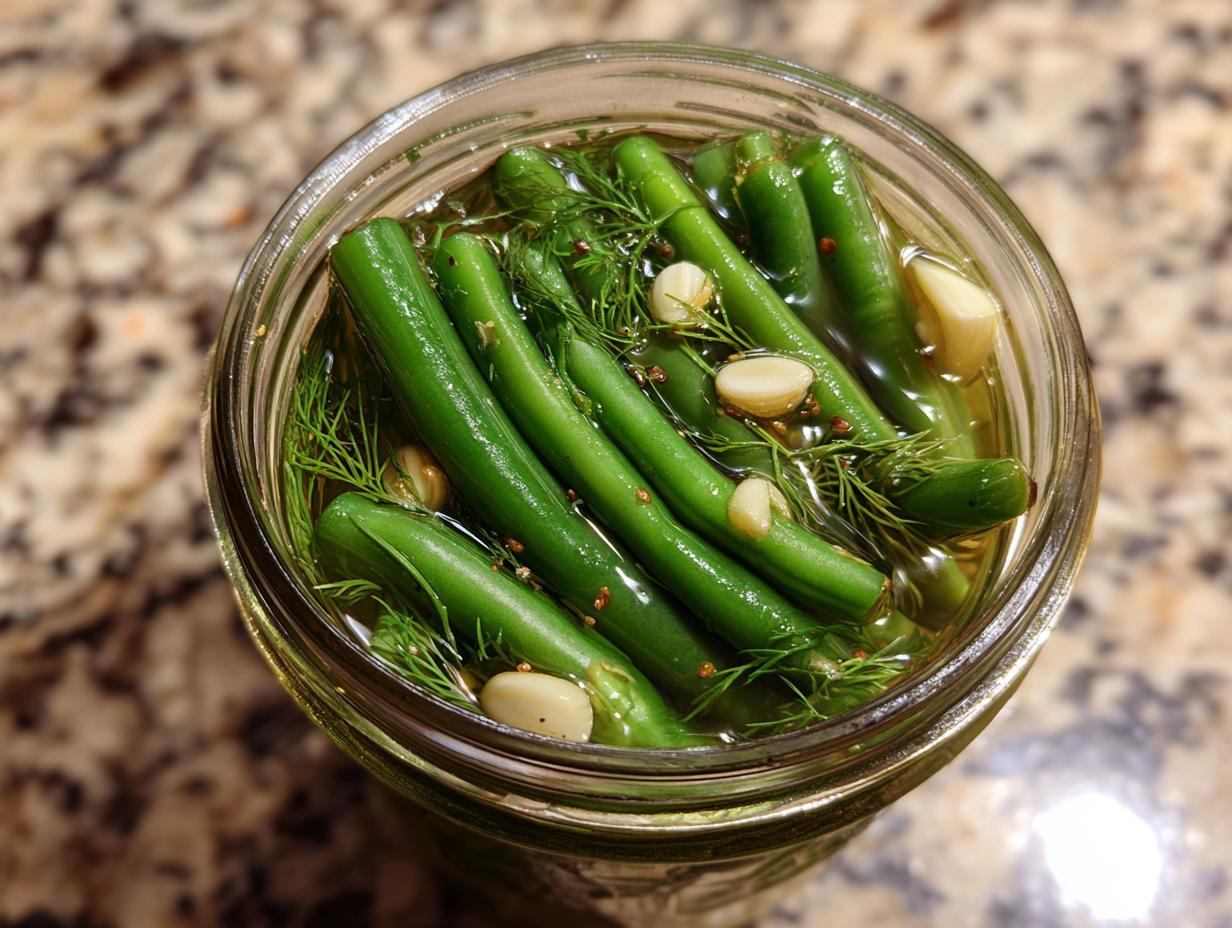

Hello there! I’m Sarah Peterson, and I am absolutely thrilled that you stopped by Cut Cook Taste today. This little corner of the internet is where I share all the food I love, from the comforting classics I learned making pies with my grandmother to the fun, fast recipes I whip up after a long day in my own busy kitchen. You know how sometimes you just crave that snappy, tangy crunch of a pickle, but you don’t want to wait weeks? That’s where my obsession with quick pickling comes in! Today, we are diving headfirst into making the most addictive snack imaginable: homemade dilly beans. Discover more about my journey in the kitchen over at the About Me page! Trust me, once you get these garlicky green beans into your fridge, figuring out how to preserve vegetables is going to become your new favorite hobby.
- Why You Will Love This Easy & Crunchy Refrigerator Dilly Beans Recipe
- The Essential Ingredients for Perfect Dilly Beans
- How to Make Refrigerator Dilly Beans: Step-by-Step Instructions
- Turning Refrigerator Dilly Beans into Canned Dilly Beans Recipe
- Tips for Perfect Garlic Dill Pickle Flavor in Your Dilly Beans
- Serving Suggestions for Homemade Pickled Vegetables
- Storage and Shelf Life for Your Dilly Beans
- Frequently Asked Questions About Quick Pickles Green Beans
- Share Your Best Dilly Bean Creations
Why You Will Love This Easy & Crunchy Refrigerator Dilly Beans Recipe
I’ve tried every method under the sun for preserving veggies, but when it comes to these dilly beans, the refrigerator route is just unbeatable for weeknight cravings. Seriously, if you’re looking for a simple, hands-off way to get that pickle fix, this is your winner!
- Ready in Under 24 Hours: Forget the long processing times. These are the ultimate quick pickled green beans you’ve been dreaming of.
- The Snappiest Crunch: We use a super-hot brine poured over fresh beans, which locks in that perfect snappy texture. They are truly crunchy pickled beans!
- Zero Canning Required: This is my favorite secret weapon—it’s pure no can pickling magic right in your fridge. No special equipment needed!
- Intense Garlic & Dill Flavor: We pack those jars tight with fresh garlic and dill. It’s way punchier than anything you buy at the store.
- Perfect for Beginners: If you’re nervous about preserving green beans traditionally, this is the most forgiving and easiest way to make dilly beans.
- Versatile Snacking: They are fantastic straight out of the jar, but they also jazz up sandwiches and Bloody Marys instantly.
The Essential Ingredients for Perfect Dilly Beans
Okay, let’s talk about what actually goes into the jars because the success of these dilly beans hinges on good, basic stuff. Remember, since this is a quick pickle method, we aren’t processing them for hours, so the quality of what we put in matters! I always measure my salt precisely for this recipe. You need 2 pounds of crisp, fresh green beans, their ends nicely trimmed off. Then we build our brine using water, 5% acidity vinegar (this is non-negotiable, folks!), pickling salt, and just a tiny bit of sugar to balance the tang.
The flavor stars are easy: lots of garlic, which you want peeled and cut in half, and beautiful fresh dill. If you can’t find the full heads of dill, don’t panic—I’ll show you the seed swap below!
Ingredient Notes and Substitutions for Dilly Beans
This is where home preserving gets fun, but you have to respect the science just a little bit! First up: the vinegar. Please, please use a standard white vinegar that is exactly 5% acidity. That acidity level is what keeps everything safe and tangy in the fridge with this dilly bean recipe. If you use anything weaker, it won’t pickle correctly, and we don’t want that!
For the dill, fresh is always my top choice because it imparts that beautiful, vibrant pickle flavor. But if your markets are out, 4 teaspoons of dried dill seed works perfectly fine in a four-pint batch. It’s a little earthier, but still delicious. And for those who are asking about spicy dilly beans—that’s the red pepper flakes! You can adjust those up or down based on how much kick you like in your dill pickle recipe for beginners.
How to Make Refrigerator Dilly Beans: Step-by-Step Instructions
Alright, let’s get down to the fun part! Making refrigerator dilly beans is so fast, you’ll be shocked. The total prep time is barely thirty minutes, and then it’s just waiting time. I always prep my jars first because that’s the most hands-on part. You’ll need four clean, pint-sized canning jars ready to go. I sneak the flavor components in first—divide your garlic halves, your fresh dill heads (or dried seeds if you’re using those), and those fiery pepper flakes evenly among the jars.
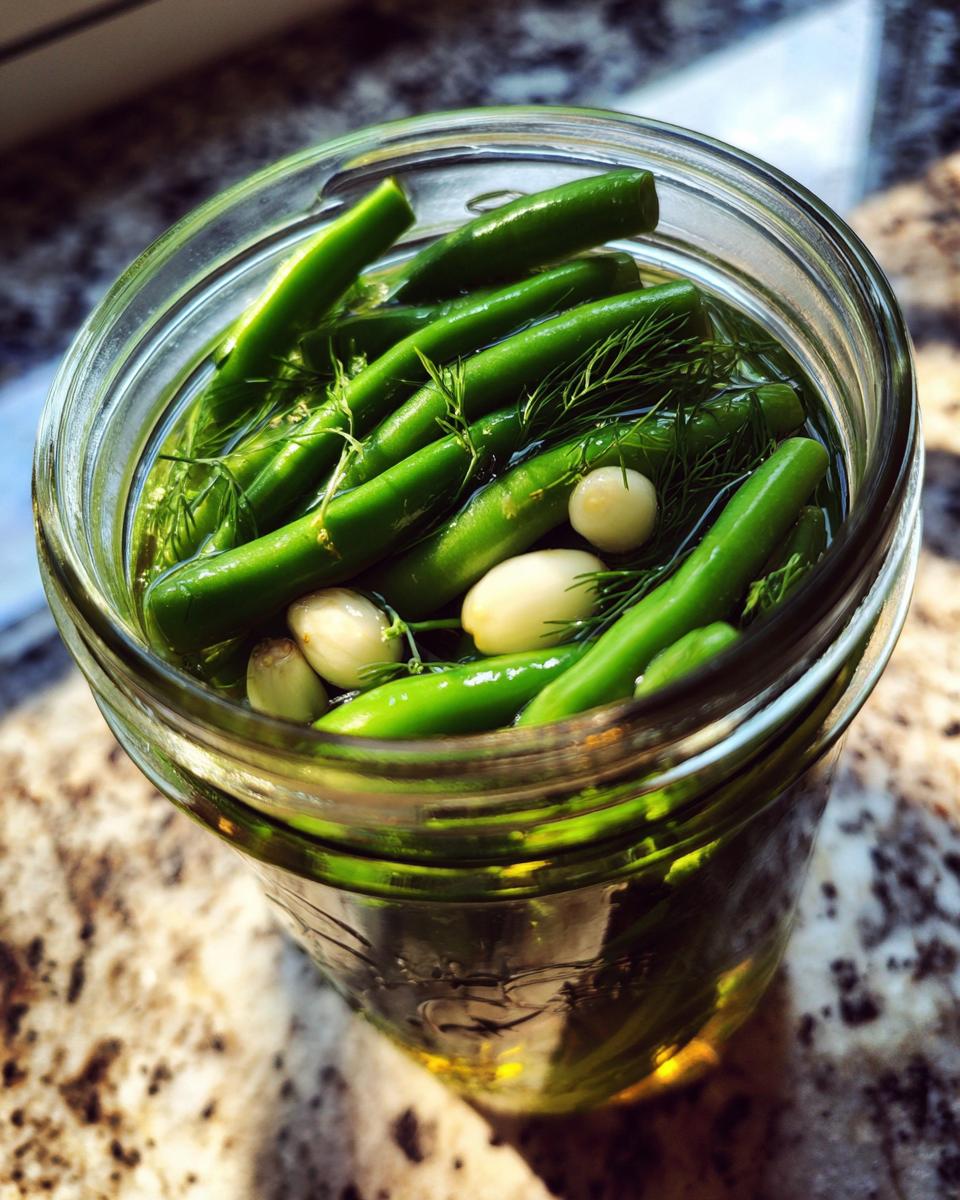
Next, the green beans! Wash them really well—make sure those little ends are trimmed off. Don’t be shy about packing them in! You want to wedge those beans in upright as tightly as you can. This is crucial for a full jar and that satisfying density we are aiming for. Once packed, set the jars aside while we tackle the best part: the brine.
In a saucepan, dump in your water, vinegar, pickling salt, and sugar. I bring this right up to a hard boil over medium-high heat. You have to stir it until you see that salt and sugar completely vanish—no gritty bottoms, please! That’s how you know the flavor is balanced. Once it’s boiling hard, turn off the heat.
Now, work quickly! We’re pouring that scorching hot brine right over the beans in the jars. Make sure everything is submerged and you leave about a half-inch of space at the top—that’s called headspace. Gently tap the jars on the counter—this is my little trick—to encourage any nasty air bubbles to escape. If the liquid level drops, top it up with a little more hot brine. Wipe those rims clean, pop the lids on fingertip tight, and let them crash on the counter for about an hour to cool down.
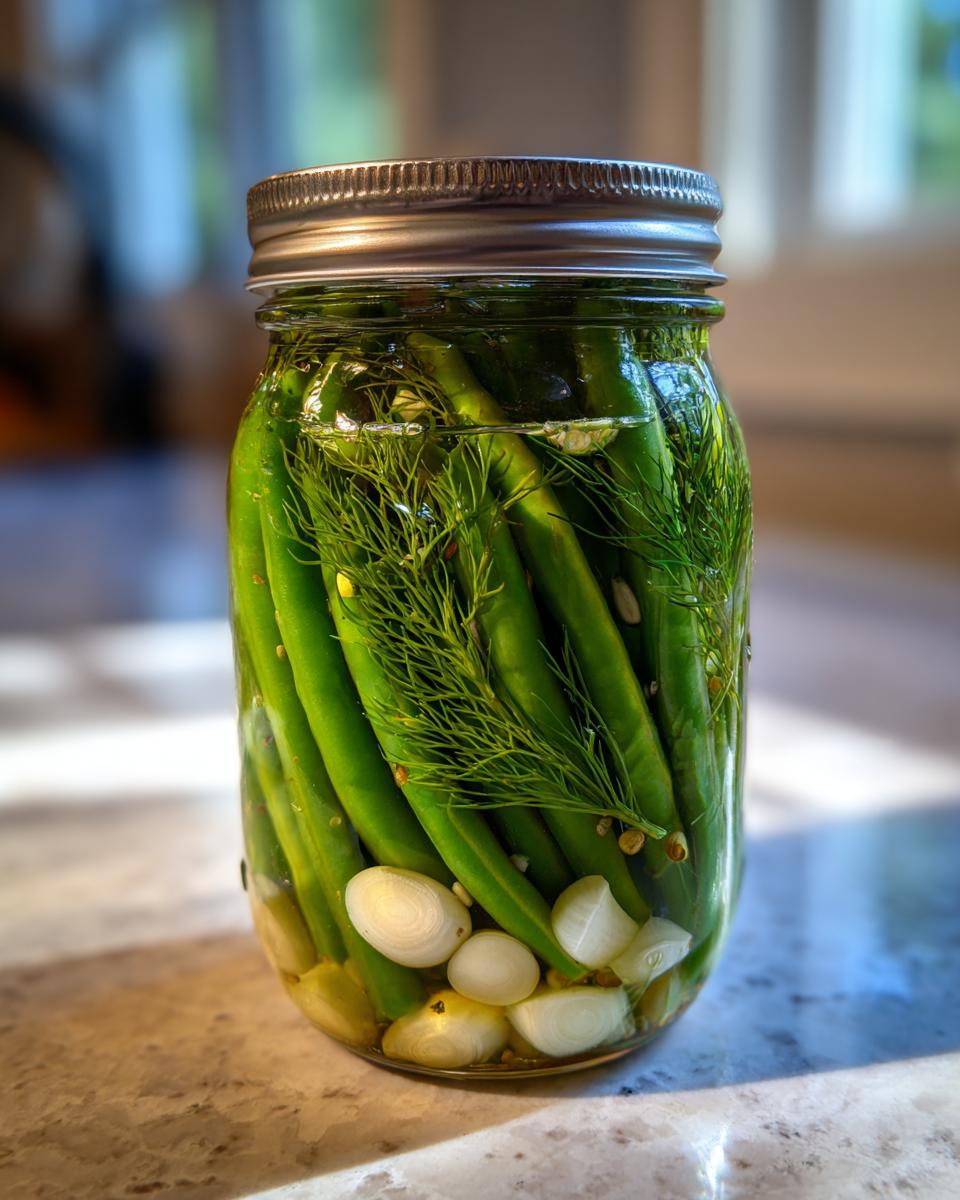
Once they are just warm to the touch, pop them straight into the fridge. That’s it! You’ve made quick pickles green beans! But here’s the real test: patience. We have to wait at least 24 hours for them to really start tasting like pickles. If you can hold out for 3 to 5 days, you’ll have the most incredible, zesty flavor experience. You can find a great guide on making basic refrigerator pickles on the blog too!
Achieving the Best Crunchy Pickled Beans Texture
Honestly, saving the crunch is my number one mission when making these dilly beans. You don’t want limp, sad beans; you want a satisfying *snap* when you bite into them! The secret to truly crunchy pickled beans lies in three things we’ve touched on, but let me emphasize them.
First, use the freshest beans you can find. If the beans feel limp at the store, toss them back. They need to be taut and sturdy. Second, the brine needs to boil, but you don’t want to simmer it for ages. Heating the brine just long enough to dissolve the salt—and nothing more—keeps the acid level strong and ready to act fast on the beans.
And most importantly? Get those jars into the refrigerator as soon as they cool down after being filled. The immediate cold shock, combined with that hot vinegar bath, is what locks that crispness right into the green beans. If you let them sit on the counter for too long, they can soften up, and we certainly don’t want that when we aim for the best dilly bean recipe!
Turning Refrigerator Dilly Beans into Canned Dilly Beans Recipe
Now, I know not everyone wants a small batch of pickles that have to live in the fridge. Some readers want to preserve their entire summer bounty! If you’ve got an explosion of green beans and you’re craving that beautiful, shelf-stable product, adapting these quick dilly beans for a water bath is absolutely possible. It makes them a formal part of your canned dilly beans recipe collection.
The beautiful thing about this recipe is that the brine ratio—the water, vinegar, salt, and sugar—is already perfectly balanced for preservation. This means the ingredient work is already done for you! We just need to introduce the proper heat processing to ensure they stay safe long-term.
If you have filled your jars, wiped the rims perfectly clean, and screwed the lids on finger-tight exactly as described above, you are ready for canning day! You’ll need a large pot with a rack inside, often called a water bath canner. Get your water simmering, and gently place those jars onto the rack. Make sure the water covers the tops of the jars by at least an inch or two!
Here’s the critical part for safety, friends: You must process these jars in a rolling boil for exactly 10 minutes. Set a kitchen timer—don’t guess! If you live at a very high altitude, you’ll need to adjust that time upward, so please check your local trusted canning guidelines if you live above 1,000 feet. I always recommend checking out comprehensive guides like the one I found over at One Hundred Dollars a Month before attempting your first batch of canning.
Once the timer goes off, turn the heat off and let the jars sit in the hot water for about five minutes before carefully lifting them out. Set them on a towel or cooling rack away from drafts to cool completely overnight. You should hear that satisfying *pop, pop, pop* as the lids seal tightly! This method turns your super-fast dilly bean recipe into something you can enjoy all winter long.
Tips for Perfect Garlic Dill Pickle Flavor in Your Dilly Beans
If flavor is what you’re chasing, you have to treat the aromatics like the stars of the show they are! This isn’t just about preserving; it’s about layering deep, savory, and herbaceous notes into those beautiful green beans. My goal with any dilly bean recipe is that perfect, balanced hit of garlic and dill that makes you immediately reach for another one. So, let’s talk boosting that aromatic punch!
The biggest flavor difference comes from your dill choice. If you can get fresh dill heads—those feathery tops teeming with seeds—use them! I find they infuse the brine much better than just the dried seed does, giving you that bright, grassy note that classic garlic dill pickles are known for. But again, if you only have dried dill seed on hand, don’t stress! Just double-check that it’s fresh seed; old seed smells dusty, and that will ruin your batch.
When it comes to the garlic, I always overdo it just a tiny bit, especially for the refrigerator version. The recipe calls for 8 cloves per four pints, but if you look at my private notes—the ones I rarely share publicly—you’ll see I usually sneak in 10 or 12! Plus, my little secret for releasing maximum garlic punch is not just slicing it, but giving the peeled cloves a quick, solid smash with the side of my biggest kitchen knife before tossing them in the jar. You don’t want to mince them into oblivion, but you do want to crack their little shells open so all that gorgeous flavor seeps out into the brine as they pickle.
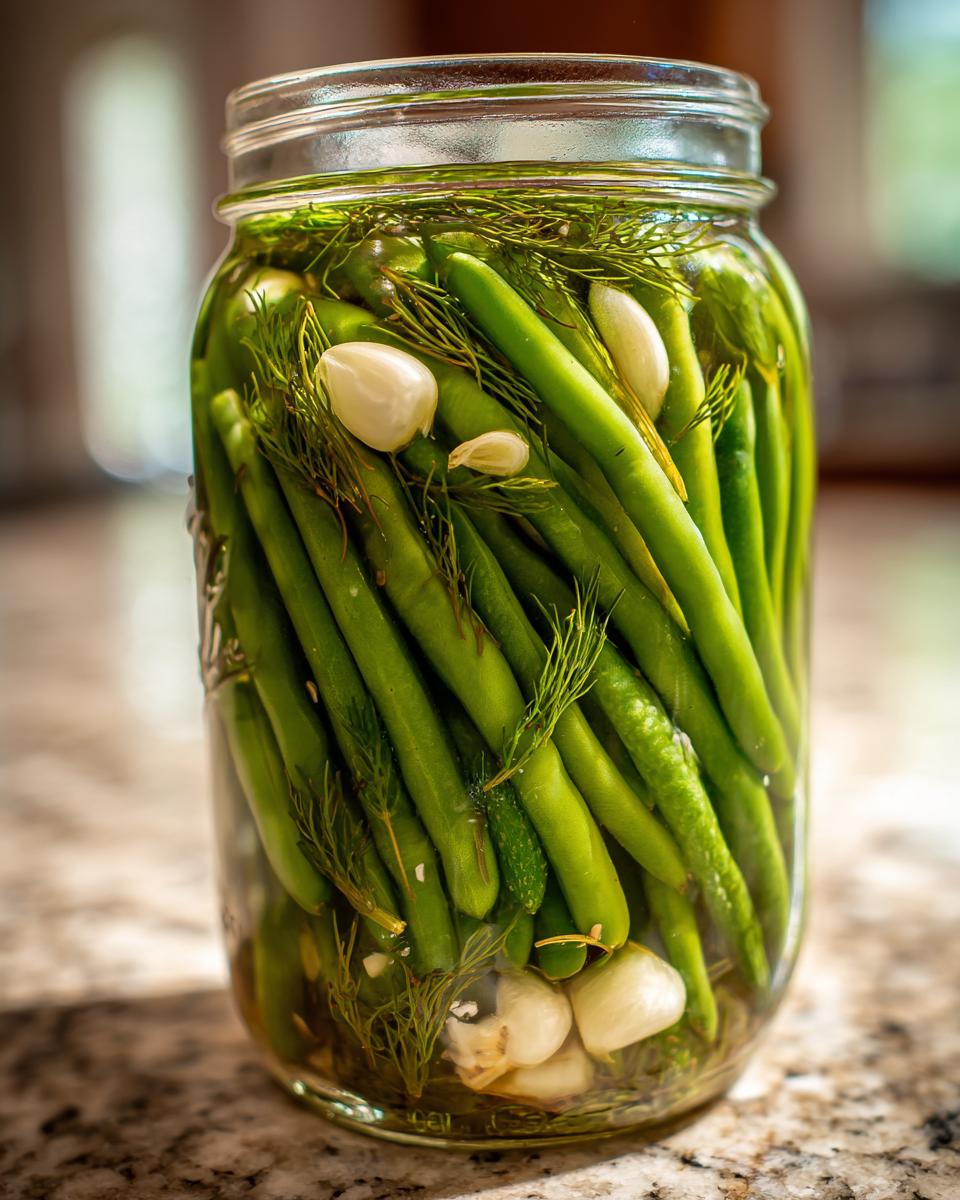
And don’t forget about the heat! If you want to transform these into memorable spicy dilly beans, feel free to experiment beyond the red pepper flakes. Sometimes I’ll toss in a thin slice of jalapeño—seeds and all—right alongside the garlic. Just remember, heat travels! If you love that spice, you can add more, but if you’re sharing with people who prefer milder snacks, keep those flakes light. It’s all about balancing those savory notes with the acid, and that’s why following great dill pickle recipe for beginners steps matters so much!
If you love intense garlic flavor, you absolutely have to check out this Dilly Beans Recipe for Garlic Lovers resource I came across. It gives some wonderful inspiration for tweaking the amounts for true garlic fanatics like me!
Serving Suggestions for Homemade Pickled Vegetables
So, you have these glorious jars of vibrant, tangy green beans sitting in your fridge—congratulations! Now, what do you do with them besides eating half a jar standing over the sink (which I absolutely do, by the way)? While they are the star snack of any party, these homemade pickled vegetables really shine when paired with other foods. They bring that necessary acidic cut that balances out richness beautifully.
For simple weeknight dinners, they are perfect right alongside anything a little heavy. Think about serving them with a classic pot roast, mashed potatoes, or even alongside a hearty meatloaf. They provide the zest that cuts through the fat, waking up your whole plate. I always keep a jar open when I make my famous copycat salad because they add such a fantastic, unexpected pickle crunch!
But my absolute favorite way to show them off is on a proper appetizer board. Forget just olives and cheese; these pickles demand a place of honor on your next charcuterie spread. Group them next to salty prosciutto, creamy Brie, or a sharp cheddar. The bright acidity cleanses your palate between bites of rich cheese and salty cured meats. They look so pretty sticking out of a jar right in the center of the board, too!
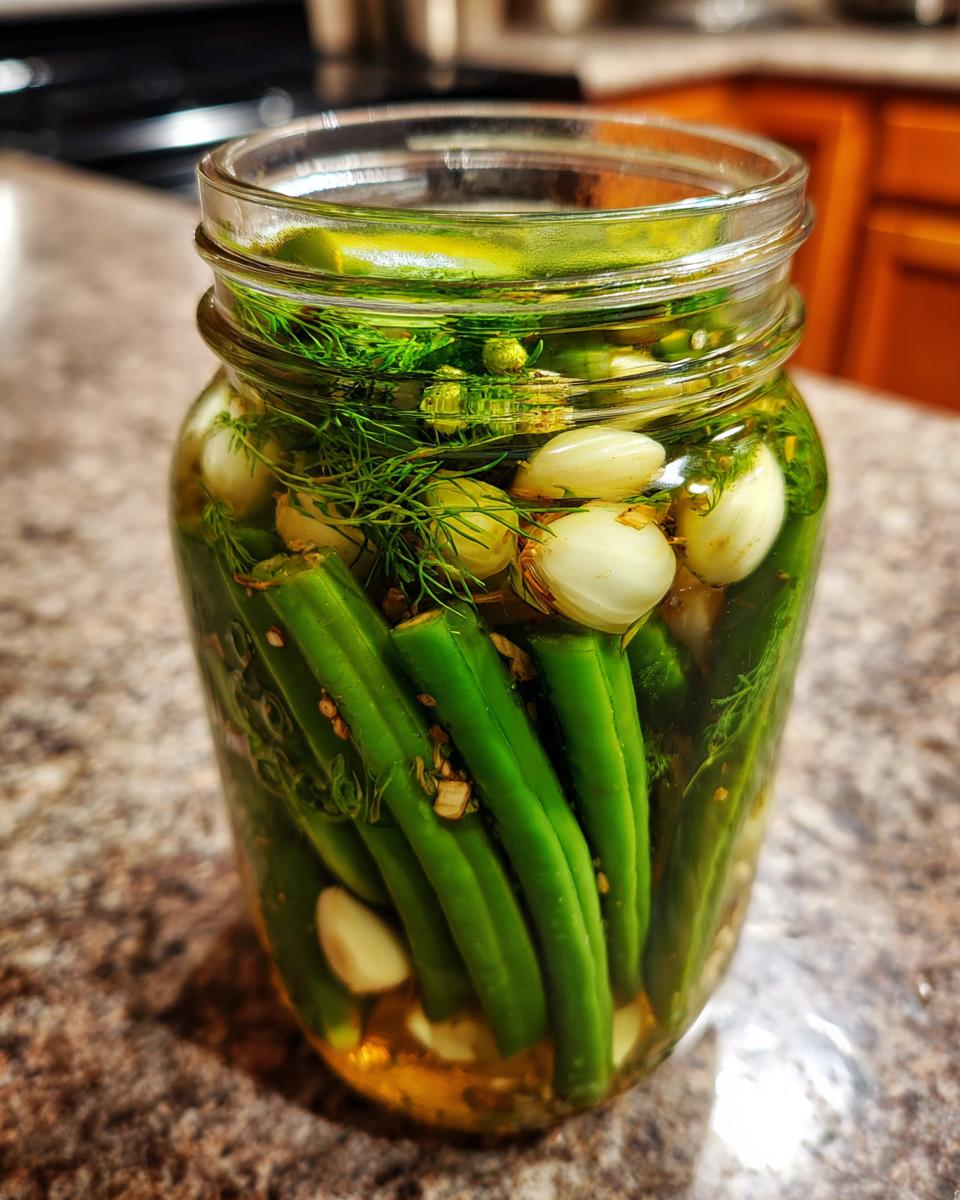
And don’t forget about your sandwich game! Next time you are making a turkey melt or a hefty deli pick, toss a few of these in instead of plain cucumber pickles. The long, slender shape makes them easy to layer, and that vibrant dill flavor makes even a simple ham and cheese feel gourmet. Seriously, once you have these on hand, you’ll find a reason to toss them into practically every savory meal, making everything brighter and far more interesting!
Storage and Shelf Life for Your Dilly Beans
I know you’re going to want to eat these immediately—trust me, my willpower is non-existent when those jars of dilly beans are cooling on the counter! Since this specific recipe is for our refrigerator pickles, storage is super simple, but you need to know the general guidelines. The beautiful thing about keeping them cold is you are essentially creating a very fresh, vibrant, quick pickle that has a much brighter snap than something that’s been canned for months.
For these homemade pickled vegetables, the flavor definitely peaks after about five days chilling in the fridge, but they stay delightfully crisp and flavorful for about four weeks. That’s how long I confidently recommend keeping them. After that four-week mark, you’ll notice they start to soften up a bit, and sometimes the garlic flavor can get a little overpowering, so it’s best to enjoy them within that window!
Because these are refrigerator pickles and they haven’t gone through a canning sterilization process, they *must* stay refrigerated at all times once they’ve cooled on the counter. Do not leave them sitting out on the table during a party for more than maybe two hours, just like any other perishable food. If you’re using them right away, you can grab a jar around the 24-hour mark, but remember that the longer they sit cold, the more that vinegar brine permeates the beans, making them perfectly pickled!
When you serve them, there’s no reheating or special preparation needed—they are served cold! Just pull out a jar, rinse them off slightly if you want to remove any excess garlic bits floating around (though I never do!), and enjoy that incredible crunch. Honestly, the only thing you need to worry about is making sure you don’t run out before your next batch of green beans is ready!
Frequently Asked Questions About Quick Pickles Green Beans
It’s totally normal to have a few questions when you try a new preserving method! I remember being nervous the first time I tried any type of homemade pickled vegetables because I just didn’t want to waste good produce. These questions come up a lot, so I wanted to put the answers right here so you can feel totally confident making your batches of quick pickles green beans!
How long until refrigerator dilly beans are ready to eat?
This is the hardest part for everyone because they smell so good right out of the brine! For safety and flavor penetration, you absolutely must let them chill for a minimum of 24 hours. That gives the hot vinegar solution time to work its magic. However, if you can show a little patience, I promise you, waiting 3 to 5 days is where the real flavor explosion happens. That’s when they hit their peak zestiness!
Can I make spicy dilly beans using different peppers?
Oh, absolutely! The red pepper flakes are just the easiest way to hit that spicy note, but feel free to get creative! If you have hotter peppers on hand, you can certainly substitute dried flakes for a thin slice of serrano or even a small jalapeño. My biggest piece of advice, though, is to start small. If you try one slice of a super-hot pepper, remember that heat intensifies as the pickle sits! You can always add more heat later, but you can’t take it out once it’s brined in there!
What is the difference between this and dill pickle recipe for beginners?
That’s a great question, especially if you’re used to seeing those big jars of cucumber pickles! The main difference here is twofold: the vegetable and the method. Traditional dill pickle recipe for beginners usually focuses on cucumbers, which are softer and require a full processing time (canning) for shelf stability. Our recipe uses firm green beans in a shorter, refrigerator-only brine. We get that fantastic flavor profile without the weeks of waiting, making these quick pickled green beans much faster to achieve satisfaction!
Share Your Best Dilly Bean Creations
Now that you have the secrets to making these incredibly flavorful and crunchy pickled beans, I truly hope you try them out! There’s nothing better than coming back to the kitchen after weeks of waiting and pulling out a jar of perfect dilly beans that you made yourself. That feeling? It’s magic, and I want you to experience it!
Once you’ve let them chill, given them that first glorious taste, and decided they are officially the best homemade pickled vegetables you’ve ever made—please come back and let me know! Drop a quick rating below using the star system; it really helps other home cooks know this recipe is a winner.
I absolutely love seeing your jars! Snap a picture of your spicy dilly beans next to your favorite sandwich or featured on a busy charcuterie board and tag me on social media. Hearing about your successes, or even if you ran into a little snag, helps me make the instructions here at Cut Cook Taste even better for the next person. We are building a little community here, and your feedback keeps the conversation going. Happy pickling, my friends—I can’t wait to see what you create!
PrintEasy & Crunchy Refrigerator Dilly Beans
Make these quick pickled green beans, known as dilly beans, without canning. They are tangy, garlicky, and ready fast for snacking or serving as a zesty side dish.
- Prep Time: 20 min
- Cook Time: 10 min
- Total Time: 30 min
- Yield: 4 pints 1x
- Category: Side Dish
- Method: Quick Pickling
- Cuisine: American
- Diet: Vegetarian
Ingredients
- 2 pounds fresh green beans, ends trimmed
- 4 cups water
- 2 cups white vinegar (5% acidity)
- 2 tablespoons pickling salt
- 1 tablespoon granulated sugar
- 8 cloves garlic, peeled and halved
- 4 heads fresh dill (or 4 teaspoons dried dill seed)
- 1 teaspoon red pepper flakes (optional, for spicy dilly beans)
Instructions
- Prepare the green beans: Wash the green beans well. Trim the tough ends off each bean.
- Pack the jars: Take four clean pint-sized canning jars. Divide the garlic cloves, dill heads (or seed), and red pepper flakes (if using) evenly among the jars. Pack the green beans tightly into the jars, standing them upright.
- Make the brine: In a medium saucepan, combine the water, vinegar, pickling salt, and sugar. Bring the mixture to a boil over medium-high heat, stirring until the salt and sugar dissolve completely.
- Pour the brine: Carefully pour the hot brine over the green beans in each jar, making sure the beans are completely covered. Leave about 1/2 inch of headspace at the top of the jar.
- Remove air bubbles: Gently tap the jars on the counter or slide a thin, non-metallic utensil down the sides to release any trapped air bubbles. Add more brine if the liquid level drops below the 1/2 inch headspace mark.
- Seal and chill: Wipe the rims of the jars clean. Place the lids and rings on the jars, tightening them to fingertip tight. Let the jars cool on the counter for about an hour. Once cooled, place the jars in the refrigerator.
- Wait to eat: Allow the dilly beans to chill and pickle for at least 24 hours before eating. For the best crunchy pickled green beans flavor, wait 3 to 5 days. These refrigerator dilly beans are best eaten within 4 weeks.
Notes
- For a canning option, process these jars in a boiling water bath for 10 minutes after sealing for shelf stability.
- If you prefer a stronger garlic dill pickle flavor, increase the garlic cloves to 12.
- To make spicy dilly beans, add 1/2 teaspoon of dried red pepper flakes per jar.
Nutrition
- Serving Size: 1/2 cup
- Calories: 25
- Sugar: 2
- Sodium: 350
- Fat: 0
- Saturated Fat: 0
- Unsaturated Fat: 0
- Trans Fat: 0
- Carbohydrates: 5
- Fiber: 1
- Protein: 1
- Cholesterol: 0