
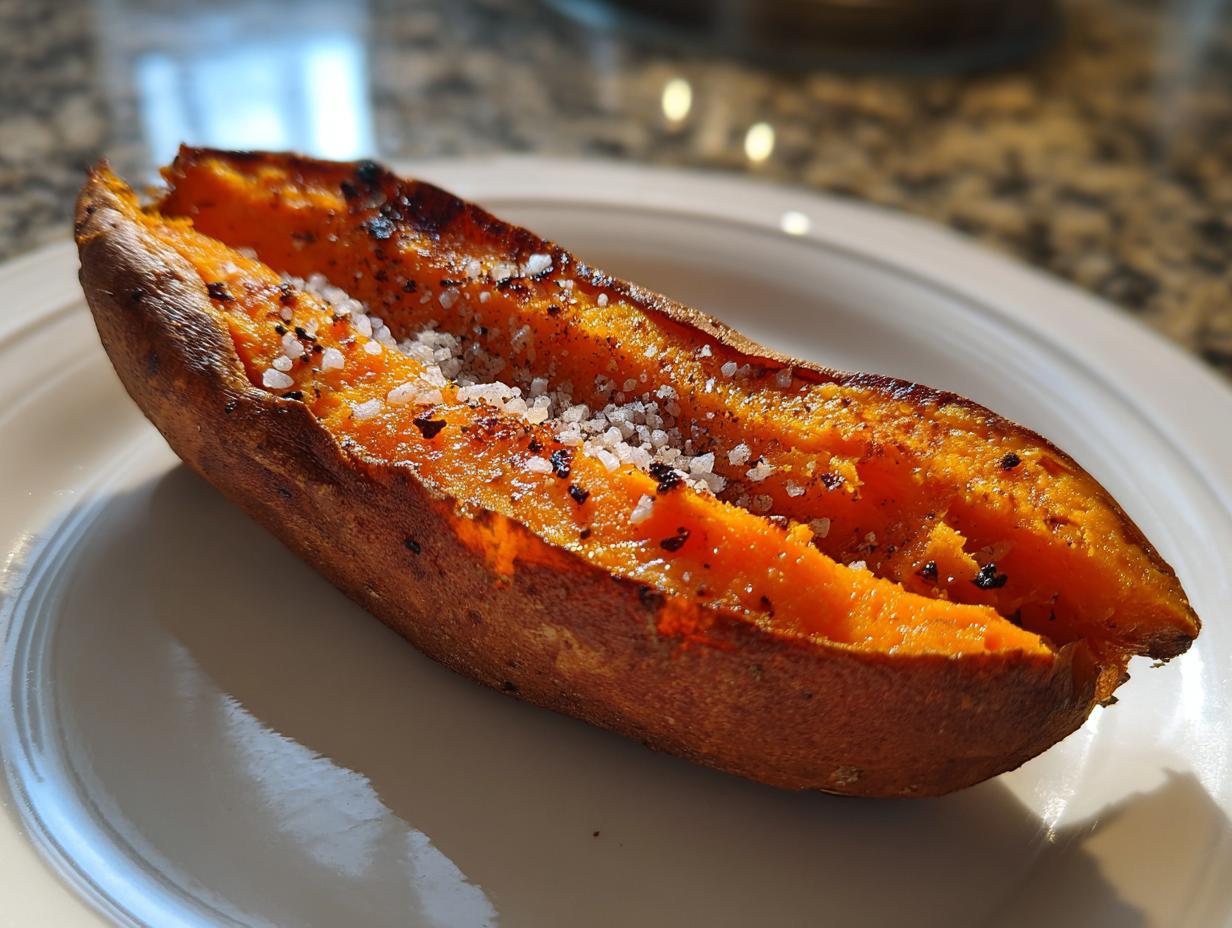

When you want a great sweet potato, there’s nothing worse than cutting into it only to find the inside is dense, or worse, still firm in the middle! I’ve wasted so many lovely carrots wrestling with foil wrappers trying to steam them soft. Ugh. That’s why I developed this foolproof method for making **baked sweet potatoes** in the oven. This approach gets you that amazing, fluffy interior every single time, paired with skin that actually crisps up beautifully. Trust me, after years of testing, this simple technique is the absolute best way to cook sweet potatoes for dinner or meal prep.
- Why This Foolproof Method Delivers Perfect Baked Sweet Potatoes Every Time
- Ingredients Needed for Simple Oven Baked Sweet Potatoes
- How to Prepare Baked Sweet Potatoes: Step-by-Step Instructions
- Making Baked Sweet Potatoes Work for Meal Prep Sweet Potatoes
- Simple Sweet Potato Topping Ideas to Serve with Baked Sweet Potatoes
- Sweet Potato Cooking Methods Compared to Baking Baked Sweet Potatoes
- Frequently Asked Questions About Baked Sweet Potatoes
- Estimated Nutritional Values for Baked Sweet Potatoes
- Share Your Perfectly Baked Sweet Potatoes Creations
Why This Foolproof Method Delivers Perfect Baked Sweet Potatoes Every Time
Okay, this is where we stop fighting our sweet potatoes and actually get them to cooperate! The goal here is texture, plain and simple. We want the inside so creamy it practically melts, and the outside needs that beautiful, slightly crackly shell. That’s what makes a fantastic, **healthy baked potato** experience. If you want **crispy skin sweet potatoes**, you absolutely must skip the foil. I learned this the hard way in my early **oven baked sweet potatoes** experiments! Wrapping them traps moisture, and steam ruins any chance of crispness. That’s just science in the kitchen!
If you’re looking for a truly top-tier **fluffy sweet potato recipe**, this technique is honestly the best way to cook sweet potatoes. We get amazing results every time, which is why I always turn to this method, even when I’m just making a quick side dish.
Achieving Crispy Skin Sweet Potatoes Without Foil
The biggest secret to getting that gorgeous, slightly wrinkled skin is air circulation! We set our sweet potatoes directly on a wire rack positioned over a baking sheet. That wire rack lets the heat hit the bottom of the potato equally while the direct heat from the top dries out the skin. Think of it like roasting; you need exposure everywhere. This simple trick guarantees you get the texture we are aiming for without wrestling with foil that traps all that steam.
Tips for a Fluffy Sweet Potato Recipe Interior
A fluffy interior comes from managing the steam *inside* the potato. That’s why you need to prick them deeply all over with a sharp fork before they even see the oven. This gives the built-up moisture a place to escape gradually, preventing the potato from bursting while ensuring the flesh steams perfectly in its own jacket. This method at 400°F is really the **best way to cook sweet potatoes** to that creamy, mashable texture. If you still want more information on how to transform this side, you can check out my recipe for our Ultimate Creamy Mashed Sweet Potatoes!
Ingredients Needed for Simple Oven Baked Sweet Potatoes
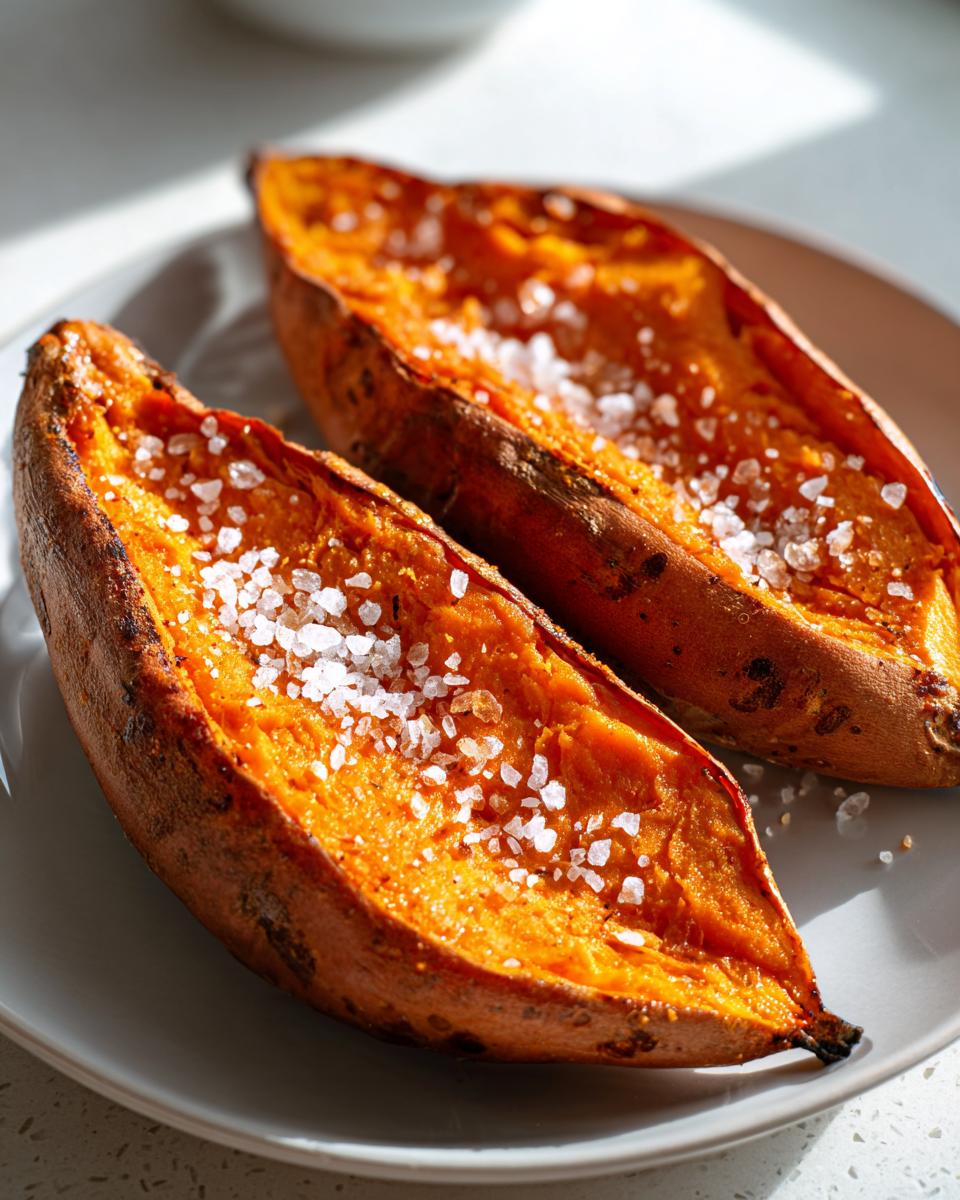
Okay, friend, these **baked sweet potatoes** require almost nothing, which is just how I love my **quick weeknight sweet potatoes** to be! We’re keeping the ingredient list short so the natural flavor of the sweet potato can really shine through. You only need four actual ingredients, plus salt and pepper, which I count as pantry staples. Measuring correctly here is key for the final texture, so make sure you have these items ready to go.
- 4 medium sweet potatoes, scrubbed clean
- 1 tablespoon olive oil
- 1 teaspoon coarse salt
- 1/2 teaspoon black pepper
How to Prepare Baked Sweet Potatoes: Step-by-Step Instructions
Finally, let’s talk about the actual process of **how to bake sweet potatoes** so they turn out perfectly fluffy. This setup is what guarantees you get that amazing, restaurant-quality side dish right from your home oven. We’re aiming for 40 to 50 minutes total cooking time, depending on how big your potatoes are, so get that oven warming right now! This is a weeknight recipe hero because the prep takes mere minutes, and then you just wait for that delicious aroma to fill your house.
Expert tip: For the absolute crispiest skin, pop your wire rack and baking sheet into the oven while it preheats to 400 degrees Fahrenheit. Starting your potatoes on a searing hot surface really helps shock the skin into crispness!
Prepping and Seasoning Your Baked Sweet Potatoes
First things first: grab a good brush and scrub those potatoes until they’re spotless. Then, you must prick them deeply all over—I mean several good pokes on every side with a sturdy fork. This is the secret to regulating the steam so the inside cooks evenly instead of exploding! Next, take your olive oil and give each one a light coating. Don’t drown them; just enough to help the seasoning stick. Finish by sprinkling on the coarse salt and black pepper evenly before setting them on that hot rack. Remember, absolutely **no foil needed** here!

Baking Time and Testing for Perfectly Cooked Sweet Potatoes
Once they’re nestled on that wire rack, slide the whole thing into your 400°F oven. For medium potatoes, start checking around the 40-minute mark. You’re looking for two things to tell you they are done: the skin should look slightly shriveled and definitely crispy, and when you poke them gently, they need to feel soft all the way to the center. If a fork slides in with zero resistance, you’ve nailed it! If they still feel firm, give them another 5 to 10 minutes. We want them just right for dinner tonight! If you want a gorgeous roasted look, these roasting instructions might help you out too: Easy Crispy Roasted Sweet Potatoes.
Making Baked Sweet Potatoes Work for Meal Prep Sweet Potatoes
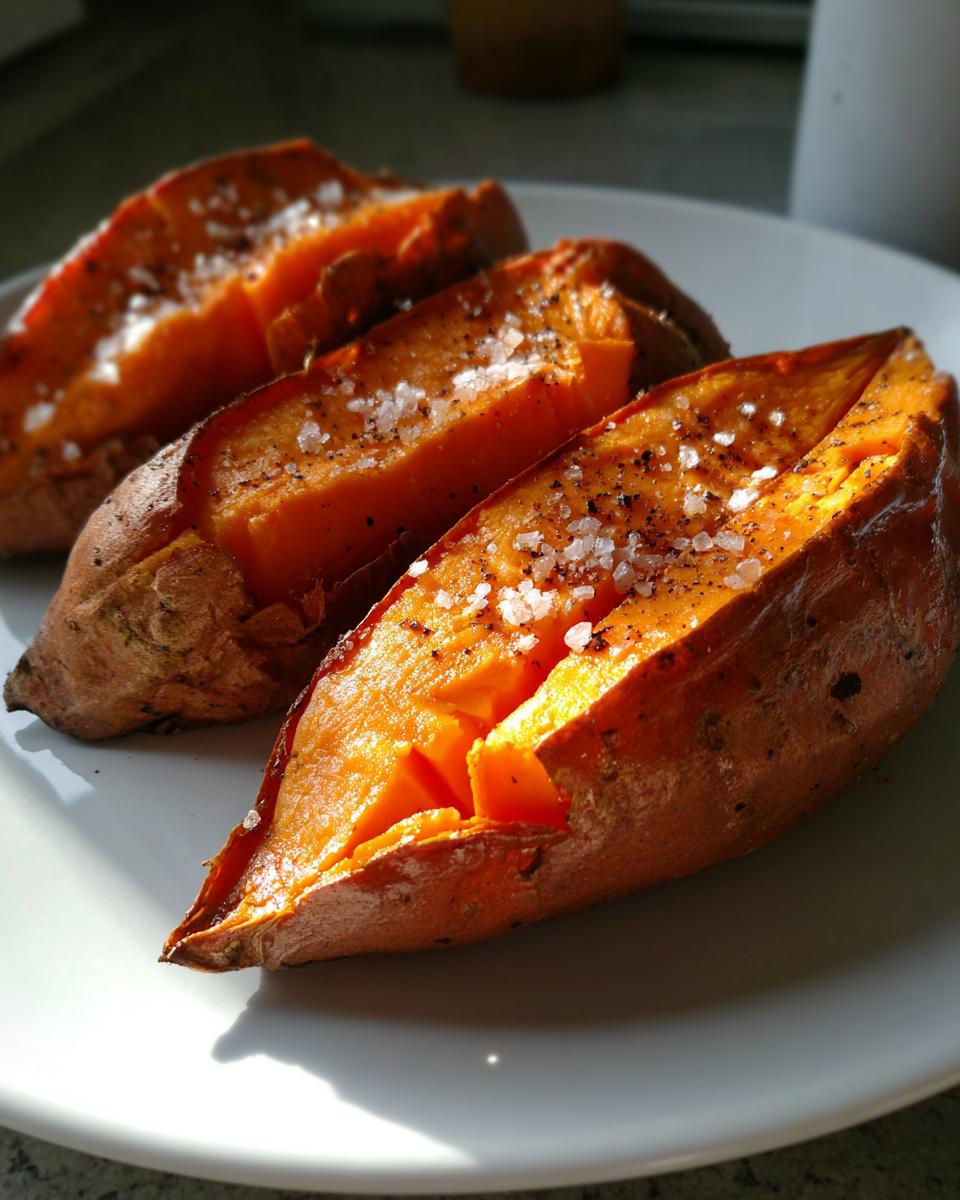
You know, one of the best things about mastering **baked sweet potatoes**? They are absolute superstars for planning ahead! When you’re looking for **meal prep sweet potatoes**, this simple baking method shines because they hold up so well. I often bake a big batch on Sunday so I have healthy sides ready all week long. It saves so much time when you’re trying to rush dinner on a Tuesday night!
Here’s my pro tip for keeping them perfect: Let them cool completely after baking, then store them whole in the fridge for up to four days. When it’s time to eat, don’t microwave them! Pop them directly onto a sheet pan in a 350-degree oven for about ten minutes. That quick blast of dry heat reapplies the crispness to the skin that you worked so hard to achieve in the first place. It keeps them tasting like they just came out of the oven! For pairing, you might also want to try my recipe for Soft and Fluffy Texas Roadhouse Rolls when you serve them!
Simple Sweet Potato Topping Ideas to Serve with Baked Sweet Potatoes
Now that you have these perfectly fluffy **baked sweet potatoes**, it’s time for the fun part: making them your own! This recipe is truly the ultimate **easy sweet potato side dish** because it’s such a fantastic base for whatever flavor profile you’re craving. Whether you need a simple, wholesome addition to your plate or something a little more decadent, we have options.
For a classic, comforting sweet vibe, just a pat of real butter that melts right into the center, a little sprinkle of cinnamon, or a dusting of brown sugar is divine. If you’re going savory, you absolutely must try a delicious garlic butter swirl! If you want to see an amazing savory flavor profile, check out this incredible Garlic Butter Sweet Potato Bake inspiration. Or, if you’re feeling cheesy, my Easy Potato Cheese Soup recipe proves just how versatile potatoes can be!
Sweet Potato Cooking Methods Compared to Baking Baked Sweet Potatoes
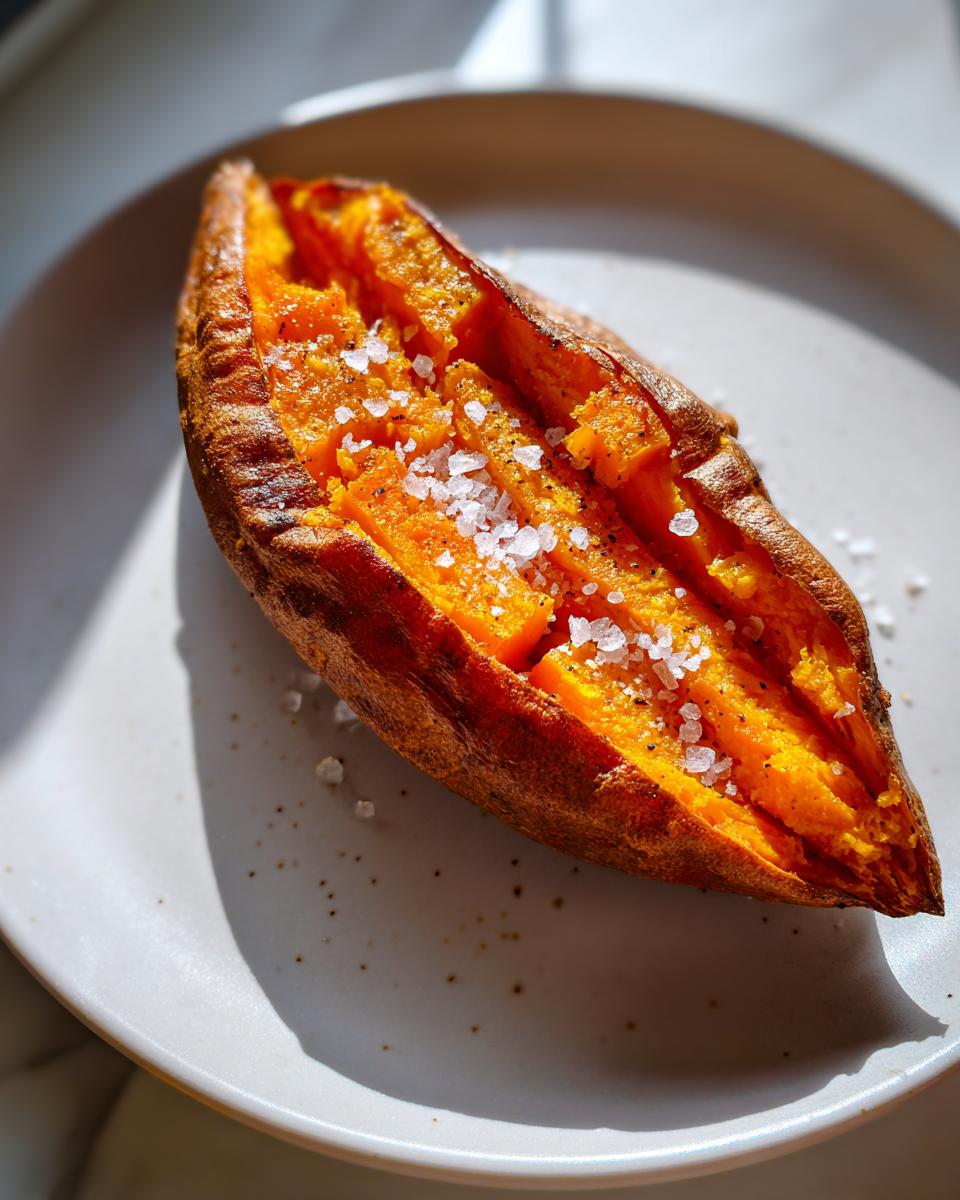
When folks are in a real hurry, I totally get the temptation to grab the microwave—it’s fast, I know! But if you’re hunting for that amazing interior fluff and a truly **crispy skin**, microwaving or boiling just won’t cut it, unfortunately. Those methods steam the potato completely through, leaving the skin soft and sad. It’s a totally different texture, and it won’t work if you are trying to make **meal prep sweet potatoes** that taste fresh later on.
When we talk about the **best way to cook sweet potatoes** for maximum flavor and texture contrast, dry heat roasting is king. That’s why this specific baking technique is my preferred method over other **sweet potato cooking methods**. If you want to see a fun way to use baked potatoes after this, check out my thoughts on Twice Baked Potatoes! For more on getting that perfect texture, some other bakers swear by the secrets found over here, too—but I stick to my trusty oven!
Frequently Asked Questions About Baked Sweet Potatoes
I know you’re going to love this method for **baked sweet potatoes**, but sometimes questions pop up when you’re actually in the kitchen. That’s totally normal, especially when trying a new **sweet potato cooking method**! Here are a few things people ask me most often when they are trying to master homemade **oven baked sweet potatoes**.
How long does it take to cook large baked sweet potatoes?
That’s a great question about cooking time! The 40 to 50 minutes listed is perfect for medium potatoes, which are usually about the size of your fist. If you’ve got some real giants—say, those huge ones you see at the farmers market—you should plan on adding about 15 to 25 minutes more to that time. Always test them with a fork—if it slides in easily, they’re done, no matter what the clock says! Don’t worry too much about the time; just aim for that tender interior feel we talked about.
Are oven baked sweet potatoes a healthy baked potatoes option?
Absolutely, yes! When prepared like this, **oven baked sweet potatoes** are one of the most fantastic **healthy baked potatoes** options you can choose. They are naturally full of fiber, vitamins, and that wonderful sweetness. The magic happens when you keep the toppings simple too. If you add just a little salt, pepper, and maybe a teaspoon of butter, you’re adding flavor without loading up on unnecessary junk. They make such a satisfying base for **sweet potatoes for dinner**!
If you want to see some of my favorite things to make after you’ve baked them, you can check out my general latest kitchen adventures on the blog!
Estimated Nutritional Values for Baked Sweet Potatoes
When we keep things simple, these **baked sweet potatoes** stay incredibly wholesome! Here’s the breakdown for one potato using just the olive oil, salt, and pepper listed in the recipe above. Remember, this is just the base, so if you load it up with brown sugar or too much butter, the numbers will change, naturally.
- Serving Size: 1 potato
- Calories: 180
- Fat: 5g
- Carbohydrates: 34g (Fiber: 6g)
- Protein: 3g
These figures are just an estimate, of course. The size of your actual sweet potatoes throws things off slightly, and whatever delicious topping you choose to add at the end will definitely shift the totals! But as a base side dish, you can’t beat this!
Share Your Perfectly Baked Sweet Potatoes Creations
I truly hope this foolproof method helps you make the flappiest, crispiest **baked sweet potatoes** you’ve ever had! Knowing I helped you whip up an **easy sweet potato side dish** makes my day. If you loved this recipe, please leave a star rating right below! And hey, if you took a picture of your perfectly cooked sweet potatoes—maybe topped with cinnamon or that dreamy garlic butter—I’d love to see it over on social media! Tag me or reach out via my contact page. Happy cooking, everyone!
PrintThe Foolproof Method for Perfectly Baked Sweet Potatoes: Crispy Skin and Fluffy Inside

Learn the best way to bake sweet potatoes in the oven for a creamy interior and crispy skin every time. This simple, no-foil method is perfect for a healthy side dish or meal prep staple.
- Prep Time: 5 min
- Cook Time: 45 min
- Total Time: 50 min
- Yield: 4 servings 1x
- Category: Side Dish
- Method: Baking
- Cuisine: American
- Diet: Vegetarian
Ingredients
- 4 medium sweet potatoes, scrubbed clean
- 1 tablespoon olive oil
- 1 teaspoon coarse salt
- 1/2 teaspoon black pepper
Instructions
- Preheat your oven to 400 degrees Fahrenheit (200 degrees Celsius). Place a wire rack on top of a baking sheet.
- Prick each sweet potato deeply several times all over using a fork. This allows steam to escape and helps achieve a fluffy interior.
- Rub each sweet potato lightly with olive oil.
- Sprinkle the potatoes evenly with coarse salt and black pepper.
- Place the seasoned sweet potatoes directly onto the wire rack. Do not wrap them in foil.
- Bake for 40 to 50 minutes, depending on the size of the potatoes. The potatoes are done when the skin is slightly wrinkled and crispy, and a fork easily pierces the center.
- Remove from the oven. Let them cool for 5 minutes before slicing them open lengthwise. Fluff the inside flesh with a fork.
- Serve immediately with your favorite toppings.
Notes
- For the crispiest skin, place the baking sheet in the oven while it preheats.
- If you are meal prepping, bake the potatoes ahead of time and store them whole in the refrigerator for up to 4 days. Reheat in a 350 degree oven for 10 minutes to crisp the skin again.
- Simple topping ideas include a pat of butter, a sprinkle of cinnamon, brown sugar, or a savory topping like garlic butter or sour cream and chives.
Nutrition
- Serving Size: 1 potato
- Calories: 180
- Sugar: 13
- Sodium: 230
- Fat: 5
- Saturated Fat: 1
- Unsaturated Fat: 4
- Trans Fat: 0
- Carbohydrates: 34
- Fiber: 6
- Protein: 3
- Cholesterol: 0