
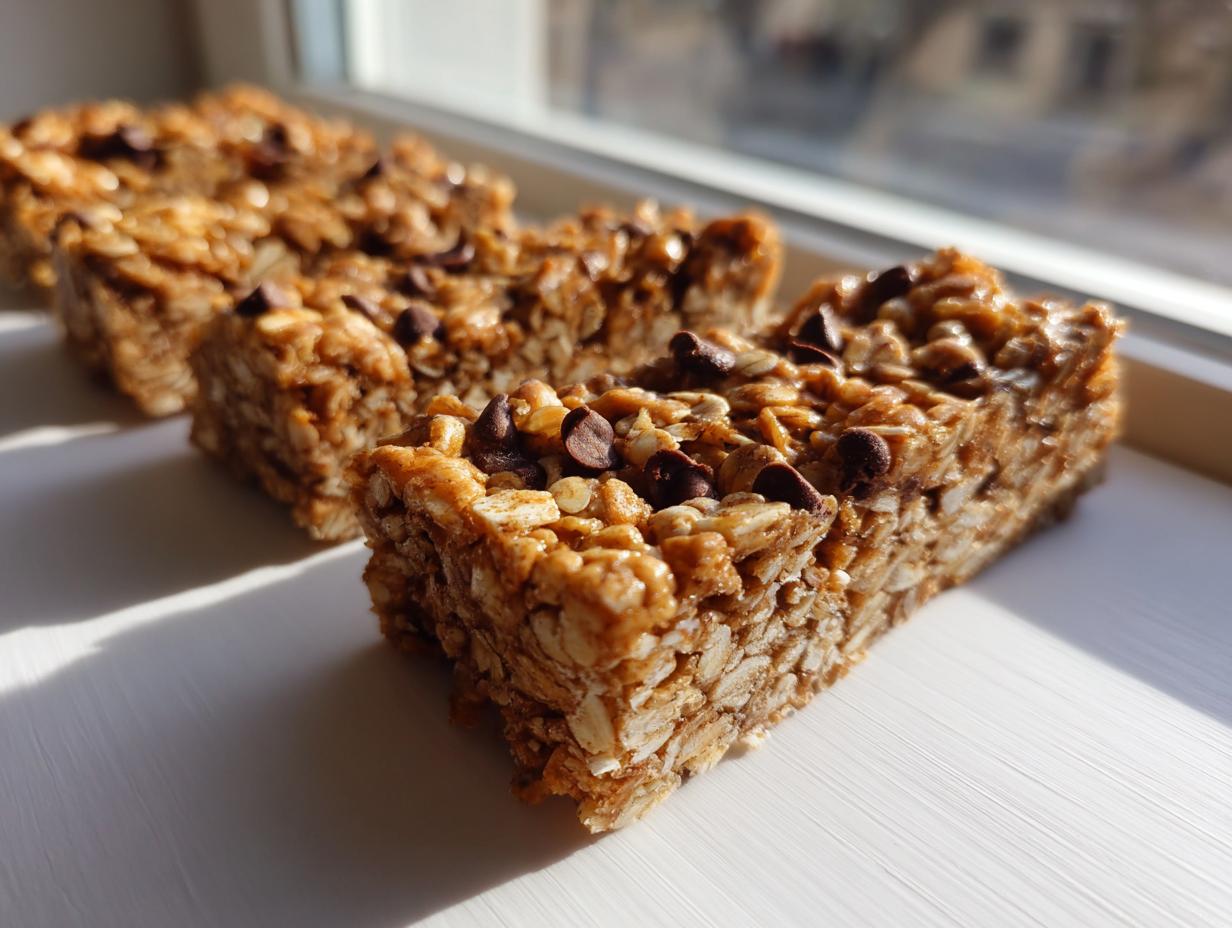

Oh, goodness, do I have a recipe for you today! Sometimes you just need that chewy, satisfying crunch without even turning on the oven, right? Whether it’s a busy Tuesday afternoon or you’re trying to assemble a batch of healthy grab and go snacks for the week, keeping things simple is my main goal here at Cut Cook Taste. That’s why I perfected these no bake granola bars. This recipe—the Ultimate Easy No Bake Granola Bars—is the lifeline for busy cooks. It comes together in about 15 minutes, and they set up perfectly in the fridge. Trust me, my background cooking with my grandmother taught me that the best homemade recipes are the ones you can rely on every single time, and these truly deliver that perfect chewy texture!
- Why You Will Make These no bake granola bars Again and Again
- Ingredients for Ultimate Easy no bake granola bars
- Essential Equipment for Making no bake granola bars
- Step-by-Step Instructions for Perfect no bake granola bars
- Tips for Success: Making the Best no bake granola bars
- Variations and Substitutions for your no bake snack recipes
- Storage and Make Ahead Breakfast Bars
- Frequently Asked Questions about no bake granola bars
- Nutritional Information Estimate for your no bake granola bars
- Share Your Homemade no bake granola bars Creations
Why You Will Make These no bake granola bars Again and Again
I know you’re busy, so let me tell you exactly why these no bake granola bars are going to become your new favorite snack solution. They are absolutely foolproof, which is exactly what I look for in my kitchen!
- Quick Prep Time for Busy Days
Seriously, you only need about 15 minutes of active time. That’s faster than running to the store! They are the perfect candidate when you need quick energy bites for an afternoon slump.
- Perfectly Chewy no bake treats
We aren’t making brittle here! When you press them down correctly and let them chill, you get these unbelievably satisfyingly chewy no bake treats. That texture is everything.
- Great for Meal Prep Snacks no bake
Since there’s no oven involved, they are so reliable for making ahead. You slice them up, stack them, and you’ve got your meal prep snacks no bake handled for the entire week!
Ingredients for Ultimate Easy no bake granola bars
One of the best things about these no bake granola bars is how straight-forward the ingredient list is. You probably have most of this sitting in your pantry already! We rely on creamy peanut butter and honey to act as our glorious, sticky binder. Remember, you’ll need an 8×8 inch pan, and make sure you line it with parchment paper before you start mixing anything up. Precision in ingredients is what keeps these from crumbling later!
- 2 cups rolled oats
- 1 cup crispy rice cereal
- 1/2 cup creamy peanut butter (or other nut butter)
- 1/2 cup honey or maple syrup
- 1/4 cup unsweetened shredded coconut
- 1/2 cup mix-ins (I love chocolate chips!)
- 1 teaspoon vanilla extract
- 1/4 teaspoon salt
Essential Equipment for Making no bake granola bars
Okay, so we don’t need a stand mixer or anything fancy for these no bake snack recipes, which I love! But you do need a few basics ready to go before you start melting that binder. Having everything measured and ready saves so much time when you’re working with sticky things like honey and peanut butter. It really helps keep the process smooth!
Here is the short list of things you absolutely must have on hand for success:
- An 8×8 inch metal or glass baking pan. This is crucial for getting that perfect thickness!
- Parchment Paper. This is non-negotiable, folks. Use it to line the pan so you can easily lift the entire block out later. That overhang is your best friend!
- A small saucepan. We are only heating the wet ingredients gently, so a standard small pot works perfectly.
- One large mixing bowl. This is where all the action happens before it goes into the pan.
- A sturdy spatula. You’ll need this for stirring everything together and, most importantly, for pressing the mixture down later.
Step-by-Step Instructions for Perfect no bake granola bars
This is where we turn pantry staples into delicious, handy snacks! The entire active part of making these no bake granola bars takes maybe 15 minutes, which is just fantastic. Follow these steps exactly, and you’ll have the best oatmeal bars without oven required!
Preparing the Pan and Dry Ingredients
First things first: get your 8×8 pan ready. You want to line it with parchment paper, making sure you leave a few inches hanging over the sides. That overhang is how you get these beauties out later without a fight! Once that’s done, grab your big mixing bowl. Toss in the 2 cups of rolled oats and the 1 cup of crispy rice cereal. Give that a quick swirl just to combine them before we make the sticky stuff.
Creating the Binding Syrup for your no bake granola bars
Now for the glue! In that little saucepan, combine your peanut butter and honey (or maple syrup if you’re going vegan). Put this mixture over low heat. And I mean low heat—we’re just warming it up until it’s smooth and runny enough to pour nicely. The most important thing, please listen to me on this one, is do not let this boil! Boiling changes the structure and can make your bars brittle. Once smooth, pull it off the heat and stir in that 1 teaspoon of vanilla and the salt.
Mixing and Pressing the no bake granola bars Mixture Firmly
It’s showtime! Pour that warm, gooey binder right over your oat mix in the large bowl. Then, dump in your 1/2 cup of mix-ins—whether that’s chocolate chips or dried fruit. Stir everything until every single oat flake looks coated. Now, here’s the non-negotiable step: transfer it all to your lined pan. Use the back of a sturdy spatula or the flat bottom of a clean measuring cup and press, press, press! You need to compress this mixture down hard so those no bake granola bars stick together when you slice them.
Chilling and Slicing the Final no bake granola bars
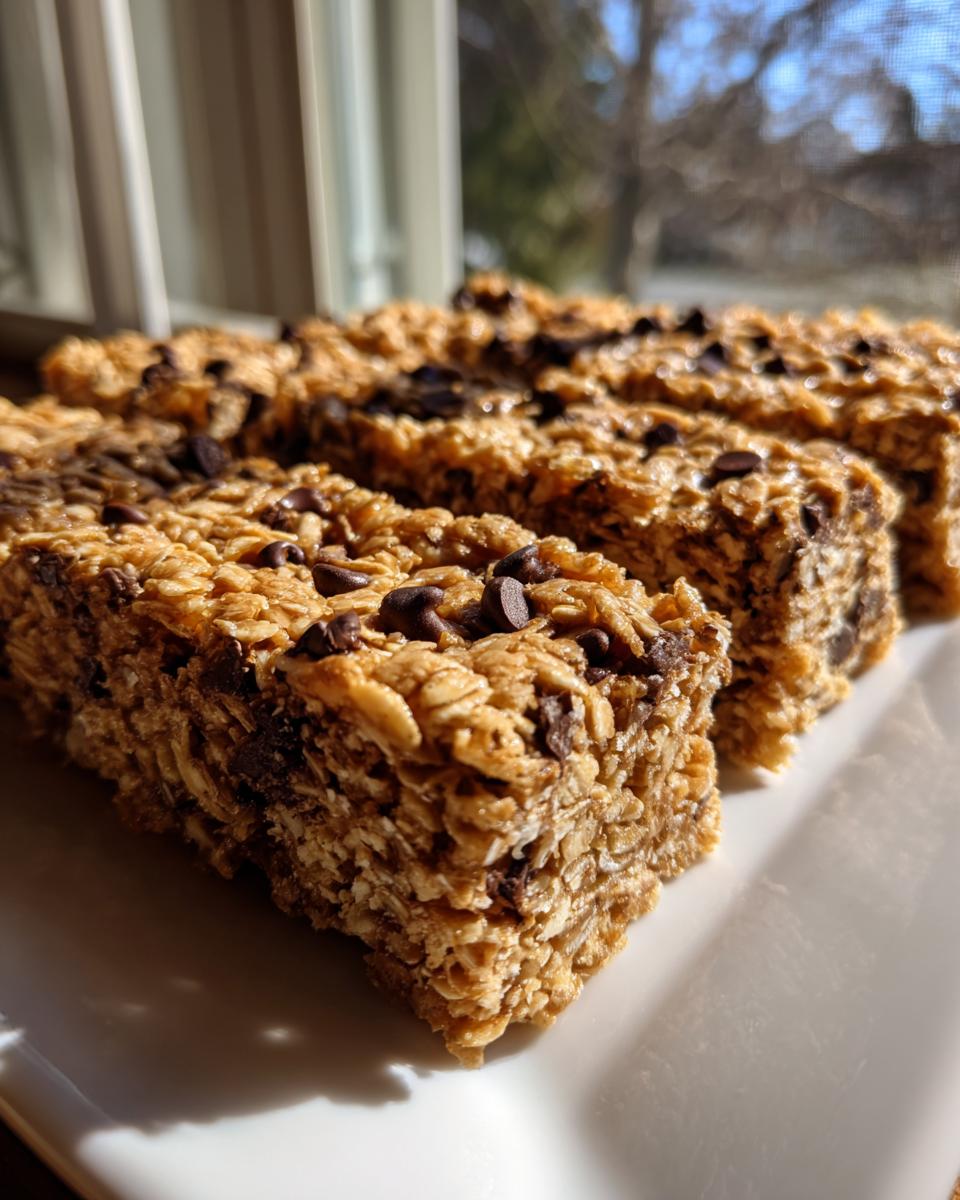
Once it’s packed down tight, cover that pan or pop some plastic wrap right over the top. Into the refrigerator it goes. You need at least an hour for these to set up properly. An hour might feel like forever when you’re craving a quick energy bite, but patience pays off here! When they are completely firm, use the parchment overhang to lift the whole block out onto your cutting board. Then, just slice them into 12 or 16 bars. Easy peasy!
Tips for Success: Making the Best no bake granola bars
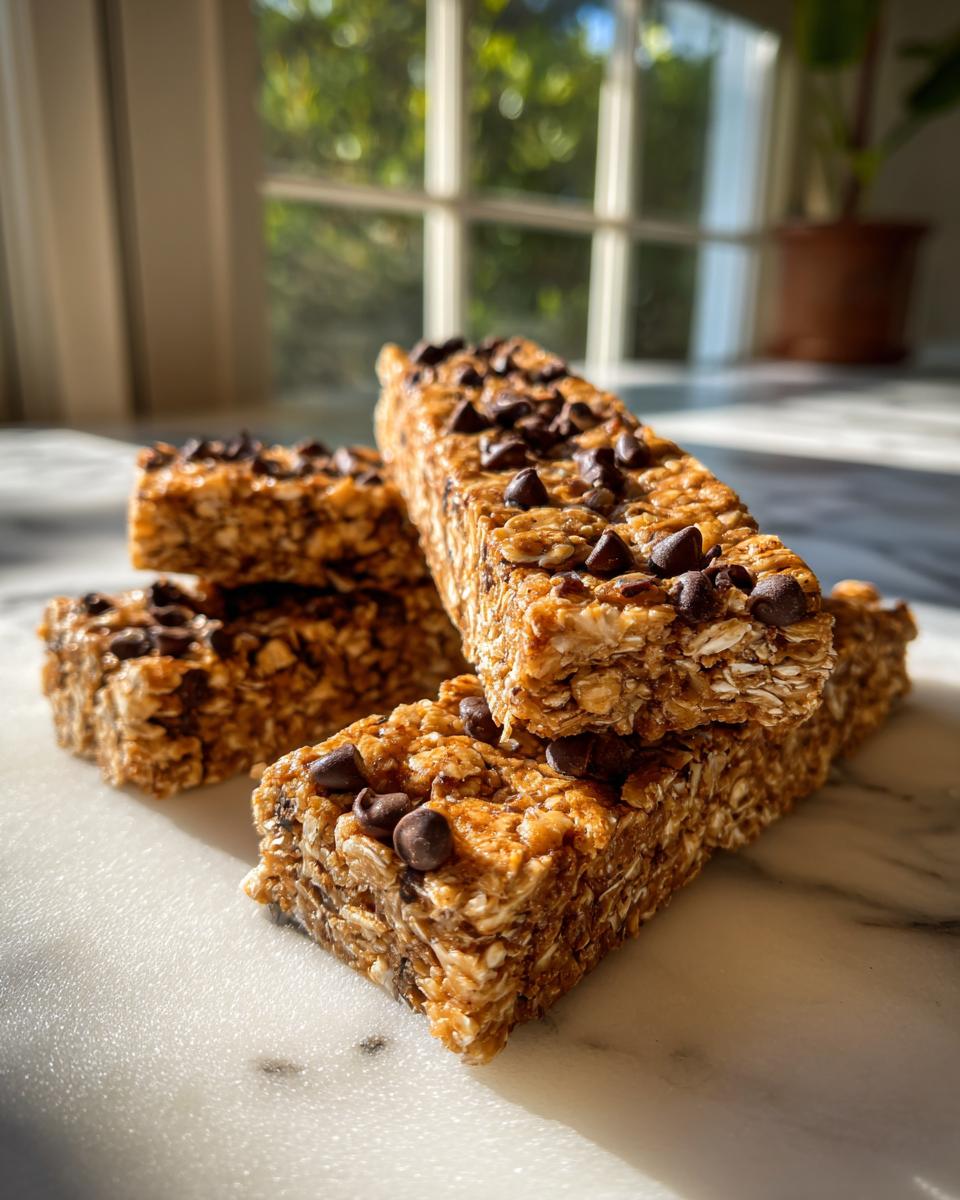
I’ve made this recipe dozens of times—for school lunches, hiking snacks, and when I just needed something sweet after dinner—so I’ve learned a few little tricks along the way. Getting those perfect, sliceable, **no bake granola bars** means paying attention to just a couple of tiny details. Don’t worry if your first batch isn’t perfect; that’s part of the fun when you’re experimenting with **easy homemade granola bars**!
Achieving the Right Stickiness for your no bake granola bars
If you followed the instructions and heated your binder gently, you shouldn’t have a problem, but sometimes oats can be surprisingly thirsty! If your mixture looks too crumbly once you start stirring, don’t panic. This is when you gently add more binder, one tablespoon at a time. Either add another tablespoon of warm peanut butter or another tablespoon of honey—whatever works best for your mix. Mixing in a little extra binder slowly ensures you don’t accidentally go too far and end up with a sticky puddle instead of solid nut butter snack recipes.
Customizing these easy homemade granola bars
That half-cup of mix-ins is your golden ticket to endless variety! This is where you can really personalize your meal prep snacks no bake. If you’re leaning toward fruit, try chopped dried apricots or cherries for a tangy bite in your dried fruit granola bars recipe. If you prefer something ultra-indulgent, you can absolutely make chocolate chip no bake bars by swapping the coconut for mini chips. I like a 50/50 mix of chopped pecans and mini dark chocolate chips for a real treat!
Making Protein no bake bars
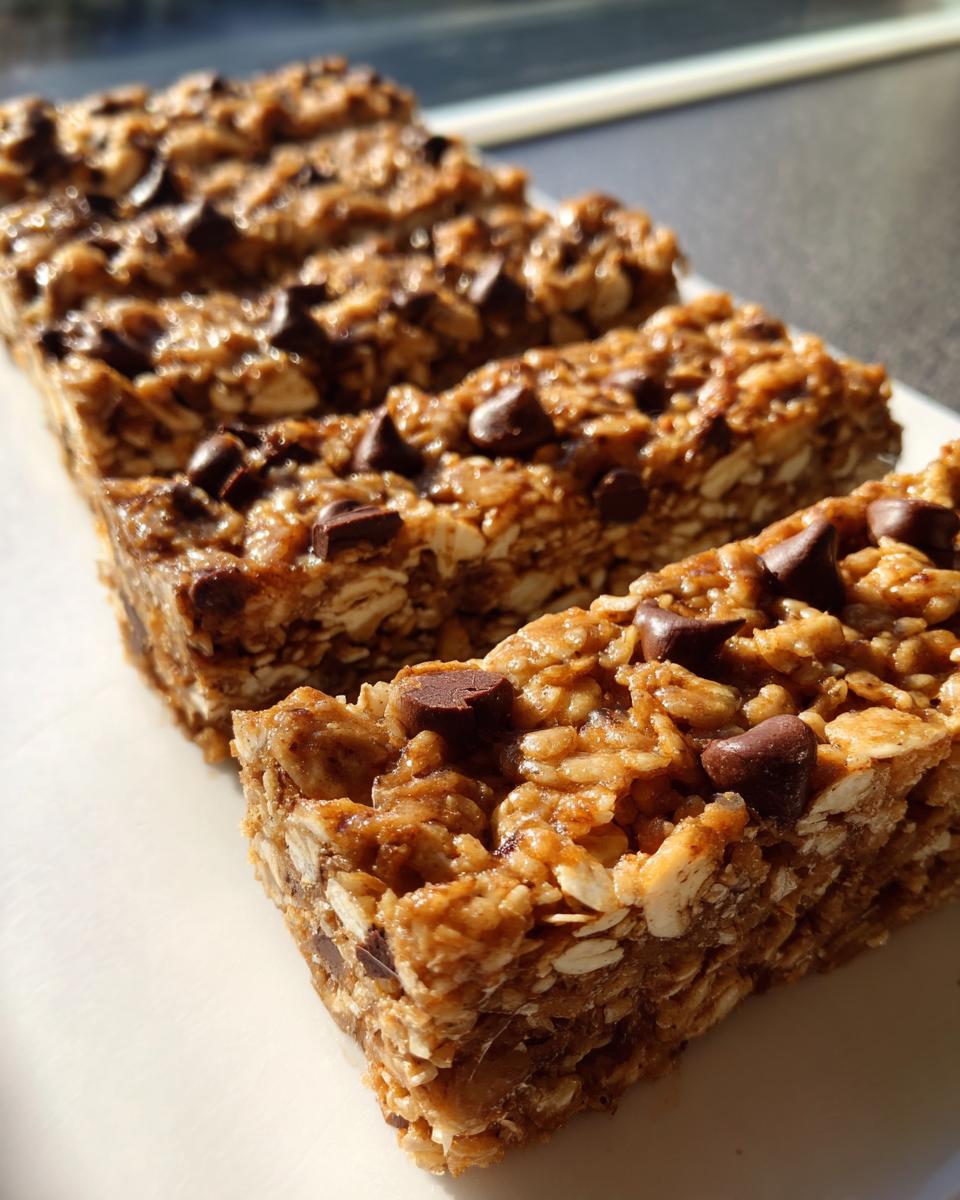
If you want to turn these into power-packed protein no bake bars, it’s super easy, but you have to approach it carefully. Add about 1/4 cup of plain or vanilla protein powder along with your dry ingredients (oats and cereal). The key here is that protein powder loves to soak up moisture. After you mix the powder in, check the dough consistency immediately. If it feels dry or crumbly, you absolutely must add an extra tablespoon of honey or nut butter right then, before you press it into the pan. This keeps your **chewy no bake treats** nice and soft!
Variations and Substitutions for your no bake snack recipes
One of the things I adore about making no bake snack recipes at home is that you are totally in charge! If you have allergies or just ran out of one thing, there are so many easy swaps you can make without messing up the final result. This recipe is surprisingly forgiving, which is exactly what we need when making quick snacks. I want everyone to be able to enjoy these amazing quick energy bites, regardless of what’s in their pantry!
Nut Butter and Sweetener Swaps
Peanut butter is my go-to because it’s inexpensive and has a strong binding power, but feel free to mix it up! Creamy almond butter works beautifully and gives a slightly different, deeper nutty flavor. If you need to stay away from nuts entirely, sunflower seed butter is a fantastic option for making these **vegan no bake granola bars**. Remember, you must use maple syrup instead of honey if you are aiming for that vegan result; honey is an animal product, after all!
Gluten Free no bake granola bars Option
If you or a family member needs these to be safe for gluten intolerance, this is such an easy switch! You just need to make sure you purchase certified gluten-free oats. Almost all rolled oats are naturally gluten-free, but cross-contamination in the facility can be an issue for those with severe sensitivities. So, if that’s a concern, just check the package to make sure it says “certified gluten free rolled oats.” That way, you can confidently make these for everyone!
Storage and Make Ahead Breakfast Bars
We put all this hard work into making the best make ahead breakfast bars, so we definitely need to know how to store them correctly! Since these are no bake granola bars, they rely on chilling to stay firm. They don’t have the structure of a baked good, which means warm counters are their enemy. If you leave them out too long on a hot day, you might end up with a giant, delicious oat-caramel brick instead of neat little bars!
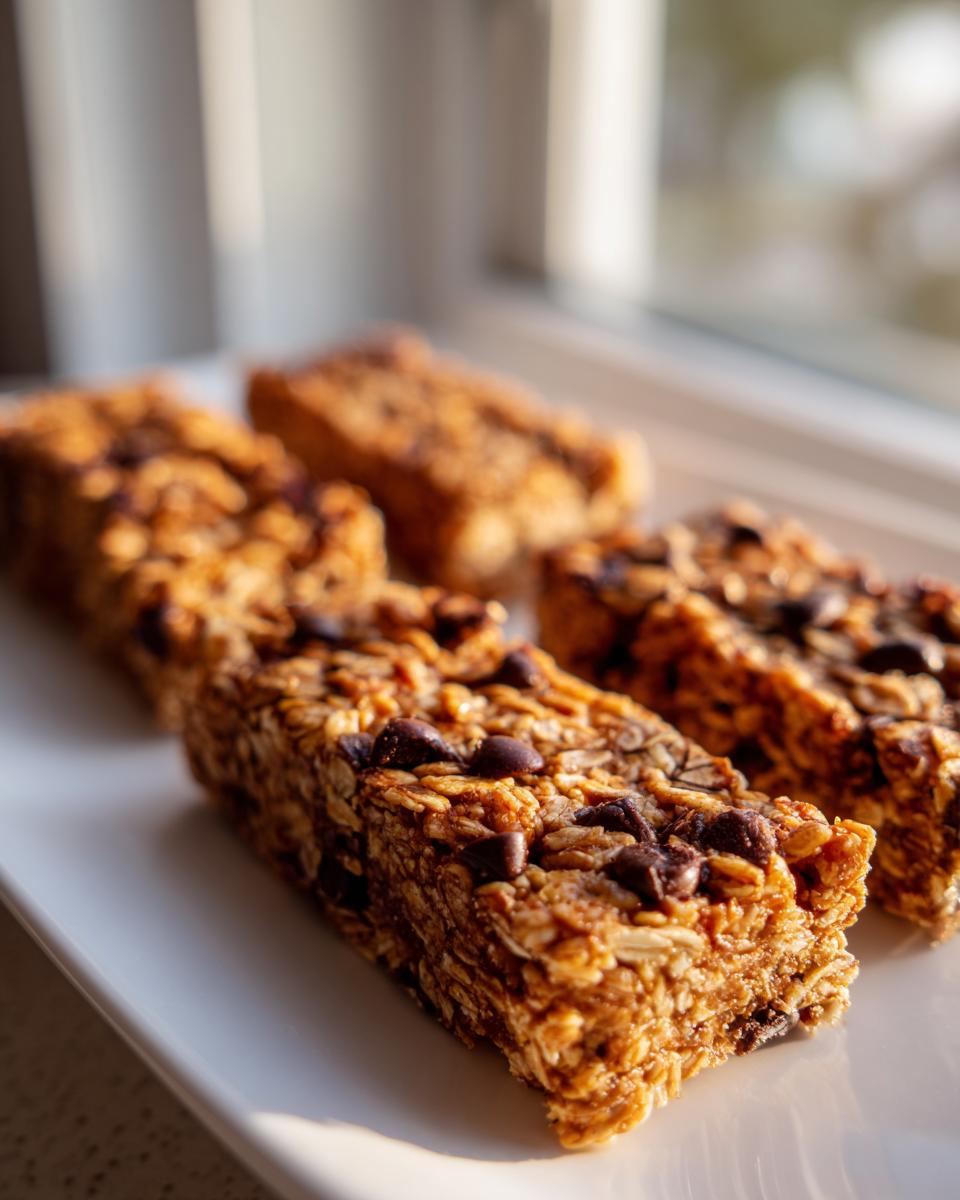
For daily grabbing, your best bet is the refrigerator. Slice them up—I usually do 12 nice rectangles—and stack them in an airtight container. They stay perfectly chewy and firm just like that for about a week. If you store them tightly wrapped, sometimes they can last up to 10 days, but I usually can’t test that long because they disappear by day four!
If you’re smart about your batch making (which I always try to be!), you can easily double this recipe and freeze half! This is the secret to having ready-to-go make ahead breakfast bars for weeks later. Once you cut them, place the bars in a freezer-safe zip-top bag or an airtight container, separating layers with small pieces of wax paper so they don’t completely fuse together into one giant frozen slab. They thaw beautifully on the counter while you grab your coffee, usually in under 30 minutes. Honestly, being able to pull out a homemade snack that requires zero effort later makes my whole week run smoother!
Frequently Asked Questions about no bake granola bars
I always get so many questions about these no bake granola bars because everyone wants that perfect, chewy result! Since these are such a fantastic option for a low effort snack making session, I wanted to address the most common hiccups right here so your first batch is a huge success!
Why are my no bake snack recipes crumbling?
Ah, the classic crumble crisis! Ninety-nine percent of the time, this happens for one of two reasons, and neither is fatal, so don’t stress! First, you likely didn’t press the mixture down hard enough into the pan—you have to pack it in there like you mean it! Second, your binder might have been a little light. If you notice it looks dry while mixing, just stir in an extra tablespoon of warm honey or nut butter until everything holds together when you squeeze a handful. That fixes almost everything!
Can I use quick oats instead of rolled oats in these oatmeal bars without oven?
You can, but I usually advise sticking to the rolled oats for the best structure in these fantastic oatmeal bars without oven. Quick oats are already partially broken down, so they absorb the liquid binder differently. If you use them, you will definitely end up with a much softer, almost mushy texture rather than the satisfying chew we are aiming for with these **no bake granola bars**. Rolled oats keep their integrity and give that lovely bite!
If you want to see how others have had success with different types of quick oats, check out what folks are doing over at The Seaside Baker!
Nutritional Information Estimate for your no bake granola bars
Now, I want to talk about the numbers, but I have to be completely honest with you: I am Sarah Peterson, a home cook, not a registered dietitian! When I test recipes here at Cut Cook Taste, my focus is always on flavor and reliability, not crunching spreadsheets.
Because of that, the nutrition facts I list—like the 220 calories per serving—are just a snapshot. They are based on my specific ingredient choices, like using creamy peanut butter and standard honey. If you use almond butter, or swap honey for maple syrup, or load up on extra chocolate chips in your no bake granola bars, those totals are going to shift!
So, please use the information provided—220 calories, 6g protein, etc.—as a general guideline only. This transparency is important to me! If you are tracking macros for a specific dietary need, I always recommend inputting your exact ingredients into your preferred tracking app. That way, you get the most accurate picture for your **easy homemade granola bars**!
Share Your Homemade no bake granola bars Creations
You’ve done the work! You’ve warmed the honey, pressed down with all your might, and now you have these incredible, chewy, absolutely delicious no bake granola bars waiting in the fridge. But the fun doesn’t stop there! I so desperately want to see what amazing mix-ins *you* chose. Did you go for dried cherries and white chocolate? Did you try sunflower seed butter? Tell me everything!
This is my favorite part of running this little corner of the internet—seeing how you take a reliable recipe and make it perfectly yours. It proves that cooking is a constant conversation, not just a set of rules!
If the recipe was a hit in your house (and I truly hope it was!), please take just a minute to leave a rating below. You can click those little stars right under the recipe card to give these bars 5 stars if you think they deserve it! Your feedback helps other home cooks, just like you, find these reliable no bake snack recipes.
Don’t be shy—drop a comment, share a picture of your beautiful healthy grab and go snacks variation, and let’s chat about our favorite pantry staples. Happy snacking, friends!
PrintUltimate Easy No Bake Granola Bars Recipe: Chewy, Customizable, and Ready in 20 Minutes
Make these easy no bake granola bars for a quick, healthy, grab and go snack. They are chewy, require no oven time, and are perfect for meal prep.
- Prep Time: 15 min
- Cook Time: 0 min
- Total Time: 1 hour 15 min
- Yield: 12 bars 1x
- Category: Snack
- Method: No Bake/Chilling
- Cuisine: American
- Diet: Vegetarian
Ingredients
- 2 cups rolled oats
- 1 cup crispy rice cereal
- 1/2 cup creamy peanut butter (or other nut butter)
- 1/2 cup honey or maple syrup
- 1/4 cup unsweetened shredded coconut
- 1/2 cup mix-ins (e.g., mini chocolate chips, dried fruit, chopped nuts)
- 1 teaspoon vanilla extract
- 1/4 teaspoon salt
Instructions
- Line an 8×8 inch baking pan with parchment paper, leaving an overhang on the sides for easy removal.
- In a large bowl, combine the rolled oats and crispy rice cereal.
- In a small saucepan over low heat, gently warm the peanut butter and honey (or maple syrup) until smooth and easily pourable. Do not boil.
- Remove the saucepan from the heat and stir in the vanilla extract and salt.
- Pour the warm peanut butter mixture over the oat and cereal mixture. Add your chosen mix-ins.
- Stir everything together thoroughly until all dry ingredients are evenly coated.
- Transfer the mixture to the prepared baking pan. Press the mixture down firmly and evenly into the pan using the back of a spatula or a second piece of parchment paper. Pressing firmly is key for chewy bars.
- Place the pan in the refrigerator and chill for at least 1 hour, or until completely set.
- Use the parchment paper overhang to lift the block out of the pan. Place on a cutting board and slice into 12 or 16 bars.
- Store the no bake granola bars in an airtight container in the refrigerator for up to one week.
Notes
- For a vegan option, substitute maple syrup for honey.
- If you want protein no bake bars, mix in 1/4 cup of your favorite unflavored or vanilla protein powder with the dry ingredients.
- For gluten free no bake bars option, use certified gluten free rolled oats.
- If the mixture seems too dry, add 1 tablespoon more nut butter or honey.
Nutrition
- Serving Size: 1 bar
- Calories: 220
- Sugar: 10g
- Sodium: 85mg
- Fat: 11g
- Saturated Fat: 3g
- Unsaturated Fat: 8g
- Trans Fat: 0g
- Carbohydrates: 28g
- Fiber: 2g
- Protein: 6g
- Cholesterol: 0mg