
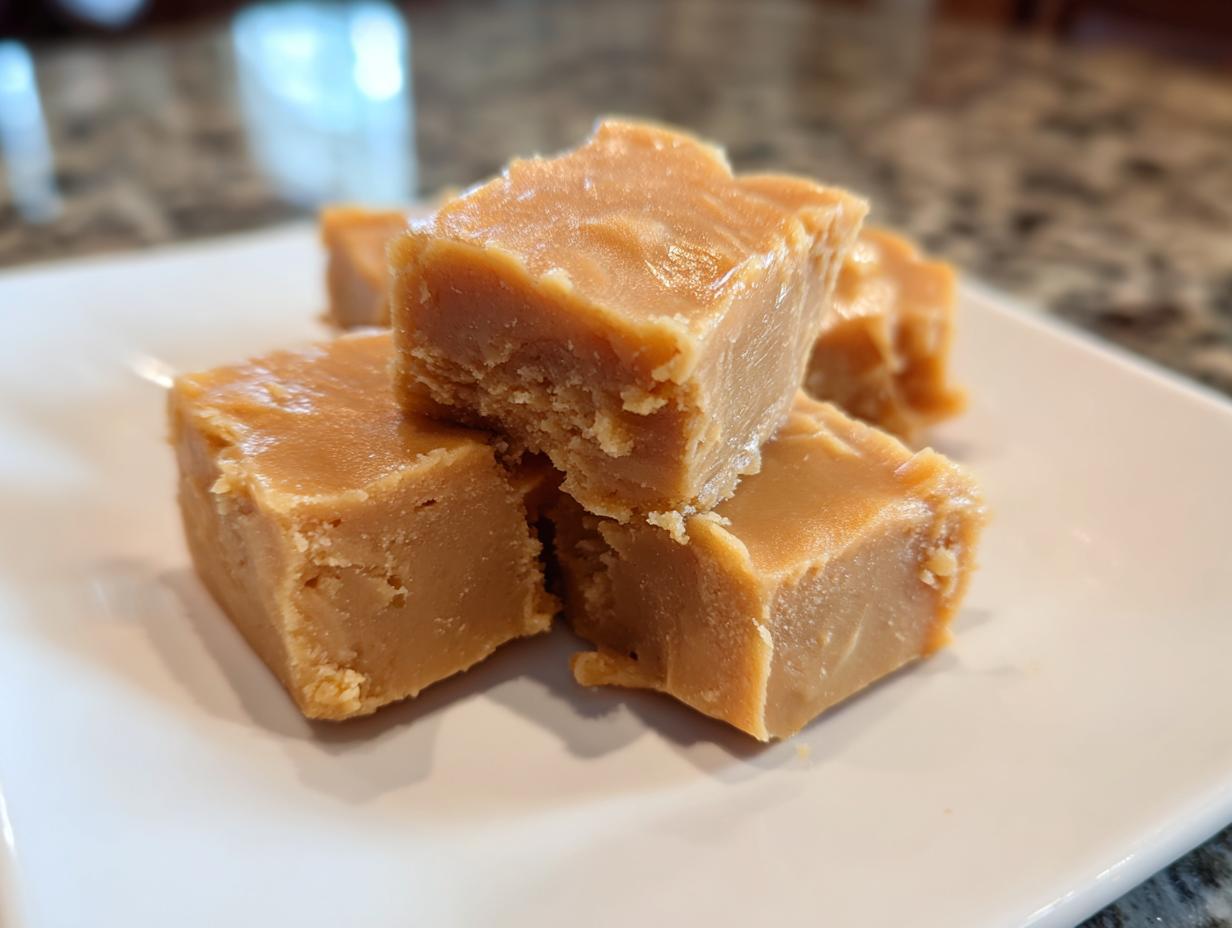

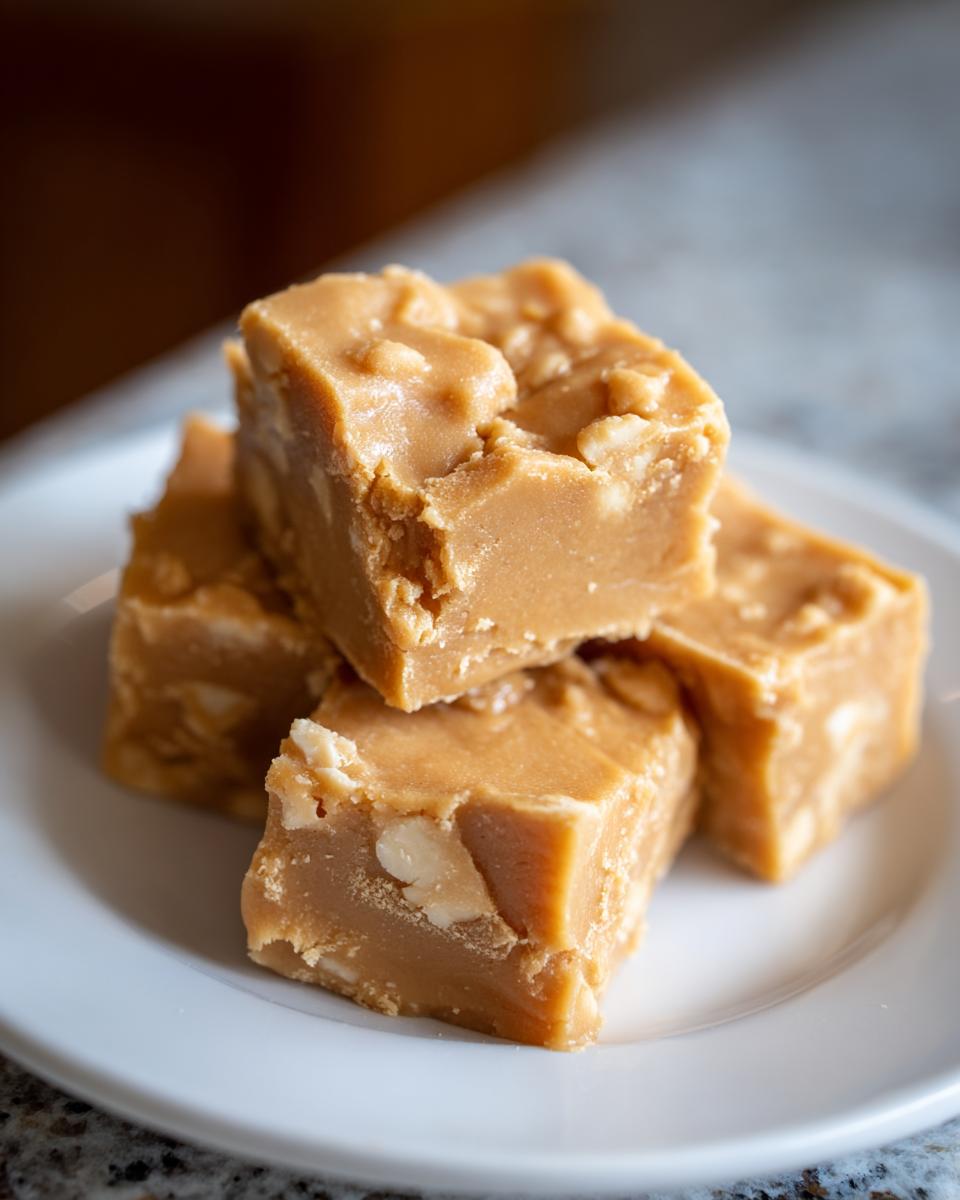
Oh, the joy of a perfectly creamy, melt-in-your-mouth peanut butter fudge, especially when it comes right from your own kitchen! There’s just something so special about a homemade sweet treat, isn’t there? It’s like a little slice of comfort and love all wrapped up. This easy peanut butter fudge recipe is my go-to, especially when the holidays roll around or when I need a last-minute edible gift that feels extra thoughtful. My dad, bless his heart, was the king of the barbecue, but he also knew his way around simple, satisfying sweets. He’d whip up a batch of this fudge sometimes, and it always felt like a special occasion. It’s just so straightforward – no fancy equipment, no tricky steps, and it turns out just perfectly smooth and delicious every single time. Trust me, this is the kind of candy that makes your friends and family say, “Wow, you *made* this?!”
- Why You'll Love This Easy Peanut Butter Fudge
- Ingredients for Perfect Peanut Butter Fudge
- How to Make Stovetop Peanut Butter Fudge: Step-by-Step
- Tips for Perfect Creamy Fudge
- Edible Holiday Gifts: Wrapping Your Peanut Butter Fudge
- Variations and Add-ins for Your Fudge
- Storage and Make-Ahead Candy
- Frequently Asked Questions About Peanut Butter Fudge
- Estimated Nutritional Information
- Share Your Delicious Creations!
Why You’ll Love This Easy Peanut Butter Fudge
You’re going to absolutely adore this peanut butter fudge recipe, and here’s why:
- It’s ridiculously easy! Seriously, you just need a few basic pantry staples and about 15 minutes on the stove.
- Minimal ingredients: No hunting down obscure items here, just simple, everyday things you probably already have.
- Perfectly creamy texture: Every bite is smooth and dreamy, just like fudge should be.
- Fantastic for gifting: Want to make edible holiday gifts? This is your ticket! It looks and tastes like you spent hours on it.
- So darn tasty: The classic peanut butter and sugar combo is just pure comfort in sweet form.
Ingredients for Perfect Peanut Butter Fudge
Gathering your ingredients is the first step to fudge success! You’ll need:
- 2 cups granulated sugar
- 3/4 cup evaporated milk
- 1/2 cup (1 stick) unsalted butter
- 1 teaspoon vanilla extract
- 1 1/2 cups creamy peanut butter
- 1 cup powdered sugar (optional, but it makes it extra smooth!)
How to Make Stovetop Peanut Butter Fudge: Step-by-Step
Alright, let’s get down to business and make some amazing peanut butter fudge! It’s really not complicated, but paying attention to a few key things will make all the difference. Follow these steps, and you’ll have creamy, dreamy candy in no time. Just think of it as a little kitchen dance! If you’re looking for the full scoop, check out my peanut butter fudge recipe; it’s all about that perfect consistency.
Preparing Your Pan and Base
First things first, grab an 8×8 inch baking pan. You want to get it ready by greasing it well. I like to use a bit of butter or a baking spray – whatever you have handy. This is super important so your beautiful fudge doesn’t stick later! Then, in a medium saucepan, combine your granulated sugar, that can of evaporated milk, and your stick of butter. Pop it over medium heat. Keep stirring gently until all that butter is melted and the sugar looks like it’s all dissolved and happy.
The Critical Boiling Stage for Peanut Butter Fudge
Now, this next part is where the magic really starts to happen, and you have to pay attention! Bring that mixture up to a strong rolling boil – you know, the kind that bubbles up furiously and doesn’t stop when you stir. Keep stirring *constantly* during this stage. Seriously, don’t walk away! You need to boil it for exactly 5 minutes. Use your timer! This precise boiling time is what sets the fudge up beautifully. If you boil it too little, it might be too soft. Too much, and it could get hard. Five minutes, constant stirring, rolling boil – got it? This step is crucial for perfect peanut butter fudge.
Incorporating the Peanut Butter and Finishing Touches
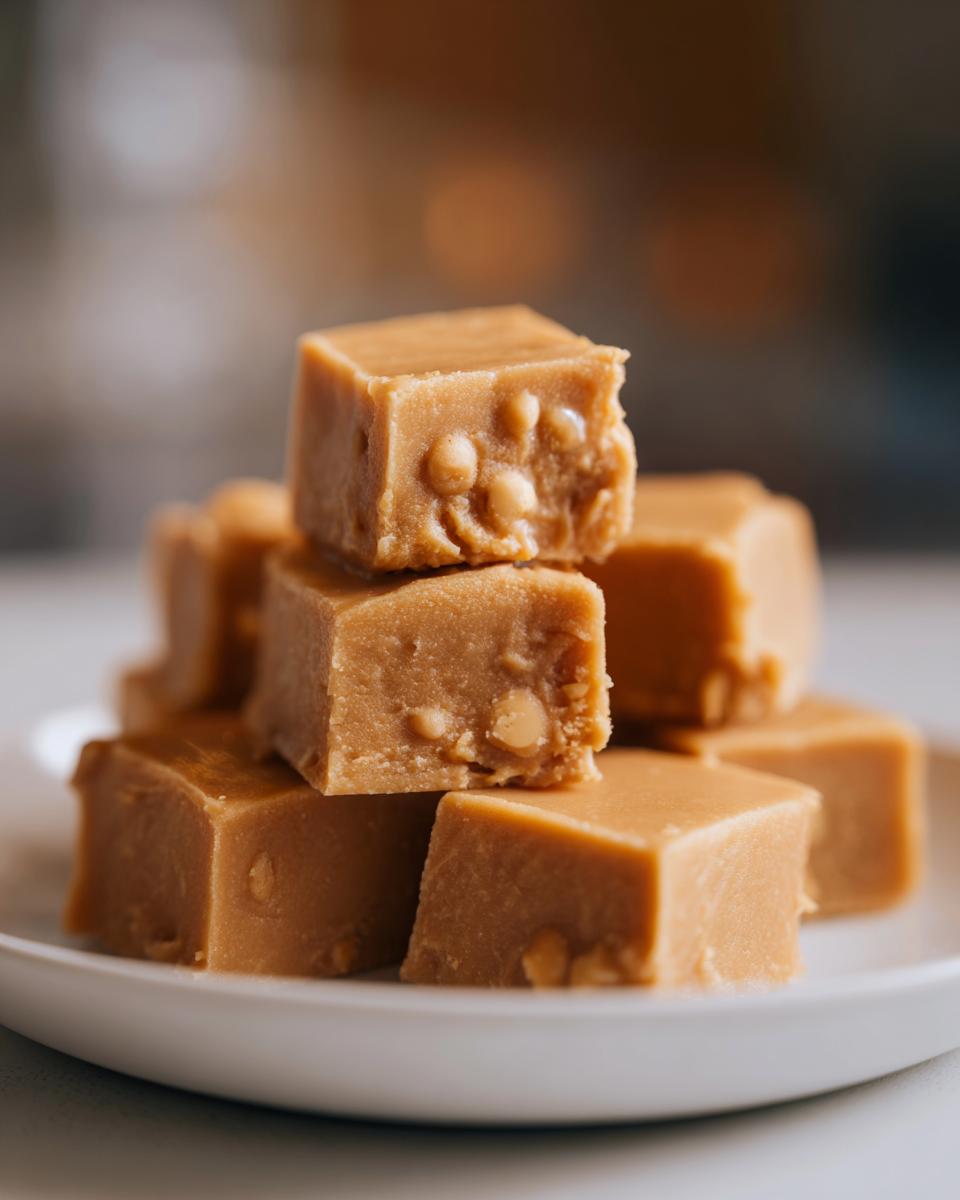
Once those 5 minutes are up, quickly pull the saucepan off the heat. Now for the star of the show: the peanut butter! Spoon it right in there along with your vanilla extract. Stir, stir, stir until it’s all smooth and combined. If you’re using the powdered sugar for that extra-smooth texture – and I highly recommend it, it’s one of my favorite creamy fudge tips – go ahead and gradually add it now. Keep stirring until it’s completely incorporated and your fudge mixture looks silky and glossy. It should smell absolutely amazing at this point!
Cooling and Cutting Your Fudge
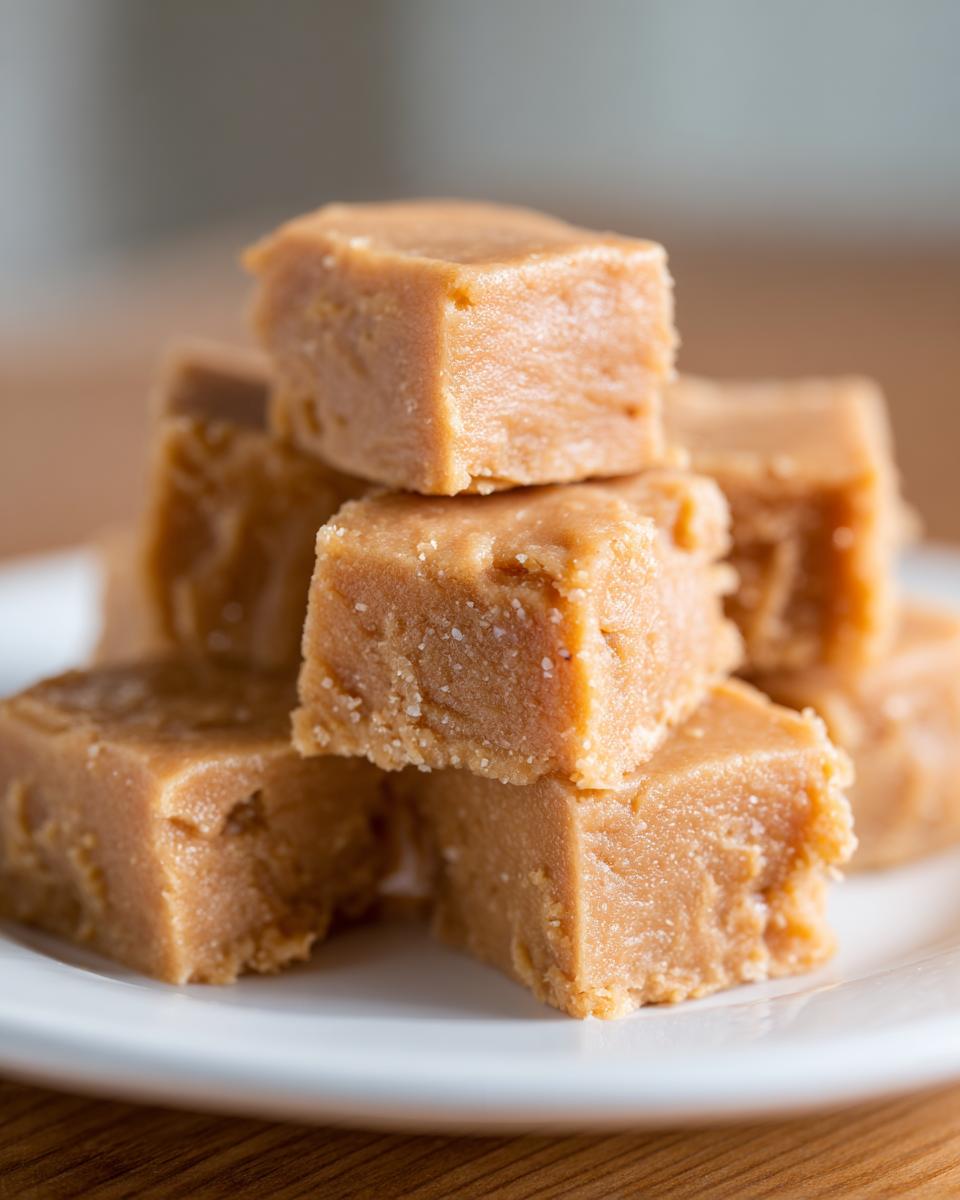
Carefully pour that gorgeous, smooth fudge mixture into your prepared pan. Spread it out evenly. Now comes the hardest part: waiting! You need to let it cool completely at room temperature. This takes at least 2 to 3 hours, maybe longer depending on your kitchen. Don’t rush it or try to put it in the fridge to speed things up; room temperature cooling gives it the best texture. Once it’s totally firm and set, you can cut it into nice 1-inch squares. Use a sharp knife, and wipe it clean between cuts if needed!
Tips for Perfect Creamy Fudge
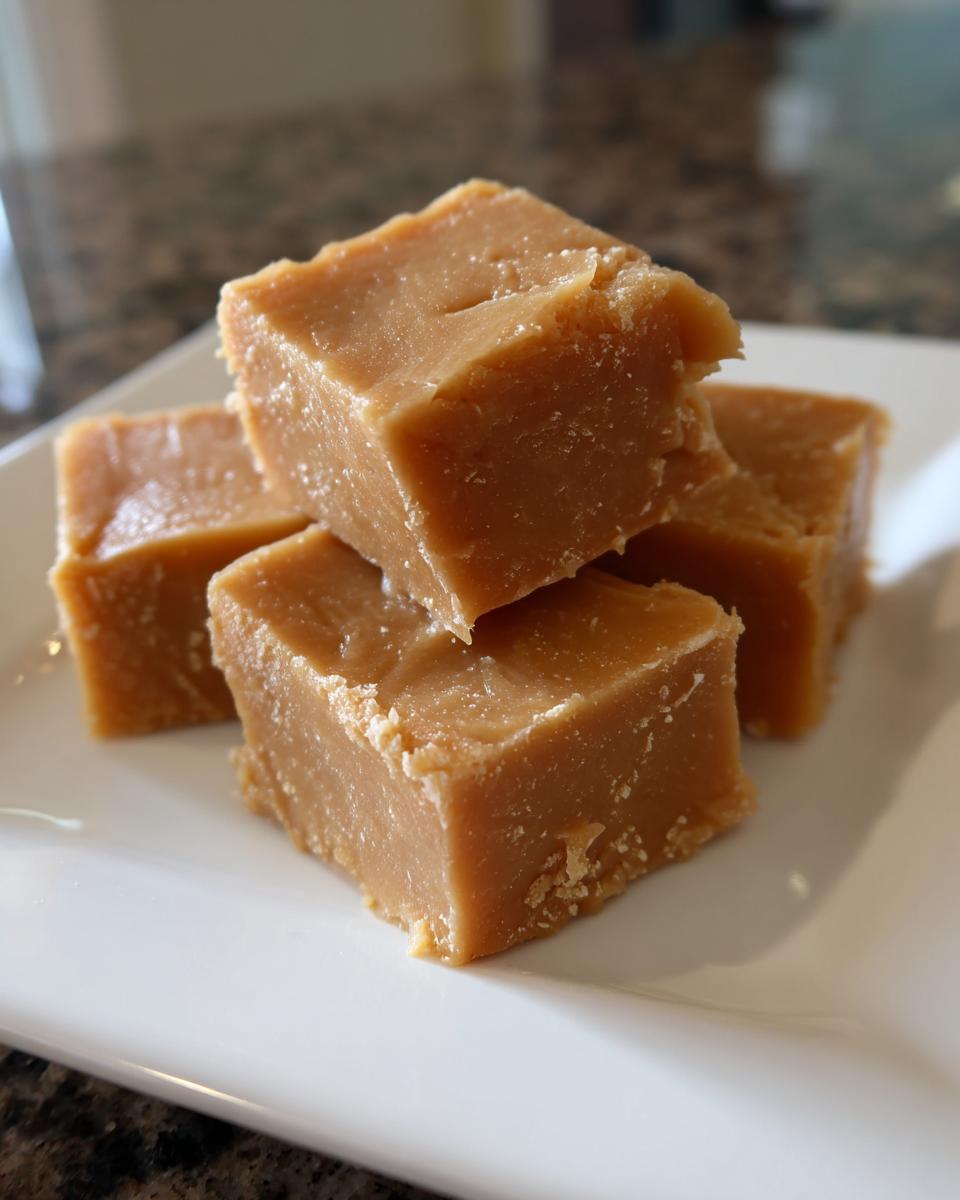
Making fudge can sometimes feel a little finicky, but trust me, once you get the hang of it, it’s a total breeze! Achieving that perfectly creamy, smooth texture is all about a few key things. My best advice, and some of these are my true creamy fudge tips, have saved me more than a few batches. If your fudge ever turns out grainy, it usually means the sugar crystals didn’t dissolve quite right, or it was cooled or stirred too quickly after boiling. Just remember, patience is your best friend here!
Make sure your ingredients are ready to go *before* you start heating things up. Room temperature butter and peanut butter blend in much more smoothly. And speaking of blending, don’t skimp on that stirring during the boiling stage – it really does prevent scorching on the bottom of the pan. For that super-smooth finish, adding the optional powdered sugar is a game-changer; it helps to break down those sugar crystals even further. If your fudge seems a bit too soft, it might just need a bit more time to set at room temperature. Don’t give up if it’s not perfect the first time; that’s how we learn and get better at this easy fudge recipe!
Edible Holiday Gifts: Wrapping Your Peanut Butter Fudge
Honestly, this peanut butter fudge makes the most darling edible holiday gifts! People just light up when they receive something homemade, don’t they? It feels so personal. For wrapping, I love keeping it simple but pretty. Little squares of parchment paper or cellophane work like a charm – just twist them up like little candies. Or, if you’re making a batch for a party or a bigger gift, tuck them into cute little paper baking cups and arrange them in a festive tin or a small gift box. You can check out some of my favorite christmas candy ideas for more inspiration! Having a few of these ready to go in your freezer means you’re always prepared for last-minute gifting or unexpected guests. These dessert gift boxes filled with homemade fudge are always a hit!
Variations and Add-ins for Your Fudge
While this peanut butter fudge is pretty darn perfect on its own, sometimes it’s fun to jazz it up a bit, right? If you’re feeling a little creative, try stirring in some chopped peanuts or pecans right after you add the peanut butter. That little bit of crunch is just divine! Or, maybe you’re a chocolate lover? Mini chocolate chips are fantastic stirred in. You could even drizzle some melted chocolate over the top after it’s set for a fancy touch. And for those who love a little sweet and salty combo, a tiny pinch of sea salt sprinkled on top right before it cools? Oh my goodness, chef’s kiss!
Storage and Make-Ahead Candy
The best part about this peanut butter fudge? It’s a total superstar when it comes to making candy ahead of time! You can totally whip this up a week or even two before you need it. Just store it in an airtight container at room temperature. It stays nice and fresh, and that creamy texture just holds up beautifully. Seriously, your make ahead candy dreams are coming true right here. No need to worry about it going bad!
Frequently Asked Questions About Peanut Butter Fudge
Got questions about whipping up this dreamy peanut butter fudge? I totally get it! It’s always good to know the ins and outs, especially when you’re aiming for that perfect creamy texture. Here are a few things folks often ask, and I’m happy to shed some light on them!
Why is my fudge grainy?
Oh, the dreaded grainy fudge! This usually happens when the sugar crystals don’t dissolve completely during heating, or if the fudge is cooled or stirred too quickly after boiling. For the smoothest results, make sure to stir until the sugar is fully dissolved before bringing it to a boil, and then let it cool undisturbed at room temperature. That careful timing is key for this stovetop fudge.
Can I make this fudge without evaporated milk?
Evaporated milk is pretty important for the texture and consistency of this specific no-bake dessert. It helps create that smooth, creamy result because of its concentrated milk solids and reduced water content. While some fudge recipes might use regular milk with heavy cream, it’s a bit trickier to get the exact same texture, and you might need to adjust the boiling time. For this recipe, I really recommend sticking with evaporated milk!
How long does stovetop fudge last?
This peanut butter fudge is a fantastic make-ahead candy! Once it’s fully set and cut, you can store it in an airtight container at room temperature for about a week to ten days. It stays deliciously creamy and doesn’t really need refrigeration, which is super convenient. Just make sure it’s in a container that seals well to keep it fresh and prevent it from picking up any weird smells from your pantry.
Can I use crunchy peanut butter instead of creamy?
You absolutely can use crunchy peanut butter if that’s what you love! It’ll just give your fudge a bit of added texture from the peanut pieces, which can be really nice. Just be aware that the texture of your final fudge will be slightly different – a little more “chunky” rather than completely smooth. If you are aiming for that ultra-smooth, melt-in-your-mouth consistency, creamy is usually the way to go, but crunchy is totally a delicious fun variation!
Estimated Nutritional Information
Now, I know we’re all about deliciousness here, but it’s sometimes helpful to have a general idea of what’s in our treats! These numbers are just estimates, of course, since brands and exact ingredient amounts can make a little difference. Think of this as a ballpark figure for around 36 squares of this yummy peanut butter fudge.
- Calories: About 150 per square
- Fat: Roughly 8g
- Carbohydrates: Around 17g
- Protein: About 3g
Share Your Delicious Creations!
I absolutely LOVE hearing about your baking adventures! If you make this peanut butter fudge, please leave a comment below and tell me how it turned out. Did you add anything special? I’m always so thrilled to hear from you and see your amazing creations. You can even share photos on social media – seeing your delicious fudge makes my day! Feel free to reach out via my contact page too!
PrintEasy Stovetop Peanut Butter Fudge
A simple, creamy peanut butter fudge recipe perfect for holiday gifting and easy entertaining. This no-bake candy comes together quickly on the stovetop with minimal ingredients.
- Prep Time: 10 min
- Cook Time: 15 min
- Total Time: 2 hr 25 min
- Yield: 36 servings 1x
- Category: Dessert
- Method: Stovetop
- Cuisine: American
- Diet: Vegetarian
Ingredients
- 2 cups granulated sugar
- 3/4 cup evaporated milk
- 1/2 cup (1 stick) unsalted butter
- 1 teaspoon vanilla extract
- 1 1/2 cups creamy peanut butter
- 1 cup powdered sugar (optional, for a smoother texture)
Instructions
- Grease an 8×8 inch baking pan and set aside.
- In a medium saucepan, combine granulated sugar, evaporated milk, and butter.
- Cook over medium heat, stirring constantly, until the butter is melted and the sugar is dissolved.
- Bring the mixture to a rolling boil, stirring constantly.
- Continue to boil for exactly 5 minutes, maintaining constant stirring.
- Remove the saucepan from the heat.
- Stir in the vanilla extract and peanut butter until smooth. If using, gradually stir in the powdered sugar until fully incorporated and the fudge is smooth.
- Pour the fudge mixture into the prepared baking pan.
- Let the fudge cool completely at room temperature for at least 2-3 hours, or until firm.
- Once firm, cut the fudge into 1-inch squares.
- Wrap individual pieces or small stacks in parchment paper or cellophane for gifting.
Notes
- For a smoother fudge, ensure all ingredients are at room temperature before starting.
- Using a candy thermometer can help ensure accurate boiling time, but careful timing with a kitchen timer is also effective.
- Store fudge in an airtight container at room temperature for up to a week.
- Consider adding chopped peanuts or chocolate chips to the mixture before pouring into the pan for added texture and flavor.
- This fudge is an excellent option for last-minute dessert gift boxes.
Nutrition
- Serving Size: 1 square
- Calories: 150
- Sugar: 18g
- Sodium: 50mg
- Fat: 8g
- Saturated Fat: 3g
- Unsaturated Fat: 5g
- Trans Fat: 0g
- Carbohydrates: 17g
- Fiber: 1g
- Protein: 3g
- Cholesterol: 10mg