
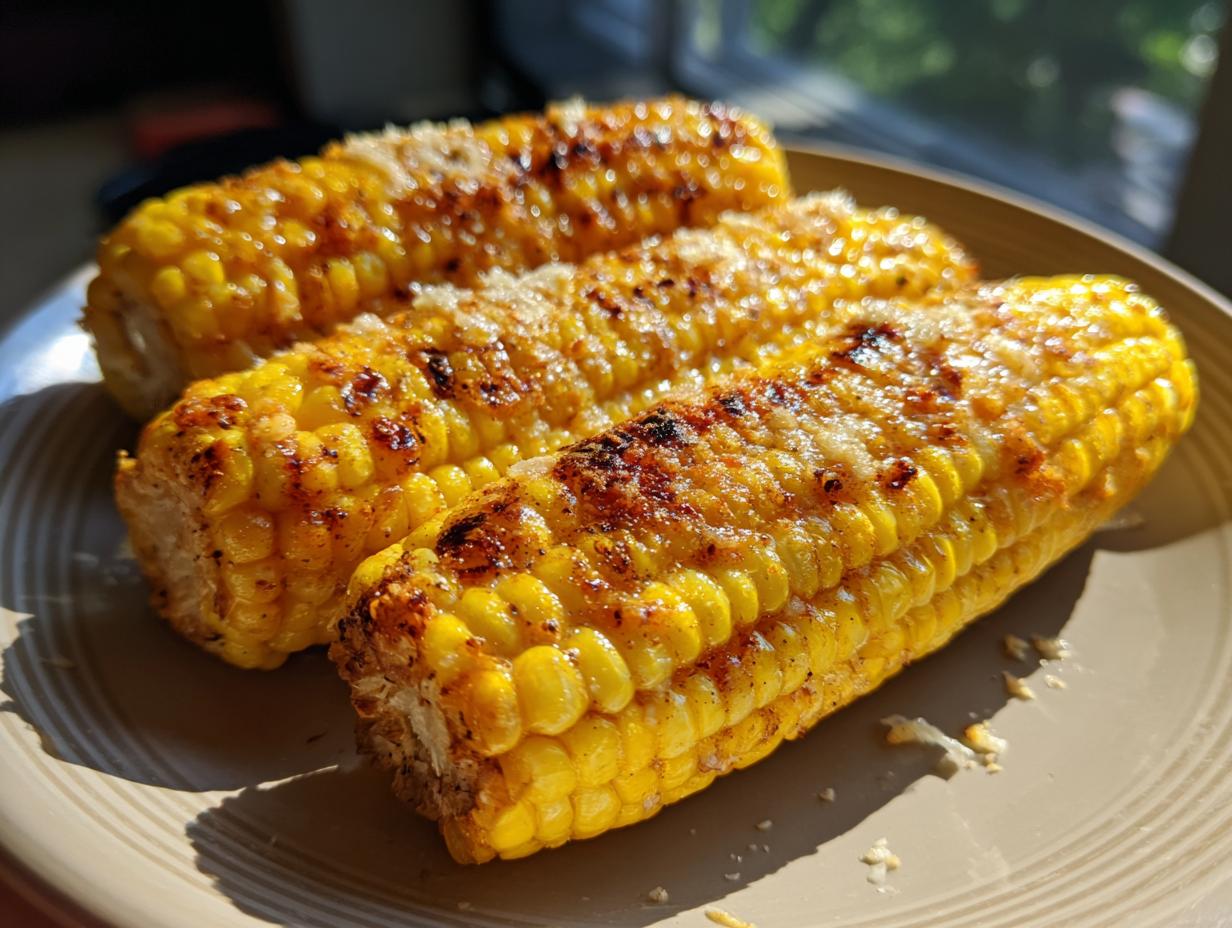

If you\’re looking for that ultimate side dish that screams summer cookout and makes everyone happy, then you’ve landed in the right spot! This Cheesy Garlic Butter Corn on the Cob is my go-to recipe. It’s so ridiculously easy and tastes absolutely divine. You know, my dad was the grill master in our family, always whipping up amazing BBQs. This corn totally fits right into that vibe – simple, delicious, and guaranteed to be a hit with everyone, from the kiddos to the grown-ups. Just imagine sweet corn drenched in garlicky butter and then topped with melty cheese… oh my goodness, it’s a game-changer!
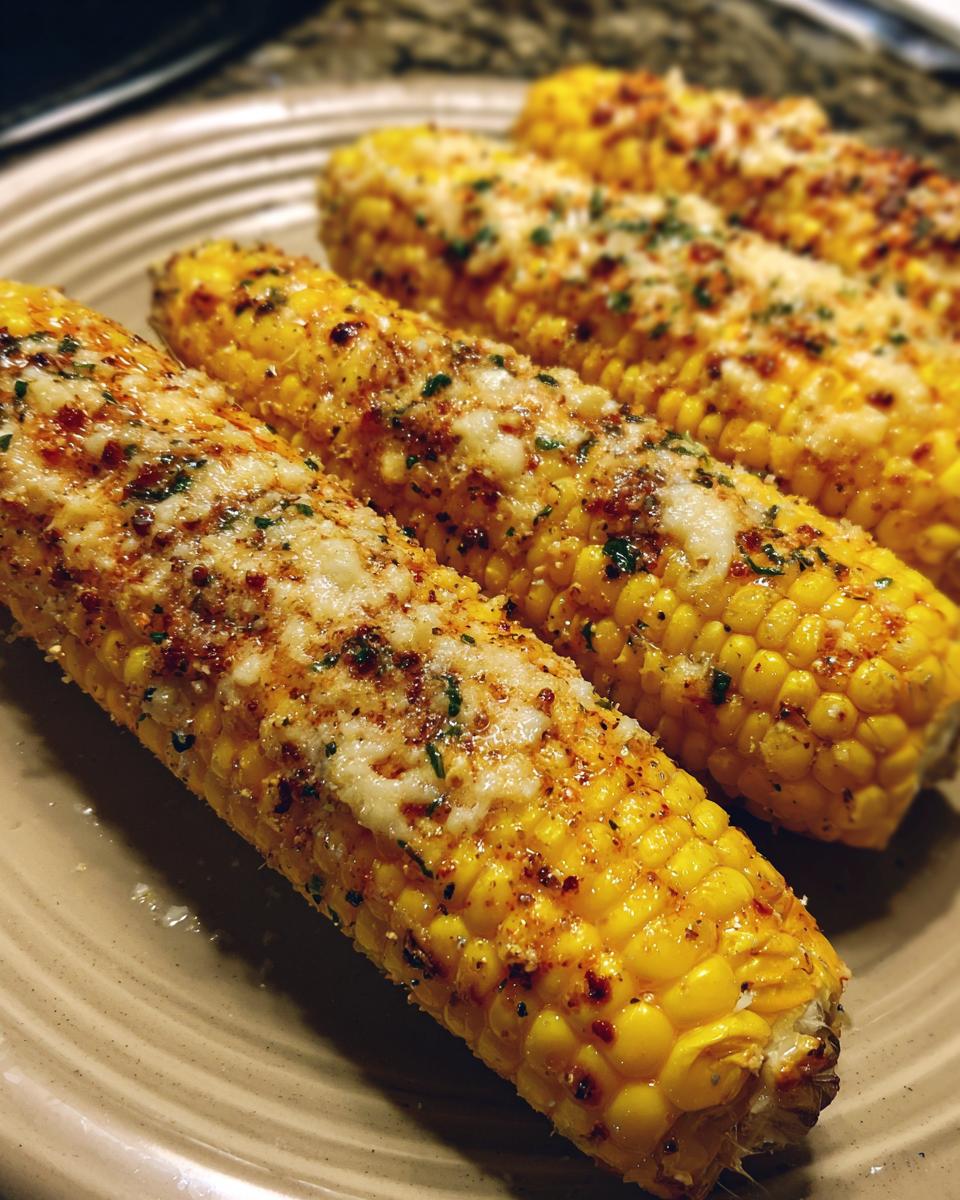
- Why You\'ll Love This Cheesy Garlic Butter Corn on the Cob
- Ingredients for the Ultimate Cheesy Garlic Butter Corn on the Cob
- How to Prepare Cheesy Garlic Butter Corn on the Cob: Step-by-Step
- Expert Tips for Perfect Cheesy Garlic Butter Corn on the Cob
- Ingredient Notes and Substitutions for Your Corn Recipe
- Serving Suggestions for Cheesy Garlic Butter Corn on the Cob
- Frequently Asked Questions about Cheesy Garlic Butter Corn on the Cob
- Nutritional Information Estimate
Why You\’ll Love This Cheesy Garlic Butter Corn on the Cob
Seriously, why wouldn\’t you love this corn? It\’s:
- Super Easy to Make: You can whip this up in no time, whether you\’re grilling, baking, or even doing it on the stovetop. It’s a truly simple side dish!
- Packed with Flavor: That perfect combo of garlic, butter, rich cheese, and sweet corn? Pure magic!
- So Versatile: Fits right in at any backyard barbecue, summer cookout, or even a weeknight family dinner. Definitely a family-friendly side!
- Crowd-Pleasing: Honestly, who doesn\’t love cheesy corn? It\’s a guaranteed hit for all ages.
Trust me, this is the side dish you\’ll be making all summer long. It\’s just that good!
Ingredients for the Ultimate Cheesy Garlic Butter Corn on the Cob
Alright, let\’s get down to what you\’ll need for this amazing corn creation! It’s all about simple stuff that makes a big flavor splash. You\’ll want:
- 4 ears of corn, husked (make sure they\’re fresh!)
- 1/2 cup unsalted butter, softened (let it sit out for a bit so it\’s spreadable)
- 4 cloves garlic, minced (I love a good punch of garlic!)
- 1/2 teaspoon salt (just to bring out all those yummy flavors)
- 1/4 teaspoon black pepper (a little warmth goes a long way)
- 1/2 cup grated Parmesan cheese (or whatever melty cheese you love!)
- Optional: chopped fresh parsley or cilantro, lime wedges (for that extra fresh zing!)
See? Nothing complicated, just pure deliciousness waiting to happen!
How to Prepare Cheesy Garlic Butter Corn on the Cob: Step-by-Step
Alright, home chefs, let’s get this amazing Cheesy Garlic Butter Corn on the Cob ready to roll! It’s honestly so straightforward, you’ll wonder why you haven’t been making corn this way forever. My dad always said the secret was in the simple steps, and he was so right. We’re talking about getting that sweet corn perfectly tender with a glorious garlic butter coating and a melty cheese finish. You can do this on the grill, in the oven, or even on the stovetop – whatever works best for your cooking adventure today!
Here’s how we do it:
- First things first, let\’s get our cooking station ready! If you\’re grilling, preheat your grill to medium-high heat. If you\’re baking, get that oven warmed up to 400°F (200°C).
- Next, in a little bowl, we’re going to whip up that magical garlic butter mixture. Just dump in your softened butter, all those lovely minced garlic cloves, the salt, and a good pinch of black pepper. Give it a good stir until it\’s all combined. Make sure that butter is soft enough to spread easily!
- Now, grab your husked ears of corn. We\’re going to slather that glorious garlic butter mixture all over each and every ear. Don\’t be shy – get it right into all the nooks and crannies!
- Once they’re beautifully coated, it’s time for the cheese! Sprinkle that grated Parmesan cheese (or your favorite cheese!) generously all over the buttered corn. It’s going to melt into pure cheesy goodness.
- Now, pick your favorite cooking method below, and let the magic happen! We\’ll have the most delicious side dish ready in no time. You can find more amazing side dish ideas over here!
Grilling Your Cheesy Garlic Butter Corn on the Cob
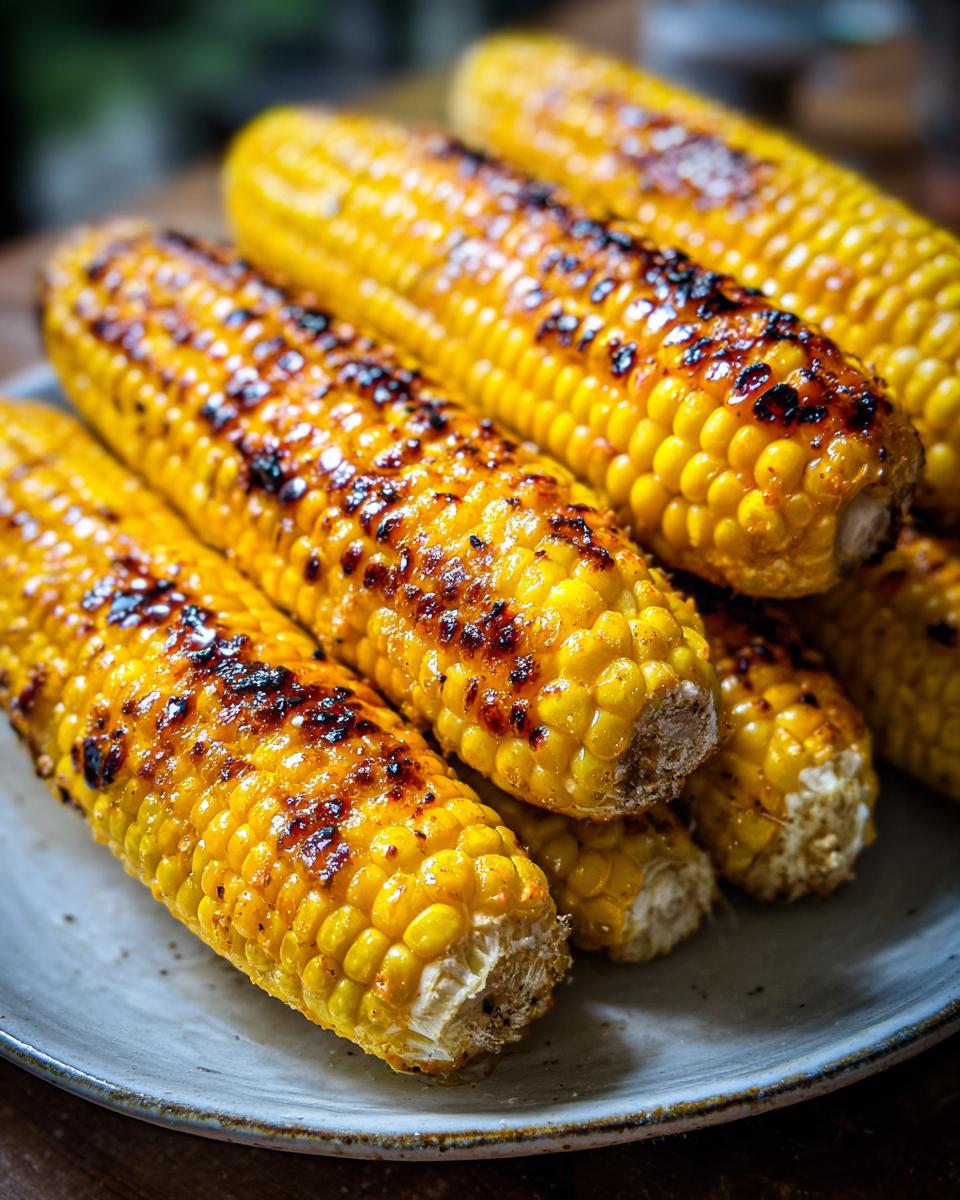
If you’re going the grilling route, which is my dad’s favorite for a smoky flavor, place your buttered and cheesed corn directly on the preheated grill grates. Cook for about 10 to 15 minutes, turning now and then, until the corn is tender and has those perfect little charred bits. It smells incredible while it’s cooking!
Oven-Baked Foil Grilled Corn: A Simple Alternative
For an easier, no-fuss method, wrap each buttered and cheesed ear of corn tightly in foil. Pop them onto a baking sheet and into your preheated 400°F (200°C) oven. Bake for about 20 to 25 minutes, or until the corn is nice and tender. This method keeps all that buttery, cheesy goodness locked in. It\’s a great way to get that foil grilled corn flavor without even firing up the grill!
Stovetop Method for Buttery Corn
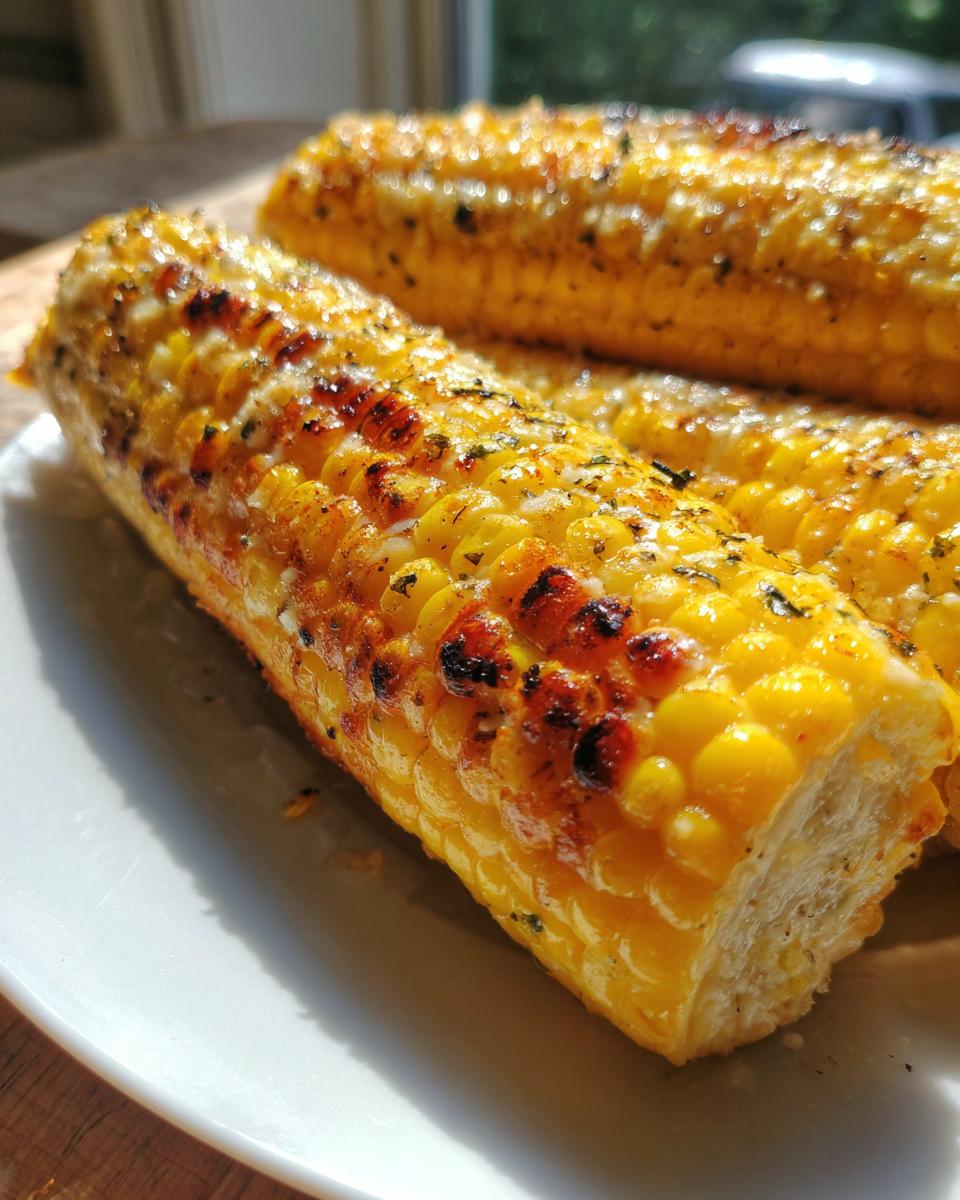
No grill or oven? No problem! You can absolutely make delicious buttery corn on the stovetop. Simply boil or steam your corn until it’s tender. Once it’s cooked, drain it well, spread it with the garlic butter mixture, and sprinkle with the cheese. You might want to cover the pot for a minute or two to help that cheese melt beautifully, just like in my stovetop mac and cheese!
Expert Tips for Perfect Cheesy Garlic Butter Corn on the Cob
Okay, so making this corn is pretty forgiving, but I\’ve picked up a few little tricks over the years that really make it sing. First off, pick the freshest corn you can find – those ears should feel heavy and have bright green husks. When you\’re spreading that garlic butter, don\’t be shy! I like to make sure every kernel gets a good coating, really pushing it in there. For the cheese, Parmesan is amazing, but don\’t be afraid to mix in a little cheddar or Monterey Jack for extra creaminess. And if you\’re grilling, watch it closely – the sugars in the butter and corn can burn fast! These little things are part of what makes it so special, just like my dad always said. You can read a bit more about my cooking philosophy if you\’re curious!
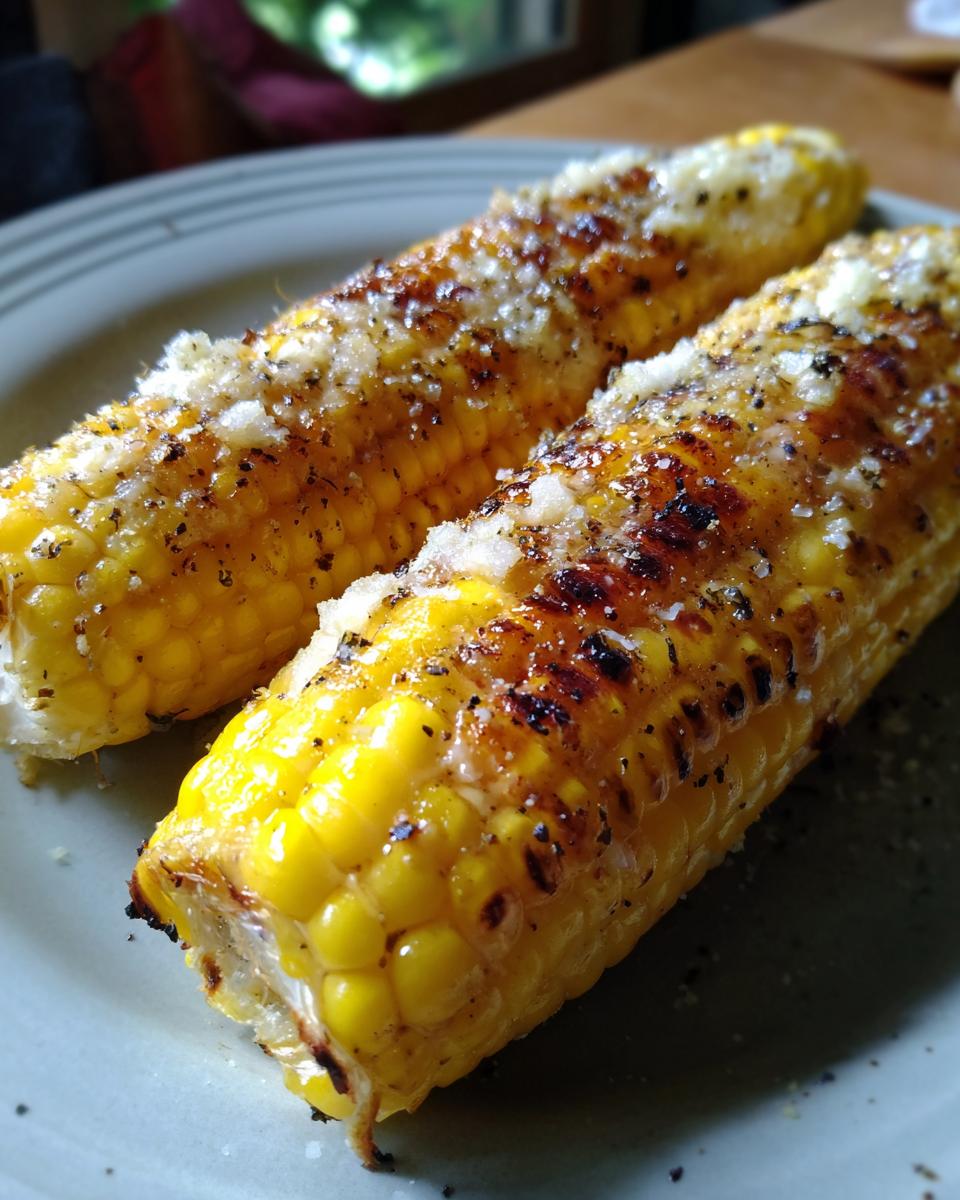
Ingredient Notes and Substitutions for Your Corn Recipe
This recipe is pretty flexible, so don\’t stress if you don\’t have *exactly* what it calls for! For the garlic, if you\’re not a huge fan of raw garlic taste, you can sauté it lightly in a little bit of the butter before mixing it in – it mellows out the flavor beautifully. And cheese! While Parmesan is my absolute fave here, feel free to swap it out. A nice sharp cheddar, some Monterey Jack for extra meltiness, or even a sprinkle of Cotija cheese if you’re feeling adventurous would be delicious. It’s all about making it yours! You can find more fantastic side dish ideas like this if you ever need inspiration!
Serving Suggestions for Cheesy Garlic Butter Corn on the Cob
Oh, this corn just begs to be part of a feast! It’s the ultimate star at any BBQ, truly one of the best BBQ side dishes you can whip up. Serve it alongside some juicy burgers, tender ribs, or even a perfectly grilled steak from a great dinner spread. It’s also a total must-have for any summer cookout. Honestly, it makes any casual family dinner feel a little more special, too. Just imagine it piled high on your plate!
Frequently Asked Questions about Cheesy Garlic Butter Corn on the Cob
Got questions about this glorious Cheesy Garlic Butter Corn on the Cob? I\’ve got you covered! It’s one of those recipes that’s pretty simple, but a few tips can make it even better.
Can I make the garlic butter mixture ahead of time?
Absolutely! I actually love doing this. You can mix up the softened butter, garlic, salt, and pepper a day or two in advance. Just keep it covered in the fridge. Let it come back to room temperature and soften up a bit before you spread it on the corn. It’s a real time-saver for those busy BBQ days!
How should I store leftovers of this buttery corn recipe?
If you happen to have any leftovers (which is rare in my house!), just wrap them up tightly or pop them in an airtight container in the fridge. They\’ll keep for about 2-3 days. To reheat, you can pop them back on the grill for a few minutes, warm them up gently in the oven, or even just eat them cold – yes, I’ve done it!
Can I use corn on the cob without husks?
You sure can! The recipe works great with pre-husked corn too. Just make sure it’s nice and fresh. The main trick with corn on the cob, whether husked or not, is to get that garlic butter and cheese coating evenly distributed. And cook until it’s tender – that’s the key!
What other cheeses work well besides Parmesan?
Oh, you have so many awesome options! While Parmesan is fantastic for its nutty flavor, don’t be afraid to experiment. A sharp cheddar adds a nice tang, Monterey Jack melts like a dream and makes it super gooey, or even a sprinkle of Cotija for a salty, crumbly finish would be delicious. It’s all about what you love!
Nutritional Information Estimate
Just a little heads-up, the nutritional info I’m giving you here is an estimate, okay? It can totally change depending on the exact ingredients you use and how much of that yummy garlic butter and cheese you slather on. But generally, you’re looking at around 300 calories per ear, with about 20g of fat, 7g of protein, and 25g of carbohydrates.
PrintCheesy Garlic Butter Corn on the Cob
A crowd-pleasing BBQ side dish featuring corn on the cob coated in garlic butter and melted cheese, perfect for summer cookouts.
- Prep Time: 10 min
- Cook Time: 15 min
- Total Time: 25 min
- Yield: 4 servings 1x
- Category: Side Dish
- Method: Grilling
- Cuisine: American
- Diet: Vegetarian
Ingredients
- 4 ears of corn, husked
- 1/2 cup unsalted butter, softened
- 4 cloves garlic, minced
- 1/2 teaspoon salt
- 1/4 teaspoon black pepper
- 1/2 cup grated Parmesan cheese
- Optional: chopped fresh parsley or cilantro, lime wedges
Instructions
- Preheat your grill to medium-high heat.
- In a small bowl, combine the softened butter, minced garlic, salt, and pepper. Mix well.
- Spread the garlic butter mixture evenly over each ear of corn.
- Sprinkle the grated Parmesan cheese over the buttered corn.
- Grill the corn for 10-15 minutes, turning occasionally, until tender and lightly charred.
- Alternatively, you can wrap each buttered and cheesed ear of corn tightly in foil and bake in a preheated oven at 400°F (200°C) for 20-25 minutes, or until tender.
- For stovetop preparation, you can boil or steam the corn until tender, then spread with the garlic butter and cheese mixture and let it melt.
- Serve hot, garnished with fresh herbs and lime wedges if desired.
Notes
- For extra flavor, you can add a pinch of cayenne pepper to the butter mixture.
- If you don’t have Parmesan, other hard cheeses like Pecorino Romano or even shredded cheddar can be used.
- This recipe is easily adaptable for different cooking methods like oven roasting without foil.
Nutrition
- Serving Size: 1 ear
- Calories: 300
- Sugar: 6g
- Sodium: 350mg
- Fat: 20g
- Saturated Fat: 12g
- Unsaturated Fat: 8g
- Trans Fat: 0g
- Carbohydrates: 25g
- Fiber: 3g
- Protein: 7g
- Cholesterol: 50mg