
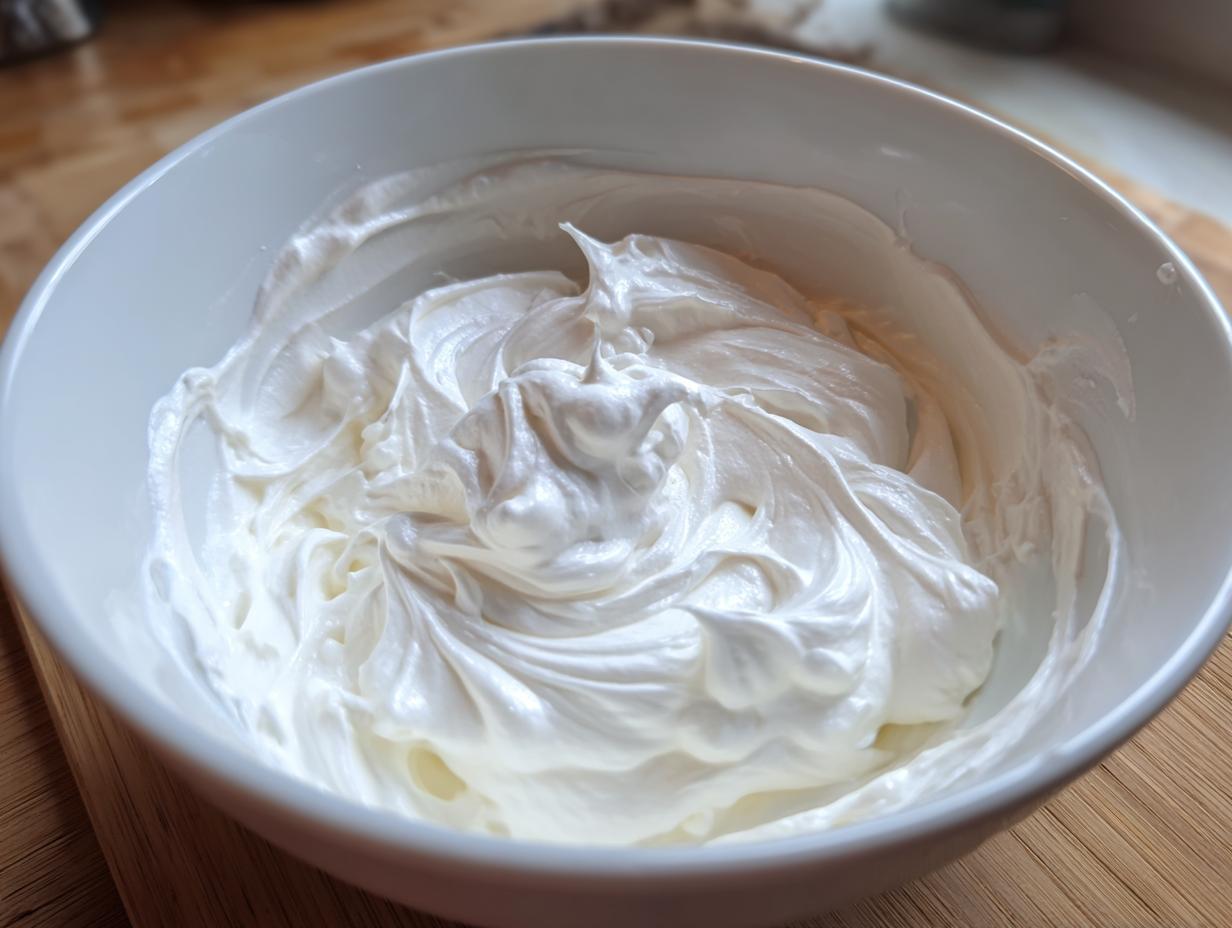

Oh, sugar cookies! They look so beautiful in the bakery window, right? But when you try to pipe those perfect edges or try to get that smooth flood filling, it just turns into a sticky, runny mess that cracks when it dries. I’ve been there, trust me! After years of practicing on everything from holiday cutouts to birthday cakes, I finally landed on the ultimate solution. This **royal icing recipe** using meringue powder is the one I swear by. It’s reliable, safe, and totally transforms basic home baking into something that looks professionally decorated. Welcome to your new favorite **Royal Icing Recipe for Beginners**. If you’re looking for another knockout cookie recipe to put this icing on, you have to check out my easy no-chill snickerdoodle cookies!
- Why This Royal Icing Recipe Works for Beginners
- Gathering Ingredients for the Best Royal Icing Recipe Ever
- How to Prepare Royal Icing Recipe with Meringue Powder
- Royal Icing Consistency Guide: Adjusting Your Royal Icing Recipe
- Tips for Success with This Royal Icing Recipe for Piping Designs
- Serving Suggestions for Your Smooth Glossy Cookie Glaze
- Frequently Asked Questions About the Royal Icing Recipe
- Nutritional Estimates for This Royal Icing Recipe
- Share Your Royal Icing Recipe Creations
Why This Royal Icing Recipe Works for Beginners
Listen, I love my grandmother’s rustic baking, but when it comes to cookie decorating, I want precision without the worry! That’s why this **No-Fail Royal Icing** recipe, featuring meringue powder, is my absolute favorite for my readers. I know some people stick to strictly egg whites, but honestly? Using meringue powder is safer, more consistent, and I don’t have to worry about salmonella or trying to source perfect fresh eggs. It’s the secret weapon that turns this into the perfect **Beginner Cookie Decorating Icing**. It sets up firm and beautiful every single time, making your cookies look like they came straight from a professional bakery. If you love this consistency, you should try it out on my cardamom shortbread cookies!
The Benefits of Our Meringue Powder Royal Icing Instructions
When you follow these **Meringue Powder Royal Icing Instructions**, you get benefits that are hard to beat when you’re first learning the ropes. You get reliability, my friend! Here’s what I love most:
- It dries hard and beautifully glossy, creating that professional snap you want.
- Since we skip the raw eggs, it’s a much safer option for everyone, especially when decorating cookies for parties.
- The consistency is remarkably stable once mixed, meaning less frantic adjusting while you’re decorating.
- It creates a brilliantly white base if you choose not to color it right away, which is great for simple holiday looks.
Gathering Ingredients for the Best Royal Icing Recipe Ever
Okay, gathering our supplies. This is where the magic starts, and I promise, the ingredient list is super straightforward! When you’re aiming for that **Smooth Glossy Cookie Glaze**, every ingredient matters. The biggest tip I can give you right up front is to sift that powdered sugar, please! It stops those little lumps from ruining your perfectly smooth finish. We’re also going to toss in just a bit of cream of tartar—it’s totally optional, but trust me, it gives the icing just a little extra backbone, which is perfect for that firm dry. When you’re done, you’ll have enough of this **Best Royal Icing Recipe Ever** for about two dozen medium cookies, which is usually just the right amount!
Ingredient Notes and Substitutions for Your Royal Icing Recipe
Let’s talk about the flavorings for a second. I always insist on using clear vanilla extract. Why? Because regular vanilla is brownish, and if you’re trying to get a bright white royal icing base, those dark flecks can throw off your color later. If clear vanilla is impossible to find, regular works, but just know your white icing might look a tiny bit off-white.
Also, just to circle back to that big question: this is strictly a meringue powder recipe because it’s just more reliable for home bakers than dealing with whipped egg whites. It’s the best way to handle the **Egg White vs Meringue Powder Icing** debate if you ask me—it takes the guesswork out! Now, once you’ve got your simple list gathered, we can make the actual batch. If you’re looking for something sweet to put this icing on next, save my apple crumb cake recipe!
How to Prepare Royal Icing Recipe with Meringue Powder
This is the best part! Making this icing is so fast—seriously, it’s like ten minutes and you’re done. Remember, we’re using the meringue powder method, which makes things incredibly straightforward. In a big bowl, we start by mixing our meringue powder with the warm water. Just use a whisk or your stand mixer on low until it gets a little foamy, maybe a minute tops. Then, everything else goes in! Sifted powdered sugar, cream of tartar if you’re using it, and that clear vanilla. Don’t add the sugar all at once if you’re worried about a mess—low speed first until it’s incorporated, then crank it up! I can get this going while a batch of apple cider cinnamon bread is baking in the oven because clean-up is practically zero.
Achieving Perfect Piping Consistency for Royal Icing Recipe
Once everything is mixed, you need to beat it. Don’t stop too soon! For piping—you know, the stuff you use for neat outlines, borders, or writing messages—you want this icing to be thick. We’re talking medium-high speed for a full five to seven minutes. Seriously, watch it transform. It starts looking dull and then suddenly it gets that gorgeous, glossy shine. It’s ready when you lift the whisk and the icing forms stiff peaks that stand straight up without flopping over immediately. That means you’ve built enough air for beautiful, strong dollops!
Mastering Flooding Consistency: The Secret to Easy Icing for Sugar Cookies
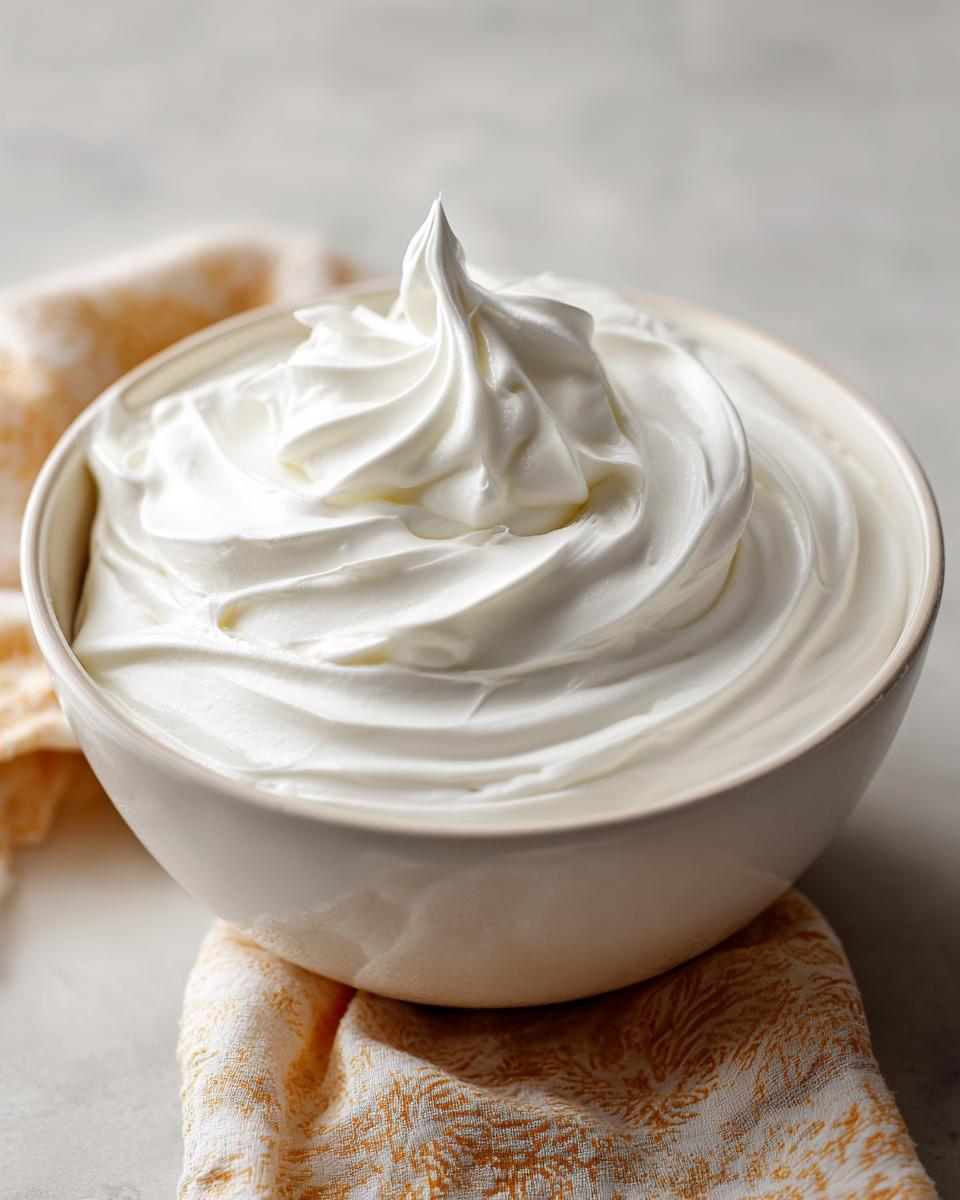
Now, if you want to fill in those outlined sections, you need the flooding consistency. This is what makes decorating so much easier! Take the thick piping icing you just made and start adding water, just one teaspoon at a time. Mix slowly after each addition, because a little liquid goes a long way here.
The secret test is the ribbon method. Drizzle some icing off your whisk back into the bowl. You want that ribbon of icing to smoothly disappear back into the main batch after about ten seconds. If it disappears right away, oops, too thin! If it sits on top like a mountain, it needs more water. Don’t worry if it takes a few tries; getting that 10-second flow is the golden ticket to flawless, flat cookies!
Royal Icing Consistency Guide: Adjusting Your Royal Icing Recipe
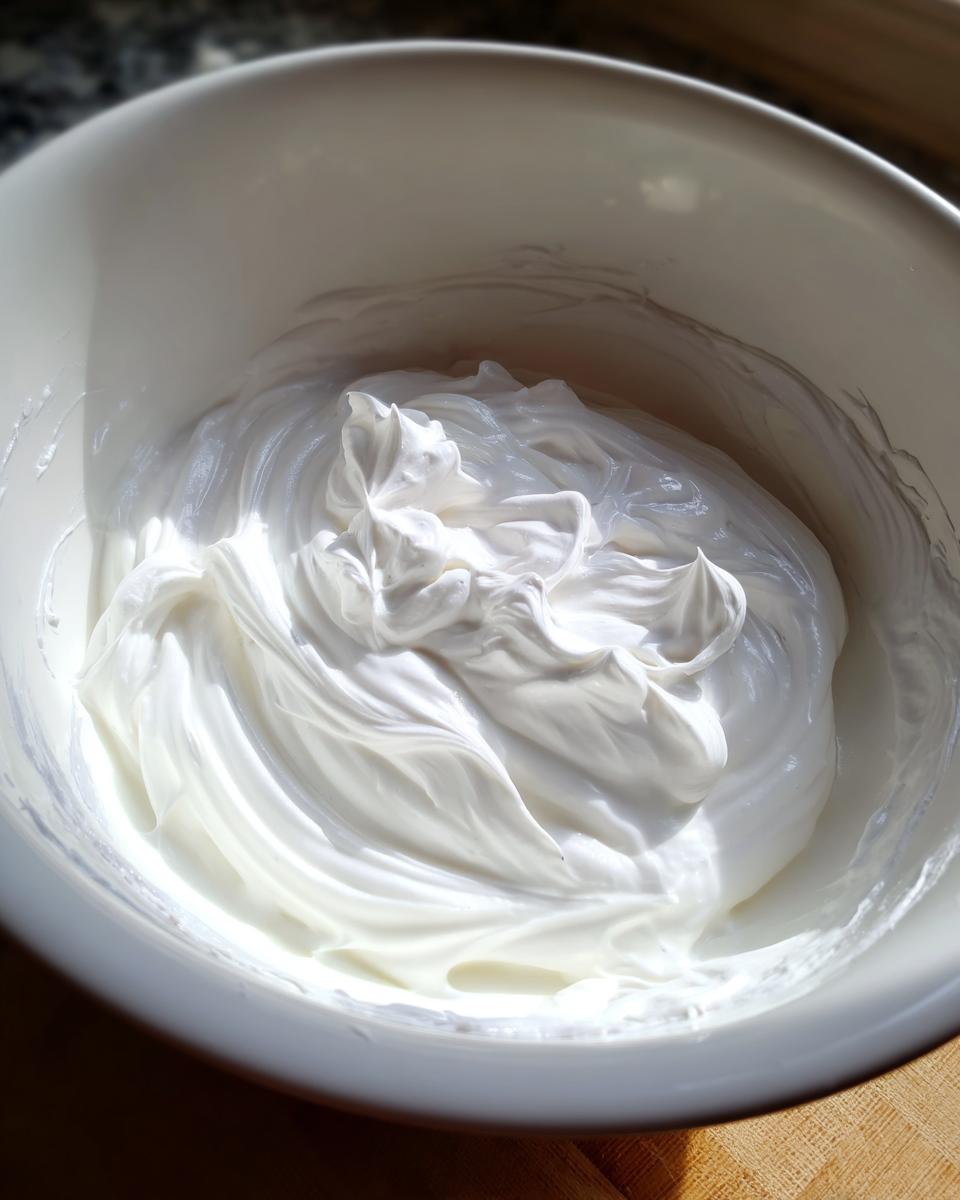
Don’t panic if your icing isn’t perfect right off the mixer! This is usually the easiest fix, and it’s why I love sharing this **Royal Icing Consistency Guide**. Decorating is meant to be fun, not frustrating, and adjusting the texture is super simple once you know the tricks. If your icing looks too thick—maybe it’s not flowing right for flooding, or your piping tips keep getting clogged—you just need a splash more liquid. Seriously, start with just a teaspoon of warm water and gently mix it in. You don’t want to beat it again and knock out all the lovely air you just created.
Conversely, if you overdid the water and now it’s running everywhere like a melted puddle, don’t worry! This is where we bring in the dry ingredients to save the day. Just mix in one tablespoon of sifted powdered sugar at a time. Mix gently until it comes back to the proper consistency for piping or flooding. Keep a keen eye on it; sometimes a little sugar makes a big difference right away!
Tips for Coloring and Storing Your Hardening Icing Recipe
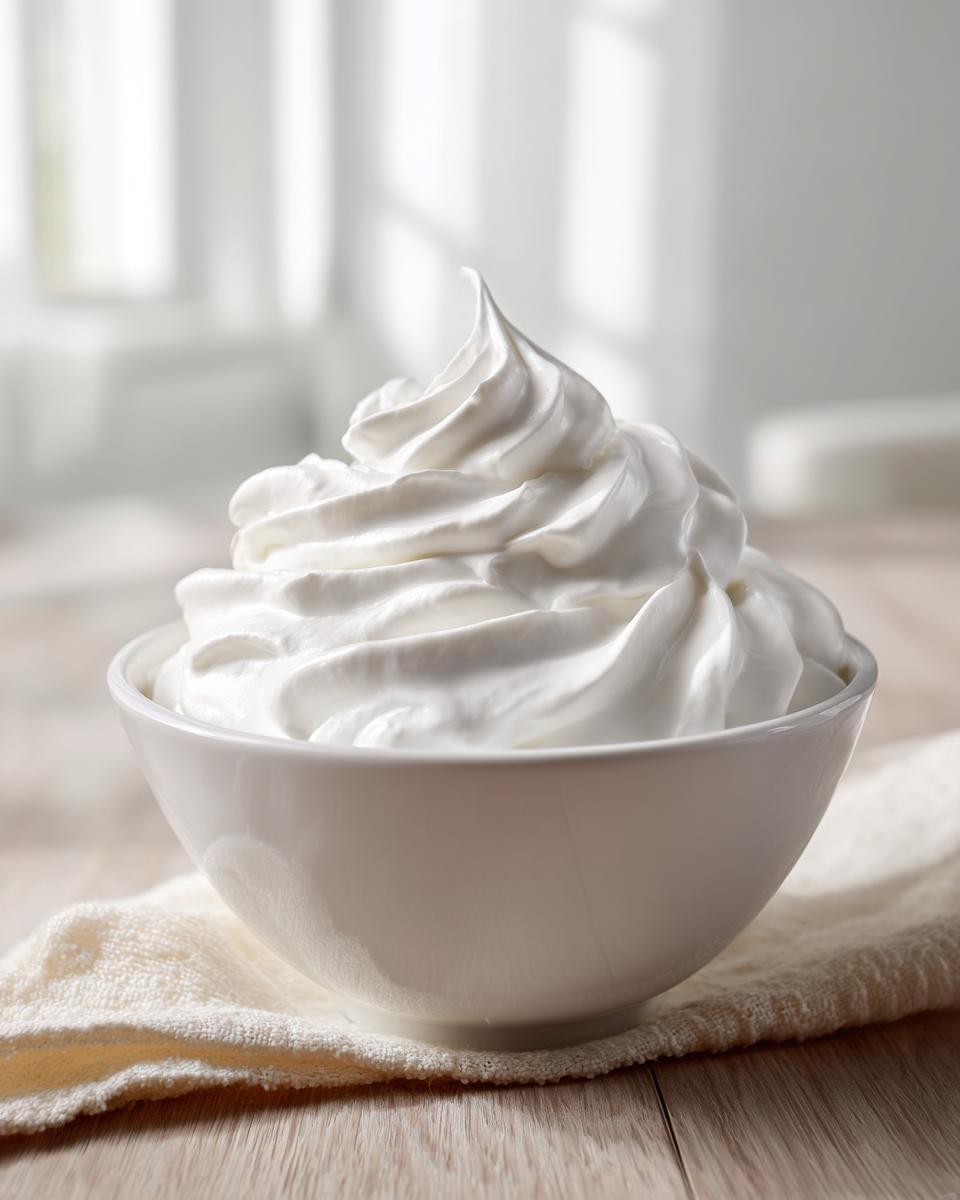
When it comes time to color, please use gel food coloring, not the liquid stuff you grab for cake batter. Liquid coloring adds way too much moisture, turning your stiff **Hardening Icing Recipe** into soup! Gel colors are concentrated, so you only need the tip of a toothpick to get vibrant shades without affecting the texture.
Once you have the color you love, use it right away, because this icing crusts over fast! If you need to stop working for a break or the next day, cover the bowl tightly. The most important rule here is to press a piece of plastic wrap directly onto the surface of the icing. If air touches it, you’ll get a hard, unusable skin forming. When stored this way at room temperature—and only at room temperature, no fridge for this stuff—it keeps beautifully for about two weeks. If you’re storing it for a later day, you might want to check out my recipe for pumpkin cheesecake bars while you wait!
Tips for Success with This Royal Icing Recipe for Piping Designs
Now that you know how to mix it, let’s talk about making those designs pop! Getting the piping right requires a little attention to detail, which is what separates home baking from professional work. My biggest secret for achieving those **Professional Cookie Icing Secrets** is all in the aeration we discussed earlier. You absolutely must use an electric mixer for those final five minutes; hand-whisking just won’t build the internal structure needed to hold clean, sharp lines when you pipe. It feels like overkill, but trust me, that whipping action creates the structure that dries crisp.
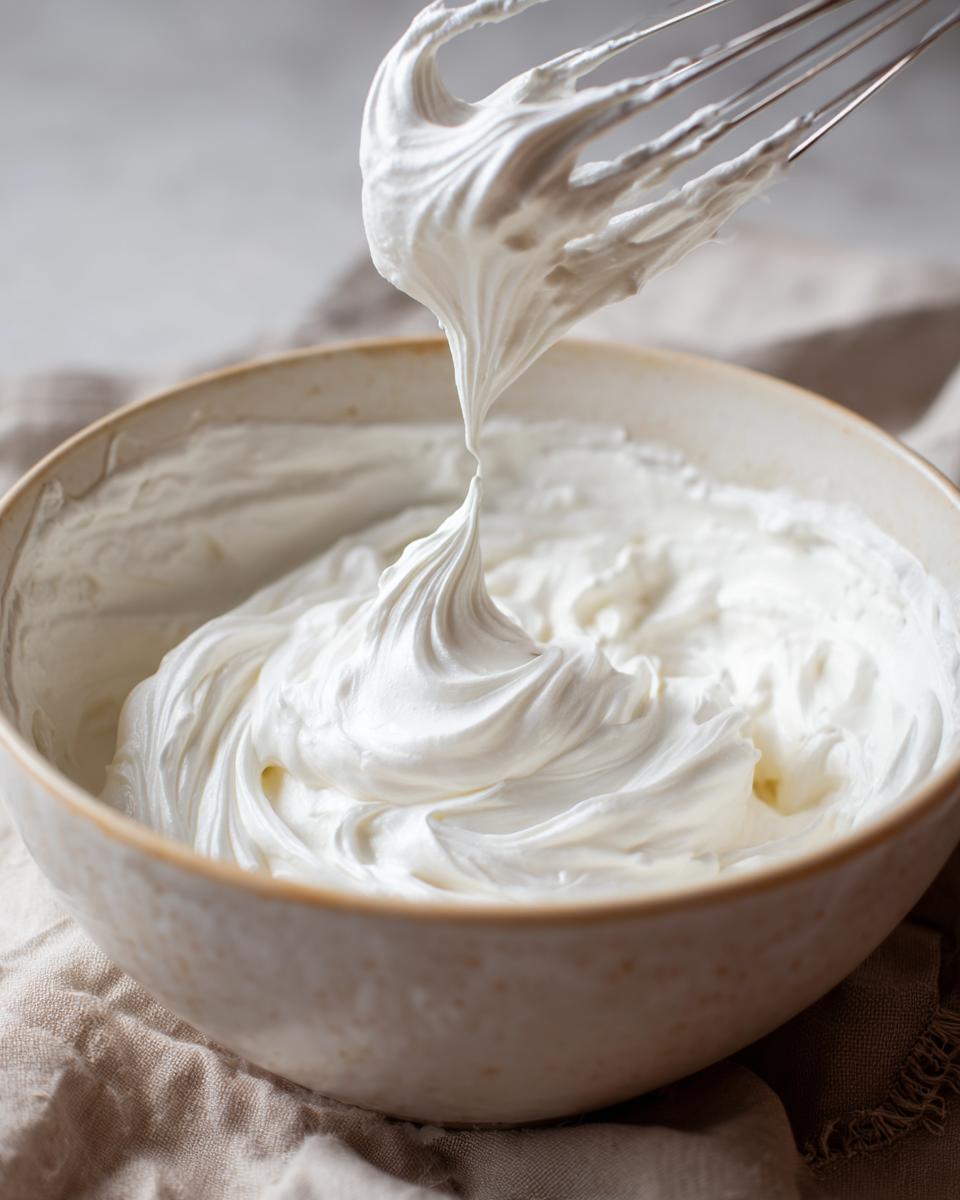
Remember what I said about gel colors versus liquid? That’s vital here! If you use liquid food coloring, you’re adding unnecessary water, which instantly thins out your perfect piping consistency. You end up trying to fix it with more sugar, and then your icing tastes too sweet later on. Stick to the concentrated gel colors. A toothpick tip is all you need to get vibrant colors without compromising the texture of your **royal icing recipe**. For more savory inspiration after all the sweet decorating is done, take a look at my muffuletta sandwich recipe!
Serving Suggestions for Your Smooth Glossy Cookie Glaze
Once you have this gorgeous, **Smooth Glossy Cookie Glaze** ready, the fun really begins! Of course, this icing was made to shine on classic sugar cookies. It outlines beautifully and floods to a perfect, hard finish, making them ideal for gifting or stacking. But don’t stop there!
This recipe is also sturdy enough for building gingerbread houses—it acts like delicious, hard-setting glue. You can even decorate pretzels or plain shortbread cookies with it too. Seriously, once you master this technique, you’ll be glazing everything in sight! If you need a new cookie base this season, try making a batch of my peppermint cheesecake cookies as the canvas for this beautiful icing.
Frequently Asked Questions About the Royal Icing Recipe
I know when you’re just starting out, there are always a few little things that pop into your head as you work through a new recipe. Don’t worry! I’ve answered the most common questions I get about this fantastic **royal icing recipe** so you can feel totally confident while decorating. Feel free to ask more in the comments if you have another question—I love hearing from you!
Can I make this royal icing recipe ahead of time?
You absolutely can! This is one of the best things about using meringue powder. You can mix up a nice big batch and store it in an airtight container at room temperature for up to two weeks. Just remember that crucial step: plastic wrap pressed directly onto the surface of the icing. If you skip that, you’ll end up with a hard crust you have to scrape off later. When you’re ready to use it again, just give it a gentle stir. If it seems a touch stiff, add a few drops of water until it flows nicely again.
How long does this royal icing recipe take to dry hard?
That’s the big question, right? We want that **Quick Drying Royal Icing**! Ideally, if your icing is thinned correctly for flooding and the humidity isn’t crazy high, you should be able to stack cookies built on borders within a few hours. For a full, hard dry that you can put in airtight containers, I always recommend waiting overnight, maybe 8 to 12 hours, just to be safe. On a really humid day, it might take longer, so use your finger test—if it smudges, it needs more time!
Can I use regular vanilla extract in this easy royal icing recipe?
Yes, you can technically use regular vanilla extract in this **easy royal icing recipe**, but I strongly suggest trying to find the clear kind if you are making a pure white icing. Regular vanilla is darker and will give your white icing a slight off-white or beige tint. If you plan on coloring the icing vibrant colors like pale blue or bright white, the clear one helps keep that color pure. If you’re just going for a brown gingerbread house color, then regular extract is totally fine!
To see some of my other tried-and-true recipes that are just as reliable, take a look at my cream cheese chicken taquitos!
Nutritional Estimates for This Royal Icing Recipe
Whenever I post a recipe that involves a lot of sugar, like this beautiful royal icing, I always get questions about the nutrition facts. Remember, this icing is the decoration, not the main event—it’s meant to jazz up my sausage egg breakfast roll-ups, kidding! It’s made primarily of sugar, so it’s definitely a treat!
Here are the rough estimates based on the recipe yield. Keep in mind that this is only an approximation per serving size (about 1/4 cup). Obviously, if you use a tiny dot on a cookie, the contribution is way less than if you slather it on thick!
- Serving Size: 1/4 cup
- Calories: 175
- Sugar: 44g
- Sodium: 15mg
- Fat: 0g
- Protein: 1g
I know many of you are focused on healthy eating and structured routines, and I totally support that! While this icing is a perfect way to celebrate holidays or birthdays, if you are deep into focusing on health goals, remember that balanced eating is key. Making sure you have a good structure for your main meals through proper meal planning helps you enjoy these sweet decorations guilt-free later on!
Share Your Royal Icing Recipe Creations
Well, that’s it! You now have the secret to making stunning, professional-looking icing that even a beginner can master. I hope this **royal icing recipe** makes your next batch of sugar cookies the star of the show! Please come back, drop a comment below letting me know how your decorating went, and give this recipe a solid five stars if it worked for you!
I’d absolutely love to see what you create! Tag me on social media when you decorate—I adore seeing your beautiful work. And if you’re ready for more reliable recipes just like this one, explore all my other kitchen adventures over on the main blog page!
PrintEasy Royal Icing Recipe with Meringue Powder for Beginners
This recipe provides simple, step-by-step instructions for making smooth, glossy royal icing using meringue powder, perfect for decorating sugar cookies and achieving firm, professional results.
- Prep Time: 10 min
- Cook Time: 0 min
- Total Time: 10 min
- Yield: Coats approximately 2 dozen medium cookies 1x
- Category: Dessert Decoration
- Method: Mixing
- Cuisine: American
- Diet: Vegetarian
Ingredients
- 3 tablespoons meringue powder
- 4 cups powdered sugar, sifted
- 6 tablespoons warm water
- 1 teaspoon clear vanilla extract (or other clear flavoring)
- 1/4 teaspoon cream of tartar (optional, for stability)
Instructions
- In a large bowl, combine the meringue powder and warm water. Whisk by hand or use an electric mixer on low speed until the mixture is foamy, about 1 minute.
- Add the sifted powdered sugar and cream of tartar (if using) to the bowl.
- Mix on low speed until the sugar is incorporated into the liquid. Scrape down the sides of the bowl.
- Add the vanilla extract. Increase the mixer speed to medium-high and beat for 5 to 7 minutes until the icing is very thick, glossy, and holds stiff peaks. This is your piping consistency.
- To achieve flooding consistency, add water one teaspoon at a time, mixing slowly after each addition, until the icing flows smoothly off the whisk in a ribbon that disappears into the bowl after about 10 seconds.
- Color the icing as needed using gel food coloring. Mix thoroughly until the color is uniform.
- Use immediately for decorating cookies or cover tightly with plastic wrap pressed directly onto the surface to prevent drying.
Notes
- For piping consistency (outlines and details), the icing should hold its shape firmly.
- For flooding consistency (filling in areas), the icing should slowly settle back into itself after being drizzled. This usually takes about 10-15 seconds to disappear.
- If the icing becomes too thick while working, stir in a few drops of water. If it is too thin, mix in a tablespoon of sifted powdered sugar.
- Store leftover icing in an airtight container at room temperature for up to two weeks.
- This recipe avoids raw eggs, making it a safer option for home bakers. If you are looking into meal planning for specific dietary needs, consider how simple recipes like this fit into a structured approach.
Nutrition
- Serving Size: 1/4 cup
- Calories: 175
- Sugar: 44
- Sodium: 15
- Fat: 0
- Saturated Fat: 0
- Unsaturated Fat: 0
- Trans Fat: 0
- Carbohydrates: 44
- Fiber: 0
- Protein: 1
- Cholesterol: 0