
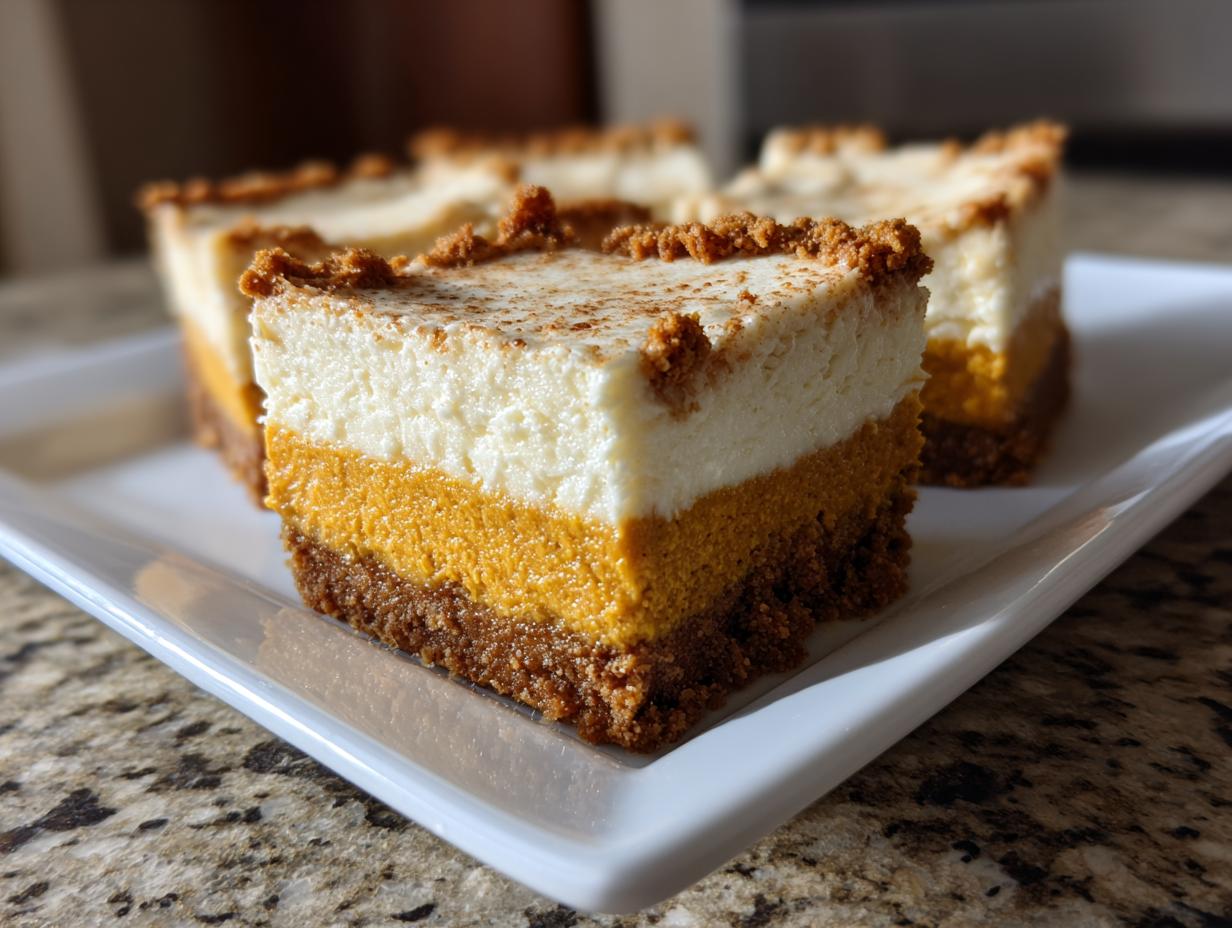

Oh, fall baking! It’s my absolute favorite time of year, and you know what that means – it’s officially pumpkin and cheesecake season! If you’re like me and adore that dreamy, creamy texture of cheesecake but also crave the warm, spiced hug of pumpkin pie, then these Pumpkin cheesecake bars are about to become your new best friend. Honestly, they’re like a match made in autumn heaven. I remember standing on a stool in my grandma’s kitchen, much like she taught me with her pies, trying to get the swirls just right. These bars capture all that cozy fall flavor you’re dreaming of, all in a beautiful, easy-to-serve bar. And the best part? No fussy water bath required! Just pure, delicious, make-ahead magic for all your holiday gatherings.
- Why You'll Love These Pumpkin Cheesecake Bars
- Gather Your Ingredients for Pumpkin Cheesecake Bars
- Crafting the Perfect Pumpkin Cheesecake Bars: Step-by-Step
- Tips for Perfect Pumpkin Cheesecake Bars Every Time
- Serving and Storing Your Delicious Pumpkin Dessert Bars
- Frequently Asked Questions About Pumpkin Cheesecake Bars
- Nutritional Information for Pumpkin Cheesecake Bars
- Share Your Creations!
Why You’ll Love These Pumpkin Cheesecake Bars
Seriously, why wouldn’t you love these? They hit all the right notes for fall baking:
- So Easy to Make: Forget those complicated cheesecake steps. These bars are totally doable for any home baker.
- Make-Ahead Magic: Bake them the day before, chill overnight, and slice them up when you’re ready. Perfect for busy holiday weekends!
- Crowd-Pleaser Guaranteed: Who can resist creamy pumpkin and a spiced crust? Everyone always devours them.
- Perfect for Fall & Holidays: They’re practically begging to be on your Thanksgiving dessert table or at any autumn potluck.
- Dreamy Texture: You get that luxurious, smooth cheesecake vibe with a wonderfully spiced pumpkin layer and a buttery, crumbly crust.
Gather Your Ingredients for Pumpkin Cheesecake Bars
Alright, let’s get our goodies together for these amazing Pumpkin cheesecake bars! You’ll need a few things to make the magic happen. First up is the crust. You can go classic with graham cracker crumbs, or if you’re feeling a little spicy, gingersnap crumbs are divine! Whichever you choose, you’ll need about 1 ½ cups of crumbs, plus ¼ cup of granulated sugar, and 6 tablespoons of butter that’s been melted. For the star of the show, the creamy cheesecake part, grab 16 ounces of cream cheese – make SURE it’s softened! Then we need ¾ cup of granulated sugar, 2 large eggs, 1 teaspoon of vanilla extract, and 1 teaspoon of pumpkin pie spice. And of course, for that gorgeous pumpkin swirl, you’ll want 1 cup of pumpkin puree and ¼ cup of sour cream.
Crafting the Perfect Pumpkin Cheesecake Bars: Step-by-Step
Now for the fun part – let’s put these goodies together! Making these Pumpkin cheesecake bars is really straightforward, I promise. You’ll be amazed at how simple it is to create something so incredibly delicious. This recipe takes all the best parts of a creamy cheesecake and loads them up with cozy pumpkin flavors. Just follow along here, and we’ll have a masterpiece ready for your next fall get-together in no time.
Preparing the Flavorful Crust
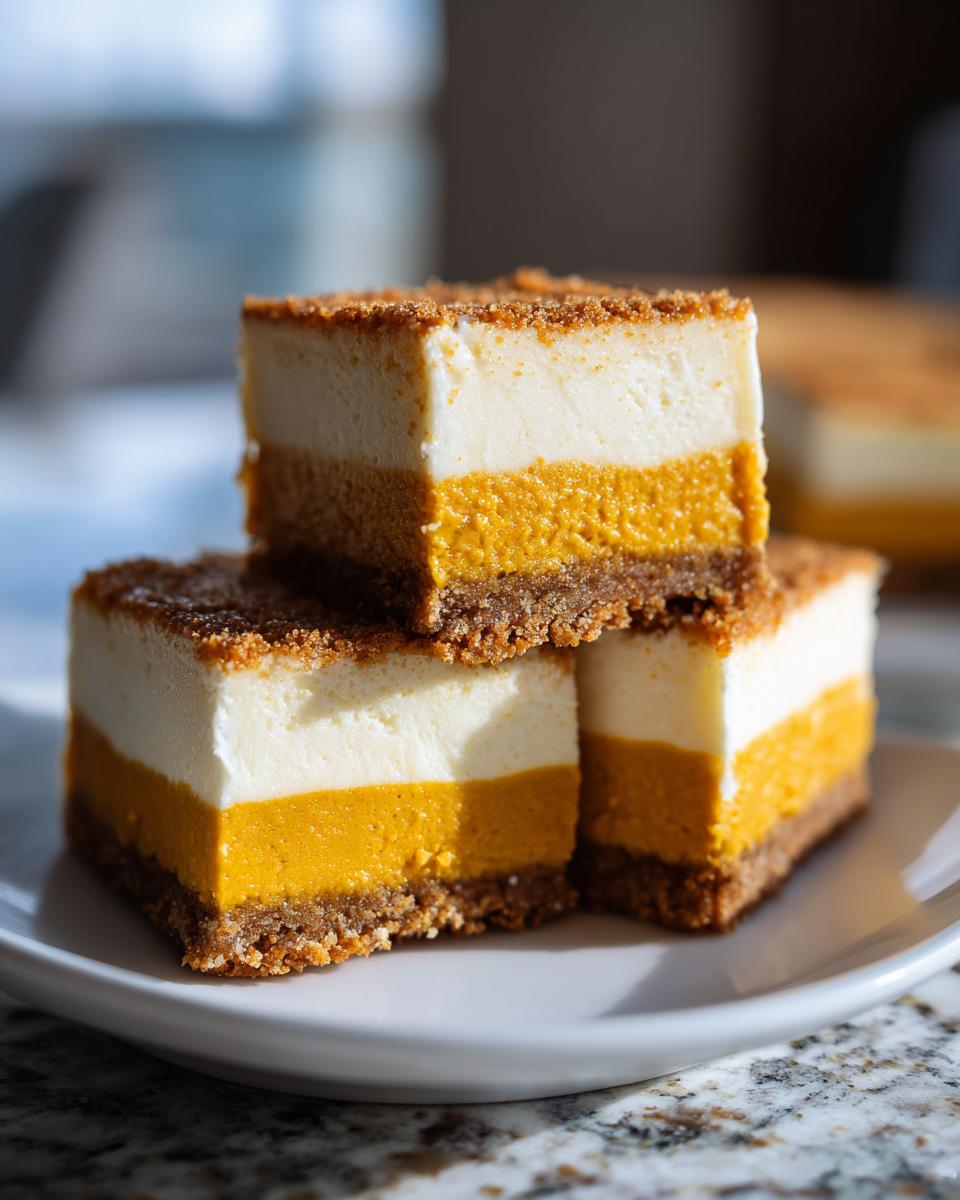
First things first, let’s get that oven preheated to 350°F (175°C). I like to line my 9×13 inch baking pan with parchment paper, leaving a little extra hanging over the sides. This makes lifting the bars out SO much easier later on – trust me on this! In a bowl, we’ll mix up those delicious crumbs, whether they’re graham cracker or gingersnap, with ¼ cup of sugar. Pour in that melted butter and give it a good stir until it all looks like slightly damp sand. Press this mixture down evenly into the bottom of your prepared pan. We’ll pop this into the oven for about 10 minutes just to get it a little toasty and set. Then, take it out and let it cool just a bit while we make the amazing filling. If you’re using graham crackers, you can check out my post on how to make a perfect graham cracker crust for more tips!
Whipping Up the Creamy Cheesecake Filling
Okay, time for the creamy, dreamy part! In a big bowl, using your electric mixer (or a sturdy whisk and some elbow grease!), beat that softened cream cheese with ¾ cup of sugar until it’s super smooth and totally lump-free. This is key for that silky texture! Then, add your eggs one at a time, beating after each addition until they’re just combined. Don’t overmix here! Finally, stir in the vanilla extract and that warm, cozy pumpkin pie spice. The smell alone is heavenly, right? If you’re a big pumpkin lover, you might also want to check out my recipe for homemade pumpkin butter – it’s amazing!
Creating the Swirled Pumpkin Layer
Now for the pretty part! In a separate, smaller bowl, just whisk together the pumpkin puree and the sour cream until they’re nicely combined. It gives the pumpkin layer a little extra richness and tang. Now, grab your crust with the cheesecake filling on it. Pour about half of that lovely cream cheese mixture over the crust. Then, dollop about half of the pumpkin mixture right on top. Take a knife or a skewer and gently swirl the two together. Don’t go crazy with it; you want to see distinct swirls! Repeat with the remaining cream cheese mixture and pumpkin mixture. If you want some extra swirl-spiration, check out my swirled pumpkin bars recipe!
Baking and Cooling Your Pumpkin Cheesecake Bars
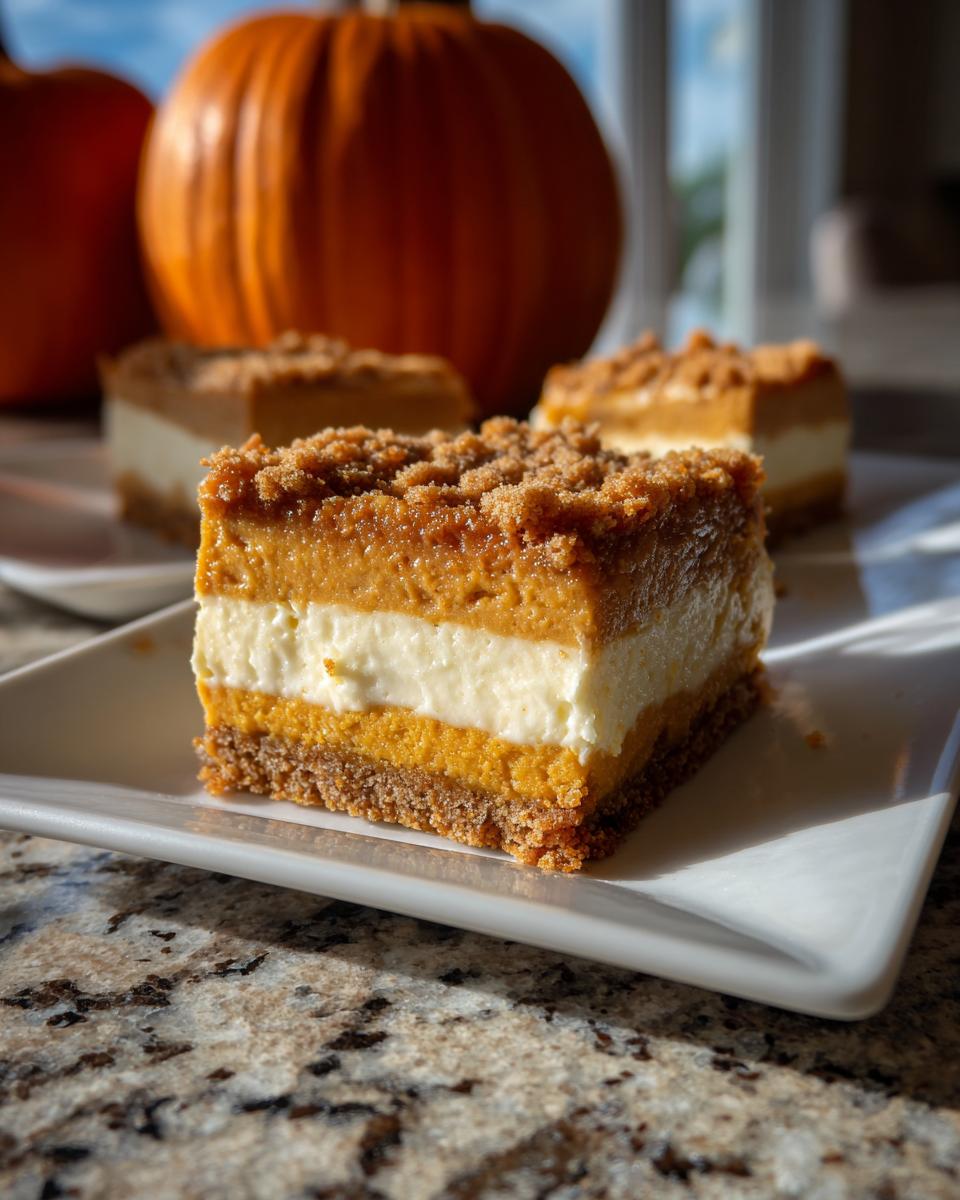
Into the oven they go for about 30 to 35 minutes at that 350°F (175°C). You’re looking for the edges to be set, but the very center should still be *just* a little bit jiggly. That’s perfect! Overbaking will make them dry, and nobody wants that. Once they’re done, pull them out and let them cool completely right there in the pan on a wire rack. This part is super important – be patient! Then, and this is critical for those clean cuts we talked about, chill them in the refrigerator for at least 2 hours, or even better, overnight. This is where the real magic happens for slicing!
Tips for Perfect Pumpkin Cheesecake Bars Every Time
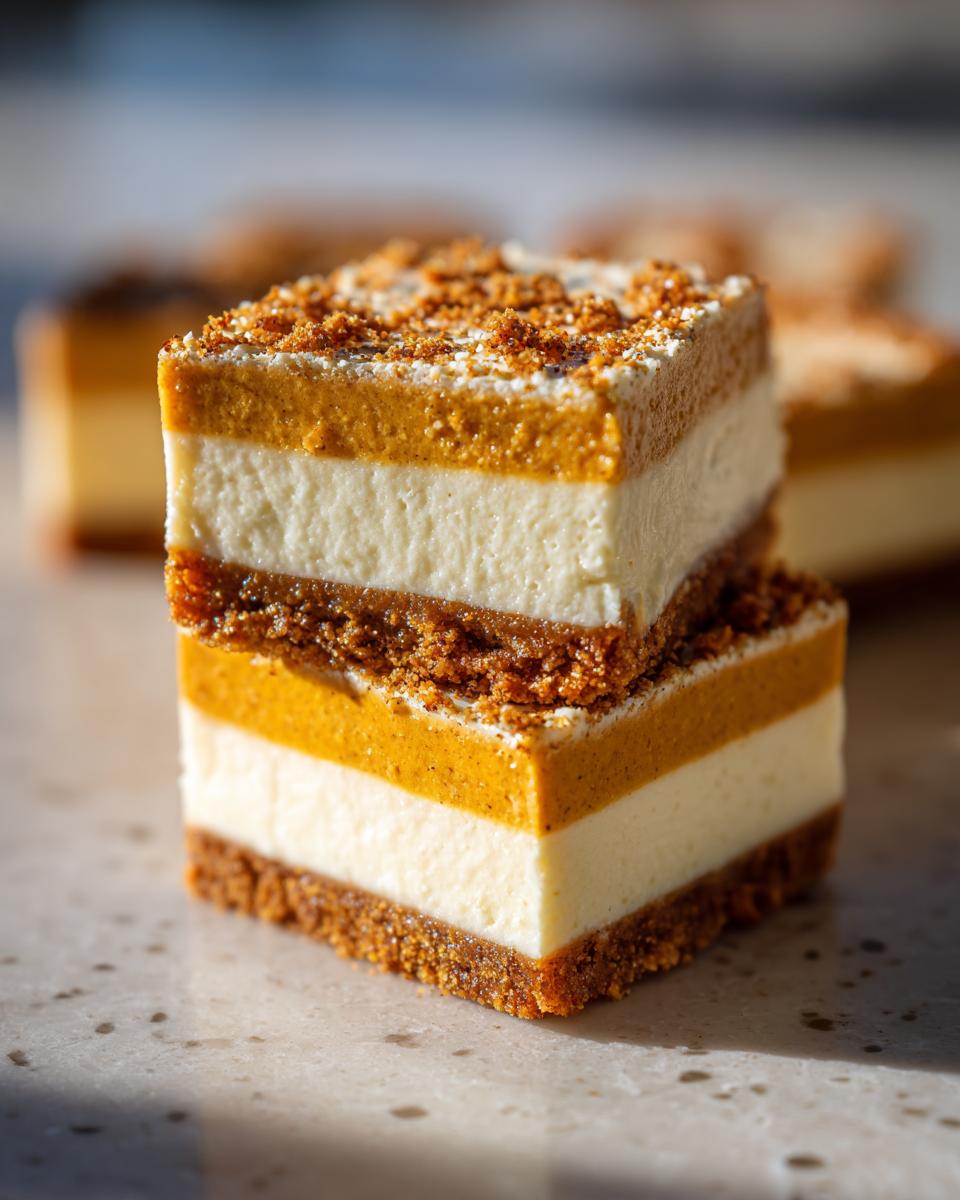
Okay, you’ve made these beauties, and you wanna make sure they turn out *just* right? I’ve got you covered! Creating perfect Pumpkin cheesecake bars really comes down to a few little secrets I’ve picked up over the years. My grandma always said the magic is in the details. For instance, making sure your cream cheese and eggs are at room temperature is a game-changer. It really helps everything blend together smoothly, so you don’t end up with any weird lumps. It’s a small step, but trust me, it makes all the difference for that ultra-creamy texture we love. And for those super clean slices you see in pictures? That’s all about chilling and a sharp knife! Plus, these bars are the perfect example of how you can get that amazing cheesecake texture without the hassle of a water bath, something I talk more about here.
Ingredient Temperature Matters for Creamy Cheesecake
Seriously, this is HUGE for creamy cheesecake. You want your cream cheese and eggs to be at room temperature before you start mixing. Cold ingredients just don’t blend as easily, and you’ll end up with a lumpy filling. My trick is to take them out of the fridge about an hour before I plan to bake. It makes everything incorporate so much better, giving you that silky-smooth texture that just melts in your mouth.
Achieving Clean Cuts for Presentation
Nobody likes a messy bar, right? Especially if you’re bringing these to a potluck! The absolute key to those super clean, straight slices is chilling. Make sure those bars are fully chilled – at least 2 hours, but overnight is even better. Then, use a long, sharp knife. Dip it in hot water and wipe it dry *between each cut*. It sounds tedious, but it works like a charm every single time and makes your Pumpkin cheesecake bars look so professional!
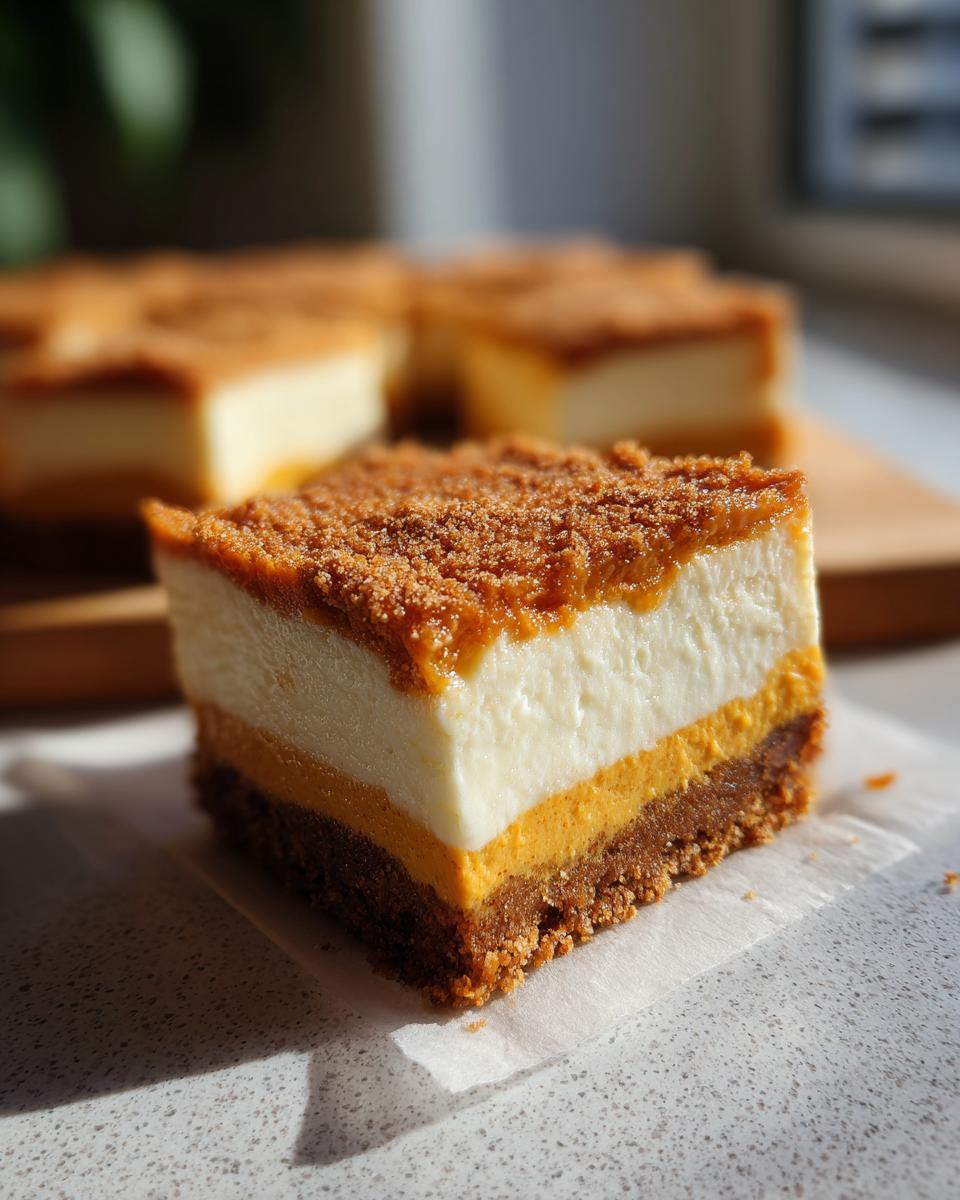
Crust Variations: Graham Cracker vs. Gingersnap
I love a classic graham cracker crust for these bars – it’s buttery and just hugs the filling perfectly. But if you want to add an extra layer of cozy flavor, try a gingersnap crust! The spice in the gingersnaps pairs SO well with the pumpkin and cheesecake. You can find my favorite gingersnap crust recipe if you want to give it a whirl. Both are delicious, so pick the one that calls to you!
Serving and Storing Your Delicious Pumpkin Dessert Bars
These pumpkin dessert bars are just begging to be served! When you’re ready to share them, I love adding a little dollop of whipped cream and a tiny sprinkle of cinnamon right on top – pure perfection. Because they’re so great for making ahead, they’re fantastic for potlucks and holiday parties. Just keep them chilled in the fridge until it’s time to dig in. They’ll stay wonderfully fresh for up to two whole days, wrapped up tight in the pan. You can even freeze them if you want to prep even further out – just wrap them well! Planning ahead is the best, right?
Frequently Asked Questions About Pumpkin Cheesecake Bars
Got questions about these delicious bars? I understand! Making sure everything turns out just right is important, especially when you’re baking for loved ones. Here are some things folks often ask about these Pumpkin cheesecake bars:
Can I make these pumpkin cheesecake bars ahead of time?
Absolutely! This is one of my favorite things about them. You can totally make these bars a day or two in advance and keep them chilled in the fridge. It’s a lifesaver during busy holiday weeks!
What is the best way to store leftover pumpkin cheesecake bars?
Just pop them back into the baking pan, cover it tightly with plastic wrap, and store them in the refrigerator. They’ll keep well for about 2-3 days. You can also freeze them, wrapped up super securely, for longer storage!
Can I use canned pumpkin puree or fresh pumpkin?
For the most consistent results and creamy texture, I always recommend using canned pumpkin puree. Fresh pumpkin can have much more moisture, which might affect how your bars set up. Stick to the can for this recipe! And if you don’t have pumpkin pie spice on hand, don’t worry! You can easily whip up your own blend using cinnamon, ginger, nutmeg, and cloves – check out my easy DIY pumpkin spice mix recipe!
Nutritional Information for Pumpkin Cheesecake Bars
Just a heads-up, the nutritional info below is an estimate for one serving of these yummy Pumpkin cheesecake bars. Things can vary a little depending on exactly what you use for ingredients, but this gives you a good idea! Each bar is roughly around:
Calories: 250
Fat: 15g
Protein: 4g
Carbohydrates: 25g
Sugar: 20g
Share Your Creations!
I really hope you give these Pumpkin cheesecake bars a try! If you do, I’d absolutely LOVE to hear about it. Leave a comment below, rate the recipe, or even better, snap a picture and tag me on social media! Seeing your creations makes my whole week. You can reach out anytime with questions too!
PrintPumpkin Cheesecake Bars
Creamy pumpkin cheesecake bars with a spiced crust, perfect for fall gatherings.
- Prep Time: 20 min
- Cook Time: 35 min
- Total Time: 55 min
- Yield: 24 bars 1x
- Category: Dessert
- Method: Baking
- Cuisine: American
- Diet: Vegetarian
Ingredients
- 1 1/2 cups graham cracker crumbs
- 1/4 cup granulated sugar
- 6 tablespoons unsalted butter, melted
- 16 ounces cream cheese, softened
- 3/4 cup granulated sugar
- 2 large eggs
- 1 teaspoon vanilla extract
- 1 teaspoon pumpkin pie spice
- 1 cup pumpkin puree
- 1/4 cup sour cream
Instructions
- Preheat your oven to 350°F (175°C). Line a 9×13 inch baking pan with parchment paper, leaving an overhang on the sides.
- In a medium bowl, combine graham cracker crumbs and 1/4 cup sugar. Pour in melted butter and mix until combined. Press the mixture evenly into the bottom of the prepared pan.
- Bake the crust for 10 minutes. Remove from oven and let cool slightly.
- In a large bowl, beat the cream cheese and 3/4 cup sugar until smooth. Beat in the eggs one at a time, then stir in the vanilla extract and pumpkin pie spice.
- In a separate small bowl, whisk together the pumpkin puree and sour cream.
- Pour half of the cream cheese mixture over the crust. Dollop half of the pumpkin mixture over the cream cheese layer. Gently swirl with a knife. Repeat with the remaining cream cheese and pumpkin mixtures.
- Bake for 30-35 minutes, or until the edges are set and the center is almost set.
- Let the bars cool completely in the pan on a wire rack.
- Chill in the refrigerator for at least 2 hours before cutting into bars.
Notes
- For a gingersnap crust, substitute 1 1/2 cups gingersnap cookie crumbs for graham cracker crumbs.
- Chill time is crucial for clean cuts.
- These bars can be made up to 2 days in advance and stored in the refrigerator.
Nutrition
- Serving Size: 1 bar
- Calories: 250
- Sugar: 20g
- Sodium: 150mg
- Fat: 15g
- Saturated Fat: 9g
- Unsaturated Fat: 6g
- Trans Fat: 0g
- Carbohydrates: 25g
- Fiber: 1g
- Protein: 4g
- Cholesterol: 50mg