
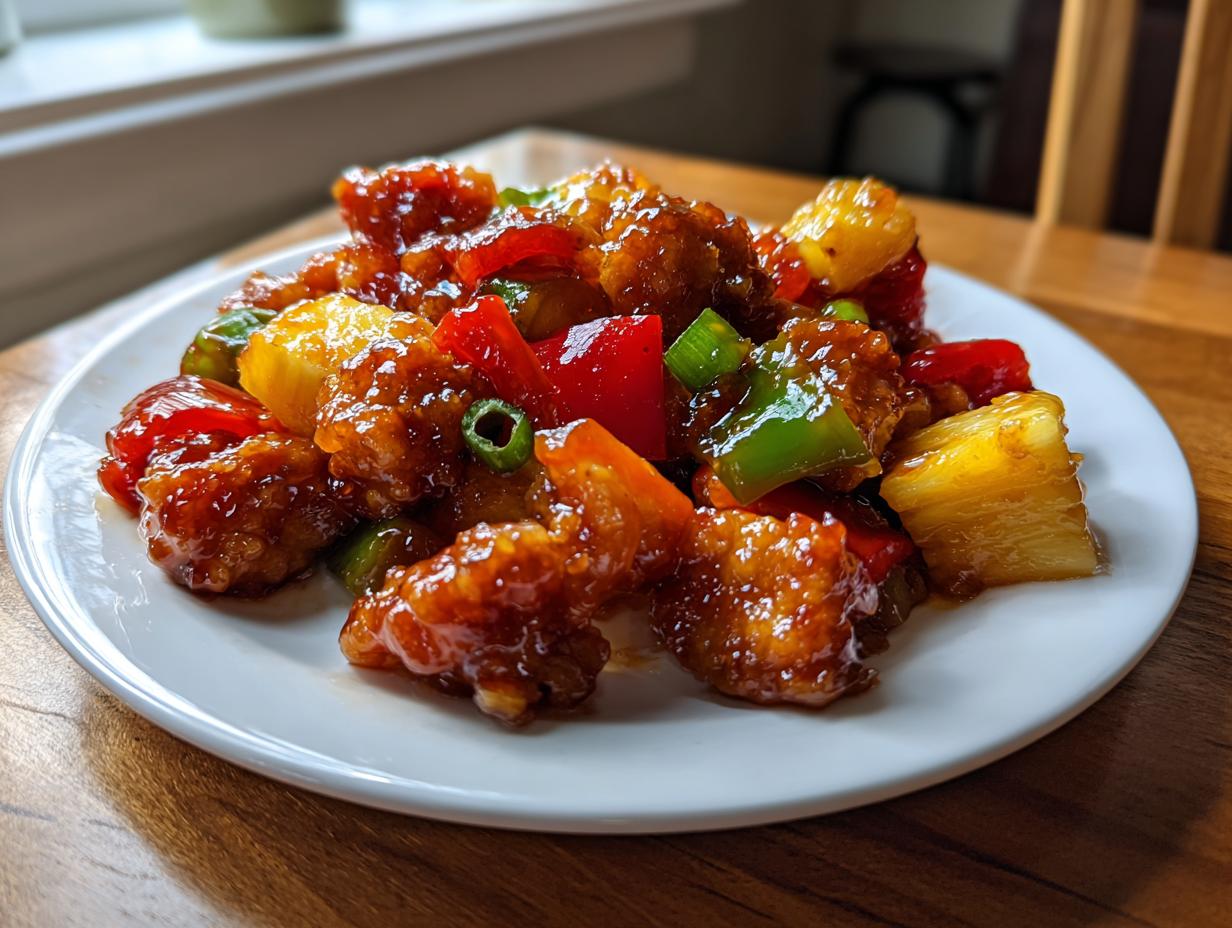

Oh, I know that feeling! It’s 5:30 PM, you’re tired, and the thought of wrestling with pots and pans for a decent dinner feels like climbing a mountain. Believe me, I get it, which is why I’m obsessed with making weeknight cooking stress-free. My whole philosophy behind Cut Cook Taste is bringing you simple, reliably delicious food that doesn’t leave you drowning in dishes. That’s where this amazing **Hawaiian chicken sheet pan** swoops in to save the day! It’s packed with tropical flavor, cooks up fast, and honestly, the best part is how little cleanup there is. If you’re looking for a recipe that Sarah Peterson perfected for those incredibly busy nights—trust me on this one.
You can check out all my other reliable family dinner ideas right here when you’re done looking at this tropical winner!
- Why This Hawaiian Chicken Sheet Pan is Your New Weeknight Staple
- Gathering Ingredients for Your Hawaiian Chicken Sheet Pan
- Step-by-Step Instructions for the Hawaiian Chicken Sheet Pan
- Tips for the Best Hawaiian Chicken Sheet Pan Results
- Serving Suggestions for Your One Pan Tropical Chicken
- Storage and Reheating Instructions
- Frequently Asked Questions About Hawaiian Chicken Sheet Pan Meals
- Estimated Nutrition for This Easy Sheet Pan Chicken
- Share Your Hawaiian Chicken Sheet Pan Experience
Why This Hawaiian Chicken Sheet Pan is Your New Weeknight Staple
When I tell you this makes my evenings easier, I really mean it! This is the ultimate Sheet Pan Chicken solution for when you need a complete dinner on the table fast. We are aiming for that magic window: less than 45 minutes total time. It fits perfectly into a routine where you need a Weeknight Sheet Pan Meal that tastes like you spent way more time on it than you did. It’s just good, honest cooking that delivers big flavor without the fuss.
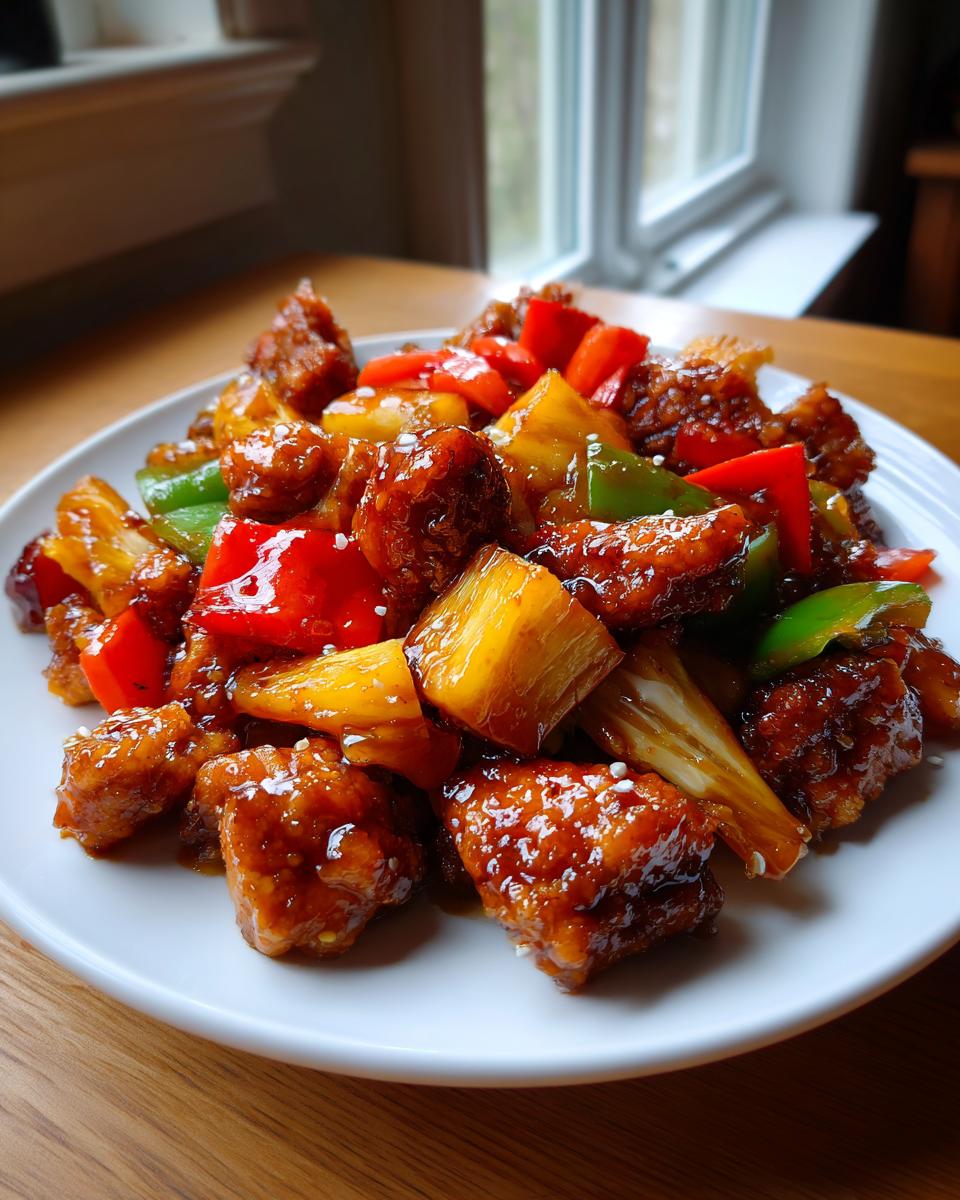
The Flavor Profile: Sweet and Savory Chicken Perfection
Oh, the taste! It’s everything you want in a Quick Hawaiian Dinner. You get the juicy tenderness from the chicken pieces coated in that sticky, irresistible glaze. That tangy pineapple cuts through the richness, and the roasted peppers bring a touch of necessary freshness. It’s that perfect blend of sweet and savory that my whole family fights over.
Minimal Cleanup Dinner Promise
This is my favorite part, truly. Because we use one large pan and line it with parchment paper—which I always recommend for sticky sauces like this glaze—you barely have anything to scrub! It makes this recipe a true Minimal Cleanup Dinner. You can literally toss the parchment and wipe down the pan in about 30 seconds. That’s dinner done right!
Gathering Ingredients for Your Hawaiian Chicken Sheet Pan
Alright, let’s talk about getting everything ready for this amazing **Hawaiian chicken sheet pan**. I always tell people that having everything chopped and measured before you even think about turning on the oven is half the battle! It makes the active cooking time fly by. We’re using simple stuff you can grab easily, just like I learned to do when I was figuring out great weeknight meals.
Chicken and Produce for the Hawaiian Chicken Sheet Pan
First up is the star: the chicken. I highly suggest grabbing chicken thighs if you can—they stay juicier when they roast, which is fantastic! You want about 1.5 pounds, cut into nice, even 1-inch pieces. Then, grab some bright colors! We throw in a couple of bell peppers, one red and one green, cut into similar-sized pieces. And don’t forget the onion; cut a medium red onion into nice chunky wedges so they don’t burn before the chicken is done!
Creating the Sticky Tropical Glaze
This is where the tropical magic happens! For the sauce, we need that base flavor: low-sodium soy sauce, brown sugar (packed tight!), a little bit of ketchup for tang, and rice vinegar. Don’t forget the aromatics—fresh garlic minced up and some ground ginger for that lovely warmth. Now, the secret weapon for thick sauce? We mix cornstarch with the drained pineapple juice and a bit of water in a very small bowl to make a smooth slurry. That thickener is what turns the sauce into that perfect, sticky glaze during the bake!
Step-by-Step Instructions for the Hawaiian Chicken Sheet Pan
Okay, let’s dive into the cooking part! Because we are relying on a sheet pan, the organization is key, which helps us nail that super low cleanup goal. Follow these steps closely, and you’ll have a delicious family friendly sheet pan dinner ready faster than you think.
Preparing the Sauce and Chicken
First things first, get that oven cranked up to 400°F (200°C). Seriously, don’t wait! While it heats, line a large baking sheet with parchment paper—this is your magic clean-up shield! Now, grab a bowl and whisk together all those sauce ingredients we just talked about: the soy sauce mix, ginger, and garlic. In that separate little bowl, whisk the cornstarch with the reserved pineapple juice and water until it’s absolutely smooth. That’s your thickening agent later. Before we put anything on the pan, toss those chicken pieces in a bowl with about 2 tablespoons of vegetable oil. Just a light coat is all it needs.
Roasting and Glazing the Hawaiian Chicken Sheet Pan
Time to load up! Place the oiled chicken, the peppers, and the onion onto your lined sheet pan, making sure they are spread out in a single layer—don’t crowd them, or they steam instead of roast! Brush about half of your base sauce mixture over all of that. Slide it into the hot oven for 15 minutes. When that timer goes off, pull the pan out carefully. Now, add in your drained pineapple chunks and give everything a gentle toss right there on the pan. Next, take your remaining sauce and whisk in that cornstarch slurry you made earlier. Pour that thickened glaze right over everything. Pop it back in for another 10 to 15 minutes. You’re done when the chicken hits 165°F inside and the sauce looks sticky and caramelized. Don’t forget to garnish with some fresh green onions!
Tips for the Best Hawaiian Chicken Sheet Pan Results
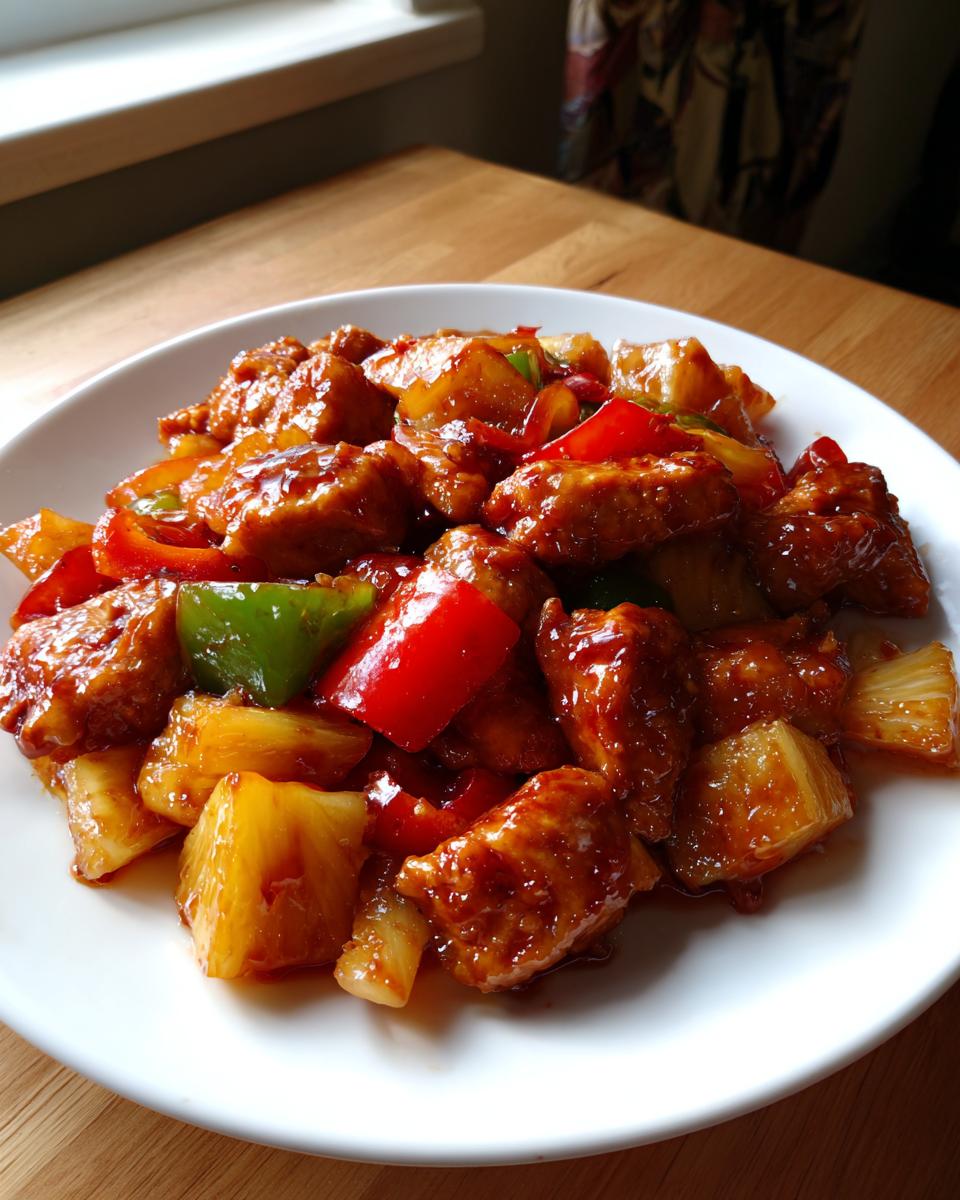
I’ve tested this **Hawaiian Chicken Sheet Pan** recipe enough times to know the little secrets that make the difference between good and absolutely fantastic. Remember, this needs to be dependable for busy nights, right? I always fall back on using chicken thighs—they just handle the heat better and the texture stays incredibly juicy, even if you accidentally leave it in for two minutes too long. Don’t worry if you only have breasts, but thighs are my go-to recommendation!
Ingredient Swaps and Adjustments
If you’re worried about sweetness, which happens sometimes with tropical glazes, go right ahead and cut that packed brown sugar down by a tablespoon or even two. You’ll still get that lovely caramelization, but it won’t be quite as syrupy. Also, feel free to swap out the peppers if you have other veggies hanging around. Broccoli florets or chunks of sweet potato work great, just make sure whatever you toss in has a similar chop size so everything cooks evenly alongside the chicken. If you’re interested in other quick, creamy stovetop options, you should see my recipe for banana oatmeal!
Serving Suggestions for Your One Pan Tropical Chicken
Now that you’ve got this amazing, sticky **Hawaiian chicken sheet pan** fresh out of the oven, you need the perfect base! This is the kind of meal that begs to be served over something fluffy to soak up all that extra tropical glaze. My absolute favorite pairing is a good batch of simple steamed rice—it lets the sweet and savory chicken really shine. If you’re looking for a little color boost, try making my easy turmeric rice recipe; it adds a beautiful yellow color!
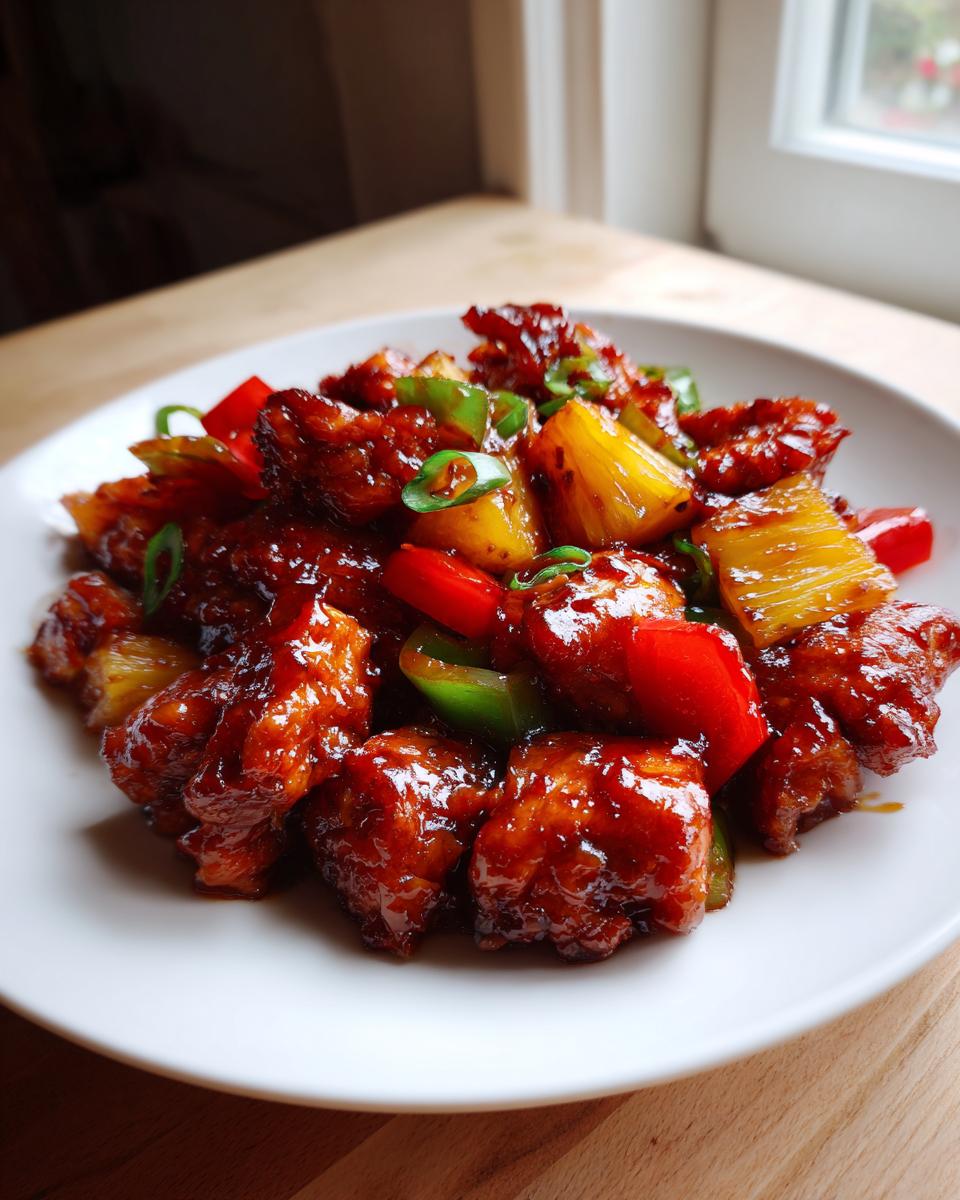
If you want to keep it low-carb, don’t sweat it! This tastes just fantastic served alongside some fresh steamed broccoli or maybe even some crisp coleslaw on the side. Either way, top it with those sliced green onions we mentioned earlier—they finish the dish perfectly!
Storage and Reheating Instructions
Since this **Hawaiian Chicken Sheet Pan** is one of those meals that tastes almost *better* the next day (hello, leftovers!), we need to store it right. Once everything cools down, you want to get the chicken and veggies into an airtight container. If you leave it sitting on the pan in the fridge, the glaze can get super sticky and solidify awkwardly. Trust me, move it to a proper container to keep everything fresh!
When it comes to reheating, this is where people sometimes go wrong with glazed meals. If you blast it in the microwave for too long, the chicken can dry out and the glaze might look strange. I find the best way to keep things juicy is to reheat this **Easy Sheet Pan Chicken** in a skillet over medium heat. Add just a tiny splash of water or maybe an extra teaspoon of pineapple juice to the skillet first. This creates a little steam bath that warms everything through gently while keeping the chicken moist and the glaze from burning onto the pan!
If you need to reheat a larger amount, the oven works well too. Spread the leftovers on a clean baking sheet—yes, we love our sheets!—and heat at about 325°F (160°C) until warmed through. It keeps the veggies from turning mushy, which I absolutely hate!
Frequently Asked Questions About Hawaiian Chicken Sheet Pan Meals
I know when you see a recipe that looks this good, a few questions always pop up! I’ve gathered some of the most common things folks ask me when they are trying to nail this **One Pan Tropical Chicken** for the first time. Don’t worry, there are no silly questions here—we just want to make sure your very first **30 Minute Chicken Dinner** attempt is a total success!
Can I use chicken thighs instead of breasts in this Hawaiian Chicken Sheet Pan?
Oh, I’m so glad you asked this! The short answer is absolutely, yes! In fact, I highly recommend it. Chicken thighs are just naturally more forgiving when roasting. Since this is a **Family Friendly Sheet Pan** meal and we want it foolproof for busy weeknights, thighs hold onto their moisture beautifully, even if your oven runs a little hot or you get distracted. If you use breasts, just keep a close eye on that internal temperature to make sure they don’t dry out!
How do I prevent the sauce from burning during the roast?
This is super crucial, especially since our glaze has brown sugar in it! Sugar burns easily under high heat, right? The trick we use in the recipe is what makes this process reliable. We don’t add the full glaze until the very end. We roast the chicken and veggies first coated in just *half* the sauce. After that initial 15 minutes, we add the pineapple and *then* we pour over the cornstarch-thickened remainder of the sauce. This two-stage approach allows the chicken to cook through before the sugars have a chance to burn onto the pan, giving you that beautiful, sticky coating without any crispy, black bits. If you are looking for another great recipe, you can check out my easy chicken chili for a different weeknight vibe!
Can I make this ahead of time, or should I prep all the ingredients at once?
You can definitely prep ahead, which cuts down on dinner chaos even more! Chop all your chicken and veggies the night before and store them in sealed containers in the fridge. You can even mix up that base sauce (without the cornstarch slurry) ahead of time. When it comes time to cook, you just toss everything together and bake. It transforms this from a 45-minute meal into a genuine 20-minute assembly and bake! I find planning dinner this way is a lifesaver during the week.
What kind of rice works best to serve with this Sweet and Savory Chicken?
Honestly, plain white rice is fantastic because it’s a blank canvas for that sweet glaze. But if you want to amp it up slightly, coconut rice is just magical here; the subtle sweetness and creaminess complement the pineapple perfectly. If you decide to use a different grain than white rice, just make sure you cook it fully before you start assembling your pan dinner, since the pan cook time focuses only on the chicken and veggies!
Estimated Nutrition for This Easy Sheet Pan Chicken
Now, I want to be super clear here from the start: I’m a passionate home cook, not a registered dietitian! The numbers I’m giving you are good estimates based on the ingredients in the recipe—the chicken, the veggies, and the sugar in that delicious glaze—but they are definitely not lab-tested results. I always recommend keeping this in mind, especially if you are relying on specific tracking, like maybe your keto meal plan delivery needs adjustment! These figures are just to give you a general idea of what’s in a serving of this wonderful meal.
When you look at the breakdown for one serving (without adding rice, remember!), it’s pretty solid for a **Weeknight Sheet Pan Meal**. It’s packed with protein, which helps keep you full, and surprisingly decent on the fat side since we aren’t deep-frying anything!
- Serving Size: 1 serving (without rice)
- Calories: Around 380
- Protein: A whopping 42g! Great for keeping you satisfied.
- Carbohydrates: About 28g, mostly coming from that brown sugar glaze and the pineapple chunks.
- Fat: Roughly 10g total fat.
See? It’s proof that you can absolutely have a flavorful, tropical dinner without going overboard on the heavy stuff. It’s a fabulous, balanced meal that fits perfectly into busy life. If you’re looking for ways to keep things light, this recipe easily fits into most meal planning structures!
Share Your Hawaiian Chicken Sheet Pan Experience
Whew! We made it through the chopping, mixing, and roasting, and now you have that gorgeous, sticky **Hawaiian Chicken Sheet Pan** sitting right there on your counter. I am just so excited for you to try this! This is genuinely one of my fastest, most reliable recipes for a flavorful night when I don’t want to spend forever cleaning up. I truly hope this becomes your go-to **Quick Hawaiian Dinner** too.
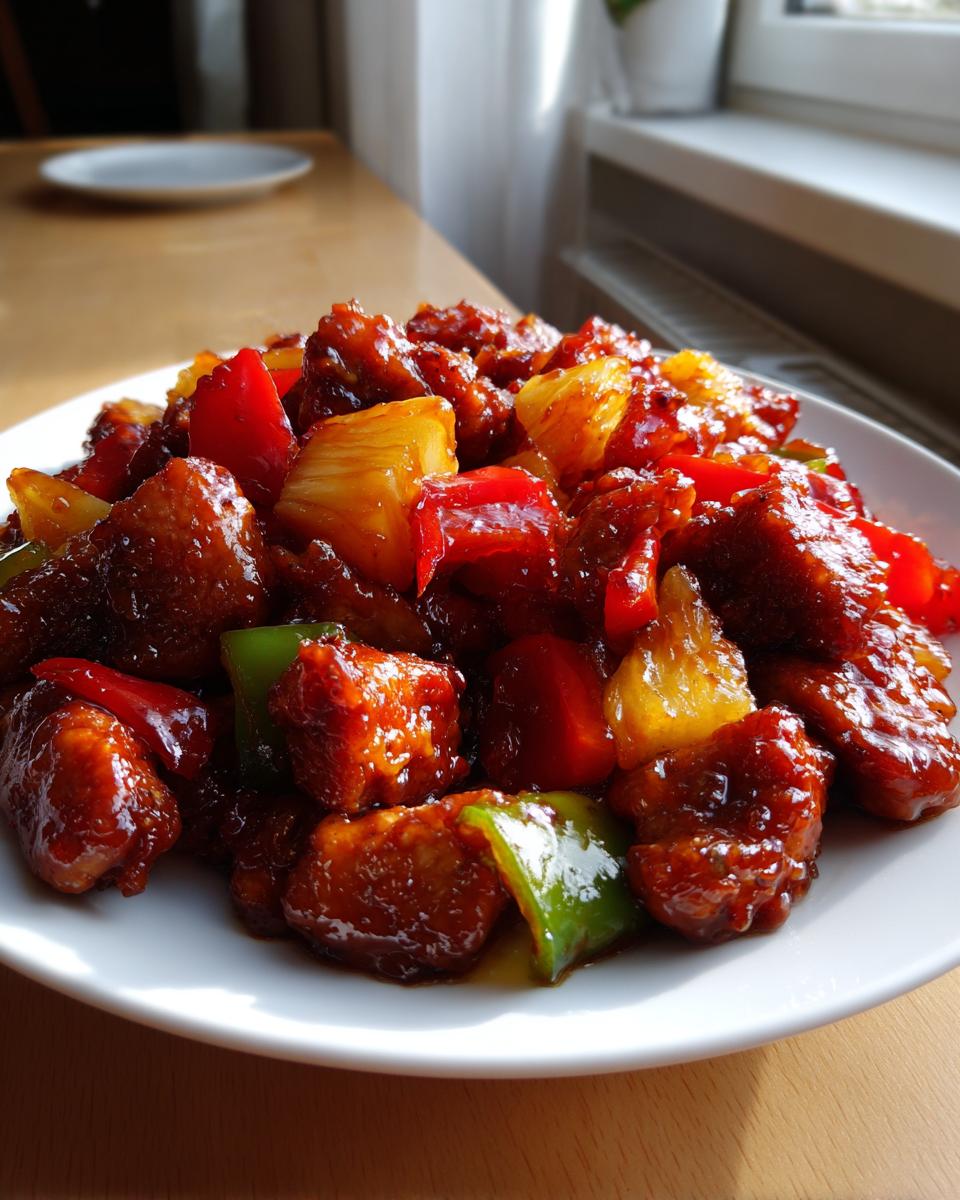
Now for the last—and maybe most important—step: tell me about it! Did it turn out perfectly sticky? Did your family devour the pineapple chunks? I live for comments and feedback from you all because it reminds me why I do all this recipe testing. Did you try adding a little extra ginger, or maybe serving it over my turmeric rice?
Please, take just a minute after you enjoy your meal and drop a rating and a comment below. Knowing that this recipe worked beautifully in your kitchen is the best reward. And if you loved this, absolutely check out my main recipe blog for more easy dinners. If you want to see what others are saying about how delicious this meal is, you can check out this recipe online too: Irresistible Hawaiian Chicken Sheet Pan Recipe!
Happy cooking, friends, and thank you for letting me share my kitchen secrets with you!
PrintEasy Hawaiian Chicken Sheet Pan Dinner
Make this sweet, savory, and tropical Hawaiian Chicken Sheet Pan meal for a quick dinner with minimal cleanup. Juicy chicken, pineapple, and peppers roast together on one pan.
- Prep Time: 15 min
- Cook Time: 30 min
- Total Time: 45 min
- Yield: 4 servings 1x
- Category: Dinner
- Method: Baking
- Cuisine: American/Tropical
- Diet: Low Fat
Ingredients
- 1.5 lbs boneless, skinless chicken breasts or thighs, cut into 1-inch pieces
- 1 large red bell pepper, cut into 1-inch pieces
- 1 large green bell pepper, cut into 1-inch pieces
- 1 medium red onion, cut into wedges
- 1 (20 oz) can pineapple chunks, drained (reserve 2 tablespoons juice)
- 1/2 cup low-sodium soy sauce
- 1/4 cup brown sugar, packed
- 2 tablespoons ketchup
- 1 tablespoon rice vinegar
- 1 teaspoon ground ginger
- 2 cloves garlic, minced
- 1 tablespoon cornstarch
- 2 tablespoons water
- 2 tablespoons vegetable oil
- Cooked rice, for serving (optional)
- Green onions, sliced, for garnish
Instructions
- Preheat your oven to 400°F (200°C). Line a large, rimmed baking sheet with parchment paper for easy cleanup.
- In a small bowl, whisk together the soy sauce, brown sugar, ketchup, rice vinegar, ginger, and minced garlic. This is your base sauce.
- In a separate small bowl, whisk the cornstarch with the reserved 2 tablespoons of pineapple juice and 2 tablespoons of water until smooth. Set aside.
- In a large bowl, toss the cut chicken pieces with the vegetable oil.
- Place the chicken, red bell pepper, green bell pepper, and red onion onto the prepared sheet pan in a single layer. Do not add the pineapple yet.
- Brush half of the base sauce mixture evenly over the chicken and vegetables on the pan.
- Roast for 15 minutes.
- Remove the pan from the oven. Add the drained pineapple chunks to the pan and toss everything gently.
- Whisk the cornstarch slurry into the remaining base sauce. Pour this mixture over the chicken and vegetables on the pan.
- Return the pan to the oven and roast for another 10 to 15 minutes, or until the chicken is cooked through (internal temperature reaches 165°F or 74°C) and the sauce has thickened into a sticky glaze.
- Remove from the oven. Garnish with sliced green onions. Serve immediately over rice, if desired.
Notes
- For the best flavor and moisture, use chicken thighs instead of breasts.
- If you are planning meals for the week, this recipe pairs well with simple meal planning strategies.
- If you prefer a less sweet glaze, reduce the brown sugar by one tablespoon.
Nutrition
- Serving Size: 1 serving (without rice)
- Calories: 380
- Sugar: 22
- Sodium: 750
- Fat: 10
- Saturated Fat: 2
- Unsaturated Fat: 8
- Trans Fat: 0
- Carbohydrates: 28
- Fiber: 3
- Protein: 42
- Cholesterol: 115