
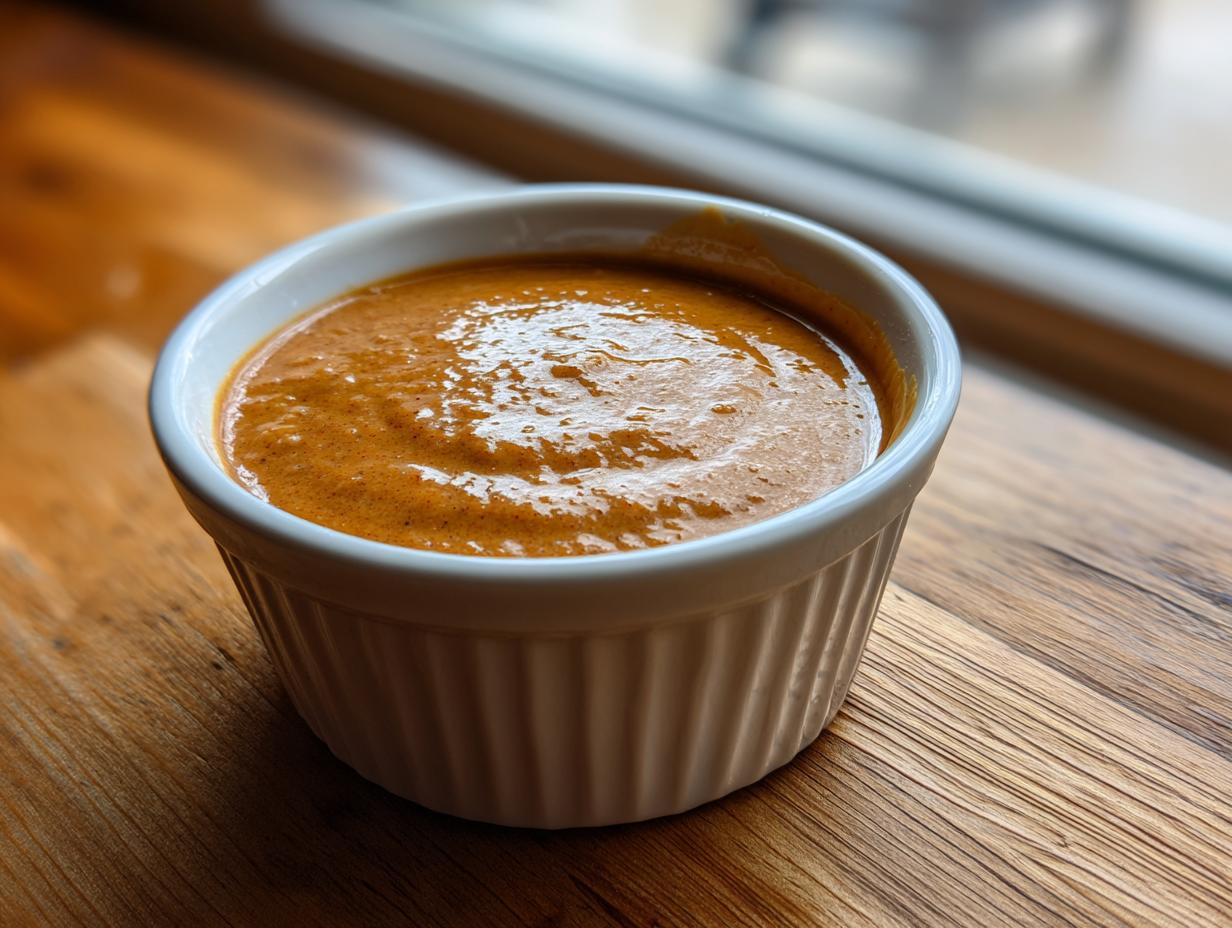

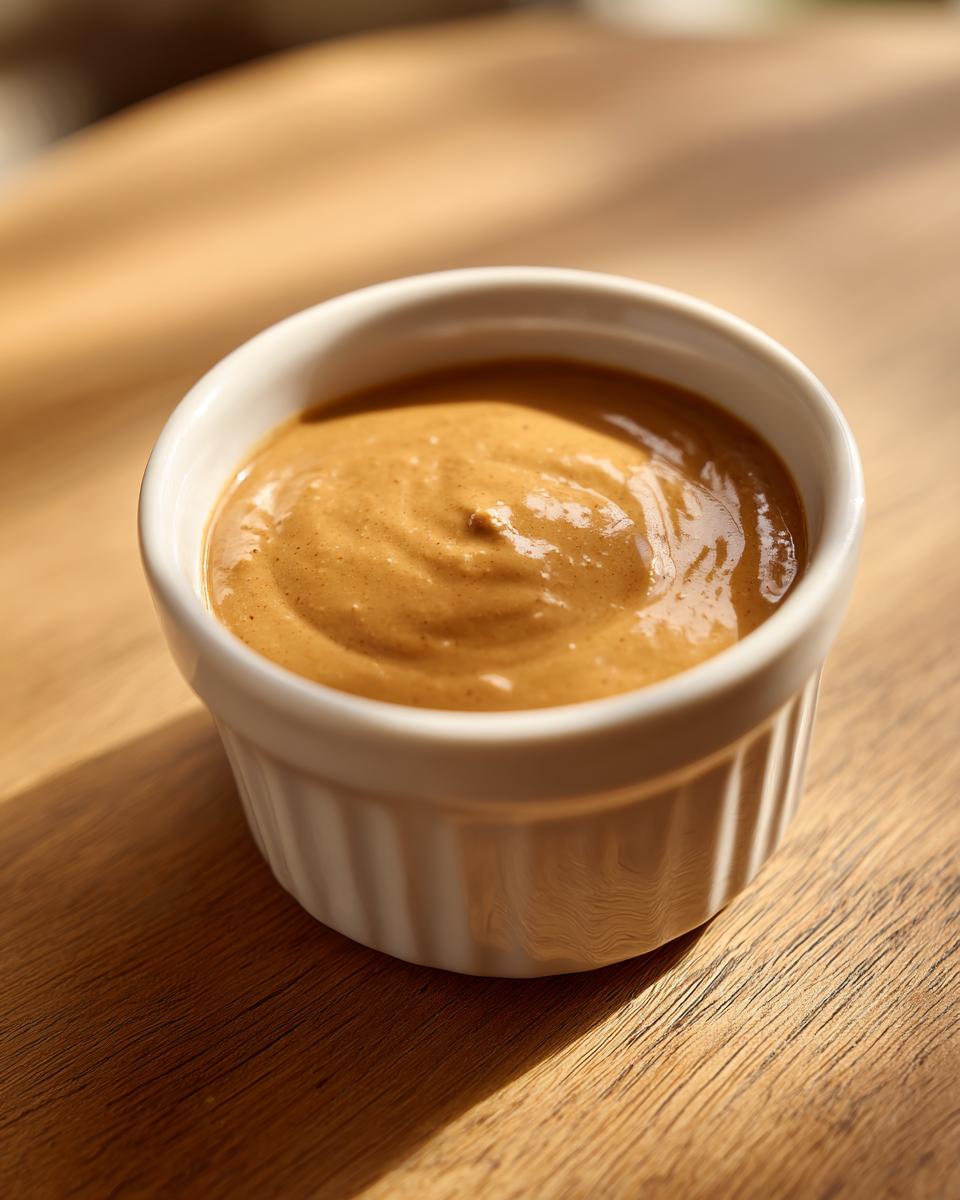
Oh, heaven help me, some nights you just need flavor—big, bold, restaurant-quality flavor—but you only have like, ten minutes before you’re starving! That’s exactly when this peanut sauce recipe saves my life. Forget those jars full of questionable preservatives; we’re making the Quick and Easy Thai Peanut Sauce right here in my kitchen. It’s the perfect texture—creamy, savory, just a little sweet—and it works as a killer dipping sauce, a vibrant salad dressing, or even a quick marinade. When I first moved out West and was juggling my marketing job, I learned that quality doesn’t have to mean complicated. This recipe is proof that simple, accessible ingredients, whisked together with a little love, can yield something stunning every single time you need it. If you love finding great recipes, make sure you check out the rest of my kitchen diary right here at Cut Cook Taste!
- Why This Easy Peanut Sauce is a Weeknight Staple
- Ingredients for the Best Peanut Sauce Recipe
- How to Make Quick Peanut Sauce in 5 Minutes
- Versatile Uses for This Thai Peanut Sauce
- Tips for Making the Creamy Peanut Sauce Ahead of Time
- Troubleshooting Common Homemade Peanut Sauce Issues
- Frequently Asked Questions About Peanut Sauce
- Estimated Nutrition for This Peanut Sauce Recipe
- Share Your Quick Peanut Sauce Creations
Why This Easy Peanut Sauce is a Weeknight Staple
Look, I get it. After a long day, the last thing you want is a recipe that requires soaking ingredients overnight or complicated slow cooking. That’s why this homemade peanut sauce earns its spot in my regular rotation every single week. It’s ridiculously fast—we are talking five minutes, tops! You probably have everything tucked away in your pantry right now. It delivers that rich, savory, restaurant-quality Thai flavor that makes even plain steamed veggies taste like something special.
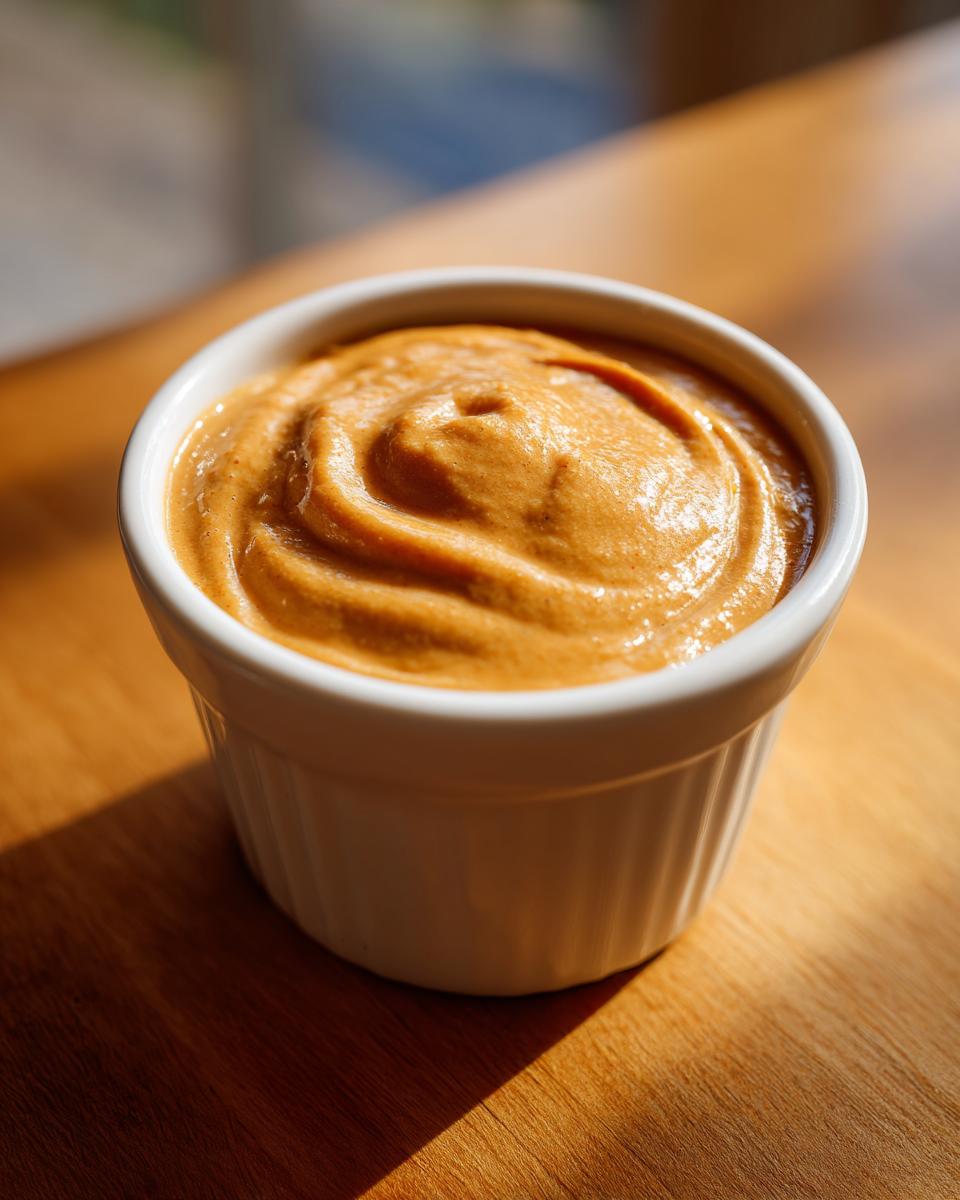
What really sells it for me is how many hats this sauce can wear. Honestly, if you’re looking for a reliable flavor boost, look no further:
- Speed Demon: You can whip this up faster than you can reheat leftovers. Seriously, 5 minutes prep time!
- Flavor Bomb: It hits all the right notes—creamy, tangy from the vinegar, and just enough savory soy to make it pop.
- Ultimate Versatility: Whether you need a thick Peanut Dipping Sauce for fresh spring rolls or a thinner Salad Dressing Peanut topper for your grain bowl, this recipe handles it beautifully. If you are looking for ideas on weeknight meals, you might enjoy checking out my Muffuletta Sandwich recipe!
Ingredients for the Best Peanut Sauce Recipe
This is the part where I tell you that you don’t need to buy some fancy jarred sauce loaded with things you can’t pronounce. We are sticking to simple, accessible ingredients for this Quick Peanut Sauce. In fact, when I was deep in my marketing hustle, this list was the only thing I needed to keep stocked for instant flavor!
You’ll need:
- 1/2 cup creamy peanut butter (I insist on creamy—it makes for the best texture!)
- 1/4 cup warm water (we adjust this later, so keep it handy)
- 3 tablespoons soy sauce (or tamari)
- 2 tablespoons rice vinegar
- 1 tablespoon maple syrup or honey
- 1 teaspoon toasted sesame oil (this adds that crucial nutty depth!)
- 1 teaspoon grated fresh ginger (Please grate it fresh! The jarred stuff doesn’t cut it here.)
- 1 clove garlic, minced
- 1/2 teaspoon sriracha or chili garlic sauce (optional, but why skip the magic?)
Honestly, having these basics means you can whip up this delicious Peanut Sauce Recipe anytime the craving hits. If you’re looking for a super decadent use for peanut butter, you might want to peek over at my Peanut Butter Cup Stuffed Donuts recipe!
Ingredient Notes and Substitutions for Your Peanut Sauce
This recipe is super flexible, which is great for people who need to work around dietary needs, like I often do when feeding guests. If you are keeping things strictly Vegan Peanut Sauce, just make sure you swap out the honey for maple syrup—it works perfectly fine and gives it a lovely warmth.
If you are dealing with gluten sensitivities, this is a breeze. Just swap the regular soy sauce for a good quality tamari. That takes care of our Gluten Free Peanut Sauce needs right there. Remember, fresh ingredients equal robust flavor, so always go for that fresh ginger if you can!
How to Make Quick Peanut Sauce in 5 Minutes
This is it—the magic happens right here! Making this restaurant-quality peanut sauce is so straightforward, I almost feel like I’m cheating. Since we aren’t using heat, the secret to getting that smooth, lump-free texture is all in the whisking! Grab a medium bowl—no need to haul out the immersion blender for this one. We just combine everything: peanut butter, warm water, soy sauce, vinegar, maple syrup, sesame oil, that punchy fresh ginger, garlic, and sriracha if you’re feeling feisty.
Now, here is my big tip from years of frantic weeknight cooking: Don’t just dump the water in! Whisk your ingredients in stages. Start by incorporating the liquid just into the peanut butter until it looks like thick paste. Then, move slowly. If you add all the water at once, you’ll end up with tiny, hard peanut butter balls stuck everywhere. We want this glorious, creamy peanut sauce, remember? It should come together smooth as silk in about two minutes of happy whisking. I love these quick wins when I’m short on time before testing recipes like my Snickerdoodle Cookies!
Adjusting the Consistency of Your Homemade Peanut Sauce
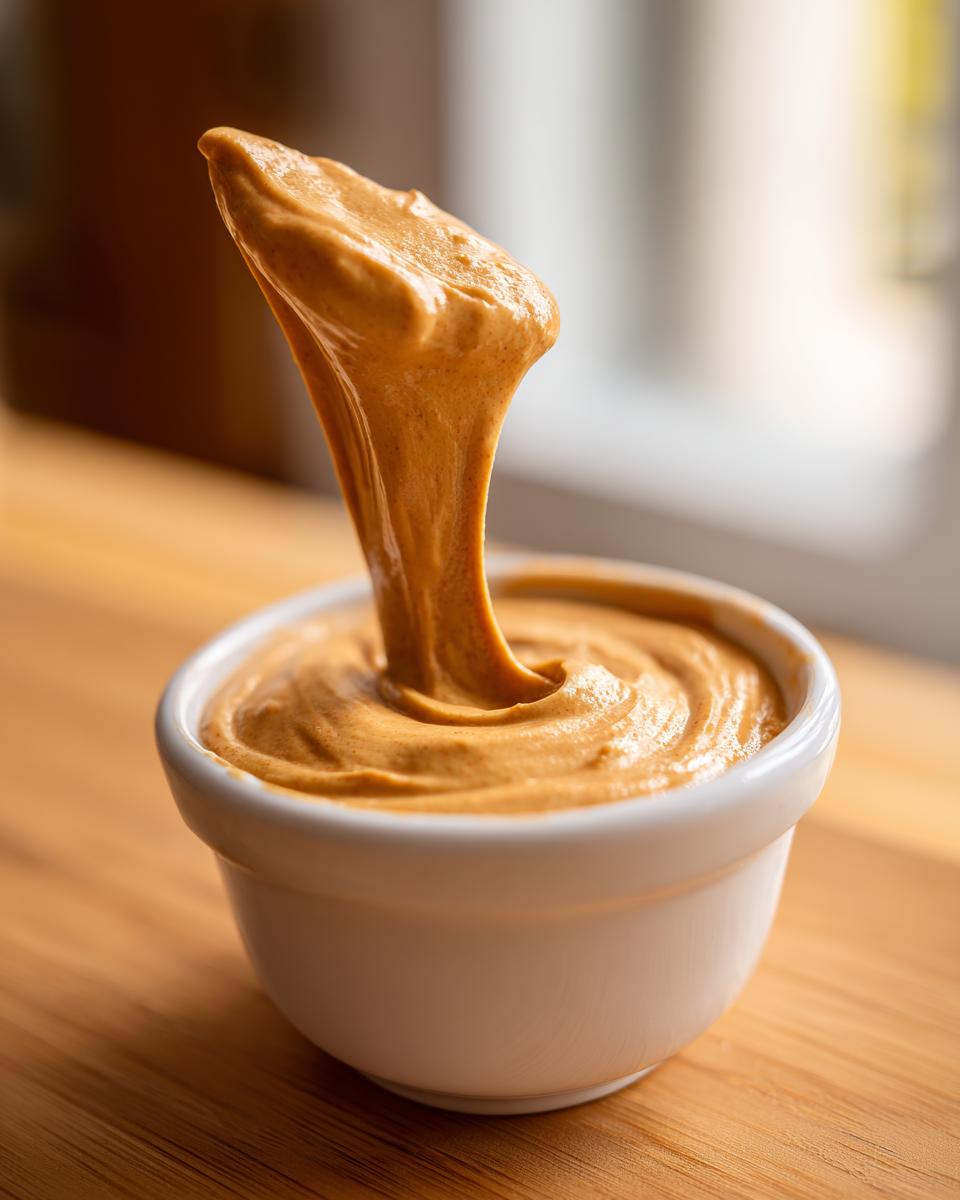
This step is completely up to what you are using the sauce for, so don’t stress about the measurements yet! If you’re using it as a thick Peanut Dipping Sauce for crunchy spring rolls, you might stop whisking right away. But if you need a thinner Peanut Noodle Sauce or a drizzle for a salad, you need more water.
Here’s what I do: Add the warm water, one teaspoon at a time. Whisk really well after each addition. Different brands of peanut butter absorb water differently, so keep adding a tiny bit until it pours like thick gravy, not paste. Trust your eye—that warm water is your main tool for achieving the perfect flow for whatever you’re making.
Taste Testing and Final Seasoning for Perfect Peanut Sauce
This is the part where you put on your chef hat! Your palate is the most important tool here. Once you’ve hit your desired thickness, give it a good taste test. This sauce should be balanced, meaning sweet, salty, sour, and spicy all playing nicely together.
If you take a small spoonful and it tastes… well, flat, don’t panic! That usually means it needs brightness. Add a tiny drop more rice vinegar for tang. If it’s too savory or salty, a sprinkle more maple syrup will balance it out. Never be afraid to adjust the seasoning until *you* think it tastes like the Best Peanut Sauce you’ve ever had. That little tweak makes all the difference between good and killer!
Versatile Uses for This Thai Peanut Sauce
You know, when I was deep into marketing deadlines, sometimes dinner was literally 20 minutes away from being microwave popcorn. That’s when this peanut sauce truly shines, because it’s my secret weapon for making quick meals feel fancy. You absolutely *must* have this recipe in your rotation just for how many different ways you can deploy it!
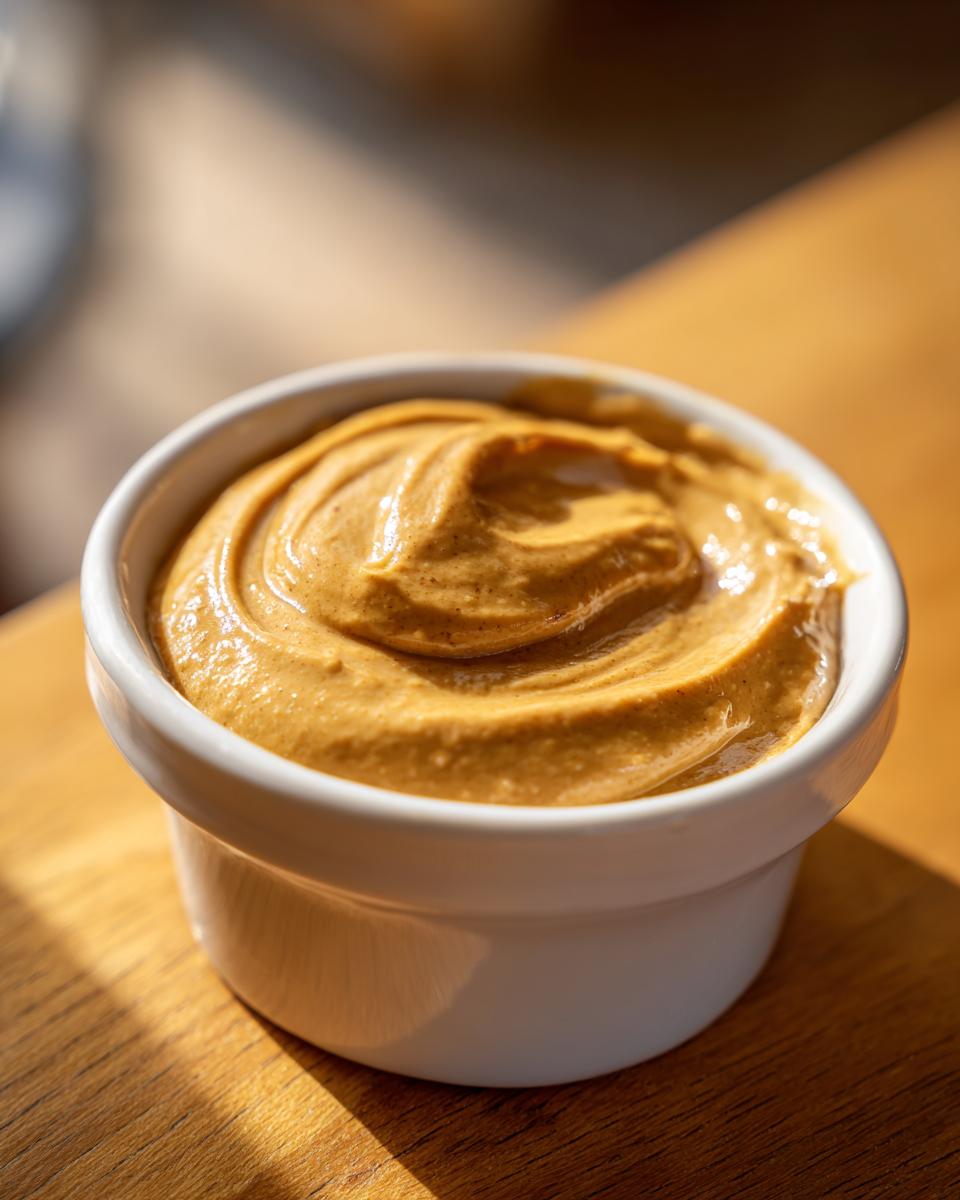
The texture we achieved is key here. If you whisk it a bit thinner, you have a phenomenal Salad Dressing Peanut topper—I toss it with shredded cabbage and carrots and it’s instantly lunch sorted. If you leave it thick, it’s an incredible Sauce for Spring Rolls, or honestly, even just dipped crackers on a busy night!
And don’t forget marinating! I often whisk up a batch of this Thai Peanut Sauce, toss some chicken breast pieces (or tofu, it works just as well!) in it, and let it sit while I tackle emails. When I finally get to the kitchen later, it’s ready to go straight onto the grill or into a quick pan fry for an amazing satay vibe. It’s honestly the easiest way I know to get bold flavor onto the table without spending hours prepping. Need a full meal idea? You should totally check out my recipe for Shrimp Tortellini Alfredo for another fast favorite!
Tips for Making the Creamy Peanut Sauce Ahead of Time
Listen, the best thing you can do for a busy week is making this Creamy Peanut Sauce ahead of time. I always try to double the batch when mixing it up because having this on hand saves me when I’m rushing through dinner prep. The good news is that it keeps beautifully!
Just slide your finished sauce into an airtight container. I usually use a clean mason jar—they seal up really tight. It’ll happily chill in the refrigerator for up to about a week. Don’t worry if it looks way too thick when you pull it out; that’s normal! Peanuts butter gets stiff when it’s cold.
To bring it back to life for dipping or dressing, don’t panic-whisk it. Add just a tiny splash of warm water—seriously, start with half a teaspoon—and mix vigorously. If it’s still stubborn, a tiny splash of rice vinegar brightens it up *and* helps loosen it. Instant, perfect homemade peanut sauce again! It’s one of my favorite freezer-friendly shortcuts, almost as good as having my Easy Chocolate Cake recipe ready to go!
Troubleshooting Common Homemade Peanut Sauce Issues
Sometimes, even with the best intentions, our sauces don’t turn out exactly how we pictured them in our heads. It happens to me all the time when I’m juggling testing new things like my Cranberry Pot Roast and trying to get dinner done fast! But don’t worry, troubleshooting this peanut sauce is actually really simple once you know what to look for. We’re aiming for that creamy, luxurious texture, and if we miss the mark slightly, we can always fix it!
Here are the two biggest hiccups I see people run into when making this Best Peanut Sauce at home:
Problem One: My Sauce Turned Out Way Too Thin!
This usually means you added too much warm water in the thinning step, or maybe your peanut butter wasn’t as thick initially. If it’s thinner than you want—say it runs right off a spoon instead of coating it nicely—don’t try to salvage it with flour or anything weird! The solution is just to go back to the main ingredient.
Just scoop out an extra tablespoon or two of creamy peanut butter. Slowly whisk that good stuff into your thin sauce. It will firm right up! You might need a tiny bit more soy sauce (or vinegar) after you add the extra peanut butter to rebalance the flavor, so taste test carefully as you go. No harm, no foul!
Problem Two: My Sauce is Gritty or Lumpy!
Ugh, this is the worst! Nobody wants grit in their gorgeous Asian Sauce Recipe, right? This generally happens if you dump all your liquid in at once, causing the peanut butter solids to seize up and form frustrating little clumps.
First defense: Keep whisking! Seriously, keep going for another minute. Sometimes the friction from vigorous whisking will smooth out small lumps. If you’ve been at it for a solid three minutes and it’s still gritty, grab a small immersion blender or carefully pulse it in a regular blender just once, very briefly! That little burst of power will smooth everything out into the silky texture we are famous for. A quick blend will ensure you get that perfect payoff for your efforts!
Frequently Asked Questions About Peanut Sauce
I know sometimes all the details lead to a few lingering questions, especially when you are trying to adapt a recipe! Everyone has slightly different needs, whether it’s shelf life or dietary restrictions. Don’t worry, I’ve gathered the bits and pieces I always get asked about when I bring this peanut sauce to a potluck.
Can I make this peanut sauce oil-free?
That’s a great question, especially when thinking about lighter options! The recipe, as written, is actually almost oil-free! The only oil we add is the teaspoon of toasted sesame oil, which is there mostly for that specific roasted, nutty background flavor that really makes it taste authentic. If you absolutely must skip it—maybe you have an allergy or don’t have it on hand—you can totally omit it. The sauce will still be fantastic!
That being said, the peanut butter itself does contain natural fats, so it won’t be zero-fat obviously, but you skip the added sesame oil easily. If you need to make a truly oil-free dressing, just make sure you thin it out with a little extra warm water instead of adding a substitute oil!
What is the difference between this Thai Peanut Sauce and Vietnamese Peanut Sauce?
This is where things get fun, because both are amazing, but they hit different flavor centers! Our recipe here is definitely leaning into that bright, sweet-and-savory profile you expect from Thai Peanut Sauce. We rely on ginger, maple, and that bit of sriracha for complexity.
Now, traditional Vietnamese Peanut Sauce often leans a little more savory and sometimes sour, often incorporating fish sauce (though vegan versions exist!) or sometimes a touch of hoisin or peanut paste. What I love about our Thai-inspired version is its brightness and sweetness—it’s a bit more of a crowd-pleaser when you need a straightforward, flavorful condiment. For my neighbors who love making Potato Stacks, they always prefer the Thai version for dipping because it cuts through the richness of the potatoes so nicely!
How long does this homemade peanut sauce last in the fridge?
I mentioned this quickly above, but it deserves its own spot! Because this recipe is basically just peanut butter, water, and vinegar/soy, it lasts a really long time compared to fresh dressings. I’ve found it tastes best within four to five days, but it’s perfectly safe and still delicious for up to a full week in an airtight jar in the fridge. Just remember that little tip: if it gets too stiff, splash in a tiny bit of water or vinegar and give it a good whisk before serving!
Can I use natural peanut butter instead of creamy?
You *can*, but you have to be ready for more work! Natural peanut butter (the kind that separates oil) tends to make the final sauce much thinner and sometimes a little grainy, even after whisking. If you use it, you’ll definitely need less, if any, of that initial 1/4 cup of warm water, and you might need to whip in an extra tablespoon of the natural thickener from the bottom of the jar, or even just add more peanut butter overall. For the fastest, genuinely creamy peanut sauce, stick to the standard stabilized creamy kind if you can!
Estimated Nutrition for This Peanut Sauce Recipe
Now, I’m Sarah, not a registered dietitian, so please take these numbers with a grain of salt—or maybe a dash of soy sauce! Nutrition is always the tricky part when you’re talking about homemade condiments because the exact brand of peanut butter or if you choose honey over maple syrup (or use tamari instead of low-sodium soy sauce!) really changes the final count. It’s just not the same as buying a pre-packaged product where everything is standardized.
However, based on the core recipe using standard creamy peanut butter and maple syrup, here is what you can generally expect for a serving size of about two tablespoons:
- Serving Size: 2 tablespoons
- Calories: 150
- Fat: 12g (with 2g Saturated Fat)
- Carbohydrates: 7g
- Protein: 5g
- Sodium: 350mg (This is the one to watch if you are sensitive—soy sauce adds up!)
- Sugar: 5g
Keep in mind that if you choose to use honey, or if you skip the maple syrup for a low-carb sweetener, those sugar counts will definitely shift. Also, if you are using tamari for a Gluten Free Peanut Sauce, your sodium might be slightly different than if you use standard soy sauce. But overall, this gives you a great baseline for enjoying this flavorful peanut sauce without too many surprises!
You can find more fun nutritional insights when you look at my recipe for Cowboy Butter Steak Bites, which always pairs so well with this type of bold flavor!
Share Your Quick Peanut Sauce Creations
Okay, that’s the entire rundown on how I tame the craving for incredible flavor in under ten minutes! I sincerely hope this peanut sauce becomes a staple in your rotation just like it is in mine. Seriously, when you whip up a batch for your next prep session—maybe you’re doing chicken satay skewers or prepping salad toppings—I want to see it!
Please let me know how it turned out for you! If you loved how quick this easy peanut sauce came together, do me a huge favor and hop back up here to rate it. Five stars if this recipe saved your dinner plans! If you made something amazing with it, snap a picture and tag me on social media—I love seeing your creations shared with my recipes.
If you’re looking for more inspiration for great appetizer ideas or things to dip into this fantastic sauce, you might love my Cranberry Pecan Cheese Ball recipe. And hey, if you want to see another incredible, simple sauce recipe that people rave about, you should definitely take a look at where I first started getting ideas for easy dips, like this one from my friends over at Sweet Simple Vegan!
Happy drizzling, whisking, and dipping!
PrintQuick and Easy Thai Peanut Sauce
Make this creamy, restaurant-quality Thai peanut sauce in under 10 minutes. It is perfect as a dip for spring rolls, a dressing for salads, or a topping for noodles.
- Prep Time: 5 min
- Cook Time: 0 min
- Total Time: 5 min
- Yield: About 1 cup 1x
- Category: Condiment
- Method: Whisking
- Cuisine: Thai Inspired
- Diet: Vegetarian
Ingredients
- 1/2 cup creamy peanut butter
- 1/4 cup warm water (or more, for thinning)
- 3 tablespoons soy sauce (or tamari for gluten-free)
- 2 tablespoons rice vinegar
- 1 tablespoon maple syrup or honey
- 1 teaspoon toasted sesame oil
- 1 teaspoon grated fresh ginger
- 1 clove garlic, minced
- 1/2 teaspoon sriracha or chili garlic sauce (optional, for heat)
Instructions
- Measure all ingredients into a medium bowl.
- Whisk the ingredients together until the sauce is smooth and creamy.
- If the sauce is too thick for your needs (e.g., for a dressing), add warm water, one teaspoon at a time, whisking until you reach your desired consistency.
- Taste the sauce and adjust seasonings; add more maple syrup for sweetness, vinegar for tang, or sriracha for spice.
- Use immediately as a dip, marinade, or dressing, or store in an airtight container in the refrigerator.
Notes
- For a vegan option, use maple syrup instead of honey.
- To make this gluten-free, substitute the soy sauce with tamari.
- This sauce is great for meal planning; it keeps well in the refrigerator for up to one week.
- If you are looking for low-carb options, consider using a sugar substitute instead of maple syrup.
Nutrition
- Serving Size: 2 tablespoons
- Calories: 150
- Sugar: 5
- Sodium: 350
- Fat: 12
- Saturated Fat: 2
- Unsaturated Fat: 10
- Trans Fat: 0
- Carbohydrates: 7
- Fiber: 2
- Protein: 5
- Cholesterol: 0