
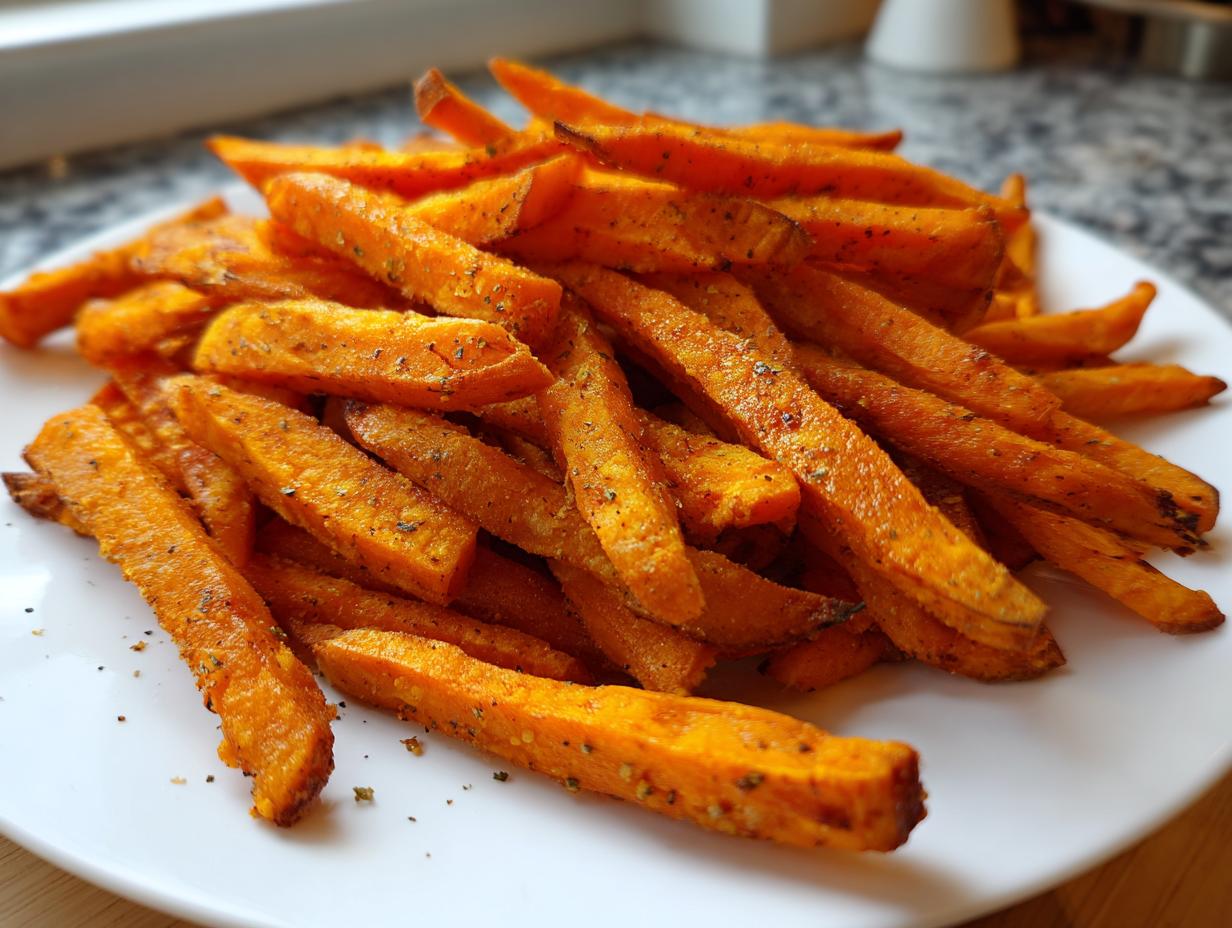

Do you ever get that intense craving for fries but feel guilty about reaching for the deep fryer because you know what’s coming tomorrow? Me too! That’s why I spent what felt like forever testing, tweaking, and seriously obsessing over how to make truly perfect, restaurant-quality sweet potato fries at home. The number one hurdle everyone faces is sogginess, right? Well, don’t you worry one bit. After many messy kitchen experiments, I nailed the technique to get these beauties genuinely crispy every single time we bake them. This spot on my blog, Cut Cook Taste, is all about showing you how simple, reliable recipes can bring us together, and these fries are my personal testament to that!
- Why You Will Make These Crispy Sweet Potato Fries Every Time
- The Essential Ingredients for Perfect Sweet Potato Fries
- Step-by-Step Guide to Making Truly Crispy Sweet Potato Fries
- Tips for the Best Homemade Sweet Potato Fries
- Variations on Classic Sweet Potato Fries
- Serving Suggestions for Your Sweet Potato Fries
- Storage and Reheating Instructions for Leftover Sweet Potato Fries
- Frequently Asked Questions About Sweet Potato Fries
- Nutritional Information for These Sweet Potato Fries
Why You Will Make These Crispy Sweet Potato Fries Every Time
I know there are a million ‘crispy’ sweet potato fry recipes out there, so why should you trust mine? Trust me, I’ve thrown out enough limp, sad sweet potatoes to know what works and what definitely doesn’t. These are different. When you follow the steps—especially the soaking—you get results you just can’t beat!
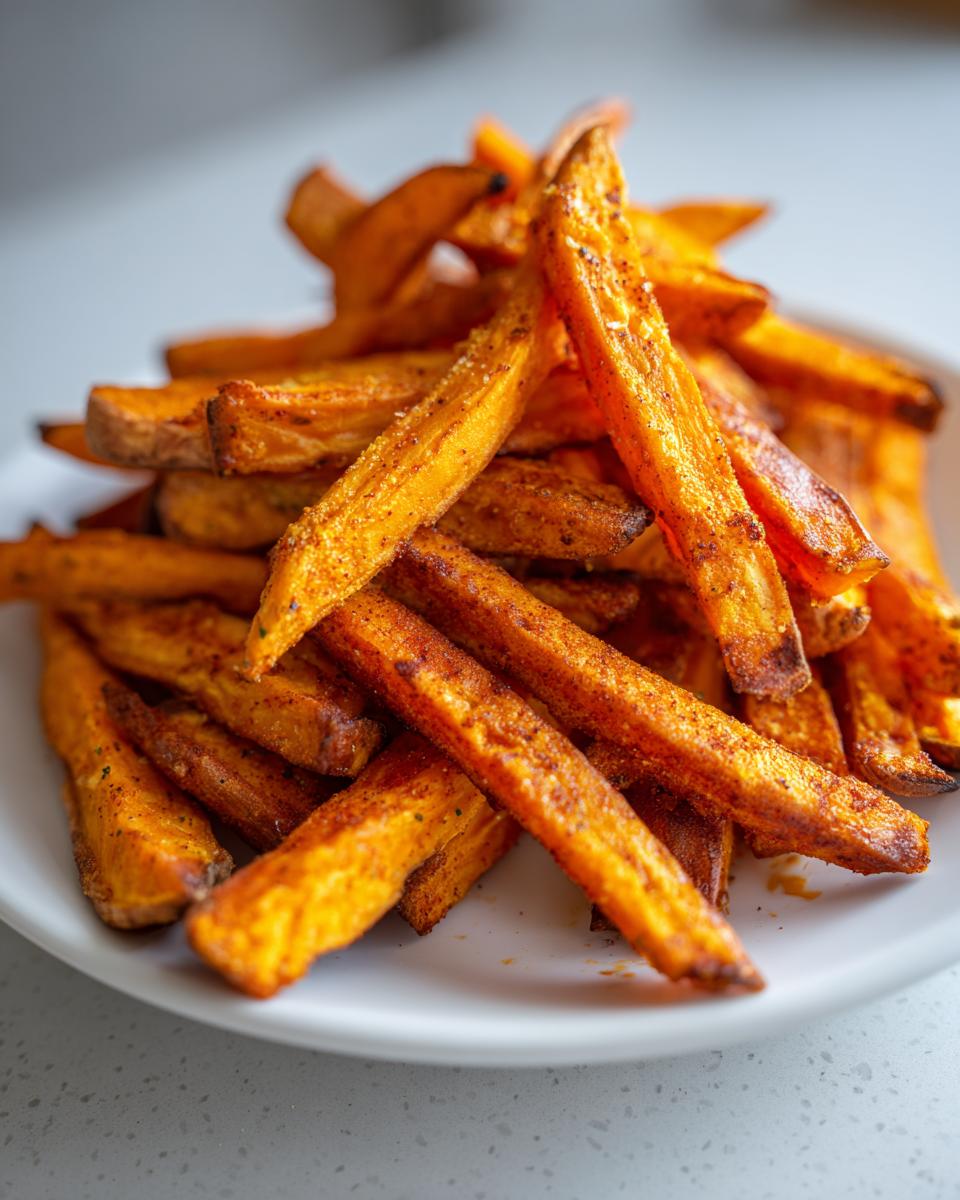
- Actually Crispy Texture: We are delivering on the promise! Thanks to the cornstarch coating, you get that satisfying crunch you crave without needing to own an air fryer or deep fryer.
- Simple Seasoning, Big Flavor: The paprika and garlic powder combination is classic for a reason. It enhances the sweetness without overpowering it. Seriously easy seasoning for sweet potato fries!
- No More Soggy Sweets: We tackle the starch issue head-on, meaning these stay crispier longer as they cool down.
- Perfect Healthy Sweet Potato Side Dish: These are great as a healthier alternative to white potato fries, making them perfect for weeknight meals or when you’re trying to keep things lighter.
- Incredibly Fast Hands-On Time: While the soaking takes a little passive time, the actual chopping, coating, and seasoning takes less than twenty minutes.
- Great for Meal Prep Planning: Since they hold their texture better than most, they are one of those baked vegetable fries that work really well if you’re planning your meals ahead of time.
The Essential Ingredients for Perfect Sweet Potato Fries
What I love most about this recipe is that while we are achieving serious crispiness, we aren’t asking for anything crazy! You probably have most of this tucked away in your pantry already. The list is short, which means better flavor shines through. Remember, these potatoes need to be cut uniformly so they all cook at the same pace. If you have sticks running from fat to thin, the thin ones will burn before the fat ones are done, and nobody wants that!
- Two large sweet potatoes—scrubbed clean and cut into sticks roughly 1/4-inch thick.
- One tablespoon of cornstarch (don’t skip this—it’s magic!).
- Two tablespoons of good olive oil.
- One teaspoon paprika for color and warmth.
- Half a teaspoon of garlic powder.
- Just half a teaspoon of salt and a tiny pinch of black pepper.
Ingredient Notes and Substitution Options
Let’s talk about that cornstarch for a second. It’s truly the heavy lifter here for getting those glorious golden brown sweet potato fries that look deep-fried. It lightly coats the exterior, helping absorb any last bits of surface moisture and creates that thin, crisp shell when it hits the hot oven. When you select your sweet potatoes, make sure they are firm! Uniformity in cutting is vital. If you try to cut them super thick, they just won’t crisp up properly, even with our secret tricks. Honestly, I haven’t tried swapping the cornstarch out, but I hear cornflour works in a pinch if you’re out!
Step-by-Step Guide to Making Truly Crispy Sweet Potato Fries
This is where the magic happens—and honestly, it’s mostly about timing and prep work, not some complicated technique. Getting these oven baked sweet potato fries perfect means respecting the starch inside the sweet potato. If you skip the beginning steps, you’ll end up with soft fries, and we don’t do soft fries around here! Follow this closely and you’ll see why roasting them is the best choice for a healthy side dish.
The Secret to Avoiding Soggy Sweet Potato Fries
Step one, folks, is the soak. Trust me on this one: peel and cut your potatoes into those nice, even sticks, and then drop them right into a big bowl of cold water. I let mine sit for about half an hour. When I first started making these years ago, I just washed them off quickly because I was in a hurry. Big mistake! The exterior was kind of tacky, and they totally deflated in the oven. What that soaking does is release that excess surface starch. After soaking, you have to drain them and then dry them until they feel almost dusty, using paper towels. Don’t just swirl them around; press them dry!
Coating and Seasoning Your Sweet Potato Fries
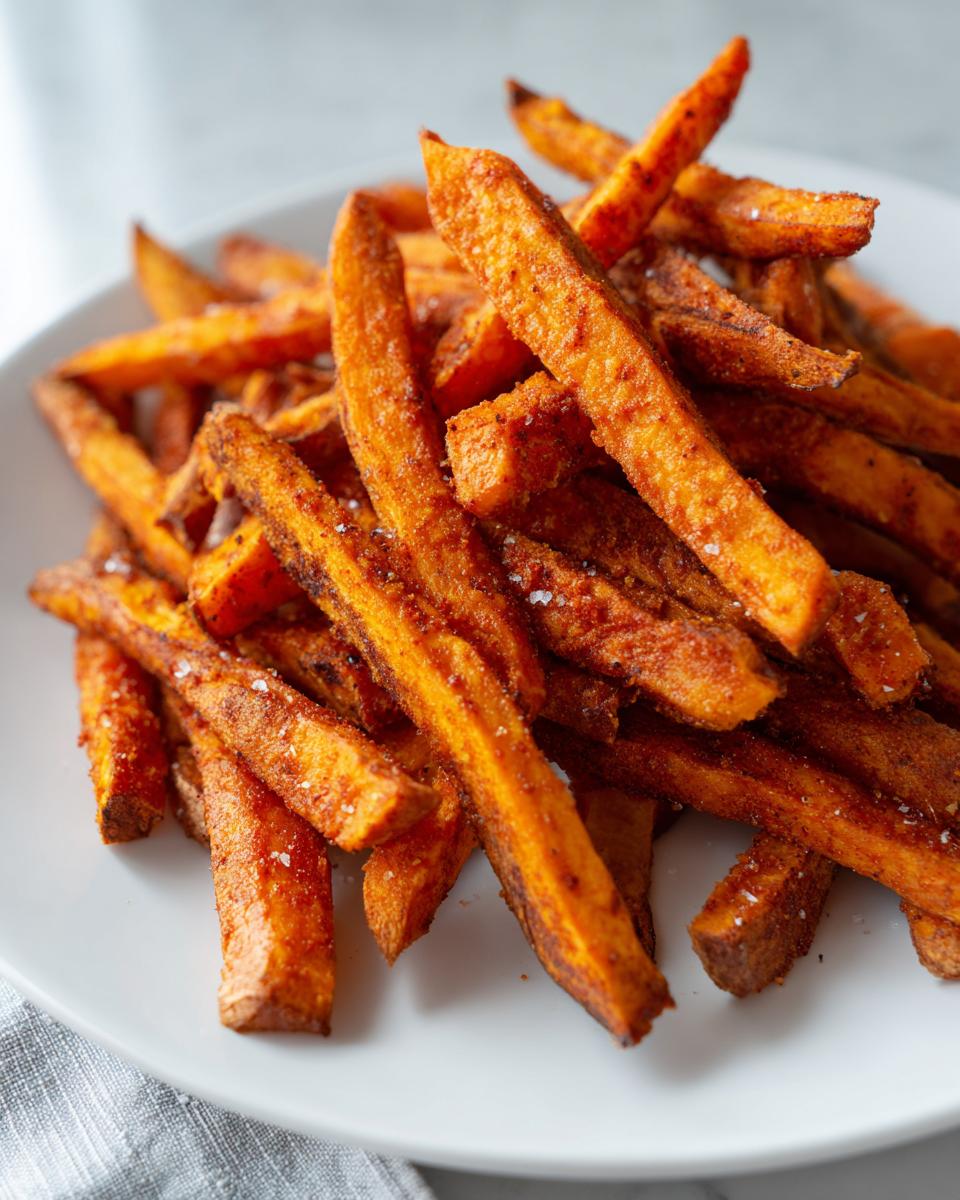
Once they are bone dry, it’s time for the dry coating. Put those dry fries into a bowl and toss them gently with the cornstarch first. You want a really light, powdery coat, not clumpy piles. Now you can add the flavor! Sprinkle on that simple seasoning for sweet potato fries—the paprika, garlic powder, salt, and pepper. Drizzle the olive oil over everything and toss again. You’re looking for just enough oil to make the spices stick to the cornstarch, not enough to leave a pool at the bottom of the bowl.
Baking for Golden Brown Sweet Potato Fries
Preheat that oven up high to 425 degrees Fahrenheit! If you can, toss your baking sheet in there while it heats—a hot pan gives you a head start on crisping. Spread those seasoned fries out onto your lined baking sheet. And I mean *spread* them. They must be in a single layer, shoulder-to-shoulder contact is the enemy here! Bake them for about 15 minutes, then pull them out, flip them carefully, and put them back in for another 10 to 15 minutes. They are done when they look beautifully golden brown sweet potato fries and feel firm when you nudge them with a fork.
Tips for the Best Homemade Sweet Potato Fries
Okay, so you’ve nailed the soaking and the cornstarch trick—awesome! But I’ve learned a few extra little things over the years that really push these fries from ‘pretty good’ to ‘I can’t believe these came out of my oven.’
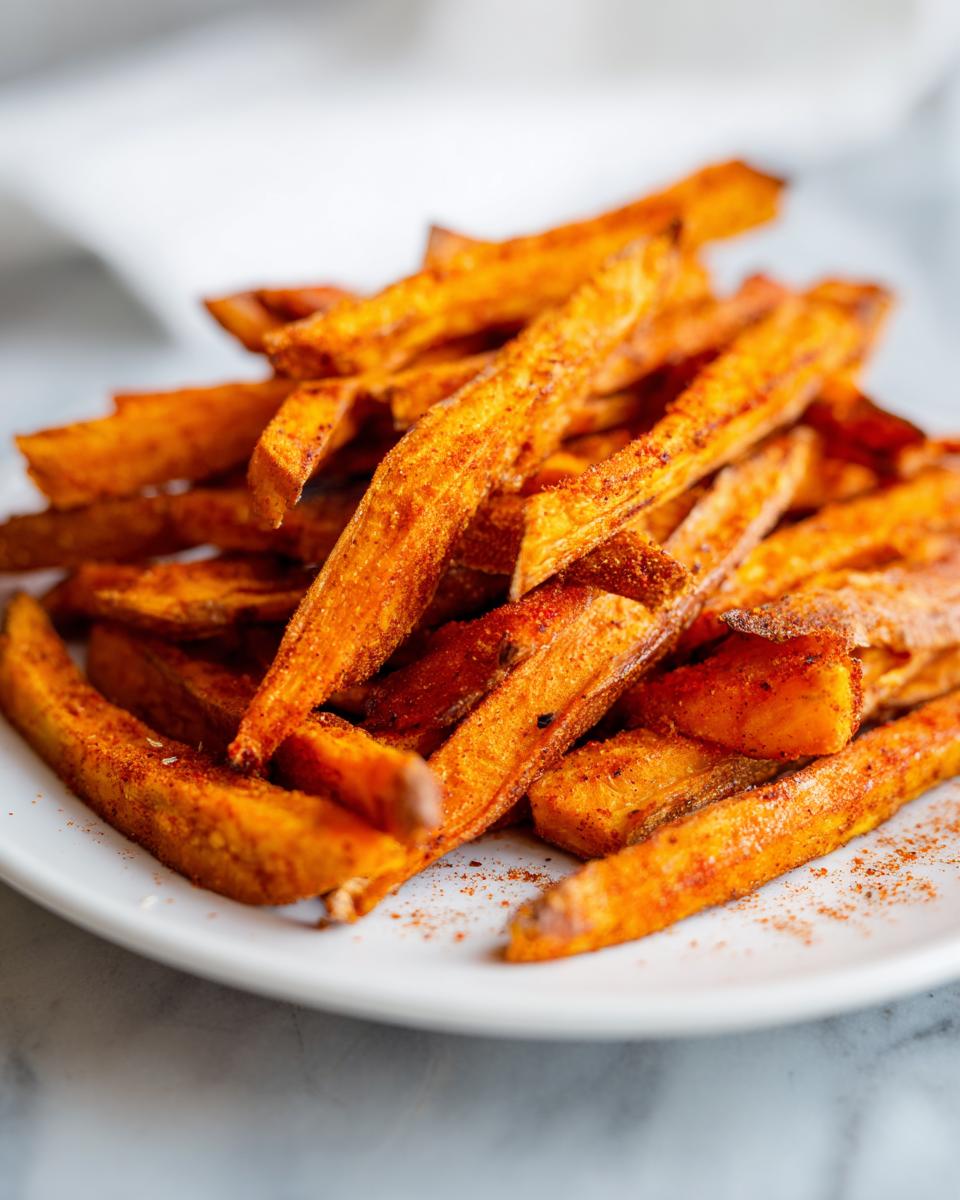
My number one tip, which I saw mentioned online recently, is getting that baking sheet piping hot *before* the fries ever touch it. If you put the oiled, coated fries onto a cold sheet, they take ages to crisp up. Try sliding your parchment-lined sheet into the oven while it preheats. It gives you that immediate sizzle when the fries land, which starts building that crunchy exterior right away. That’s the real secret to achieving perfectly golden brown sweet potato fries!
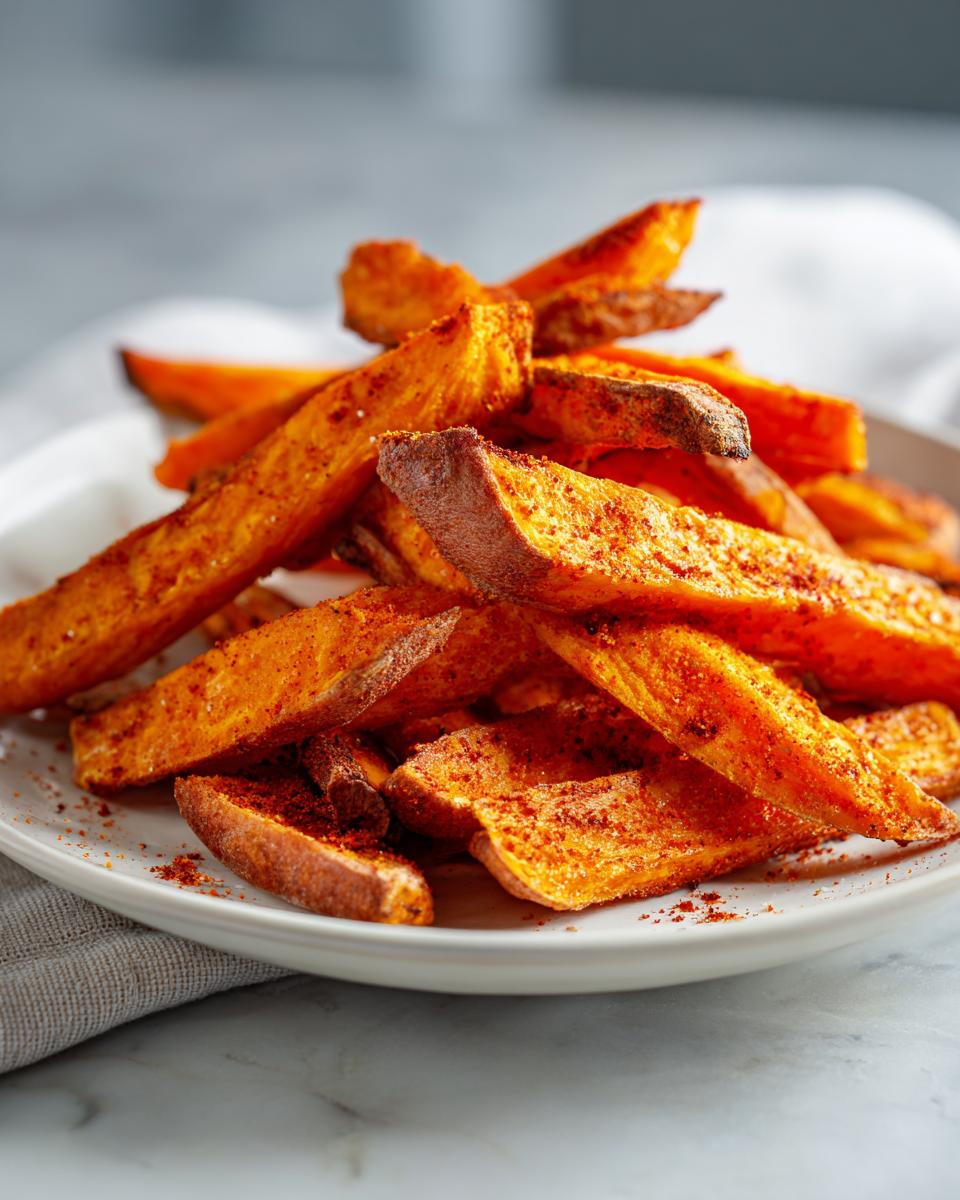
Also, don’t get greedy with the oil. Too much oil makes things steam instead of bake. You just want the spices to adhere nicely. And always serve them right away! If you’re making a huge batch for a party, I suggest baking them slightly underdone, letting them cool, and then doing a quick 5-minute blast in a very hot oven right before serving. That second cook really re-crisps them up perfectly. If you need other easy side dishes, check out my recipe for easy sausage hashbrown egg bake!
Variations on Classic Sweet Potato Fries
While I am absolutely devoted to this specific seasoning blend, variety is the spice of life, right? Once you master the crucial prep work—the soaking and the drying—you can play around with the flavor profile all you want. It’s fun to get creative with these; they are such a versatile side dish!
If you’re tired of garlic powder and paprika, try swapping them out! I love using a tiny bit of cayenne pepper along with smoked paprika for a little kick—it turns them into almost a spicy-sweet treat. Another family favorite, especially in the fall, is using dried rosemary and a dash of onion powder. It smells incredible baking in the oven.
Now, I know some of you have invested in an air fryer because you’re looking for ways to cut back on oil. And hey, I support that! You can absolutely adapt this recipe for that gadget. For air fryer sweet potato fries, you’ll want to reduce the olive oil slightly—maybe just a teaspoon or two—because the machine circulates the heat so intensely. Make sure you don’t overcrowd the basket, though; cook them in small batches if you have to, otherwise, they steam up just like they would on a crowded baking sheet. Consistency is everything, whether you’re baking or air frying!
If you’re feeling adventurous and want something sweetly decadent after dinner, these flavors inspire me to bake sometimes—you should totally check out my recipe for sweet potato brownies next time you’re looking for a baked treat!
Serving Suggestions for Your Sweet Potato Fries
Okay, so you’ve got this gorgeous tray of crispy, perfectly seasoned sweet potato fries. Now what? The best part of a great side dish is seeing how many different meals it can elevate! Since these are such a fantastic, guilt-free alternative to regular potatoes, they go with just about everything.
They are absolutely mandatory when we’re grilling burgers in the summer. Seriously, put aside the boring white fries; these sweet potato fries bring just the right pop of color and earthy sweetness to balance out a juicy patty. We usually pair them with my husband’s favorite smoky BBQ sauce, but honestly, any good ketchup works fine for the kids.
If you’re shifting gears toward something a bit lighter, these make an amazing pairing for grilled chicken. I often use them alongside my Greek Chicken Tenders because the bright lemon and garlic cut through the subtle sweetness of the fries so beautifully. It makes for a vibrant, healthy meal.
And we can’t forget the dips! A good dip just makes the whole experience better. If you like smoky stuff, a chipotle mayo is unbelievable—just mix mayo with a little adobo sauce from a can of chipotles. For something tangy, a simple Greek yogurt mixed with lemon zest and dill is refreshing. Just experiment! The salty crunch plus a cool, creamy dip? That’s where the real fun is!
Storage and Reheating Instructions for Leftover Sweet Potato Fries
I always secretly hope we eat every single one of these fries because they are truly best enjoyed straight from the oven when they are piping hot and crispy. But let’s be real, sometimes life happens, or maybe you just made too many! If you do end up with extras, how you store and reheat them makes all the difference in keeping that crispness we worked so hard to create.
First things first: storage. You absolutely cannot store these in a sealed plastic bag or container while they are still warm. Trust me, I learned this the hard way one Thanksgiving when I rushed things in the kitchen. All that trapped steam turns the outside of your beautiful fries instantly soggy. You need to let them cool completely on the counter—maybe spread them out on a wire rack if you have one—until they reach room temperature.
Once they are cool, pop them into an airtight container or even just a zip-top bag. Honestly, they usually stay decent for one day, maybe two if you’re good about sealing that container tight. Three days in, and they start losing their fight against moisture, but we can fix most of that when reheating!
Now for the comeback! The microwave is your enemy here. It will warm them up, yes, but it also steams away any remaining structure, making them limp and mushy. For the best results, you need dry heat. This is where your oven or air fryer shines again! Preheat your oven to about 375 degrees Fahrenheit and spread the leftover fries in a single layer back on that parchment-lined baking sheet. Give them about 5 to 8 minutes. They heat through fast, and that dry oven air wakes up the cornstarch coating again!
If you have an air fryer, that’s even faster. Toss them in for just 3 or 4 minutes at 370 degrees, shaking the basket halfway through. That blast of hot air works wonders to restore that satisfying crunch. See? Even leftovers don’t have to be a sad experience if you treat them right!
Frequently Asked Questions About Sweet Potato Fries
I get so many questions about these little orange beauties! It’s usually about getting that perfect texture or speeding things up if I’m short on time. Since I’ve perfected this easy sweet potato fries recipe over the years, I thought I’d gather the top things folks ask me right here.
Can I use frozen sweet potato fries instead of fresh ones?
Oh, sweetie, please don’t! I know it sounds tempting for speed, but the whole reason we get these fries so perfectly crispy is by controlling the moisture starting with a fresh potato. Frozen fries are usually pre-blanched or treated, which means their surface starch structure is already changed. If you use frozen, they will almost certainly come out soft and steaming, even if you use the cornstarch trick. Stick to fresh, un-treated sweet potatoes for the best results!
What is the best way to get crispy sweet potato fries without cornstarch?
That’s a great question for when you run out! The cornstarch is my go-to powerhouse, but there’s a decent backup. If you can’t use cornstarch, try substituting it with an equal amount of tapioca starch or arrowroot powder. They generally work the same way to achieve that beautiful crust. Failing that, you must make sure your fries are absolutely, bone-dry after soaking, and really don’t overcrowd the pan when baking. That reduced moisture exposure goes a long way, though it might not hit that intense crunch level the cornstarch provides.
Are these sweet potato fries a good meal planning option?
Yes, they really can be! Since they are a baked vegetable fries, they fit right into that healthy dinner category. While I mentioned in the storage section that they taste best fresh, if you prep them (cutting and seasoning) a day ahead and keep them tightly stored in the fridge, you save a ton of time when it comes time to cook. For consistent weekly eating, this kind of recipe fits perfectly into your general meal planning because it’s reliable, healthy, and easily scalable for a family. They are a much lighter side dish than something heavy!
If you need inspiration for pairing these crisp fries with other simple mains, you might love my recipe for easy cranberry brie bites, if I’m making a fun appetizer spread!
Nutritional Information for These Sweet Potato Fries
Since we’re aiming for a healthy side dish here, I know a lot of you are checking the labels, and I totally get it! Gathering accurate nutrition facts for homemade anything can be tricky because it all depends on the size of your potatoes, exactly how much oil you manage to soak up, and even the brand of paprika you use. So, I want to be upfront that the numbers floating around for this recipe are really just estimates—my best guess based on standard ingredient tracking.
Please treat the provided nutritional estimations as a general guide only. The exact calorie count, sugar content, and fat levels really shift based on how thick you cut those fries, how much you manage to pat them dry before oiling, and honestly, how much seasoning you wind up eating versus leaving behind on the pan. This recipe is made with simple, fresh ingredients, which is already a huge win over the deep-fried stuff, but for precision tracking, you’ll want to plug your specific ingredient amounts into your favorite tracking app. Happy cooking!
PrintThe Ultimate Crispy Oven Baked Sweet Potato Fries
Make homemade sweet potato fries that are perfectly crispy in the oven. This easy recipe uses simple seasoning and a technique to avoid sogginess, making them a healthy side dish or snack.
- Prep Time: 15 min
- Cook Time: 30 min
- Total Time: 45 min
- Yield: 4 servings 1x
- Category: Side Dish
- Method: Baking
- Cuisine: American
- Diet: Vegetarian
Ingredients
- 2 large sweet potatoes, scrubbed and cut into uniform sticks (about 1/4 inch thick)
- 1 tablespoon cornstarch
- 2 tablespoons olive oil
- 1 teaspoon paprika
- 1/2 teaspoon garlic powder
- 1/2 teaspoon salt
- 1/4 teaspoon black pepper
Instructions
- Soak the sweet potato sticks in a bowl of cold water for at least 30 minutes. This removes excess starch. Drain them completely and pat them very dry with paper towels. This step is key for crispiness.
- Preheat your oven to 425 degrees Fahrenheit. Line a large, rimmed baking sheet with parchment paper.
- In a medium bowl, toss the dry sweet potato sticks with the cornstarch until lightly coated.
- Drizzle the sweet potatoes with olive oil. Add the paprika, garlic powder, salt, and pepper. Toss everything together until the fries are evenly seasoned.
- Arrange the fries in a single layer on the prepared baking sheet. Do not overcrowd the pan; use two sheets if necessary.
- Bake for 15 minutes. Flip the fries carefully.
- Return to the oven and bake for another 10 to 15 minutes, or until the fries are golden brown and crisp on the edges.
- Remove from the oven and serve immediately with your favorite dip.
Notes
- For extra crispiness, consider placing the baking sheet in the oven while it preheats to ensure the pan is hot when the fries go in.
- If you are looking for alternatives to traditional frying, this baked method is a great option, similar to what you might find with some meal planning services focused on lighter fare.
- These fries pair well with burgers or as a healthy side dish alternative to standard potatoes.
Nutrition
- Serving Size: 1 serving
- Calories: 180
- Sugar: 8
- Sodium: 250
- Fat: 6
- Saturated Fat: 1
- Unsaturated Fat: 5
- Trans Fat: 0
- Carbohydrates: 30
- Fiber: 5
- Protein: 2
- Cholesterol: 0