
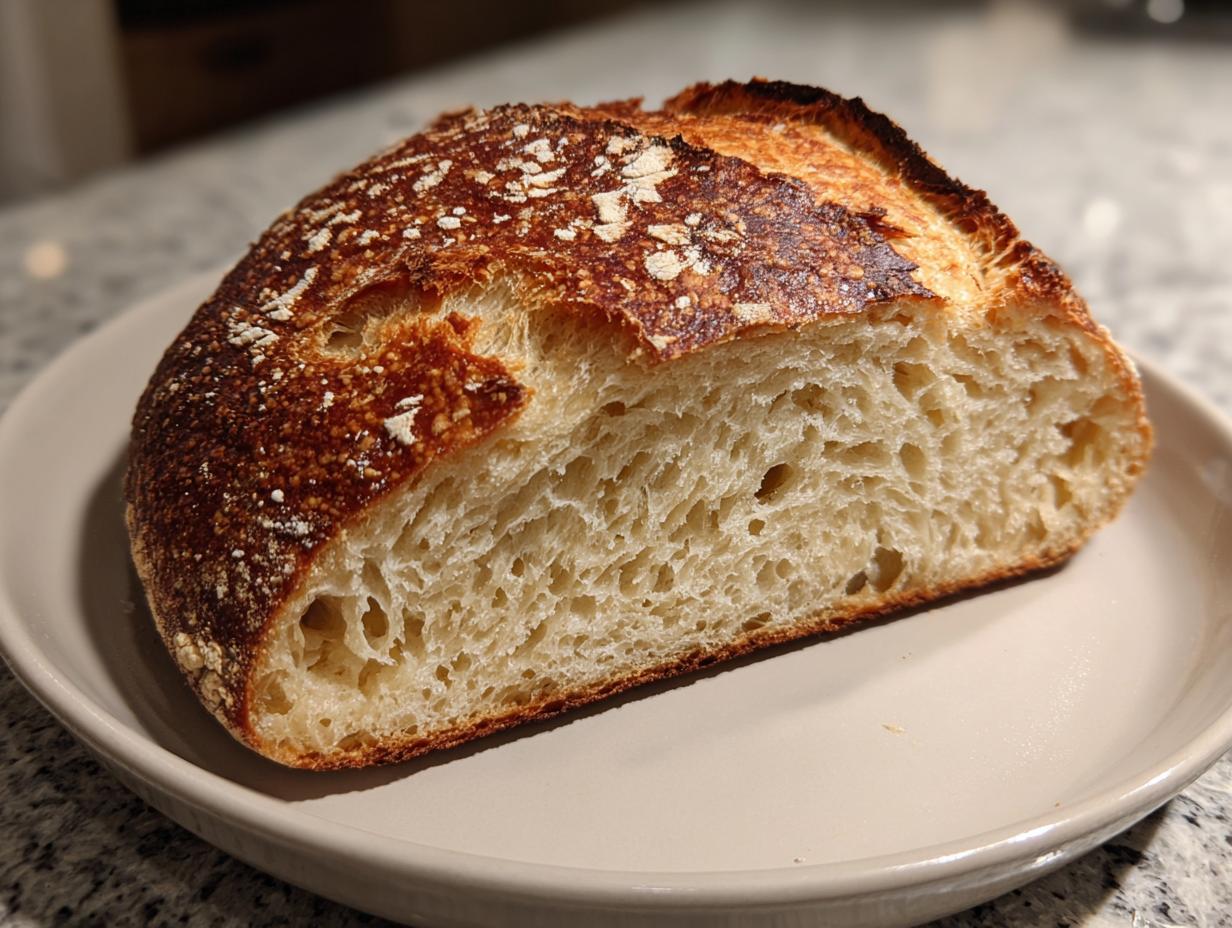

Forget everything you think you know about making high-quality bread! If the word “artisan bread” sounds intimidating—like it requires fancy tools or hours of standing over a sticky mess—I promise you, I’m about to change your mind. My absolute favorite cooking project involves creating a bakery-quality loaf right in my own kitchen with almost zero real work. Seriously!
This is my ultimate **Easy No-Knead Artisan Bread** recipe, and it hinges entirely on using a simple Dutch oven. This recipe is foolproof, making it perfect if you’re just starting out. My dad always taught me that the best meals come from simple, quality ingredients, and this loaf is proof of that soul-warming philosophy. It’s just flour, water, salt, and yeast, but the slow fermentation does all the heavy lifting. Trust me, once you slice into this crusty, airy beauty, you’ll see why this recipe is a staple here at Cut Cook Taste. If you love the process of making bread from scratch, I promise this will become one of your go-to favorites, just like my recipe for crusty Italian bread.
- Why This No-Knead Artisan Bread Recipe Works So Well
- Ingredients for Your Simple Artisan Loaf
- Step-by-Step Instructions for No Knead Bread Baking
- Tips for Success: Making Perfect Artisan Bread
- Serving Suggestions for Your Homemade Crusty Bread
- Storage and Reheating Instructions
- Frequently Asked Questions About Artisan Yeast Bread
- Estimated Nutritional Information for Artisan Bread
- Share Your Rustic Farmhouse Bread Creations
Why This No-Knead Artisan Bread Recipe Works So Well
You might look at the 18-hour rest time and think, “Ugh, that’s not quick!” But hear me out: all that waiting is the secret to getting top-tier results with minimal effort. Since we’re aiming for that amazing artisan bread flavor without all the arm workout, we let time do the heavy lifting for us. Look at all those amazing benefits packed into just four basic ingredients!
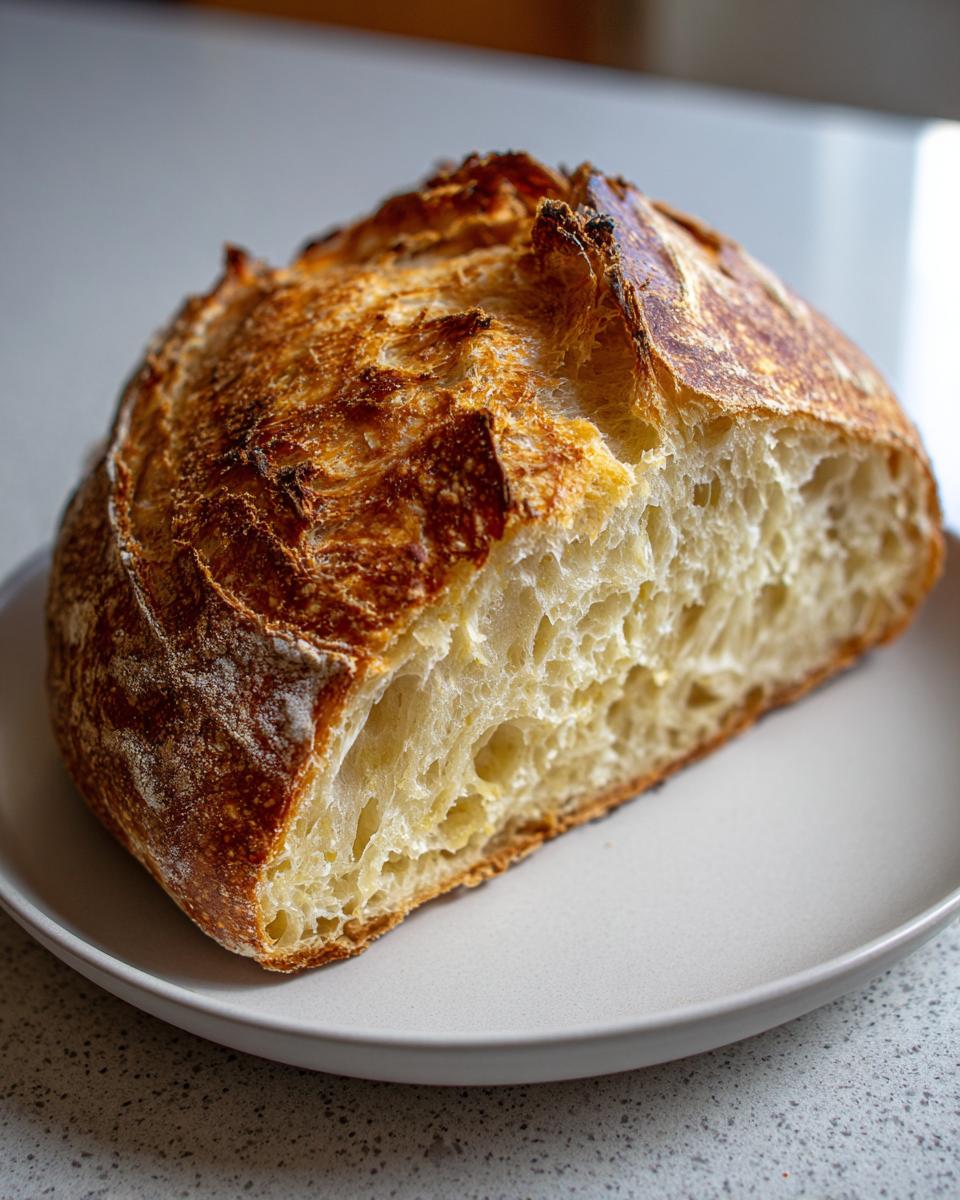
- Incredible flavor complexity developed overnight.
- It’s practically impossible to mess up—it’s *that* simple.
- You get that satisfying rustic crackle on the outside every time.
If you love knowing where your food comes from, this is the way to go. I love making this loaf right alongside a different recipe, like my crusty Italian bread, just to keep the baking momentum going.
Beginner Bread Recipes: No Kneading Required
The ‘no-knead’ part is my favorite shortcut! When you mix the dough just until it’s shaggy, you are allowing the gluten structure to develop slowly and naturally over many hours. This means you don’t have to spend ten frustrated minutes pushing dough around your counter. It’s the key to making amazing artisan bread accessible to everyone, even if you’ve never baked before. It feels like cheating, but I promise it’s legitimate science!
Achieving Bakery Style Bread at Home
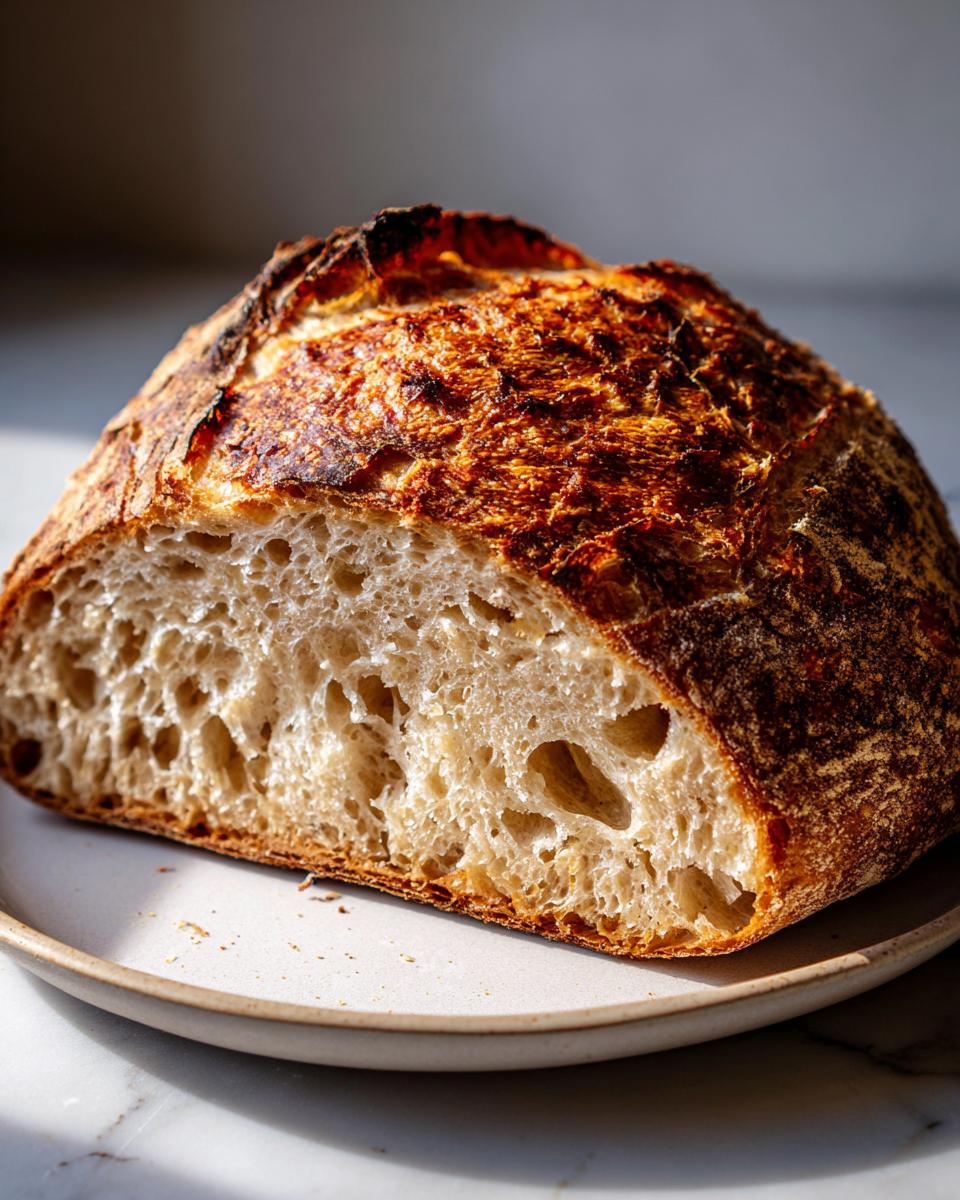
My secret weapon, besides the long rest, is the Dutch oven. Honestly, if you want that deep, crackly, bakery-quality look, you have to trap the steam! When you drop the dough into that super-hot pot and cover it, the steam stays trapped. That trapped moisture keeps the crust soft long enough for the dough to puff up beautifully—that’s called oven spring. When you take the lid off late in the bake, that crust immediately dries out into that signature golden layer we all crave when we’re aiming for Bakery Style Bread at Home.
Ingredients for Your Simple Artisan Loaf
This recipe is the definition of the 4 Ingredient Bread Recipe—it’s so lean! You only need four things from the pantry to create truly spectacular artisan bread. Forget complicated starters; this works every time! Just gather up the following items:
- 3 cups All-Purpose Flour
- 1 1/2 teaspoons Salt
- 1/4 teaspoon Instant Yeast
- 1 1/2 cups Cool Water
See? That’s it! It’s amazing what simplicity can achieve when you give the natural process time to work its magic.
Ingredient Notes and Substitutions for Artisan Bread
Since we only have four players here, we need to make sure they are the right ones! Use instant yeast, not active dry, because we aren’t blooming it first; it mixes right in raw. And this is important: use cool or even cold water. If your kitchen is warm, hot water will wake up that tiny bit of yeast too fast. We want a slow, sleepy flavor development over 18 hours, which cool water guarantees for this artisan bread.
Step-by-Step Instructions for No Knead Bread Baking
Okay, this is where the magic happens, and surprisingly, where you do the least amount of work! Making this artisan bread is a two-part system: a long rest and a quick bake. Just follow these steps, and you will be amazed at the results. Promise! I always keep an organized baking notebook right next to my stove, sort of like the main blog archive here, so I never forget the timing on this crucial stage.
Mixing the Dough and Overnight Fermentation for Artisan Bread
First up, grab a big bowl. Just whisk your flour, salt, and that little bit of instant yeast together—no need to worry about dissolving anything. Then, pour in your cool water. You want to mix it only until everything is combined into one big, messy-looking ball. It should look very wet and shaggy; don’t try to smooth it out! Cover that whole bowl tightly—I use plastic wrap—and just walk away. Set it on your counter for 12 to 18 hours. That long rest is where all the deep flavor for our artisan bread develops all by itself. Isn’t that fantastic?
Preheating the Dutch Oven Guide for Homemade Crusty Bread
When the dough is done resting, we prep for the bake. Gently scrape the dough onto a lightly floured counter—don’t punch it down or knead it! Just fold it over itself a couple of times to make a rough ball. Now, this next part is important for our Dutch Oven Bread Guide: Take your pot, lid and all, and stick it in the oven while you preheat to 450°F. We need that cast iron screaming hot! Once it’s ready, put the dough onto parchment paper, and use the paper like a sling to carefully lower the dough directly into that blazing hot Dutch oven. Cover it right away!
Baking Your Simple Artisan Loaf
Baking happens in two stages. First, cover the pot and bake for 30 minutes. This locks in all that steam, which is what guarantees that beautiful, springy rise and helps set up the structure of your artisan bread. After 30 minutes, take those oven mitts and pop the lid off. Let it bake uncovered for another 15 to 20 minutes until it’s that gorgeous deep golden brown. The absolute, non-negotiable final step? Take the loaf out right away and set it on a wire rack to cool down completely. If you slice it hot, your amazing airy crumb will turn gummy, and we certainly don’t want that!
Tips for Success: Making Perfect Artisan Bread
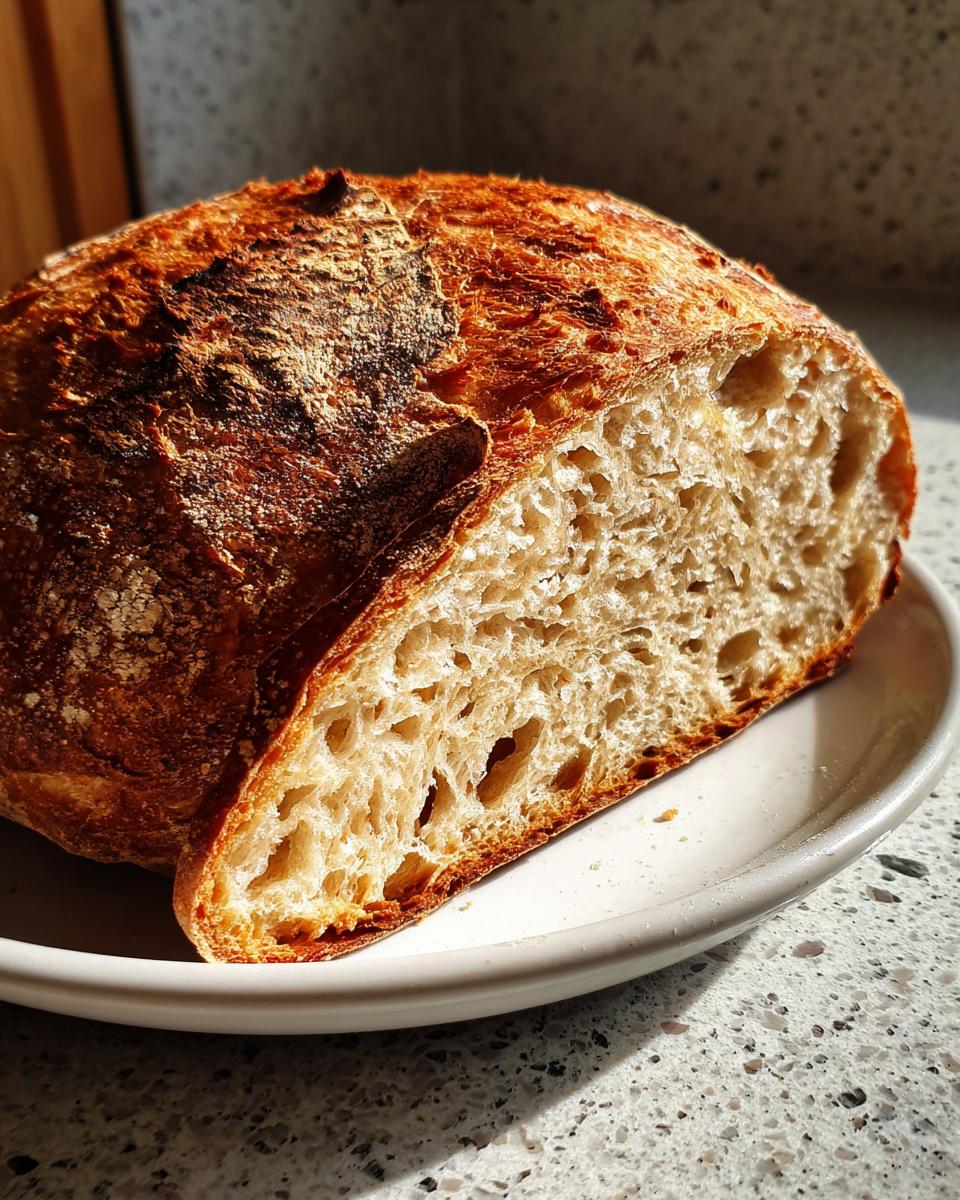
I know this recipe seems almost too easy, but when you are trying to achieve true artisan bread, small details matter! Since we’re relying on passive resting rather than aggressive mixing, we have to be careful about a few environmental factors. Don’t worry if your first loaf doesn’t look exactly like the pictures; that’s part of the fun of baking from scratch!
Perfect Bread Crust Tips for Your Artisan Bread
The bottom crust is sometimes a weak spot, especially in older or thinner Dutch ovens. If you find your bottom gets a little pale or soft, try this trick: place a metal baking sheet or an empty metal pizza pan on the rack directly underneath your Dutch oven *before* you preheat. That extra piece of metal absorbs and radiates heat upward, giving your bottom crust the boost it needs to become wonderfully crisp. Humidity can thin the crust too, so don’t be afraid to bake it uncovered for an extra 5 minutes if it seems damp.
Troubleshooting Common Issues
If your loaf comes out too flat, 9 times out of 10 it’s your water temperature during mixing—it was probably too warm, making your yeast work too fast during the rest. For a pale crust, check your oven temperature after preheating; sometimes elements need a little extra time. If the dough feels sticky even after the final 30-minute rest, just use plenty of flour when you handle it, but remember, a sticky dough means a more open, airy crumb, which we love in our artisan bread!
Serving Suggestions for Your Homemade Crusty Bread
Wow, you did it! You made the artisan bread! Now comes the best part: eating it! Honestly, this loaf is so good, it just needs a thick smear of good unsalted butter and maybe a sprinkle of sea salt—it sings all on its own. But if you’re looking to build a whole meal around it, I have a few ideas that really showcase that dreamy crusty exterior.
It’s perfect for dipping into rich, oily sauces. Try serving it alongside my Easy Chicken Piccata; it soaks up that lemon-caper sauce perfectly. Or, for a fun weekend meal, use thick slices as the base for a huge, loaded sandwich. I love using it for a crunchy Grinder Salad because the crust holds up against all those juicy toppings. This bread truly elevates even the simplest weeknight dinner!
Storage and Reheating Instructions
So, you have this gorgeous loaf of artisan bread, and you don’t want it to go stale too fast, right? Keep it on the counter, cut-side down on a cutting board, covered loosely with a clean kitchen towel. Seriously, never put this bread in the fridge! Refrigeration actually speeds up the staling process and ruins that beautiful, airy crumb we worked so hard for.
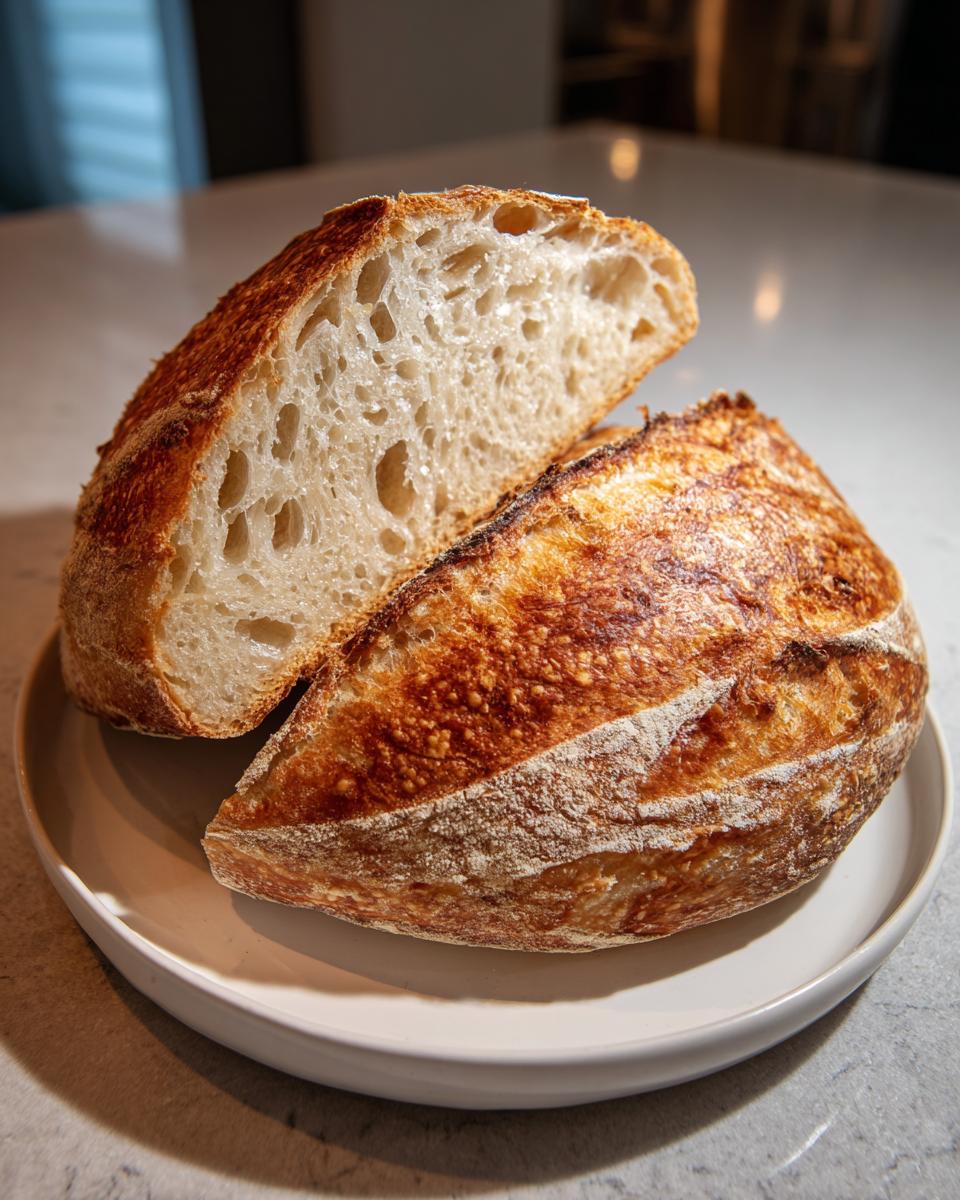
If you want to bring back that fantastic crust we mastered in the Dutch oven, just pop slices directly into a warm oven—say 350°F—for about 5 minutes. It truly revives it like it just came out of the oven!
Frequently Asked Questions About Artisan Yeast Bread
I know when you dive into a new recipe, especially something as rewarding as **artisan yeast bread**, you probably end up with a few mental roadblocks. Don’t worry, I’ve heard all the questions before! I want this to be the most foolproof bread recipe you’ve ever tried, so let’s clear up any lingering doubts about your homemade loaf.
Can I use Bread Flour instead of All-Purpose Flour for this artisan bread recipe?
You absolutely can! Bread flour has a higher protein content, which means it develops a stronger gluten network. If you use it, expect a slightly chewier bread and potentially a little more oven spring. Since this recipe is designed to be so easy, sticking to All-Purpose Flour is totally fine since we rely on that long rest time instead of kneading to build structure. Both will give you fantastic results, though!
What is the best way to plan meals around fresh homemade bread?
Having a stunning crusty homemade bread available means you can simplify your entire week! I find that having this loaf handy drastically improves my meal planning. For example, if I know I’m having a soup or stew coming up later in the week, I’ll set the dough out early that morning. Then, bam! Instant side dish that’s ten times better than anything store-bought. It makes those simple weeknight meals feel a little more special, kind of like what my dad used to do with his weekend barbecues.
What if I don’t have a Dutch Oven for baking this bread?
No Dutch oven? No sweat! The goal is trapping steam, so you need a heavy, tight-fitting lid. You can try using a heavy-duty cast-iron skillet with a metal bowl inverted on top, although it’s trickier to transfer the dough safely. Or, you can bake it on a preheated pizza stone or baking sheet, but you must create steam! Place a shallow metal pan on the lowest rack during preheating, and right before you put the bread in, carefully pour a cup of boiling water into that hot pan. Be so careful of the steam splash! If you want to see some other options, check out my tips for baking sweet potato cornbread, since sometimes people use similar techniques for that, too!
Estimated Nutritional Information for Artisan Bread
Okay, remember that baking with just flour, water, salt, and yeast is wonderfully straightforward, so the nutrition is pretty minimalist! This table below is just an estimate per slice, based on the whole loaf yielding 16 average portions. When you’re making something this rustic, it’s about tasting amazing and enjoying the process, not counting every gram. Don’t forget, you can always look into things like meal planning to keep your overall eating habits balanced!
- Serving Size: 1 slice
- Calories: 200
- Fat: 1g
- Carbohydrates: 42g
- Protein: 7g
Share Your Rustic Farmhouse Bread Creations
I truly hope you loved making this simple artisan bread as much as I love sharing it! This is where the Cut Cook Taste community comes alive. If you had success with this recipe, please leave a rating below—five stars really helps other new bakers find this foolproof guide. And please, tag me in your gorgeous, crusty creations on social media! I love seeing your rustic farmhouse loaves. If you enjoyed mastering this one, you might also love trying out my easy pecan pie bars next time you want a baking challenge. I always check out what others are making, and I’d love to see yours alongside what folks are doing over at Tastes With Amy!
PrintEasy No-Knead Artisan Bread Using a Dutch Oven
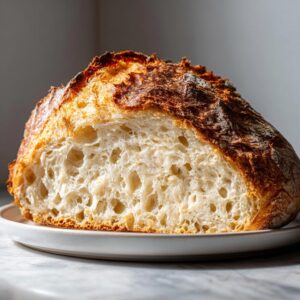
Bake bakery-quality artisan bread at home with this simple, no-knead recipe. This method uses a Dutch oven to achieve a perfect, crusty exterior and a soft, airy interior with minimal effort. Ideal for beginners.
- Prep Time: 10 min
- Cook Time: 50 min
- Total Time: 19 hours 0 minutes
- Yield: 1 loaf 1x
- Category: Baking
- Method: No-Knead Baking
- Cuisine: American
- Diet: Vegetarian
Ingredients
- 3 cups All-Purpose Flour
- 1 1/2 teaspoons Salt
- 1/4 teaspoon Instant Yeast
- 1 1/2 cups Cool Water
Instructions
- In a large bowl, whisk together the flour, salt, and yeast.
- Pour in the cool water and mix with a wooden spoon until just combined into a shaggy dough. Do not overmix.
- Cover the bowl tightly with plastic wrap. Let the dough rest at room temperature for 12 to 18 hours. This slow fermentation develops flavor.
- After the long rise, lightly flour a work surface. Gently scrape the dough out of the bowl and fold it over itself a few times to form a rough ball. Do not knead.
- Place the dough ball on a piece of parchment paper. Cover it loosely with plastic wrap or a clean kitchen towel. Let it rest for 30 minutes.
- About 30 minutes before baking, place a 5-6 quart Dutch oven, with the lid on, into your oven. Preheat the oven to 450°F (232°C).
- Once the oven and Dutch oven are fully preheated, carefully remove the hot Dutch oven using oven mitts.
- Use the parchment paper as a sling to gently lower the dough into the hot Dutch oven. Cover with the lid.
- Bake covered for 30 minutes.
- Remove the lid and continue baking for another 15 to 20 minutes, or until the crust is deep golden brown.
- Carefully remove the bread from the Dutch oven and place it on a wire rack to cool completely before slicing. Cooling allows the interior structure to set.
Notes
- For the best flavor and crust, use cool or cold water, especially if your kitchen is warm.
- If you are planning your week, this recipe pairs well with meal planning for easy weeknight dinners.
- Do not skip the cooling time; slicing hot bread results in a gummy texture.
Nutrition
- Serving Size: 1 slice
- Calories: 200
- Sugar: 1
- Sodium: 350
- Fat: 1
- Saturated Fat: 0
- Unsaturated Fat: 1
- Trans Fat: 0
- Carbohydrates: 42
- Fiber: 2
- Protein: 7
- Cholesterol: 0