
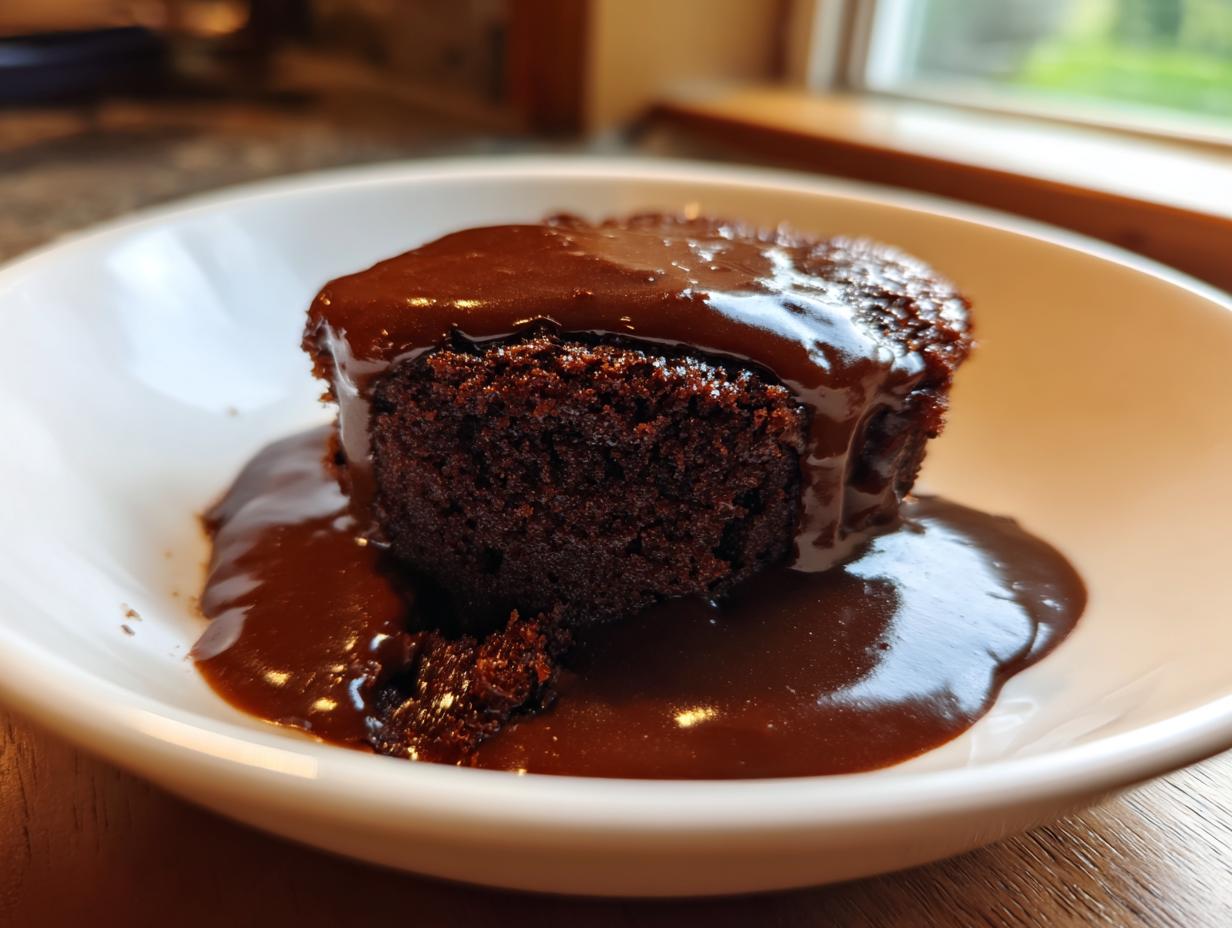

Oh, friends, when the craving for pure, unadulterated chocolate hits, nothing—and I mean nothing—beats a truly comforting classic! That’s why I’m sharing my absolute favorite indulgence: this Decadent Homemade Self-Saucing chocolate pudding cake. Forget those dry, sad desserts; this one is magic! It’s made completely from scratch, and the best part is the way it naturally separates while baking. You end up with a light, fluffy cake sitting right on top of a warm, molten pool of hot fudge sauce. It takes me right back to those cozy kitchen gatherings from my Midwestern childhood. Trust me, you are going to want to dig into this!
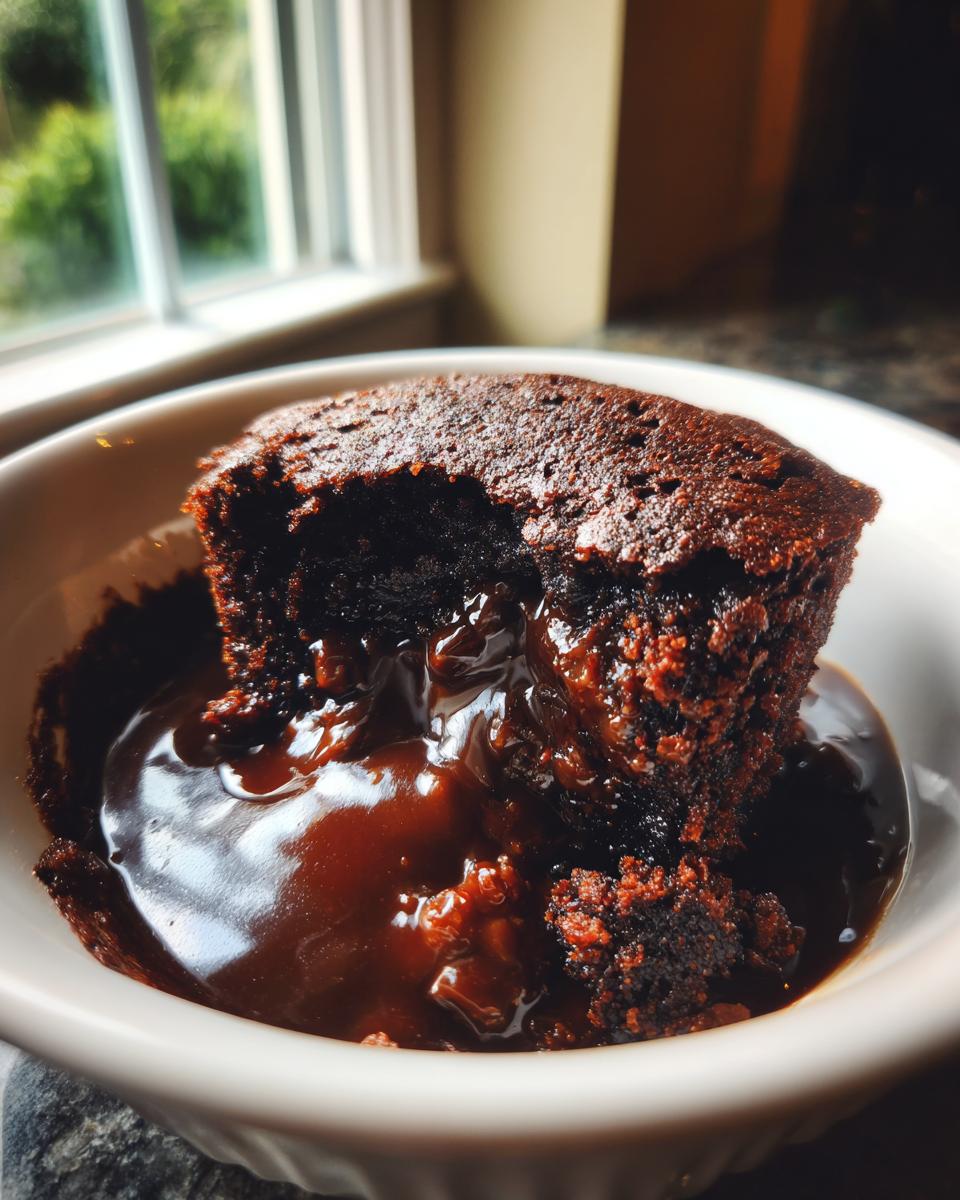
- Why This Homemade Chocolate Pudding Cake Recipe Works (The Secret to Gooey Perfection)
- Gathering Ingredients for the Best Chocolate Pudding Cake Recipe
- Step-by-Step Instructions for Your Decadent Chocolate Pudding Cake
- Tips for Success When Making Chocolate Pudding Cake
- Serving Suggestions for Your Warm Chocolate Cake
- Storage and Reheating Instructions for Leftover Chocolate Pudding Cake
- Frequently Asked Questions About Chocolate Pudding Cake
- Nutritional Estimates for This Comfort Food Baking Recipe
- Share Your Decadent Chocolate Pudding Cake Creations
Why This Homemade Chocolate Pudding Cake Recipe Works (The Secret to Gooey Perfection)
I get asked all the time how this turns into two distinct layers without me adding pudding mix! It’s all about the technique, not shortcuts. This secret is what makes it the best self saucing chocolate dessert you’ll ever try. When we bake, we’re cheating science just a little bit, and it’s glorious! If you ever need a backup chocolate sauce, check out my easy chocolate sauce recipe, but honestly, you won’t need it for this!
The reason this pulls off the trick of being both cake and sauce is the way we layer the ingredients right before they go into the oven. It seems impossible, but trust the process—it’s utterly reliable.
Achieving the Distinct Cake and Pudding Layers in Your Chocolate Pudding Cake
Here’s the magic, plain and simple: The main batter goes into the pan first. That’s the structure of your cake. Then, we sprinkle the packed brown sugar liberally right over the top of that batter. This sugar layer is crucial!
When you carefully pour the measured cup of boiling water over everything, that water sinks right through the batter, dissolving that sugar as it settles at the bottom of the pan. As the cake bakes, the hot water steams and cooks into that glorious, thick, molten pudding layer underneath. Meanwhile, the top part rises beautifully into a light, tender chocolate cake. It’s honestly foolproof if you don’t stir it!
Gathering Ingredients for the Best Chocolate Pudding Cake Recipe
To make the absolute best chocolate pudding cake that’s completely homemade, you need to get your ducks in a row. Since we are making this from scratch pudding cake, we need sharp, clear measurements. There aren’t a huge number of things needed, but every single one matters for that perfect separation!
For the cake base, you’ll whisk together:
- 1 1/2 cups all-purpose flour
- 1 cup granulated sugar
- 1/2 cup unsweetened cocoa powder—make sure it’s the unsweetened kind!
- 1 teaspoon baking soda
- 1/2 teaspoon salt (don’t skip it, it balances the sweetness!)
- 1 cup cold water
- 1 teaspoon vanilla extract
- 1/2 cup vegetable oil
And for the magic sauce layer, you need:
- 1 cup packed brown sugar
- 1 1/2 cups boiling water (Yes, it needs to be boiling!)
Ingredient Substitutions and Expert Tips for Your Chocolate Pudding Cake
I want you to feel totally confident making this gooey delight! My biggest tip is about water temperature: the batter *must* use cold water—that initial temperature contrast helps everything set up properly during baking. Consistency is key here for that fudgy bottom layer.
Now, for a little secret I sometimes do when I’m craving an even deeper chocolate flavor: add about 1/2 teaspoon of instant espresso powder right into your dry mix with the cocoa. You won’t taste coffee, I promise; it just boosts the chocolate intensity magnificently. Keep those ingredients measured out, and you’re ready for the next step!
Step-by-Step Instructions for Your Decadent Chocolate Pudding Cake
Okay, now that you have all your lovely components ready, let’s put this amazing easy chocolate dessert together! Since this recipe moves pretty quickly once you start mixing, make sure your oven is preheated to 350°F (175°C) and your 8×8 inch pan is lightly greased. We want everything smooth right before we start pouring! If you ever need a backup chocolate sauce, by the way, check out my easy chocolate sauce recipe, but honestly, you won’t need it for this!
Mixing the Chocolate Pudding Cake Batter: Avoid Overmixing
First, grab your largest bowl. Whisk the flour, granulated sugar, cocoa powder, baking soda, and salt until they look happy and uniform. Now, add the cold water, the oil, and the vanilla extract. Remember what I always say about baking? Don’t wake up the gluten! Mix this until all the streaks of dry flour disappear, but stop right there. Seriously, stop mixing! Overworking this batter is the fastest way to lose that lovely tender cake texture we are aiming for.
The Crucial Step: Layering the Hot Water for the Chocolate Pudding Cake Sauce
Pour the batter evenly into your prepared pan. It will look thin, but hold steady! Now comes the part everyone always second-guesses: First, sprinkle that cup of packed brown sugar gently and evenly over the top of the batter surface. Then, very slowly and carefully, pour the 1 1/2 cups of boiling water right over that brown sugar layer. Don’t pour it onto one side!
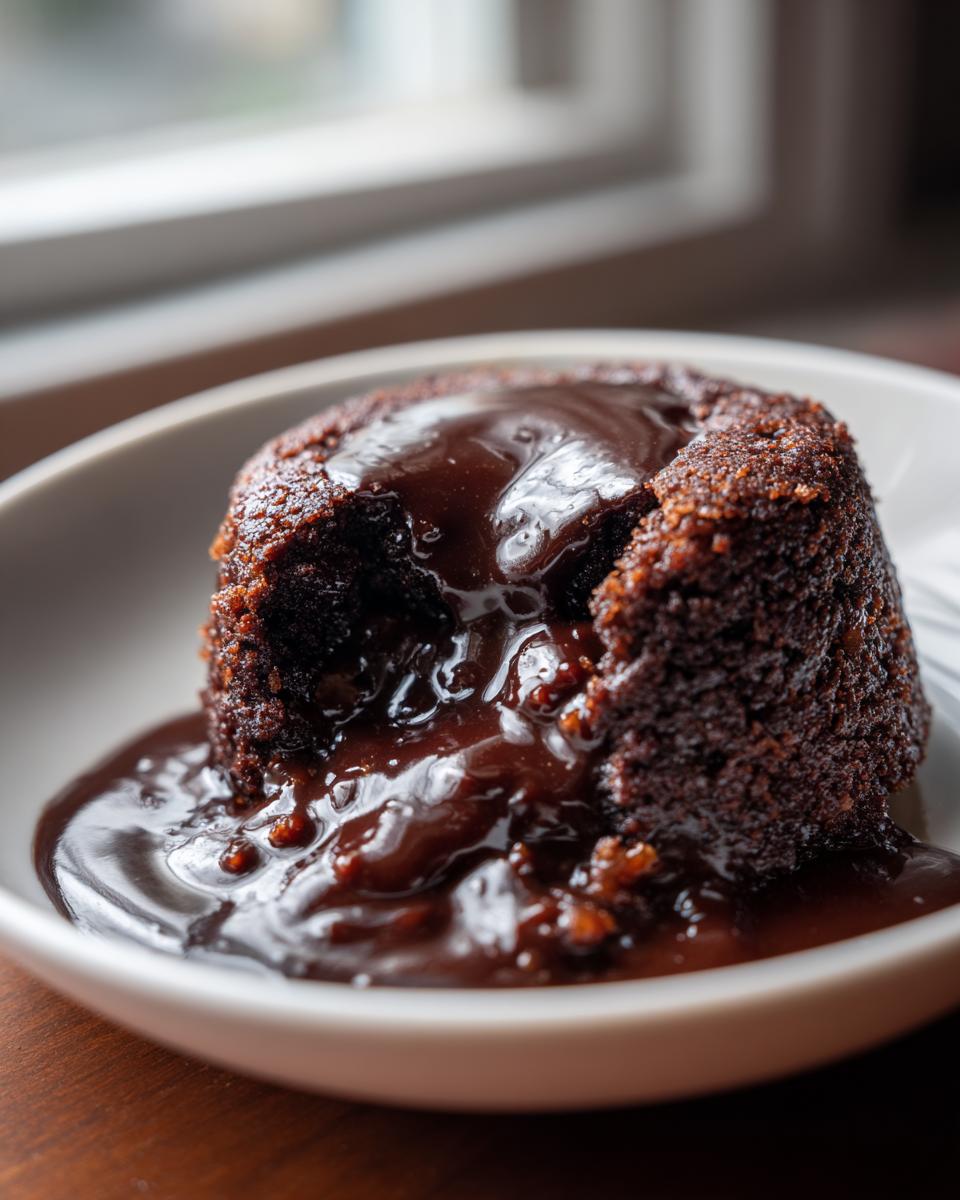
This is the non-negotiable rule for success: DO NOT STIR. The layers have to stay separate. The top cooks into cake, and the bottom turns into that rich, fudgy sauce. Pop it into the oven for 35 to 40 minutes. When it comes out, resist the urge to touch it for five minutes before serving. You earned that warm, gooey perfection!
Tips for Success When Making Chocolate Pudding Cake
Even though this is called an easy chocolate dessert, the magic is in the final moment of assembly, so pay close attention here! If you want that truly spectacular, decadent result we are aiming for—that thick, gooey chocolate cake swimming in sauce—you have to follow the water pouring rule. Don’t stir it, seriously! That’s the number one rookie mistake that leads to a soggy, uniform mess instead of two distinct layers.
Also, make sure your water is actually boiling when you pour it. If it’s lukewarm, it won’t push through the batter correctly to dissolve the bottom brown sugar layer. Trust me, using that high heat right at the start is what creates that instant differentiation between the cake and the sauce underneath. You want it bubbling hot! Don’t sweat it if the top looks a little shaky when you pull it out—it firms up as it rests.
Serving Suggestions for Your Warm Chocolate Cake
This is the moment we’ve waited for, right? You have to serve this warm chocolate cake immediately after that short five-minute cooling break. It’s non-negotiable for that perfect dessert experience! When you scoop it out, make sure you get underneath to make sure you get a good spoonful of that molten pudding sauce along with the fluffy cake piece.
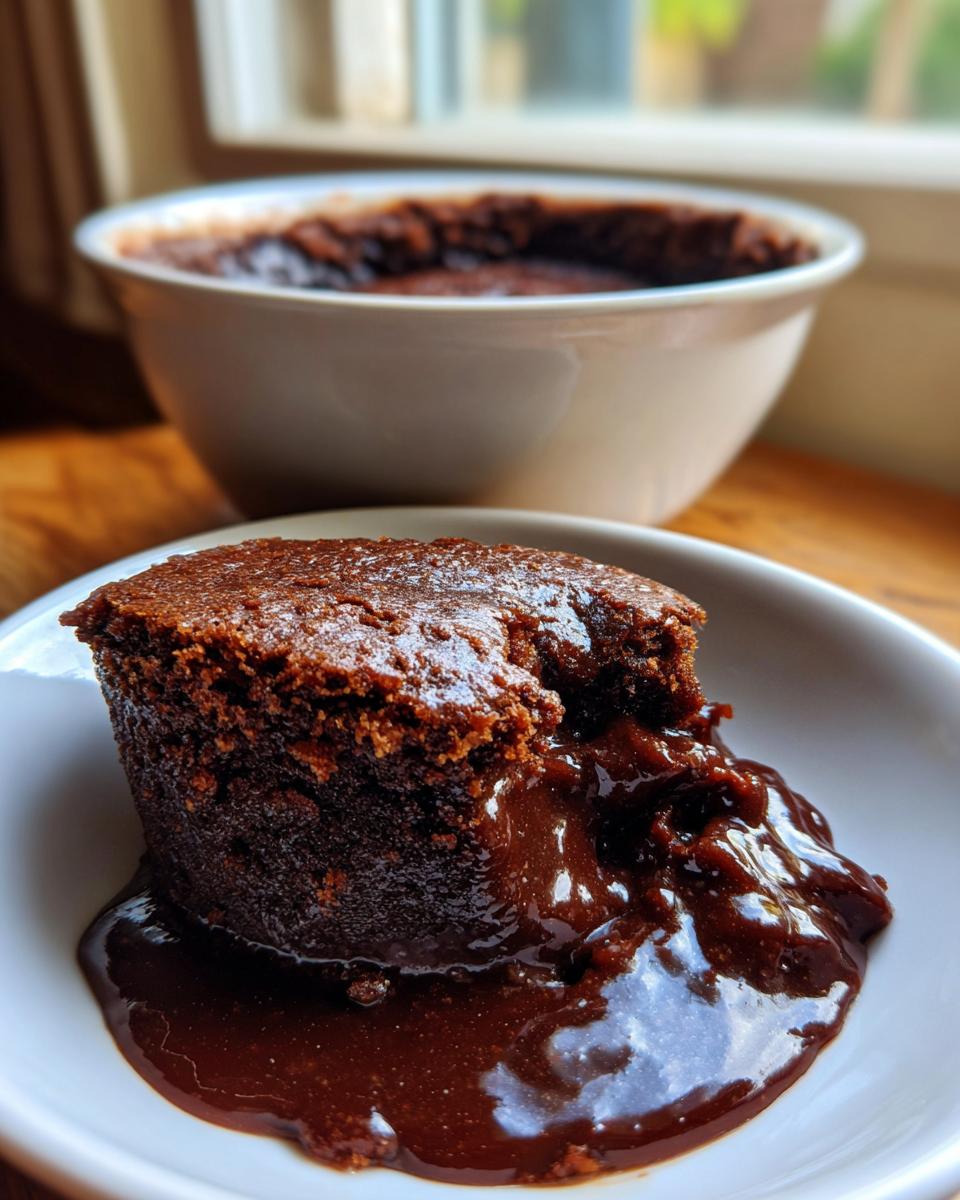
My absolute favorite way to enjoy this decadent dessert is topped with a big, cold scoop of vanilla bean ice cream. The contrast between the warm, rich chocolate and the cold, creamy vanilla is just heavenly. If ice cream isn’t your thing, a dollop of freshly whipped cream works beautifully too. Don’t forget, if you need extra sauce for dipping things like shortbread, check out my easy chocolate sauce recipe on the blog!
Storage and Reheating Instructions for Leftover Chocolate Pudding Cake
Now, you might be lucky and have none left over, but if you do manage to save some of this fudgy chocolate treat, we need to talk about storage. Keep it covered tightly at room temperature for the first day, especially if you plan on eating it quickly. That helps keep the texture softer!
If you have more than a day’s worth, pop it into the fridge. When it’s time for round two—and trust me, you’ll want it—reheating is key. The microwave is your best friend here! Just give it 15 to 20 seconds. That little blast of heat brings that gooey sauce right back to life. If you prefer the oven, a brief 10 minutes at 300°F uncovered works wonders to warm the cake layer without drying it out too much. Serve it extra warm for the best experience!
Frequently Asked Questions About Chocolate Pudding Cake
I know you have questions! When a dessert seems this deceptively simple, it usually means there’s a trick, right? I’ve tried about every variation of this chocolate pudding cake imaginable, so I’m happy to share what I’ve learned to help you get that perfect finish every time. If you want to read more about my favorite tried-and-true recipes, you can always browse the archives here at Cut Cook Taste.
Can I use chocolate pudding mix instead of making this chocolate pudding cake from scratch?
You absolutely could! If you need an ultra-quick hot fudge pudding cake, using a box of pudding mix plus a cake mix hack is super fast storage-wise. However, for the texture difference here? No way! My version creates a true, separate sauce using basic pantry staples and the magic of boiling water. The homemade version is far richer and more decadent, which is what we are aiming for with this fudgy chocolate treat!
How do I ensure the pudding layer is thick and not watery in my chocolate pudding cake?
This is the big one! The watery sauce issue usually comes down to two things, friend. First, you must use boiling water—not just hot tap water—when you pour it over the top. That high heat is necessary to create the pudding consistency at the bottom.
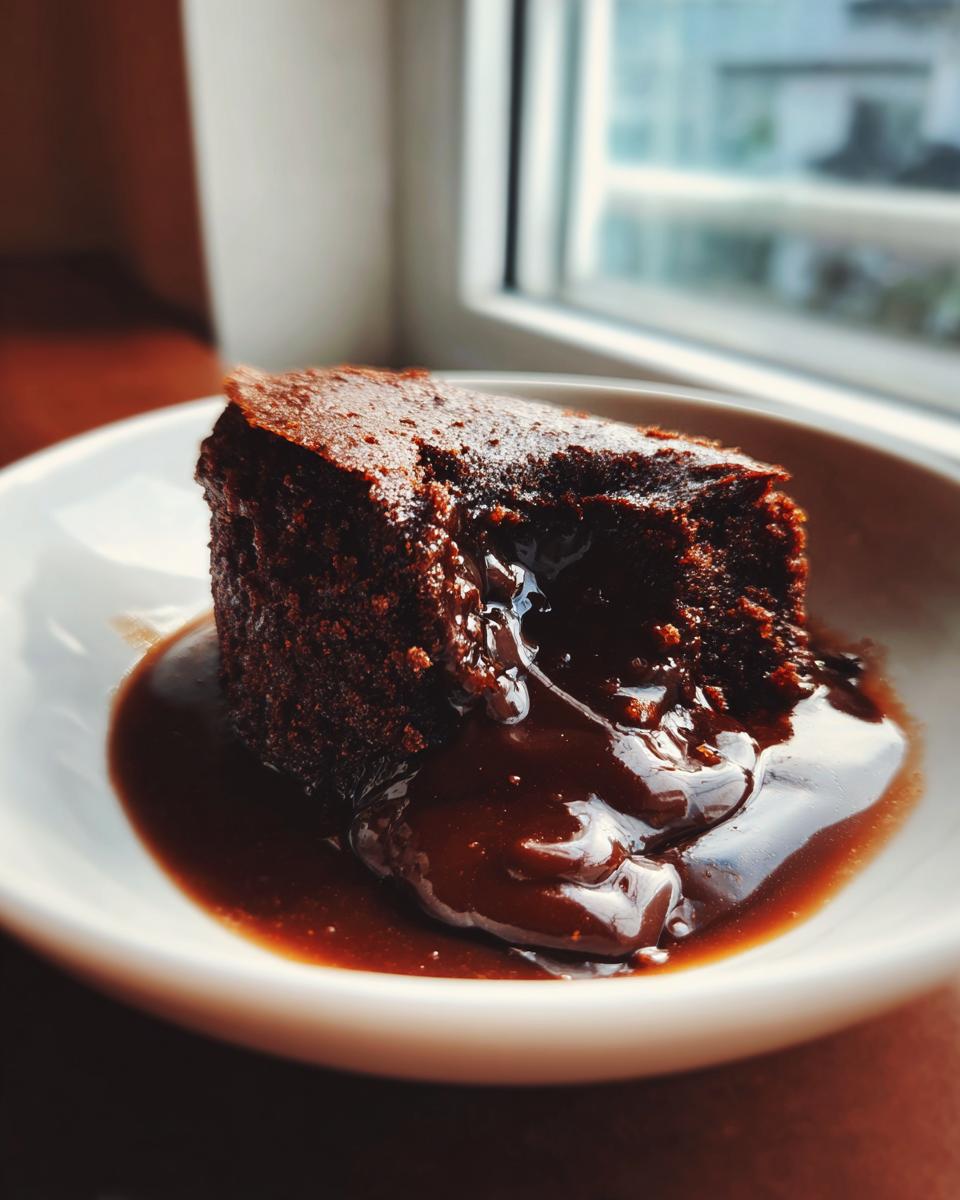
Second, and this is key to keeping that great sauce thick, is that you absolutely cannot stir the layers after pouring the water over the brown sugar. Stirring mixes the cake batter into the water, and you end up with a uniformly wet cake instead of a distinct layer of sauce underneath your excellent gooey chocolate cake!
Nutritional Estimates for This Comfort Food Baking Recipe
Now, while this is pure, wonderful comfort food baking and certainly not an everyday staple, I always like to give a ballpark idea of what you’re diving into! Keep in mind that these numbers are estimates based on the ingredients listed, and they’ll change depending on what you lovingly top it with. I like to think of it as fuel for the soul, not a diet plan, right?
Here’s a general breakdown per serving:
- Calories: 350
- Fat: 15g
- Protein: 4g
- Carbohydrates: 55g
- Sugar: 45g
So, yes, it’s rich! That’s why pairing it with a scoop of homemade ice cream is so satisfying—you’re really going for that full indulgence! Enjoy every calculated bite!
Share Your Decadent Chocolate Pudding Cake Creations
I poured my heart into making sure this chocolate pudding cake recipe is foolproof and gives you that ultimate, warm, gooey chocolate hug. Now, it’s your turn! I truly love seeing your gorgeous bakes—it reminds me of standing on that stool next to my grandmother, sharing our kitchen secrets.
When you make this decadent treat, please come back and let me know how it went! Did you serve it with your favorite ice cream? Did the sauce come out perfectly molten? Leaving a star rating and a quick comment helps other home bakers feel confident enough to try this wonderful dessert, and that community trust is everything to me.
It means the world to me when you share your results, whether you use the basic recipe or a fun variation you cooked up on your own. If you have any questions, or just want to say hello and tell me about your week, don’t hesitate to reach out through my contact page. Happy baking, and I can’t wait to hear about your perfect, fudgy indulgence!
PrintDecadent Homemade Self-Saucing Chocolate Pudding Cake
Make this rich, gooey chocolate pudding cake from scratch. It creates a distinct cake layer over a warm, molten pudding sauce when baked, perfect for serving warm.
- Prep Time: 10 min
- Cook Time: 40 min
- Total Time: 50 min
- Yield: 6 servings 1x
- Category: Dessert
- Method: Baking
- Cuisine: American
- Diet: Vegetarian
Ingredients
- 1 1/2 cups all-purpose flour
- 1 cup granulated sugar
- 1/2 cup unsweetened cocoa powder
- 1 teaspoon baking soda
- 1/2 teaspoon salt
- 1 cup cold water
- 1 teaspoon vanilla extract
- 1/2 cup vegetable oil
- 1 cup packed brown sugar
- 1 1/2 cups boiling water
Instructions
- Preheat your oven to 350°F (175°C). Lightly grease an 8×8 inch baking pan.
- In a large bowl, whisk together the flour, granulated sugar, cocoa powder, baking soda, and salt.
- Add the cold water, vanilla extract, and vegetable oil to the dry ingredients. Mix until just combined. Do not overmix.
- Pour the batter evenly into the prepared baking pan.
- In a separate bowl, sprinkle the brown sugar over the batter surface.
- Carefully pour the 1 1/2 cups of boiling water over the brown sugar layer. Do not stir.
- Bake for 35 to 40 minutes. The top will look like cake, and the bottom will form the pudding sauce.
- Remove from the oven and let it cool for 5 minutes before serving.
Notes
- Serve this warm dessert immediately with a scoop of vanilla ice cream or whipped cream for the best experience.
- This recipe is a great alternative to complicated meal planning when you need a quick, comforting dessert.
- For a slight flavor variation, add 1/2 teaspoon of instant espresso powder to the dry ingredients.
Nutrition
- Serving Size: 1 serving
- Calories: 350
- Sugar: 45g
- Sodium: 250mg
- Fat: 15g
- Saturated Fat: 3g
- Unsaturated Fat: 12g
- Trans Fat: 0g
- Carbohydrates: 55g
- Fiber: 3g
- Protein: 4g
- Cholesterol: 0mg