
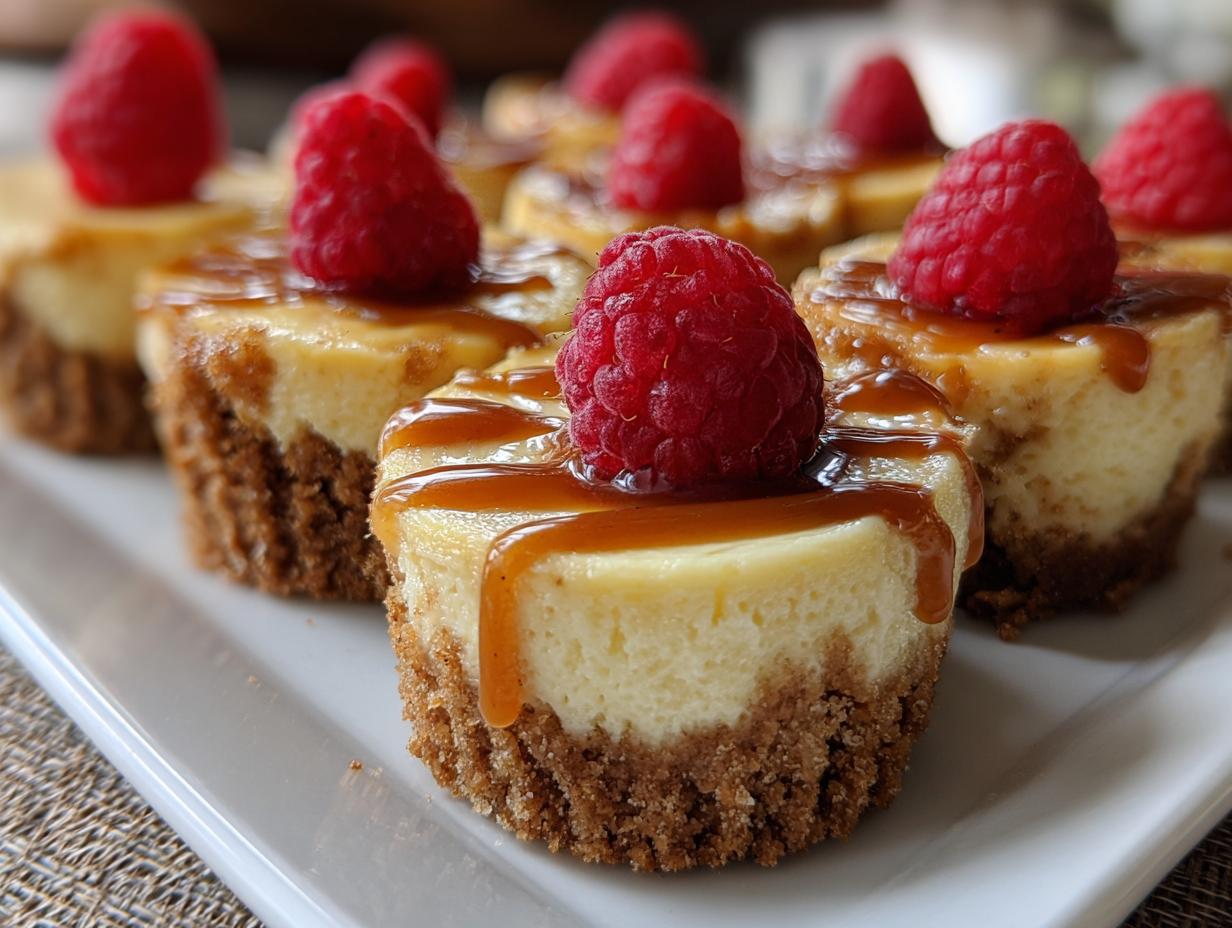

Do you ever get that intense, sudden craving for something rich and decadent but absolutely do not want to commit to baking a giant, fussy cheesecake? Trust me, I live for those moments! That’s why these easy baked mini cheesecake bites are my absolute go-to solution for satisfying those sweet cravings instantly. They give you all that gorgeous New York style richness you dream about, but in perfect, single-serving portions. Baking them in a muffin tin is just genius, making portion control a breeze for gatherings or just a solo weekend treat. I’m Sarah, by the way—and if you’ve been here a while, you know I love taking those classic desserts that feel too complicated and showing you just how accessible they are right here in your own kitchen, using simple ingredients! If you love this kind of approachable baking, you should also check out my recipe for German Chocolate Cheesecake when you’re ready for a full-size indulgence.
- Why You Will Love This Easy Baked mini cheesecake Recipe
- The Perfect Graham Cracker Crust for Your mini cheesecake
- Creating the Creamy Filling for Your Individual Cheesecake Recipe
- Step-by-Step Instructions for Baking Muffin Tin Cheesecakes
- Essential Cooling and Chilling for the Best mini cheesecake Results
- Cheesecake Topping Ideas for Your Party Desserts Small
- Making New York Style mini cheesecake Variations
- Storage and Make-Ahead Tips for Your mini cheesecake
- Frequently Asked Questions About This Quick Cheesecake Recipe
Why You Will Love This Easy Baked mini cheesecake Recipe
Seriously, what’s not to adore about these little bites? They check every single box for a perfect party dessert or an anytime sweet treat.
- They’re perfectly portioned, so you get that amazing cheesecake flavor without any stress. These are true creamy dessert portions!
- Using the standard muffin tin makes everything so simple—it’s the best way to make bite sized desserts.
- The texture is ultra-creamy, thanks to the sour cream lifting the richness of the cream cheese.
- They come together incredibly fast, which is why I call them my go-to quick cheesecake recipe.
The Perfect Graham Cracker Crust for Your mini cheesecake
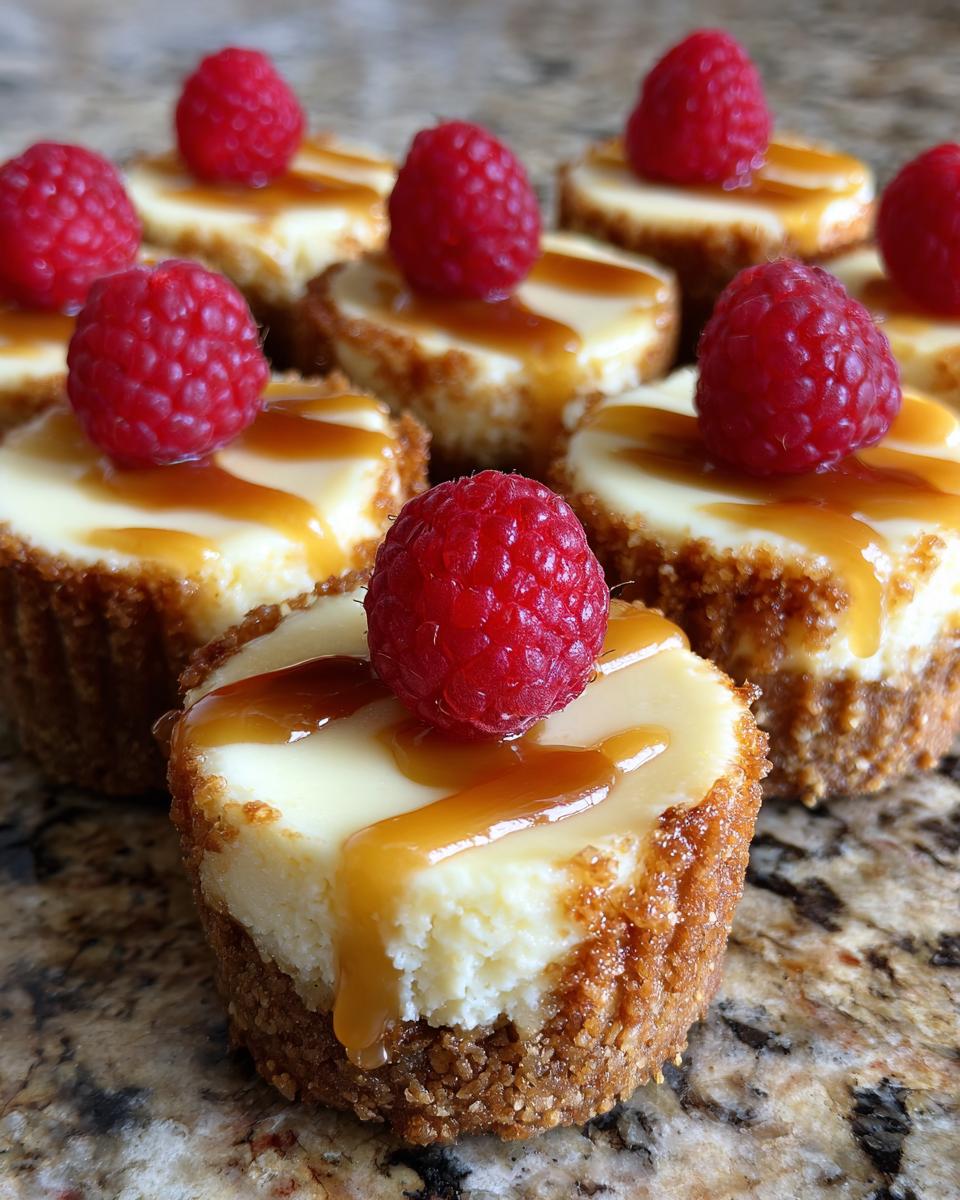
The base is everything, right? For these little gorgeous creations, we need a crust that can stand up to that super creamy filling. If you under-press or skip the quick bake, you end up with crumbly messes, and nobody has time for that! We are aiming for sturdy, buttery perfection here, the foundation of all great Graham Cracker Crust Desserts.
We just mix the crumbs and sugar with melted butter—that’s it! Then, you have to be firm when you press it into those muffin liners. Use the back of a spoon or even just your thumb and really pack it down. This step sets the stage! After that pre-bake for just five minutes, the crust is locked in place and totally ready for the filling.
Ingredient Clarity for the Graham Cracker Crust
Don’t eyeball this part; the right measurements give you the perfect ratio of crumb to butter. You’ll need exactly 1 1/2 cups of graham cracker crumbs—don’t skimp! Mix that with 1/4 cup of granulated sugar. The binder is crucial: 6 tablespoons of unsalted butter, completely melted. When you pour that warm butter over the crumbs, everything should hold together almost immediately when you squeeze a bit.
Creating the Creamy Filling for Your Individual Cheesecake Recipe
Okay, we’ve got the crust ready, now for the star of the show! This is where we make those glorious, rich, creamy dessert portions that hit the spot every single time. The secret here isn’t just the ingredients, although they are top-notch; it’s how you treat them! My biggest piece of advice, and something I learned watching my grandma whisk furiously, is patience with the temperature.
Your cream cheese absolutely *must* be soft—let it sit on the counter for a good hour after pulling it out of the fridge. Lumps are the enemy of smooth mini cheesecake batter. Once that’s smooth, add your sugar, sour cream, and vanilla. Mix it until it’s just combined. Here’s the critical part: the eggs. You add them one by one, and I mean *one by one*, mixing only until that yolk disappears. Stop as soon as it’s incorporated!
Tips for Achieving Smooth mini cheesecake Batter
We are trying to gently fold air in, not whip it into a frenzy. Over-beating that final batter is exactly how you get those annoying little cracks when they cool down. If the cream cheese itself is room temperature, you won’t need high speed mixing to get it silken smooth at the start—just make sure you scrape down the bowl so every bit of that rich filling comes together perfectly.
When you add the eggs slowly, you prevent the mixture from curdling or becoming too airy, which keeps these little cakes wonderfully dense and creamy when they finally chill up.
Step-by-Step Instructions for Baking Muffin Tin Cheesecakes
Now that our filling is smooth and our crusts are set from that little quick bake, it’s time for the main event! We’re turning standard paper liners into gorgeous little individual cheesecake portions. Remember, these are going into a hot oven, so make sure you’ve got your 325°F temperature dialed in, okay? Line up those papers in your 12-cup tin—this makes cleanup a dream, which is why I love teaching this Muffin Tin Cheesecakes method!
After you spoon the batter evenly over those cooled crusts, you bake them until they just barely have a wobble in the very center. This usually takes around 18 to 20 minutes, but watch them closely; they bake fast because they’re so small! The real secret, the one that stops them from cracking and keeps them tasting like they came from a fancy bakery, happens right after they come out.
Don’t just pull them straight out to the counter—that temperature shock is brutal! Instead, turn your oven *off*. Seriously, flip the switch off. Then, crack the door open just a smidge, maybe stick a wooden spoon in the joint to keep it propped. Let them sit in that safely warm, gradually cooling environment for a solid 30 minutes. This slow, gentle transition is what guarantees you those perfectly smooth tops we are aiming for!
Essential Cooling and Chilling for the Best mini cheesecake Results
Okay, we baked them, which feels like the hard part, right? Nope! If you want those gorgeous, dense, creamy results, the cooling process is just as important as the mixing! Remember how I told you to turn the oven off and prop the door open for 30 minutes? That slow cool-down is our first defense against sad, cracked tops. That immediate heat change is a shock to the little cakes, and they actually deflate or split when surprised like that.
Once that 30 minutes is up, you need to pull the muffin tin out and let them finish cooling to room temperature on a wire rack. Why the rack? Air circulation! If they sit directly on the counter, the bottoms stay too hot for too long and trap moisture, which can make the crust soggy. We want crisp bottoms and creamy tops!
But listen up, because this is the step people always want to rush: Chilling. You absolutely cannot serve these right away. They will be soft, mushy, and frankly, disappointing. These aren’t simple cookies; they are true cheesecake, and cheesecake needs time to set its structure. I know it’s torture, but you need a minimum of four hours in the refrigerator.
When they chill, all those beautiful dairy fats firm up, and that’s what gives you that fantastic mouthfeel—that satisfying texture you get from a slice of proper New York style cheesecake, just in a handy little package. If you are getting ready for a big gathering, give them overnight. You won’t regret the extra patience! When you’re getting ready for a party, being organized ahead of time is key, and these are perfect because they make such wonderful holiday mini desserts!
Cheesecake Topping Ideas for Your Party Desserts Small
This is where we get playful! Even though these mini cheesecake bites are incredible all on their own—seriously, that simple graham cracker crust and creamy center is divine—the topping is what makes them perfect for any party theme. They are the ideal canvas for turning a simple sweet treat into something gourmet, making them fantastic party desserts small that guests will snatch up!
The recipe already calls for fresh berries or a drizzle of salted caramel sauce, which are both guaranteed winners. Caramel is so popular right now; if you want to save yourself time, go find a really nice store-bought one or try making my easy chocolate sauce recipe and just swap out the cocoa for some brown sugar!
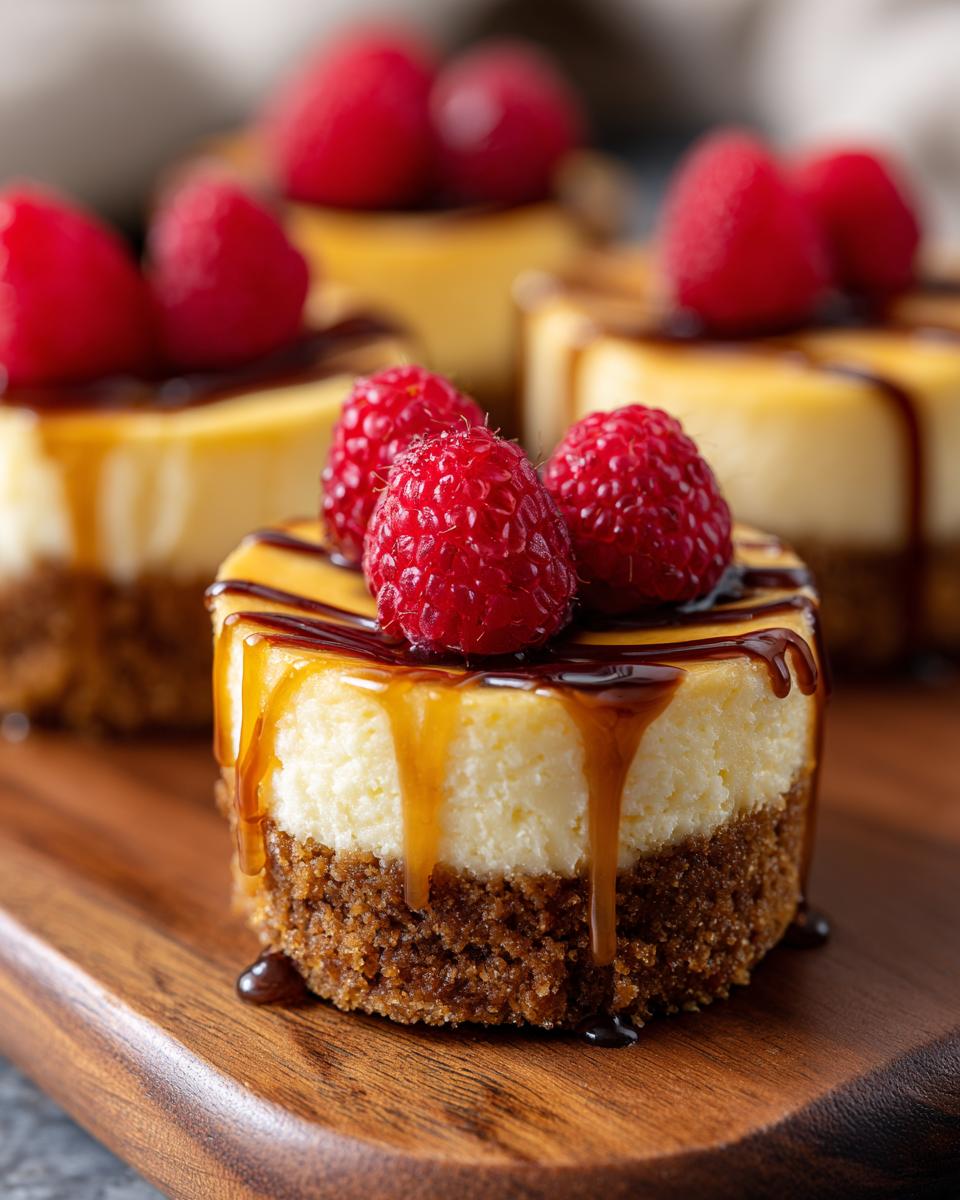
But if you want to wow the crowd, try one of these quick additions:
- A Dollop of Lemon Curd: The tartness cuts through the richness of the cream cheese beautifully. It takes about two minutes to spoon on top, and it instantly feels elegant.
- Chocolate Ganache Drizzle: Melt down some good quality chocolate chips with a splash of heavy cream until smooth. When it sets a little, it looks professional!
- A Nuts & Honey Finish: Toast some pecans or walnuts lightly until they smell amazing, then drizzle just a tiny bit of honey over the top right before serving. This adds necessary crunch!
Remember, because these are individual portions, presentation is key. A tiny garnish goes a long way for these wonderful cheesecake bites!
Making New York Style mini cheesecake Variations
We have a fantastic classic base recipe here, but if you’re anything like me, you love taking a great thing and tweaking it just slightly to make it *yours*. If your heart is set on that dense, slightly tangy, super luxurious finish we usually associate with true New York Style mini cheesecakes, it’s really easy to lean the flavor in that direction!
The main difference between a standard cheesecake and a New York style one usually comes down to a touch more fat and a bit more acidity. In our recipe, we used sour cream, which is great, but if you want that authentic deep tang, try swapping out the sour cream entirely for heavy cream. It adds a little richness that mimics that classic profile beautifully, making the filling feel even silkier!
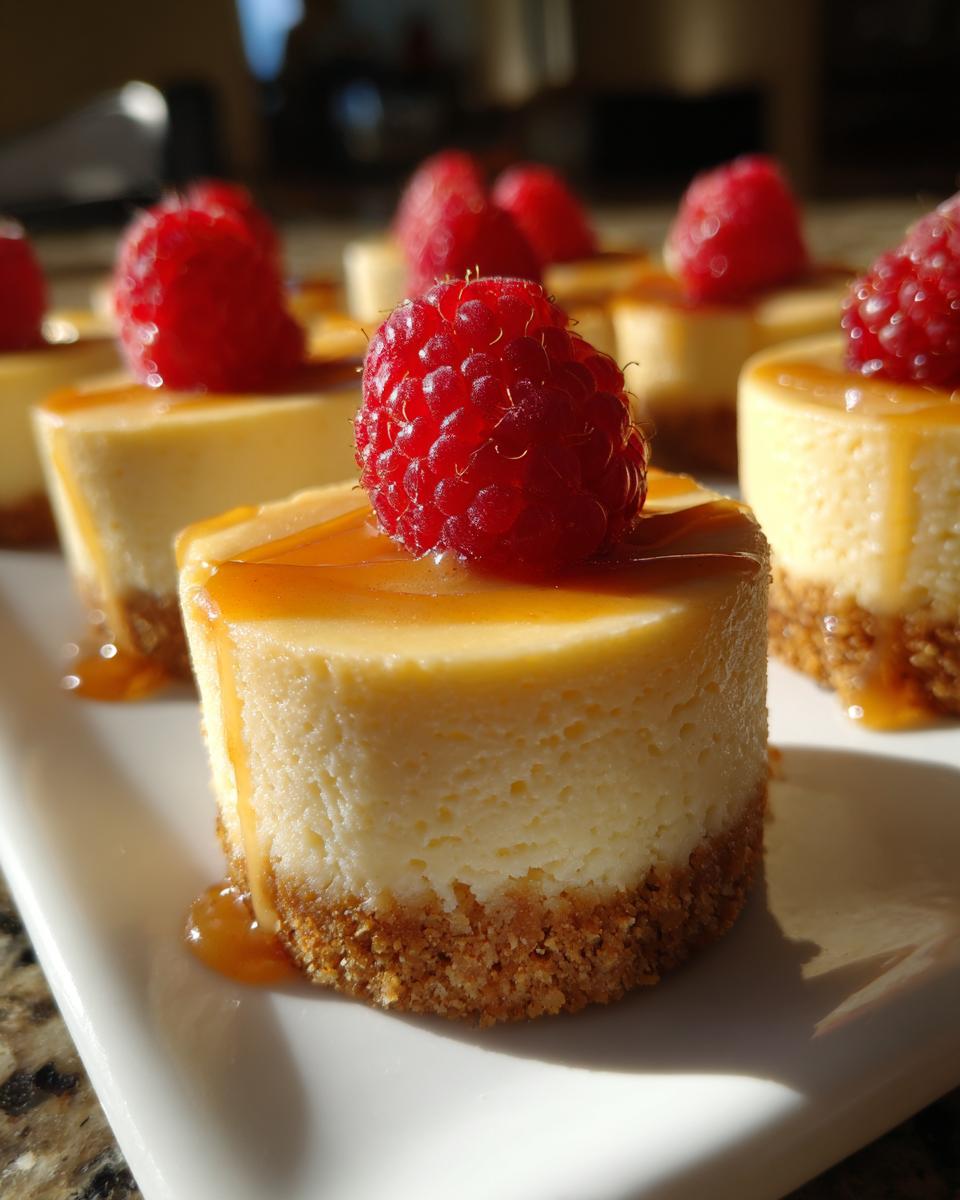
Another simple trick I picked up years ago when I was trying to perfect my big springform pan version is adding a little extra citrus. Don’t grab the whole lemon, though! That can curdle things fast! Instead, take about a teaspoon of fresh lemon zest and mix it right in with your vanilla extract and sugar.
The zest wakes up all those creamy flavors and brightens the whole dessert, creating those wonderful gourmet bite-sized sweets that taste like they came from a fancy pastry shop. Remember, these are the same wonderful little cakes that are wonderful for sharing, but now we’ve given them a sophisticated New York edge!
Storage and Make-Ahead Tips for Your mini cheesecake
This is, hands down, one of the best things about making these mini cheesecake bites: they absolutely thrive on making them ahead of time! You don’t have to stress about baking them the day of your big party or gathering. In fact, they taste better after they’ve had a long, cold nap in the fridge. Since they are perfect holiday mini desserts, you can whip up a batch and tuck them away.
For the fridge, they stay delicious and perfectly structured for about five days when stored airtight. If you need to prep for something weeks out, pop them in the freezer! They freeze really well—for up to about a month. Make sure they are completely cool and set before you freeze them, maybe even just chilling them until firm initially helps protect them.
If you do freeze them, the thawing process is super easy, which is key when you’re suddenly planning an event. Just move them directly from the freezer into the refrigerator and let them thaw slowly overnight. By morning, they’ll be ready to top and serve without losing that classic creaminess!
Frequently Asked Questions About This Quick Cheesecake Recipe
It’s completely normal to have questions when trying a new recipe, especially one that turns out so delicious! I pulled together the common things folks ask me after they make these simple sweet treats. Hopefully, these help you feel totally confident before you bake!
Can I skip the baking step and make a No Bake Mini Cheesecake version?
That’s a great question, especially if the afternoon is scorching hot! Since this recipe relies on those eggs and the gentle warming in the oven to set the cream cheese filling into that perfect structure, you really need to bake these ones. The easy cheesecake bites that come from this particular method are wonderfully creamy precisely because of that short bake time. If you are really set on no-bake, you’ll need to look for a recipe specifically designed for that, usually relying on gelatin or a different stabilizer to set up in the fridge!
What is the best way to remove the mini cheesecakes from the liners?
This is where patience really pays off again! Getting them out cleanly is crucial for presenting these gorgeous party desserts small. If you try to peel the paper right when they are warm, they tear every time. Seriously, don’t do it!
The absolute best tip is to make sure they are completely chilled—at least four hours, like I stressed before, but colder and firmer is even better. Once they are thoroughly chilled, the paper liner usually peels away surprisingly easily. If you have a sneaky one that sticks, just grab a small offset spatula or even a butter knife and gently work it between the paper and the cheesecake bottom. They pop right out then, looking picture-perfect!
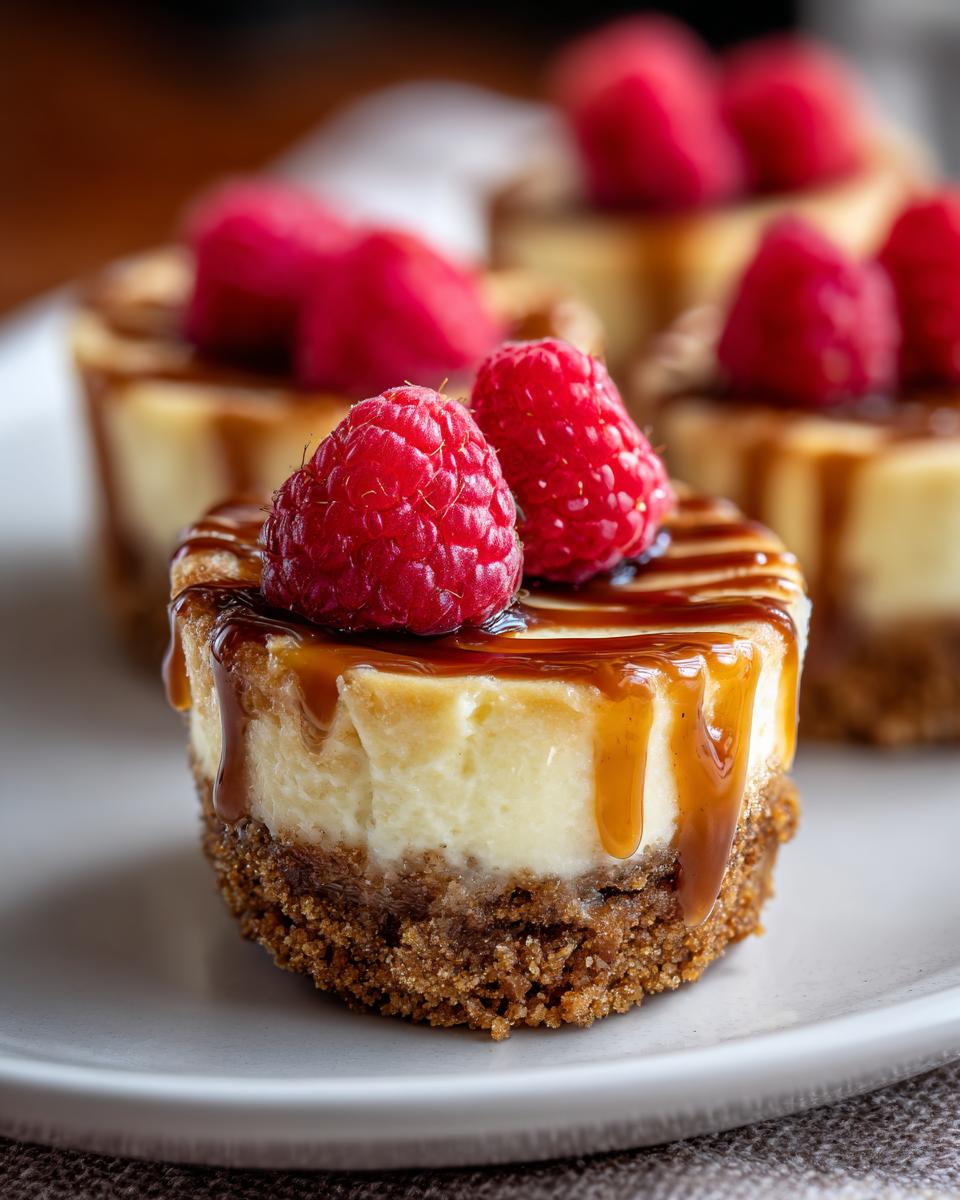
Also, I’ve noted in the recipe that you can use crushed vanilla wafers instead of graham crackers, which is a fun swap if you want those gourmet bite sized sweets to taste a little different!
PrintEasy Baked Mini Cheesecakes with Graham Cracker Crust
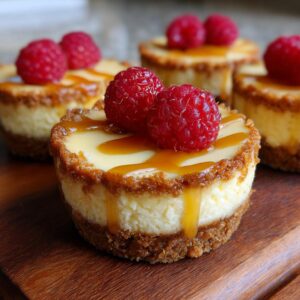
Make rich, creamy, bite-sized cheesecakes using a standard muffin tin. This simple recipe is perfect for parties or satisfying a sweet craving without baking a full dessert.
- Prep Time: 20 min
- Cook Time: 20 min
- Total Time: 4 hours 40 min
- Yield: 12 servings 1x
- Category: Dessert
- Method: Baking
- Cuisine: American
- Diet: Vegetarian
Ingredients
- 1 1/2 cups graham cracker crumbs
- 1/4 cup granulated sugar
- 6 tablespoons unsalted butter, melted
- 2 (8 ounce) packages cream cheese, softened
- 1/2 cup granulated sugar
- 1/4 cup sour cream
- 1 teaspoon vanilla extract
- 2 large eggs
- Optional toppings: fresh berries, salted caramel sauce
Instructions
- Preheat your oven to 325°F (160°C). Line a 12-cup muffin tin with paper liners.
- Prepare the crust: Mix the graham cracker crumbs, 1/4 cup sugar, and melted butter in a bowl until combined.
- Press about 1 1/2 tablespoons of the crumb mixture firmly into the bottom of each muffin liner. Bake the crusts for 5 minutes. Remove from the oven and let cool slightly.
- Prepare the filling: In a large bowl, beat the softened cream cheese with an electric mixer until smooth. Add the 1/2 cup sugar, sour cream, and vanilla extract. Beat until just combined.
- Add the eggs one at a time, mixing on low speed after each addition until incorporated. Do not overmix the batter.
- Spoon the cheesecake batter evenly over the cooled crusts, filling each liner about three-quarters full.
- Bake for 18 to 20 minutes, or until the edges are set but the centers still jiggle slightly.
- Turn off the oven, crack the oven door open slightly, and let the cheesecakes cool inside the oven for 30 minutes. This prevents cracking.
- Remove the cheesecakes from the oven and let them cool completely on a wire rack.
- Chill the mini cheesecakes in the refrigerator for at least 4 hours, or preferably overnight, before serving.
- Top with your choice of berries or salted caramel sauce before serving.
Notes
- For the creamiest texture, make sure your cream cheese and eggs are at room temperature before mixing.
- If you are planning ahead for a gathering, these freeze well for up to one month. Thaw them overnight in the refrigerator.
- If you are looking for alternatives to graham crackers, try using crushed vanilla wafers or Oreo cookies for a different crust flavor.
- Consider these simple sweet treats as a great option when looking at meal planning for easy desserts.
Nutrition
- Serving Size: 1 cheesecake
- Calories: 250
- Sugar: 18
- Sodium: 150
- Fat: 17
- Saturated Fat: 10
- Unsaturated Fat: 7
- Trans Fat: 0.5
- Carbohydrates: 20
- Fiber: 1
- Protein: 5
- Cholesterol: 65