
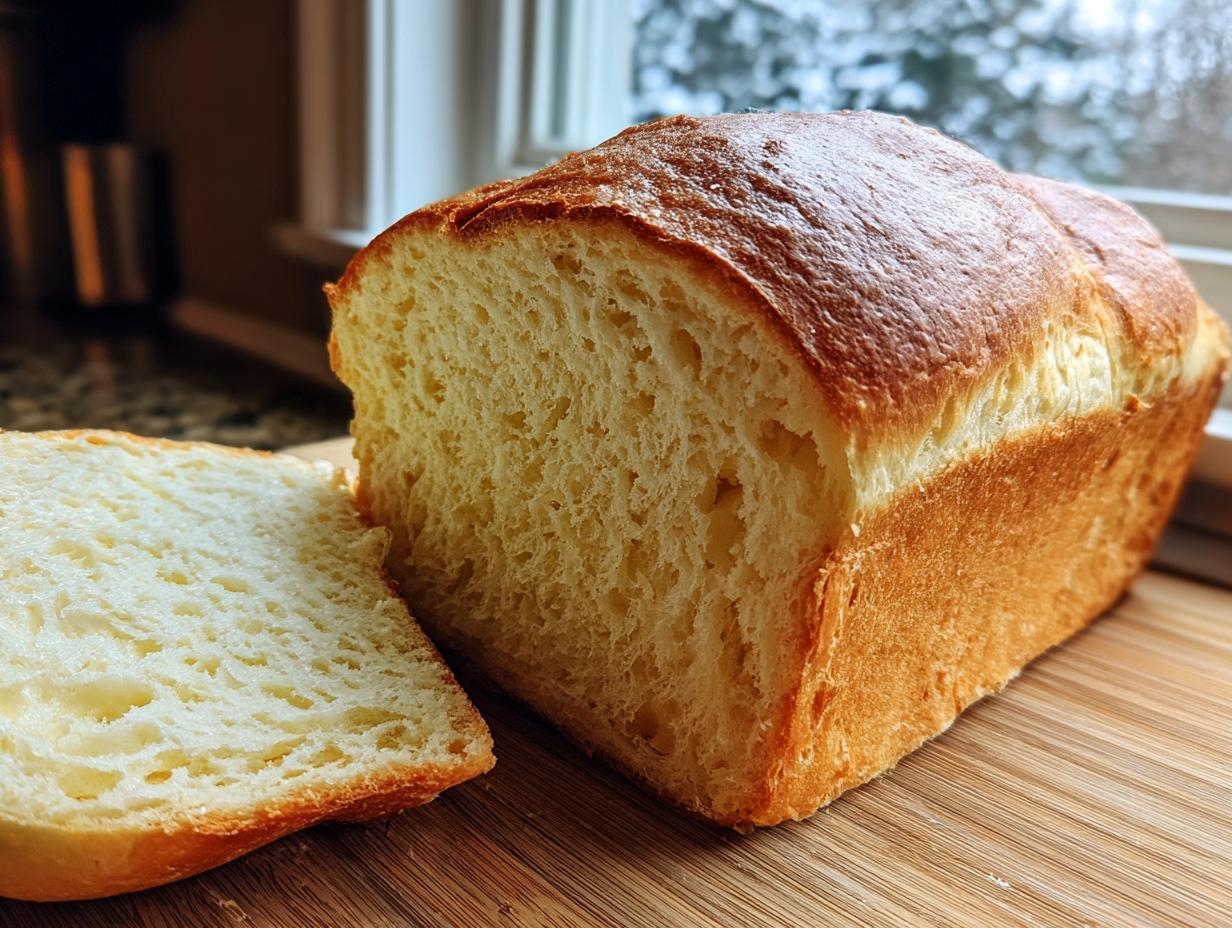

Oh my goodness, do I have a treat for you today! If you’ve ever walked into a bakery and wondered how they get bread that soft—like, clouds you can actually eat—I’m about to let you in on the secret. Forget intimidating techniques; this is hands-down the easiest, softest milk bread recipe you will ever bake, and it’s designed perfectly for my beginner bakers. For me, making comforting classics that use simple ingredients and turn into something truly special, like this perfect loaf bread, is why I cook. I promise, once you pull this golden loaf out of the oven, you’ll be hooked on making fluffy homemade bread every weekend!
- Why This Soft Milk Bread Recipe Delivers Bakery-Style Results
- Gathering Ingredients for Your Easy Milk Bread Loaf
- Step-by-Step Instructions for Perfect Milk Bread
- Tips for Success: Mastering the Milk Bread Technique
- Serving Suggestions for Your Homemade Loaf Bread
- Storage and Reheating Instructions for Soft Milk Bread
- Frequently Asked Questions About Making Milk Bread
- Nutritional Information for Your Homemade Milk Bread Loaf
- Share Your Fluffy Milk Bread Creations
Why This Soft Milk Bread Recipe Delivers Bakery-Style Results
I have tested enough recipes over the years to know what works and what just makes a sad, dense loaf, and this recipe is a winner! When people ask me what makes this the soft milk bread recipe they need to save, I point straight to the texture. It’s seriously next-level soft, giving you that signature fluffy homemade bread that looks like it came right out of a professional bakery.
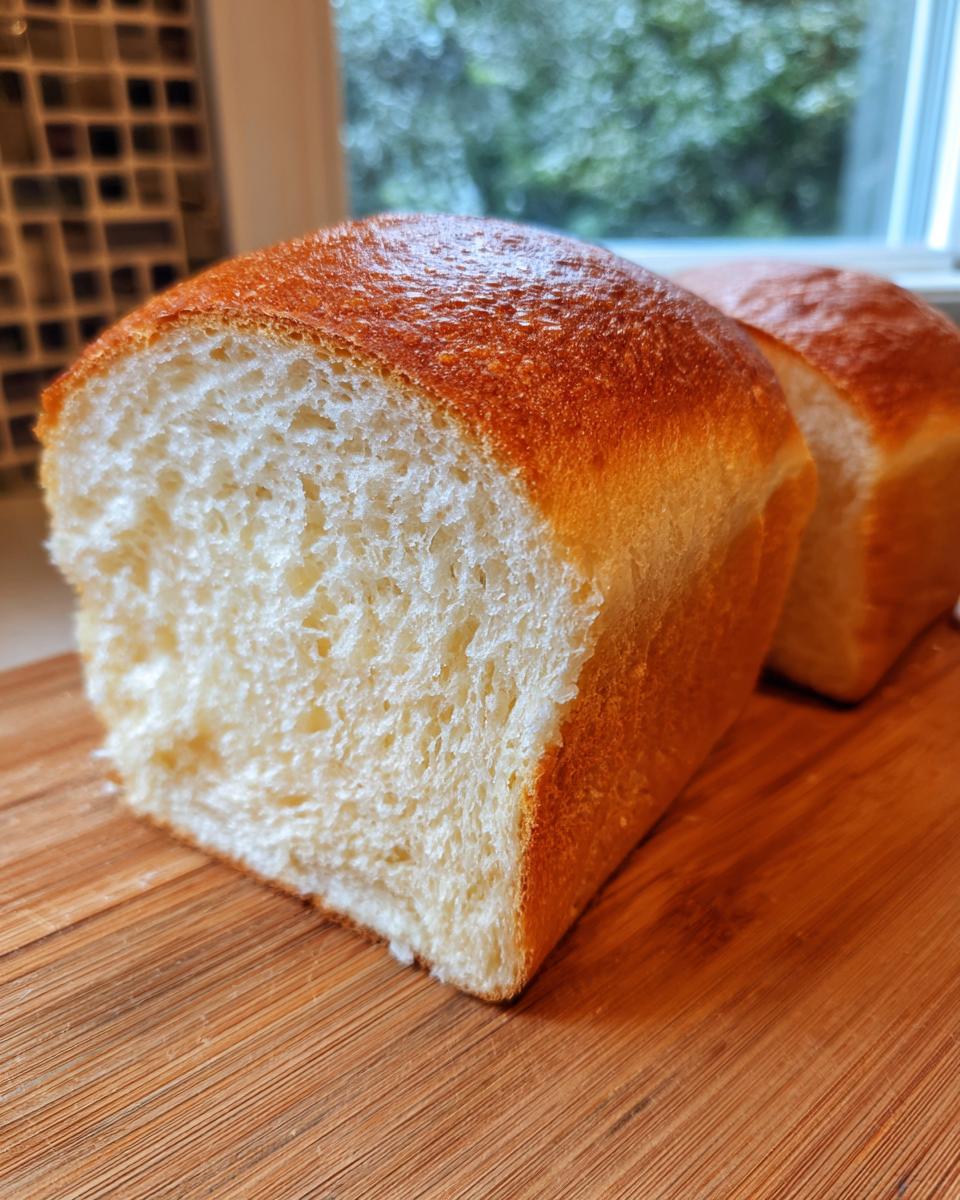
It’s so versatile, too. It’s the best milk bread for sandwiches because it’s tender but sturdy enough to hold fillings without falling apart. It’s just as good served warm with butter as those homemade breadsticks I shared last month! Who needs store-bought when you can have this amazing loaf?
Texture Goals: Achieving Fluffy Homemade Bread
The secret sauce for that melt-in-your-mouth crumb isn’t some complicated pre-cooking step. Nope! We achieve that incredible, tender texture through a couple of key things: using milk powder, which adds richness, and making sure you knead for the full amount of time until the dough is super smooth and elastic, almost like silk. While you might see recipes talking about the Yudane technique, my direct method here gives you nearly the same amazing softness! You just need to put the time into kneading; don’t rush that part, and you’ll be rewarded.
Gathering Ingredients for Your Easy Milk Bread Loaf
Okay, let’s talk ingredients! One of the best parts about this whole process is that you don’t need any fancy specialty store items to make this easy milk bread loaf. Seriously, most of this is probably waiting in your pantry right now. Baking bread shouldn’t be stressful, and knowing you can whip up something this amazing with basic staples makes me so happy!
Ingredient List and Clarity
Here is exactly what you need to gather before we start mixing. Measure everything out first—that’s my golden rule for stress-free baking!
- 1 cup whole milk, warmed slightly
- 2 tablespoons granulated sugar
- 2 1/4 teaspoons active dry yeast
- 3 cups bread flour
- 1/4 cup whole milk powder
- 1 teaspoon salt
- 1 large egg
- 3 tablespoons unsalted butter, softened
- 1 egg yolk (for egg wash)
- 1 tablespoon water (for egg wash)
Ingredient Notes and Substitutions for Milk Bread
A quick note on the milk powder—don’t skip it if you can help it! It adds that extra richness that keeps the crumb so incredibly tender, leaning toward that bakery style bread at home we are aiming for. If you absolutely must leave it out, the bread will still be great, just slightly less decadent.
If you really crave a burst of extra sweetness, you can borrow a tip from the condensed milk bread sweet recipes floating around. Try swapping one tablespoon of the granulated sugar for a tablespoon of honey, or just a tiny splash of vanilla bean paste when you mix the wet ingredients.
Step-by-Step Instructions for Perfect Milk Bread
I know baking can feel like a timed experiment, but don’t let that scare you off! We are going to take this process slow and steady so you can achieve that wonderfully soft milk bread right in your own kitchen. Pay close attention to the waiting periods, because they are just as important as the mixing!
Activating Yeast and Mixing the Milk Bread Dough
First things first: we wake up the yeast. Combine your warmed milk (make sure it’s just warm to the touch, not hot!) with the sugar and the yeast, and just let that pretty foam develop for about 5 to 10 minutes. That tells us the yeast is alive and ready to work its magic. While that’s happening, whisk your flour, milk powder, and salt together in your big bowl.
Next, pour in that bubbly yeast mixture and the whole egg. Mix until it’s just a shaggy dough. Now, here’s your Sarah tip: before you even think about bringing out the butter, let that shaggy mess sit for about five minutes. Trust me on this! It gives the flour time to fully drink up all the liquid, and I find this makes the final kneading process so much smoother and less messy.
Kneading and First Rise for Tender Milk Bread
Now it’s time for the butter—make sure it’s nice and soft. Add it to the dough and start kneading, either by hand for about 10 minutes or with your stand mixer for 8 to 10 minutes. You are looking for a dough that is smooth, elastic, and soft—it should feel gentle! Once it passes the windowpane test (you can stretch a small piece thin enough to let light through without tearing easily), put it in an oiled bowl, cover it up, and let it have a long nap for about an hour to an hour and a half. We want it doubled in size for that beautifully fluffy homemade bread texture.
Shaping and Second Proofing the Milk Bread Loaf
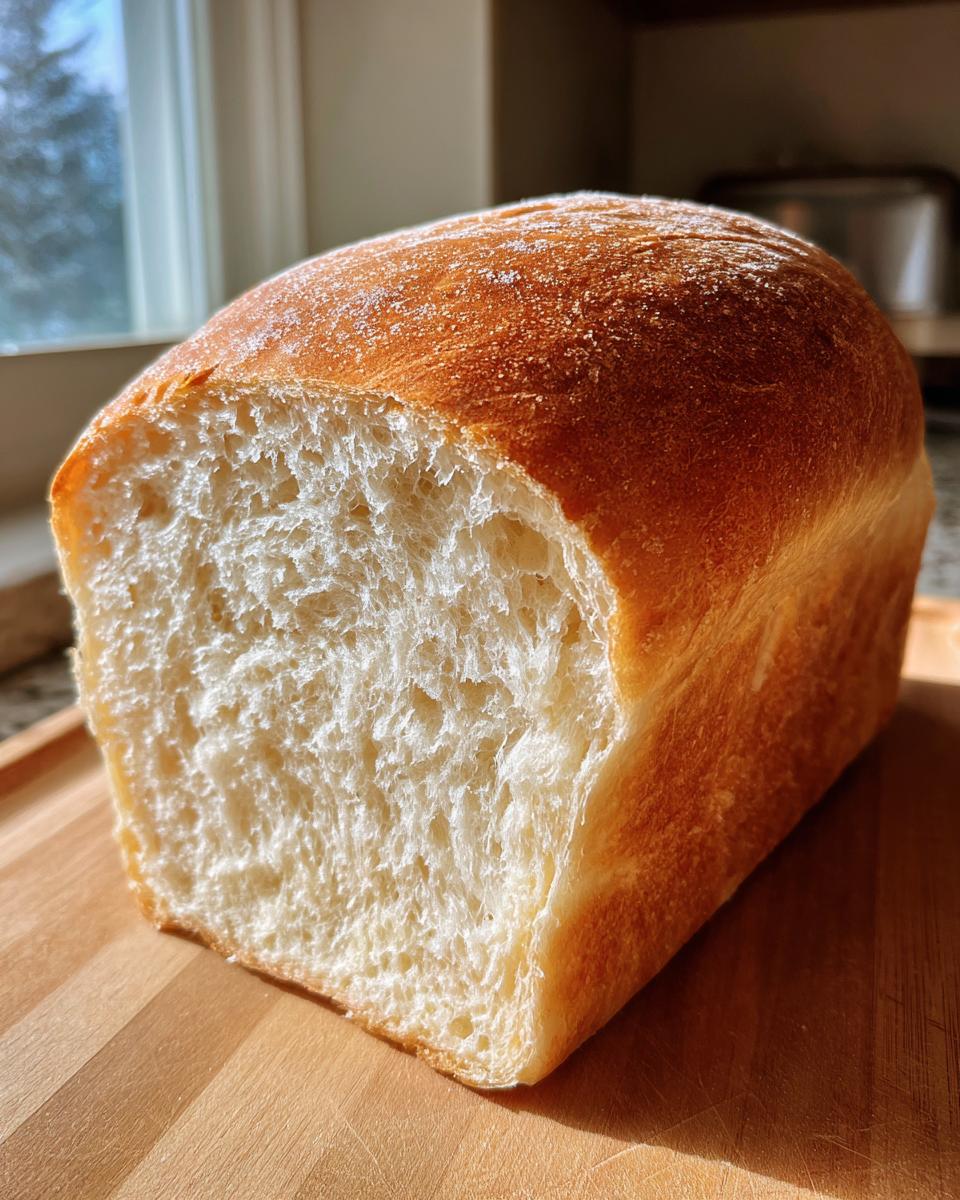
Once it’s puffed up, gently punch the air out—don’t overdo it! Divide that beautiful dough into three equal pieces. Roll each piece into a nice tight ball. You want these balls to look uniform so they bake evenly. Then, arrange those three little sweethearts snugly inside your greased 9×5 loaf pan.
Cover the pan again and let it proof for the second time. This rise is critical! You are waiting until the dough has nearly doubled again AND it is rising up above the rim of the pan. If it’s not crowning nicely over the edge, you won’t get that fantastic oven spring we love.
Baking and Cooling Your Milk Bread
Preheat that oven to 350°F (175°C) while the dough finishes rising. For that bakery-quality look, whisk your egg yolk with just one tablespoon of water to create a gorgeous, dark egg wash. Brush it gently over the top of your risen loaf. Bake it for about 30 to 35 minutes until it’s golden brown and sounds hollow when you tap it.
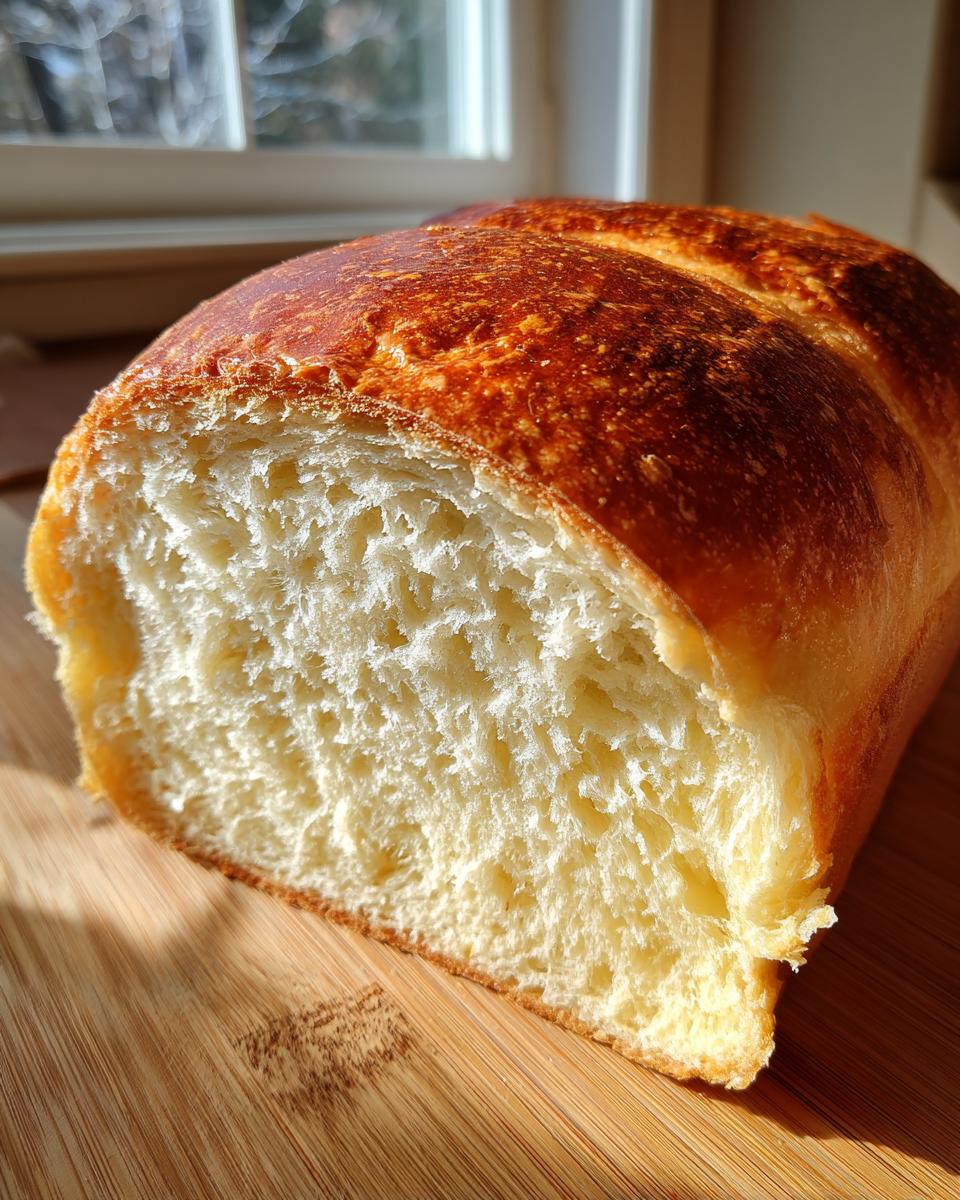
The final, crucial step that I can’t stress enough: get that bread out of the pan immediately and place it on a wire rack! If you leave it cooling in the hot pan, the trapped steam will make the bottom all soggy, and we worked too hard for a soggy bottom on our perfect milk bread!
Tips for Success: Mastering the Milk Bread Technique
Now that you know the steps, let’s talk about turning this good milk bread into truly bakery style bread at home. These little nuggets of wisdom are what separated my early attempts from the loaves I bake now. It’s all about managing the environment!
Temperature Control for the Best Milk Bread
Yeast is surprisingly fussy about temperature, just like my dad used to be about the grill temperature! If your kitchen runs cool, don’t worry too much about that first rise taking an extra thirty minutes. For the second proof, though, if you need consistent warmth, try this trick: place your covered loaf pan inside your oven, but turn the oven light ON and leave the main heat OFF. That soft glow creates the perfect cozy little spot for the dough to rise beautifully without overheating.
Achieving a Golden Crust on Your Milk Bread
We talked about the egg wash earlier, but let’s focus just on the wash itself. If you use a whole egg for the wash, you get a decent shine, sure. But if you want that deep, glossy, rich golden-brown shine you see on professional loaves? Use only the egg yolk you saved from the dough, mixed with that teaspoon of water. It gives you a richer color and a beautiful, thin crust that cracks just right when you press it.
Serving Suggestions for Your Homemade Loaf Bread
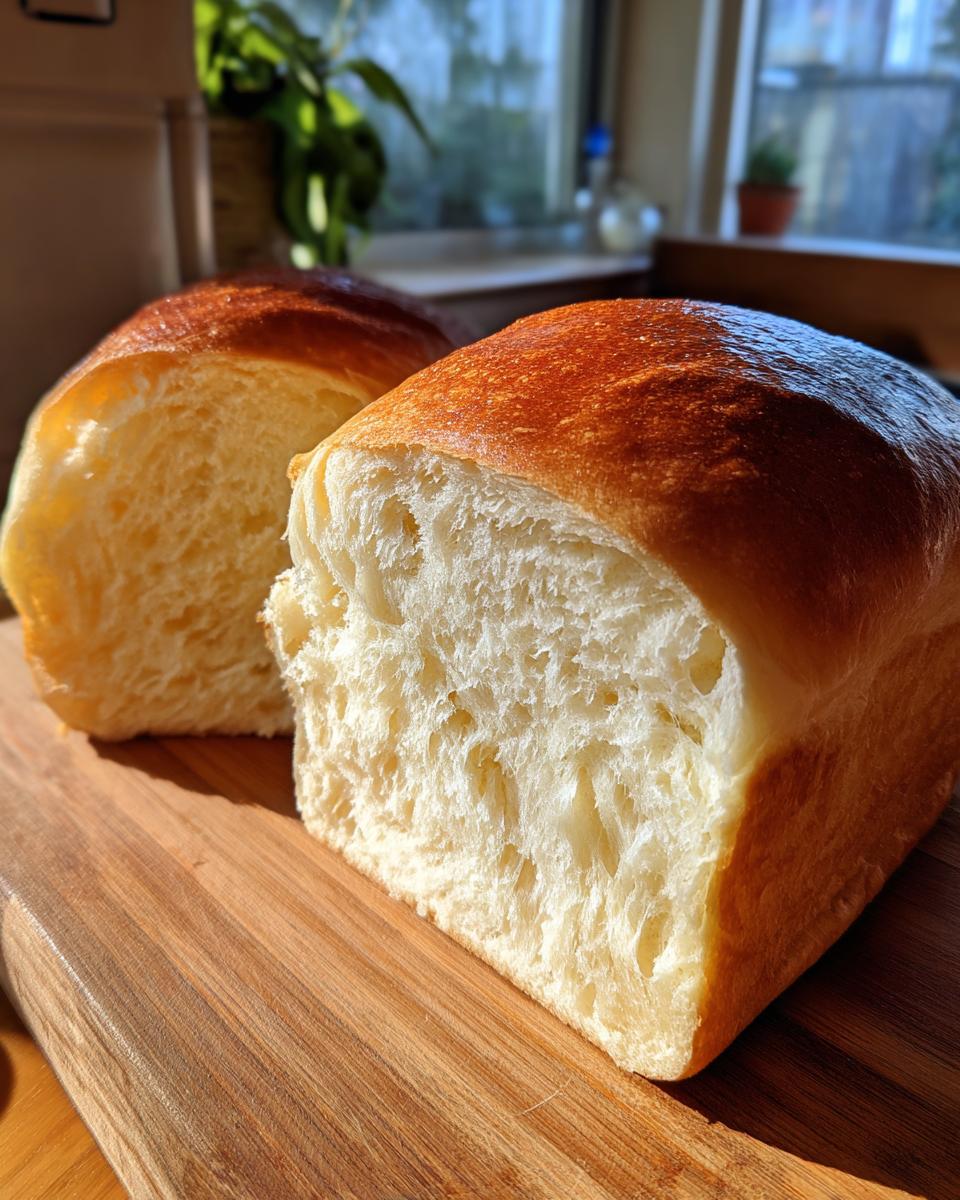
The hardest part about baking this rich, wonderful milk bread is waiting for it to cool! But once it’s ready, you’ll see why I feel it’s a new American classic—it’s just so versatile. It makes the absolute best milk bread for toast, especially when sliced thick and toasted until just golden. This is the bread that makes a simple soup night feel special just because you have a warm slice ready for dipping!
The Best Milk Bread for Sandwiches
Seriously, ditch those floppy store-bought slices! Because we kneaded this dough so well and got that perfect internal structure, it creates a crumb that is both tender and surprisingly sturdy. It holds up beautifully to juicy tomatoes, mayonnaise, or hearty fillings without instantly turning soggy or tearing apart when spread, making it the true champion of homemade sandwiches.
Storage and Reheating Instructions for Soft Milk Bread
Because this milk bread is so rich with butter and milk, it actually stays wonderfully soft longer than the lean loaves I used to bake when I followed simpler recipes. That’s the good news! But proper storage is still key if you want that freshness to last past day two. Always let the loaf cool completely before you even think about wrapping it up. I wrap mine tightly in plastic wrap first, and then pop that into a zip-top bag. This keeps the air out and stops it from drying up!
If you happen to have any leftover slices perfect for milk bread for toast, freezing is your best friend. Pop them individually wrapped in a freezer bag, and when you want one, just pop it straight from the freezer into the toaster. Voila! Perfect—no need to reheat the whole loaf.
Frequently Asked Questions About Making Milk Bread
It’s totally normal to have questions when diving into a new type of baking, especially when you are chasing that super soft texture! I’ve gathered some of the things I get asked most often about this milk bread recipe; I hope these answers help you feel super confident when you step up to your mixer!
Can I make this milk bread recipe without a stand mixer?
Absolutely! My dad never used one for his incredible barbecue rubs, and you certainly don’t need one for fluffy homemade bread. You can definitely mix and knead this by hand. The only catch is that you need patience! When you knead by hand, aim for about 15 to 20 minutes of consistent work to develop that smooth, elastic dough texture we need. Your arms will get a workout, but the result is totally worth it.
What is the difference between this and Japanese milk bread shokupan?
That’s a fantastic question! Traditional, super-authentic Japanese milk bread shokupan often relies on a technique called Tangzhong or Yudane—which involves cooking a small portion of the flour and liquid into a thick paste before mixing it in. It seems complicated, right? Well, this recipe is my simplified, direct method. I designed it so you can get that soft, tender crumb that makes milk bread famous, without having to mess around with making a separate cooked paste. It’s easier for the everyday baker but still gives you incredible results!
How can I make my milk bread sweeter, like condensed milk bread sweet?
If you’re looking for that slightly sweeter flavor profile that you see in some of the other recipes, it’s easy to adjust! You can try swapping out half of the regular milk for canned, sweetened condensed milk, or just stir in an extra tablespoon or two of granulated sugar during the creaming stage. Just watch your yeast activation mixture carefully if you add too much extra sugar, as it can sometimes slow things down a bit!
Nutritional Information for Your Homemade Milk Bread Loaf
As much as I love talking about taste and texture, I know some of you want the full picture! Finding out the details of what goes into your food just builds trust, which is a huge part of my philosophy here at Cut Cook Taste. We focus on real, simple ingredients, and here are the estimates for one slice of this delicious soft milk bread loaf.
Remember, these numbers are just guidelines—since we all use slightly different flour brands or maybe you splashed a little extra milk in there (no judgment!), your final count might vary a tad. But it gives you a great baseline!
- Serving Size: 1 slice
- Calories: 180
- Sugar: 4g
- Sodium: 150mg
- Fat: 4g
- Saturated Fat: 2g
- Unsaturated Fat: 2g
- Trans Fat: 0g
- Carbohydrates: 30g
- Fiber: 1g
- Protein: 5g
- Cholesterol: 35mg
See? Not bad at all for a slice of homemade bread that tastes this good! It’s a manageable amount of fat and sugar for something so rich, which is probably why it’s my go-to comfort food.
Share Your Fluffy Milk Bread Creations
Now that you’ve baked this incredible, super soft milk bread loaf, I honestly can’t wait to see what gorgeous creations you’ve come up with! I always feel like I’m sending a little part of my kitchen out into the world when you make one of my recipes, and seeing your results just completes the joy of cooking.
If this recipe gave you that perfectly fluffy homemade bread feel you were looking for—please, please leave a rating down below! Five stars lets me know this is one we need to keep making for years to come. Even one star helps me know where I might need to tweak my instructions next time.
And if you snap a picture of that beautifully golden, tender loaf ready for sandwiches or toast, please tag me on social media! I love seeing how you serve it up. Seriously, drop any questions you have in the comments too. Let’s keep this conversation going!
PrintSuper Soft Homemade Milk Bread Loaf
Bake a loaf of incredibly soft, fluffy milk bread using simple ingredients. This recipe yields a tender crumb perfect for sandwiches, toast, or enjoying warm.
- Prep Time: 30 min
- Cook Time: 35 min
- Total Time: 2 hr 5 min
- Yield: 1 loaf 1x
- Category: Baking
- Method: Baking
- Cuisine: American
- Diet: Vegetarian
Ingredients
- 1 cup whole milk, warmed slightly
- 2 tablespoons granulated sugar
- 2 1/4 teaspoons active dry yeast
- 3 cups bread flour
- 1/4 cup whole milk powder
- 1 teaspoon salt
- 1 large egg
- 3 tablespoons unsalted butter, softened
- 1 egg yolk (for egg wash)
- 1 tablespoon water (for egg wash)
Instructions
- Combine the warmed milk, sugar, and yeast in a small bowl. Let it sit for 5 to 10 minutes until foamy.
- In a large bowl or stand mixer, whisk together the bread flour, milk powder, and salt.
- Add the yeast mixture and the egg to the dry ingredients. Mix until a shaggy dough forms.
- Add the softened butter and knead the dough for 8 to 10 minutes until it is smooth and elastic. The dough will be soft.
- Place the dough in a lightly oiled bowl, turning to coat. Cover the bowl and let it rise in a warm place for 1 to 1.5 hours, or until doubled in size.
- Gently punch down the dough. Divide it into three equal pieces. Roll each piece into a smooth ball.
- Arrange the three dough balls in a greased 9×5 inch loaf pan, leaving space between them.
- Cover the pan loosely and let the dough proof a second time for 45 to 60 minutes, or until the dough has nearly doubled and risen above the rim of the pan.
- Preheat your oven to 350°F (175°C).
- Whisk the egg yolk and water together to make an egg wash. Gently brush the top of the dough with the wash.
- Bake for 30 to 35 minutes, or until the top is golden brown and the internal temperature reaches 200°F (93°C).
- Remove the bread from the oven and immediately turn it out onto a wire rack to cool completely before slicing.
Notes
- For an extra rich flavor, consider using condensed milk bread techniques for a sweeter result.
- This soft bread is excellent for meal planning and makes great leftovers for toast.
- If you are looking for alternatives to traditional baking, this recipe is simple enough that you do not need a sous-vide precision cooker.
Nutrition
- Serving Size: 1 slice
- Calories: 180
- Sugar: 4
- Sodium: 150
- Fat: 4
- Saturated Fat: 2
- Unsaturated Fat: 2
- Trans Fat: 0
- Carbohydrates: 30
- Fiber: 1
- Protein: 5
- Cholesterol: 35