
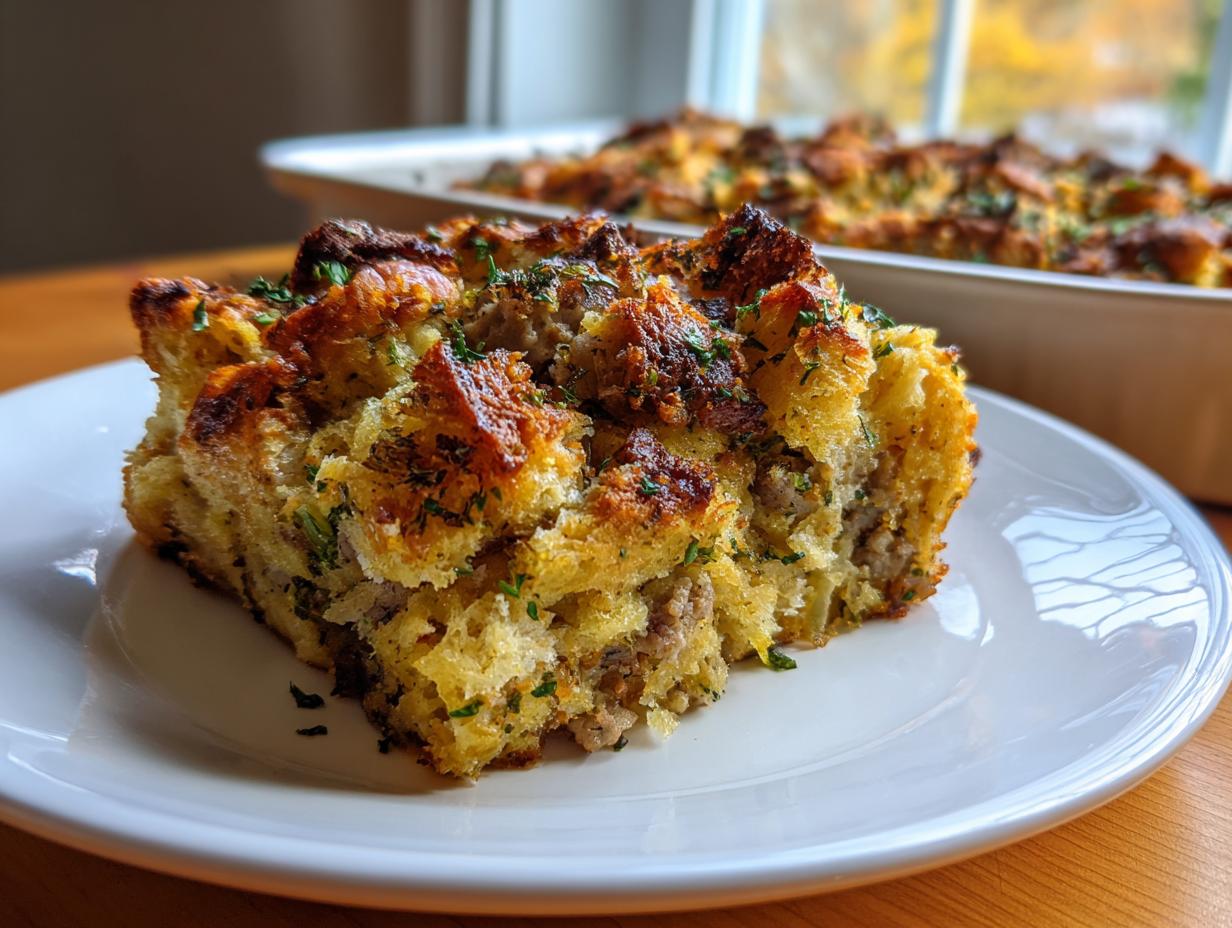

Oh my gosh, there is nothing—and I mean *nothing*—that smells more like home to me than the scent of sage and butter wafting from the oven during the holidays. That smell just screams tradition, doesn’t it? Forget that dry, box mix stuff; we are making real, honest-to-goodness stuffing today. This is my absolute favorite, the best classic homemade herb stuffing, but I sneak in some savory pork sausage for an extra flavor punch. My grandmother always swore by using only fresh herbs, and honestly, I stick to that rule because it makes all the difference between good and jaw-droppingly great dressing. You can see how important tradition is to me in my classic Thanksgiving stuffing approach! Trust me, this recipe nails that beautiful texture: perfectly crispy edges giving way to a wonderfully moist, flavorful center. You absolutely have to try this!
- Why This Homemade Stuffing Recipe is a Holiday Must-Have
- Ingredients for the Best Stuffing From Scratch
- How to Prepare This Classic Thanksgiving Stuffing
- Tips for Achieving Perfect Stuffing Texture
- Stuffing Variations and Ingredient Substitutions
- Make-Ahead and Storage Instructions for Your Stuffing
- Serving Suggestions for This Traditional Holiday Side Dish
- Frequently Asked Questions About Making Stuffing
- Estimated Nutritional Data for This Stuffing
Why This Homemade Stuffing Recipe is a Holiday Must-Have
When you’re trying to nail that perfect holiday plate, you need a side dish that delivers every single time. This isn’t just any bread and broth mix; this is the stuff people talk about long after the leftovers are gone! I promise you, it’s worth sticking to tradition with this one.
- It nails the texture: We get that golden, slightly crispy crust baked on top that everyone fights over, while the inside stays super soft and ready for gravy.
- The flavor is robust—thanks to the savory sausage and all those fresh herbs like sage and rosemary—it tastes like real comfort food.
- This has that authentic, from-scratch taste that reminds everyone of family gatherings. If you love my sausage version, you’ll see why this classic is so beloved!
Ingredients for the Best Stuffing From Scratch
Okay, let’s talk supplies! Getting the best homemade stuffing from scratch starts with high-quality basics. You don’t need a million things, just the right things. Remember, fresh herbs are non-negotiable—they really wake up the flavor profile!
- 1 pound dried bread cubes (about 10 cups), I use sourdough or just a plain French bread loaf.
- 1 pound bulk pork sausage (if you want that deep, savory flavor!).
- 1 cup unsalted butter—don’t skimp here, it’s called buttery dressing for a reason!
- 2 large yellow onions, finely chopped.
- 4 celery stalks, chopped up small.
- 4 cloves garlic, minced nice and fine.
- 1 tablespoon fresh sage, chopped—this is the star!
- 1 teaspoon fresh rosemary, chopped.
- 1 teaspoon dried thyme.
- 1 teaspoon salt and 1/2 teaspoon black pepper.
- 2 cups chicken or vegetable broth (warm is best).
- 2 large eggs, lightly beaten.
When you’re ready to try a different method sometime, my crock-pot stuffing is fantastic too, but you need these ingredients for the absolute best oven-baked stuffing!
How to Prepare This Classic Thanksgiving Stuffing
Getting this savory stuffing right is all about layering the flavors and being gentle with the final mix. Don’t rush the vegetable sauté, and try not to squish the bread! We preheat that oven to 350°F right away so everything stays on schedule. If you want to see another simple bake, checking out my crock pot stuffing method can give you some technique ideas, but for this classic dressing, follow these steps!
Sausage and Vegetable Sauté for Perfect Stuffing Flavor
First things first: If we’re using that delicious pork sausage, the flavor starts right here! Cook the sausage in a big skillet until it’s perfectly browned. Scoop it out with a slotted spoon, but leave those wonderful drippings behind—we are using those as our flavor base! Now, toss in your onions and celery. We need these softened up until they are tender, which usually takes about 8 to 10 minutes of slow cooking. We aren’t trying to burn them, just coax out all that natural sweetness.
Combining Ingredients for Moist and Crispy Stuffing
While the veggies are softening, get your dried bread cubes into a super large bowl. Once the veggies are happy, add the minced garlic and those fantastic fresh herbs—sage, rosemary, thyme—cook them just for a minute until your kitchen smells amazing, then immediately pour the whole buttery mixture over your bread and sausage. Toss that gently! Next, separately whisk your broth and eggs together, then pour that liquid right over the top. Here is my huge piece of expertise: toss everything *just* until the bread is moistened. Seriously, stop stirring when you see a few dry streaks left. Overmixing leads straight to mushy stuffing!
Baking Instructions for Oven Baked Stuffing
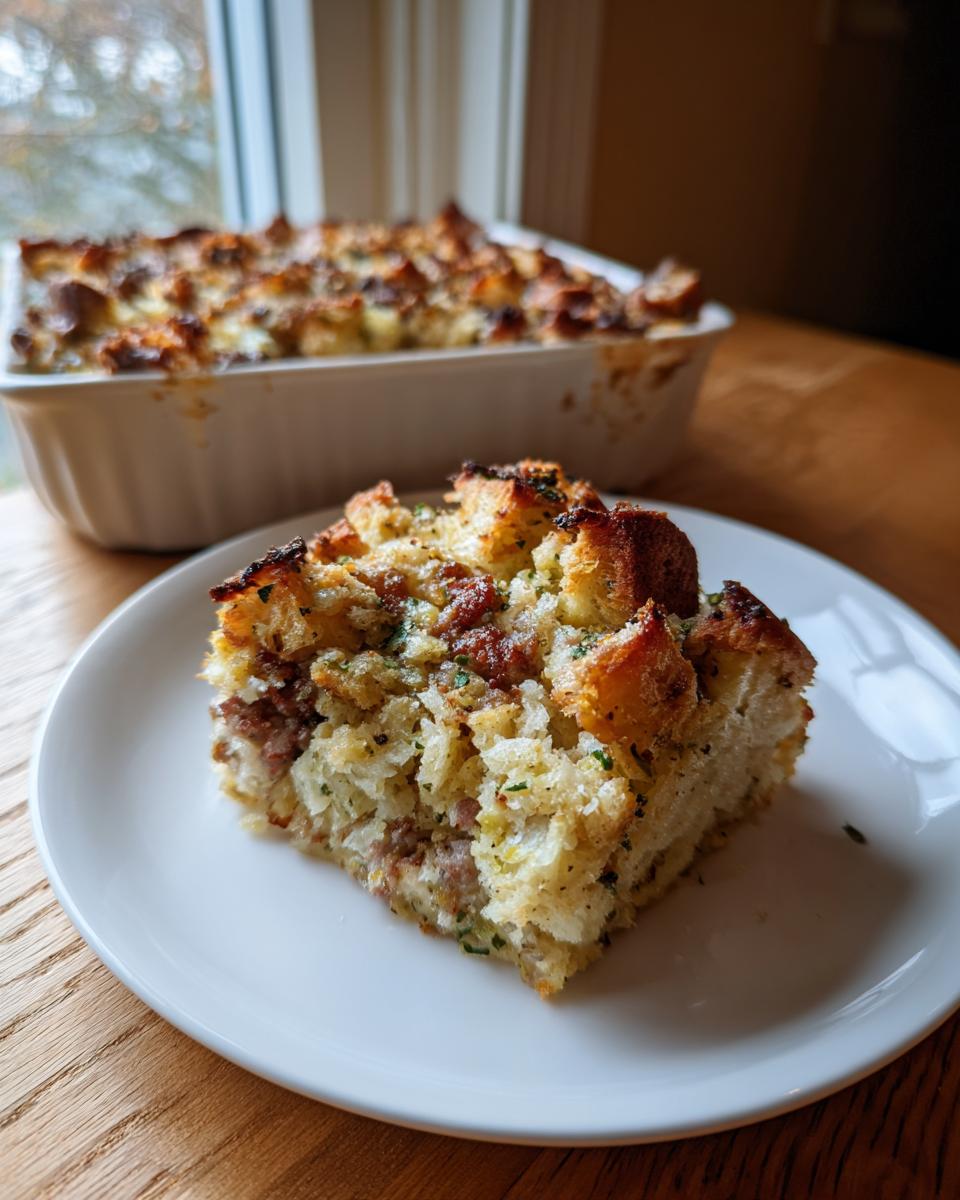
Transfer that barely-mixed stuffing into your buttered 9×13 dish and spread it out evenly. We cover it up tight with foil first and bake it at 350°F for 30 minutes. This part lets the inside steam and get cozy and moist. After that half hour, pull the foil off! We need that crunch. Let it bake uncovered for another 15 to 20 minutes until the top is beautifully golden brown. That’s the crispy edge we’re looking for! Please, please, let it rest for about 10 minutes before you serve it up. It settles everything down nicely.
Tips for Achieving Perfect Stuffing Texture
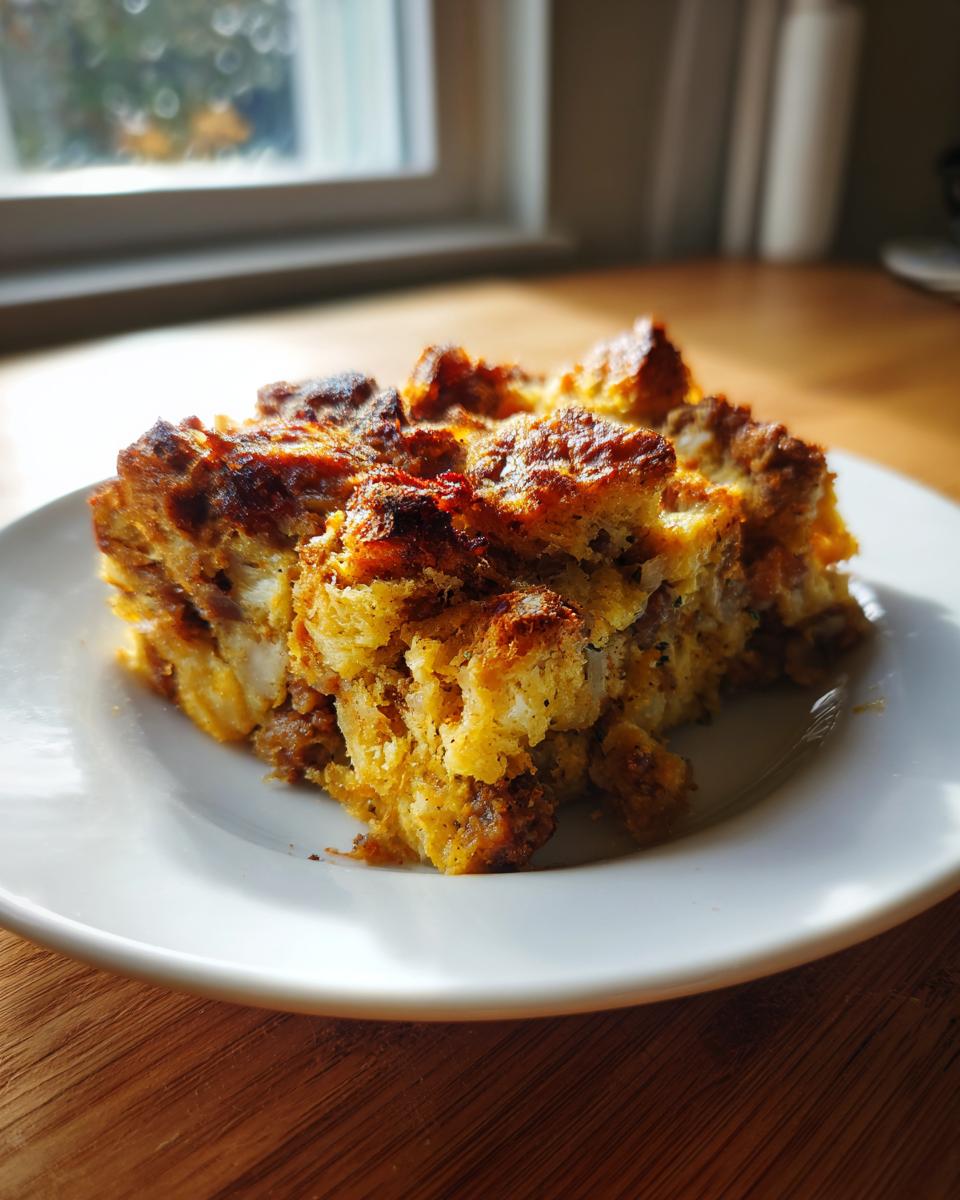
If you’ve ever ended up with stuffing that’s essentially savory bread soup—we’ve all been there, trust me—then focusing on the bread and the final bake is vital. This is where I channel my grandmother’s sternest advice. We want that amazing textural contrast: a little crispiness up top, but the inside must be tender and soaking up all that buttery flavor.
First, let’s talk about the bread. For the very best results, your bread cubes need to be slightly dry or stale. If you are using fresh bakery bread, you absolutely must toast it first! Spread those cubes out on a sheet pan and pop them into a 300°F oven for about 15 minutes until they feel dry to the touch. This drying step ensures they absorb the liquid without immediately dissolving into mush.
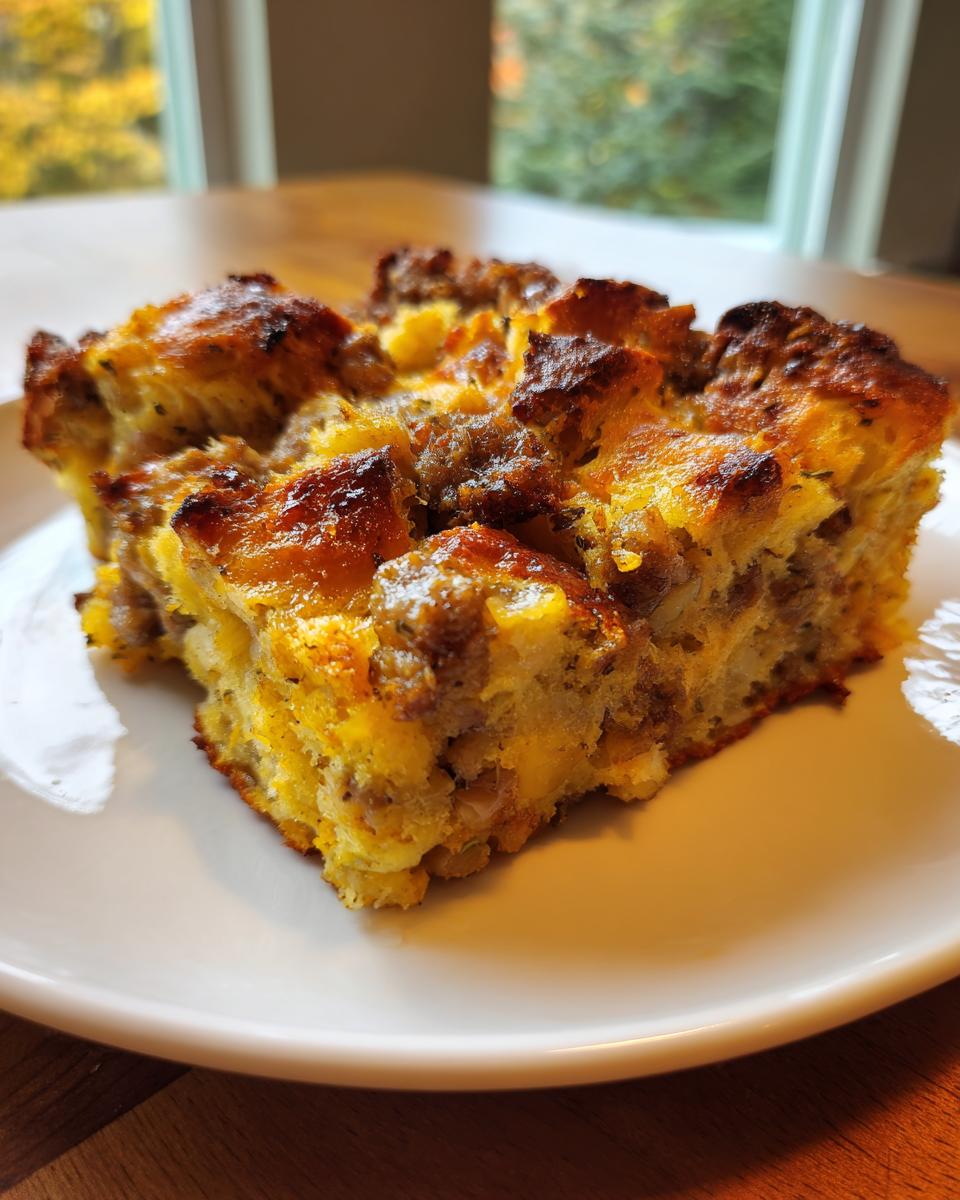
Also, for those of you who love that golden crust, here’s a little secret I picked up: after the main stuffing is covered and baking, take a small scoop of the mixture—about two cups worth—and put it in a tiny, separate, uncovered baking dish. Pop that little pan in right when you take the foil off the main dish. That small portion gets extra-crispy and it’s mine, all mine! For more side dish inspiration that has that great textural contrast, check out my garlic herb butter potato stacks.
Stuffing Variations and Ingredient Substitutions
While I absolutely adore this classic sausage and herb stuffing—it’s my go-to holiday side dish, no question—I know everyone’s pantry looks a little different! The beauty of a good base recipe like this is how easy it is to tweak. Don’t worry if pork sausage isn’t your thing; you can easily substitute it with cooked, crumbled bacon for a smokier hit, or even sautéed cremini mushrooms and walnuts if you are leaning toward a vegetarian stuffing. That swap adds a great earthy texture!
Also, feel free to play around with your bread foundation! If sourdough isn’t available, challah or cornbread cubes work beautifully, though you might need to adjust the initial broth amount slightly since they absorb liquid differently. I also like sometimes tossing in a handful of dried cranberries right at the end for a little pop of tartness—it’s unexpected but amazing. If you are looking for other flavor hacks in your kitchen, you might enjoy my recipes, like these garlic parmesan chicken meatballs!
Make-Ahead and Storage Instructions for Your Stuffing
One of the biggest secrets to actually enjoying the holiday chaos is getting a few things done the day before, and this savory stuffing is perfect for that! You know that rule I mentioned under the texture section? You can absolutely prepare the entire mixture—bread, veggies, sausage, broth, everything—the day before you plan to bake it. Just mix it all up, put it in your buttered baking dish, cover it, and pop it in the fridge. It’s such a lifesaver!
When it comes time to eat, just pull it straight from the fridge and proceed with the baking instructions, but you’ll need to add about 10 to 15 minutes to the covered baking time since it’s starting cold. If you find your leftovers get a little dry reheated the next day, don’t panic! That’s normal. Just splash a tiny bit of extra broth or even water over the top before you put it back in the oven or microwave. If you enjoy making big batches of sides, you might also want to check out my recipe for cowboy butter steak bites for ideas on using up extra flavor components!
Serving Suggestions for This Traditional Holiday Side Dish
This buttery dressing just sings next to the main event! Since this stuffing is rich and savory with those wonderful herbs and sausage drippings, it pairs perfectly with just about every traditional star of the holiday table. It’s truly the quintessential Thanksgiving side dish, though I often make it just because I love the smell!
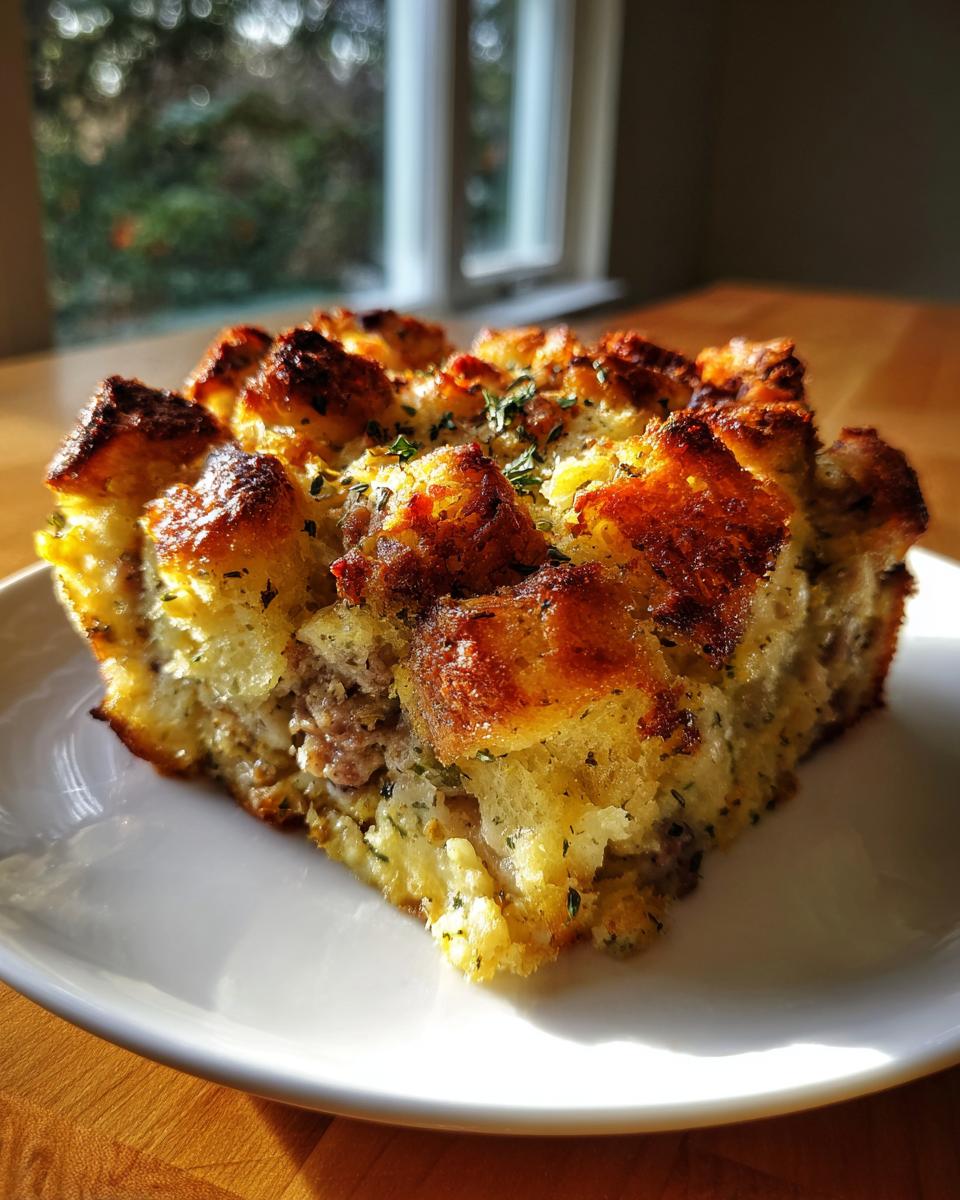
Obviously, you have to serve it up alongside a perfectly roasted turkey—that’s what it was born to do. But load your plate up with creamy mashed potatoes and some rich, homemade gravy to soak up all those flavors. And don’t forget the tartness to cut through the richness; my cranberry pot roast, or just a simple bowl of homemade cranberry sauce, balances this savory stuffing beautifully. It just completes the picture, doesn’t it?
Frequently Asked Questions About Making Stuffing
I know you might have a few lingering thoughts after wading through all that delicious detail! That’s perfectly normal when dealing with a beloved family recipe. Here are the questions I get most often about achieving that perfect, moist and crispy stuffing.
Can I bake this stuffing inside the turkey?
Oh, this is the age-old debate! While my recipe is technically for oven baked stuffing (or dressing, if you’re a traditionalist!), baking bread inside a bird isn’t the safest route, honey. To reach the safe internal temperature (165°F) needed to kill any bacteria, the meat usually dries out before the bread stuffing inside hits that mark. For the best and safest results, always bake this as dressing in a separate, buttered 9×13 dish, just like I laid out in the main instructions.
What if I don’t want to use sausage for this savory stuffing recipe?
That’s perfectly fine! If you want to keep it vegetarian or just prefer a different flavor, you can absolutely omit the sausage. If you skip it, make sure you use the full cup of butter, or perhaps substitute 4 ounces of that sausage with 4 ounces of sautéed mushrooms for some earthy flavor—that works wonderfully in this traditional Thanksgiving stuffing recipe!
How do I prevent the stuffing from getting soggy?
Sogginess is the enemy of great holiday side dishes! The number one thing you must remember is my rule about not overmixing the liquid. You want the bread moistened, not swimming. Secondly, ensure your bread cubes are dry or toasted before you even start mixing the wet ingredients. Finally, uncovering the stuffing during the last 15 to 20 minutes of baking allows that beautiful crispy top to form, which keeps the texture just perfect.
If you’re still looking for more tips and tricks covering all sorts of recipes on the site, feel free to explore my main kitchen blog page!
Estimated Nutritional Data for This Stuffing
When we talk about comfort food, we know we aren’t looking for a diet food, right? This delicious, buttery dressing packs a flavorful punch! Here is the breakdown for one hearty serving of this classic sausage and herb stuffing.
- Serving Size: 1 cup
- Calories: 350
- Fat: 22g
- Carbohydrates: 30g (Sugar: 3g)
- Protein: 8g
Just keep in mind these figures are estimates based on the ingredients listed, especially if you load up on the sausage or butter! They can definitely vary depending on exactly what bread you choose.
PrintGrandma’s Classic Herb Stuffing with Sausage
This recipe delivers a traditional, savory stuffing with crispy edges and a moist interior, featuring fresh herbs and optional sausage for deep flavor. It is a reliable holiday side dish.
- Prep Time: 25 min
- Cook Time: 50 min
- Total Time: 75 min
- Yield: 10 servings 1x
- Category: Side Dish
- Method: Baking
- Cuisine: American
- Diet: Vegetarian
Ingredients
- 1 pound dried bread cubes (about 10 cups), preferably sourdough or French bread
- 1 pound bulk pork sausage (optional)
- 1 cup unsalted butter
- 2 large yellow onions, chopped
- 4 celery stalks, chopped
- 4 cloves garlic, minced
- 1 tablespoon fresh sage, chopped
- 1 teaspoon fresh rosemary, chopped
- 1 teaspoon dried thyme
- 1 teaspoon salt
- 1/2 teaspoon black pepper
- 2 cups chicken or vegetable broth
- 2 large eggs, lightly beaten
Instructions
- If using sausage, cook it in a large skillet over medium heat until browned. Remove the sausage with a slotted spoon and set aside, leaving about 2 tablespoons of drippings in the pan.
- Add the butter to the skillet. Melt over medium heat. Add the chopped onions and celery. Cook until softened, about 8 to 10 minutes.
- Add the minced garlic, sage, rosemary, and thyme to the skillet. Cook for 1 minute until fragrant.
- In a very large bowl, combine the dried bread cubes and the cooked sausage, if using.
- Pour the butter and vegetable mixture over the bread cubes. Toss gently to coat everything evenly.
- Stir in the salt and pepper.
- In a separate bowl, whisk together the broth and the beaten eggs. Pour this liquid mixture over the bread mixture. Toss gently until the bread is just moistened. Do not overmix.
- Transfer the stuffing mixture to a buttered 9×13 inch baking dish.
- Cover the dish tightly with foil. Bake at 350°F for 30 minutes.
- Remove the foil and bake for an additional 15 to 20 minutes, or until the top is golden brown and crispy.
- Let the stuffing rest for 10 minutes before serving.
Notes
- For the best texture, use bread that is slightly stale or dry. You can toast fresh bread cubes in a 300°F oven for 15 minutes if needed.
- If you prefer a crispier top layer, place some of the mixture in a separate, uncovered baking dish for the last 20 minutes of baking.
- This recipe works well with a simple meal planning approach; you can prepare the mixture a day ahead and refrigerate before baking.
Nutrition
- Serving Size: 1 cup
- Calories: 350
- Sugar: 3
- Sodium: 550
- Fat: 22
- Saturated Fat: 9
- Unsaturated Fat: 13
- Trans Fat: 0
- Carbohydrates: 30
- Fiber: 2
- Protein: 8
- Cholesterol: 45