
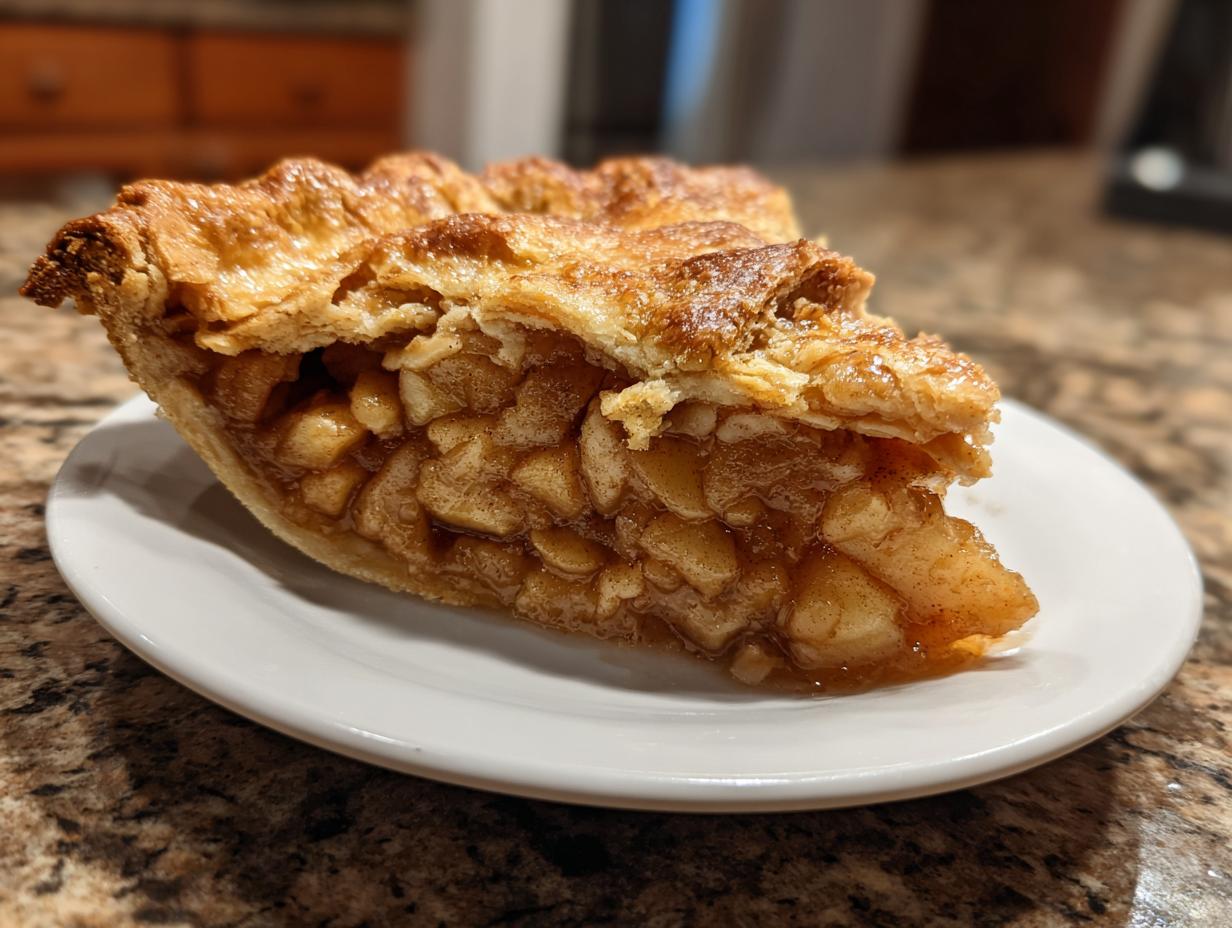

There is just nothing like the smell of a truly great homemade apple pie baking. It instantly transports me back into my grandmother’s kitchen, standing on that little wooden stool, flour dusting my nose. She taught me everything about baking, especially about achieving that perfect structure. That’s why I’m so excited to share what I honestly believe is the Best Easy homemade apple pie with a Flaky Double Crust. Forget complicated techniques! This recipe brings that old-fashioned comfort right to your table using simple steps, and it delivers that buttery, flavorful crust every single time.
This pie is the epitome of what I love about from-scratch baking. It’s built on tradition but streamlined for today’s busy cook. We aren’t fussing with fancy techniques here; we are focused on flavor, texture, and the joy of sharing something made by hand. You are going to love how this turns out!
- Why This Homemade Apple Pie Recipe is a Family Favorite
- Gathering Ingredients for Your Homemade Apple Pie
- Step-by-Step Instructions for Your Easy Homemade Apple Pie
- Tips for Success Making Your Perfect Apple Pie
- Storage and Serving Suggestions for Your Homemade Apple Pie
- Frequently Asked Questions About Homemade Apple Pie
- Estimated Nutritional Data for Homemade Apple Pie
- Share Your Perfect Homemade Apple Pie Experience
Why This Homemade Apple Pie Recipe is a Family Favorite
When I talk about making a homemade apple pie, I’m really talking about making a piece of comfort food baking history. People sometimes think that making a pie from scratch dessert sounds intimidating, but that’s simply not true with this recipe! It’s designed to be straightforward so you can focus on what matters: those incredible flavor layers that hit the spot every single time. If you’re looking for another reliable classic, check out my recipe for my favorite chewy cookies—they’re just as good!
- It uses simple, accessible ingredients—nothing fussy here!
- We get a true double crust, meaning coverage and texture on top and bottom.
- The filling has that perfect sweet-and-tart punch you want on a cool evening.
Achieving the Perfect Flaky Pie Crust Recipe
Oh, that crust! Seriously, the most important part of this whole production is keeping things cold. I mean icy cold butter and ice water must be used when making this buttery pie crust. If your butter melts before it hits the oven; you get tough, you get flat, and you definitely don’t get flaky! This is a flaky pie crust recipe because those little cold butter pockets steam in the oven, separating the flour layers. Remember, this recipe covers both your bottom layer and your top layer!
The Secret to the Best Apple Pie Filling
The real magic for the best apple pie filling comes down to apple choice and spices. I always use those tart Granny Smith apples—they hold their shape so well and cut through the sweetness of the sugar. We aren’t just throwing cinnamon in there either; we use a mix that includes nutmeg to give it that deep, warm, old-fashioned flavor. Trust me, you want that balance!
Gathering Ingredients for Your Homemade Apple Pie
Alright, let’s talk about pulling together what you need for this beautiful classic apple pie recipe. I’ve listed everything out below, organized so you know exactly what’s for the crust and what’s for that incredible filling. Remember what I said earlier? The success of this whole homemade dessert from scratch depends heavily on how cold you keep your butter for the dough. Keep your butter and water chilling in the fridge or freezer until the absolute last second!
Ingredients for the Buttery Pie Crust Recipe
For the dough that’s going to give you those perfect flaky layers, you’ll need 2 1/2 cups of all-purpose flour and just 1 teaspoon of salt whisked together. Then comes the fat: cut 1 full cup (that’s two full sticks!) of very cold unsalted butter, cut into cubes. This is crucial! Finally, you’ll need about 1/2 cup of ice water. If your kitchen is hot, you might need just a tiny splash more water, but add it agonizingly slow, just one tablespoon at a time, until the dough barely clings together. Don’t squish it!
Ingredients for the Sweet Spiced Apple Pie Filling
For the heart of the pie, you’ll need 6 large Granny Smith apples—make sure they’re peeled, cored, and sliced about 1/4 inch thick. We mix those with 1/2 cup of granulated sugar and 1/4 cup of packed light brown sugar. To thicken up all those wonderful juices, we add 1/4 cup of all-purpose flour. Then for the aroma that stops traffic: 1 teaspoon of ground cinnamon and exactly 1/4 teaspoon of ground nutmeg. A tablespoon of lemon juice brightens everything up! Don’t forget to save out one large egg, beaten well for your egg wash later, and a tablespoon of coarse sugar to sprinkle on top for that festive sparkle.
Step-by-Step Instructions for Your Easy Homemade Apple Pie
Okay, time to move from pantry prep to actual construction! This is where we put together our beautiful homemade apple pie. Don’t rush this part, but also don’t overthink it. We’re aiming for rustic charm, not perfection. If you need a great refresher on bread making in the meantime, I’ve got a fantastic soft milk bread recipe, but for now, let’s focus on the pie!
Making and Chilling the Flaky Pie Crust
First things first: the crust. We need to cut that cold butter into the flour and salt mixture until it looks like coarse crumbs, making sure you still see some pea-sized butter pieces—that’s the secret sauce! Then, slowly drizzle in that ice water, just adding enough until the dough barely holds together when you squeeze a bit. Don’t knead it; just gather it up gently. Divide the mass in half, wrap those discs up tight, and they absolutely need to chill for at least one full hour. If you’re in a hurry, you can chill them for 30 minutes in the freezer, but they must be cold!
Combining the Apple Filling Ingredients
While that dough is getting happy in the fridge, let’s tackle the fruit. Take your sliced apples and toss them gently in a big bowl with both sugars, that extra 1/4 cup of flour, the cinnamon, nutmeg, and lemon juice. Use a large spoon or your hands to make sure every slice is coated in that sweet spice mix. We want them coated, but we don’t want to crush them into applesauce! Be gentle, remembering the goal is that perfect texture we talked about.
Assembling and Topping the Double Crust Apple Pie
Now we move to the assembly line! Roll out one chilled dough disc into a 12-inch circle and lay it gently into your 9-inch pie plate. Mound those coated apples right in the middle. Take your second dough disc, roll it out, and lay it over the top. Now, seal the deal! Crimp those edges together—make them look pretty or just pinch them tight. Whatever you do, you must cut several slits right in the top crust so the steam can escape or you’ll have an eruption on your hands. Brush the top generously with your beaten egg wash and sprinkle that coarse sugar over everything.
Baking the Homemade Apple Pie Perfectly
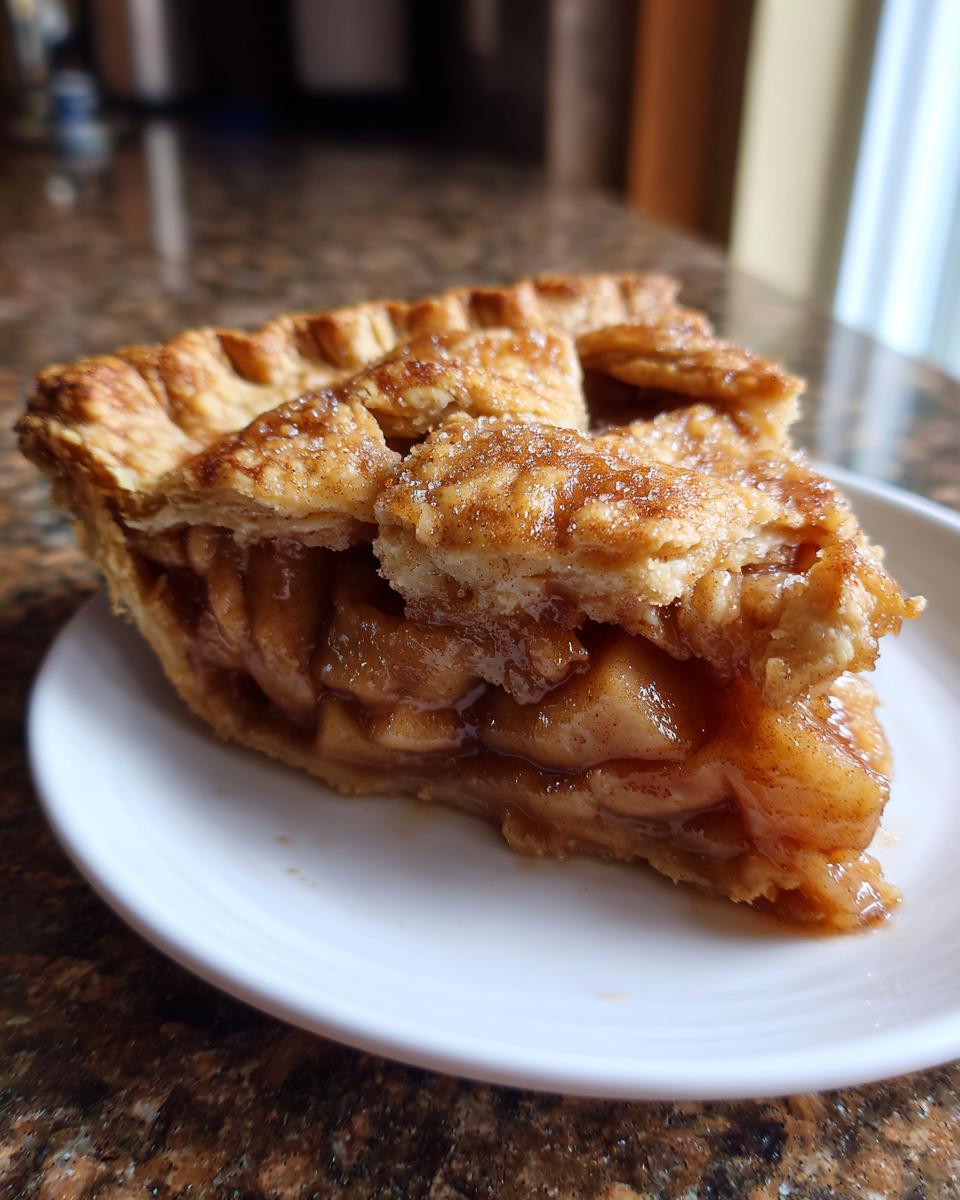
This is a two-temperature bake, so pay attention! Heat your oven way up high to 425°F (220°C) and bake the pie for the first 15 minutes right on a baking sheet. This heat blast helps set that crust structure quickly. Then, drop the temperature down to 375°F (190°C) and keep baking for another 40 to 50 minutes until you see that gorgeous golden-brown color and the filling is bubbling happily. If the edges look like they are burning before the time is up, just take a small strip of foil and loosely cover just the edges. For more great recipes, check out this classic inspiration here.
Tips for Success Making Your Perfect Apple Pie
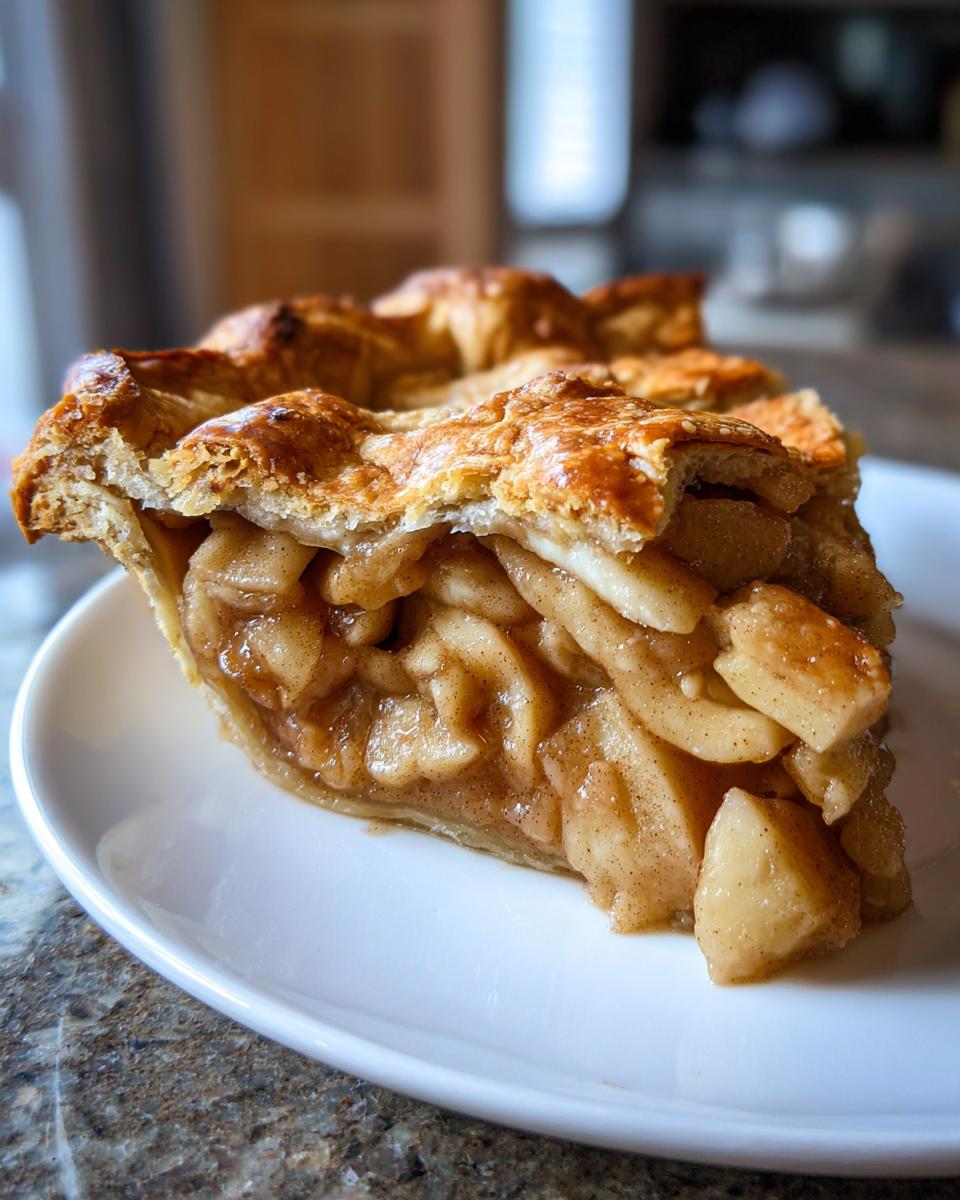
Honestly, I had one pie early on where I got lazy and left my butter out for just five minutes too long while prepping. It was a disaster! The crust came out tough and sort of pale. So, my number one tip for this homemade apple pie is the cold factor. If your butter isn’t rock hard when you cut it in, you are already doomed to a less-than-perfectly flaky texture. Don’t do what I did!
For that Old Fashioned Apple Pie vibe, try doing a mix of apples. I use Granny Smith for that essential tartness, but mixing in a sweeter apple like Honeycrisp makes the filling sing even louder. While this recipe has the perfect spice balance, if you feel adventurous, a tiny shaving of fresh ginger can really wake up those cinnamon apple desserts!
Ingredient Notes and Substitutions for Homemade Apple Pie
Seriously, when making this buttery pie crust, the butter needs to be ice cold. If you feel your dough getting warm while you’re working it, stop! Put it back in the fridge for ten minutes. That rest period lets the fat firm up again, which is vital for that flaky lift. For the filling, Granny Smith apples are the backbone, but don’t be afraid to mix them with something sweeter next time you make this simple apple pie tutorial.

While the cinnamon and nutmeg are non-negotiable for me in a classic flavor profile, if you’re out of nutmeg, you *could* try a pinch of ground cloves, but use it very sparingly. A great resource for understanding spice ratios can often give tips on substitutions, but stick close to the recipe for your first try!
If you want to try out another fruit in this pastry, check out my recipe for making easy apple strudel—it uses a similar pastry concept but a different presentation!
Storage and Serving Suggestions for Your Homemade Apple Pie
Okay, you made it through the bake! Now comes the toughest part: waiting. Seriously, do not cut into this glorious creation right when it comes out of the oven. The filling will turn into molten lava soup, and you’ll end up with a runny mess. This homemade apple pie needs at least three full hours on a wire rack to cool down properly. That time allows the internal juices to thicken up thanks to that flour we added. Cutting it early is the thief of slice perfection!
Once it’s cooled down significantly, you can slice away! This pie is absolutely divine when served just slightly warm, or even at room temperature. If you’re making it ahead of time, it does great just covered loosely on the counter for about two days. If you need it to last longer, pop leftovers into the fridge, but pop it on a baking sheet and warm it up in a 350°F oven for about 15 minutes before serving again. That gets the crust nice and crisp again!
Now for my absolute favorite pairings. A slice of this sweet spiced apple pie screams for a scoop of good quality vanilla ice cream that melts right into the spices. But, if you want to get really traditional—and I mean *truly* Midwestern old-fashioned—you have to try it with a slice of sharp, tangy cheddar cheese melted right on top. Don’t knock it until you try it; the sharpness cuts through the sweetness perfectly. For more cozy fall flavors, you might want to check out my recipe for apple cider cinnamon bread!
Frequently Asked Questions About Homemade Apple Pie
I get so many questions about this pie, which makes sense because it’s such a classic! Here are a few things people often ask when they try to master their homemade apple pie for the first time. If you have more questions after trying this recipe from my apple pie page, just drop a comment!
Can I use a store-bought crust to save time?
You totally can, and there’s no shame in that if you’re short on time! But, if you want that flaky, buttery texture that makes this recipe so special—the one I spent ages perfecting—you’ll want to stick to the from-scratch baking mentioned here. The butter ratio in this scratch dough just can’t be beaten, even for a simple apple pie tutorial.
How do I stop the bottom crust from getting soggy?
Oh, the dreaded soggy bottom! This is where that important cooling time comes in. Don’t cut it early! But for a second layer of defense, I always make sure my oven rack is positioned low enough so the bottom crust gets a good blast of heat. Also, when mixing your best apple pie filling, make absolutely sure the flour is evenly distributed to absorb all those apple juices as they cook. For more help, check out this great pie recipe here.
What apples make the best Old Fashioned Apple Pie?
For that true, balanced flavor, you need tartness! I love using Granny Smith because they stay firm, but combining them with something a little sweeter, like Honeycrisp or Fuji, really upgrades the flavor profile. This mix gives you great texture and depth that screams Old Fashioned Apple Pie comfort. It’s an easy upgrade that makes a big difference!
Estimated Nutritional Data for Homemade Apple Pie
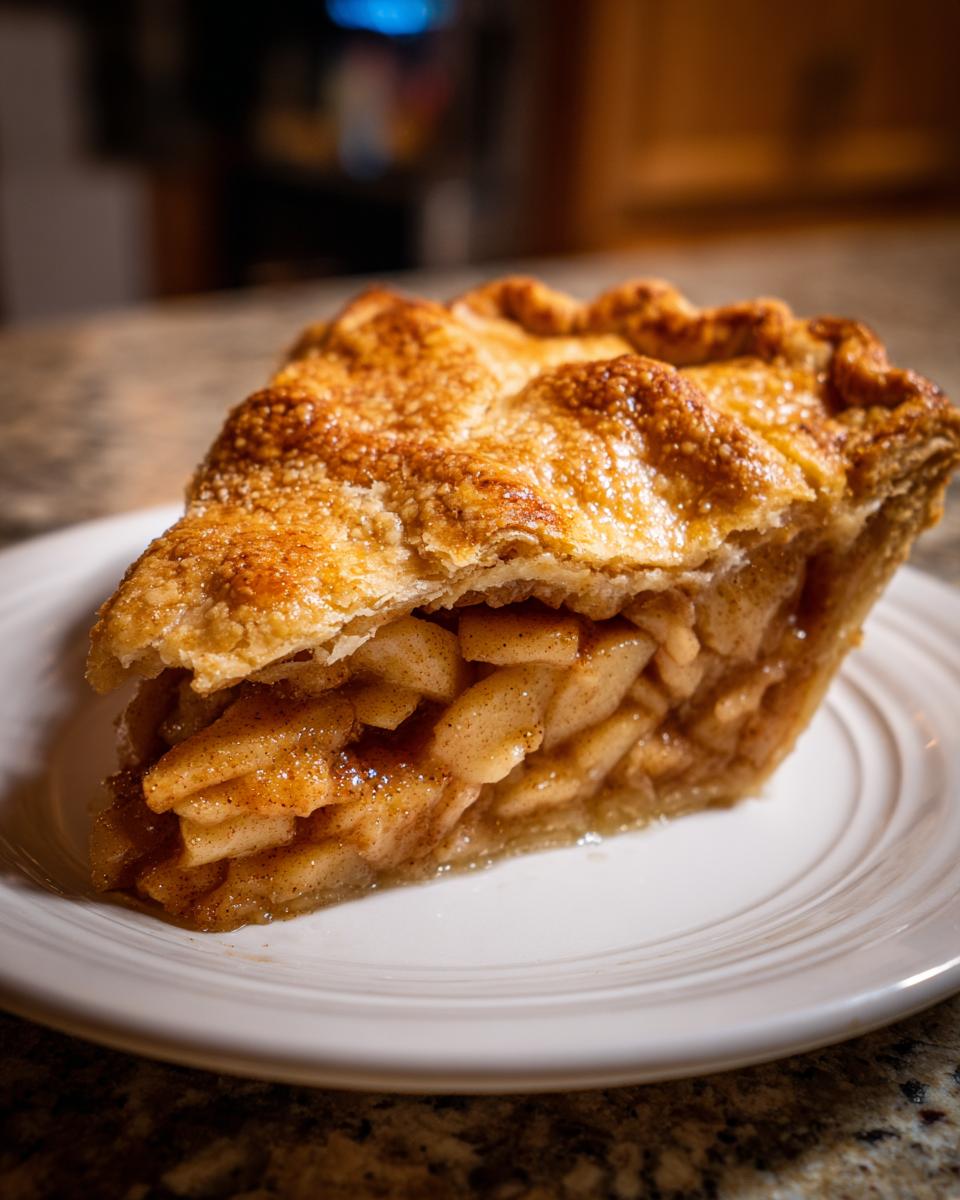
So, here’s the final piece before you dive in—a little look at the numbers. Remember, I’m a home cook, not a lab technician! This information is based on the ingredients I listed and standard calculations, but honestly, every time you bake a homemade apple pie, your slice will taste different depending on the exact amount of butter you use or how sweet your apples really are.
These estimates are based on a serving size of one slice. You’ll see that the fat content is higher, and that’s because we are using plenty of cold unsalted butter because that’s what makes that flaky crust sing! For the full ingredient breakdown, double-check the notes above.
- Serving Size: 1 slice
- Calories: 420
- Sugar: 35g
- Fat: 24g
- Carbohydrates: 52g
- Protein: 5g
Just take these numbers as a happy guideline, okay? What matters most is the satisfaction of eating that perfect slice, made right here in your own oven. Knowing you made that amazing crust from scratch is the real reward!
Share Your Perfect Homemade Apple Pie Experience
Whew! We did it! You have now officially conquered the whole process for making the absolute best homemade apple pie from scratch. I really hope your kitchen smells just as wonderful as mine does right now. That warm cinnamon and baked apple aroma is truly comforting, isn’t it?
This is the part where I ask you to hop back down here in the comments section. Tell me how it went! Did you stick to the flaky pie crust recipe exactly, or did you try a different apple mix? I’d love to see a rating out of five stars so I know how this classic stacks up for you. If you made it, take a photo and tag me on social media—I always love seeing your baking adventures!
If you enjoyed this tutorial and feel ready to tackle more baking, head over to my main recipe index for more sweet ideas. And if you’re looking for inspiration from others who have already made this pie, take a peek at some famous examples like this one over here. Happy baking, everyone!
PrintThe Best Easy Homemade Apple Pie with Flaky Double Crust
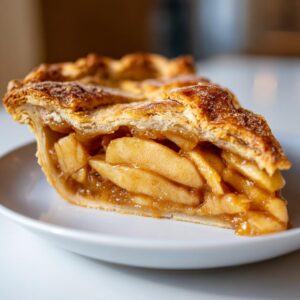
Make this classic homemade apple pie from scratch. It features a buttery, flaky double crust and a sweet, cinnamon-spiced filling using tart apples for the perfect comforting dessert.
- Prep Time: 45 min
- Cook Time: 65 min
- Total Time: 110 min
- Yield: 8 servings 1x
- Category: Dessert
- Method: Baking
- Cuisine: American
- Diet: Vegetarian
Ingredients
- 2 1/2 cups all-purpose flour
- 1 teaspoon salt
- 1 cup (2 sticks) cold unsalted butter, cut into cubes
- 1/2 cup ice water (plus more if needed)
- 6 large Granny Smith apples, peeled, cored, and sliced 1/4 inch thick
- 1/2 cup granulated sugar (adjust based on apple tartness)
- 1/4 cup packed light brown sugar
- 1/4 cup all-purpose flour
- 1 teaspoon ground cinnamon
- 1/4 teaspoon ground nutmeg
- 1 tablespoon lemon juice
- 1 large egg, beaten (for egg wash)
- 1 tablespoon coarse sugar (for topping)
Instructions
- Prepare the Crust: In a large bowl, whisk together 2 1/2 cups flour and 1 teaspoon salt. Cut in the cold butter using a pastry blender or your fingers until the mixture resembles coarse crumbs with some pea-sized pieces of butter remaining. Gradually add ice water, 1 tablespoon at a time, mixing until the dough just comes together. Do not overmix. Divide the dough in half, form into two discs, wrap in plastic, and chill for at least 1 hour.
- Prepare the Filling: In a separate large bowl, combine the sliced apples, granulated sugar, brown sugar, 1/4 cup flour, cinnamon, nutmeg, and lemon juice. Toss gently until the apples are evenly coated.
- Assemble the Pie: Preheat your oven to 425°F (220°C). On a lightly floured surface, roll out one dough disc into a 12-inch circle. Carefully transfer the dough to a 9-inch pie plate. Trim the edges, leaving a 1-inch overhang.
- Fill the Pie: Pour the apple filling into the bottom crust, mounding the apples slightly in the center. Dot the top of the apples with a few small pieces of leftover butter if desired.
- Top the Pie: Roll out the second dough disc. Place it over the filling. Trim the top crust, leaving a 1-inch overhang. Crimp the top and bottom crust edges together to seal. Cut several slits in the top crust to allow steam to escape.
- Bake: Brush the top crust with the beaten egg wash and sprinkle with coarse sugar. Place the pie on a baking sheet. Bake at 425°F (220°C) for 15 minutes. Reduce the oven temperature to 375°F (190°C) and continue baking for 40 to 50 minutes more, or until the crust is golden brown and the filling is bubbly. If the edges brown too quickly, cover them loosely with foil.
- Cool: Let the homemade apple pie cool on a wire rack for at least 3 hours before slicing and serving. This allows the filling to set properly.
Notes
- For the flakiest crust, keep your butter and water as cold as possible when making the dough.
- If you are interested in meal planning to incorporate more homemade desserts, look into options beyond meal delivery companies.
- Using a mix of tart apples like Granny Smith and sweeter apples like Honeycrisp gives you the best flavor balance.
Nutrition
- Serving Size: 1 slice
- Calories: 420
- Sugar: 35g
- Sodium: 250mg
- Fat: 24g
- Saturated Fat: 15g
- Unsaturated Fat: 9g
- Trans Fat: 0.5g
- Carbohydrates: 52g
- Fiber: 3g
- Protein: 5g
- Cholesterol: 60mg