
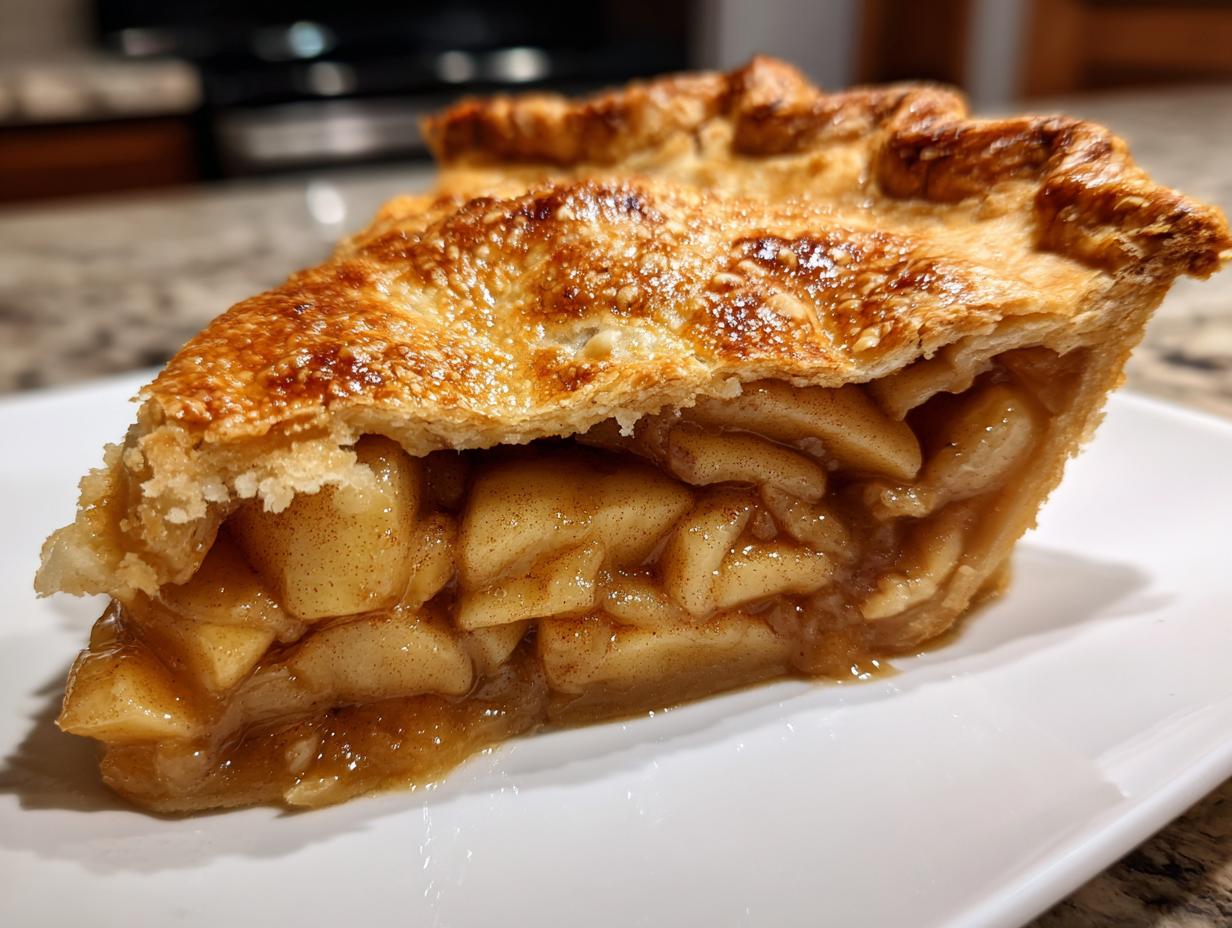

You know that feeling when the house smells like warm cinnamon, butter, and baked apples? That’s the smell of coming home, and for me, it always means pie. Forget fancy desserts; a truly great, classic homemade apple pie is the pinnacle of comfort food, and trust me, this is the definitive apple pie recipe you need in your rotation.
I learned this from my Grandma, standing on a wobbly stool in her Midwest kitchen, getting flour everywhere as she showed me the secrets to a truly flaky, rich crust. That recipe wasn’t just about food; it was about tradition being passed down. We’re making that exact taste—a buttery crust wrapped around crisp, perfectly spiced apples—together right now!
- Why This Classic Apple Pie Recipe is Your New Favorite
- Gathering Ingredients for the Best Homemade Apple Pie
- Simple Apple Pie Instructions: Step-by-Step Guide
- Tips for Success with Your Homemade Apple Pie with Flaky Crust
- Apple Pie Topping Ideas and Variations for Your apple pie recipe
- Storage & Reheating Instructions for This apple pie recipe
- Frequently Asked Questions About This Classic Apple Pie Recipe
- Balancing Comfort Food with Meal Planning
- Share Your Perfect Apple Pie Recipe Experience
Why This Classic Apple Pie Recipe is Your New Favorite
I know everyone claims they have the “best” version, but this one truly delivers comfort and texture every single time. It’s not complicated—it’s just done right! I’ve refined this over the years to hit that sweet spot.
- It features that incredible, melt-in-your-mouth flaky pie crust tutorial you dream about.
- The spice blend is warm, aromatic, and perfectly balanced—never dull!
- It’s the ideal dessert for Thanksgiving or when you just need a hug in pie form.
The Secret to the Buttery Pie Crust Tutorial
I cannot stress this enough: COLD ingredients are non-negotiable for a **buttery pie crust** that shatters perfectly, not crumbles sadly. When I was learning, my Grandma would test my butter by poking it; if it left an impression but wasn’t greasy, it was ready. I promise, taking the time to keep everything icy cold is your golden ticket to that flaky texture.
Perfectly Spiced Apple Filling for Your apple pie recipe
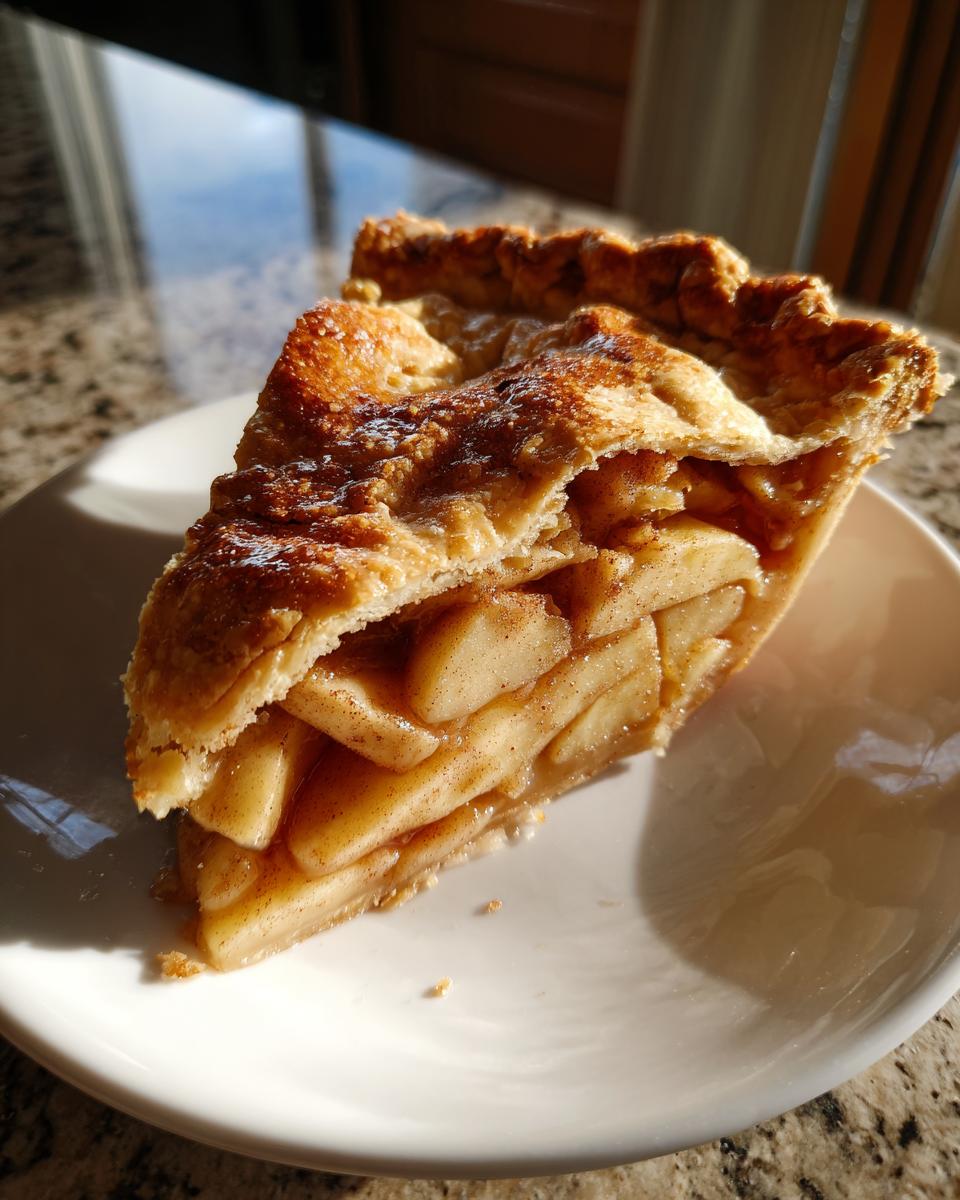
This isn’t just cinnamon. To get that complex flavor, we use a blend of nutmeg and allspice mixed with cinnamon—that deep, warm aroma is my favorite part! Plus, I mix tart Granny Smiths with a sweeter apple, like Fuji, so you get both structure to hold up against the heat and that great sweet-tart flavor in the **cinnamon spiced apple filling**.
Gathering Ingredients for the Best Homemade Apple Pie
Okay, you’ve got the technique down, now let’s talk about the stars of the show! For this **Best Homemade Apple Pie**, the quality of your ingredients really matters, especially since we’re making the crust entirely from scratch. Don’t skip the chilling step for the dough, it pays off huge later, I promise.
Having everything measured out before you even turn on the oven makes the assembly process so much smoother. It keeps you from scrambling and rushing, which is the enemy of a good crust! If you’re looking for other quick apple treats while you’re gathering things, check out these apple fritter bites.
Pie Crust Ingredients: Achieving That Flaky Texture
This is where the “Buttery Pie Crust Tutorial” shines! You absolutely have to start with very cold stuff here. We need: 2 1/2 cups all-purpose flour, 1 teaspoon salt, 1 cup (that’s 2 sticks!) unsalted **butter**, cut into cubes, and about 1/2 cup of ice water. Make sure that butter is practically frozen when you start cutting it in!
Cinnamon Spiced Apple Filling Ingredients for Your apple pie recipe
For the filling, we’re using a mix for flavor and structure. Grab 6 large Granny Smith apples and 4 large sweet apples (I use Honeycrisp or Fuji). Then, mix those with 3/4 cup granulated sugar, 1/4 cup light brown sugar, 1 teaspoon cinnamon, 1/4 teaspoon nutmeg, and 1/8 teaspoon allspice. Don’t forget your 2 tablespoons of flour to thicken everything up!
Simple Apple Pie Instructions: Step-by-Step Guide
This is the fun part, but you have to be deliberate! We’re going from simple ingredients to a masterpiece. Getting your prep done first means the assembly goes super smoothly, which is the key to avoiding tears in your nice crust. If you’ve ever wrestled with dough, you know patience pays off here. If you’re looking for something else to bake while your dough chills, you might want to check out my crusty Italian bread recipe while you wait!
Making the Buttery Pie Crust Tutorial
In a big bowl—remember, keep everything cold!—whisk your flour and salt. Then, you cut in that cold butter until it looks like coarse crumbs with some pea-sized butter chunks still floating around. Don’t just use your hands and warm them up; use a pastry blender or your fingertips quickly! When you add that ice water, only add enough so the dough *just* holds together. I mean it: **Do not overmix**. Once it’s ready, divide it, flatten it into disks, wrap it up, and get it chilling for at least an hour. That rest time is crucial for fluffiness later.
Assembling and Baking Your apple pie recipe
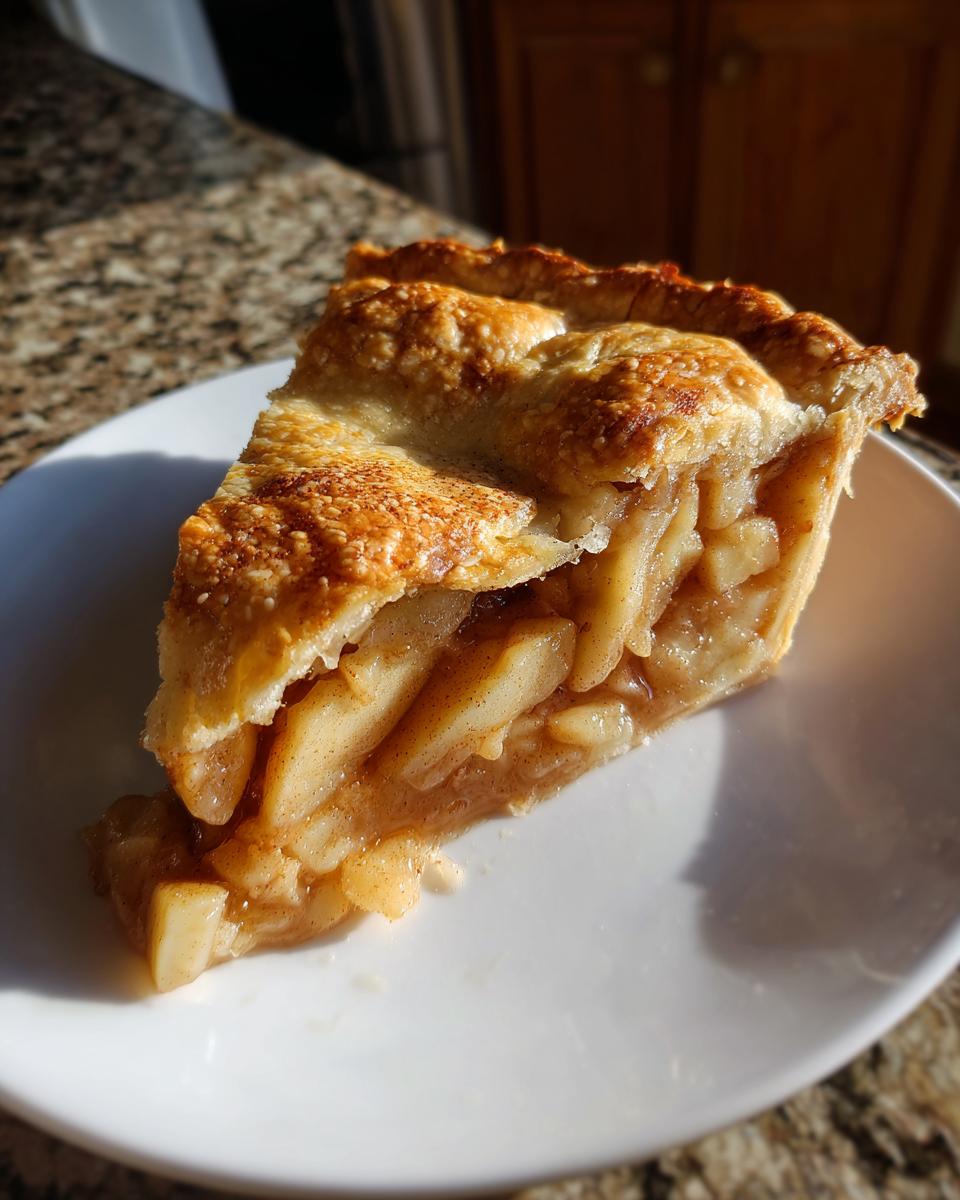
Go ahead and punch down your filling—make sure those apples are coated—and roll out your first chilled disk into a 12-inch circle to fit your pie plate. Chill that bottom crust while you roll out the top. Now, pour in all those glorious apples! Put the top crust on—cut vents or make a lattice if you’re feeling fancy—and crimp the edges to seal it up tight. Give it a brush with your egg wash and sprinkle on some coarse sugar for sparkle. Now for the oven: Preheat to 425 degrees F! Bake it for just 15 minutes up here, then knock that heat down to 375 degrees F for another 40 to 50 minutes. If the edges start looking too brown halfway through, just wrap a little piece of foil around them.
Tips for Success with Your Homemade Apple Pie with Flaky Crust
Baking a pie that looks this beautiful and tastes this good takes a couple of insider secrets, and I’m happy to share! The biggest one, which I learned watching my mom handle sticky fillings, is patience at the end. You absolutely have to let this **Homemade Apple Pie with Flaky Crust** cool on a wire rack for at least three full hours before you even think about cutting it. Seriously, don’t touch it!
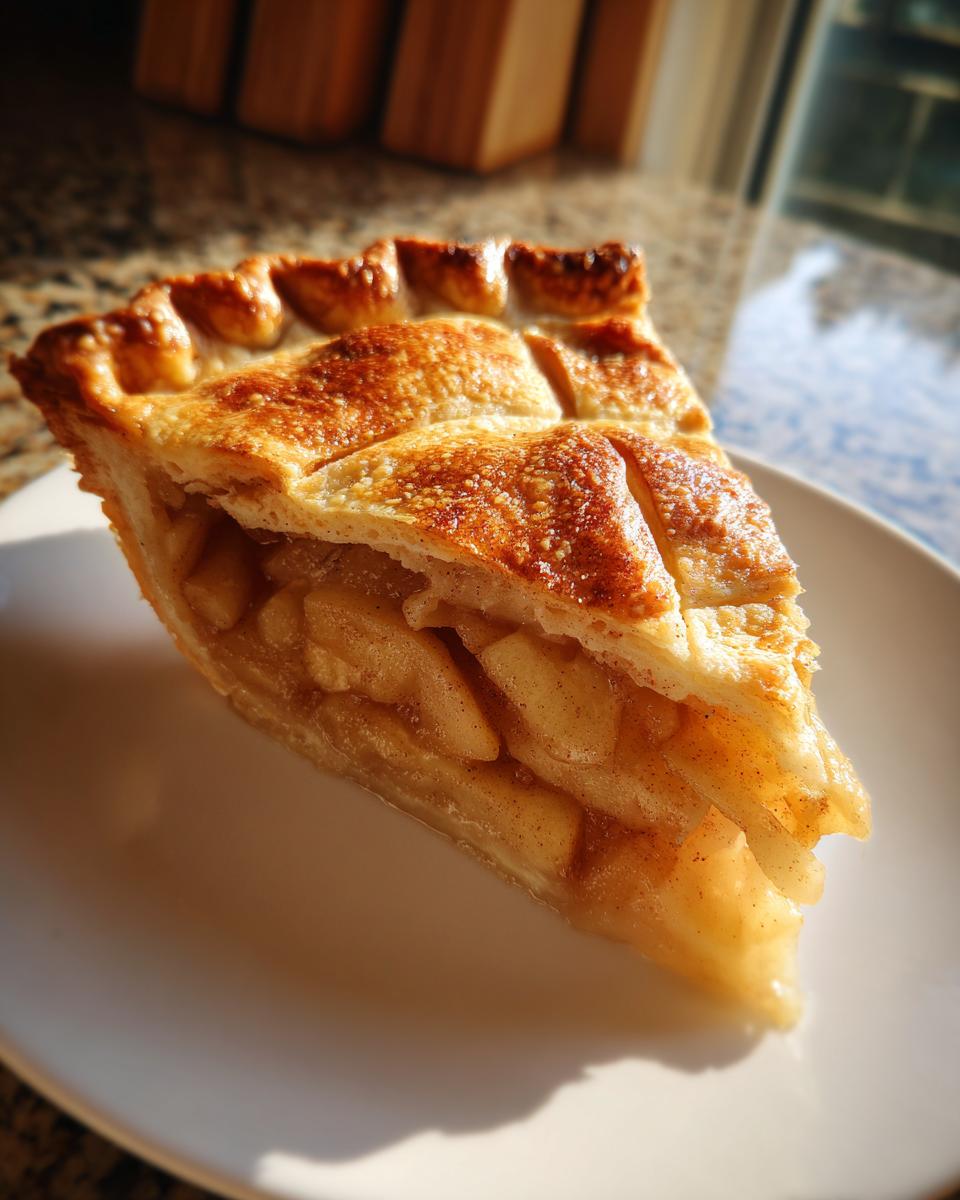
If you slice it hot, all that gorgeous, thick apple filling just runs out, leaving you with a soupy mess. Three hours lets everything firm up perfectly. Also, remember my grandmother’s favorite way to serve it? A slice of sharp cheddar cheese alongside a warm wedge is traditional and honestly, the salty tang cuts through the rich spice perfectly. If you want something lighter for a side, try my apple cranberry coleslaw!
Apple Pie Topping Ideas and Variations for Your apple pie recipe
So, you’ve nailed the filling, but maybe a full double crust feels like too much work today? I totally get it! The beauty of baking with apples is how versatile the structure can be. If you want something that screams cozy autumn but is a little easier than perfectly joining two edges, ditch the solid top.
You could go for an amazing lattice top—don’t be intimidated, it’s just weaving strips! Or, if you’re feeling like a change of pace, lean into a **Dutch Apple Pie Recipe**. That means swapping the top crust entirely for a wonderfully buttery, cinnamon-laced crumble topping. It’s easier, and honestly, having that crunchy topping over the soft apples feels like a real treat. It turns the whole thing into more of a **Rustic Apple Pie** vibe. If you enjoyed that crumble idea, you absolutely have to try my apple crumb cake next time!
Storage & Reheating Instructions for This apple pie recipe
Once you manage to wait three hours for it to cool down properly, storing your pie is pretty straightforward. If you plan on eating the whole **apple pie recipe** over one or two days, keeping it on the counter wrapped loosely at room temperature is totally fine because of all that sugar goodness in the filling. But if it needs to last longer than that, wrap it tightly and put it in the fridge.
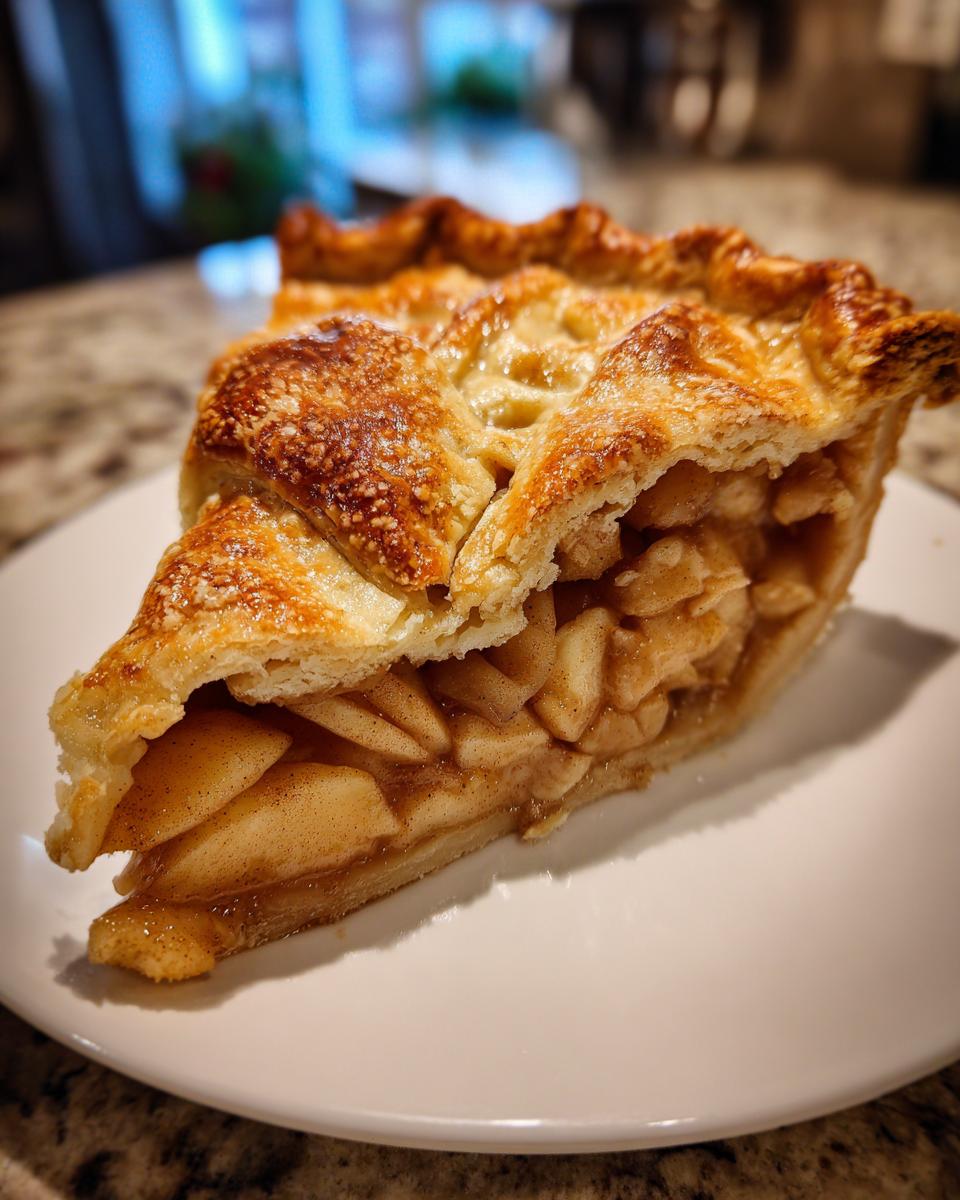
When you want a slice later, don’t grab the microwave! That makes the crust surrender immediately. Instead, reheat individual slices in a 350-degree oven for about 10 minutes until the filling softens up. If you’re not reheating yours with a slice of cake like my sour cream coffee cake, try heating it with a scoop of ice cream for the true experience!
Frequently Asked Questions About This Classic Apple Pie Recipe
I get so many great questions when people try this classic baking staple for the first time! It’s completely normal to have questions, especially when tackling a double-crust pie. Don’t worry, we are going to make sure this turns out perfectly for you, just like it did for my grandma.
Can I use pre-made pie crust in this apple pie recipe?
You absolutely can if you’re in a rush! If you need an **Easy Apple Pie Recipe**, store-bought crust works fine in a pinch. But remember what I said earlier? It won’t have that unbelievably flaky texture we worked so hard for! For the best result, homemade is the way to go.
What is the best way to prevent a soggy bottom crust?
Oh, the dreaded soggy bottom—we won’t have that here! My biggest trick is to make sure that bottom crust is super cold when it goes into the oven, just like we did in the instructions. Also, try baking it on the lower rack for the first half of the bake time. That blasts heat right onto that bottom before the juices really start flowing fully. If you’ve got a glass pie plate, use that! You can actually see if the bottom is starting to brown properly.
I also highly recommend chilling the entire assembled pie for about 15 minutes in the fridge right before it goes into that hot oven—it tightens everything up! If you are looking for some lighter side dishes to balance out this rich dessert, check out my recipe for banana oatmeal, it’s surprisingly refreshing!
Balancing Comfort Food with Meal Planning
Now, I totally believe in making this gorgeous apple pie recipe whenever the craving strikes because life is too short for boring food! But, hey, reality hits, and sometimes we need a little structure. That’s where good meal planning comes into play. When you know what you’re having for dinner most nights, it lets you purposefully budget that perfect Saturday night for baking something incredible like this pie.
It’s all about balance, right? Plan those wholesome dinners so you feel great about indulging in a slice of golden, buttery perfection afterward. It makes the treat taste even sweeter! If you’re looking for a completely different kind of inspiration next time, check out Grandma Ople’s take on pie for a fun change of pace!
Share Your Perfect Apple Pie Recipe Experience
I’ve shared my family’s secrets, from the cold butter to the three-hour wait! Now it’s your turn. Did this **apple pie recipe** become a new family favorite at your place? Please jump down below and leave a star rating—it really helps me know what’s working!
I absolutely love seeing your creations when you tag me online. Whether you made a picture-perfect lattice or just a simple, rustic top, share a photo! I’m always sharing my favorites over on the main blog page where we share all our kitchen adventures!
PrintClassic Homemade Apple Pie with Flaky Crust
Bake a timeless American classic with this recipe for homemade apple pie, featuring a buttery, flaky crust and a perfectly spiced cinnamon apple filling. This dessert is ideal for holidays or family gatherings.
- Prep Time: 45 min
- Cook Time: 65 min
- Total Time: 110 min
- Yield: 8 servings 1x
- Category: Dessert
- Method: Baking
- Cuisine: American
- Diet: Vegetarian
Ingredients
- 2 1/2 cups all-purpose flour
- 1 teaspoon salt
- 1 cup (2 sticks) cold unsalted butter, cut into cubes
- 1/2 cup ice water, plus more if needed
- 6 large Granny Smith apples, peeled, cored, and sliced 1/4-inch thick
- 4 large sweet apples (like Honeycrisp or Fuji), peeled, cored, and sliced 1/4-inch thick
- 3/4 cup granulated sugar
- 1/4 cup packed light brown sugar
- 1 teaspoon ground cinnamon
- 1/4 teaspoon ground nutmeg
- 1/8 teaspoon ground allspice
- 2 tablespoons all-purpose flour
- 1 tablespoon lemon juice
- 1 large egg, beaten (for egg wash)
- 1 tablespoon milk or water (for egg wash)
- Coarse sugar, for sprinkling
Instructions
- Prepare the Pie Crust: In a large bowl, whisk together the flour and salt. Cut in the cold butter using a pastry blender or your fingers until the mixture resembles coarse crumbs with some pea-sized pieces of butter remaining. Gradually add the ice water, one tablespoon at a time, mixing until the dough just comes together. Do not overmix. Divide the dough in half, flatten each half into a disk, wrap in plastic, and chill for at least 1 hour.
- Prepare the Apple Filling: In a large bowl, gently toss the sliced apples with the granulated sugar, brown sugar, cinnamon, nutmeg, allspice, 2 tablespoons of flour, and lemon juice until the apples are evenly coated. Set aside while you roll out the dough.
- Assemble the Bottom Crust: On a lightly floured surface, roll out one disk of dough into a 12-inch circle. Carefully transfer the dough to a 9-inch pie plate. Trim the edges, leaving a 1-inch overhang. Place the pie plate in the refrigerator.
- Assemble the Top Crust: Roll out the second disk of dough into an 11-inch circle. Cut vents into the top crust or cut into strips for a lattice top.
- Fill the Pie: Pour the apple filling into the chilled bottom crust. Dot the top of the apples with a few small pieces of extra butter if desired. Place the top crust over the filling. Trim the edges and crimp the top and bottom crusts together to seal. Brush the top crust with the egg wash (egg mixed with milk or water) and sprinkle generously with coarse sugar.
- Bake the Pie: Preheat your oven to 425 degrees F. Place the pie on a baking sheet to catch any drips. Bake for 15 minutes at 425 degrees F. Then, reduce the oven temperature to 375 degrees F and continue baking for 40 to 50 minutes, or until the crust is golden brown and the filling is bubbly. If the edges brown too quickly, cover them loosely with foil.
- Cool: Let the pie cool on a wire rack for at least 3 hours before slicing. This allows the filling to set properly.
Notes
- For the flakiest crust, keep your butter and water very cold.
- If you are short on time, you can use a store-bought pie crust, but the homemade version provides superior texture.
- Serve warm with vanilla ice cream or a slice of sharp cheddar cheese for a traditional pairing.
- If you are interested in structured eating plans, look into meal planning options to balance your favorite treats.
Nutrition
- Serving Size: 1 slice
- Calories: 450
- Sugar: 35g
- Sodium: 250mg
- Fat: 25g
- Saturated Fat: 15g
- Unsaturated Fat: 10g
- Trans Fat: 0g
- Carbohydrates: 58g
- Fiber: 3g
- Protein: 5g
- Cholesterol: 60mg