
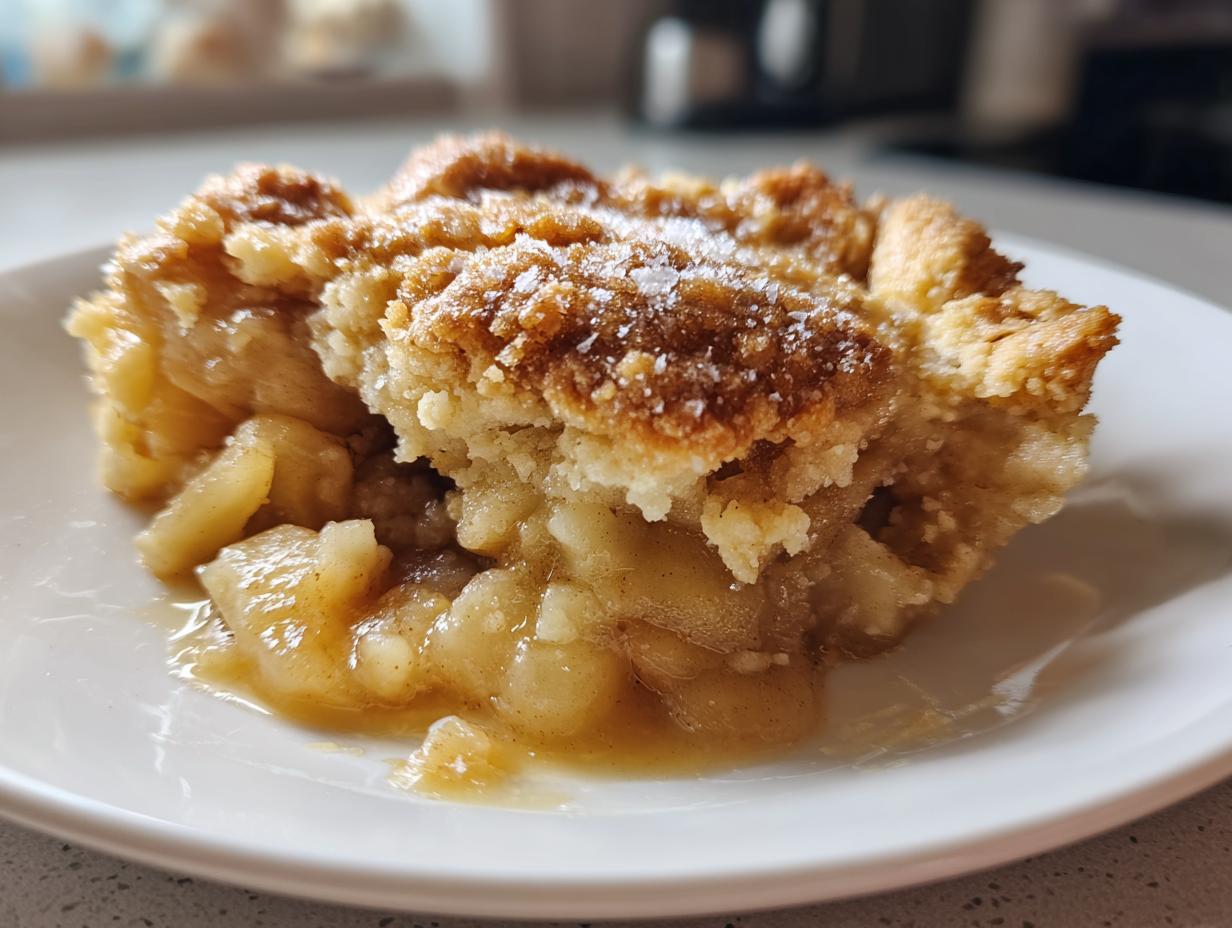

Welcome! I’m Sarah, and I’m so happy you’re here exploring my kitchen at Cut Cook Taste. If you’re craving something warm, comforting, and truly homemade, you absolutely need this apple cobbler recipe in your life. Forget wrestling with pie dough! While I adore a flaky crust—you can see my recipe for that perfect homemade apple pie here—this cobbler is intentionally easier, but it delivers that deep satisfaction we all look for in a classic dessert. The real magic is in those tender, cinnamon-spiced apples nestled right under the richest, buttery biscuit topping you can imagine. It reminds me of standing on a wobbly stool next to my grandmother, learning that the best things in life are made by hand. Trust me, this one is going straight into your favorite recipes file. I just know it!
- Why This Easy Apple Cobbler Recipe is Your New Favorite Comfort Food Desserts
- Gathering Ingredients for Your Homemade Apple Cobbler
- How to Make Apple Cobbler From Scratch: Step-by-Step Instructions
- Tips for Success with Your Apple Cobbler Recipe
- Serving Suggestions for This Apple Dessert with Ice Cream
- Storage and Reheating Instructions for Leftover Apple Cobbler Recipe
- Frequently Asked Questions About This Apple Cobbler Recipe
- Nutritional Estimates for Your Apple Cobbler Recipe Serving
- Share Your Homemade Apple Cobbler Experience
Why This Easy Apple Cobbler Recipe is Your New Favorite Comfort Food Desserts
Honestly, if you’re looking for an Old Fashioned Apple Dessert that doesn’t require an entire afternoon indoors, this is it. I developed this version because sometimes you just need that warm, gooey apple fix right now, not tomorrow. It’s sturdy, welcoming, and tastes like a hug in a dish.
Here is why I know this simple cobbler recipe will make it into your regular rotation:
- It fills your home with the best smells—truly a perfect Fall Baked Goods aroma that lasts.
- It’s a fantastic answer when you need a last-minute Warm Apple Dessert for unexpected guests.
- It satisfies the craving for Comfort Food Desserts without the fuss of rolling out pie crust. Be sure to browse my latest kitchen adventures over on my main blog page!
Quick Prep for a Simple Cobbler Recipe
I love baking, but I don’t always have two hours to commit, you know? This whole apple cobbler recipe comes together in about 20 minutes of active prep time. That means you can chop your apples, whip up the topping, and get it into the oven before you even finish making your coffee. It’s the definition of an Easy Apple Cobbler!
The Best Apple Cobbler Recipe Topping: Buttery and Golden Crust Cobbler
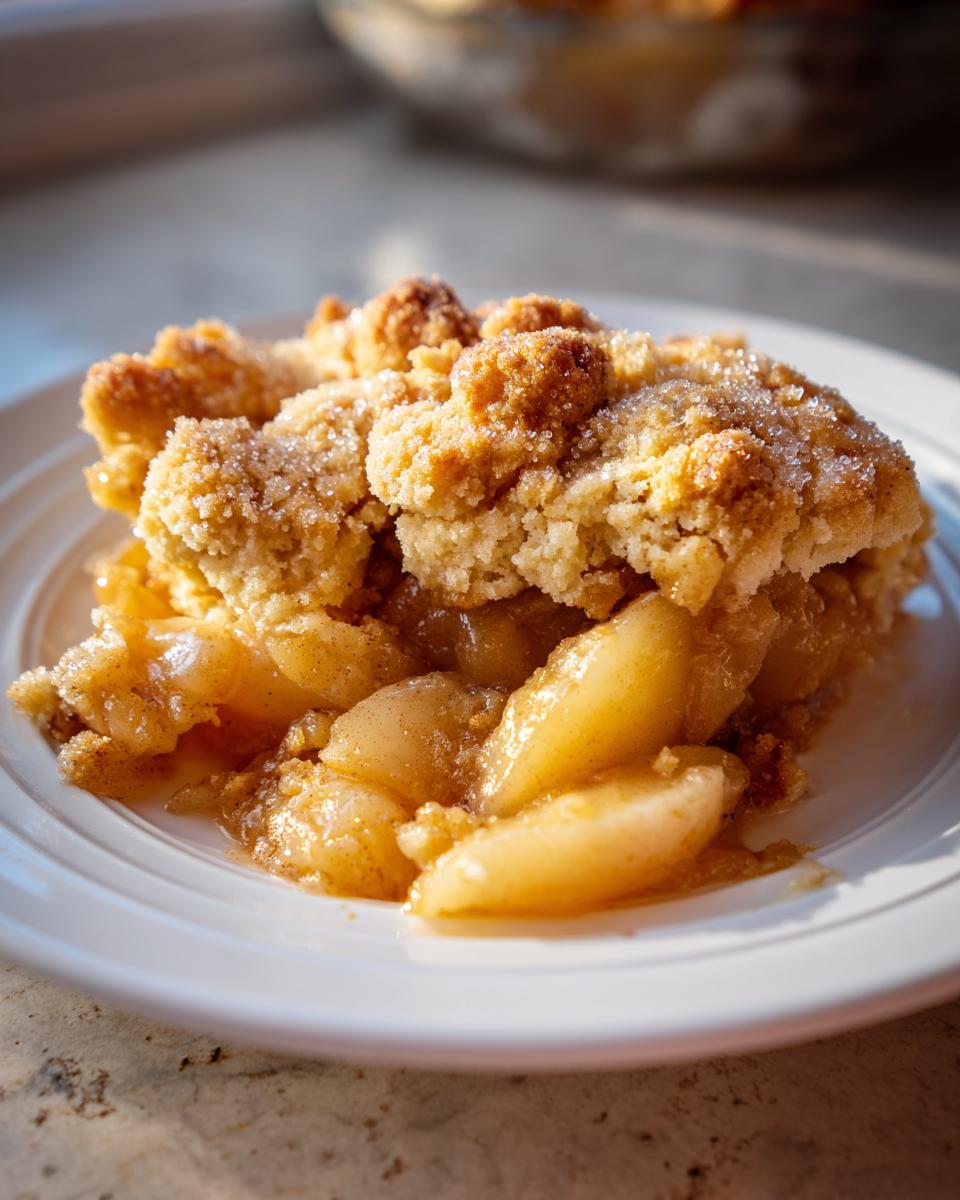
We aren’t doing a watery, cakey topping here. The goal is a wonderfully structured, biscuit-style lid. That means we are focusing heavily on keeping the butter ice cold! This results in the most glorious Buttery Apple Cobbler Topping—it bakes up golden, tender, and just a little bit crisp on the edges. It’s the perfect contrast to those soft, spiced apples underneath.
Gathering Ingredients for Your Homemade Apple Cobbler
Now that we know this is going to be the absolute best comfort dessert you’ve made all season, let’s talk about what you need to pull this off. Remember what my dad always said? Good food starts with focusing on the ingredients, even for something simple like this lovely apple cider drink! Quality matters, especially when handling the fruit.
For this Homemade Apple Cobbler, we need two main groups of things: the filling that gets soft and bubbly, and the topping that bakes up beautifully golden.
For the Cinnamon Spiced Apples Filling
This is where that incredible warm aroma starts filling your kitchen! You’ll need:
- 6 medium Granny Smith apples, peeled, cored, and sliced—and please, slice them consistently! This keeps the bake time even.
- 1/2 cup granulated sugar
- 1/4 cup packed light brown sugar—the molasses notes really deepen the sweet flavor.
- 1 tablespoon all-purpose flour (this helps thicken the juices a tiny bit so they don’t run all over the place).
- 1 teaspoon ground cinnamon
- 1/4 teaspoon ground nutmeg—together, this combination is what makes those Cinnamon Spiced Apples sing!
- 1 tablespoon lemon juice (just a splash to keep the apples bright).
- 1/4 cup cold unsalted butter, cut into small pieces (we’ll dot this over the top before we bake).
For the Buttery Apple Cobbler Topping Dough
The topping is super important; it needs to be cold to get that perfect biscuit texture. Seriously, if you are using butter, keep it straight from the fridge!
- 1 1/2 cups all-purpose flour
- 2 teaspoons baking powder
- 1/2 teaspoon salt
- 1/2 cup cold unsalted butter, cut into small pieces—the colder the better for that flaky texture!
- 1/2 cup milk—and make sure this is cold, too!
- 1 large egg, lightly beaten (this is for brushing on top only).
- 1 tablespoon coarse sugar (this gives you that magnificent, sparkly, Golden Crust Cobbler finish).
How to Make Apple Cobbler From Scratch: Step-by-Step Instructions
Alright, let’s stop chatting about how delicious this is going to be and actually put this wonderful apple cobbler recipe together! Don’t feel intimidated by the steps; they are very logical. Think of this as building layers of comfort. My goal here is to walk you through exactly how I get that bubbly, warm base and that perfect topping every single time. If you love the flavor of warm apples mixed with spice, check out my recipe for apple cider cinnamon bread—it really captures that cozy feeling!
Preparing the Apple Base for Your Apple Cobbler Recipe
First things first, we need heat! Preheat your oven to 375 degrees Fahrenheit. Then, grab your 9-inch square baking dish and give it a good, light greasing. Seriously, don’t skip this step, or you’ll be scraping later! In a big bowl—your biggest one!—toss those sliced apples with both sugars, that little bit of flour, cinnamon, nutmeg, and lemon juice. You want to toss them really gently until every single slice looks coated. That even coating is key, trust me. Once they look perfect, pour them into your prepared dish. Finally, take that first quarter cup of cold butter pieces and just dot them evenly over the top of those apples. That’s going to add richness right where we need it!
Creating the Buttery Apple Cobbler Topping
Move over to a separate bowl for the biscuit topping. Whisk your 1 1/2 cups of flour with the baking powder and salt. Now comes the crucial part for that Buttery Apple Cobbler Topping: cutting in the cold, half-cup of butter. Grab a pastry blender if you have one, or just use your fingertips, working quickly so the butter doesn’t melt. You are looking for coarse crumbs with some small, pea-sized butter chunks still visible. Those chunks are what turn steamy in the oven and give you that flaky lift! Once it looks like coarse cornmeal with pebbles, pour in the cold milk. Stir it *just* until it barely comes together into a shaggy dough. If you mix it more than that, you’re developing gluten, and we want biscuits, not tough crackers!
Assembling and Baking This Warm Apple Dessert
Time to put it all together! Take spoonfuls of that soft dough and drop them right over the apple filling. Don’t try to spread it smoothly; just drop them like little islands, leaving gaps so that gorgeous filling can bubble up through the spaces. It should look rustic—that’s the charm! Brush those biscuit mounds with the lightly beaten egg, and sprinkle that coarse sugar over the top. That sugar creates the crunch! Pop it into the preheated oven and bake it for about 35 to 45 minutes. You know it’s done when that topping is beautifully golden brown and you can see the filling bubbling excitedly around the edges. Let it rest for at least 15 minutes before diving in. This waiting time is essential for letting those juices settle so your Warm Apple Dessert sets up nicely!
Tips for Success with Your Apple Cobbler Recipe
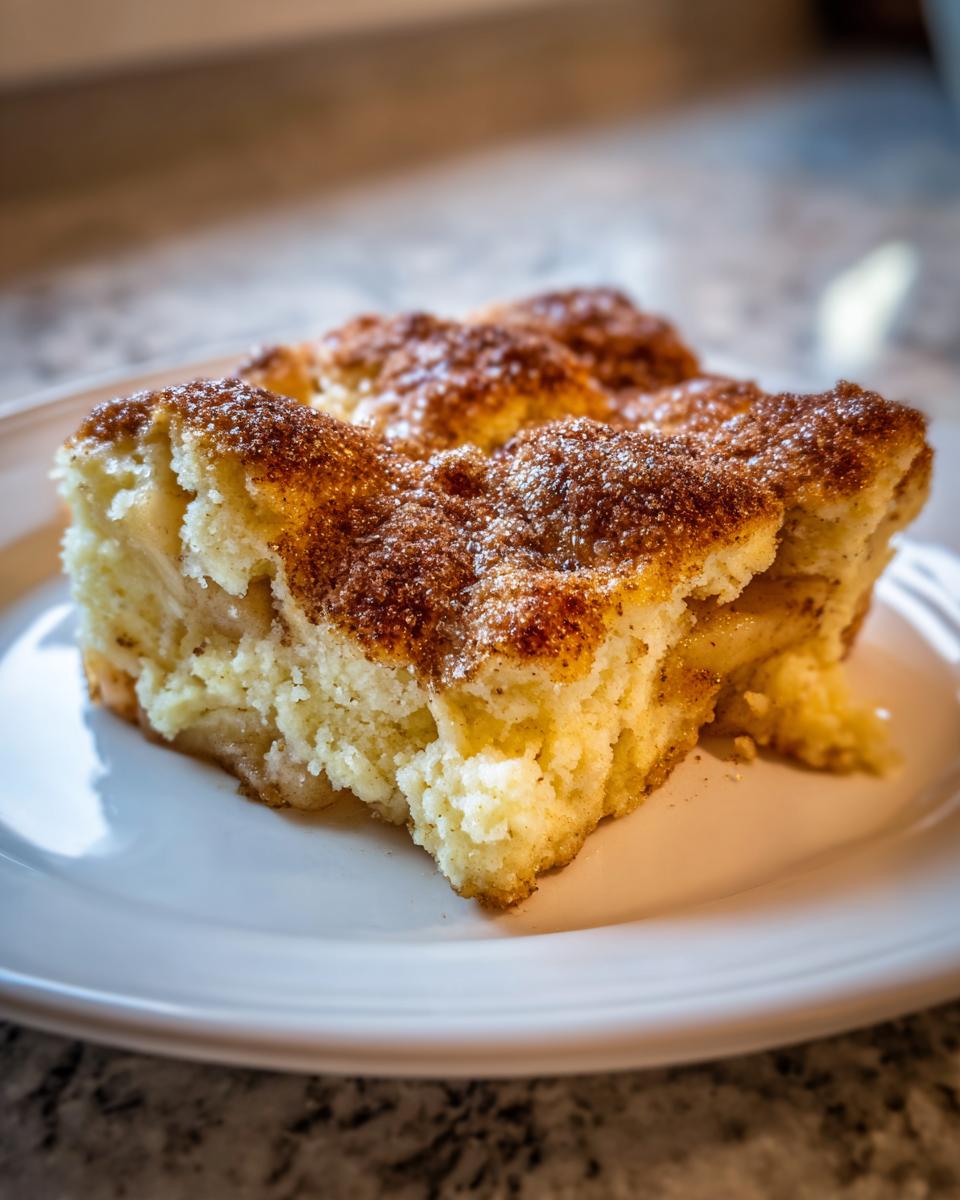
Even though this is the easiest apple cobbler recipe you’ll ever make, a few little tricks from my kitchen can elevate it to the title of the Best Apple Cobbler Recipe! These aren’t complicated changes; they are just ways to ensure that buttery topping stays crisp and your apples don’t get mushy. These little details are how we build cooking confidence, right?
Choosing the Right Apples for the Apple Cobbler Recipe
My number one rule for cobbler is using Granny Smith apples. Seriously, don’t substitute with something softer like a Red Delicious here! Granny Smiths are tart, which balances the sugar beautifully, but more importantly, they hold their structure when they bake. If you use apples that are too soft, you end up with applesauce instead of tender slices in your cobbler. If you want to get fancy, try a mix—maybe 4 Granny Smiths and 2 Honeycrisps—but always keep the ratio leaning toward the tart and firm side.
Achieving the Perfect Buttery Apple Cobbler Topping Texture
If you are aiming for that truly phenomenal, flaky texture in your Buttery Apple Cobbler Topping, you have to remember the butter needs to stay cold! If you’re working by hand, try to use just the very tips of your fingers when working the butter into the dry mix. The heat from your palm melts that fat too fast, and that’s how you lose puff. If you have a pastry blender, use it! It cuts the butter in faster and keeps things colder, which is exactly what we need to guarantee you get that beautiful Golden Crust Cobbler after baking. If you need a fun break from baking, you can try my recipe for apple fritter bites!
Serving Suggestions for This Apple Dessert with Ice Cream
The moment this warm, bubbly delight comes out of the oven, that’s when the magic truly starts! While it’s tempting to just dive in right away, letting it rest for that crucial 15 minutes makes the juices settle down just enough so you don’t burn your mouth—and your spoon sinks in perfectly.
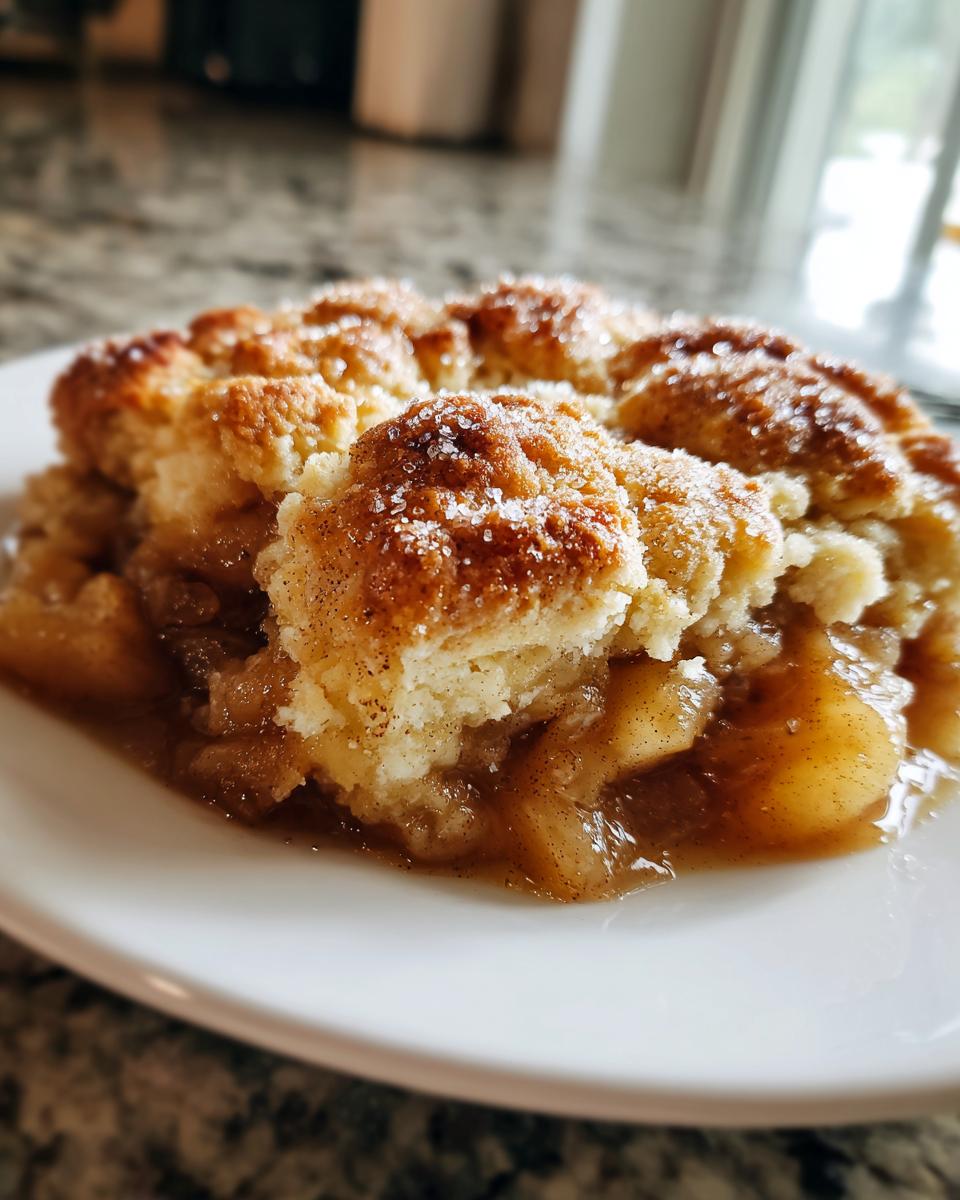
This is the quintessential Dessert for Cozy Night. It’s perfect served slightly warm, perhaps with a good book or watching a movie on a chilly evening. But let’s be honest, nothing competes with the classic partner for this dessert.
You absolutely must serve it with a big scoop (or two!) of quality vanilla bean ice cream. The contrast between the hot, tart-sweet fruit and the melting, cold cream is just unbeatable. It’s the best part of making an Apple Dessert with Ice Cream! If you’re feeling extra fancy after this successful bake, you might want to try my velvety butter pecan cookies next time.
Sometimes, if I’m serving it family-style right from the dish, I’ll just drizzle a little heavy cream over the top instead of doing the ice cream. It softens the crust slightly, and it’s just divine. Either way, enjoy that incredible scent and flavor!
Storage and Reheating Instructions for Leftover Apple Cobbler Recipe
So, you had such a great time baking, and now you have some perfect leftovers! It happens every time I make this apple cobbler recipe; nobody can ever finish the entire thing in one sitting because it’s just too rich and comforting.
Storing this dish is pretty straightforward, but the way you treat it when reheating makes a huge difference in maintaining that wonderful texture we worked so hard for.
Storing Your Homemade Apple Cobbler
First, you have to let it cool down completely. If you try to cover it while it’s still warm, you’re basically creating a little steam room inside the container, and that condensation will make your lovely biscuit topping turn soggy overnight. Don’t do that to yourself!
Once it’s room temperature, cover the baking dish tightly with plastic wrap or transfer the remaining cobbler into an airtight container. You can keep it on the counter for about a day if your kitchen isn’t too hot, but I always tuck mine into the fridge if I know we won’t finish it within 12 hours. It keeps beautifully for up to four days in the refrigerator.
Bringing Back the Golden Crust Cobbler Warmth
This is the most important part of saving leftovers: reheating! We want that topping to be crisp again, not that sad, microwave-limp texture. Bless the microwave, but it’s usually the enemy of a good crust.
The very best way to reheat your leftover apple cobbler recipe serving is in the oven. Preheat your oven to a moderate 325 degrees Fahrenheit. Place the portion (or the whole dish if you want!) on a baking sheet lined with foil—this helps catch any drips. Bake it for about 10 to 15 minutes, depending on how large your slice is. You’ll know it’s ready when the apples are bubbling again and the topping feels nicely firm and warm to the touch.
If you are in a total rush and only have one small piece, a quick zap in the microwave for 20 seconds will do the trick for warming the apples, but you miss out on that beautiful crispness. If you go that route, eating it immediately with ice cream helps hide the slightly softer topping!
Frequently Asked Questions About This Apple Cobbler Recipe
I always get so many great questions when readers try a new baking staple! That’s fantastic, because it means you’re really paying attention to the details which results in home baking success. I’ve gathered the most common concerns I hear about this apple cobbler recipe right here so you can feel totally confident before you even turn on the oven. If you’re looking for something equally simple but bright and zesty, you have to try my easy lemon scones recipe!
Can I use different apples in this Easy Apple Cobbler?
You totally can! But, and this is a big but, Granny Smiths are my favorite because they are tart and firm, so they keep their shape nicely when they bake down into that lovely filling. If you want a bit more sweetness, feel free to do a mix! Try using maybe four Granny Smiths and two Honeycrisps. That gives you the tart backbone while adding a touch of varied texture to your Cinnamon Spiced Apples. Just avoid anything that turns completely soft during baking!
How do I prevent the topping on my apple cobbler recipe from getting soggy?
Ah, the age-old battle between topping and filling! The key to avoiding a soggy bottom crust on your Buttery Apple Cobbler Topping rests in two places: ingredient temperature and mixing technique. First, make sure your butter and your milk are truly cold when you make the dough—that cold fat creates steam pockets that keep the biscuit light. Second, do not overmix the dough once you add the milk! Stir just until it comes together, no more. And finally, no matter how eager you are, let it cool for that full 15 minutes after it comes out of the oven. That rest allows the juices underneath to thicken up just enough. That’s how you get that perfect contrast!
Is this considered an Old Fashioned Apple Dessert?
Absolutely, yes! Cobbler is such a classic, fundamental American dessert. It predates many of the fussier pastry desserts, which is why I love putting my own stamp on it. While this is an Easy Apple Cobbler version designed to be quick, the concept—fruit on the bottom, simple dough dropped on top—is pure, wholesome, Old Fashioned Apple Dessert tradition. It’s comfort food made the right way, just faster for our busy lives now!
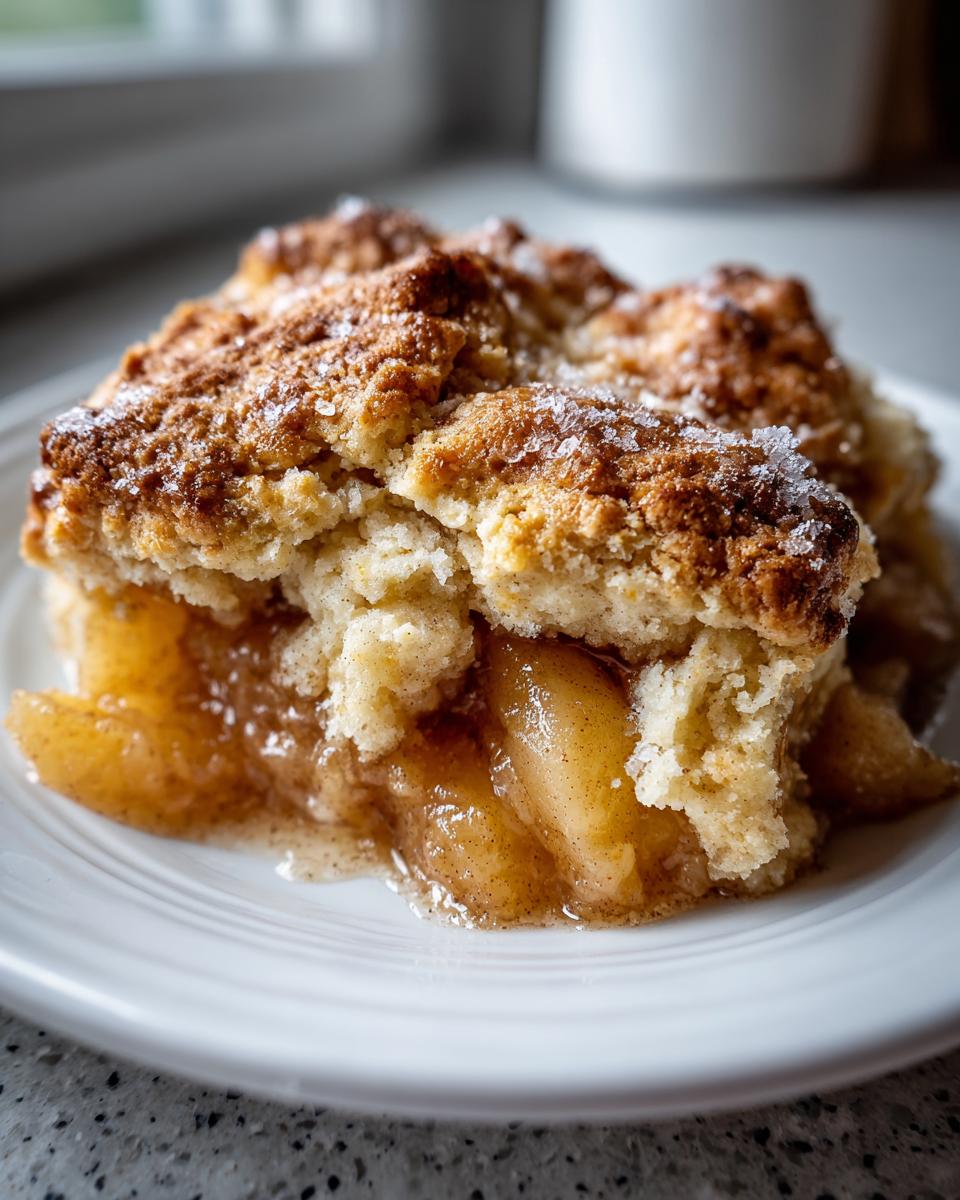
Nutritional Estimates for Your Apple Cobbler Recipe Serving
Now, I always want to be transparent with you all about what we’re eating here! While this is such a beloved classic and certainly a wonderful occasional Warm Apple Dessert, it does contain sugar and butter because, well, that’s what makes it taste so good!
The figures below are exactly what our testing showed for one serving of this cobbler, based on the ingredients listed in the recipe. But, remember this disclaimer: these are just estimates. If you use a different type of sugar or a lighter butter alternative, your final counts will change, so take these as a good guideline!
For one generous serving, here is the basic breakdown:
- Serving Size: 1 serving
- Calories: 410
- Sugar: 35g
- Sodium: 280mg
- Fat: 21g
- Saturated Fat: 13g
- Unsaturated Fat: 8g
- Trans Fat: 0.5g
- Carbohydrates: 55g
- Fiber: 3g
- Protein: 5g
- Cholesterol: 55mg
It’s certainly a treat, especially if you’re serving it warm with that scoop of ice cream we talked about! It’s rich, hearty, and definitely fits the bill for a satisfying, homemade dessert.
Share Your Homemade Apple Cobbler Experience
Well, that’s it! We’ve done the chopping, the mixing, and most importantly, the tasting. The best part of sharing these recipes is hearing back from you all—it truly completes the experience here in my kitchen. I really hope this Homemade Apple Cobbler brings a little bit of warmth and comfort to your own table, just like it does for mine and my family.
I would be so thrilled if you took a moment to tell me what you thought once you’ve baked and served this dessert. Did you go for the vanilla ice cream or try something different? Did your topping turn out perfectly golden?
Please feel free to leave a rating by clicking those stars right back on the main recipe card, and definitely drop a comment below! I read every single one. Sharing your success helps other home cooks who might be nervous about making a dessert from scratch. If you snapped a picture of your bubbly cobbler masterpiece, tag me over on social media! Seeing your delicious bakes is the highlight of my week.
If this whole process has you inspired for more baking adventures, you need to check out my recipe for chocolate caramel toffee crunch cake—it’s decadent, a little messy, and perfect for celebrating something special!
Thank you again for cooking with me today. Happy baking, friends!
PrintEasy Apple Cobbler Recipe with Buttery Biscuit Topping
This recipe delivers a warm, comforting apple cobbler featuring tender, cinnamon-spiced apples covered with a rich, buttery biscuit topping. It is simpler than pie and perfect for a cozy night dessert.
- Prep Time: 20 min
- Cook Time: 45 min
- Total Time: 65 min
- Yield: 6 servings 1x
- Category: Dessert
- Method: Baking
- Cuisine: American
- Diet: Vegetarian
Ingredients
- 6 medium Granny Smith apples, peeled, cored, and sliced
- 1/2 cup granulated sugar
- 1/4 cup packed light brown sugar
- 1 tablespoon all-purpose flour
- 1 teaspoon ground cinnamon
- 1/4 teaspoon ground nutmeg
- 1 tablespoon lemon juice
- 1/4 cup cold unsalted butter, cut into small pieces
- 1 1/2 cups all-purpose flour
- 2 teaspoons baking powder
- 1/2 teaspoon salt
- 1/2 cup cold unsalted butter, cut into small pieces
- 1/2 cup milk
- 1 large egg, lightly beaten (for brushing topping)
- 1 tablespoon coarse sugar (for sprinkling)
Instructions
- Preheat your oven to 375 degrees Fahrenheit. Lightly grease a 9-inch square baking dish.
- In a large bowl, combine the sliced apples, granulated sugar, brown sugar, 1 tablespoon of flour, cinnamon, nutmeg, and lemon juice. Toss gently until the apples are evenly coated.
- Pour the apple mixture into the prepared baking dish and dot the top evenly with the first 1/4 cup of cold butter pieces.
- Prepare the biscuit topping: In a separate medium bowl, whisk together the 1 1/2 cups of flour, baking powder, and salt.
- Cut in the 1/2 cup of cold butter using a pastry blender or your fingertips until the mixture resembles coarse crumbs with some pea-sized pieces remaining.
- Pour in the milk and stir just until the dough comes together. Do not overmix.
- Drop spoonfuls of the biscuit dough over the apple filling, leaving small gaps between the mounds. You do not need to cover the entire surface.
- Brush the tops of the biscuit mounds lightly with the beaten egg and sprinkle with coarse sugar.
- Bake for 35 to 45 minutes, or until the topping is golden brown and the apple filling is bubbly and tender when pierced with a fork.
- Let the apple cobbler cool slightly on a wire rack for at least 15 minutes before serving warm, ideally with vanilla ice cream.
Notes
- Use Granny Smith apples for the best balance of tartness and texture; they hold their shape well during baking.
- For an extra buttery apple cobbler topping, chill your butter and milk thoroughly before mixing the dough.
- This homemade apple cobbler is excellent served warm with a scoop of vanilla ice cream.
Nutrition
- Serving Size: 1 serving
- Calories: 410
- Sugar: 35
- Sodium: 280
- Fat: 21
- Saturated Fat: 13
- Unsaturated Fat: 8
- Trans Fat: 0.5
- Carbohydrates: 55
- Fiber: 3
- Protein: 5
- Cholesterol: 55