
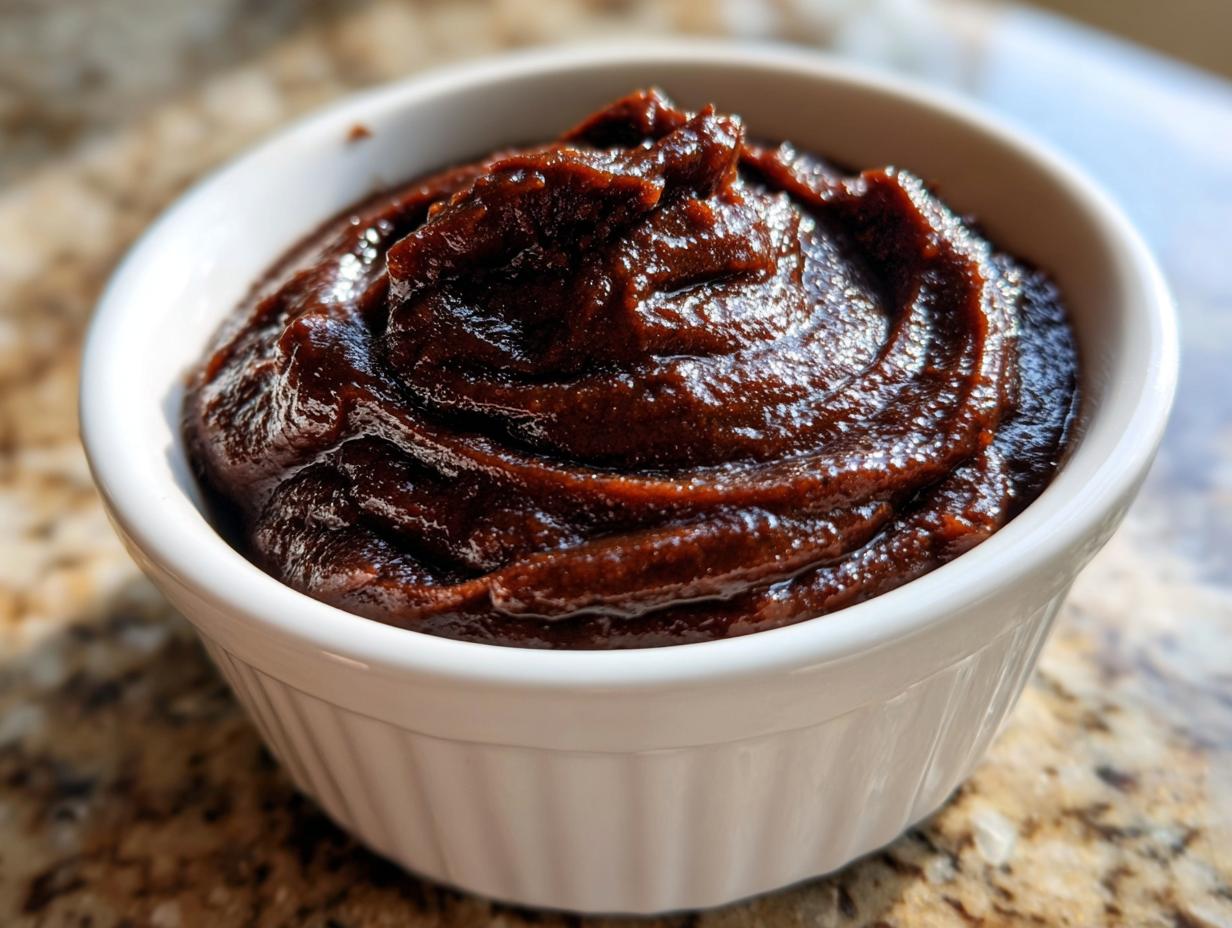

When that first crisp breeze hits in the fall, my mind immediately goes to preserving those beautiful harvests. There’s just something so comforting about filling the kitchen with the smell of warm spices, isn’t there? That’s why I had to share my absolute favorite technique for making **apple butter**. Forget the messy, hours-long stovetop stirring sessions of years past! This recipe is a game-changer because it runs almost entirely on its own in the slow cooker, and here’s the best part: you don’t even have to peel the apples!
I remember those long afternoons with my grandmother, meticulously peeling bushels of apples for canning. It was lovely, but wow, was it time-consuming! This modern approach still gives us that rich, dark, concentrated autumn flavor we crave, but it takes the work out of the equation so we can actually enjoy the season. Trust me when I say this smooth fruit butter will become your go-to **apple butter** recipe.
- Why This is the Best Easy Apple Butter Recipe
- Gathering Ingredients for Your Spiced Apple Butter
- How to Make Apple Butter: Step-by-Step Instructions
- Expert Tips for Perfect Apple Butter Success
- Canning Apple Butter for Long-Term Storage
- Serving Suggestions for Your Spiced Apple Butter Spreads
- Storage and Reheating Instructions for Homemade Apple Butter
- Frequently Asked Questions About Making Apple Butter
- Share Your Best Apple Butter Creations
Why This is the Best Easy Apple Butter Recipe
If you’re looking for an Easy Apple Butter Recipe that actually delivers that deep, rich autumn flavor without hogging your stovetop all weekend, this is it. My goal in the kitchen is always to get the absolute best payoff for the least amount of fuss, and this Homemade Apple Butter wins big time. It’s all about maximizing flavor while cutting corners where it really counts.
We use warming spices to deepen the taste, but the real trick is the slow cooker. It gently coaxes out the sugars and moisture over hours, creating that perfect texture for spreading on toast or even using in your next baking adventure, much like I do with my flaky pie crust!
Time Saved with No Peel Apple Butter
Seriously, ditch the peeler! The skin has flavor and, even better, it has fiber. Since we cook these apples for nearly nine hours until they are completely falling apart, the skins disintegrate right into the mixture during the blending stage. This simple choice cuts about 30 minutes of tedious prep work off the clock. That means you can toss this together before work and come home to deeply flavored **apple butter**!
The Magic of Slow Cooker Apple Butter
The Slow Cooker Apple Butter method is truly foolproof. You throw everything in, set the temperature, and walk away. The low, slow heat gently concentrates the sugars and spices over a long time, which is exactly what you want for a true fruit butter. Unlike stovetop methods where you constantly worry about scorching the bottom, the crock pot keeps things moving just enough to ensure everything melds beautifully without burning. It’s hands-off sweetness!
Gathering Ingredients for Your Spiced Apple Butter
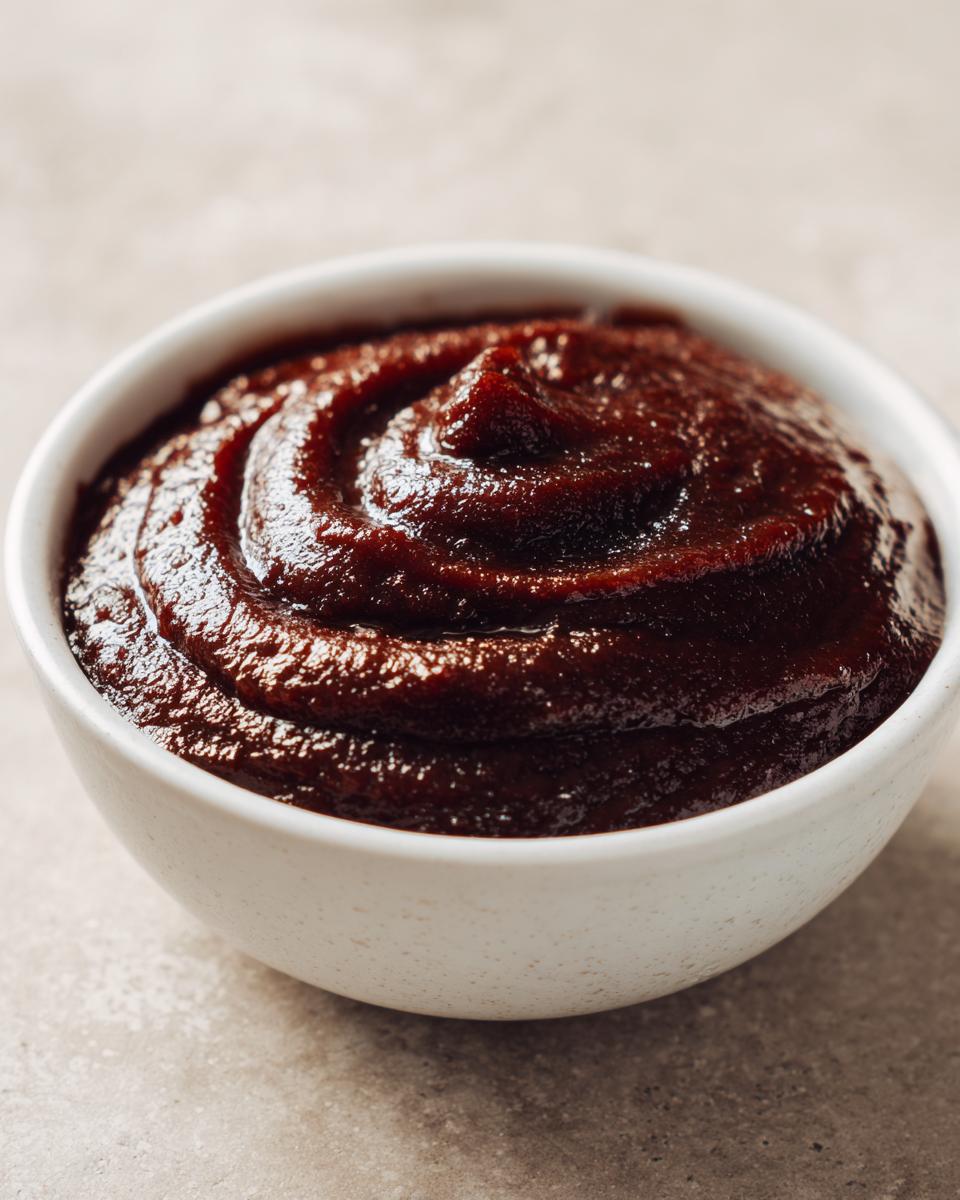
Making a truly great **Spiced Apple Butter** relies on simple, high-quality components that really let the apple flavor shine through. Since this recipe cooks for so long, the spices have time to fully bloom and weave themselves into the fruit. I like to use a mix of apples, but if you have one favorite cooking variety, that works perfectly too! Don’t skimp on the brown sugar; it adds that molasses depth we just can’t get from plain white sugar.
Ingredient List for Slow Cooker Apple Butter
Here is exactly what you need to gather up before you load up the **Crock Pot Apple Butter**. Remember, we aren’t peeling, so just give those apples a serious wash before chopping them up!
You’ll need four pounds of apples, which should be cut into quarters after removing the stems and seeds. Then grab one cup of apple cider, one cup of packed brown sugar—and I mean packed in there tightly! For our spice blend, measure out one teaspoon of ground cinnamon, half a teaspoon of ground allspice, a quarter teaspoon of ground cloves, and just a quarter teaspoon of ground nutmeg. That beautiful mix is what gives this spread its cozy flavor.
How to Make Apple Butter: Step-by-Step Instructions
Okay, now for the fun part! Turning those raw ingredients into a rich, thick, homemade **apple butter** is easier than you might think, largely because the slow cooker is doing 90% of the serious heavy lifting. Watch how quickly we go from apples to spiced perfection. If you need a delicious, spiced drink to sip while you wait, you should check out my apple cider mule recipe!
Preparing the Apples and Loading the Crock Pot
We start with washing the apples really well—remember, we’re skipping the peeling step, so give them a good scrub! You need to cut those apples into quarters, making sure you remove the stem ends and any seeds or cores. That’s truly it for the prep work. Seriously, isn’t that the best news?
Once they are chopped, toss them right into the slow cooker basin. Add the apple cider, the packed brown sugar, and all those wonderful spices—the cinnamon, allspice, cloves, and nutmeg. Give it a quick stir with a wooden spoon just so everything is coated before you put the lid on. This ensures those spices start working their magic right away to create your **Spiced Apple Butter**.
Cooking and Achieving Smooth Apple Butter Consistency
Now we let the slow cooker do its thing. You can set it to low and let it cook for 8 to 10 hours. If you are in a hurry—though I don’t recommend rushing flavor development!—you can set it to high for 4 to 5 hours. The apples should be incredibly soft, almost like they’ve melted, and easily mashable with just a fork.
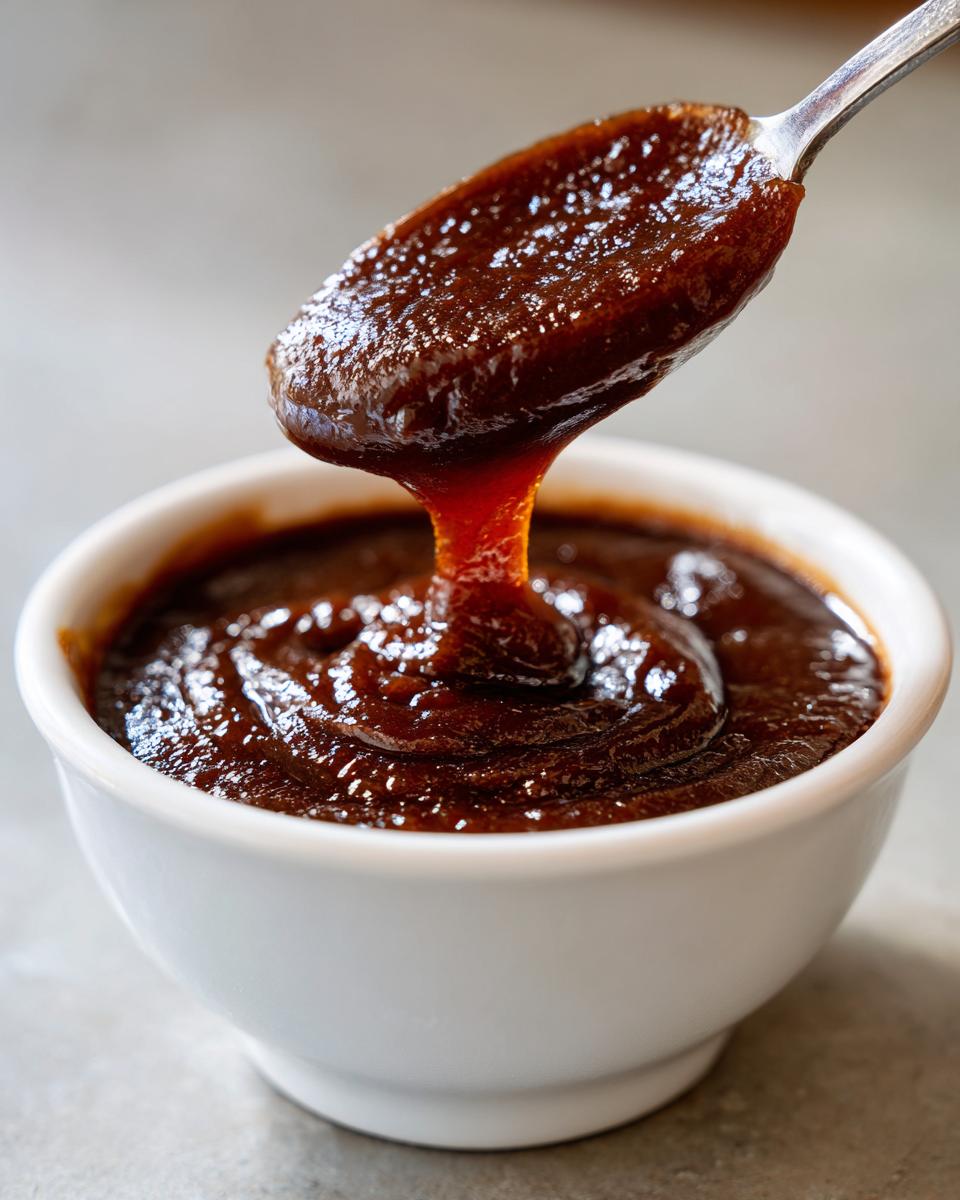
Once cooked, this is where you create that luscious final texture. Carefully transfer the entire soft mixture to your blender, or just use an immersion blender right inside the crock pot. Blend away until it is completely and utterly smooth. That’s how we get that beautiful Smooth Fruit Butter consistency everyone loves. If it looks a little *too* thick, just splash in a tiny bit more cider or water until it feels right. Pro tip from my kitchen: if you want it even thicker than the recipe calls for, take the lid off the slow cooker for the last hour of cooking time. It lets some of that steam escape and really concentrates the flavor!
Expert Tips for Perfect Apple Butter Success
You now have smooth, spiced apple goodness! But like any good comfort classic, there are a few little tweaks you can make depending on your taste preference. I’ve spent a lot of time fiddling back in my kitchen with this recipe—sometimes I use sweeter apples, sometimes I need it run a little longer—so these little tips are based on what I’ve learned to ensure your final **apple butter** is absolutely perfect for you.
I always try to get my mixes just right before I start the long cook time, but it’s good to know you have options later on. If you are experimenting with different flavors, maybe try adding a splash of vanilla extract near the end, similar to how I treat my blueberry muffins!
Adjusting Sweetness in Your Homemade Apple Butter
The sweetness level is really personal, and frankly, it depends on how tart your apples were to begin with. If you tasted your cooked apples and thought, “Wow, these are great, but maybe a little too sweet,” don’t panic! You can always reduce the brown sugar for the next batch, cutting it by half, because the apples themselves bring a lot of natural sugar to the table. For this batch, if it’s already cooked, there isn’t much you can do besides stirring in a tiny squeeze of lemon juice to balance that sweetness out if it’s overwhelming.
Achieving the Best Texture for Apple Butter
Texture is everything when it comes to a spreadable fruit butter. If you followed my tip earlier and took the lid off for the last hour, you should have a nice, thick consistency, perfect for coating toast! But say you forgot, and now your homemade **apple butter** seems a little too thin for your liking—no worries.
The best way to fix it now is to put the lid back on, turn the slow cooker to high if you can, and let it run uncovered for another 30 minutes to an hour, checking frequently. If you’re already finished cooking and blending, but it seems too chunky or oily, you can always return it to the blender for another good blast. A quick pulse or two will smooth out any remaining lumps without making it watery!
Canning Apple Butter for Long-Term Storage
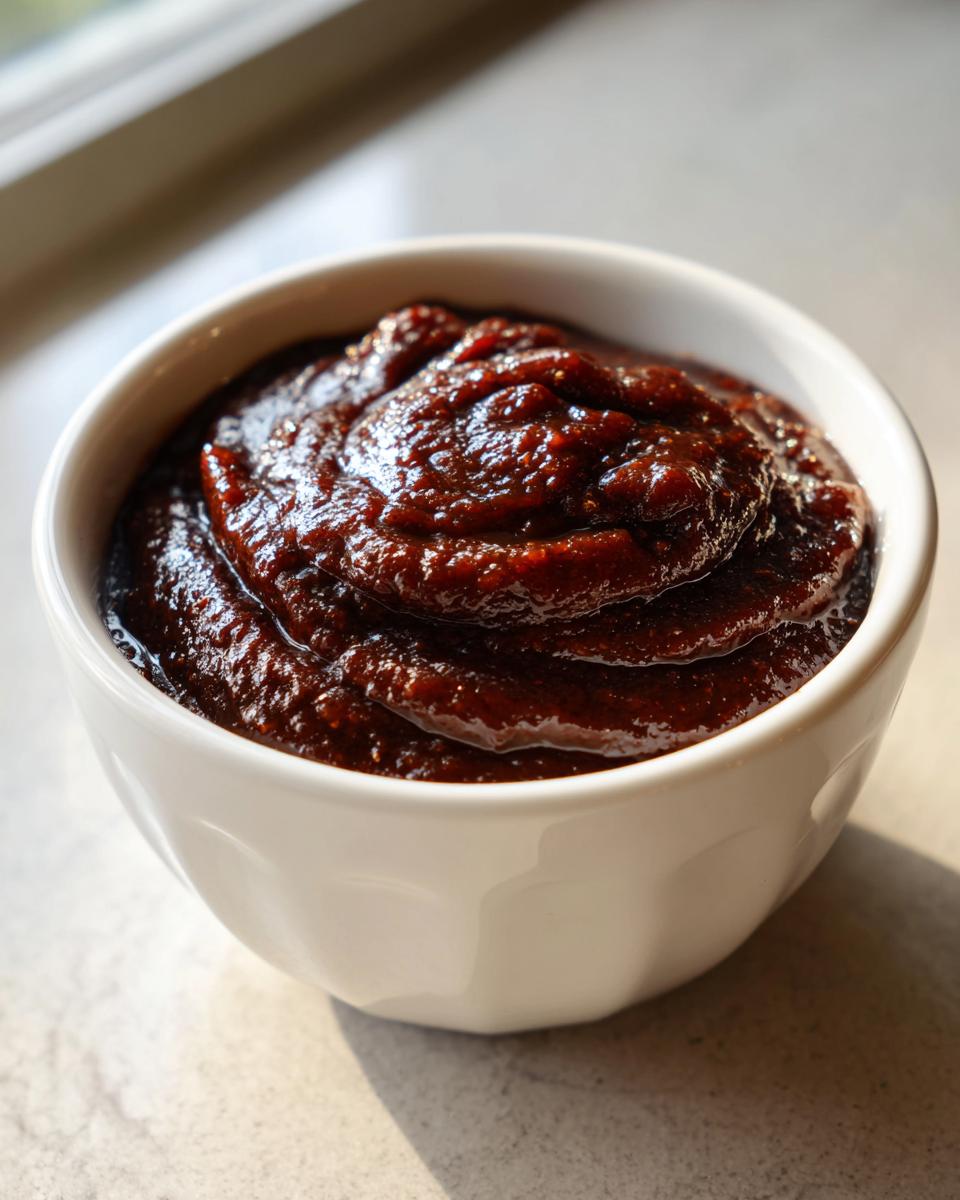
If you’re anything like me, making a big batch of something delicious means you’re already looking past next week and thinking about Christmas gifts! Canning your **apple butter** is the perfect way to preserve that late-harvest flavor for months to come. This part can feel a little intimidating if you’ve never done it, but honestly, once you get the hang of water bath canning, it’s quite straightforward. It falls right into those reliable Kitchen Canning Recipes I love to teach.
The key here is making sure your jars and lids are sterilized and hot before introducing the hot **apple butter**. We want every jar to seal up tight so we can store this gorgeous spread away for chilly mornings! If you are nervous about starting with canning, you might want to try something simpler first, like my strawberry freezer jam before tackling this cooked preserve.
In Step 5, we talked about moving right into the canning process after blending. For high-acid foods like this fruit butter, a standard water bath method works perfectly. You need to fill your hot, sterilized jars, leave about a quarter-inch of headspace—that’s the space between the food and the rim—wipe the rims clean, put the lids on finger-tight. Then, process those filled jars in the boiling water bath for 10 minutes. Now, this is important: if you live somewhere high up, you absolutely must adjust that time for altitude, so double-check your local guidelines!
Once the processing time is up, turn off the heat, let the jars sit for five minutes, and then carefully lift them out onto a towel-lined counter to cool completely without disturbance. You’ll hear those satisfying little *pings* as the lids seal! If you need a solid reference guide for water bath times and checks, you can always look up official guidelines if you’re unsure about your specific altitude adjustment; this great resource should have what you need to start enjoying your Apple Butter Recipe all year long.
Serving Suggestions for Your Spiced Apple Butter Spreads
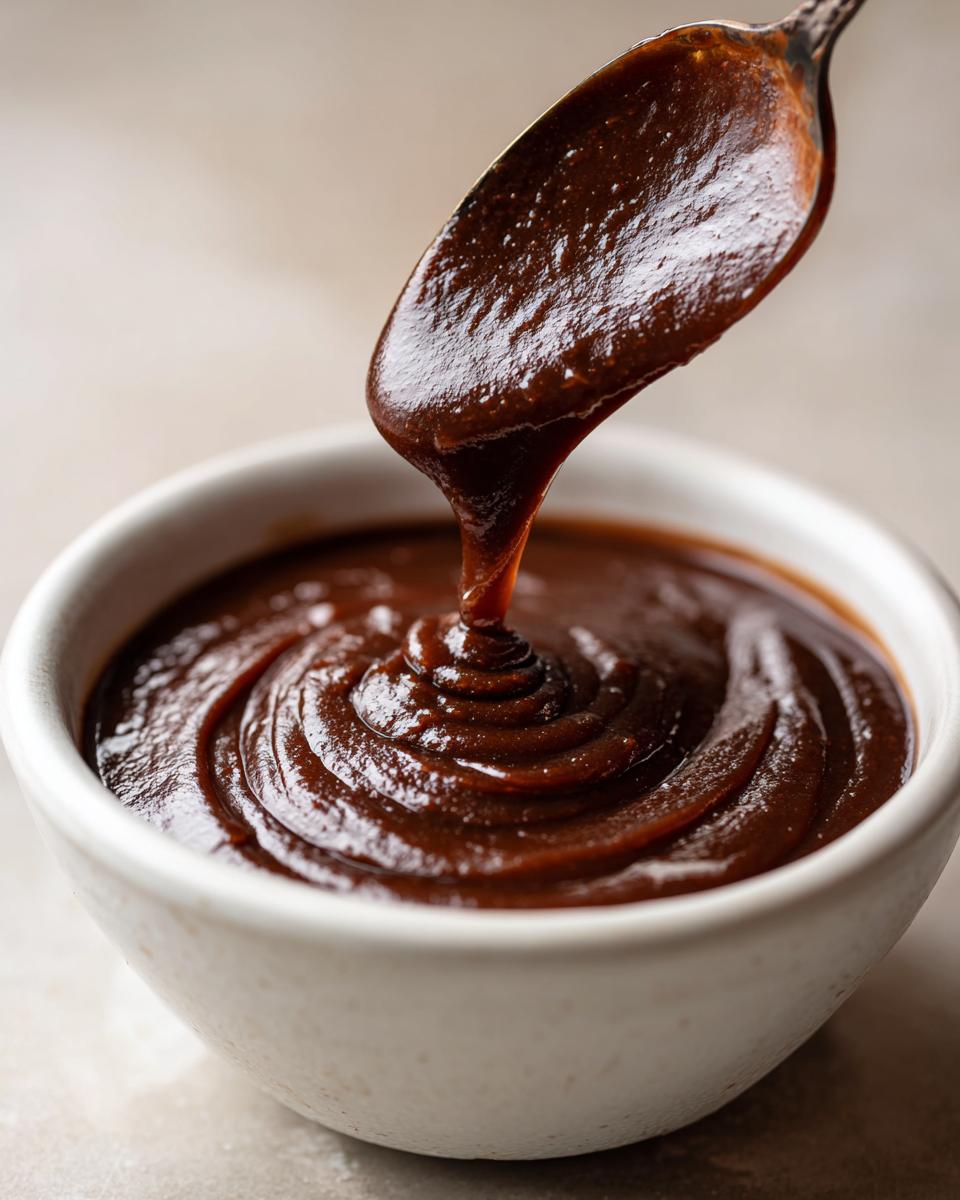
Now that you have jars of shiny, homemade **apple butter**, the question becomes: What should I eat it with first? Honestly, I’m terrible and usually just eat it right off the spoon! But this spread is so versatile. It’s absolutely divine as the perfect spread for your morning toast or buttermilk biscuits.
It makes an incredible Apple Dessert Topping, too—drizzle it warm over vanilla ice cream or swirl it into yogurt. If you’re looking for something richer, this spiced goodness works wonderfully as a glaze on pork chops or even swirled into the batter of my moist pumpkin bread recipe before baking. It adds such a warm, autumnal depth to so many dishes!
Storage and Reheating Instructions for Homemade Apple Butter
Whew! We made it through the cooking and the canning—now we just need to make sure our delicious batch of **Fall Preserves** lasts until we want to enjoy it. The storage instructions are pretty simple, thankfully, especially since this is such a concentrated fruit butter. I always make slightly more than I have jars for, just so I can keep a small container in the fridge for immediate enjoyment!
If you sealed your jars using the water bath method we discussed earlier, those will be shelf-stable in a cool, dark pantry for up to a year. But for all those containers that didn’t make it into the canner—the ones I sneak-tasted during the blending phase—we need to take a different approach for refrigerated storage.
For any Homemade Apple Butter kept in the refrigerator, treat it like a good jam. Make sure the container is airtight, and it should stay perfectly fresh and delicious for about three weeks. Trust me, it usually doesn’t last that long around here, especially when it’s slathered on warm scones or used in my apple dapple cake!
If you somehow managed to make four jars *and* still have container leftovers, freezing is your next best bet. You can transfer the extra fruit butter into freezer-safe containers—just make sure you leave about a half-inch of space at the top between the apple butter and the lid. As it freezes, liquids expand, and if you fill it to the top, you’ll end up with a jar lid popping off in your freezer, and nobody wants that mess!
Frozen apple butter is excellent for up to six months. When you want to use some, just pull a container out of the freezer and let it thaw overnight in the refrigerator. It comes back to life beautifully, ready to be spooned over pancakes or stirred into oatmeal!
Frequently Asked Questions About Making Apple Butter
This slow cooker method is so reliable, but I totally get it—when you’re diving into homemade preserves, you always have a few questions percolating! I wrote this recipe to be as easy as possible, but based on what people ask me most often, here are the answers to make sure your **apple butter** turns out exactly how you want it.
Can I make this Old Fashioned Apple Butter on the Stovetop?
Absolutely, yes! While my heart belongs to the hands-off magic of the crock pot, you can definitely make this Old Fashioned Apple Butter on the stovetop if your slow cooker is busy or you just prefer that method. You’ll still cook the apples down until they are soft, but you have to be much more dedicated!
Use your largest, heaviest-bottomed pot—like a Dutch oven. Simmer everything on very low heat, and seriously, stir it every 20 to 30 minutes. That constant stirring is key to keeping the thick mixture from scorching on the bottom. It will take less total time, maybe 4 to 6 hours until soft, but you have to babysit it much more closely than the slow cooker version!
What type of apples are best for apple butter?
This is where you can really fine-tune the flavor of your final **apple butter**. I always tell people to use a blend if they can! You want flavors that are slightly tart to balance out the sweetness of the brown sugar and the spices. McIntosh apples are soft and break down beautifully, while Fuji or Honeycrisp hold their shape just a tiny bit longer but still blend smooth.
If you only have one type, that’s fine, but aim for something that isn’t super-sweet like a Red Delicious—that can lead to a one-note flavor. A mix gives you that complexity that makes people ask, “Wow, what *is* in this?”
How long does homemade apple butter last?
That depends entirely on how you store it! If you followed the steps for Canning Apple Butter using a proper water bath seal, those jars are shelf-stable for about a year when kept in a cool, dark pantry. Once you break that seal and open them up, they should be eaten within a month or two.
For the portions we kept in the fridge—the little extra bit I always taste-test my spiced apple cider cinnamon bread with—they last beautifully for about three weeks when kept tightly sealed in the refrigerator. If you decide to freeze any for even longer storage, they stay good for about six months!
Share Your Best Apple Butter Creations
I truly hope you’re already dreaming about spreading this rich, deeply spiced **apple butter** on something warm and wonderful. For me, the best part of sharing these recipes—after the cooking, of course—is hearing how they turn out in *your* kitchens.
Making preserves is such a fulfilling process, and I would absolutely love to know your results! Did you find the slow cooker magic really did save you time this year? Did you manage to get a perfect seal on all your jars for gifting?
Please, if you loved this recipe as much as my family does, go ahead and give it a star rating right below the instructions! If you have any little tweaks or triumphant moments you want to share—maybe you used maple syrup instead of brown sugar, or you added cardamom—drop a comment below. Hearing from you helps me keep improving the recipes here on Cut Cook Taste, and seeing photos of what you make is the highlight of my week! You can always find more of my kitchen experiments over on the main blog page.
Happy canning and happy eating, friends! Enjoy every spoon of this spectacular autumn treat.
PrintThe Ultimate Slow Cooker Apple Butter (No Peeling Required, Great for Canning)
I am sharing my favorite recipe for homemade apple butter made easily in the slow cooker. You do not need to peel the apples for this recipe, which saves a lot of time. This smooth fruit butter is perfect for toast or canning for later use.
- Prep Time: 15 min
- Cook Time: 9 hours
- Total Time: 9 hours 15 min
- Yield: About 4 half-pint jars 1x
- Category: Preserves
- Method: Slow Cooking
- Cuisine: American
- Diet: Vegetarian
Ingredients
- 4 pounds apples (such as McIntosh, Fuji, or a mix)
- 1 cup apple cider
- 1 cup packed brown sugar
- 1 teaspoon ground cinnamon
- 1/2 teaspoon ground allspice
- 1/4 teaspoon ground cloves
- 1/4 teaspoon ground nutmeg
Instructions
- Wash the apples well. Cut them into quarters, removing any seeds or stems. You do not need to peel the apples for this recipe.
- Place the apple quarters, apple cider, brown sugar, cinnamon, allspice, cloves, and nutmeg into your slow cooker.
- Cook on low for 8 to 10 hours, or on high for 4 to 5 hours, until the apples are very soft and easily mashable.
- Carefully transfer the cooked apple mixture to a blender or use an immersion blender directly in the slow cooker. Blend until the mixture is completely smooth. If you prefer a thinner consistency, add a small amount of water or cider.
- If you plan to can the apple butter, proceed with standard water bath canning instructions for high-acid foods, processing filled, hot jars for 10 minutes (adjusting for altitude).
- If you are not canning, transfer the apple butter to airtight containers. Store in the refrigerator for up to 3 weeks.
Notes
- For a thicker result, remove the lid from the slow cooker for the last hour of cooking to allow some moisture to evaporate.
- This recipe is excellent for making gifts. Use clean, sterilized jars for canning.
- If you want a less sweet spread, reduce the brown sugar amount by half; the apples provide natural sweetness.
Nutrition
- Serving Size: 1/4 cup
- Calories: 140
- Sugar: 32g
- Sodium: 2mg
- Fat: 0g
- Saturated Fat: 0g
- Unsaturated Fat: 0g
- Trans Fat: 0g
- Carbohydrates: 36g
- Fiber: 2g
- Protein: 0g
- Cholesterol: 0mg