
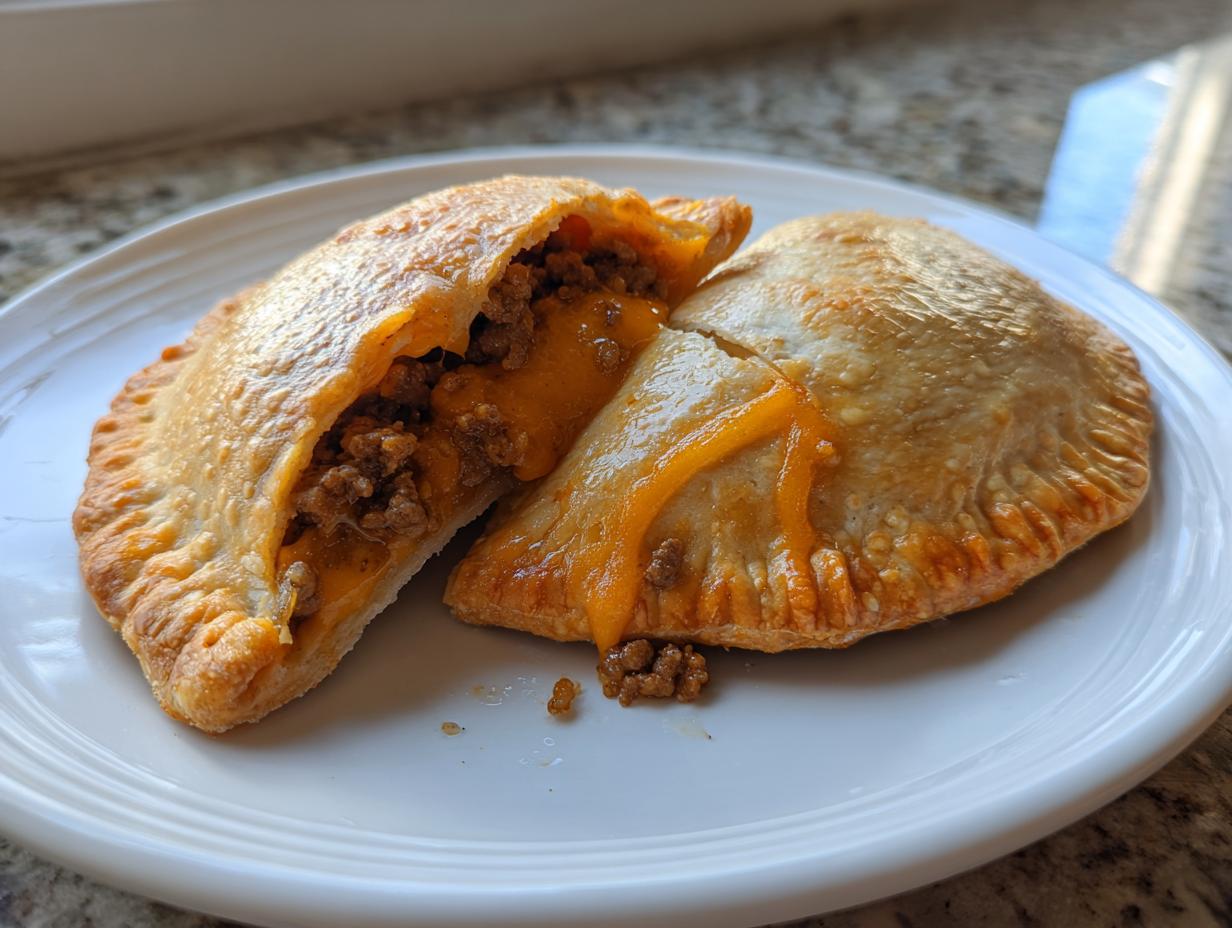

Oh, friends, if you are staring down a busy Tuesday night and wondering what on earth you can whip up that everyone—from the picky eaters to the adults—will actually devour, I have the answer that has saved my sanity countless times. I’m Sarah, and I promise you that these Ultimate Baked Cheesy Pocket Tacos: Quick Weeknight Dinner Idea are about to become your new obsession! My goal here at Cut Cook Taste has always been to share tried-and-true recipes that cut down on mess but pump up the flavor, and these cheesy pocket tacos do exactly that. Forget the plate full of scattered toppings; these are perfectly handheld, loaded, and unbelievably satisfying. They come together in almost no time at all, which is just what a busy week demands! If you’re looking for reliable, family-friendly solutions, check out all my best dinner recipes right here.
- Why You Will Love These Cheesy Pocket Tacos
- Gathering Ingredients for Your Ground Beef Pocket Tacos
- Step-by-Step Instructions for Baked Cheesy Pocket Tacos
- Tips for Making the Best Cheesy Pocket Tacos
- Serving Suggestions for Your Loaded Pocket Tacos
- Storage and Reheating Instructions for Taco Pockets Dinner
- Frequently Asked Questions About Cheesy Pocket Tacos
- Nutritional Estimates for These Weeknight Taco Pockets
- Share Your Experience Making These Stuffed Tortilla Pockets
Why You Will Love These Cheesy Pocket Tacos
Honestly, what’s not to adore? When Taco Tuesday feels like too much effort, these pockets step in to save the day. They are foolproof, which is exactly why I rely on them when I’m juggling a million things. Trust me, you’ll be making these again and again!
- They are lightning fast! With just 15 minutes of prep, we’re talking dinner on the table in 30 minutes flat.
- Zero mess! Everything stays tucked neatly inside the crimped tortilla edges.
- Totally loaded! We use a secret creamy filling to make sure these cheesy pocket tacos are gooey in every single bite.
- Perfectly family friendly, making cleanup and serving super simple.
Gathering Ingredients for Your Ground Beef Pocket Tacos
The beauty of these Ground Beef Pocket Tacos is that they rely on pantry staples and things you probably already have on hand, making them perfect for those emergency supper moments. We aren’t doing anything complicated here, just gathering the essentials for maximum flavor delivery! If you wanted to make your own spices to go along with this, I have a fantastic DIY seasoning mix recipe that I use all the time right here, but the packet works great in a pinch, too.
For this recipe, you’ll need about a tablespoon of olive oil to get started, and of course, one pound of ground beef—I usually go for 85/15 because I like a little fat for flavor, but drain it well later! Grab one standard packet of taco seasoning mix and about a half cup of water for simmering everything down. The real secret to the “gooey” factor, which is non-negotiable in my book, is using four ounces of cream cheese, making sure it’s softened up ahead of time so it mixes smoothly. Mix that cream cheese up with a half cup of your favorite salsa, or if you want it extra cheesy right from the start, use salsa con queso! Then, you need flour tortillas—we’re talking eight medium ones, the big burrito size works best so they fold nicely. Finally, we need cheese! You’ll need one cup of shredded cheddar cheese in total, split between the filling and the top layer.
Step-by-Step Instructions for Baked Cheesy Pocket Tacos
Okay, let’s get into the actual cooking! I love how fast this process is—it really feels like cheating when you get a meal this satisfying on the table so quickly. Remember, preheating is non-negotiable; we want these beauties to start crisping immediately. Pull out a sturdy baking sheet and give it a good spritz of cooking spray. If you’ve seen my potato recipe, you know I insist on everything being ready for action! Get those potatoes roasting for later, and let’s focus on these pockets!
Preparing the Savory Filling
First up, heat that olive oil in a big skillet over medium heat. Toss in your ground beef and cook it down until it’s totally browned. Make sure you break it apart nicely with a wooden spoon—we don’t want giant clumps! Once it’s brown, drain off any of that excess grease; nobody wants oily pockets here! Then, sprinkle in that packet of taco seasoning and add the half cup of water. Let that simmer for about five minutes until the liquid has mostly disappeared. Pull that off the heat when it’s done.
Assembling Your Cheesy Pocket Tacos
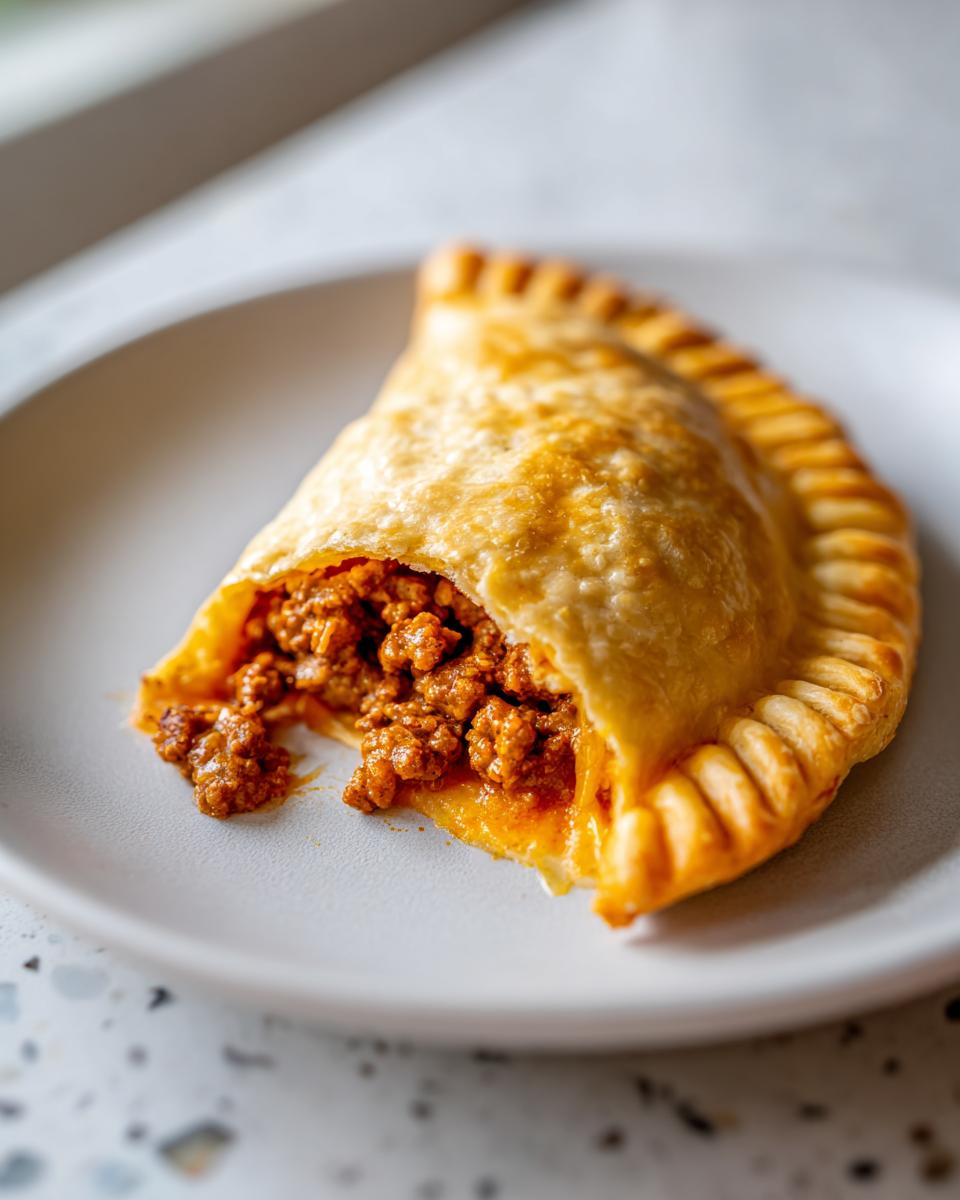
While the meat cools just a smidge, mix up that gorgeous creamy filling: your softened cream cheese, salsa, and half a cup of that cheddar until it’s beautifully combined. Now, lay out your eight flour tortillas. Spread a thin, even layer of that creamy cheese mixture on just *one half* of each tortilla. Next, spoon about a quarter cup of that seasoned ground beef right over the cheese layer. Sprinkle the remaining cheddar on top of the beef. This double cheese action is what makes them incredible! Fold the empty side over to make that classic half-moon shape. This is my crucial step: You *must* press those edges together firmly! Then, grab a fork and really crimp the edges all the way around. Trust me, if you skip the fork press, all that melted cheese finds the path of least resistance and oozes all over your pan. We want contained deliciousness!
Baking for Golden Perfection
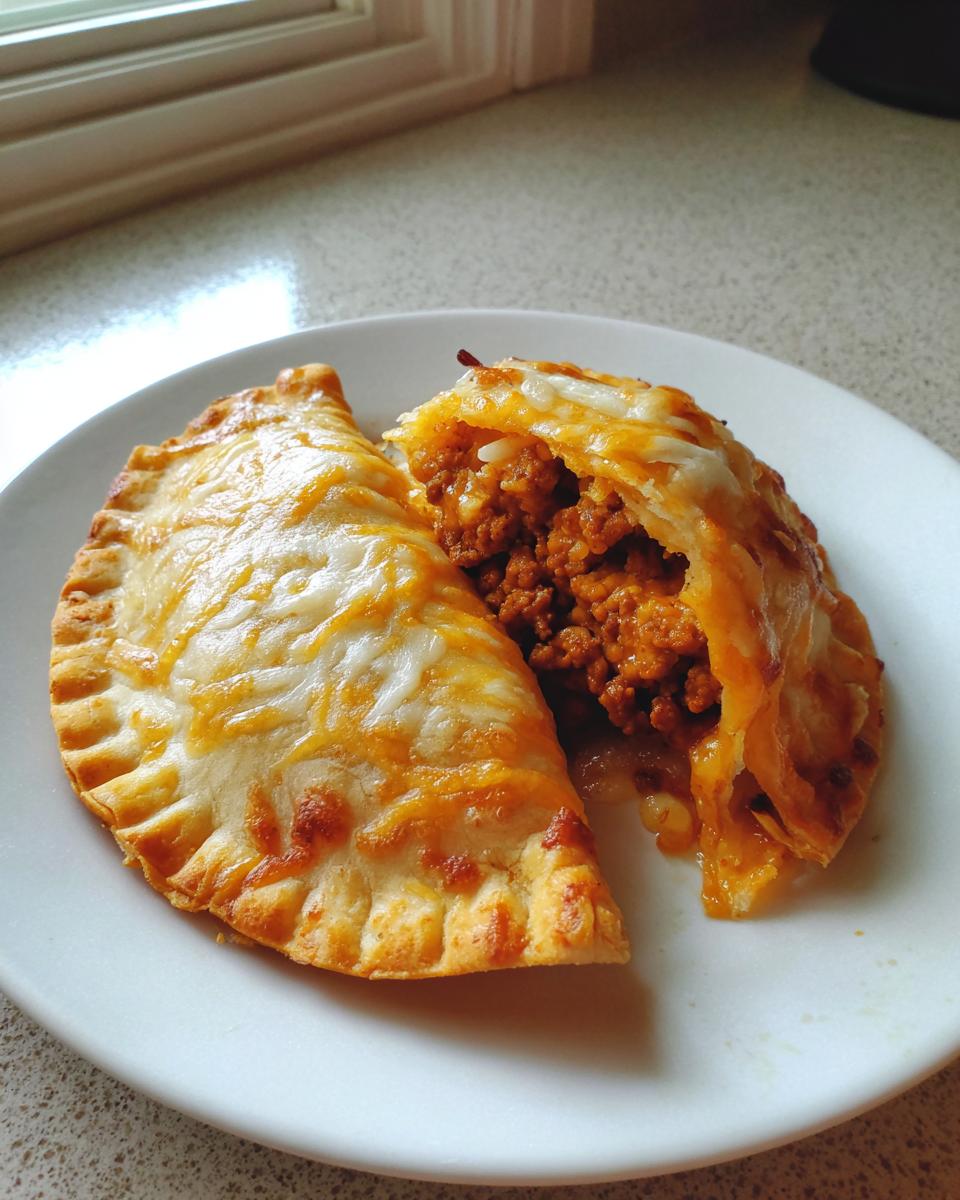
Get those sealed cheesy pocket tacos onto your sprayed baking sheet. Give the tops a light spray of cooking spray too—this is what gives you that gorgeous, golden, crispy exterior we’re aiming for. Pop them into the 400-degree oven for about 10 to 12 minutes. You’ll want to flip them halfway through to make sure both sides get wonderfully golden brown. If you’re feeling ambitious and want them crunchier, consider trying the air fryer method—you can see how my friend suggests doing that over here! They come out smelling heavenly!
Tips for Making the Best Cheesy Pocket Tacos
Even though this recipe is rock solid, I always get questions about tweaks, especially for those busy days! The key to making these Easy Pocket Tacos truly work for *your* schedule is knowing where you can bend the rules without sacrificing that essential flavor or texture. Flexibility is key in home cooking—that’s what separates a rigid cookbook from a real kitchen companion. If you’re looking for other ways I maximize my air fryer for quick dinner wins, you can check out my pizza bagels recipe—it uses similar cooking logic!
Ingredient Substitutions and Leftover Meat Use
So, what happens if you’re out of cream cheese? Don’t panic! You can absolutely swap it out. Try using a half cup of sour cream, but here is the trick: whisk in about two tablespoons of flour first. That flour helps thicken everything up so you don’t end up with soupy pockets, which is no good! Also, let’s talk about speed. If you’ve already made a big batch of taco meat for another meal, use it! Taking pre-cooked taco meat straight from the fridge (and maybe warming it slightly before combining it with the filling) cuts your prep time down to practically nothing. That’s the kind of shortcut my busy self relies on constantly!
Serving Suggestions for Your Loaded Pocket Tacos
Now that you’ve pulled those perfectly golden, gooey pockets out of the oven, you need something fresh to balance out all that savory richness, right? These Loaded Pocket Tacos are fantastic on their own, but serving them with simple toppings makes the whole meal feel complete. I always keep a bowl of crisp shredded lettuce and maybe some diced tomatoes handy. A dollop of cool sour cream right on top is absolutely necessary to cut through that cheesy filling!
If you want something a little more substantial on the side, these go brilliantly with a small, bright salad. You know how much I love a good vinaigrette! If you need an easy side dish idea, my copycat salad recipe is always light and refreshing against the heavy taco flavor. It’s a great combination!
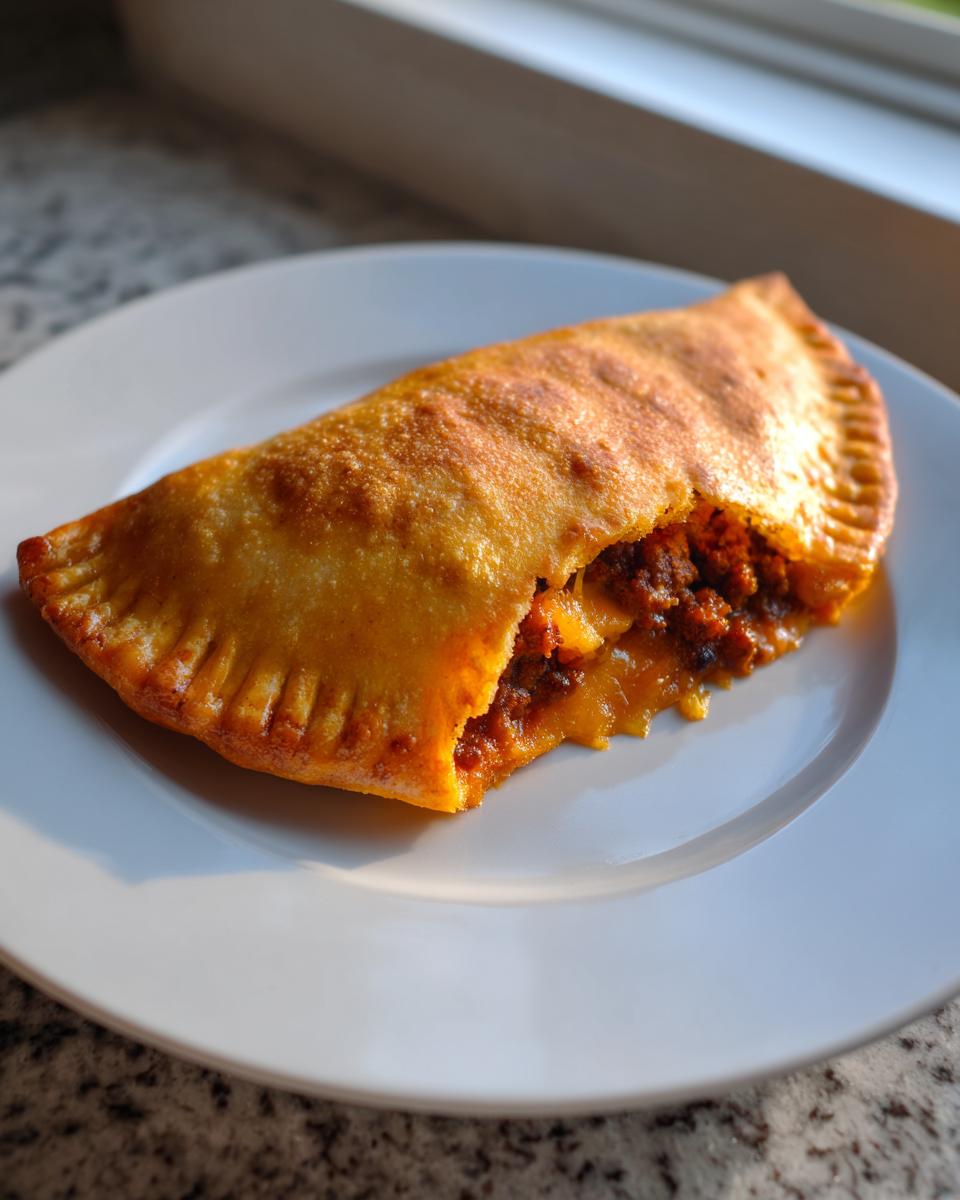
Storage and Reheating Instructions for Taco Pockets Dinner
I always make a double batch because, let’s be honest, leftovers are the real prize the next day! If you have any leftover Taco Pockets Dinner—and I hope you do—storage is super easy. Just make sure they have cooled down completely first. Pop them into an airtight container; they stay perfectly good in the fridge for about three, maybe four days. They’ll still be tasty, but they might lose some of that fresh-out-of-the-oven crispiness, which is totally normal!
When you’re ready to eat them later, ditch that microwave! I know it’s tempting when you’re in a rush, but microwaving these makes the tortilla go straight back to being soft and chewy, and we worked so hard to get that golden crust! For the best results and to bring back that wonderful texture, reheat them in a toaster oven or your regular oven set to about 350 degrees Fahrenheit until they are heated through. If you have your air fryer handy, that’s absolutely the champion for reheating, usually just 4 to 5 minutes gets them looking and tasting almost brand new!
Frequently Asked Questions About Cheesy Pocket Tacos
I always get a flood of questions after I post recipes like this because everyone wants to know how to make every single batch turn out perfectly, just like mine! Don’t worry if you need a little extra guidance. These simple housekeeping questions usually cover texture and prep time, and I’m happy to walk you through the best practices for these delicious taco turnovers!
Can I freeze these Cheesy Pocket Tacos before baking?
Yes, you absolutely can freeze them, and honestly, prepping a big batch and freezing them saves so much time later! If you want to freeze them before baking, make sure you seal those edges really well, like I mentioned above—really crimp them with that fork. Lay the unbaked pockets on a baking sheet lined with parchment paper, flash freeze them until they are solid, and then transfer them to a heavy-duty freezer bag. When you want to cook them later, just take them straight from the freezer to the oven—you might need to add about 5 to 8 extra minutes to the baking time. I generally advise against freezing the already-baked Cheesy Pocket Tacos because the texture of the tortilla shell just doesn’t reheat very well, even in the oven.
What is the best way to make these Crispy Cheesy Tacos?
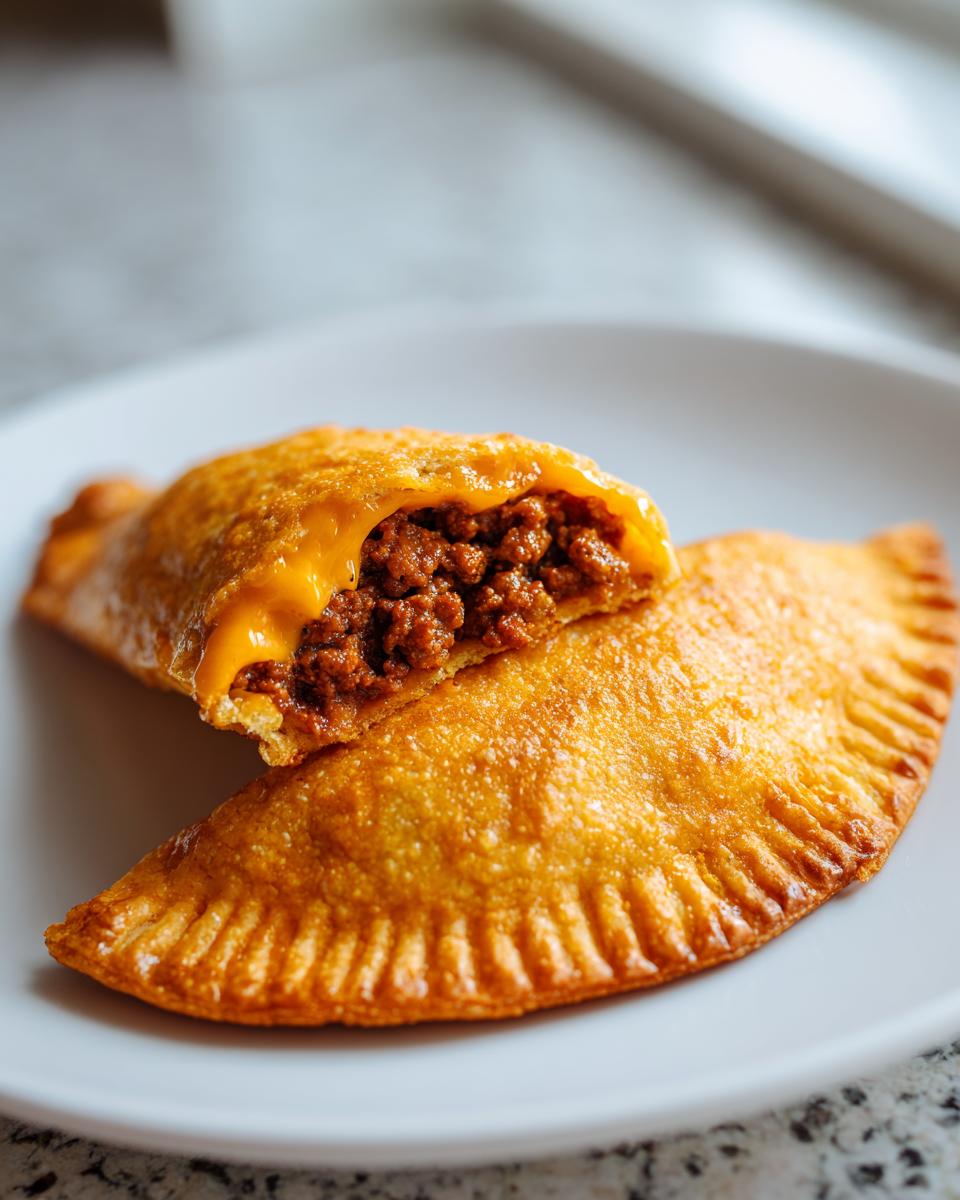
If you’re chasing that ultimate crunch, skip the microwave entirely, which is the enemy of crispiness! For the best texture, you have two wonderful options. First, the oven method—preheating to 400 degrees and spraying the tops lightly with cooking spray is my go-to for reliability. But if you want them truly spectacular, use your air fryer! Set it to 375 degrees Fahrenheit. They cook fast—usually just 6 to 8 minutes total, flipped halfway—and they come out shatteringly crisp. That high heat hitting the sprayed surface creates the perfect texture for these Crispy Cheesy Tacos. If you are looking for other fun, crunchy appetizer ideas suitable for game day, you should peek at my appetizers section!
Nutritional Estimates for These Weeknight Taco Pockets
Now, I’m not a nutritionist, so please remember these are just estimates based on the ingredients I used for these Weeknight Taco Pockets, and what you add for toppings will change things! But for one single pocket, here’s what you can expect:
- Serving Size: 1 pocket
- Calories: 350
- Fat: 18g
- Carbohydrates: 28g
- Protein: 18g
This is a hearty, satisfying meal, perfect for keeping everyone full until the next day. See? That’s why these keep showing up on my rotation!
Share Your Experience Making These Stuffed Tortilla Pockets
That’s it, my dear cooks! You have everything you need to create the most delicious, mess-free cheesy pocket tacos tonight. I truly hope this recipe brings a little bit of that fast, comforting, cheesy joy into your own kitchen. Cooking is always better when we share the results, so I really want to hear from you!
Once you’ve folded and crimped and tasted that first bite, please come back here and let me know what you thought! Leave me a star rating—it really helps other busy people find reliable meals like this one. And if you took a picture of your golden, perfectly sealed pockets, share it over on social media and tag me! I absolutely love seeing my recipes in your homes.
If you found this helpful and want to see more of my honest kitchen wins and fails—because trust me, there are plenty of fails!—you can always explore my main blog page. Happy cooking, and I hope these handheld treats make your next weeknight dinner feel like a celebration. If you need more inspiration for upgrading your Taco Tuesday game, check out this fun twist from a friend who also loves loaded tacos!
PrintUltimate Baked Cheesy Pocket Tacos: Quick Weeknight Dinner Idea
Make these Loaded Cheesy Pocket Tacos for a satisfying, handheld dinner. This recipe uses seasoned ground beef, a creamy cheese blend, and bakes the tortillas until golden and crisp. It is a family-friendly meal perfect for Taco Tuesday.
- Prep Time: 15 min
- Cook Time: 15 min
- Total Time: 30 min
- Yield: 8 servings 1x
- Category: Dinner
- Method: Baking
- Cuisine: Tex-Mex
- Diet: Vegetarian
Ingredients
- 1 tablespoon olive oil
- 1 pound ground beef
- 1 packet (1 ounce) taco seasoning mix
- 1/2 cup water
- 4 ounces cream cheese, softened
- 1/2 cup salsa or salsa con queso
- 1 cup shredded cheddar cheese, divided
- 8 medium flour tortillas (burrito size)
- Cooking spray
Instructions
- Preheat your oven to 400 degrees Fahrenheit. Lightly spray a baking sheet with cooking spray.
- Heat olive oil in a large skillet over medium heat. Add the ground beef and cook until browned, breaking it up with a spoon. Drain any excess grease.
- Stir in the taco seasoning mix and water. Bring to a simmer and cook for 5 minutes, or until most of the liquid has evaporated. Remove from heat.
- In a small bowl, mix the softened cream cheese, salsa, and 1/2 cup of the shredded cheddar cheese until combined. This creates your creamy cheese filling.
- Spread a thin layer of the cream cheese mixture onto one half of each flour tortilla.
- Spoon about 1/4 cup of the seasoned ground beef mixture over the cream cheese layer on each tortilla.
- Sprinkle the remaining 1/2 cup of shredded cheddar cheese over the beef filling.
- Fold the empty half of the tortilla over the filling to create a half-moon shape. Press the edges firmly together. Crimp the edges with a fork to seal the pocket shut.
- Place the sealed pockets onto the prepared baking sheet. Lightly spray the tops of the pockets with cooking spray.
- Bake for 10 to 12 minutes, flipping halfway through, until the pockets are golden brown and the cheese inside is melted.
- Serve these Easy Pocket Tacos immediately.
Notes
- For extra crispiness, you can air fry these pockets at 375 degrees Fahrenheit for 6 to 8 minutes, flipping halfway.
- If you do not have cream cheese, substitute it with 1/2 cup of sour cream mixed with 2 tablespoons of flour to help thicken the filling.
- Use leftover taco meat from a previous meal to make this recipe even faster.
- Serve with your favorite toppings like sour cream, lettuce, or diced tomatoes.
Nutrition
- Serving Size: 1 pocket
- Calories: 350
- Sugar: 2
- Sodium: 550
- Fat: 18
- Saturated Fat: 8
- Unsaturated Fat: 10
- Trans Fat: 0
- Carbohydrates: 28
- Fiber: 2
- Protein: 18
- Cholesterol: 55