
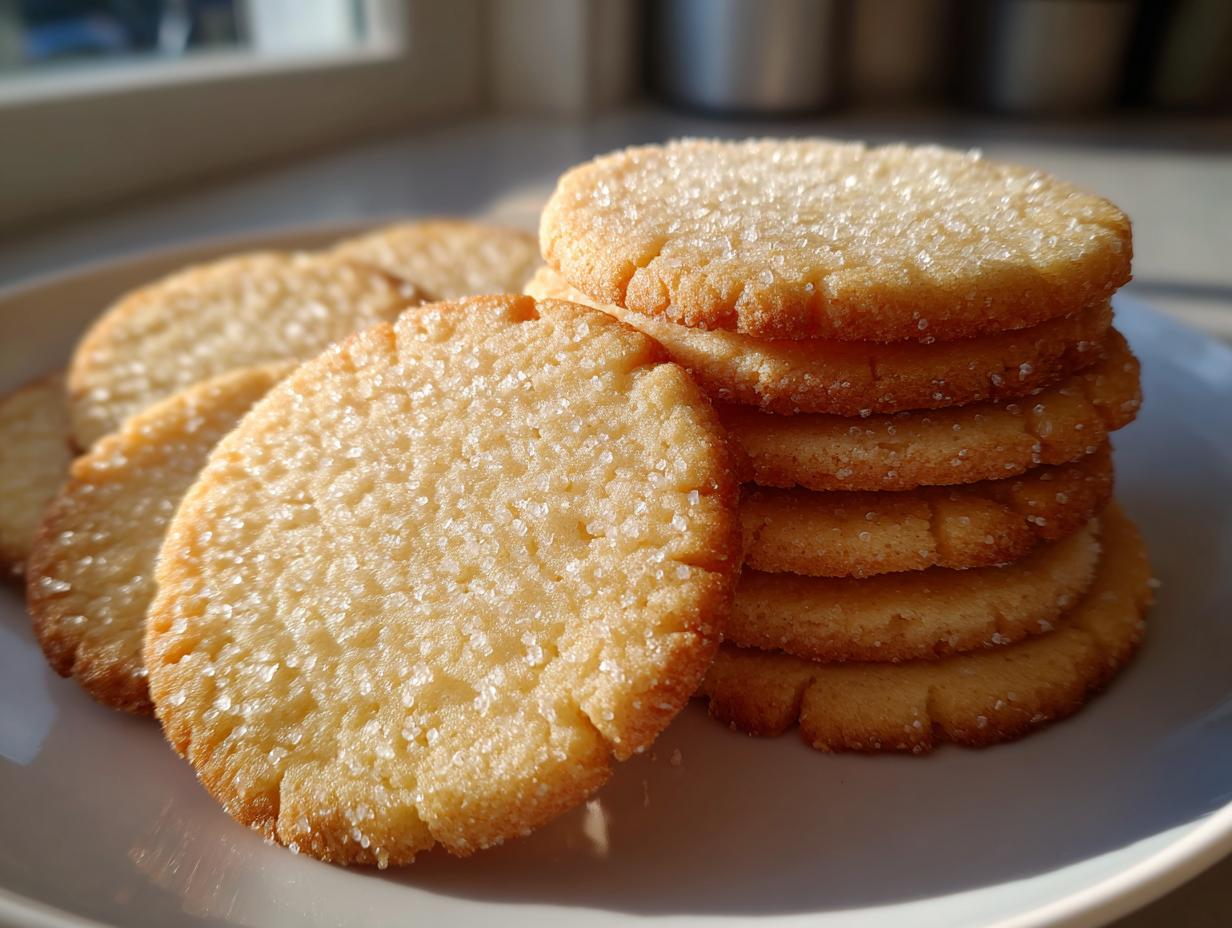

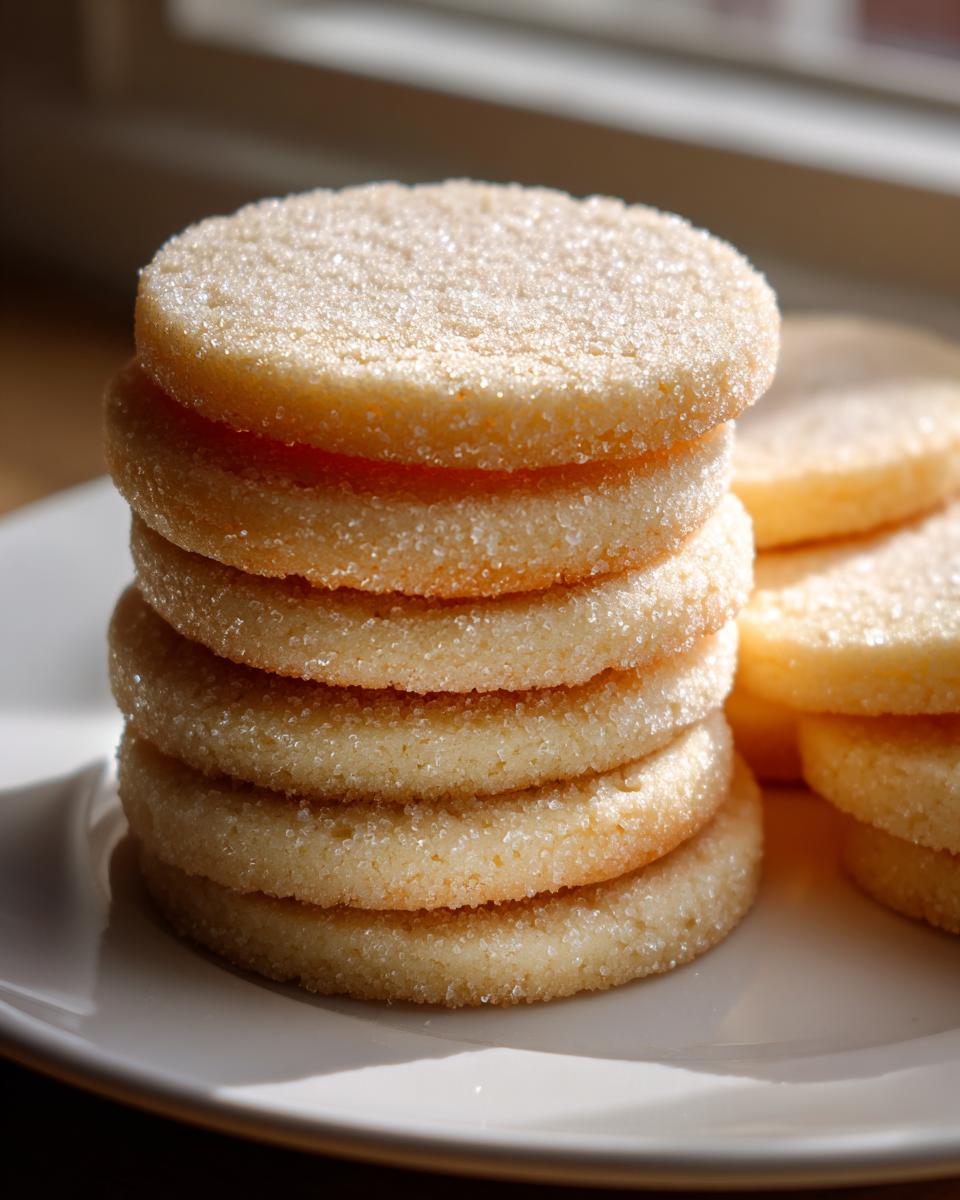
Oh, friends, let me tell you about the moment a cookie does something magical in your mouth. I’m talking about that delicate moment where it dissolves—it’s not crunchy, it’s not chewy, it just melts! That is the goal for today. We are diving deep into the Classic Melt-in-Your-Mouth Butter Cookies, which are made purely with rich butter flavor and ingredients you likely already have hiding in your pantry. This is the quintessential butter cookie, the one you dream about when you open that blue tin at Christmas, only ours is made better, by you!
When I think about baking the perfect simple cookie, I always flash back to my grandfather’s workshop during the holidays. He wasn’t a baker, heavens no, but he always made sure the radio was tuned to the oldies station while my cousins and I sat on the floor, lining up the freshly cut dough shapes. That sense of tradition, of using simple means to create something wonderful, is baked right into this recipe. If you’re looking for that reliable, rich dessert that screams quality without complicated steps, you’ve found your keeper. If you want to know more about my journey back to these basics, you can always check out my About page!
- Why You Will Love This Easy Butter Cookie Recipe
- Gathering Ingredients for the Best Butter Cookies Ever
- Essential Equipment for Perfect Butter Cookie Baking
- Step-by-Step Instructions for Classic Melt-in-Your-Mouth Butter Cookies
- Tips for Success: Achieving the Ultimate Butter Cookie Texture
- Variations on Your Favorite Butter Cookie Recipe
- Storing and Gifting Your Homemade Butter Cookies
- Frequently Asked Questions About This Simple Cookie Recipe
- Nutritional Estimate for One Butter Cookie
Why You Will Love This Easy Butter Cookie Recipe
Honestly, what’s not to love about a cookie that feels luxurious but takes almost no effort? This recipe is legendary in my house because it hits every mark.
- That incredible, unmistakable, rich butter flavor.
- The texture is pure magic—truly melt-in-your-mouth, soft centers!
- It’s an easy butter cookie recipe using only simple pantry staples.
- They look gorgeous for gifting, making them perfect buttery holiday cookies!
Seriously, this butter cookie version is everything you want in a simple dessert.
Gathering Ingredients for the Best Butter Cookies Ever
Okay, let’s talk essentials. The secret to the Best Butter Cookies Ever isn’t some fancy imported flour; it’s about making sure the basics are perfect. Because we want that melt-in-your-mouth quality, the quality of your butter truly matters here.
I’ve laid out exactly what you need for about three dozen cookies below. Remember, the butter needs to be properly softened—that means soft enough to easily indent, but definitely not melted or greasy. That gentle consistency is key for the creaming stage!
- 1 cup unsalted butter, softened
- 3/4 cup granulated sugar
- 1 large egg yolk
- 1 teaspoon vanilla extract
- 2 1/4 cups all-purpose flour
- 1/2 teaspoon salt
That’s it! No complicated extracts, no baking powder messing up the texture. Just pure, buttery goodness waiting to happen.
Essential Equipment for Perfect Butter Cookie Baking
Before you even think about pulling out your butter, let’s make sure your tools are ready. I find that having everything set up beforehand makes the short mixing time go so much smoother. When you’re working with dough that’s designed to melt in your mouth, you can’t afford to stop mid-process looking for a whisk!
Getting Started with Mixing
You are going to rely on a good mixer for this recipe. Since we need to cream that butter and sugar until it’s light and fluffy, either a stand mixer with the paddle attachment or a solid hand mixer will work perfectly. Don’t try to do this by hand unless you want a serious workout—that butter needs some serious aeration!
Also, just grab a couple of medium-sized mixing bowls. You need one dedicated bowl for your dry ingredients (the flour and salt) so you can whisk them up nicely before they meet the wet stuff.
Tools for Shaping and Baking
Since this is a slice-and-bake style, you don’t need cookie cutters, which is refreshing after messy holiday baking! You absolutely need some good plastic wrap for chilling the dough log; that chilling step is non-negotiable for proper shape.
When it comes to the actual baking, please, please, please use parchment paper! It makes the cleanup a breeze, and more importantly, it ensures those delicate edges don’t stick to your pan. I learned the hard way using bare aluminum trays in my youth—what a mess!
- Stand or Hand Mixer
- Large Mixing Bowl
- Separate Bowl for Dry Ingredients
- Rubber Spatula (for scraping down the sides)
- Sharp Knife (for slicing the chilled logs)
- Parchment Paper
- Wire Cooling Rack
Having these things ready means you can focus completely on getting the ingredients mixed just right. It’s all about setting yourself up for success when creating these rich, buttery treats!
Step-by-Step Instructions for Classic Melt-in-Your-Mouth Butter Cookies
Alright, let’s get this dough moving! Making these cookies is wonderfully straightforward, but pay close attention to the order, especially that chilling step—it’s the secret sauce for preventing spread and getting that perfect profile on your butter cookie.
Creaming the Foundation
First things first: Creaming. Get that softened butter and the granulated sugar into your mixer bowl. You need to beat this mixture until it gets genuinely light and fluffy, almost pale yellow. This traps the air we need for that melt-in-your-mouth texture later on. Don’t rush this part! Once it looks airy, beat in just the egg yolk and the vanilla extract until everything is combined. Scrape down the sides, trust me on this.
Mixing the Dry and Wet
Now for the dry ingredients—whisk the flour and salt together in that separate bowl. We add this mixture back into the creamed butter slowly, keeping the mixer on low. Stop mixing the absolute *second* you see the last streak of flour disappear into a soft dough. Overmixing is the enemy here; it develops gluten, and we want tenderness, not toughness!
The Non-Negotiable Chill Time
This is where we build structure! Scoop your dough out, form it into a nice even log on plastic wrap, and tuck it into the fridge. You need to chill this for at least one full hour. Seriously, even if you’re tempted to cheat because you want cookies *now*, chilling prevents them from puffing out into flat puddles when they bake. For the best no spread butter cookies, give it the full hour. If you want to get ahead, you can chill this dough for up to three days!
Baking the Perfect Rounds
While the dough chills, preheat your oven to 350°F (175°C) and prep those baking sheets with parchment paper. When the dough is firm enough to handle, slice that log into little rounds, maybe 1/4-inch thick, and place them on the sheets leaving 2 inches between each one. Bake for 10 to 12 minutes. Remember, we want the edges just lightly kissed with gold—the centers should stay pale for that trademark softness. If you want to try slicing them into different shapes instead of rounds, check out my post for Christmas Sugar Cookie Bars for shape inspiration!
Tips for Success: Achieving the Ultimate Butter Cookie Texture
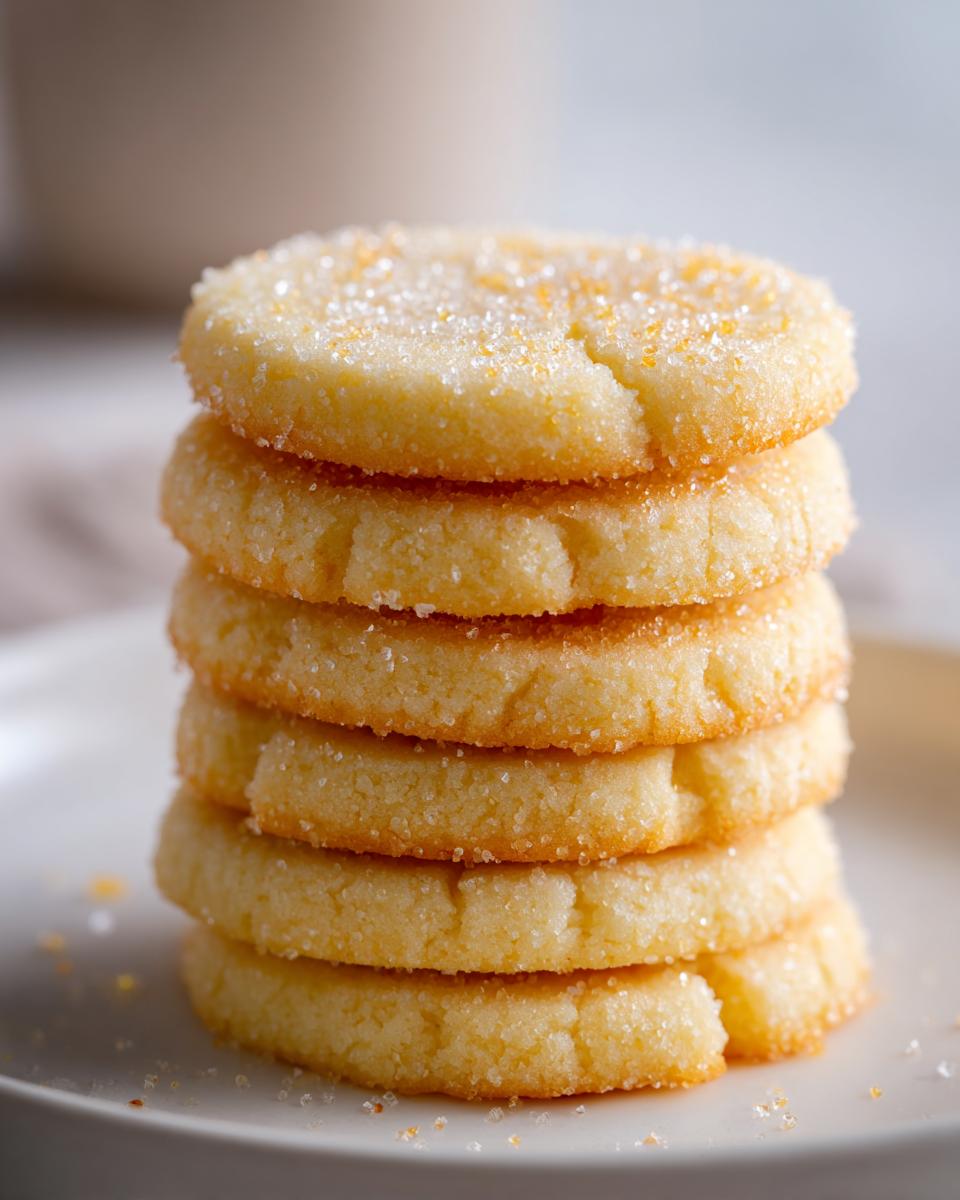
We’ve mastered the dough, but now we fine-tune the final product. Getting that perfect texture—whether you crave that pillowy, Soft Baked Butter Cookies experience or you want those slightly crisper edges—comes down to watching the oven like a hawk. It’s all in the timing!
Adjusting Time for Crisp vs. Soft
The beauty of this simple cookie recipe is its adaptability. The primary recipe timing (10 to 12 minutes) aims for that divine ‘melt in your mouth’ quality, where the centers look almost underdone when you pull them out. If you love that, stick to 10 minutes and let them cool on the hot pan for those five crucial minutes we talked about.
Now, if you prefer a little more snap, don’t start adding chemical leaveners! Just add 1 or 2 extra minutes to the baking time. Watch carefully until the edges darken just slightly more. You’ll see them go from pale gold to light brown. That subtle color change equals crunch!
The Magic of Browned Butter for Richness
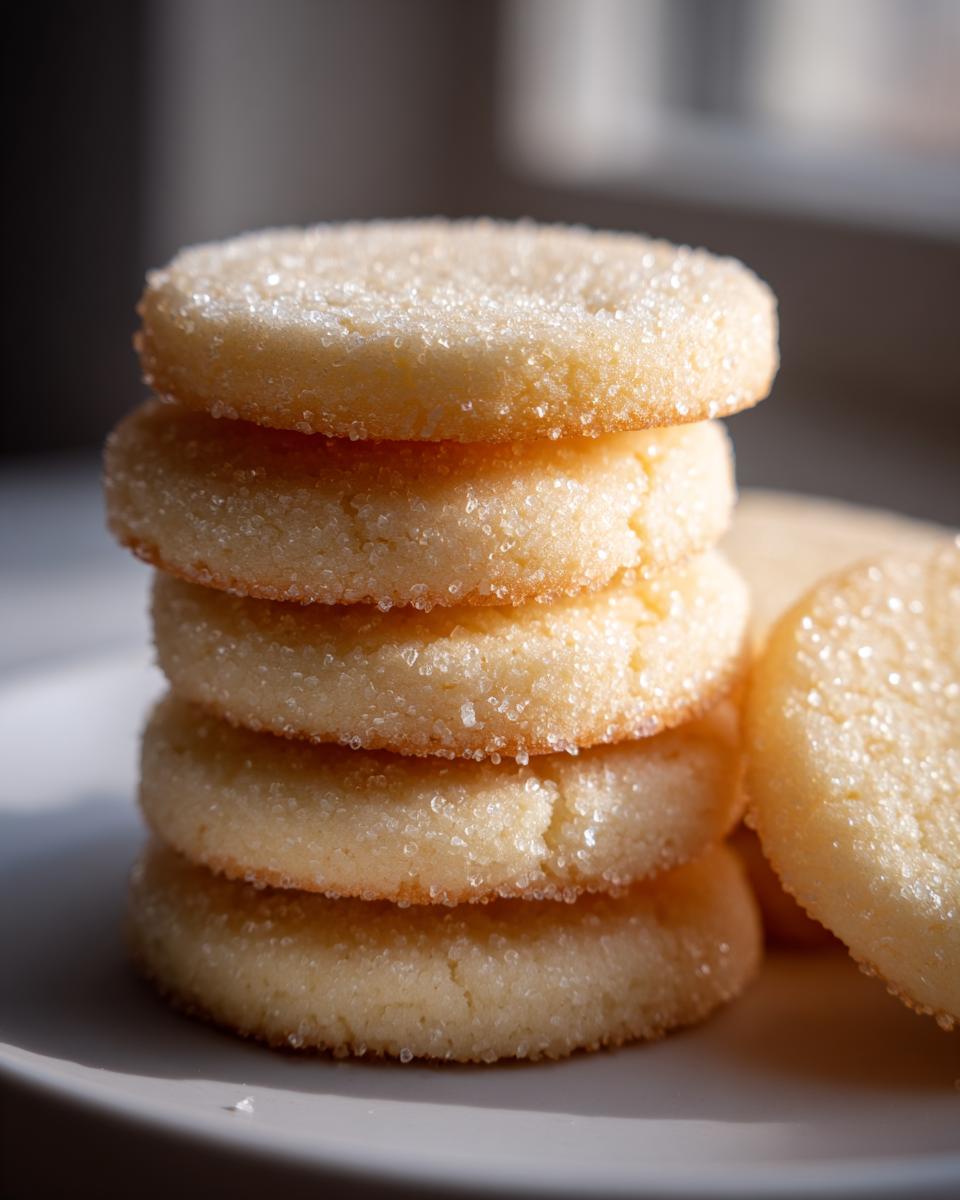
If you want to elevate these from ‘great’ to ‘life-changing rich dessert cookies,’ you absolutely have to try browning some of your butter. My dad always said, “Flavor is earned, Sarah, not given!” Well, browning butter earns that deep, nutty flavor you usually only find in more complex recipes.
Here’s the thing: you need to brown 1/4 cup of the total butter amount, and then—and this is crucial—you must let that brown butter cool completely back down to room temperature before you cream it with the sugar! If you add warm butter to the sugar, you’ll melt the structure before you even start mixing. Patience pays off with that amazing nutty undertone.
Sarah’s Personal Dough Handling Tip
Since we aren’t using egg whites or extra flour to stabilize the dough, I treat the dough very gently once it comes out of the chill. When I’m slicing the log, I actually use a very thin metal spatula to lift the round immediately onto the parchment paper. Why? Because if I handle the raw dough rounds too much with my warm fingers while arranging them, the heat transfers, and that delicate structure starts to soften right away. Keep everything cool!
For more tips on handling doughs that need to hold their shape, you might find my advice on best sugar cookies helpful, even though it’s a different recipe!
Variations on Your Favorite Butter Cookie Recipe
This recipe is our solid, classic base because it creates that perfect melt-in-your-mouth experience every time. But the beauty of a simple butter cookie recipe is how easy it is to pivot and try something new! You don’t need a whole new ingredient list to get a totally different vibe.
For a Hint of Elegance: The Danish Style
If you’re looking for that classic look you see in those beautiful tins, you’re probably thinking of Danish butter cookies. While authentic Danish recipes can be more complex, you can easily nod to that style. Simply add about 1/2 teaspoon of almond extract along with your vanilla extract. That subtle cherry-like note really brightens up the richness. You can also skip the chilling step for a softer dough, press the dough into a cookie press—if you have one!—and pipe fun shapes instead of slicing rounds. It gives you that delicate, slightly crisp result that pairs so well with coffee.
Going Deeper: The Brown Butter Cookie Version
We already talked about adding browned butter for amazing depth, but you can lean into that even harder! If you use my suggestion from earlier, browning 1/4 cup of the butter, you’ve essentially made a brown butter cookie base. This gives your dessert cookies a nutty, caramelized warmth that just sings, especially when paired with a sprinkle of sea salt on top right before baking. It makes them taste so much more intricate, even though the actual steps are only mildly increased. Give these a try next time you’re baking for a crowd!
A Seasonal Twist
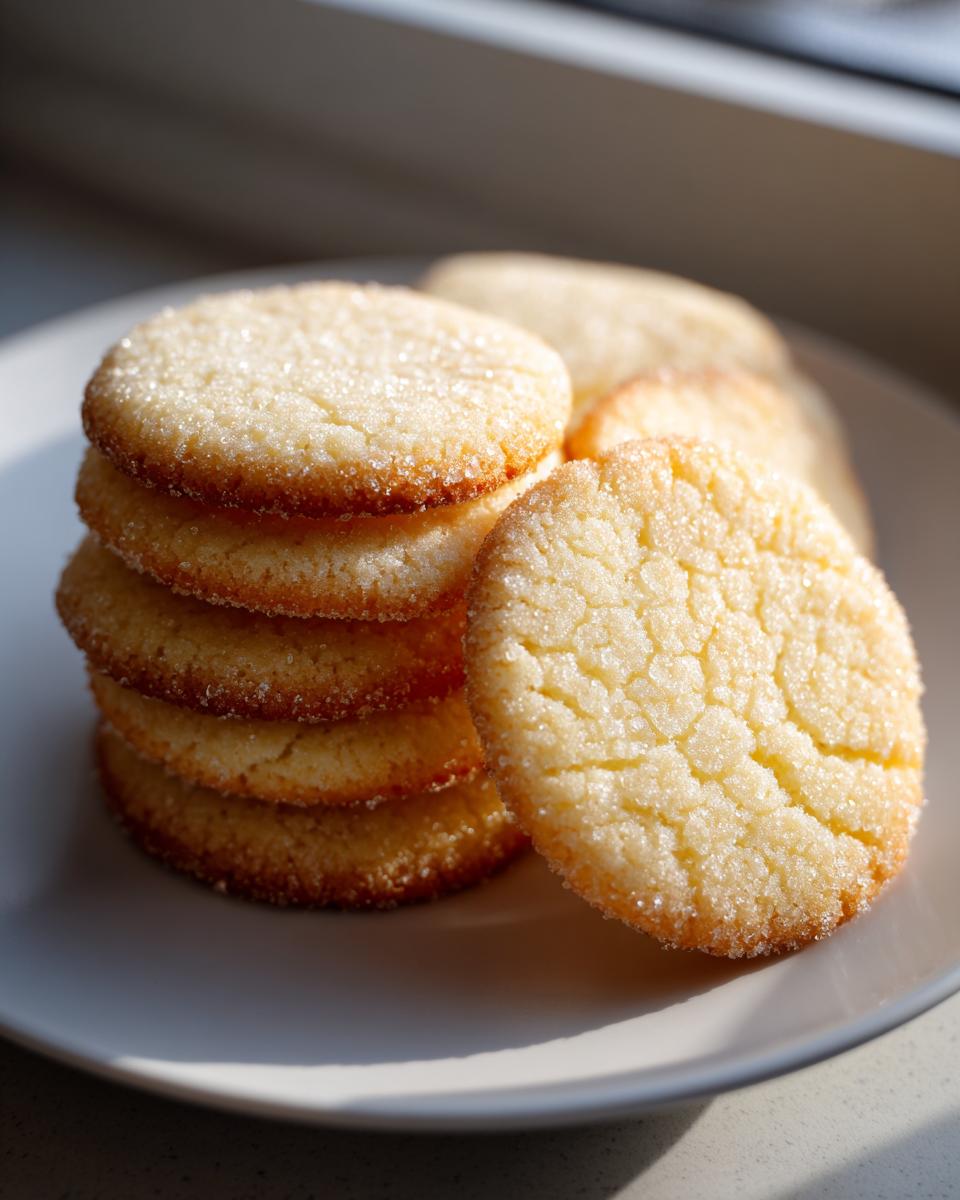
Don’t forget you can adapt this for any season! For Christmas, instead of just slicing them, roll the chilled dough log in colored sugars before slicing. Or, if you’re feeling adventurous with flavor additions (though I try to keep my basics simple), you can roll the dough in cinnamon sugar. I have a fun post about adapting flavors in my cake mix cookie guide, and many of those flavor-boosting ideas can translate here too!
If you want to see a recipe that uses shaping tools prominently, check out the delicious ideas over at Cake Me Home Tonight—they always have great holiday cookie inspiration!
Storing and Gifting Your Homemade Butter Cookies
One of the best things about baking these rich, simple cookies is that they don’t disappear immediately! They are truly fantastic for make-ahead baking, which is essential when you’re tackling huge holiday spreads. These buttery holiday cookies store beautifully, and because they only use basic pantry staples, they are the perfect last-minute addition to any gift basket.
Keeping Them Fresh on the Counter
Since these are practically a shortbread style, they aren’t overloaded with moisture like a gooey bar cookie might be. This means they last quite a while if you treat them right! Once they are completely cooled—and I mean stone cold, don’t rush this step—store them in a single layer, or at most, two layers separated by a sheet of parchment paper, inside a truly airtight container.
Stored this way at cool room temperature, they should stay perfectly fresh and maintain their signature melt-in-your-mouth texture for about a week. If you stack them too tightly before they cool, they can trap humidity and get a little soft or, worse, stick together.
The Freezer is Your Friend
If you are baking ahead for Christmas cookie exchanges or need a mid-week treat later on, the freezer is your best friend. You can freeze the baked cookies for up to three months. Again, make sure they are totally cooled, stack them with parchment paper between layers, seal them tightly in a freezer-safe bag or container, and they freeze like a dream. They defrost quickly on the counter in about an hour.
Even better? You can freeze the dough log! Just wrap it tightly and freeze it for up to two months. When you’re ready, slice off what you need right from the frozen log, add a few extra minutes to the baking time (maybe 13-15 minutes), and you have fresh, warm cookies anytime! It makes having fresh treats less stressful. For more tips on keeping baked goods moist over time, take a peek at my guide for the Moist Blueberry Banana Bread Recipe; the principles of airtight sealing are the same!
Making Cookies for Gifting
These are my go-to for cookie recipes for gifting because they travel well and everyone loves simple, buttery flavor. When packaging them up, decorative tins lined with festive tissue paper work perfectly. If you are mailing them, make sure you cushion them well with crumpled tissue or wax paper so they don’t shift and crack in transit. A simple, handwritten tag tying them back to your kitchen makes them so much more special than anything store-bought!
Frequently Asked Questions About This Simple Cookie Recipe
Can I chill the dough longer than the recommended hour?
Yes, absolutely! Chilling the dough is the single best thing you can do to ensure you get true no spread butter cookies. If you have the time, chilling the dough log overnight is even better. It allows the fat to completely solidify, giving you razor-sharp edges when you slice them. If you chill it for longer than 24 hours, just let the log sit on the counter for about 10 minutes before slicing so it doesn’t shatter when you cut it.
What happens if I use salted butter instead of unsalted?
This is a common question when scrambling to whip up these simple cookie recipes! You can technically use salted butter, but I strongly advise against it when making this type of rich dessert cookie. The recipe calls for exactly 1/2 teaspoon of salt to balance the sweetness of the sugar and butter. If you use salted butter, you won’t know how much extra salt is going in, which can really throw off that beautiful, delicate flavor profile we are aiming for. For the best butter cookies ever, stick to unsalted so you control the seasoning!
How can I make these into Soft Baked Butter Cookies instead of melt-in-your-mouth?
That’s a great question, as texture preferences vary! If you prefer a slightly chewier or soft baked butter cookie result rather than the ‘just melts away’ texture, you can make two tiny adjustments. First, reduce the chilling time slightly—maybe only 45 minutes instead of a full hour. Second, watch your baking time closely. Instead of pulling them at 10 minutes when the centers are pale, let them go a full 13 minutes until the edges are truly golden brown. This dries them out just a bit more, concentrating the chewiness; just don’t wait until they look fully baked through!
Can I add citrus zest or other extracts to my butter cookie?
You totally can—that’s the fun of customizing! If you want to branch out from the standard vanilla flavor, you can certainly add things like lemon zest or orange zest to the creamed butter mixture. Keep extracts like almond (as we discussed in variations) limited to just one teaspoon, though. We don’t want the extract to overpower that essential buttery flavor of the butter cookie, which is what makes this recipe a classic!
If you’re looking for more general baking guidance and tips from my kitchen, feel free to browse my full blog archives!
Nutritional Estimate for One Butter Cookie
Now, I always tell people that when you’re making rich, buttery holiday cookies, you aren’t exactly aiming for a low-fat snack, right? These are treats meant to be savored!
For those of you who like to keep track, I’ve pulled the estimated nutritional breakdown for a single cookie based on the ingredients used in this recipe. This information is based on the recipe yielding about 3 dozen cookies, but remember, every kitchen is a little different, so treat these numbers as a general ballpark figure.
Think of this as good-to-know information that confirms you’re enjoying a wonderfully rich dessert cookie!
- Serving Size: 1 cookie
- Calories: 135
- Fat: 8g
- Saturated Fat: 5g
- Carbohydrates: 15g
- Sugar: 8g
- Protein: 2g
- Cholesterol: 30mg
- Sodium: 55mg
There you have it! A simple, satisfying cookie that really lets that pure butter flavor shine through. Enjoy every moment of these classic butter cookies!
PrintClassic Melt-in-Your-Mouth Butter Cookies
Make rich, buttery cookies that melt in your mouth using simple pantry ingredients. This easy recipe is perfect for holiday baking or gifting.
- Prep Time: 20 min
- Cook Time: 12 min
- Total Time: 1 hour 32 min
- Yield: About 3 dozen cookies 1x
- Category: Dessert
- Method: Baking
- Cuisine: American
- Diet: Vegetarian
Ingredients
- 1 cup unsalted butter, softened
- 3/4 cup granulated sugar
- 1 large egg yolk
- 1 teaspoon vanilla extract
- 2 1/4 cups all-purpose flour
- 1/2 teaspoon salt
Instructions
- In a large bowl, cream the softened butter and granulated sugar together until the mixture is light and fluffy.
- Beat in the egg yolk and vanilla extract until just combined.
- In a separate bowl, whisk together the flour and salt. Gradually add the dry ingredients to the wet ingredients, mixing on low speed until a soft dough forms. Do not overmix.
- Shape the dough into a log, wrap it in plastic wrap, and chill in the refrigerator for at least 1 hour. This prevents spread.
- Preheat your oven to 350°F (175°C). Line baking sheets with parchment paper.
- Remove the dough from the refrigerator and slice the log into 1/4-inch thick rounds.
- Place the cookie rounds onto the prepared baking sheets, leaving about 2 inches between them.
- Bake for 10 to 12 minutes, or until the edges are lightly golden brown. The centers should remain pale for a melt-in-your-mouth texture.
- Let the cookies cool on the baking sheet for 5 minutes before transferring them to a wire rack to cool completely.
Notes
- For a richer flavor, substitute 1/4 cup of the butter with browned butter. Cool the browned butter completely before creaming it with the sugar.
- If you want crisp-edged cookies, bake for an additional 1 to 2 minutes until the edges are more golden.
- These buttery holiday cookies are excellent for cookie exchanges and gifting when stored in an airtight container.
Nutrition
- Serving Size: 1 cookie
- Calories: 135
- Sugar: 8
- Sodium: 55
- Fat: 8
- Saturated Fat: 5
- Unsaturated Fat: 3
- Trans Fat: 0
- Carbohydrates: 15
- Fiber: 0
- Protein: 2
- Cholesterol: 30