
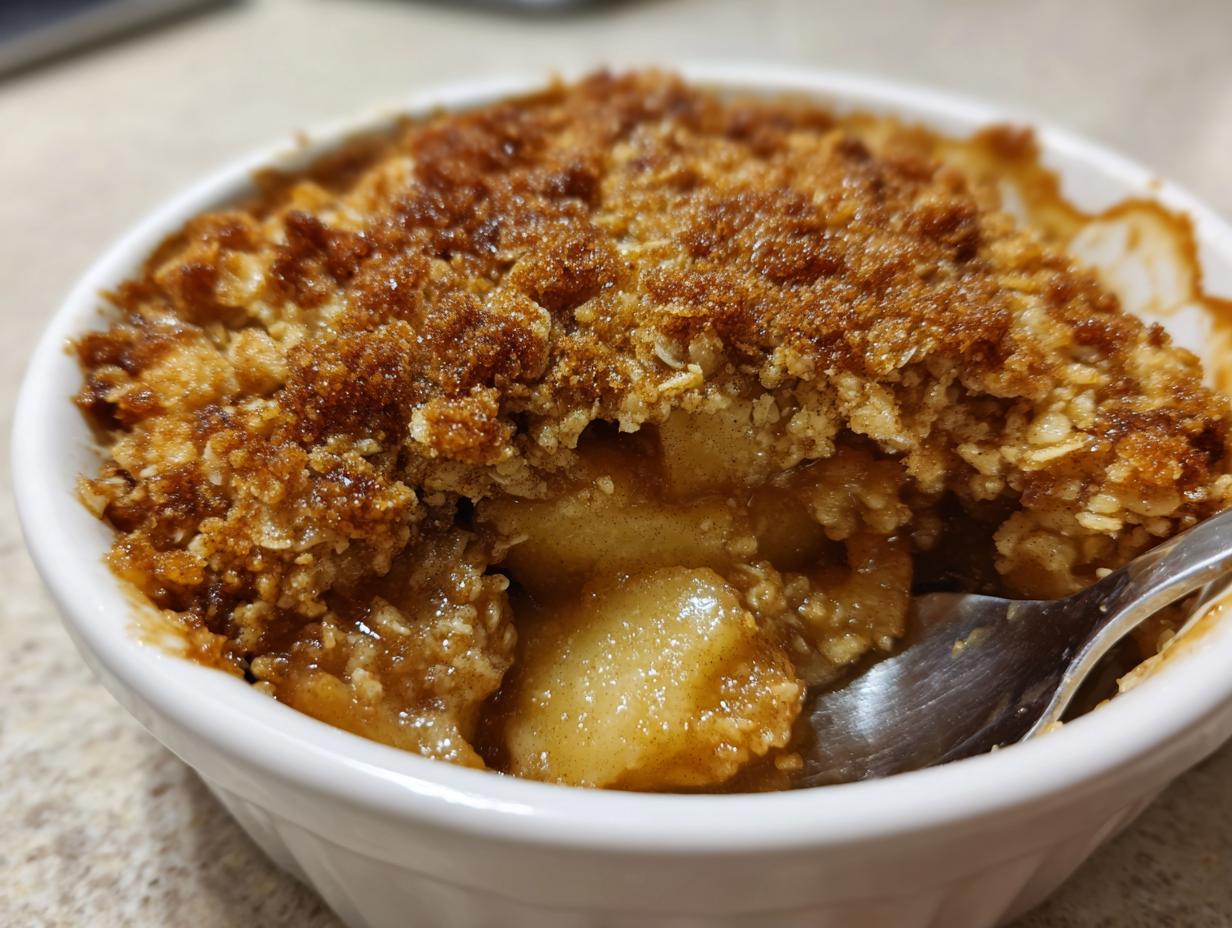

Welcome, friend! I’m Sarah, and I am just so happy you found your way to my kitchen today. If you’re craving that quintessential taste of fall—that warm, spiced apple scent filling your house—then you are in the absolute right place. Forget fussy pies or complicated crumbles; today, we are focusing on true comfort. This apple crisp recipe is the one I always return to because it’s utterly reliable. We get perfectly tender, cinnamon-kissed apples beneath the crunchiest, butteriest oat topping imaginable. Seriously, this is the best apple crisp recipe, bar none, and it comes together so quickly you won’t believe it!
- Why This Apple Crisp Recipe is Your New Fall Favorite (Easy Apple Crisp Recipe)
- Gathering Ingredients for the Best Apple Crisp
- Step-by-Step Instructions for Your Apple Crisp Recipe
- Tips for a Foolproof Apple Crisp Recipe Success
- Ingredient Notes and Substitutions for Your Apple Crisp Recipe
- Serving Suggestions for This Old Fashioned Apple Crisp
- Storing and Reheating Your Homemade Apple Dessert
- Frequently Asked Questions About the Apple Crisp Recipe
- Nutritional Estimate for This Classic Dessert Recipe
Why This Apple Crisp Recipe is Your New Fall Favorite (Easy Apple Crisp Recipe)
I know you have a mountain of recipes saved, but I promise this one deserves a starring role in your weekly rotation. If you need that perfect Easy Apple Crisp Recipe for a busy weeknight or when unexpected company drops by, this is it. It’s pure, unadulterated Comfort Food Dessert magic!
Here’s exactly why you’re going to fall in love with this classic approach:
- It’s incredibly fast to put together—prep time is just about 15 minutes, honestly!
- The texture contrast is perfect: soft, spiced apples against that shattering, buttery oat crumble topping.
- It’s foolproof! Even if you think you can’t bake, I guarantee this will turn out golden and bubbly.
- It smells like the best parts of autumn are happening right in your oven.
Gathering Ingredients for the Best Apple Crisp
Before we even think about preheating the oven, we need to talk about our cast of characters. For this Best Apple Crisp to shine, quality matters, especially when it comes to those apples! I love using a mix for the perfect balance of sweet and tart, so grab Granny Smiths for structure and maybe a couple of Honeycrisps if you have them. They break down just right underneath that gorgeous topping.
If you’re looking to use this recipe for your morning oatmeal, you might already have half this stuff in your pantry! Here is exactly what you need to gather up. Don’t try to substitute that butter—it has to be cold!
For the Apple Filling:
- 6 medium apples (Granny Smith or Honeycrisp are my favorites), peeled, cored, and sliced about 1/4 inch thick
- 1/4 cup all-purpose flour (this helps thicken the juices!)
- 1/2 cup granulated sugar
- 1 teaspoon ground cinnamon
- 1/4 teaspoon ground nutmeg
- 1 tablespoon lemon juice (stops the apples from browning too fast)
For the Oat Crumble Topping:
- 1/2 cup all-purpose flour
- 1/2 cup packed light brown sugar (this gives us that lovely caramel flavor)
- 1/2 cup old-fashioned rolled oats (this is crucial—no instant oats here, please!)
- 1/4 teaspoon ground cinnamon (just a whisper more for flavor)
- 1/4 teaspoon salt
- 1/2 cup (that’s one full stick!) cold unsalted butter, cut into small cubes
Step-by-Step Instructions for Your Apple Crisp Recipe
Okay, we’ve got the glorious ingredients ready, and now comes my favorite part—turning them into something stunning! Don’t let the separate components intimidate you; making this apple crisp recipe is so satisfying because everything comes together so fast. Just follow these steps, think cozy thoughts, and get ready for the best dessert you’ve made all season. Remember, we are aiming for tender apples and a truly golden, crunchy topping!
Prepping the Oven and Baking Dish
First things first, let’s get that oven warmed up. We need a good, steady heat for this bake, so set your oven to 375 degrees Fahrenheit right now. While that heats up, take a quick minute to lightly grease whatever dish you are using. I usually use an 8×8 inch square dish, but a 9-inch pie plate works perfectly too. A good greasing means no sticking later, and nobody wants to fight their dessert!
Mixing the Spiced Apple Filling
Grab that big bowl where your sliced apples are waiting. We need to get them drunk on spice! Add in that 1/4 cup of flour, the granulated sugar, the teaspoon of cinnamon, nutmeg, and that critical tablespoon of lemon juice. Now, this is important: use a rubber spatula or your hands to gently toss everything together. You want the apples evenly coated, but don’t bruise them! Mushy apples underneath are a tragedy we want to avoid. Once they look beautifully coated, spread that gorgeous mixture evenly across the bottom of your prepared baking dish.
Creating the Buttery Topping Recipe
Time for the star of the show—that crunchy texture! In a separate bowl, whisk together the topping dry ingredients: the remaining 1/2 cup of flour, the light brown sugar, your old-fashioned oats, the extra sprinkle of cinnamon, and the salt. Now for the magic of the Buttery Topping Recipe: add the cold, cubed butter right on top of those dry things. You need to cut that butter in. I use my fingertips because I like to feel the texture change, but you can use a pastry blender too. Keep working it until the whole mixture looks like coarse crumbs, and you still see some little pea-sized chunks of butter here and there. That cold butter is what makes your topping crisp, not cakey!
Baking and Resting the Apple Crisp Recipe
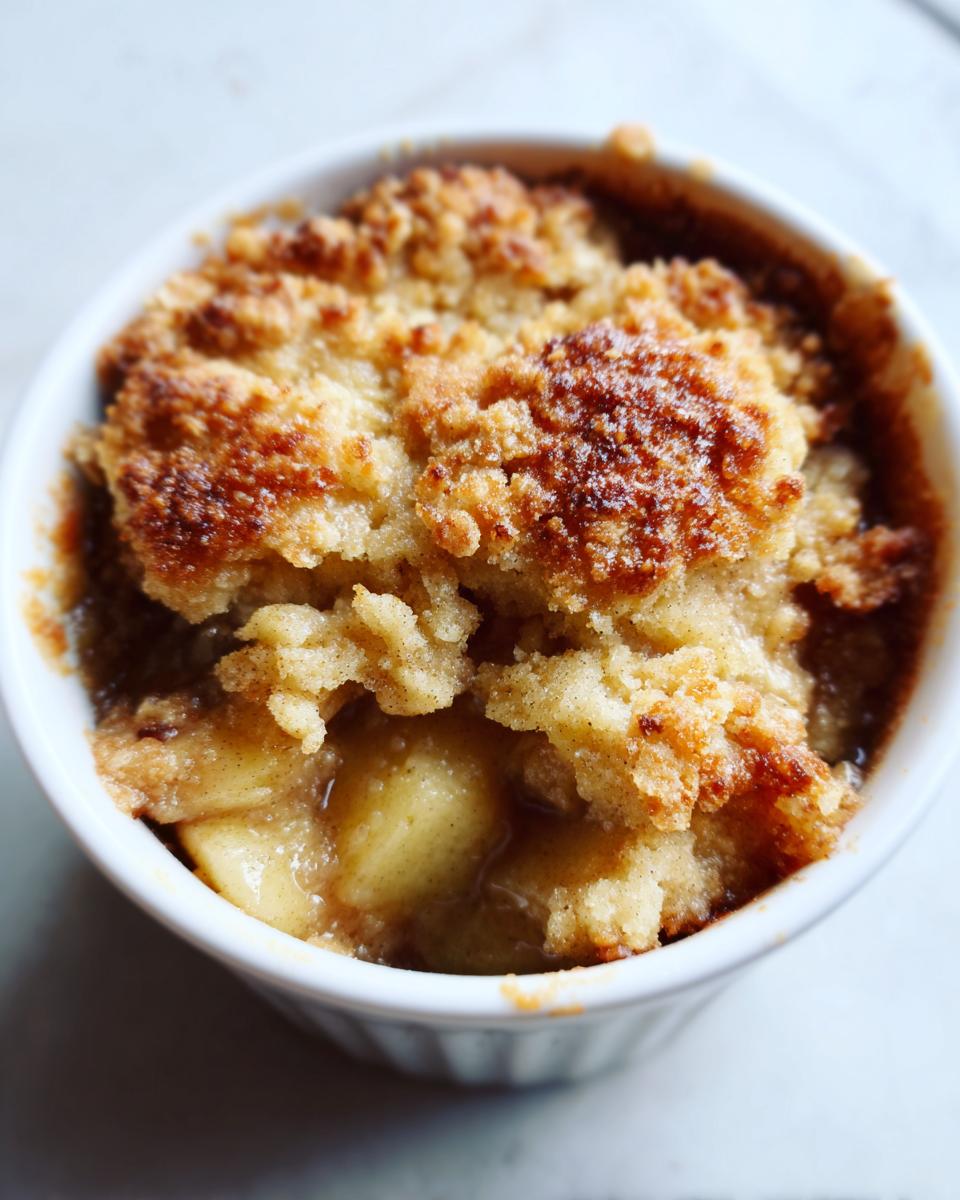
Take that crumbly topping you just made and sprinkle it evenly all over the apples. Please, please, please do not press it down! Let it sit loose so it gets nice and crunchy. Pop the whole dish into that 375°F oven. You’ll want to bake it for about 40 to 50 minutes. You’ll know it’s done when you see those juices bubbling up—deep, thick, and happy—around the edges, and the top is that perfect golden brown. This is where patience comes in: once you pull that beautiful apple crisp recipe out, you MUST let it rest on a wire rack for at least 15 minutes. This sitting time is essential! It lets those apple juices thicken up so your crisp isn’t soupy when you scoop it out.
Tips for a Foolproof Apple Crisp Recipe Success
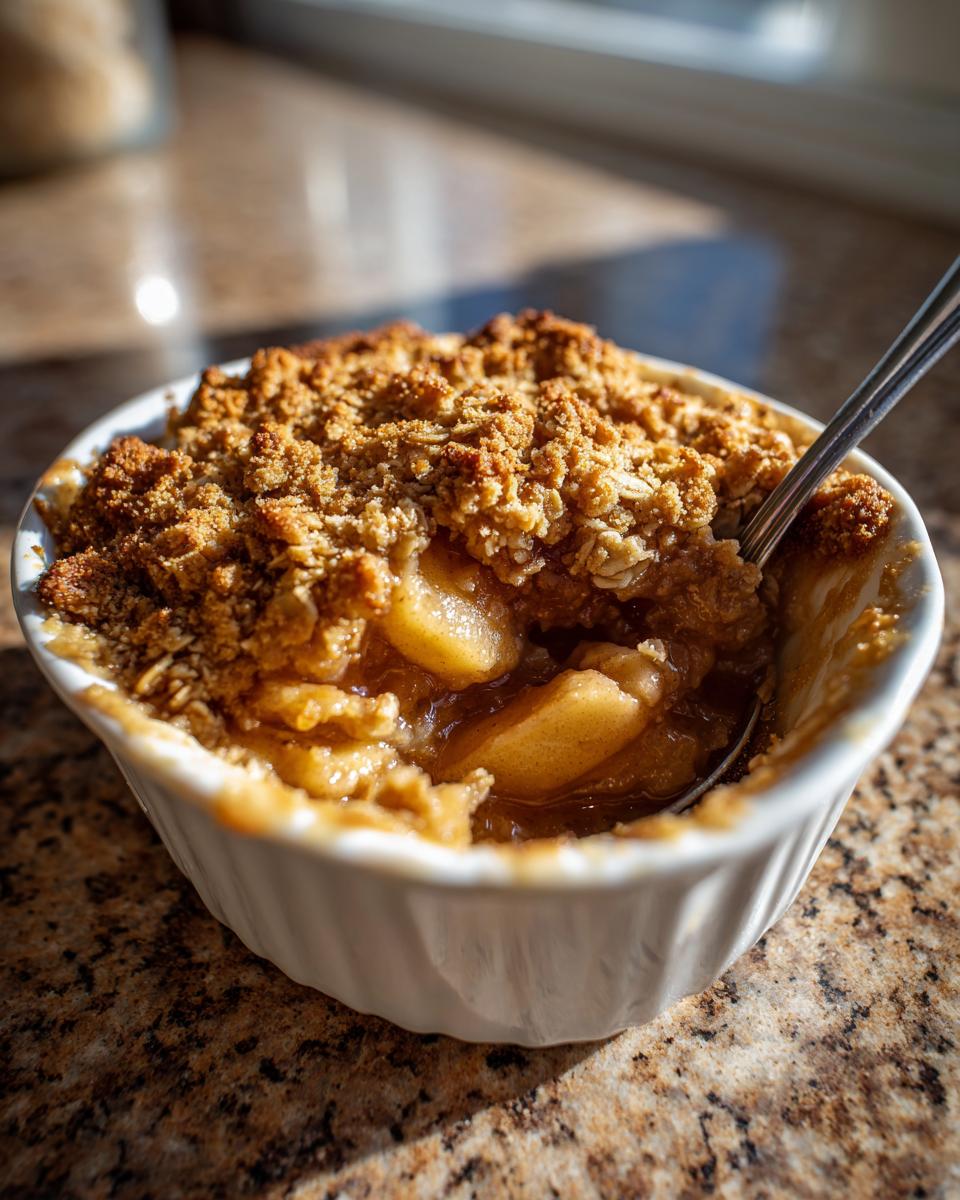
I really want you to succeed with this because homemade apple desserts just make everything better, right? Even following the steps, sometimes the oven gods can be tricky! If you find that your beautiful oat topping is turning dark brown suspiciously fast—way before those apples underneath are tender—don’t panic. This is where you pull out the aluminum foil. Just loosely drape a sheet over the top for the last 10 to 15 minutes of baking time. This shields the crisp while allowing the heat to penetrate and soften those apples.
To elevate this to the absolute Foolproof Apple Crisp level, let’s talk crunch boosters. While the recipe is perfect as is, I never skip adding a little something extra for texture. Throwing in about 1/4 cup of chopped pecans or walnuts into that oat mixture gives you another layer of flavor and serious bite. Chop them roughly; you want them to toast up beautifully alongside those oats!
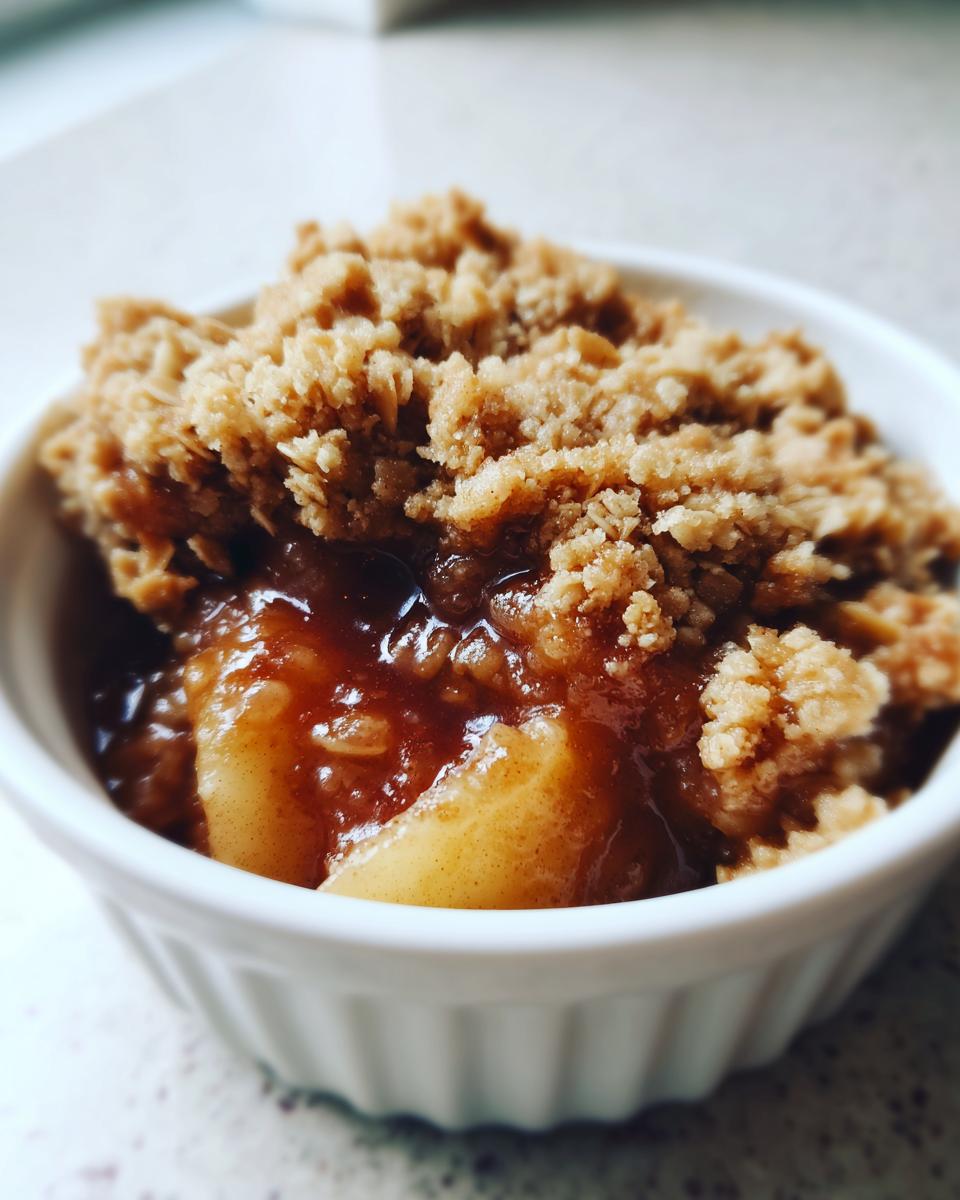
My biggest piece of advice, which I mentioned earlier but needs saying again, is the butter. It *must* be cold when you cut it into the topping. If the butter warms up even slightly during the mixing process, you risk getting a dense, greasy topping instead of those light, shaggy crumbles we are aiming for. Keep that chopping board cool!
Ingredient Notes and Substitutions for Your Apple Crisp Recipe
I want to jump back to the ingredients for just a second because tiny tweaks make a huge difference in a simple homemade apple dessert like this. When it comes to apples, using a mix of tart green ones and sweeter ones gets you that complex fruit flavor we all want. If you only have one type, just adjust that granulated sugar slightly!
Also, please pay attention to the oats for that crumbly topping. I know sometimes the instant packets are right there, but they turn into mush! You absolutely need the old-fashioned rolled oats. They hold up to the baking heat and give you that signature chewy/crunchy texture. And if you’re skipping the nuts, I won’t tell anyone, but trust me, they add such a welcome crunchiness!
Serving Suggestions for This Old Fashioned Apple Crisp
This Old Fashioned Apple Crisp is truly a showstopper, but it needs the perfect welcome to the table! The absolute best way to enjoy it, in my humble opinion, is warm—not scorching hot, but warm enough that the spices are mingling in the air. And you simply have to serve it with vanilla ice cream. The contrast between the warm, spiced apples and that cold, creamy scoop is pure heaven.
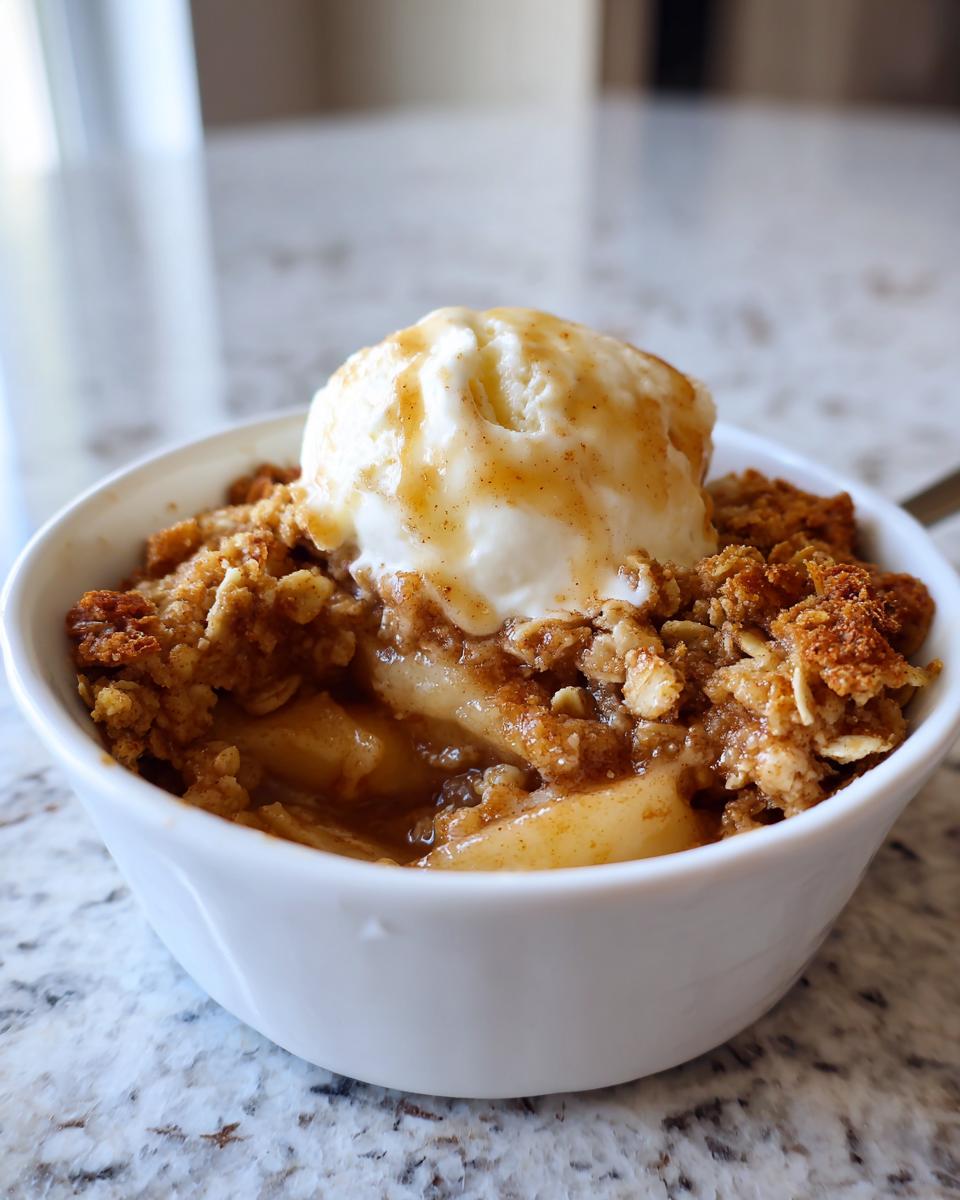
If you’ve run out of ice cream or just prefer something lighter, a dollop of fresh whipped cream is lovely. For an extra indulgent treat, try drizzling a ribbon of thick caramel sauce over the top just before serving. Enjoy every bite of this simple baked apples delight!
Storing and Reheating Your Homemade Apple Dessert
Listen, if you miraculously have any leftovers of this amazing crisp—which, honestly, is hard to manage—storage is easy. Let it cool down completely first. Then, just cover the baking dish tightly with plastic wrap or foil, or transfer portions to an airtight container. It’ll keep on the counter at room temperature for about a day if your house isn’t too warm, but I prefer the fridge for 3 to 4 days.
Now, reheating is key to keeping that topping crunchy! The microwave works in a pinch, but it softens the oat topping fast—just zap it for 30 seconds. For the best result, pop a single serving into a toaster oven or a regular oven set to 325 degrees Fahrenheit for about 10 minutes. That little bit of dry heat crisps everything right back up! Don’t forget to save a scoop of ice cream for when you reheat it; you deserve it! See my fluffy pancake recipe for another breakfast treat!
Frequently Asked Questions About the Apple Crisp Recipe
I know you bakers have questions—I always do when I try a new dessert! Since this apple crisp recipe is so straightforward, most of the questions I get are about timing or slight adjustments. Don’t hesitate to reach out if you have a specific concern that isn’t covered below! You can always check out my main blog page for more tips too!
Can I make this apple crisp recipe ahead of time?
Oh, yes, you absolutely can! This is perfect for prepping before a busy weekend. You have two options: you can mix up the apple filling and keep it covered in the fridge for maybe three days. Then, prepare the Buttery Topping Recipe separately and store that in a sealed container in the fridge too. Right before baking, sprinkle the topping on the apples and bake as directed, though you might need 5 extra minutes since everything is cold.
Or, you can assemble the entire thing—apples and topping—in the baking dish, cover it tightly, and refrigerate overnight. If you bake it from cold, just add about 10 to 15 minutes to the baking time. It is the ultimate Weeknight Cozy Dessert solution!
What is the best way to keep the oat crumble topping crunchy?
This is the trick to the Best Apple Crisp! Seriously, the secrets are simple: one, make sure that butter is good and cold—like icebox cold—when you cut it in. Two, when you are cutting the butter, stop when you have those coarse crumbs and pea-sized pieces left; don’t overwork it into paste! And the third thing is what I mentioned in the instructions: once you sprinkle it over the apples, do not press it down. Let it lay light and loose over the fruit so the heat can work its magic and toast it evenly.
Can I use different fruits in this apple crisp recipe?
You sure can play with this! This recipe is a fantastic template for a general fruit crisp. Pears work beautifully alongside apples, or you can switch the fruit entirely to berries, though you may need to adjust the sugar down slightly. If you use very juicy fruit, like fresh peaches or berries, you might want to increase the flour in the apple filling slightly, maybe up to 1/3 cup instead of 1/4 cup, just to make sure you end up with thick, bubbly juices for your Old Fashioned Apple Crisp and not a soup!
Nutritional Estimate for This Classic Dessert Recipe
Now, I always tell people that baking is about love, not just numbers, but I know some of you track what you eat! So, here is a general estimate for one serving of this wonderful Classic Dessert Recipe. Remember, this is just a guide, and it totally depends on the apples you choose and how much ice cream you sneak in!
- Serving Size: 1 serving
- Calories: Approximately 380
- Fat: About 18g
- Sugar: Around 35g (most of that’s natural fruit sugar and brown sugar!)
- Carbohydrates: Roughly 55g
- Protein: About 4g
It’s a hearty slice of home, perfect for enjoying after a long fall day. Enjoy every crumb!
PrintClassic Old-Fashioned Apple Crisp Recipe: The Best Comfort Dessert
This is the best apple crisp recipe you will make. It features tender, cinnamon-spiced apples beneath a golden, buttery oat topping. It is a foolproof, easy apple crisp perfect for fall baking and weeknight treats.
- Prep Time: 15 min
- Cook Time: 45 min
- Total Time: 60 min
- Yield: 6 servings 1x
- Category: Dessert
- Method: Baking
- Cuisine: American
- Diet: Vegetarian
Ingredients
- 6 medium apples (like Granny Smith or Honeycrisp), peeled, cored, and sliced about 1/4 inch thick
- 1/4 cup all-purpose flour
- 1/2 cup granulated sugar
- 1 teaspoon ground cinnamon
- 1/4 teaspoon ground nutmeg
- 1 tablespoon lemon juice
- 1/2 cup all-purpose flour (for topping)
- 1/2 cup packed light brown sugar (for topping)
- 1/2 cup old-fashioned rolled oats (not instant)
- 1/4 teaspoon ground cinnamon (for topping)
- 1/4 teaspoon salt
- 1/2 cup (1 stick) cold unsalted butter, cut into small cubes
Instructions
- Preheat your oven to 375 degrees Fahrenheit. Lightly grease an 8×8 inch baking dish or a 9-inch pie plate.
- Prepare the apples: In a large bowl, combine the sliced apples, 1/4 cup flour, 1/2 cup granulated sugar, 1 teaspoon cinnamon, nutmeg, and lemon juice. Toss gently until the apples are evenly coated.
- Spread the apple mixture evenly into your prepared baking dish.
- Prepare the oat topping: In a separate medium bowl, whisk together the 1/2 cup flour, brown sugar, rolled oats, 1/4 teaspoon cinnamon, and salt.
- Cut in the cold butter: Add the cold, cubed butter to the dry topping mixture. Use your fingers, a pastry blender, or two knives to cut the butter into the dry ingredients until the mixture resembles coarse crumbs with some pea-sized pieces of butter remaining.
- Sprinkle the topping evenly over the apple mixture in the baking dish. Do not press it down.
- Bake for 40 to 50 minutes, or until the topping is golden brown and the apple filling is bubbly and tender when pierced with a fork.
- Let the apple crisp cool on a wire rack for at least 15 minutes before serving. This allows the filling to set slightly.
- Serve warm, perhaps with a scoop of vanilla ice cream.
Notes
- For the best texture, use a mix of tart and sweet apples. Granny Smith holds its shape well during baking.
- If your topping begins to brown too quickly before the apples are tender, loosely cover the dish with aluminum foil for the last 10 to 15 minutes of baking.
- You can add 1/4 cup of chopped pecans or walnuts to the oat topping for extra crunch.
Nutrition
- Serving Size: 1 serving
- Calories: 380
- Sugar: 35g
- Sodium: 150mg
- Fat: 18g
- Saturated Fat: 11g
- Unsaturated Fat: 7g
- Trans Fat: 0.5g
- Carbohydrates: 55g
- Fiber: 5g
- Protein: 4g
- Cholesterol: 45mg