
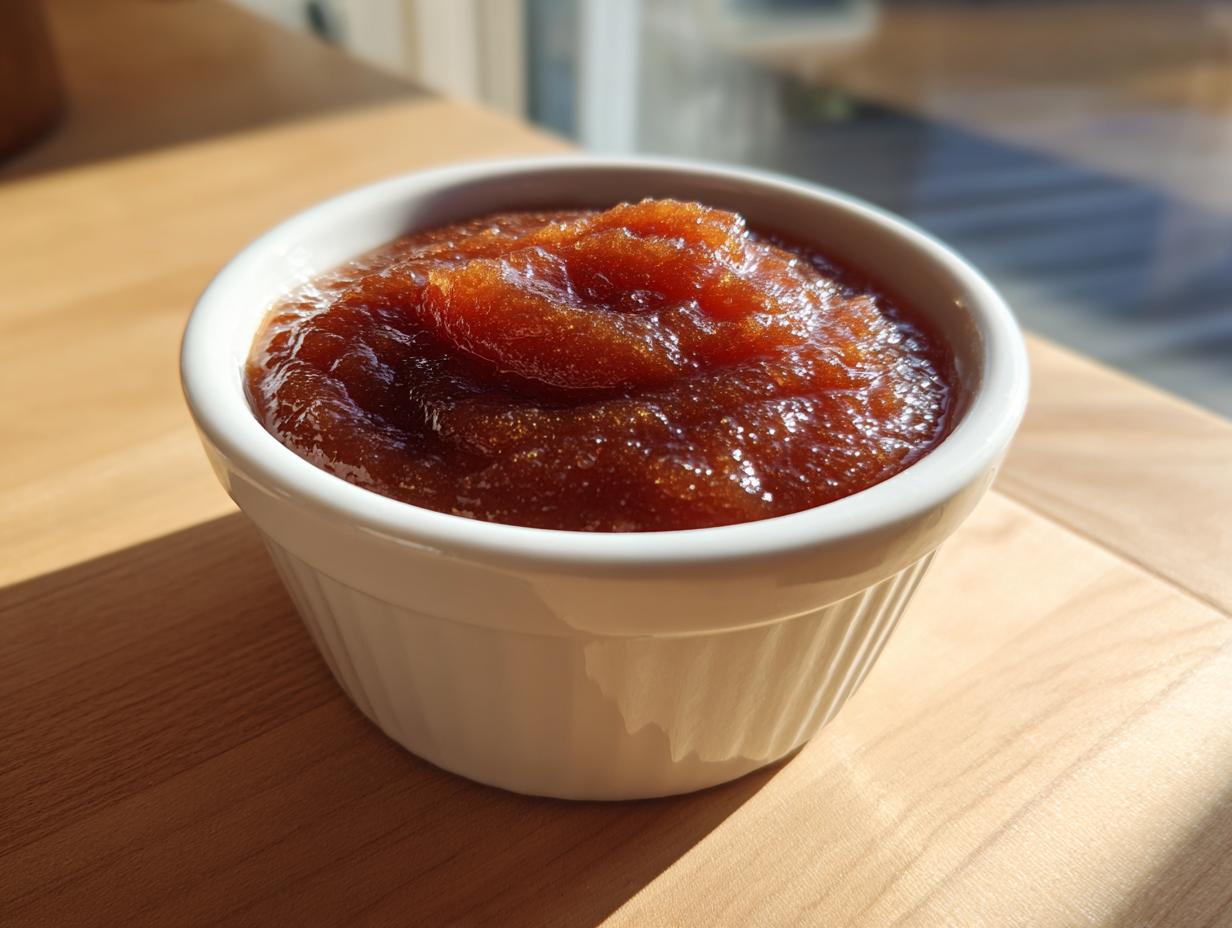

Oh my goodness, when those crisp autumn air finally settles in, there is simply nothing better than filling your home with the smell of slow-simmering fruit preserves. It reminds me so much of standing next to my grandmother, learning the patient art of making things last through the winter. That’s why I am absolutely thrilled to share my recipe for Easy Slow Cooker Spiced Pear Butter with you today! This homemade pear butter is wonderfully easy because we are leaning heavily on that wonderful ‘set it and forget it’ slow cooker magic. But don’t worry if you don’t have a Crockpot; I’ll make sure you’ve got instructions for the stovetop and even the Instant Pot, too. I’ve got tons of other great recipes waiting for you over on my main recipe index, by the way! Trust me, this rich, cinnamon-spiced spread turns simple, ripe pears into something completely luxurious!
- Why This Homemade Pear Butter Recipe is a Must-Try
- Gathering Ingredients for Spiced Pear Butter
- How to Make Slow Cooker Pear Butter: Step-by-Step Instructions
- Alternative Cooking Methods for Easy Pear Butter
- Tips for Perfect Pear Butter Consistency and Flavor
- Using and Storing Your Homemade Pear Butter
- Frequently Asked Questions About Pear Butter
- Estimated Nutritional Information for Pear Butter
- Share Your Pear Butter Creations
Why This Homemade Pear Butter Recipe is a Must-Try
I’m telling you, this pear butter isn’t just another jam recipe; it’s a staple once you make it the first time. You’ll get that beautiful, rich flavor without spending all day chained to the stove. It’s foolproof, especially if you let the machine do the heavy lifting!
- It’s incredibly hands-off. Seriously, once the ingredients are in, you can walk away!
- The flavor is pure autumn—warm spices balanced by the natural sweetness of ripe fruit.
- It makes the most thoughtful homemade gifts when nestled into little jars—perfect for holiday gift canning!
Effortless Cooking Methods for Perfect Pear Butter
My favorite way is definitely the slow cooker, which is why I built this recipe around that ‘set it and forget it’ idea. But if you’re in a hurry or prefer older appliances, this works great as crockpot pear butter, and I’ve made sure you have clear stovetop and Instant Pot options too. Flexibility is key in my kitchen!
Achieving That Thick Pear Spread Texture
One thing people often worry about with fruit butters is getting that perfect, velvety texture. You absolutely don’t need to mess around with pectin here. Because we cook this spiced pear butter for so long, the liquid evaporates naturally, giving you that beautifully thick pear spread you’re looking for, all concentrated flavor!
Gathering Ingredients for Spiced Pear Butter
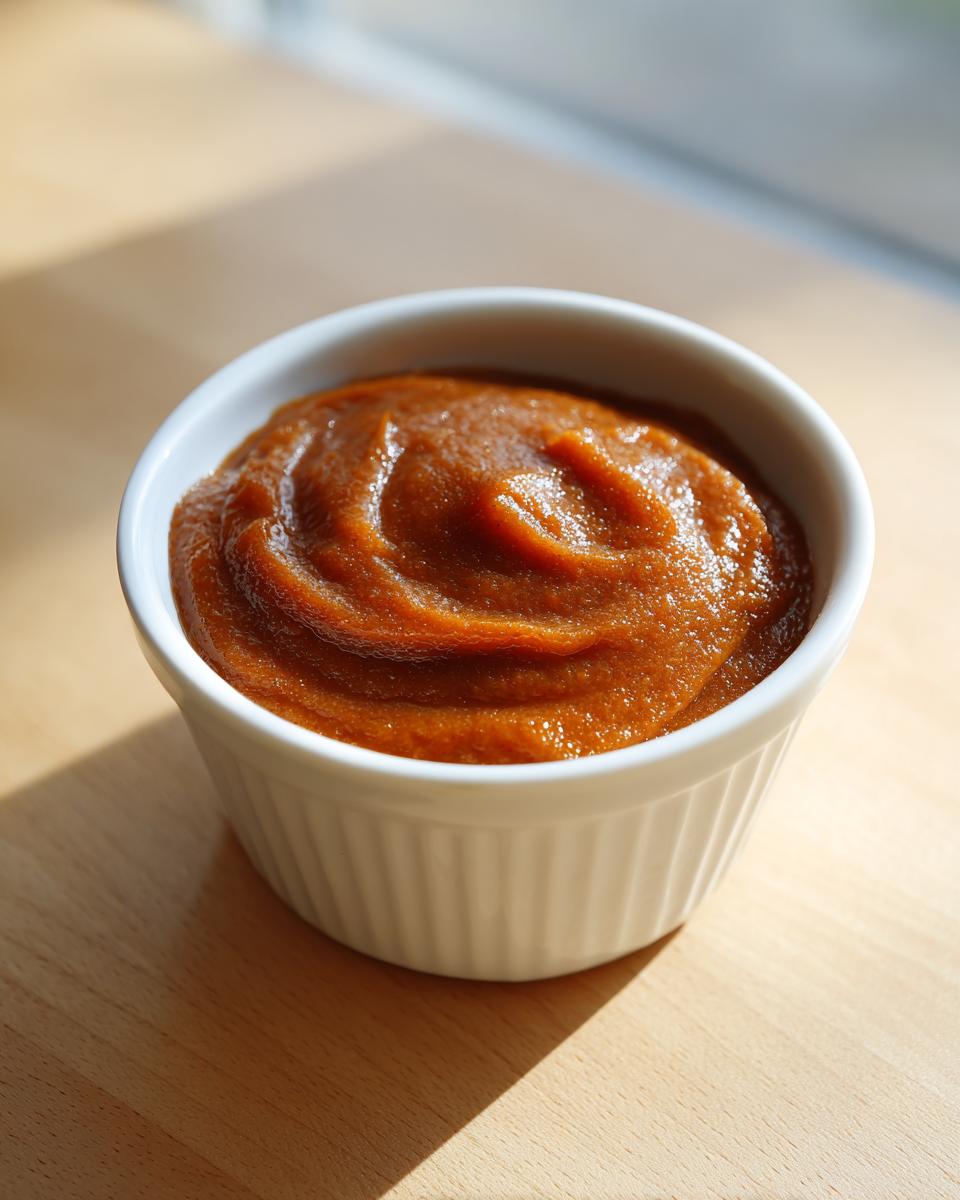
Before we dive into the cooking methods—which trust me, are super easy—we need to talk about what goes into this amazing pear butter. The secret to getting that deep, rich sweetness without tons of added sugar is starting with truly ripe fruit. I learned early on that poor ingredients make for disappointing results, so quality matters here!
You’ll want about four pounds of pears, some wonderful brown sugar to deepen the flavor, and your standard lineup of warming spices like cinnamon and cloves. Having those few key components ready means the resting time is actually the cooking time, which is my favorite kind of recipe!
Ingredient Notes and Substitutions for Pear Butter
I always stress using the right kind of fruit for the best results. When we talk about the best pears for pear butter, I always lean toward Bartlett or Anjou because they break down so beautifully. If your pears are nice and soft, you won’t have to worry about texture later on.
Now, if you’re feeling adventurous and want to try mixing things up, I always keep a little note about how to make an apple pear butter recipe right in the card. You can swap out about a pound of pears for tart apples, and it gives a fantastic zip! Also, don’t skip that vanilla extract at the end; it really makes the spices shine. If you love moisture in your baked goods, check out my moist pumpkin bread recipe for another fall favorite!
How to Make Slow Cooker Pear Butter: Step-by-Step Instructions
Okay, this is where the magic really happens, friends! Because we are making this in the slow cooker, the active work time is minimal, which means more time for me to enjoy a cup of coffee while the kitchen smells amazing. This method is fantastic for anyone looking to easily preserve a big batch of fruit because you can just set it and forget it until those wonderful pears are falling apart. You can find my other favorite simple recipes over in my slow cooker category!
Preparing Pears for the Slow Cooker Pear Butter
First things first: grab those four pounds of ripe pears. You need to wash them well, then just quarter them up and remove the cores. This is the best part about using the slow cooker for pear butter—you absolutely do not need to peel them! I know, right? The long, slow cooking time breaks down the skins completely, and you save yourself about 20 minutes of tedious work. Just quarter and toss them right into your insert with the brown sugar and your warm spices.
Blending the Cooked Fruit for Smooth Pear Butter
Once your pears are super soft—check them after 6 to 8 hours on low, or closer to 3 or 4 on high—it’s time to blend. You have two great options here. If you have an immersion blender, you can carefully blend them right in the slow cooker basin until it looks totally smooth. If you are using a standard blender, you need to transfer the mixture over, but be careful because it will be hot!
A quick tip on blending: if your slow cooker is packed full, blend the mixture in batches. It’s much safer and you’ll get a smoother final result if the blender isn’t overflowing. Only add that teaspoon of vanilla extract after you’ve blended it smooth, just before you move on to the thickening step if necessary.
Alternative Cooking Methods for Easy Pear Butter
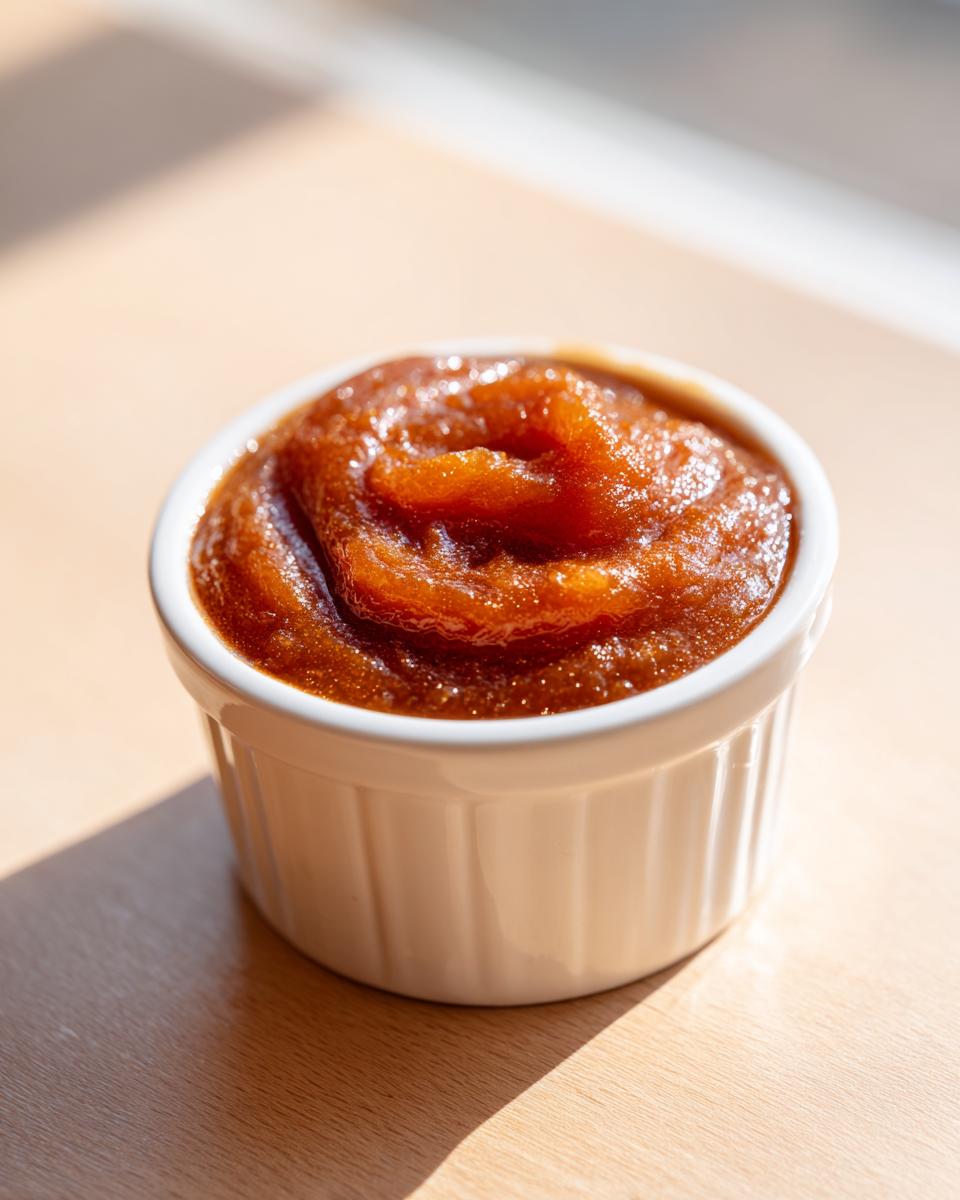
I know not everyone wants to dedicate their entire day to waiting for the slow cooker, even if the results for that pear butter end up being the absolute best! So, if you need your easy pear butter faster, I’ve got you covered with two other fantastic methods that work just as well.
The goal remains the same—super soft pears loaded with brown sugar and cinnamon—but the timeline changes drastically depending on whether you grab your big soup pot or your electric pressure cooker. You can check out a similar favorite recipe that uses multiple methods over at Margin Making Mom!
Stovetop Spiced Pear Butter Technique
If you’re going stovetop, you must use a large, heavy-bottomed pot. This is crucial because, as the moisture cooks off, you don’t want sweet caramelization sticking and burning to the bottom! Combine everything in the pot, bring it up to a gentle simmer over medium heat, and then drop it down low. You’re looking at about 2 to 3 hours uncovered. You absolutely need to stir this often—way more often than the Crockpot version—but the smell alone is worth the effort.
Instant Pot Pear Butter Quick Cooking
For speed, nothing beats the instant pot pear butter method. You toss everything in, lock the lid, and set it for High Pressure for just 15 minutes. The key here is that you have to let the pressure release naturally for 10 minutes before doing a quick release for any remaining steam. That natural release time is important for temperature stabilization. Once done, blend it up, and if it’s a touch thinner than slow cooker pear butter, just sauté it for a bit to thicken!
Tips for Perfect Pear Butter Consistency and Flavor
Now that you know how to cook your **pear butter**, let’s talk about going from ‘good’ to ‘absolutely unforgettable.’ Even though the slow cooker does a lot of the work, those last small touches make all the difference in getting that amazing, rich flavor and the perfect velvety texture you expect from a wonderful fruit butter. If you want to see all my other favorite tips and tricks, feel free to look around my blog here!
The Optional Simmer for Extra Thick Pear Butter
If you cooked yours for the full 8 hours on low, you might find it’s already perfect. But if it still looks a little looser than your ideal **thick pear spread**, don’t panic! After blending, transfer that smooth puree back into a saucepan—medium-low heat only. Simmering this down for another 15 to 30 minutes will concentrate that **pear butter** flavor even more. Just remember my Dad’s barbecue rule: stir it often! You don’t want any scorching on the bottom.
Flavor Adjustments for Your Spiced Pear Butter
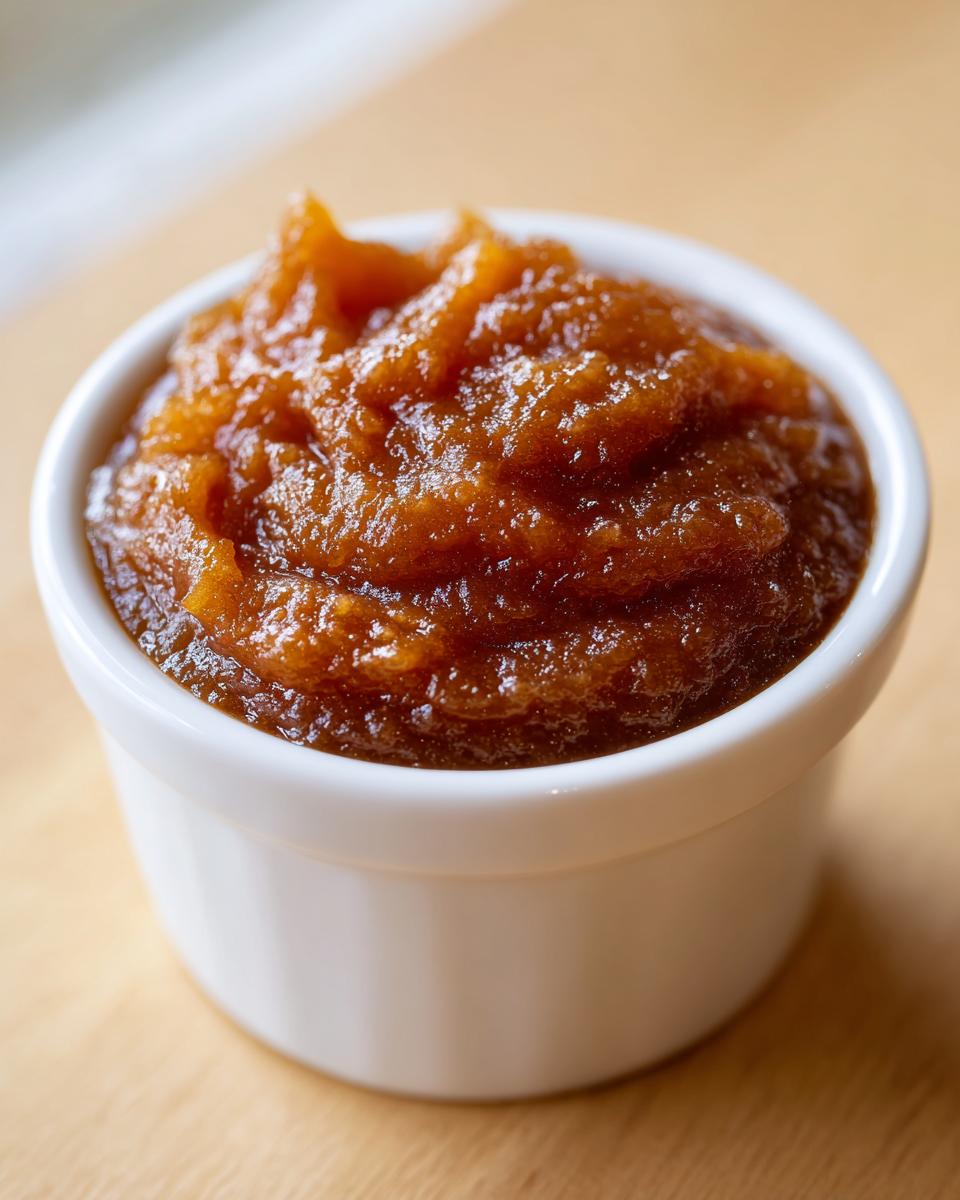
This is the time to taste test! Once it’s smooth and hot, give it a quality tablespoon test. Does it need an extra tiny pinch of cinnamon? Maybe you want a little more warmth from the cloves? If you skipped the vanilla earlier because you weren’t sure, now is the time to add it! I personally love the deep molasses notes from the **brown sugar pear butter** version, so I sometimes sprinkle in just a touch more brown sugar at this stage if the pears weren’t perfectly sweet to begin with. Remember, you can always adjust, but you can’t take it out!
Using and Storing Your Homemade Pear Butter
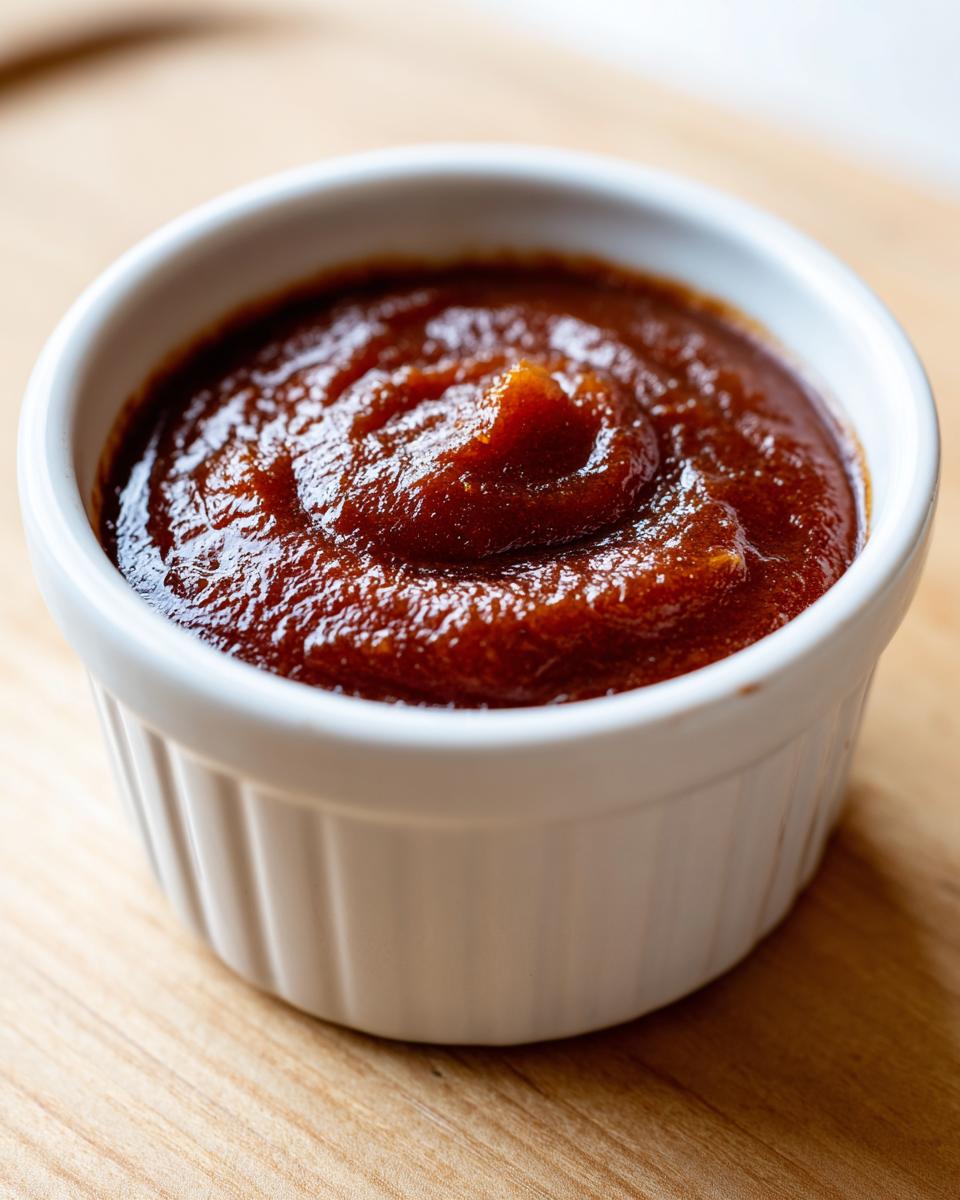
Now that you have this amazing, thick **pear butter** done—whether you cooked it low and slow or used the Instant Pot—the best part is deciding how you’re going to eat it! This beautiful autumn spread recipe is so versatile. I love spooning it over yogurt or stirring a big dollop right into my morning oatmeal for extra richness.
If you’re just storing it for yourself, it keeps wonderfully in the fridge. But if you’ve made a couple of batches, you definitely need to think about preserving them! You can find a nice recipe for delicious brown sugar pear butter inspiration over at USA Pears, too.
Serving Suggestions for This Autumn Spread Recipe
Honestly, there’s no wrong way to eat this! It’s divine warmed up slightly and spread thickly on hot buttermilk biscuits, obviously. It’s also fantastic layered on toast instead of regular jam, or imagine drizzling it over pancakes or French toast—it’s just so much richer than maple syrup!
Proper Canning Pear Butter for Long-Term Preservation
If you are hoping to give some away as **holiday gift canning** treasures (which is such a thoughtful idea!), you must focus on safety. Once your **pear butter** has cooled down completely, you will need to process your filled jars using standard hot water bath canning methods. This ensures your **canning pear butter** is shelf-stable and safe to enjoy months down the road. Always follow those established guidelines to keep everyone happy and healthy!
Frequently Asked Questions About Pear Butter
I always get so many great questions when a recipe this popular starts circulating online! It makes sense; preservation can sometimes feel a little intimidating, but I promise, this recipe walks you through everything. If I missed anything about making your perfect **homemade pear butter**, feel free to drop another question in the comments, or check out my general recipe archive for more tips!
What is the difference between pear butter and applesauce?
That’s a great question for anyone trying to figure out what to do with their harvest! While they both start with cooked fruit, **pear butter** is cooked down for a much, much longer time than applesauce. We cook the pear butter until almost all the water evaporates, which concentrates the sugars and spices, giving it that deep, almost caramelized flavor and that signature thick consistency. Applesauce is usually much looser and fruitier, whereas butter is richer!
Can I make this pear butter recipe without brown sugar?
You absolutely can! If you are aiming for a truly natural fruit spread, you can skip the brown sugar entirely. Just make sure those pears you use are incredibly ripe and sweet—Bartlett pears work really well for this. Just know that without the molasses in the brown sugar, the flavor won’t be quite as deep or complex, so you might want to bump up your cinnamon a touch!
How long does homemade pear butter last in the fridge?
If you aren’t going the canning route, which is great for immediate enjoyment, your **homemade pear butter** will last quite a while in the refrigerator! I usually instruct everyone to transfer the cooled butter into clean, airtight containers. If you do that, it should easily last up to three weeks. If it gets goopy or you see any fuzz, toss it, but usually, it stays perfect and ready for toast!
Estimated Nutritional Information for Pear Butter
I always want to be super transparent about what we are putting into our bodies, even with something as lovely as **pear butter**. Keep in mind, this is just an estimate based on the recipe I provided—your actual fruit size and how much liquid evaporates can change things slightly! But for a 1/4 cup serving size, you are looking at roughly 165 calories. It’s packed with carbs (around 43g) mostly from the natural fruit sugars and the added brown sugar, and about 35g of sugar.
It certainly isn’t a low-carb spread, but boy, is it delicious on a crisp biscuit! This **natural fruit spread** is very low in fat and protein, focusing mostly on that wonderful fruit sweetness we worked so hard to concentrate. Enjoy it knowing you used whole ingredients!
Share Your Pear Butter Creations
We’ve reached the end of the road for this delicious batch of pear butter, and I really hope you feel inspired to get stirring! This **homemade pear butter** is truly one of my favorite things to make when the fall harvest rolls around. Whether you chose the super easy slow cooker approach or preferred the hands-on stovetop method, I’d love to hear how it turned out for you!
Please leave a star rating for this recipe down below. And more importantly, tell me about your experience in the comments! Did you turn it fancy with vanilla and extra cloves, or did you keep it super simple? Are you planning to use it all on your morning toast, or are you tucking away jars as beautiful **holiday gift canning** treasures this year? I read every single note you leave me, and I’m always happy to help troubleshoot if you ran into any tricky spots. If you ever need to reach out directly with a question, you can always head over to my contact page. Happy canning, friends!
PrintEasy Slow Cooker Spiced Pear Butter (Stovetop & Instant Pot Options)
Make this incredibly simple spiced pear butter using your slow cooker for a thick, naturally sweet spread. This recipe works well for canning and gifting.
- Prep Time: 20 min
- Cook Time: 6 hours
- Total Time: 6 hours 20 min
- Yield: About 4 cups 1x
- Category: Preserves
- Method: Slow Cooking
- Cuisine: American
- Diet: Vegetarian
Ingredients
- 4 pounds ripe pears (Bartlett or Anjou recommended)
- 1 cup packed brown sugar
- 1 tablespoon ground cinnamon
- 1 teaspoon ground allspice
- 1/2 teaspoon ground cloves
- 1/4 cup water
- 1 teaspoon vanilla extract (optional)
Instructions
- Prepare the Pears: Wash, core, and quarter the pears. You do not need to peel them for slow cooker or Instant Pot methods, as the skins will break down during cooking.
- Combine Ingredients: Place the prepared pears, brown sugar, cinnamon, allspice, cloves, and water into the basin of a 6-quart or larger slow cooker.
- Slow Cook: Cover the slow cooker and cook on low for 6 to 8 hours, or on high for 3 to 4 hours. The pears should be very soft.
- Blend: Carefully transfer the cooked pear mixture to a blender or use an immersion blender directly in the slow cooker. Add vanilla extract, if using. Blend until completely smooth.
- Thicken (Optional): If the butter seems too thin, transfer the puree to a large saucepan. Simmer over medium-low heat, stirring frequently, until the mixture thickens to your desired consistency, about 15 to 30 minutes.
- Stovetop Method: If you skip the slow cooker, combine all ingredients in a large, heavy-bottomed pot. Bring to a simmer over medium heat, then reduce heat to low. Cook uncovered for 2 to 3 hours, stirring often, until the pears are soft and the mixture has thickened. Blend as directed above.
- Instant Pot Method: Combine all ingredients (except vanilla) in the Instant Pot. Cook on High Pressure for 15 minutes. Allow pressure to release naturally for 10 minutes, then quick release the remaining pressure. Blend as directed above. Simmer on the Sauté function if further thickening is needed.
- Cool and Store: Let the pear butter cool completely. Transfer to clean jars. Store in the refrigerator for up to 3 weeks or process using standard water bath canning methods for long-term storage.
Notes
- For the best texture, use firm, ripe pears like Bartlett or Anjou. Avoid overly soft pears that may turn mushy too quickly.
- This recipe makes a wonderful holiday gift when canned properly.
- If you want an apple pear butter recipe, substitute 1 pound of the pears with 1 pound of tart apples, peeled and cored.
Nutrition
- Serving Size: 1/4 cup
- Calories: 165
- Sugar: 35
- Sodium: 2
- Fat: 0.2
- Saturated Fat: 0.1
- Unsaturated Fat: 0.1
- Trans Fat: 0
- Carbohydrates: 43
- Fiber: 3
- Protein: 0.4
- Cholesterol: 0