
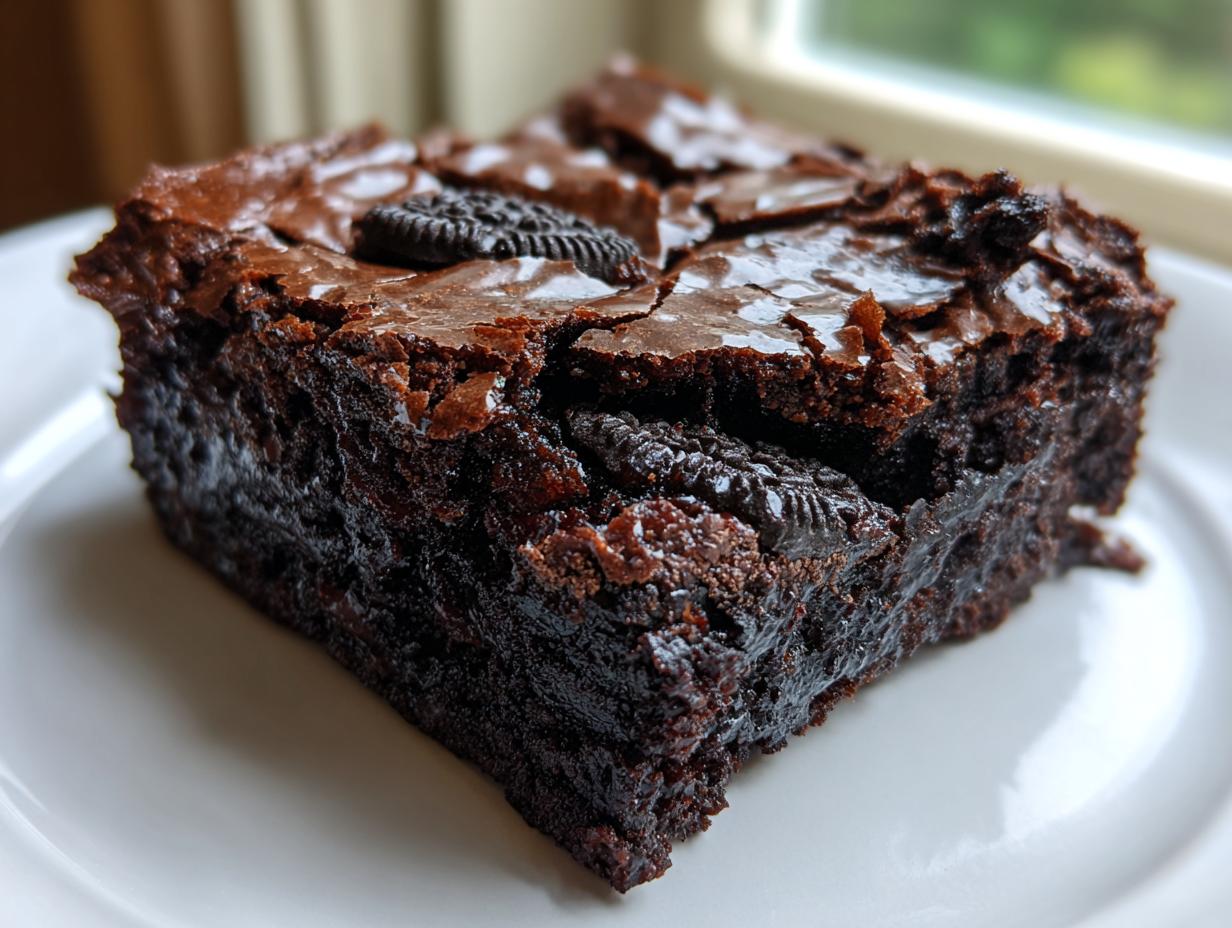

Oh, friends, let’s talk seriously about chocolate cravings for a minute. Sometimes a regular slice of cake just won’t cut it, right? You need that deep, dark, intensely satisfying chew that only a truly great brownie can provide. That’s exactly why I spent months perfecting this recipe. Growing up in my Midwestern kitchen, we focused on comforting classics, but when I started experimenting on my own, I knew the standard brownie just wouldn’t do. We needed chocolate overload! Trust me when I say these rich, decadent **oreo brownies** are the ultimate treat. They are incredibly fudgy, wonderfully chewy, and boast that gorgeous, shiny, crackly crust that bakers dream about achieving.
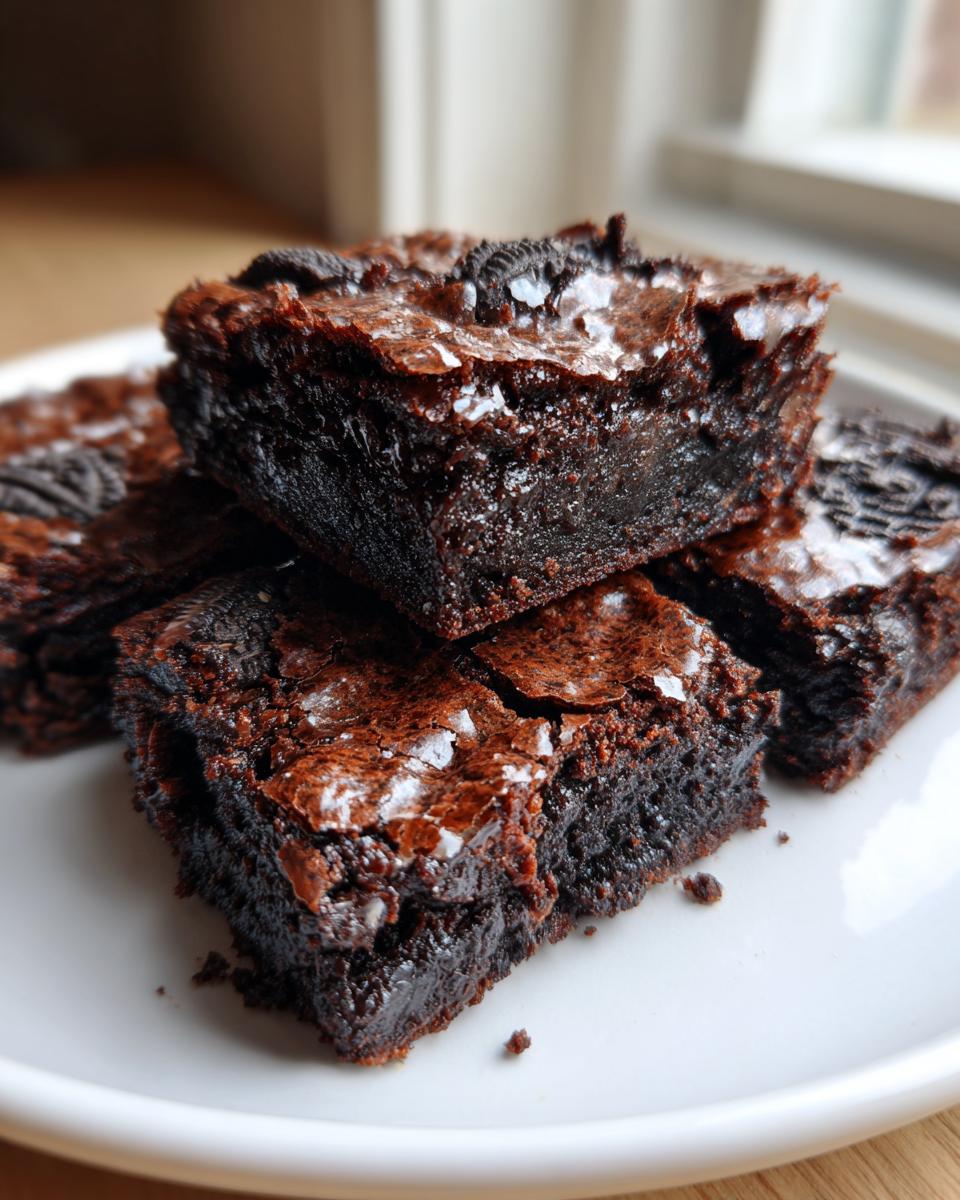
It took me endless batches, but I finally cracked the code to get that deep flavor and perfect texture. If you’re looking for a show-stopping homemade bar that proves you don’t need a fancy bakery to get the best, you’re in the absolute right spot. Don’t forget to check out my cream cheese brownies if you need another decadent chocolate fix!
- Why You Will Make These Ultimate Fudgy Oreo Brownies
- Gathering Ingredients for Homemade Oreo Brownies
- Equipment Needed for Your Easy Oreo Brownie Recipe
- Step-by-Step Instructions for Fudgy Oreo Brownies
- Making Simple Brownie Bars: Prep Time and Details
- Storage and Reheating Instructions for Decadent Chocolate Treats
- Variations on Classic Oreo Brownies
- Frequently Asked Questions About Fudgy Oreo Brownies
- Nutritional Estimate for Your Oreo Brownies
- Nutritional Estimate for Your Oreo Brownies
Why You Will Make These Ultimate Fudgy Oreo Brownies
I know you have a million brownie recipes bookmarked, but these are different. Seriously, these are the cookies and cream desserts you’re going to keep coming back to. When I finally landed on the right measurements, I knew I had something special that would convert every boxed-mix lover out there. Here’s what makes these the absolute best;
- They are Truly Fudgy: This isn’t cakey territory at all. We use melted butter and those extra eggs to guarantee a dense, melt-in-your-mouth fudgy core every single time.
- Perfect Chew Factor: Thanks to the balance of sugars we use, these brownies are wonderfully chewy around the edges—that sweet spot between gooey and firm.
- Super Quick Prep Time: You only need about 15 minutes of actual mixing time to get everything into the pan. That’s way faster than running to the store! It’s the perfect quick chocolate fix for when you need one fast.
- Cookie Explosion: We aren’t just sprinkling a few crumbs on top. These are loaded with both chopped Oreos mixed into the batter and whole ones placed right on top for a visual showstopper.
Gathering Ingredients for Homemade Oreo Brownies
Okay, let’s get down to brass tacks. If you want the absolute best, you have to start with the best, which means waving goodbye to the boxed stuff—we are going full homemade here! Making **homemade oreo brownies** from scratch feels incredibly satisfying, and honestly, the ingredient list is short and sweet. You probably have most of this stuff sitting in your pantry already. When I first started baking these, I kept meticulous notes on the exact measurements because that’s how you nail that elusive fudgy texture.
We rely on simple components, but the quality matters! For instance, don’t just eyeball the sugar—we need exactly
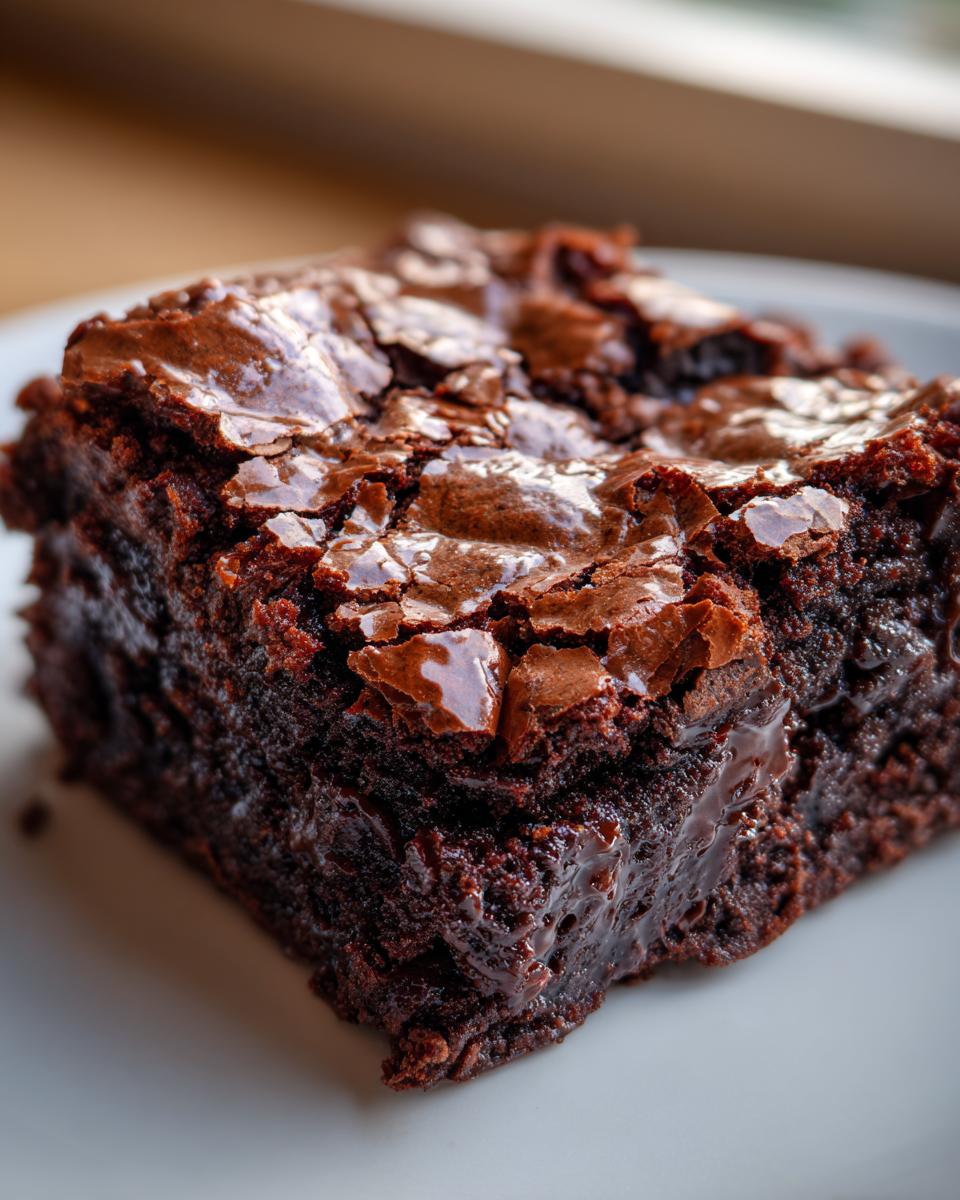
I’ve laid out everything you need below. If you want to see the complete line-up or browse other easy baking recipes, check out my main Desserts index!
Ingredient Notes and Substitutions for Oreo Brownies
Part of my philosophy here is teaching you how to make a recipe your own, even if we start with a classic base. A couple of important notes before you measure anything out:
- Egg Temperature Matters: I always make sure my four large eggs are sitting out on the counter for about 30 minutes before I start melting the butter. Room temperature eggs mix into the batter much more smoothly with the melted butter/sugar mixture, which helps us create that shiny top later on. Don’t skip this tiny step!
- Cookie Talk: The recipe calls for standard Oreos, but who’s stopping you from going bigger? If you want an extra punch of filling, swap them out for Double Stuf Oreos. My sister prefers making
Mint Oreo Brownies , so if that’s your jam, just use your favorite mint-flavored sandwich cookie instead! - Cocoa Powder Check: We’re using unsweetened cocoa powder here. Trust me, using sweetened hot chocolate mix will throw off the sugar balance entirely, and you won’t get the deep chocolate flavor we’re aiming for.
Equipment Needed for Your Easy Oreo Brownie Recipe
Before we even think about melting that butter, let’s make sure your kitchen is set up for success. Since this is an easy Oreo brownie recipe, the good news is you don’t need any fancy stand mixers or specialized gadgets. I really believe the best baking happens with simple tools, right on the stovetop and counter.
Getting your gear ready helps everything flow smoothly—remember, we are aiming for that 15-minute prep time! Here’s what you’ll need ready to go before you turn on the stove burner:
- A medium saucepan. This is where the melted butter magic starts.
- A sturdy whisk. You’ll be using this a lot to properly incorporate the sugars and eggs later on.
- A 9×9 inch metal baking pan. Metal conducts heat the best for that perfect edge chew!
- Parchment paper. This is non-negotiable! Leaving an overhang on two sides means you can lift the entire slab out later—no frantic scraping required.
- A rubber spatula. You’ll need this for folding in the flour and those yummy crushed Oreos gently at the end.
That’s it! Simple, tried-and-true tools for making some of the best brownie recipes you’ll ever taste. Having these things lined up means you’ll spend less time hunting around and more time enjoying the incredible chocolate aroma filling your house.
Step-by-Step Instructions for Fudgy Oreo Brownies
Alright, time for the main event! This is where we turn simple butter and sugar into pure, decadent magic. Even though the whole process is quick, these steps are where we lock in the fudgy texture and that glorious, shiny top. Remember, these are the ultimate **oreo brownies**, so we treat the batter right!
- First things first: Preheat your oven to 350°F (175°C). I always put mine on before I even get the butter out. While it heats up, prepare your 9×9 inch metal pan. I swear by lining it with parchment paper, making sure there’s an overhang on two sides—this acts like built-in handles later. Give the paper a light grease, and we are good to go!
- We start on the stovetop. In a medium saucepan, gently melt that cup of butter over low heat. Seriously, low heat! You don’t want it sizzling or browning; we just need it liquid. Once it’s melted, take it off the burner right away.
- Now comes the critical step for that shiny crust. Whisk both the granulated sugar and the light brown sugar right into that warm (but not hot!) melted butter until everything is beautifully combined. Keep whisking until it looks super smooth.
- Next up, we add the eggs. Whisk in all four large eggs, one by one, making sure each egg is fully incorporated before you add the next. Then stir in the vanilla extract. This mixture needs to be glossy and well-emulsified—this aeration is key to the texture!
- In a separate little bowl, quickly whisk your dry ingredients together: cocoa powder, salt, and baking powder. You don’t need to sift them, but just tossing them together ensures the leavening agent is distributed evenly.
- Add this dry mix to your wet ingredients and whisk until it’s *just* combined. I mean it! If you see streaks of flour, that’s okay. Stop mixing! Overmixing develops gluten, and gluten makes things cakey, and we want fudgy!
- Gently fold in the chocolate chips and your 12 roughly chopped Oreo cookies using a rubber spatula. Fold them in until you don’t see any more dry spots.
- Pour that gorgeous, thick batter into your prepared pan and spread it out evenly. Then, take your remaining 6 whole Oreos and artfully arrange them spaced out across the top. They’ll puff up slightly, but they look incredible baked in!
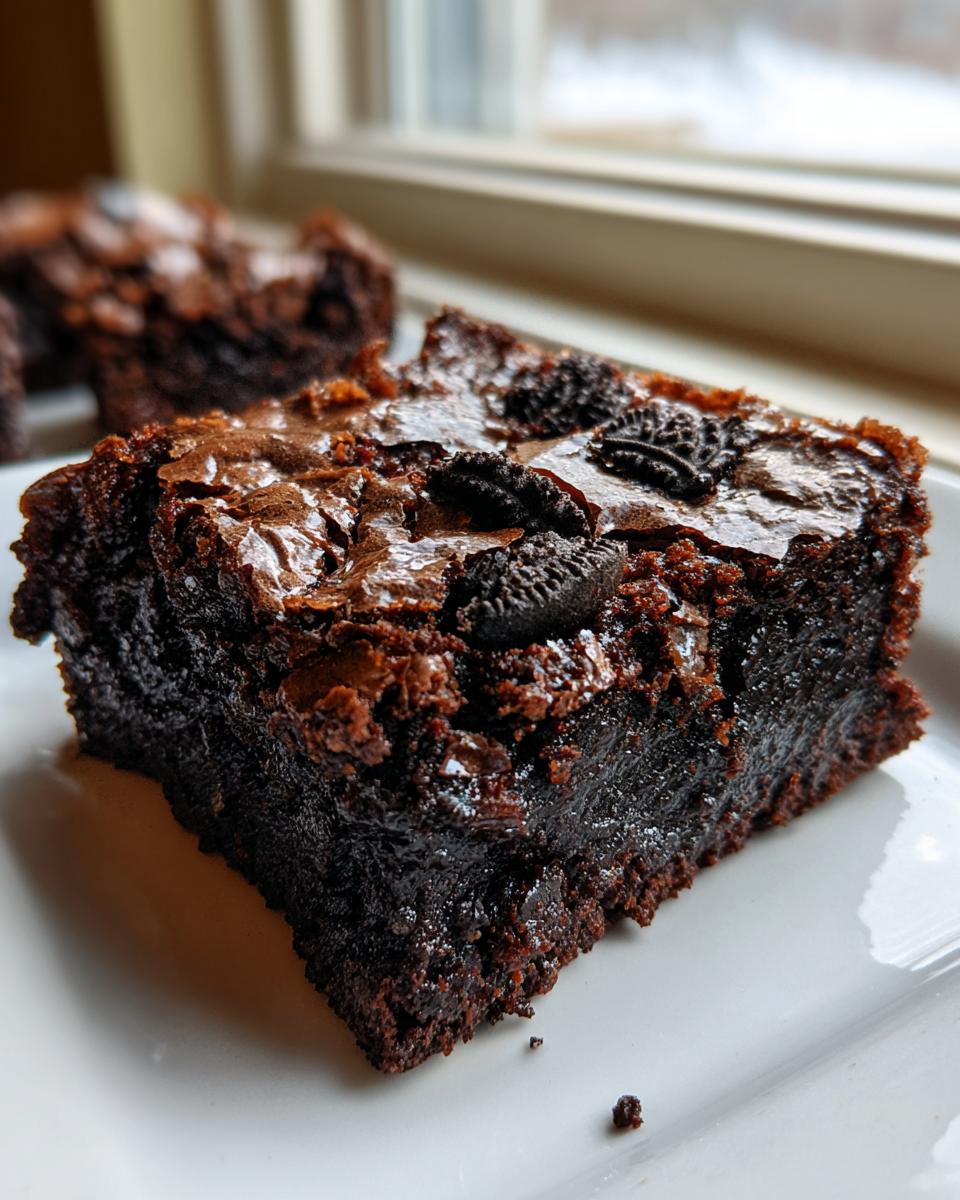
- Bake this beauty for 30 to 35 minutes. How do you know when these chewy chocolate desserts are done? The edges should look set, but if you insert a toothpick near the center, it should come out with moist, fudgy crumbs attached—not wet batter, but definitely not dry either.
- This last bit is the hardest, but you have to trust me: Let the brownies cool COMPLETELY in the pan on a wire rack. If you cut them while warm, they collapse and you lose that amazing density. Patience rewards you here! Once cool, use the parchment overhangs to lift the entire slab out and chop away. Enjoy your decadent treats!
Tips for Achieving the Perfect Crackly Top on Your Oreo Brownies
If that shiny, papery crust on a perfect brownie has always eluded you, I’m here to tell you the secret isn’t a fancy ingredient—it’s all in the initial mixing stage. That crackle happens through science, baby! It comes down to properly dissolving the sugar into the fats and eggs.
When you whisk the granulated sugar and brown sugar into the warm, melted butter, you’re actually dissolving some of the sugar crystals. When you then aggressively whisk in those room-temperature eggs, you incorporate air and help the remaining sugar crystals sit on the surface of the batter. As the brownies bake, the sugar melts and then re-forms a delicate, thin crust on top before the rest of the brownie fully sets.
My biggest rule? Whisk those eggs and sugars vigorously for a good minute or two after the butter addition. If you see tiny air bubbles clinging to the side of the bowl, you’re doing it right! As soon as that dry mixture goes in, you switch to gentleness, but that initial sugar-fat-egg stage has to be thorough. If you skip that, you’ll end up with a matte top every time. For more baking wisdom, check out some of my tips on making a simple chocolate sauce!
If you’re curious about what other bakers are doing with this recipe, I saw a great post on The First Year Blog that talks about their experience with achieving that perfect top. Sometimes it just helps to see someone else conquer the same challenge!
Making Simple Brownie Bars: Prep Time and Details
For those of you who need a seriously decadent chocolate fix but don’t have all afternoon, this is your recipe, hands down. I worked really hard to streamline this process because sometimes you just need chocolate dessert ideas *yesterday*. I promise you, these amazing **oreo brownies** come together faster than you can decide what movie to watch!
When I calculate recipes for this site, I look at the real time I actually spend in the kitchen—no waiting for the oven or cooling included in the hands-on time. With that in mind, you’ll be shocked at how quickly these **simple brownie bars** come together.
Here are the numbers:
- Prep Time: I clock this in at about 15 minutes total. That includes measuring the flour, melting the butter, and chopping those Oreos. Time it yourself and let me know if you beat it!
- Cook Time: The baking is relatively quick, usually just 30 to 35 minutes, depending on how perfectly fudgy you like them.
- Total Time (Hands-On): If you’re patient enough to let them cool (and you absolutely must!), the total turnaround time from start to slice is about 50 minutes of active work and waiting. Fast, right?
This efficiency is why I call this my go-to **easy Oreo brownie recipe**. You get that intense, loaded texture of a baked-from-scratch dessert without any fuss or extra steps like using a separate mixer. Grab your ingredients, and you can be pulling these chewy chocolate desserts out of the oven before dinner is even over!
Storage and Reheating Instructions for Decadent Chocolate Treats
Okay, so you’ve managed to let your **oreo brownies** cool completely—that’s the hardest part, I know! Now, how do we keep them tasting exactly as amazing the next day, or even three days from now? Trust me, these dense bars don’t dry out easily if you store them correctly. We want to lock in all that fudge and chewiness!
My go-to method is keeping them right out on the counter, but you need to be ruthless about sealing them up!
How to Keep Your Brownies Fresh at Room Temperature
For the best texture, I always recommend storing these at room temperature. Because they are so rich in fat (hello, butter!) and sugar, they don’t actually need the fridge to stay safe for a few days, and refrigeration tends to dry out baked goods, making them sad and stiff.
- Airtight is Everything: Once they are completely cool and you’ve cut them, place them snugly inside an airtight container. If you don’t have a good container, heavy-duty aluminum foil wrapped tightly around the whole slab works wonders.
- Layering Protection: If you stack them, put a piece of wax paper or parchment paper between the layers. This stops the sticky, fudgy bottoms from clinging to the top of the one underneath.
- How Long They Last: Honestly, if you store them right, you’ll have incredible **chewy chocolate desserts** for about four to five days. I rarely see them last that long in my house, though!
Reviving the Chew: Reheating Tips
Sometimes, after a day or two, even the best brownies just need a little nudge to bring back that “fresh-out-of-the-oven” warmth. If you’re pulling these out on a chilly evening, here are my two favorite ways to reheat them gently.
The Microwave Kiss: This is the fastest fix! Pop one square on a small plate and microwave it for just 10 to 15 seconds. That brief heat melts the chocolate chips inside and softens the fudge just perfectly. Watch it closely, though—too long and you’ll end up with a molten puddle!
The Oven Warm-Up: If you have a slightly bigger batch you want to refresh, wrap the entire block (or a few squares) loosely in foil. Heat them in a 300°F oven for about 5 to 8 minutes. The foil steams them slightly, bringing back that perfect soft chewiness without drying out the edges. This is great if you plan on adding a scoop of vanilla ice cream on top!
Variations on Classic Oreo Brownies
I absolutely adore starting with a perfect base, like these **oreo brownies**, but who doesn’t love a little creative fun in the kitchen? My job here is to give you a reliable foundation, and your job is to experiment and make it your own! Since these are such decadent chocolate treats, they welcome all kinds of playful additions. Don’t be afraid to tweak things up—that’s how the best family stories get written!
Since you’ve mastered the fudgy texture and the easy prep time, here are a few ways I love to shake things up to keep things exciting. Sometimes you just need a fun little twist on a classic.
Swapping Out the Sandwich Cookie
This is the easiest way to get a completely new flavor profile without altering the core mixing technique—which, as we learned, is crucial for keeping them chewy and fudgy! Depending on what’s in my pantry (or what flavor mood I’m in!), I often swap the standard cookie:
- Mint Oreo Brownies: If you grab a package of Mint Oreos, you’ve instantly transformed this into a refreshing, cool treat. The minty filling pairs unbelievably well with the deep cocoa powder we use. It’s a wonderful holiday flavor, but honestly, I make them year-round!
- Golden Oreo Goodness: Sometimes, you want the crunch and sweetness of the cookie but you want the chocolate flavor of the brownie to really shine through without competition. Golden Oreos are fantastic for this. They provide that textural contrast without adding more dark chocolate flavor to the mix.
- Double Stuf for Double Yum: I mentioned this under substitutions, but it bears repeating. If you use Double Stuf Oreos, you are not only adding more cookie flavor for maximum **cookies and cream brownies**, but you’re also adding a little bit of extra creamy filling right into the batter, boosting that gooey factor.
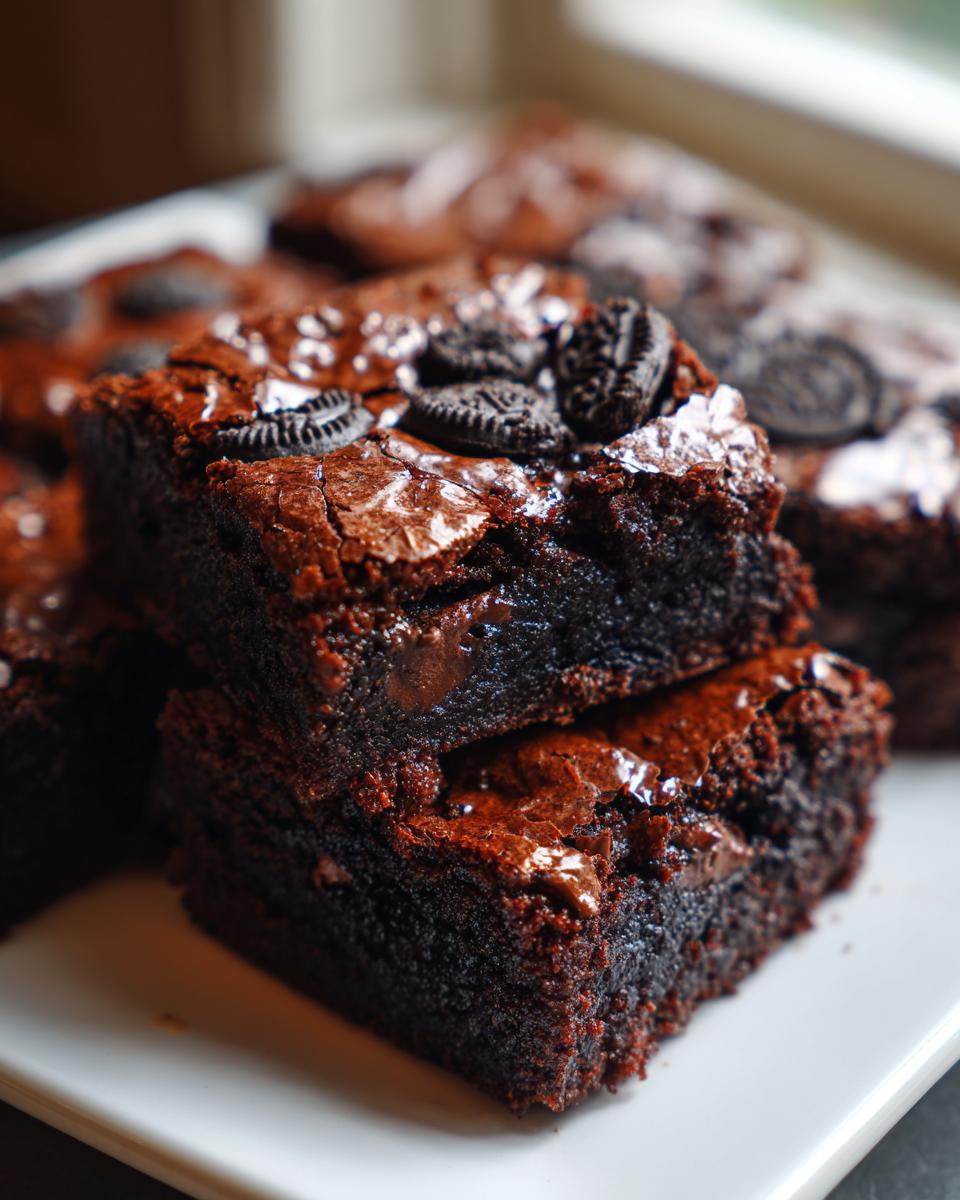
Layering Up for Extreme Indulgence
If you’re looking to make these **simple brownie bars** into an absolute showstopper for a party—something that screams ‘eat me first!’—you can absolutely lean into the layered dessert ideas. Think about how delicious that cookie dough and brownie combination must be!
Instead of just folding all 12 chopped Oreos into the batter, try this: Reserve half the batter and put it into your prepared 9×9 inch pan first. Then, sprinkle a layer of chopped Oreos over that base layer. Then, gently spread the remaining batter over the top before adding your whole Oreos. This creates a fun, hidden layer of cookie treasure right in the middle of your fudgy goodness.
For even more experimentation with baking fundamentals, I have a great recipe for red velvet cake mix cookies that shows you how versatile simple swaps can be. And if you want to see another baker’s take on achieving supreme fudginess, check out this post on fudgy Oreo brownies; it’s always helpful to see how others approach the dough!
Frequently Asked Questions About Fudgy Oreo Brownies
I get so many questions hitting my inbox about achieving that perfect texture in these **oreo brownies**. It’s understandable! You want that ultimate chewy, fudgy interior, not a dry, crumbly mess. I’ve gathered up the most common questions I hear from fellow bakers so you can troubleshoot before you even start!
Why are my brownies cakey instead of fudgy?
This is usually a classic case of overmixing, my friend! When you mix flour into wet ingredients, you activate gluten. The more you mix past the point where everything is just combined, the more elastic and bread-like, or cakey, your brownies become. For these fudgy treasures, you need to switch to gentle folding as soon as that flour goes in. Stop mixing the moment you don’t see streaks of white powder anymore. Remember, the goal is dense, decadent chocolate dessert treats, not cake!
Can I make this easy Oreo brownie recipe ahead of time?
Yes, and I highly encourage it! While they are amazing fresh out of the oven (after that crucial cooling period, of course!), these bars actually taste *better* the next day. The moisture from the butter and the crushed Oreos settles in, making them even more intensely flavorful and helping them develop that perfect chew. If you’re planning for a party, bake them one day ahead, store them airtight, and you’re golden. They hold up so well as **chewy chocolate desserts**!
Why didn’t I get a shiny, crackly top like yours?
Ah, the million-dollar question! If you want that signature glass-like sheen, you must pay attention to the sugar and egg whisking step (Step 3 and 4 in the recipe). You need those sugars to mostly dissolve into the fats and eggs before you stop. Whipping that mixture until it looks glossy and pale traps air bubbles. When those bubbles rise during baking, they create steam, and that steam bakes into that beautiful crackly top. If your top is matte, it usually means you stopped whisking the sugar/egg mixture too soon.
Can I use a different size pan for these brownies?
You absolutely can, but you have to adjust your expectations for time and thickness! The 9×9 pan is calibrated perfectly for a 30-35 minute bake time to achieve that fudgy center. If you use an 8×8 inch pan, the batter will naturally be deeper, meaning you’ll need to add around 10 to 15 minutes to the baking time. Keep checking with that toothpick, looking for moist crumbs! If you use a 9×13 pan, they’ll bake much faster—maybe only 20 minutes—so watch them like a hawk. For more tips on adapting recipes, check out my page on the best brownie recipes!
Nutritional Estimate for Your Oreo Brownies
Now, let’s be honest—these are the ultimate indulgence, a truly decadent way to celebrate chocolate, and they are certainly not designed for daily consumption! But since many of you ask, I always like to provide a general nutritional estimate based on the standard ingredients listed. Think of this as a relaxed guideline rather than strict dietary tracking.
This estimate is calculated assuming you cut the pan into 16 generous squares. Please remember that if you use Double Stuf Oreos or add extra chips, these numbers will shift slightly. As always, my focus here at Cut Cook Taste is on flavor first, but health is important too!
- Serving Size: 1 square
- Calories: 320
- Fat: 18g
- Saturated Fat: 10g
- Carbohydrates: 38g
- Sugar: 30g
- Protein: 4g
We try hard to keep things simple here—no complicated science, just delicious food! This nutritional data is based on the core ingredients listed, giving you a rough idea of what you’re enjoying when you tuck into these legendary bars. Enjoy every chew!
PrintUltimate Fudgy Oreo Brownies with a Shiny, Crackly Top
You will make the ultimate fudgy, chewy, chocolatey brownies packed with whole and crushed Oreo cookies. This homemade Oreo brownie recipe is easy to make and delivers a gorgeous, shiny, crackly crust.
- Prep Time: 15 min
- Cook Time: 35 min
- Total Time: 50 min
- Yield: 16 servings 1x
- Category: Dessert
- Method: Baking
- Cuisine: American
- Diet: Vegetarian
Ingredients
- 1 cup (2 sticks) unsalted butter
- 1 1/4 cups granulated sugar
- 1 cup packed light brown sugar
- 4 large eggs
- 1 tablespoon vanilla extract
- 3/4 cup unsweetened cocoa powder
- 1 teaspoon salt
- 1/2 teaspoon baking powder
- 3/4 cup all-purpose flour
- 1 cup semi-sweet chocolate chips
- 12 Oreo cookies, roughly chopped, plus 6 whole cookies for topping
Instructions
- Preheat your oven to 350°F (175°C). Line a 9×9 inch metal baking pan with parchment paper, leaving an overhang on two sides for easy removal. Lightly grease the paper.
- In a medium saucepan over low heat, melt the butter. Remove from heat.
- Whisk the granulated sugar and brown sugar into the melted butter until combined.
- Whisk in the eggs one at a time until fully incorporated. Stir in the vanilla extract.
- In a separate bowl, whisk together the cocoa powder, salt, and baking powder. Add this dry mixture to the wet ingredients and whisk until just combined. Do not overmix.
- Gently fold in the flour and the chocolate chips.
- Fold in the 12 roughly chopped Oreo cookies.
- Pour the batter into the prepared pan and spread evenly.
- Place the 6 whole Oreo cookies evenly spaced on top of the batter.
- Bake for 30 to 35 minutes. The edges should look set, and a toothpick inserted near the center should come out with moist, fudgy crumbs attached, not wet batter.
- Let the brownies cool completely in the pan on a wire rack before lifting them out using the parchment overhang.
- Cut into squares and serve your decadent chocolate dessert treats.
Notes
- For the best crackly top, do not overbake. The residual heat will finish cooking them as they cool.
- You can substitute Double Stuf Oreos for extra cookie flavor.
- If you want to make Mint Oreo Brownies, substitute regular Oreos with Mint Oreos.
Nutrition
- Serving Size: 1 square
- Calories: 320
- Sugar: 30
- Sodium: 180
- Fat: 18
- Saturated Fat: 10
- Unsaturated Fat: 8
- Trans Fat: 0.2
- Carbohydrates: 38
- Fiber: 2
- Protein: 4
- Cholesterol: 65