
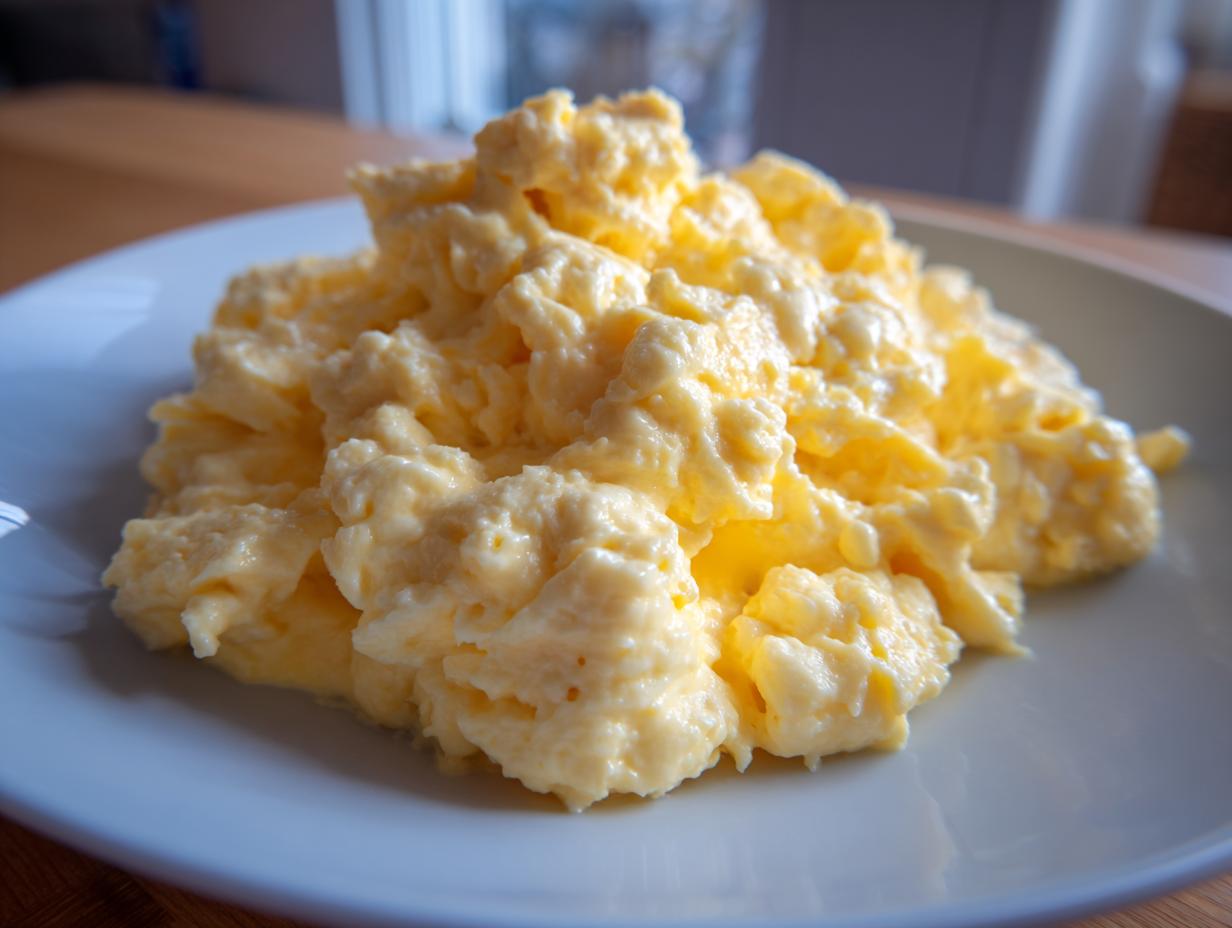

Ugh, rubbery eggs. We’ve all been there, right? You’re craving that luxurious, soft breakfast from your favorite brunch spot, and what you get is tough, dry, slightly yellowish hockey pucks. It’s the absolute worst way to start the day, especially when you know you deserve better! After years of testing simple techniques in my own kitchen—from the fast and furious dash of the morning rush to those slow Sunday mornings—I finally cracked the code. Today, we perfect the classic scrambled eggs. Forget everything you thought you knew about cooking eggs fast; we are going absolutely low-and-slow to unlock the ultimate fluffy and creamy texture. Trust me, this foolproof egg cooking method will change how you eat breakfast forever. If you want to know more about my journey from marketing spreadsheets to perfecting comfort food classics, you can read all about it over on my About page!
- Why This Foolproof Method Creates the Best Scrambled Eggs
- Gathering Ingredients for Creamy Eggs Recipe
- How to Cook Scrambled Eggs Perfectly Using Low and Slow Egg Cooking
- Tips for Buttery Scrambled Eggs Flavor and Texture
- Elevated Morning Meal: Serving Suggestions for Scrambled Eggs
- Storing and Reheating Your Scrambled Eggs
- Frequently Asked Questions About Scrambled Eggs
- Nutritional Snapshot for Your Scrambled Eggs
- Share Your Perfect Scrambled Eggs Experience
Why This Foolproof Method Creates the Best Scrambled Eggs
If you’re tired of eggs that feel squeaky or rubbery, you are in the right place! That sad texture happens when the egg proteins cook too fast. My years spent testing simple ways to elevate breakfast showed me that restraint is the secret weapon here. We are aiming for a texture that is ultra-fluffy, deeply creamy, and beautifully soft. This is the truly fluffy scrambled eggs technique that chefs use behind the scenes because it’s consistent every time. Once you master this, you’ll never go back to high-heat scrambling again. It’s a genuine confidence booster and easily the most foolproof egg cooking method I’ve ever developed. If you need a quick savory accompaniment for your eggs sometime, check out my pepper steak stir-fry!
Achieving Velvety Eggs Recipe Texture
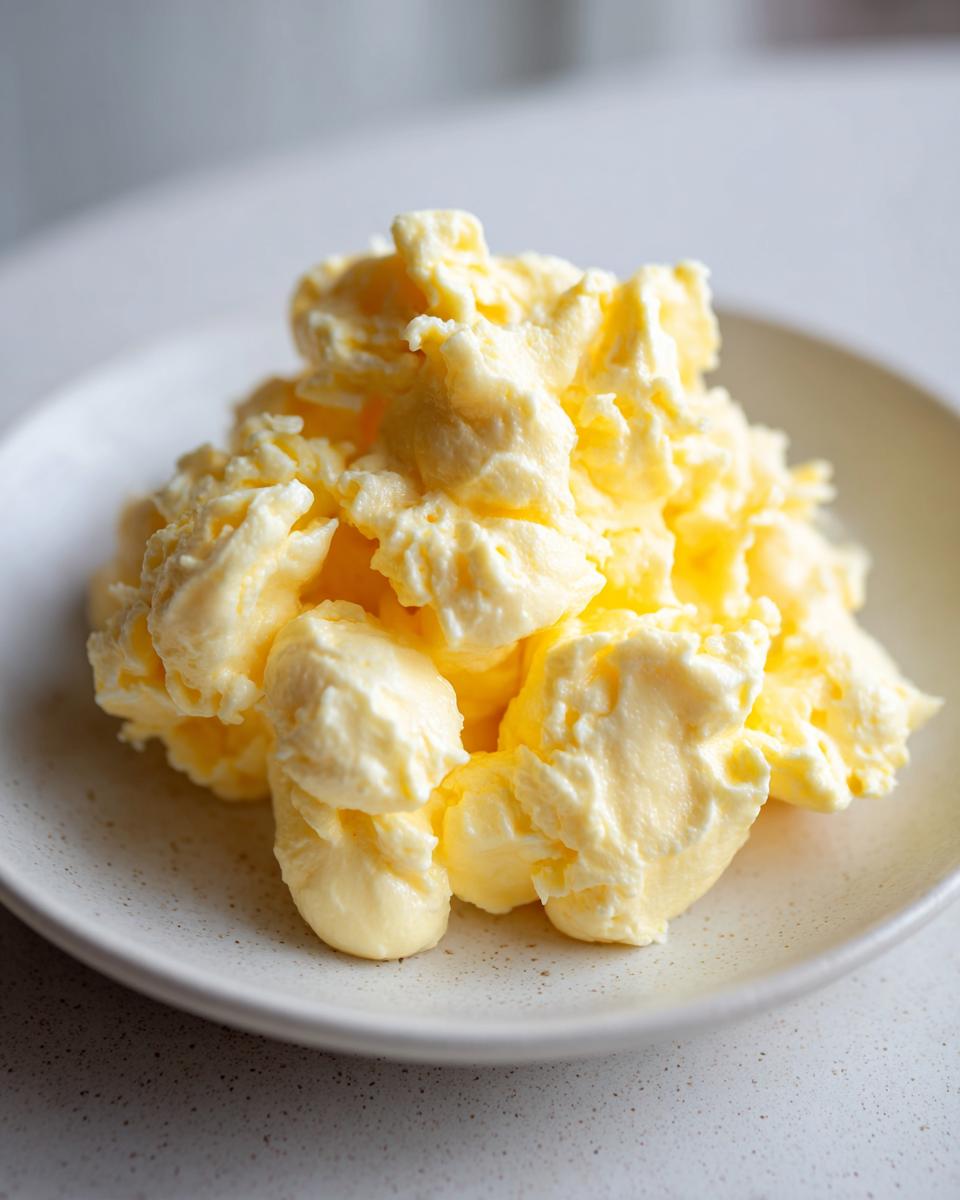
It all comes down to heat management, plain and simple. When you cook eggs too hard, the proteins seize up immediately and squeeze out all the moisture, resulting in a tough scramble. Because we are cooking low and slow, we allow those proteins to relax and set gently. This slow process incorporates the cream beautifully, which gives us that heavenly, soft curd structure. Following these steps guarantees you achieve that restaurant-quality, velvety eggs recipe finish we all dream about.
Gathering Ingredients for Creamy Eggs Recipe
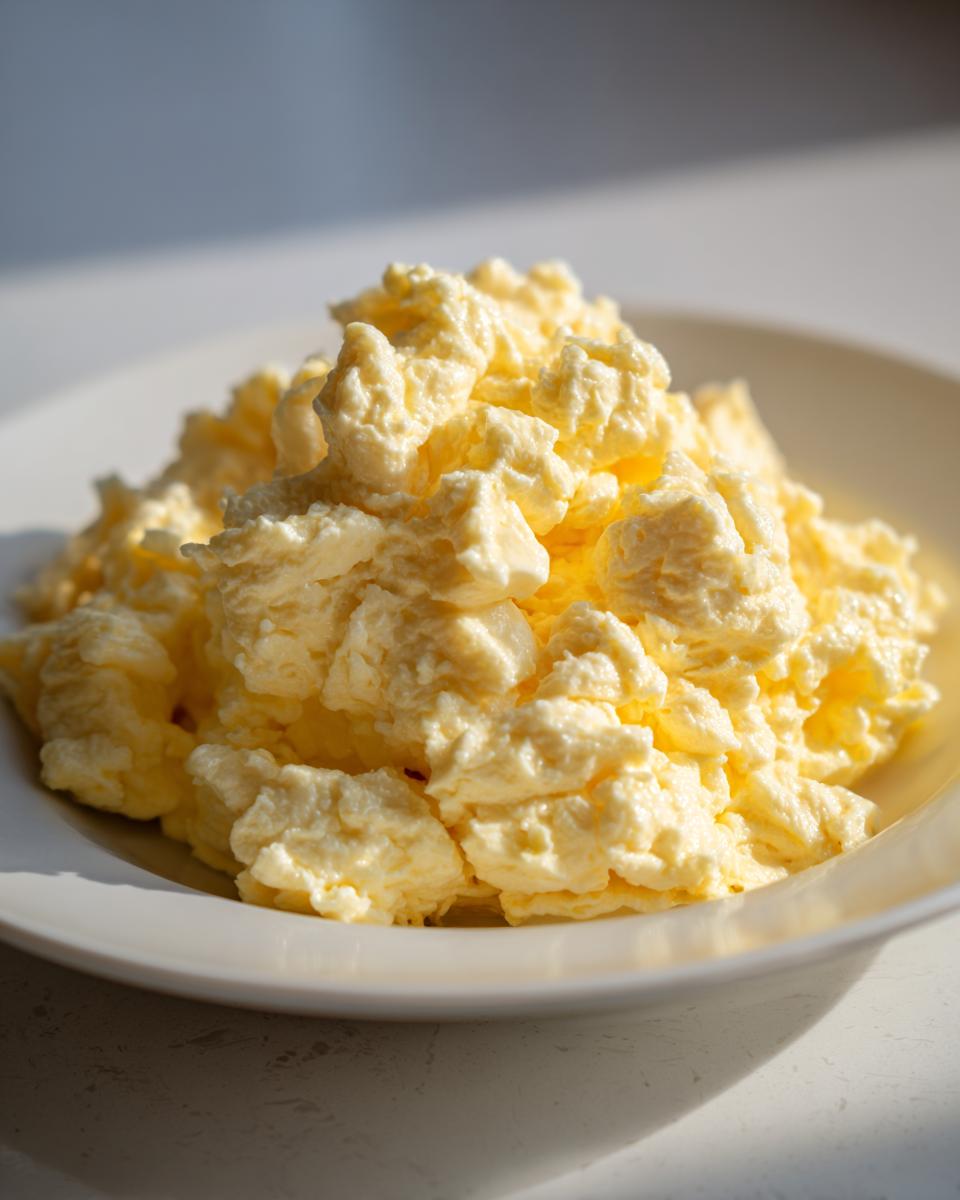
Okay, ingredient prep is just as important as the cooking itself, even for something as simple as eggs! For our perfect, dreamy batch, we need just a handful of things, but the quality really matters for that superior, creamy eggs recipe texture. I always say, if you’re keeping the recipe this simple, make sure the items you use are top-notch. We’re aiming for a rich, buttery flavor profile that really sings on the plate.
You’ll need six large eggs, of course. Don’t skimp on size here—it makes a difference in the volume! We are also using unsalted butter, which gives us total control over the seasoning. And for the magic ingredient that keeps things soft? Heavy cream. I much prefer heavy cream over regular milk because the higher fat content coats the eggs better, leading to a smoother, richer result. It’s just more luxurious, you know? If you are looking for a little extra muscle in your breakfast, remember you can always blend some smooth cottage cheese for a protein boost; I actually have a fantastic queso recipe where that trick shines, too!
Ingredient Clarity and Preparation
Let’s just make sure we have everything exactly right before we turn on that gentle heat. You need precisely two tablespoons of that heavy cream or whole milk—don’t pour it in until the whisking stage! For the fat source, grab one tablespoon of unsalted butter. Salt and pepper are to taste, but I always start with 1/4 teaspoon of salt and just a pinch of pepper.
The key preparation step happens before they even hit the pan: the whisking. When you mix the eggs and cream, you want the yolks and whites fully combined until the mixture is just uniform and maybe a little frothy. It shouldn’t look layered, but please, don’t beat it into a massive, airy foam. We are aiming for softness, not baking a soufflé over here!
How to Cook Scrambled Eggs Perfectly Using Low and Slow Egg Cooking
This is where the rubbery eggs dream dies, my friends! If you follow these steps carefully, you’ll see exactly how to make scrambled eggs that are truly restaurant style. The absolute golden rule here is patience; we are committing to the low and slow egg cooking method. That means that big burner blast is staying off! I’ve found that rushing this just ruins the beautiful texture we worked so hard to achieve with the cream and the perfect whisk. Stick with me, and we’ll have those gorgeous, soft curds in under ten minutes total.
Preparing the Egg Base
First thing’s first: Step one! Get those eggs and cream into a bowl. Now, whisk them gently but thoroughly. You want everything combined so it’s one unified, light yellow liquid—a smooth mixture is what we are looking for. If you see tons of bubbles, you’ve gone too far! We aren’t adding air; we are just ensuring the liquid has that necessary fat from the cream coating everything we are about to cook. This coating is crucial for moisture retention later on. Don’t forget to save this link to my egg cooking guide for future reference!
The Gentle Folding Technique for Soft Scrambled Eggs
Next, heat management is everything. Set your non-stick skillet over medium-low heat. Seriously, medium-low! Melt that butter until it’s foamy, and then pour in your egg mixture. Let it sit for just about 30 seconds—you should see the edges barely start to firm up. Now, take your silicone spatula and gently push the cooked egg from the edge toward the center. Tilt the pan so the raw egg flows underneath where you just pushed. You’re not aggressively scrambling like you’re beating carpet; you are folding large sections over on themselves. This gentle push keeps those curds soft and big, making for lovely soft scrambled eggs. The absolute most important part of this entire process happens right before you think they’re done: when they still look slightly wet and glossy, pull the entire pan off the heat immediately. That carryover heat is your friend and will finish things up perfectly creamy!
Tips for Buttery Scrambled Eggs Flavor and Texture
Now that you’ve mastered the gentle dance of the folding technique, let’s talk about maximizing that wonderful flavor and ensuring you get that exquisite restaurant style scrambled eggs finish every single time. My goal has always been to make simple food taste incredibly special, and these final touches really push ours into that gourmet category. Believe me, these little secrets are what separate a good scramble from a *great* one!
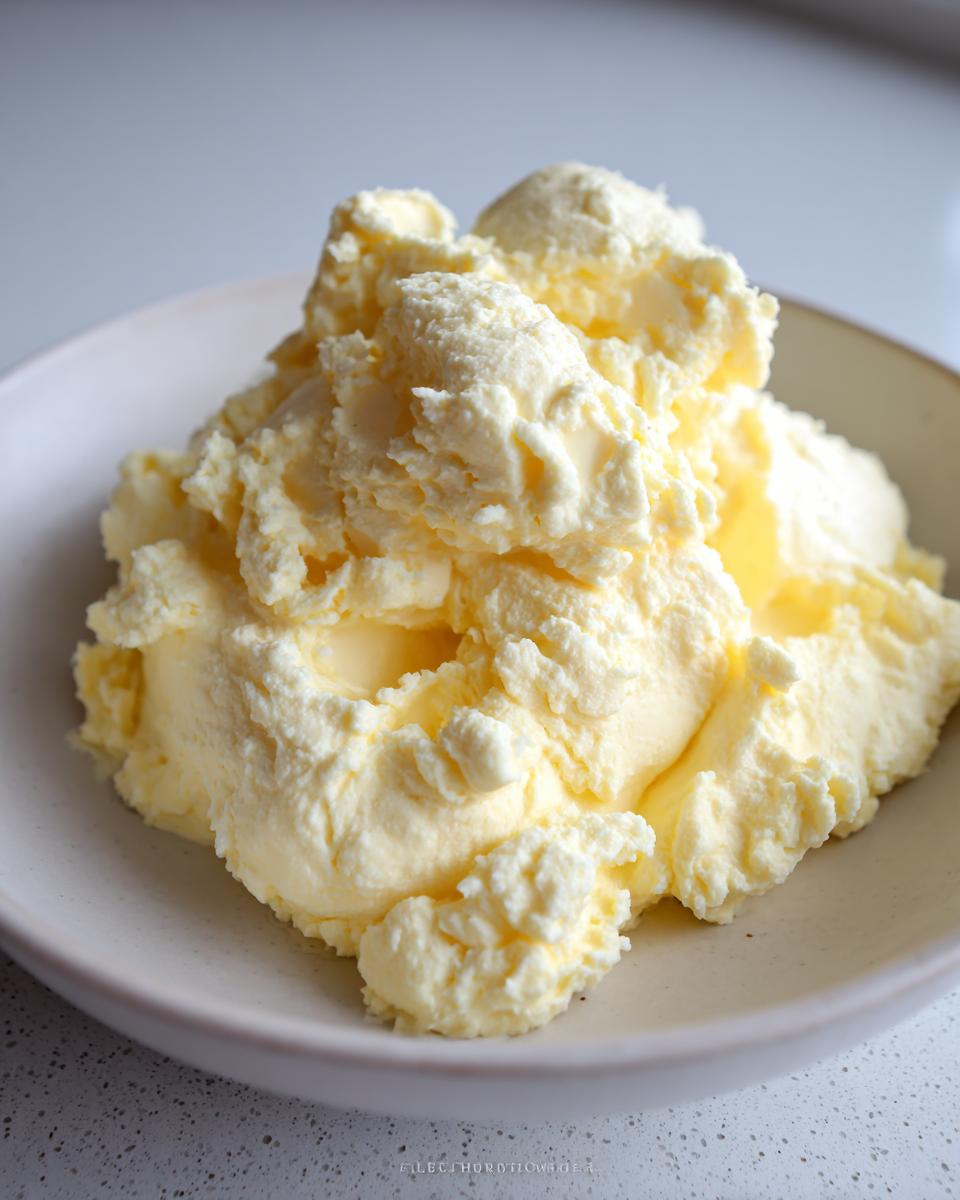
To really ramp up that rich, mouth-coating warmth, you want a fantastic buttery scrambled eggs flavor. If you find yourself with a moment extra—and you aren’t already planning to pair this with my easy French bread recipe—try browning your butter slightly before adding the eggs. Melt the butter slowly until it starts to smell nutty and look amber. Just be incredibly careful because the next step is adding the eggs quickly so that browning stops immediately! This adds such a deep layer of toasted, nutty flavor that simple melted butter just can’t match.
Pan Temperature Control for Fluffy Scrambled Eggs Technique
I know I keep stressing this point, but you simply *must* trust the residual heat! The number one pitfall I see people make when trying to achieve fluffy scrambled eggs technique perfection is leaving the eggs on the burner until they look fully cooked in the pan. If they look done to you on the stove, they will be overdone on the plate! You have to take them off when they still look *slightly* too wet—glistening, almost sloppy, with maybe a hint of runny bits visible. That’s your cue to pull them, season them, and plate them immediately! This ensures the proteins set up perfectly on the way to your breakfast plate, not in the hot pan.
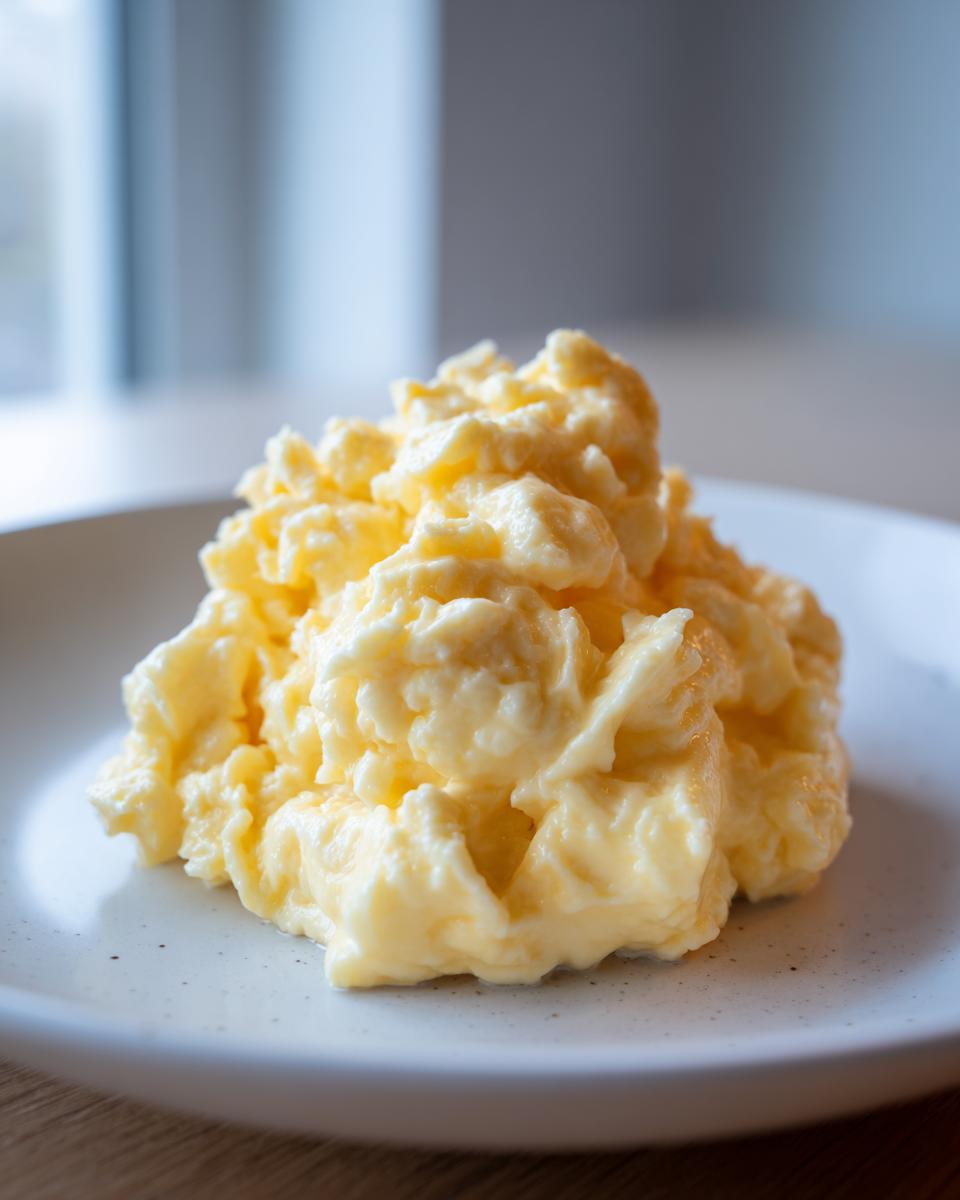
Also, don’t underestimate your cooking surface! For this style of delicate egg cooking, you absolutely need a quality non-stick skillet. If your pan has scratch marks or you suspect it’s sticking even a little bit, the eggs will grab the surface, preventing that easy fold we need. A good non-stick surface allows the eggs to glide and ripple, which is essential for creating those large, soft curds associated with the best breakfast dishes.
Elevated Morning Meal: Serving Suggestions for Scrambled Eggs
You’ve made the most luxurious, creamy scrambled eggs imaginable—now what do we serve with them? Honestly, a scramble this good deserves accompaniment that matches its texture and richness! While they are fantastic all on their own for a quick and easy egg scramble, I love turning them into part of a true gourmet brunch spread when I have the time.
For an easy weeknight breakfast when I’m whipping these up after work, I keep it simple. A slice of good sourdough toast (maybe toasted with some garlic butter?) is perfect for soaking up any residual butter-cream sauce left in the bottom of the bowl. A sprinkle of fresh chives or finely chopped parsley on top adds just that little pop of color and freshness we all crave.
When I’m going fully gourmet—say, for a weekend brunch—I like to pair the soft eggs with something slightly savory and contrasting. Think thinly sliced smoked salmon draped artfully on the side, or maybe a couple of perfectly ripe avocado slices dusted with flaky sea salt. If you’re feeling ambitious, these eggs are divine served alongside my fluffy banana pancakes. The combination of the savory, creamy eggs with sweet, fluffy pancakes is just heavenly—it’s what I call the perfect elevated morning meal!
Storing and Reheating Your Scrambled Eggs
Look, I’m going to be totally honest with you here because that’s just how I roll on Cut Cook Taste. These beautiful, soft-curd scrambled eggs are at their absolute peak—fluffy, creamy, perfect—the moment they come off the heat. They are meant to be eaten right away! If you manage to have any leftovers from your amazing breakfast, you need to handle them with care so you don’t ruin that gorgeous texture.
If you really need to store them, get them into an airtight container right away. Don’t leave them sitting on the counter; they’ll just keep cooking in the residual heat and tighten up. You can safely store leftovers in the fridge for maybe a day, tops. I know some people try to make a giant batch for meal prep, but for this ultra-creamy style, it just doesn’t reheat well if you’re expecting the same cloud-like tenderness.
But don’t worry, we can bring them back to life! If you’re faced with yesterday’s remnants, the reheat method is key to avoiding that dry, sad egg fate. Try this: put the leftover eggs in a small pan over very low heat. Before you even turn the stove on, stir in just a tiny splash of cold liquid—heavy cream is best, but whole milk works. We want about a teaspoon or two for two servings of leftovers.
Then, and this is vital, heat them gently. Stir constantly and slowly until they are just warmed through. As soon as they start looking creamy and smooth again, yank them off the heat! If you cook them until they look ‘done’ in the pan, they’ll be tough by the time they hit your mouth. This gentle process helps reintroduce moisture and prevents that hard, springy texture. Remember, the better they look when they come off the heat for reheating, the better they’ll taste. You can find some other great tips and tricks on my latest blog posts!
Frequently Asked Questions About Scrambled Eggs
I totally get it; sometimes you just have a quick question floating around while you’re waiting for your butter to foam! I’ve compiled some of the most common things folks ask me about getting that perfect, luxurious texture in their morning meal. We want every attempt at a quick and easy egg scramble to be a success, so let’s clear up any confusion! If you have questions after trying this recipe, please don’t hesitate to reach out to me via my contact page!
Can I make cheesy scrambled eggs with this method?
Oh, absolutely! Who doesn’t love a little gooey cheese? The trick here, just like with any addition, is timing. If you try to mix the cheese in early while the eggs are cooking on the stove, the cheese can melt too quickly and actually cause the eggs to stick or tighten up before they are ready. The best time to add your favorite cheese—sharp cheddar, Gruyère, whatever you fancy—is right at the very end. Once you pull the pan completely off the heat, when the eggs are still glossy and wet, fold in your cheese quickly. The residual heat melts it perfectly, keeping the curds soft and creamy, which is what we are aiming for!
What is the difference between these and Gordon Ramsay’s scrambled eggs?
That’s a great question! A lot of people have seen videos of chefs cooking eggs over high heat with tons of stirring, and that method definitely produces creamy, velvety results too, but it requires constant vigilance. Chef Ramsay’s technique involves taking the pan on and off the direct heat constantly to control the temperature minute by minute. My way, the low and slow egg cooking method, is slightly friendlier for the busy home cook. We use a consistent medium-low heat and rely on gentle folding rather than rapid fire stirring. While the *result* is similar in its glorious softness, my method is a bit more forgiving and less prone to burning the milk solids if you look away for just three seconds. Both aim for that decadent, silky finish you find in the best breakfast recipes eggs!
Another thing folks ask me about when it comes to making a quick breakfast is the addition of protein. If you’re looking to keep this easy weeknight breakfast high in protein but still smooth, try that tip from my notes: swap the heavy cream for two tablespoons of cottage cheese that you’ve run through the blender first. It completely disappears into the eggs but adds a great protein punch!
Nutritional Snapshot for Your Scrambled Eggs
I know some of you look at the ingredients—cream, butter—and wonder about the big picture. Well, I spent some time estimating the nutritional breakdown of two standard servings we get from this recipe, so you have an idea of what you’re putting into your body!
Remember that since I’m just a home cook sharing what works for my family, these numbers are just estimates. Once you start adding things like extra cheese, herbs, or decide to use that cottage cheese trick for a protein packed breakfast eggs boost, these figures will certainly shift! But for the core recipe, here’s what we are looking at per serving:
- Serving Size: 1 serving
- Calories: 280
- Fat: 22g
- Saturated Fat: 13g
- Trans Fat: 0.5g
- Cholesterol: 450mg (Yes, eggs are high in cholesterol, but don’t fear the fat for this creamy texture!)
- Carbohydrates: 2g
- Sugar: 1g
- Fiber: 0g
- Protein: 16g
- Sodium: 250mg
See that protein count? That’s why I love this recipe for fueling my mornings! It proves you don’t need complicated foods for a satisfying and nutritious start. It’s a perfect example of an elevated morning meal that tastes gourmet but is built on simple components.
Share Your Perfect Scrambled Eggs Experience
Whew! We made it through the low-and-slow dance together, and now your kitchen smells incredible. I truly hope you try out this method for your scrambled eggs as soon as you can. Making food you love and sharing that success is the whole point of Cut Cook Taste, right?
Once you’ve got your creamy, fluffy, beautiful eggs served up—maybe alongside some crispy bacon or next to my terms of use page (kidding, don’t click that one yet!)—I would absolutely love to hear about it. Did you nail the soft curds? Did the low heat keep them velvety like a dream? Hearing about your results is honestly the best part of my day.
Please jump down into the comments section below and tell me how it went! Give the recipe a rating—those little stars help other home cooks know that this truly is the foolproof egg cooking method they’ve been searching for. Even better, if you snapped a picture of your gorgeous, buttery creation, share it on Instagram and tag me! Let’s celebrate achieving perfect breakfast textures together!
PrintFoolproof Method for Ultimate Fluffy and Creamy Scrambled Eggs
Stop making tough eggs. Learn the low-and-slow technique to achieve soft, velvety, and fluffy scrambled eggs every time. This easy recipe guarantees restaurant-style perfection for your breakfast or brunch.
- Prep Time: 5 min
- Cook Time: 8 min
- Total Time: 13 min
- Yield: 2 servings 1x
- Category: Breakfast
- Method: Stovetop Cooking
- Cuisine: American
- Diet: Vegetarian
Ingredients
- 6 large eggs
- 2 tablespoons heavy cream or whole milk
- 1 tablespoon unsalted butter
- 1/4 teaspoon salt
- 1/8 teaspoon black pepper
Instructions
- In a medium bowl, whisk the eggs and heavy cream together until the mixture is uniform and slightly frothy. Do not over-whisk.
- Place a non-stick skillet over medium-low heat. Add the butter and let it melt completely until it foams slightly.
- Pour the egg mixture into the skillet. Let the eggs sit undisturbed for about 30 seconds until the edges just begin to set.
- Using a silicone spatula, gently push the cooked egg from the edge toward the center, tilting the pan so the uncooked egg flows underneath.
- Continue this low-and-slow pushing and folding motion across the entire pan. Do not scramble vigorously; you want large, soft curds.
- When the eggs are mostly set but still look slightly wet and glossy (this is key for creaminess), remove the pan from the heat immediately. The residual heat will finish cooking them.
- Stir in the salt and pepper. Serve right away for the best texture.
Notes
- For extra protein, substitute 2 tablespoons of cottage cheese (blended smooth first) for the heavy cream.
- Cooking low and slow prevents the proteins from tightening up, which keeps the eggs soft and velvety.
- If you prefer a richer flavor, use clarified butter or brown the butter slightly before adding the eggs.
Nutrition
- Serving Size: 1 serving
- Calories: 280
- Sugar: 1
- Sodium: 250
- Fat: 22
- Saturated Fat: 13
- Unsaturated Fat: 9
- Trans Fat: 0.5
- Carbohydrates: 2
- Fiber: 0
- Protein: 16
- Cholesterol: 450