
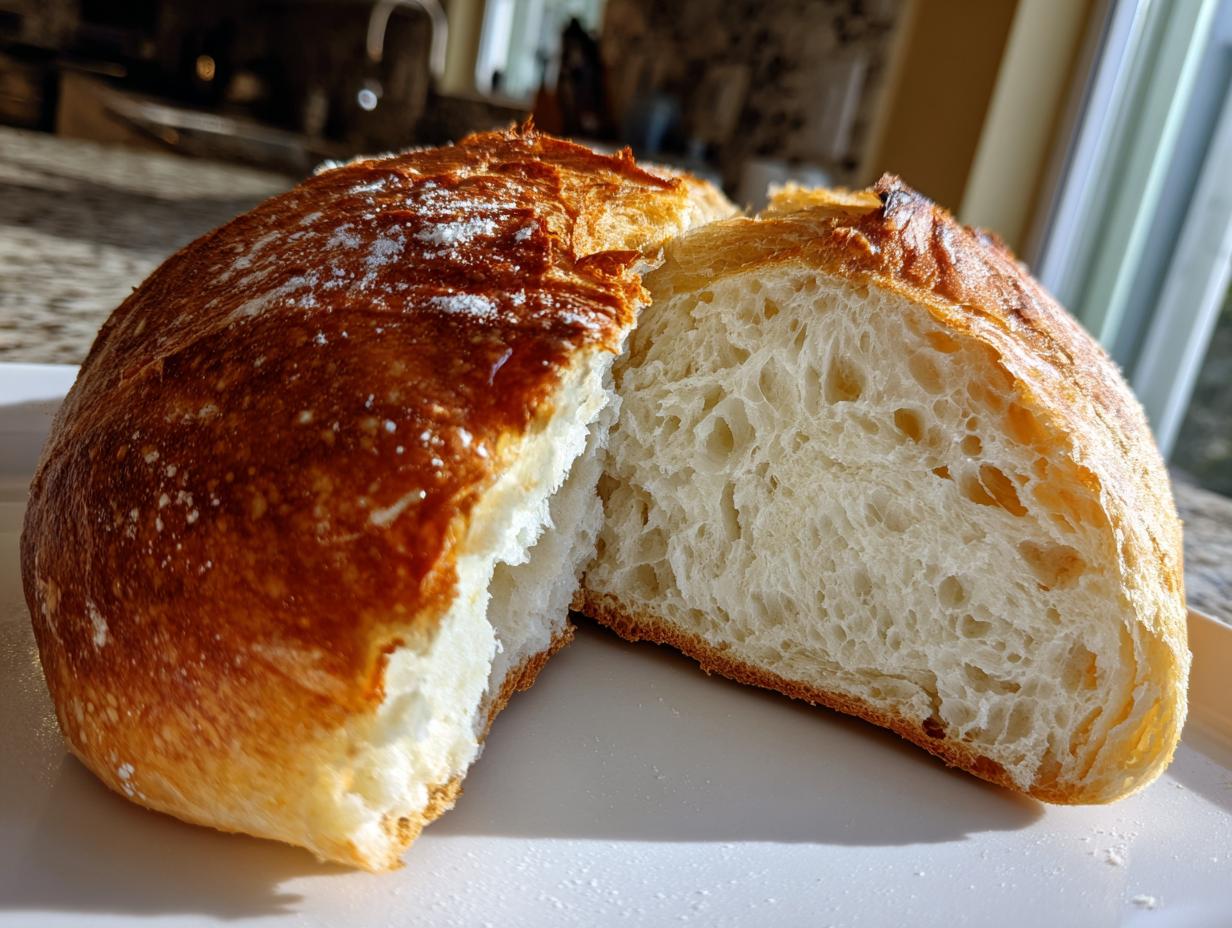

Oh, friends, there is absolutely nothing that compares to pulling a loaf of freshly baked bread out of the oven. That wonderful, yeasty aroma that just floods your entire house? It just makes everything feel instantly cozy. I remember learning to knead dough back in my grandmother’s kitchen, and even though making truly authentic french bread felt intimidating, I learned that the secret to success is really just about simple ingredients and a little bit of patience.
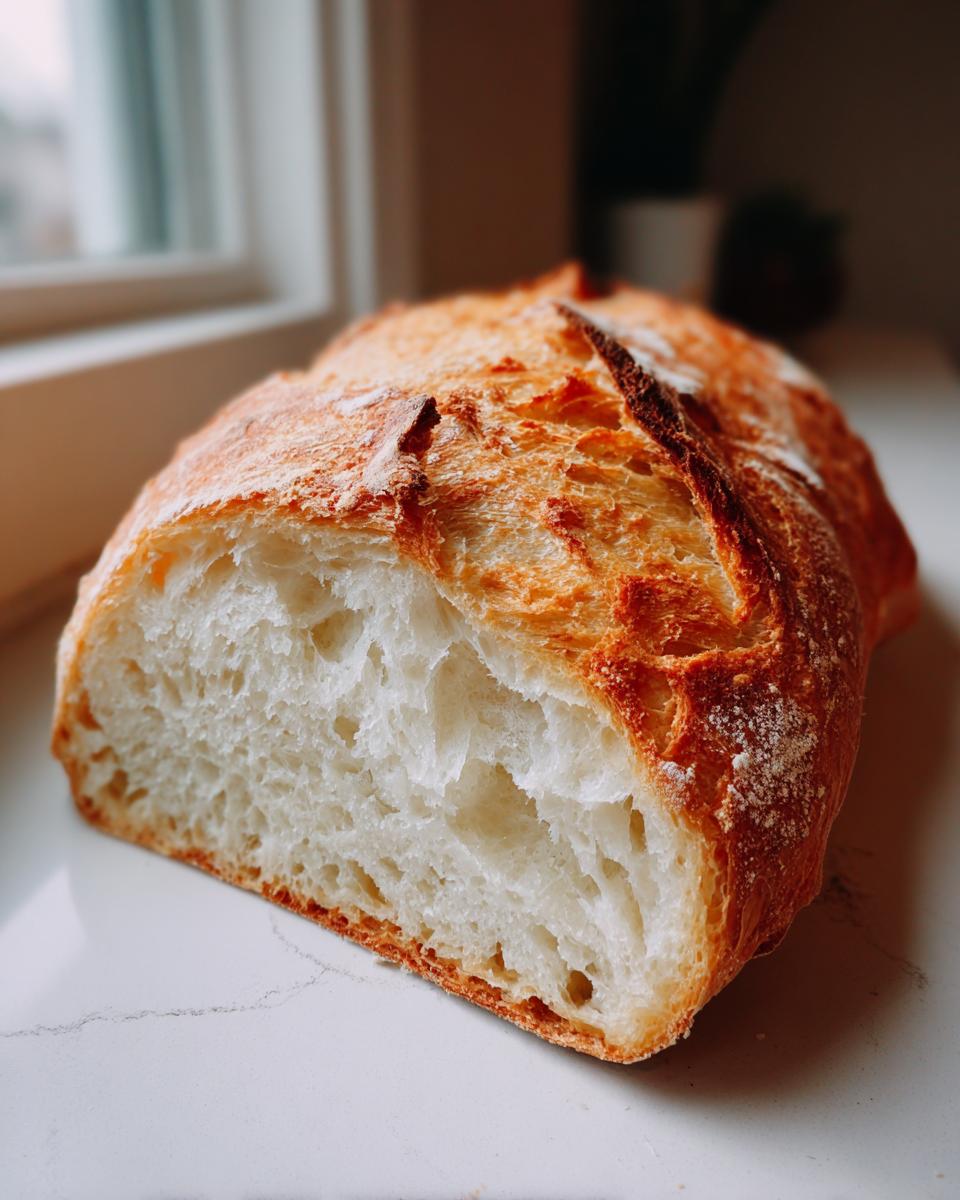
That’s exactly why I am so excited to share my go-to method: the Easy Homemade French Bread Recipe. This isn’t some complicated, all-day artisan bake; this is reliable, accessible baking designed for folks like me who sometimes need fresh bread on the table without a huge time commitment. It reliably delivers that crackly, crusty exterior and that unbelievably soft, pillowy interior you dream about!
- Why This Easy French Bread Recipe Works for Beginners
- Ingredients for Your Homemade French Bread Recipe
- Essential Equipment for Baking French Bread
- Step-by-Step Instructions for Perfect French Bread
- Ingredient Notes and Substitutions for French Bread
- Tips for Success with Your French Baguette Recipe
- Storing and Reheating Your Fresh French Bread
- Serving Suggestions for This Crusty Bread Recipe
- Frequently Asked Questions About Making French Bread
Why This Easy French Bread Recipe Works for Beginners
I totally get it—bread baking can look scary from the outside. People think you need special flour, high humidity, or hours of folding time. Nope! This is my best easy french bread because it cuts out the complicated parts while keeping the great flavor. It’s truly a fantastic beginner bread recipe if you follow the rise times. It’s more reliable than some of those quick french bread methods I’ve seen, and it’s a great foundation before you dive into something complex like beer bread, which you can check out here if you ever feel adventurous!
The total time clocking in right around the two-hour mark means we get that beautiful, bakery style bread quality without spending all day waiting around. It’s the ideal balance between rewarding effort and instant gratification.
Achieving the Perfect Crusty Bread Recipe Texture
If you want that audible *crack* when you squeeze the loaf, you have to flirt with steam! That’s my secret weapon for developing the ultimate crusty bread recipe texture. Adding a dedicated pan of hot water to the bottom of the oven right as the loaves go in creates a steamy environment.
This steam keeps the surface of the dough moist long enough during the crucial first few minutes for maximum oven spring. Once the steam dissipates, the dry, hot oven air rushes in and locks in that hard, shatteringly crisp exterior. Trust me, you need that steam pan, or the crust just comes out dull.
Ingredients for Your Homemade French Bread Recipe
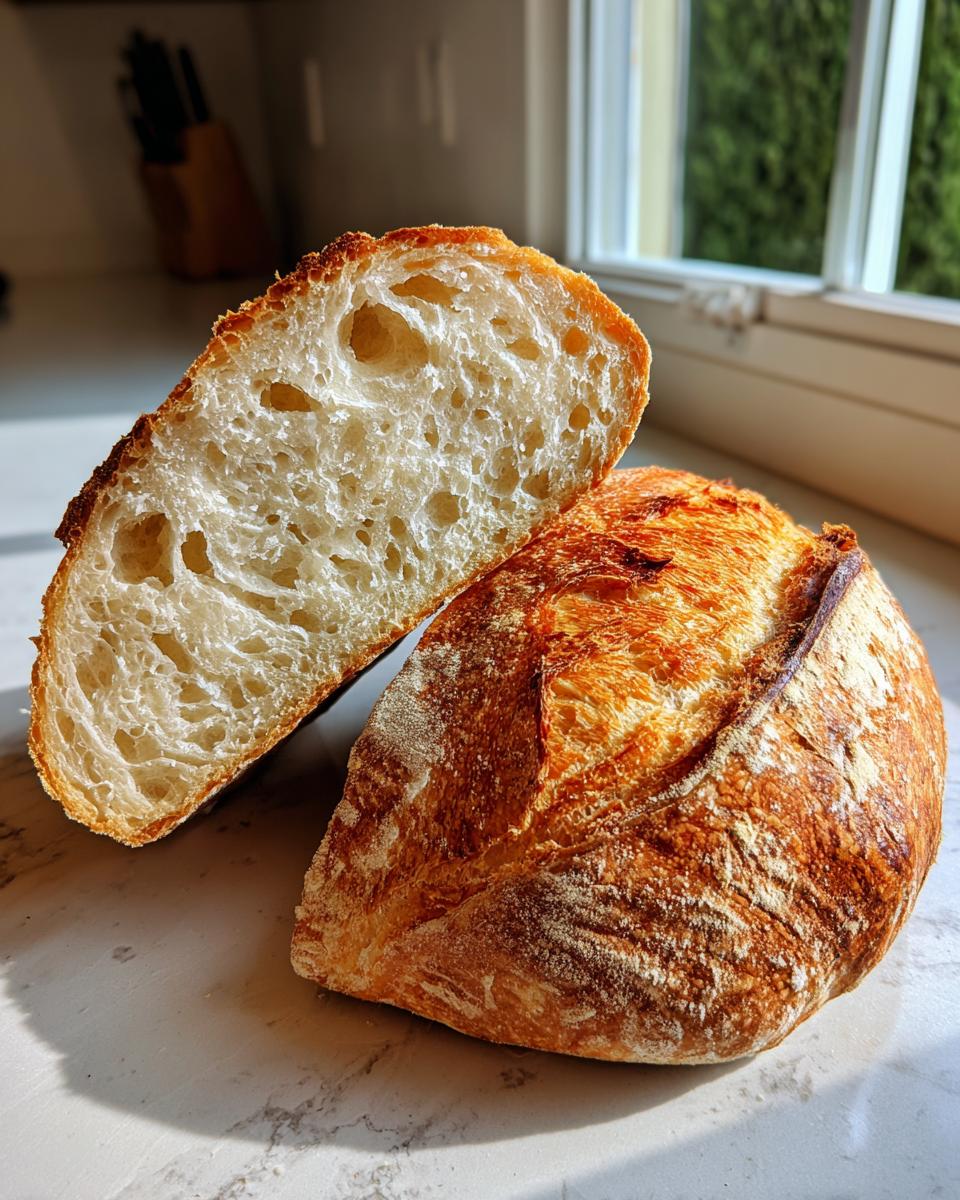
Precision matters in bread making, especially when you want that true deli-counter quality right from your own oven. Don’t worry, these are all just pantry staples—nothing fancy required for this reliable homemade french bread recipe. This batch will give you two perfect loaves, which never seem to last long at our house!
Here is exactly what you’ll need:
- 3 cups all-purpose flour
- 1 teaspoon instant yeast
- 1 1/2 teaspoons salt
- 1 1/4 cups warm water (Make sure this is between 105–115°F! If it’s too cold, the yeast sleeps; too hot, and you’ll kill it. This step is vital for a good rise.)
- 1 tablespoon olive oil (This is just to grease the bowl so the dough doesn’t stick while it rests.)
Essential Equipment for Baking French Bread
You asked for artisan bread at home, and while this recipe is easy, having the right gear definitely helps things run smoothly. Honestly, you probably have most of this stuff already kicking around in your kitchen cabinets. Good tools mean less fuss and cleaner results, which I love!
For this particular french loaf baking adventure, here’s the short list of things that make my life easier when wrestling with sticky dough:
- A large mixing bowl: Big enough to hold the dough when it doubles in size—you don’t want overflow everywhere!
- A wooden spoon or sturdy spatula: For mixing up that first shaggy mass before you get your hands dirty.
- Parchment paper: This is a lifesaver for easy cleanup and ensures your loaves lift right off the sheet pan.
- A sharp knife or a razor blade (lame): You need something super sharp for scoring the top of the bread. If the knife isn’t sharp, the dough tears instead of slashing cleanly, and that messes up the oven spring.
- A shallow, oven-safe pan: This is essential for the steam trick we discussed earlier. A cheap metal broiler pan works perfectly here.
- A clean kitchen towel: You’ll need this to cover the dough during both rises.
Do you need a super specialized baker’s deck? Nope! Parchment on a standard baking sheet works great for this recipe, especially when you are just starting out making yeast bread recipes like this one.
Step-by-Step Instructions for Perfect French Bread
Okay, now for the fun part—turning flour, water, salt, and yeast into a beautiful french bread loaf! Don’t rush through the rising stages, but don’t worry about standing over the dough either. We want technique here, but we also want to make sure this feels achievable for everyone.
Mixing and the First Rise for Your French Bread
First things first, combine your flour, instant yeast, and salt in that large bowl we talked about. Stir that up well so everything is evenly distributed. Now, slowly start adding that warm water while you mix it with your wooden spoon. Keep going until everything is just incorporated and you have what looks like a very shaggy, messy ball of dough. That’s exactly what we want!
Turn that dough out onto a lightly floured surface. Now, get your hands in there and knead for a solid 5 to 7 minutes. You’ll feel it change from rough to smooth and elastic under your palms. Once it feels good, lightly oil your clean bowl, plop the dough in, turn it once, and cover it up. Now, let it chill out in a warm spot for a good 60 to 90 minutes, or until it’s truly doubled.
Shaping and Second Rise for Rustic French Loaf
Once it’s puffed up nicely, gently punch the air out—it’s so satisfying! Turn the dough onto your counter and divide it right down the middle. We are making two loaves today. For the shaping, you want to gently stretch and roll each piece into a long, narrow shape. It should look like a classic elongated log, giving you that lovely rustic french loaf appearance after baking.
Arrange those shaped loaves on your parchment-lined sheet, covering them loosely with a towel. Now, they need one more rest—a quick 30 minutes while you crank up that oven heat! Preheat to 450°F (232°C).
The Secret to Crusty French Bread: Steam Injection
This is where we trick the crust into being amazing! While the loaves are on their final rest, place that shallow pan on the very bottom rack of your oven. Once everything is hot and you’re ready to slide your loaves in is when the magic happens. Take your sharp knife and give each loaf three swift, diagonal cuts across the top—this is called scoring, and it lets the bread expand without ripping randomly.
Then, quickly but carefully, open the oven door just a crack and pour about a cup of hot water into that hot pan on the bottom rack. Close the door immediately to trap that steam! Bake for 20 to 25 minutes until they are deep golden brown. If you want even more detail on making crusty loaves, I have some great tips when I talk about my crusty Italian bread over here!
Ingredient Notes and Substitutions for French Bread
As I mentioned when we listed the ingredients, paying attention to detail here really sets this bread apart from just an ‘okay’ loaf. For me, the most common mistake I see beginners make with any yeast bread recipe is messing with the water temperature. Yeast is alive, folks! It needs friendly heat to wake up.
If your water is too cold—say, below 100°F—the yeast will wake up super slow, and your two-hour recipe turns into a three-hour disaster. If it’s too hot, above 125°F, you’ve essentially just boiled your starter, and guess what? No rise. Aiming for that 105°F to 115°F sweet spot ensures a vigorous, happy yeast that gives you that beautiful oven spring we are counting on.
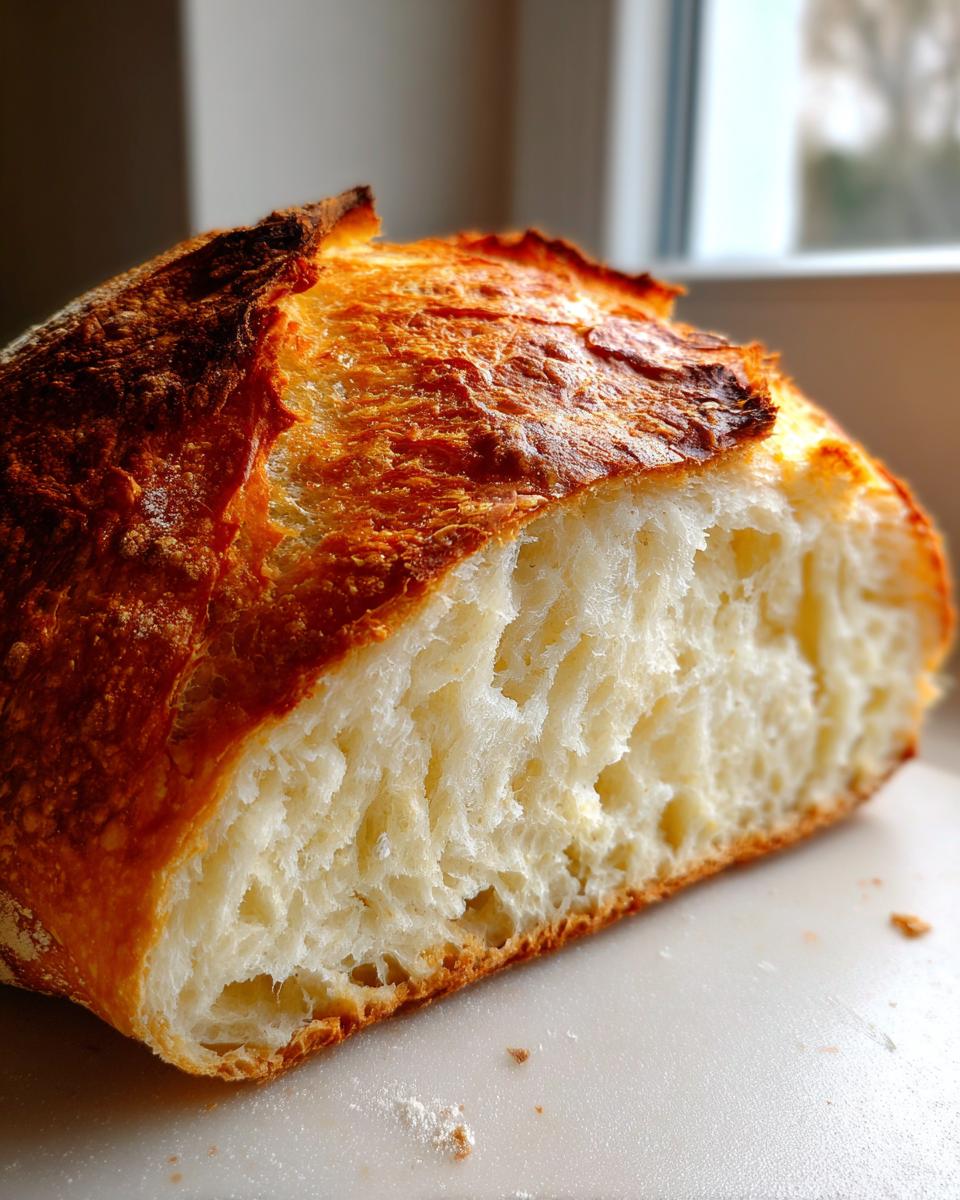
Now, let’s talk about that gorgeous, crackly crust versus the alternative. We talked about steam being mandatory for that bakery look. However, if you’re aiming for soft french bread—maybe you’re making sandwiches for school lunches—you can absolutely skip the steam pan entirely. Seriously, just leave it out. The crust will still brown nicely, but it will stay tender and soft all the way through, making it easier to manage for little hands.
If you are playing around with recipes and want to see how milk can change things up, I have a tried-and-true easy milk bread recipe that yields an incredibly tender crumb if you ever want to compare textures!
Tips for Success with Your French Baguette Recipe
Okay, you’ve mastered the mixing and you’ve used the steam—fantastic work! But if you really want to take your loaf from “homemade” to “straight from a Parisian boulangerie,” there are a couple of tiny actions that make a huge difference when you’re working on your french baguette recipe.
First, let’s talk about that oven environment again. Remember how we put hot water in the bottom pan? That’s 80% of the battle for that shatteringly crisp crust. But if you want that extra 20% of perfection, try this little trick: after you place your bread in the oven, wait about 5 minutes, and then quickly open the door and give the walls of the oven a light spritz with a clean spray bottle filled with water. Do that once or twice more in the first 10 minutes. It just boosts that humidity level right where the dough needs it! Just be careful not to spray the light bulb directly!
Second, let’s discuss the shaping, especially if you are aiming for a true baguette shape rather than just a rustic loaf. If you want those really thin, elegant ends, you have to gently stretch and roll the dough to create surface tension without tearing it. Think of it like stretching the skin of a balloon tight. If you have a baking stone, use it! A stone holds heat incredibly well and bakes the bottom crust evenly and quickly, giving you a better lift overall. If you don’t have one, just make sure your baking sheet is fully preheated before you place the parchment paper on it.
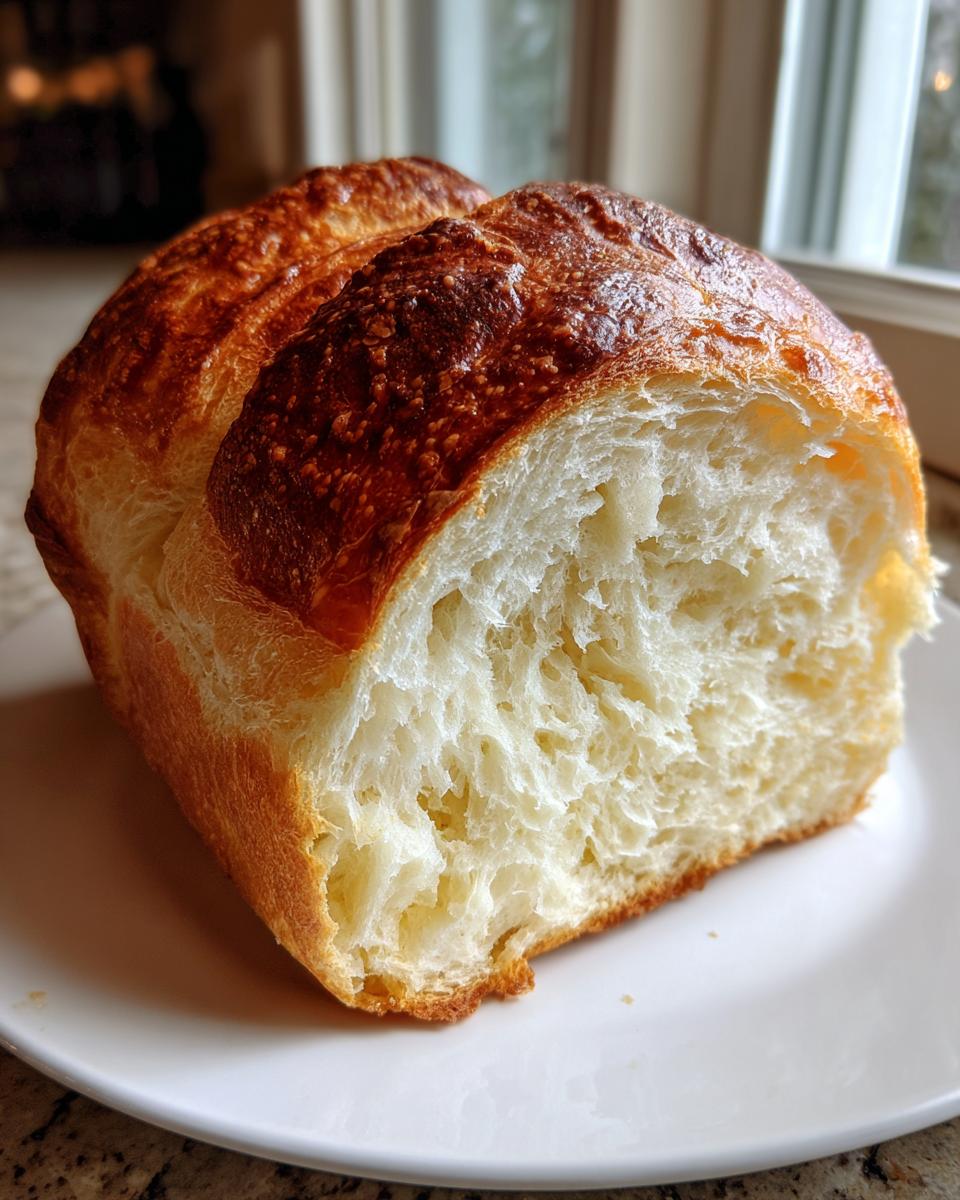
Finally, I always recommend checking out what another great baker is doing, especially when focusing on technique. I was looking at some lovely ideas for rustic bread just the other day, and Chef Strawblend has some fantastic pointers for getting that crusty, authentic look. You can see their method for truly crusty homemade french bread if you want a great comparison to my steam method.
Remember, making artisan bread at home is all about practice. Don’t get discouraged if the first loaf isn’t perfect; it will still taste amazing sliced hot with butter, I promise! I’ve written a whole guide on my journey with artisan bread at home if you want to get deeper into the high-end stuff later on.
Storing and Reheating Your Fresh French Bread
This is the part nobody likes to talk about, but we have to! Crusty bread, while utterly heavenly right out of the oven, is notorious for getting stale fast. It’s the price we pay for that lovely, crackly crust. Because of the low moisture content in the crust itself, it tends to dry out the interior—the fluffy part—pretty quickly once cooled.
So, what’s the rule? Never, ever store your fresh loaf in an airtight container or a plastic bag! Seriously, that traps moisture against the crust, and you’ll end up with soggy, chewy bread by morning. That’s the opposite of what we want!
Instead, for the first day, I usually just leave the loaf sitting cut-side down on a clean wooden cutting board. If you need it to last longer than 24 hours, your best bet is wrapping it loosely in a clean tea towel or placing it in a paper bag. That allows some moisture exchange while protecting it from drying out too fast.
How to Revive Day-Old French Bread
Okay, so your bread went a little hard overnight. Don’t toss it! We can bring it back to life with a quick trip to the oven. This is a lifesaver technique if you’ve made two loaves and can’t eat them both on day one.
Wrap that slightly stale loaf tightly in aluminum foil—and I mean tightly wrapped, like a little bread burrito. Pop it into a hot oven, around 350°F (175°C), for about 10 to 15 minutes. The foil traps the moisture inside, essentially steaming the interior back to soft perfection, while the heat warms everything up nicely.
When you unwrap it, the crust will be soft because of the steam, right? So, this is key: immediately after unwrapping it (while it’s still piping hot), place it directly on an oven rack for 3 to 5 more minutes to let that exterior crisp back up again. You’ll be shocked how close it gets back to that fresh-from-the-oven crunch. It’s a little two-step dance, but totally worth the effort for delicious, non-stale bread!
Serving Suggestions for This Crusty Bread Recipe
Now that you’ve poured your heart into making this beautiful, crackly crusty bread recipe, the best part is deciding how to eat it! This isn’t the kind of bread you just use for toast—although, yes, it’s amazing toasted too! You want to celebrate that crisp exterior and soft, airy crumb we worked so hard to achieve.
Truly good homemade bread elevates everything, whether it’s the quiet dinner table or a big gathering. I always bake this when I know we’ll have soup or stew on the menu, because dipping is non-negotiable when you’ve got a loaf this fresh.
Dipping and Soup Companions
This loaf is practically begging to soak up broth! It’s robust enough that it won’t immediately disintegrate when plunged into something hearty. My absolute favorite pairing lately is my White Bean and Mushroom Stew. The earthy flavors of the mushrooms and the creaminess of the beans are the perfect match for the straightforward, yeasty flavor of this loaf. You can check out that recipe right here—it’s comfort food heaven!
Beyond stew, think about serving this alongside a big bowl of French Onion Soup, especially since we are leaning into that French theme. Even just some really good quality butter, sea salt, and a drizzle of your best olive oil makes for a perfect appetizer. If you’re looking for inspiration on making the most visually stunning rustic loaves, sometimes I browse this link from Recipes Inspired just for fun to see how others stack up their rustic french loaf creations!
Sandwiches Worth Making
Because our loaves are long and slightly chewy on the inside, they make phenomenal sandwiches—way better than anything you get pre-sliced at the grocery store. They hold up perfectly to wet ingredients because that crust barrier keeps the interior from getting soggy too fast.
I love making a classic French dip sandwich with leftover roast beef on this bread. The gravy soaks beautifully into the fluffy interior without falling apart. You could also slice it thin and toast it lightly for crostini topped with bruschetta or tapenade for a simple party snack. It’s sturdy bread for heavy fillings!
Breakfast and Brunch Ideas
Don’t forget the morning! If you make two loaves, let the second one cool completely, and then slice it thick for French Toast in the morning. Because the crumb is airy, it soaks up the egg mixture beautifully without becoming dense and soggy like sandwich bread can sometimes do. A thick slice of this, pan-fried until golden, is just divine topped with a little jam. It brings true bakery vibes to a sleepy Saturday morning, and that’s exactly what I strive for in my kitchen!
Frequently Asked Questions About Making French Bread
Whenever I share a recipe that involves yeast, I always get a flood of questions about timing and substitutions—and that is totally fair! Bread chemistry can feel mysterious, but once you know the rules, you can adjust things on the fly. Here are some of the common things people ask me when they’re tackling this french bread recipe for the first time!
Can I make this French bread recipe faster than the listed time?
That’s the eternal question, isn’t it? We all want that quick french bread experience! You definitely have some control over the rise time. If you use water that’s slightly warmer (closer to 115°F, but not hotter!) and put your bowl in a slightly warmer spot—like inside the oven with just the light on—you can usually shave about 15 minutes off that first rise.
However, here’s my big warning: Don’t rush the second rise! The first rise builds strength in the gluten, but the second rise is what really builds flavor and airiness. If you rush that final 30 minutes, you might end up with a loaf that looks okay but sinks a little in the oven or ends up tasting dense because you didn’t let the yeast work its magic fully. Better to wait the extra 15 minutes than end up with a flat loaf!
What if I only have Active Dry Yeast instead of Instant Yeast for my french bread?
Oh yes, most kitchens have both types lying around! This is an easy fix, but it requires an extra step since Active Dry Yeast needs a gentle wake-up call before it’s ready to mingle with the flour. If you only have Active Dry, you need to proof it first.
Here’s what you do instead of step 1: Take your 1 1/4 cups of warm water and add your yeast directly to it, along with just a tiny pinch of sugar (like 1/2 teaspoon) if you have it—this gives it a snack. Let it sit for 5 to 10 minutes until it looks foamy and bubbly on top. That foam is proof that your yeast is alive and ready!
Once it’s foamy, whisk your salt into that yeast mixture. Then, you gradually add this liquid mixture to your flour, mixing until shaggy. The rest of the recipe proceeds as normal! You might find your rise times are slightly longer since the yeast got a bigger workout initially, but it works beautifully for creating that necessary structure in yeast bread recipes.
How do I get the super fluffy bread recipe interior you mentioned?
The fluffiness comes from two main places: kneading and steam. First, make sure you hit that full 5 to 7 minutes of kneading. You’re developing the gluten structure, which traps the CO2 from the yeast bubbles. If you stop too soon, that gas escapes, and you get dense bread. You want to feel that elastic snap when you pull the dough!
Second, and this is important for that airy feeling, make sure you don’t overbake! Overbaking dries out the crumb structure, even if you used steam. When you tap the loaf and it sounds hollow, pull it out. If you end up with bread that’s too dense, I sometimes find that using a recipe with added milk, like my soft milk bread recipe, yields the fluffiest result imaginable, but for French loaves, kneading is key!
Can I skip the scoring (the diagonal cuts) on top?
You can, but I really, really advise against it! Scoring is not just for looks, though I love the way it makes the final loaf look beautiful and artisan. The score—that slash across the top—is actually a planned weak point. As the bread rapidly expands in the hot oven (oven spring), the dough needs a place to burst open. If you don’t create one, the bread will just rip open wherever it’s weakest, usually creating a jagged, ugly seam along the side of your loaf.
If you’re worried about making a clean cut with a knife, use a razor blade or even a fresh, sharp box cutter if you have one. Hold it at a shallow angle, maybe 30 degrees to the dough surface, and move quickly. It should slice right through the surface tension. It might seem scary, but trust me, that small cut saves your loaf from exploding randomly!
What’s the best way to serve this french bread right away?
The moment these come out of the oven, you must let them rest on a wire rack for at least 20 minutes before slicing. If you cut them hot, the steam trapped inside rushes out, and you can actually collapse the interior structure! It’s tough to wait, I know, but resist!
Once cooled, I love using this bread immediately for dipping into soups, like my favorite creamy chicken tortilla soup—you can find that recipe here. Beyond soup, serving it with good quality olive oil and coarse salt is unbeatable. A truly great loaf deserves to be the star of the show before it starts getting repurposed into croutons later in the week!
PrintEasy Homemade French Bread Recipe for a Crusty Exterior and Soft Interior
Learn how to make bakery-style French bread from scratch. This reliable recipe delivers a wonderfully crusty exterior and a soft, fluffy interior, perfect for beginners.
- Prep Time: 20 min
- Cook Time: 25 min
- Total Time: 1 hour 55 min
- Yield: 2 loaves 1x
- Category: Baking
- Method: Baking
- Cuisine: French
- Diet: Vegetarian
Ingredients
- 3 cups all-purpose flour
- 1 teaspoon instant yeast
- 1 1/2 teaspoons salt
- 1 1/4 cups warm water (about 105-115°F)
- 1 tablespoon olive oil (for the bowl)
Instructions
- Mix the flour, instant yeast, and salt together in a large bowl.
- Gradually add the warm water to the dry ingredients. Mix with a wooden spoon until a shaggy dough forms.
- Turn the dough out onto a lightly floured surface. Knead for about 5 to 7 minutes until the dough is smooth and elastic.
- Lightly grease a clean bowl with olive oil. Place the dough in the bowl, turning it once to coat. Cover the bowl with plastic wrap or a clean kitchen towel.
- Let the dough rise in a warm place for 60 to 90 minutes, or until it has doubled in size. This is your first rise.
- Gently punch down the risen dough. Turn it out onto a lightly floured surface and divide it into two equal pieces.
- Shape each piece into a long, narrow loaf, similar to a baguette shape. Gently stretch and roll the dough to create surface tension.
- Place the shaped loaves onto a baking sheet lined with parchment paper, leaving space between them. Cover loosely with a towel.
- Let the loaves rest for a second rise for 30 minutes. While they rest, preheat your oven to 450°F (232°C). Place a shallow pan on the bottom rack for steam.
- Just before baking, use a sharp knife or razor blade to make three diagonal slashes across the top of each loaf.
- Carefully pour about 1 cup of hot water into the shallow pan on the bottom rack to create steam. Immediately place the loaves in the oven.
- Bake for 20 to 25 minutes, or until the crust is deep golden brown and sounds hollow when tapped.
- Remove the bread from the oven and transfer it to a wire rack to cool completely before slicing.
Notes
- For an extra crusty exterior, spray the inside walls of the oven with water a couple of times during the first 10 minutes of baking.
- If you prefer a softer crust, skip the steam step in the oven.
- This recipe makes a classic French loaf; for a true baguette, shape the dough more thinly and use a baking stone if you have one.
Nutrition
- Serving Size: 1 slice
- Calories: 150
- Sugar: 1
- Sodium: 300
- Fat: 1
- Saturated Fat: 0
- Unsaturated Fat: 1
- Trans Fat: 0
- Carbohydrates: 31
- Fiber: 1
- Protein: 4
- Cholesterol: 0