
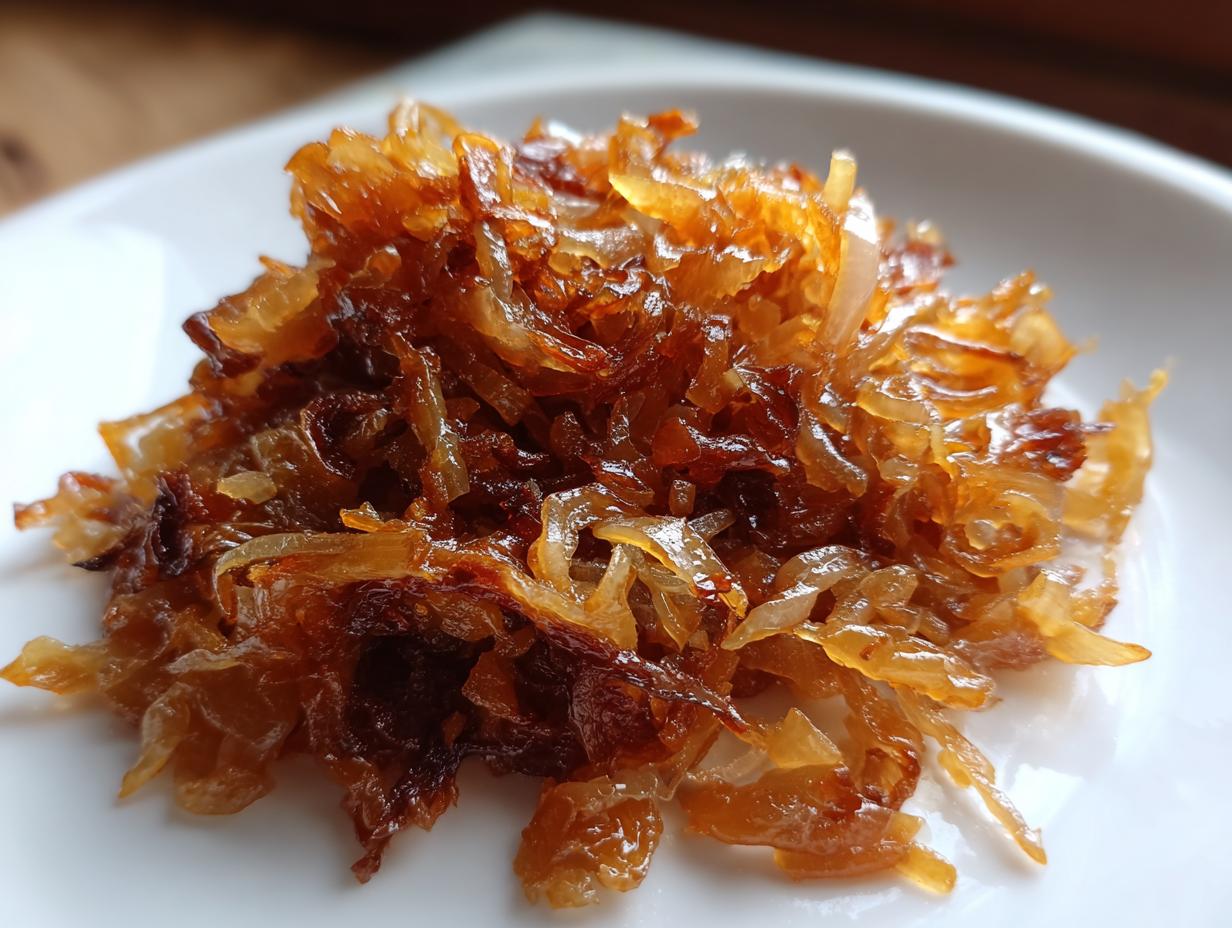

It’s amazing what a little bit of time and low heat can do to transform the simplest of ingredients. Think about it: you start with something sharp, maybe even a little harsh, and end up with something wonderfully sweet, savory, and jammy. That’s the magic we’re diving into today with caramelized onions. This isn’t just a recipe; it’s a fundamental technique, a true home cooking basic that I learned by watching my grandmother take pantry staples and turn them into gold. Mastering this easy process means you unlock an incredible, rich flavor enhancer for almost any dish you can think of. Trust me, once you nail this, your burgers and tarts will never taste the same again!
- Why You Need to Master Caramelized Onions
- Gathering Ingredients for Perfect Caramelized Onions
- The Best Techniques for Onions: Step-by-Step Caramelized Onions
- Tips for Success When Making Caramelized Onions
- Using Your Homemade Onion Condiment: Serving Suggestions
- Make-Ahead & Freezer Tips for Caramelized Onions
- Frequently Asked Questions About Caramelized Onions
- Nutritional Data for Caramelized Onions
- Share Your Sweet Savory Onion Topping Creations
Why You Need to Master Caramelized Onions
Honestly, if you ask me what one technique makes the biggest difference with the least effort, it’s learning how to make these. Caramelized onions aren’t just a side dish; they are pure flavor boosting ingredients you can keep ready in the fridge. They take sharp, sometimes biting onions and turn them into this deep, savory, slightly sweet topping that just pulls every meal up a notch. It’s an absolute essential for any confident home cook. Once you’ve seen this transformation happen, you’ll be hooked on making your own rich flavor enhancer from scratch!
The Flavor Transformation: From Sharp to Sweet
What’s happening here is pure kitchen science, but don’t let that scare you! We are essentially coaxing the natural sugars out of the onion—it’s a slow melt and browning process. You start with that raw, sharp bite that makes your eyes water. But stick with it, and that sharp edge disappears completely. What you get in the end is that glorious sweet savory onion topping. It adds a beautiful, earthy depth to everything, whether it’s spreading on homemade bread or melting over a burger.
Gathering Ingredients for Perfect Caramelized Onions
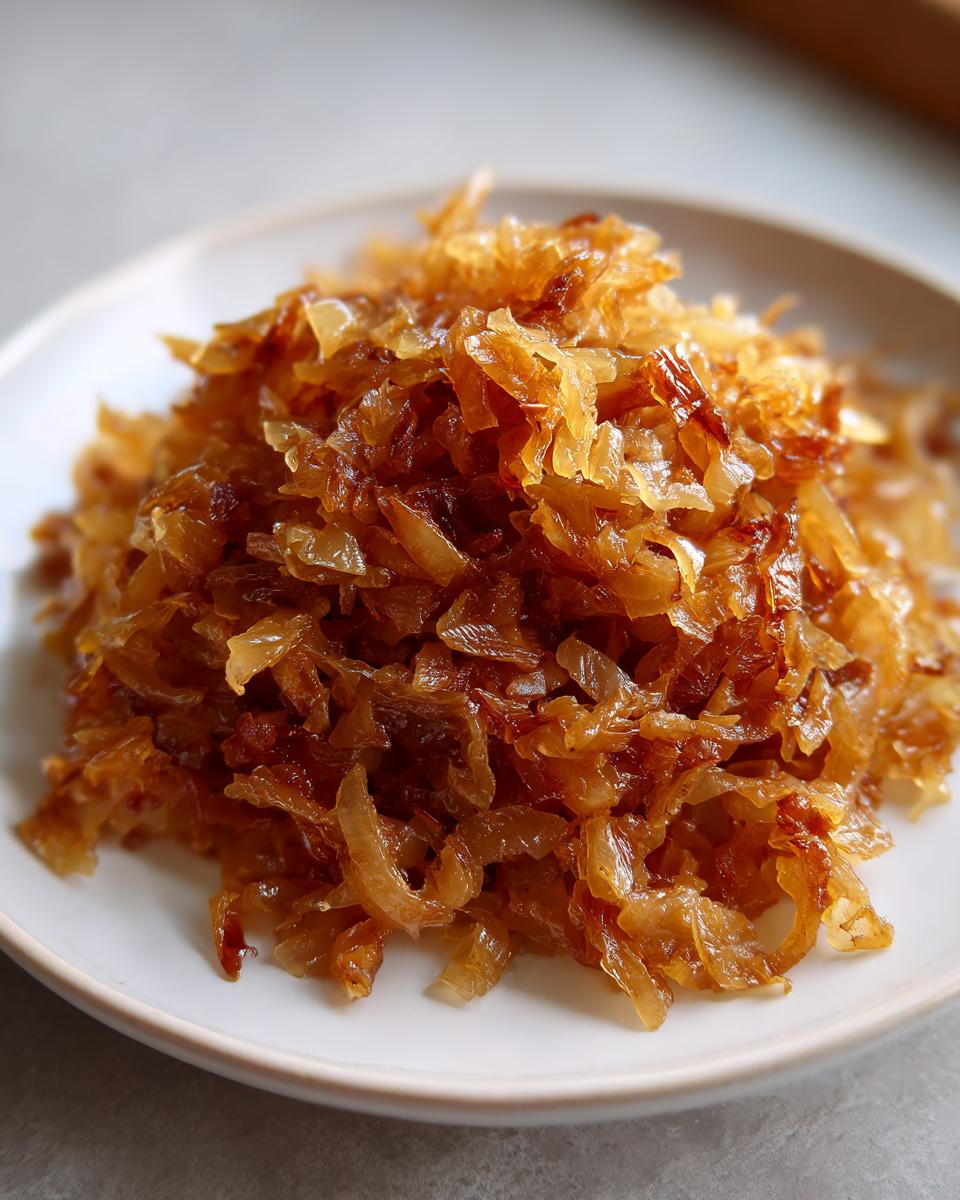
Okay, the secret to getting these right starts long before the pan even hits the heat—it starts with picking the right players. For the absolute best sweet and earthy result, you absolutely must use yellow onions. They have the perfect amount of sugar to caramelize beautifully without getting bitter. We’re keeping the list short because, honestly, this simple combination is all you need when you’re committed to the technique!
- 3 large yellow onions, thinly sliced
- 2 tablespoons unsalted butter
- 1 tablespoon olive oil
- 1 teaspoon salt
- 1/2 teaspoon sugar (optional, for faster browning)
Ingredient Notes and Substitutions
Let’s talk fat for a second. I always use a mix of butter and olive oil. The oil has a higher smoke point and prevents the butter solids from burning right away, while the butter brings that essential milky flavor that makes the finished product rich. If you don’t have butter, you can use all oil, but you might want to add a tiny pinch more salt, as butter carries flavor so well.
Now, about that sugar. I list it as optional, and I want you to feel free to skip it! If you are going to commit the full hour to low and slow cooking, you won’t need the extra help. But if you are in a rush—say, you need a quick onion topping for dinner tonight—a half teaspoon of sugar helps kickstart that browning reaction quicker. Just know that patience is the real secret ingredient here, not the sugar!
The Best Techniques for Onions: Step-by-Step Caramelized Onions
Alright, folks, put down the phone and step away from the high heat! This is where the transformation happens, and it requires the kind of attention my dad always gave the grill—steady and focused. I know the recipe says 50 minutes of cooking time, but that clock doesn’t start until you’re stirring for the first time. We are aiming for deeply flavorful, tender onion perfection, and that takes time. If you rush it, you’ll just end up with burnt, sharp onions instead of beautiful, sweet caramelized onions, and nobody wants that!
Prep Work: Achieving Uniform Slicing
The very first thing you need to do is get your slicing game strong. This is non-negotiable! If some pieces are thick and others are paper-thin, they simply won’t cook evenly. The thinner pieces will burn to a crisp while the thick ones are still raw in the middle. Take your time slicing those yellow onions thinly and uniformly—that perfect consistency is what sets you up for success right out of the gate.
The Slow Cook: Developing the Golden Brown Onion Recipe
Once the butter and oil are melted in your skillet over medium-low heat, toss those slices in with the salt. For the first 15 to 20 minutes, you’re just softening them up until they turn totally translucent. Then, they start turning pale gold. This is the golden brown onion recipe foundation. Around the middle of the cook time, if you see those tasty browned bits sticking to the bottom of the pan—that’s called the fond—add just a tablespoon of water or broth and scrape it all up! That flavor goes right back into the onions.
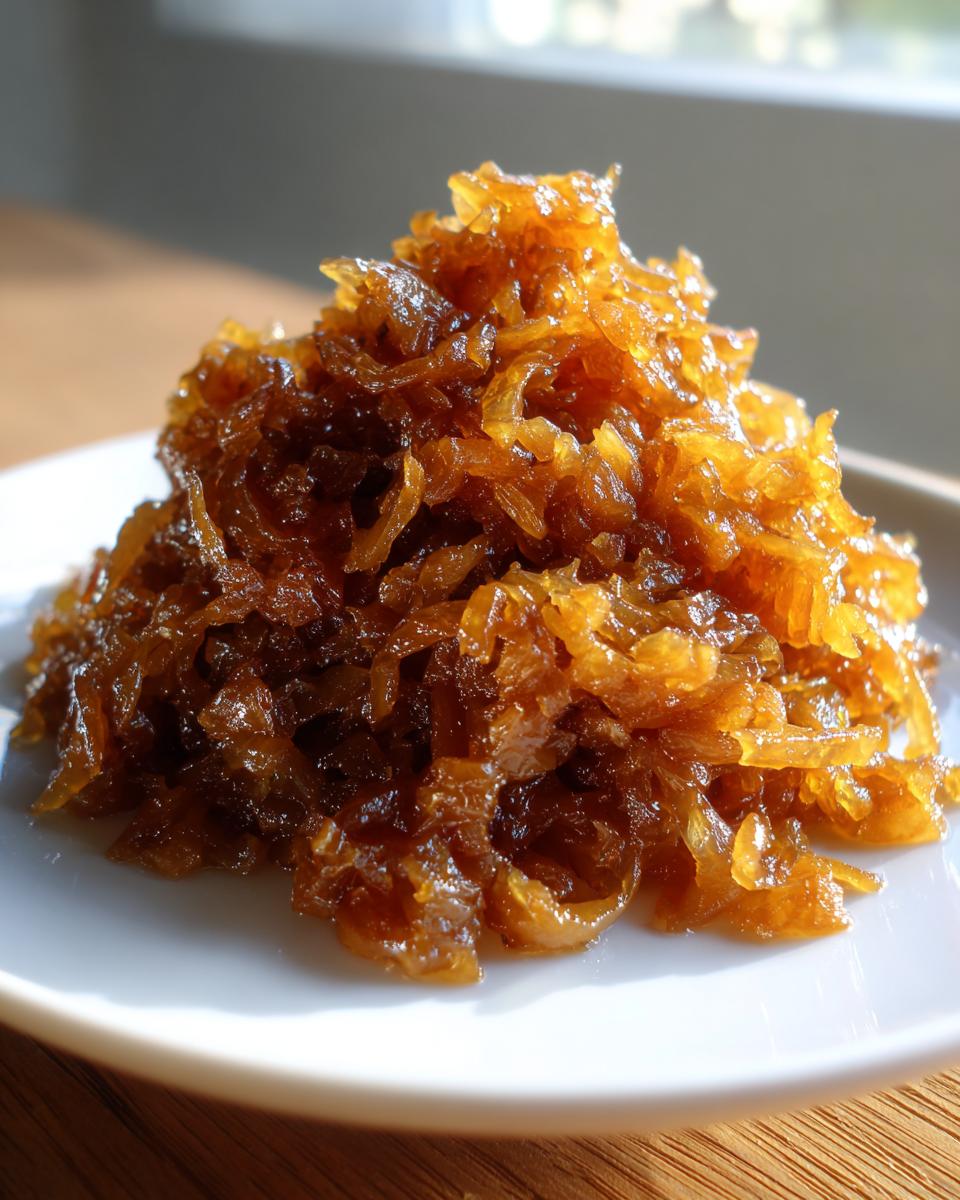
Keep stirring every five minutes or so for the remainder of the time. True caramelization takes a full 45 to 60 minutes total. When they look dark brown, almost like rich molasses, and they feel jammy when you press them, you’ve done it! Then you can stir them into your soup, like my recipe for creamy potato soup, or let them cool for later.
Tips for Success When Making Caramelized Onions
I know I’ve said it three times already, but seriously, I need to say it a fourth time: low and slow is the mantra here. This entire process hinges on being patient! If you think your onions are taking too long, your first temptation is going to be to crank the heat up, right? Don’t do it! That’s the secret kitchen wisdom I always pass along. High heat cooks the outside fast, but it just burns the sugars before they have a chance to break down and create that beautiful, deep color and complex flavor we are after.
When you see a little browning happening, that’s great! That means those flavor compounds are working hard. But burning is different. Burning looks dark black almost immediately and smells acrid, almost smoky in a bad way. If you see that happening despite keeping the heat low, immediately turn it down another notch and add a tablespoon of water or broth to deglaze the pan, scraping up those bits before they turn bitter.
Troubleshooting Common Issues
If your onions look like they are just steaming and sitting in a puddle instead of cooking down, your heat might actually be too low, or you may have added too much liquid during the deglazing step, or perhaps the pan is overcrowded. A crowded pan steams the onions rather than allowing them to sauté and brown properly. If that happens, pull about a third of the onions out, cook the rest for another ten minutes, and then add the rest back in. It’s a quick fix to ensure you get that wonderful tender onion recipe standard.
Remember, we are aiming for a melt-in-your-mouth texture as much as the color. If you follow the timing, you’ll achieve that gorgeous jammy texture, turning basic onion slices into the best condiment for whipping up my creamy sweet potato side dish, or just adding a base layer of amazing depth to any recipe you try. For even more guidance on technique, check out the experts over at Running to the Kitchen!
Using Your Homemade Onion Condiment: Serving Suggestions
This is the best part! Spending an hour gently coaxing sweetness out of onions might seem like a lot of work for one component, but these gems are the ultimate flavor currency. Once they’re done, they become a fantastic sandwich flavor booster or the essential burger topping homemade goodness that makes everything taste gourmet. Seriously, these sweet savory onion toppings are what separate a regular weeknight meal from something that feels like a special occasion!
My absolute favorite way to use a fresh batch? I love folding them into a rich, quick gravy base before pouring it over a good cut of steak. It creates this incredible savory onion sauce that’s just divine. But if you’re looking for something lighter, they are just as incredible on a vegetarian tart—hello, vegetarian flavor builders!
Ideas for Easy Side Dishes with Onions
Don’t let the intensity of the flavor scare you; they are incredibly versatile. They blend perfectly into dips, melt beautifully into creamy pasta sauces (you know I love an easy pasta night!), or you can simply keep them on hand to toss with roasted root vegetables for an earthy sweetness.
If you want a super easy side dish with onions, try mixing a spoonful into mashed potatoes or stirring them into some creamy polenta. They also make a phenomenal base layer if you’re building flavor for something layered, like a shepherd’s pie or even a quick savory bread pudding. If you’re looking for inspiration on how to build flavors quickly, sometimes I cheat a bit with my 30-minute pepper steak recipe, but adding these onions takes it straight to the next level!
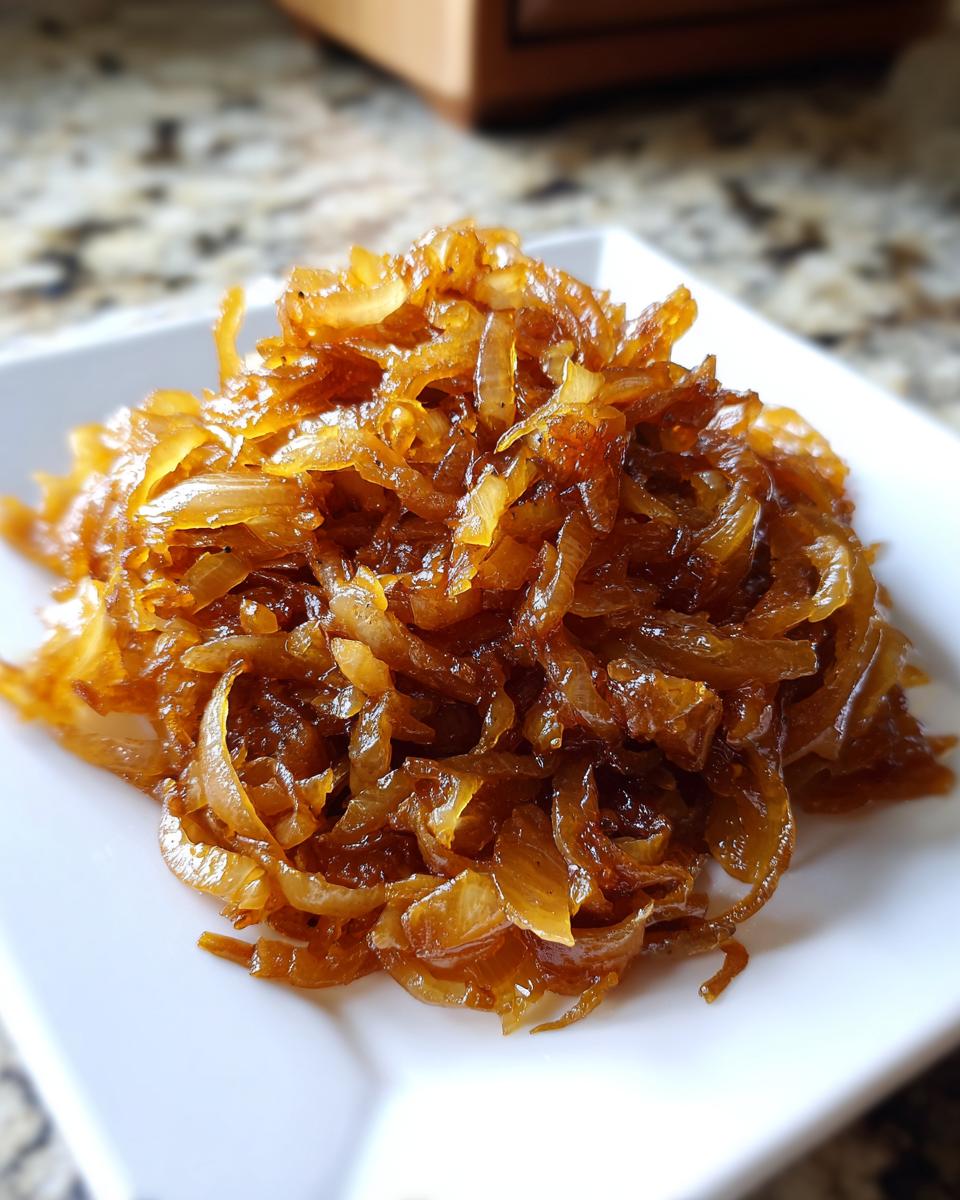
Check out what the wonderful folks at Feastly Home suggest—they have some great ideas for using these onions across different meals!
Make-Ahead & Freezer Tips for Caramelized Onions
One of the best secrets about turning onions into this sweet, rich topping is that they actually get *better* after a day or two in the fridge! My dad always cooked a huge batch because he knew we’d use them all week long for burgers and sandwiches. And honestly, making a big batch means you only have to stand over the stove once every couple of weeks. Think of it as setting yourself up for success! These keep beautifully, which is why this whole process is perfect for your weekend meal prep session.
When you’re done cooking them down, make sure they have cooled completely before you try to store them. Storing warm items introduces condensation, and we don’t want extra moisture messing with that perfect texture!
For refrigerator storage, tuck your caramelized onions into a clean, airtight container. They’ll stay fantastic in there for about a week. I stir a dollop into my morning eggs sometimes! If you need them for longer, the freezer is your best friend. You can freeze these gems, too. I like to scoop them out into small, two-tablespoon portions using ice cube trays first. Once they are frozen solid in the tray, pop those little flavor packs into a freezer bag.
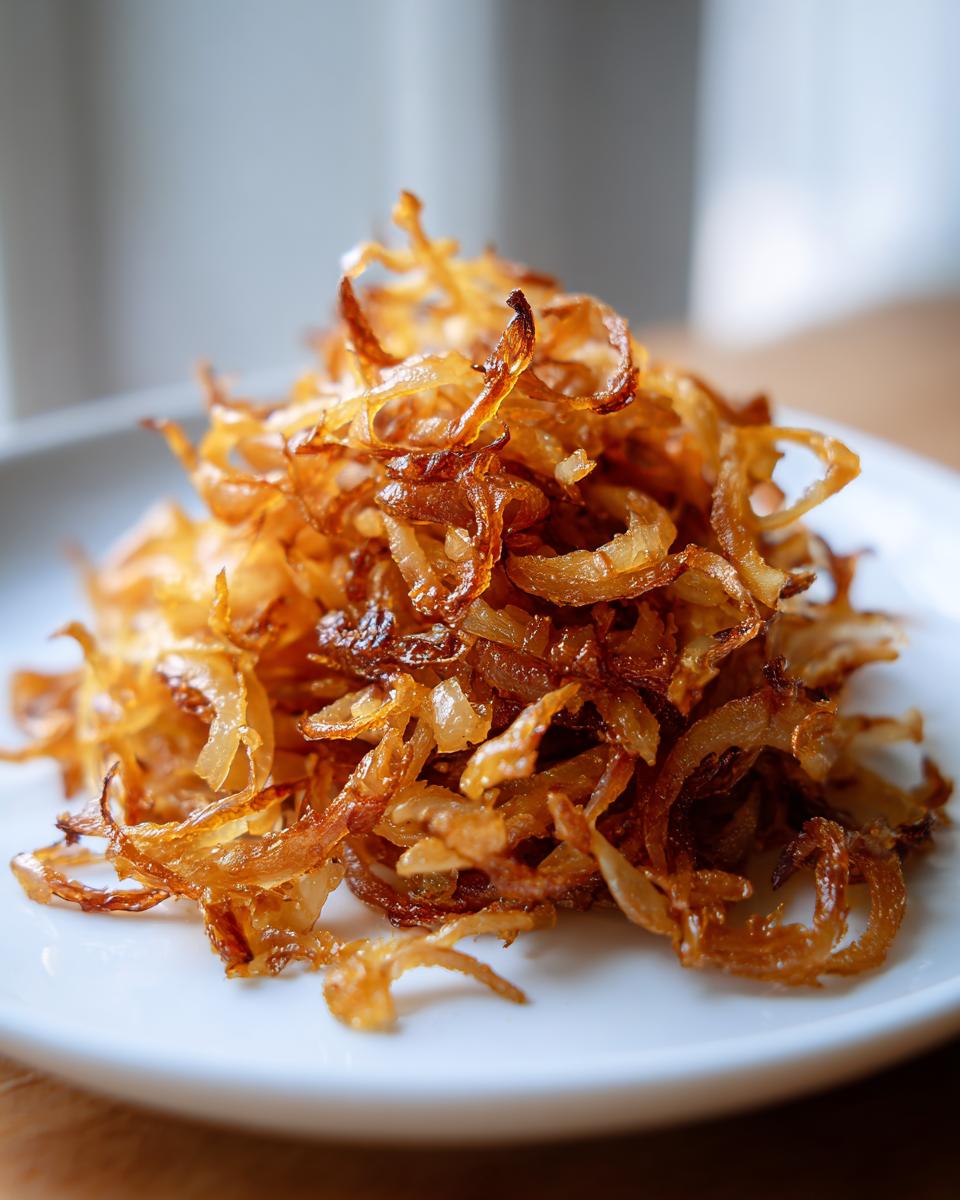
This makes it super easy to thaw just what you need for a quick topping without having to unfreeze the whole batch. They remain good in the freezer for up to three months, which is a great runway for using them up! If you’re looking for some other ideas on how to save time later, check out the tips over at Sara Flavors on how to use these leftovers!
Frequently Asked Questions About Caramelized Onions
I always get so many questions about this one because people are so eager to get that perfect rich flavor without waiting an hour! This is where we clear up all the little sticking points so you can make these sweet onions confidently every single time. Ask me anything about making your own onion cooking basics shine brighter!
Can I speed up the process of making caramelized onions?
Oh, I wish I could tell you yes, but I can’t lie—true caramelization needs time! Heat transforms the onions slowly, breaking down the fibers and releasing that deep sweetness. That’s the Maillard reaction doing its job. You *can* slightly speed it up by using the optional half-teaspoon of sugar I mentioned earlier, which helps kickstart the browning. But if you try to rush the whole process over medium or medium-high heat, you are going to end up burning the outside while the inside stays sharp and underdone. Trust me, patience here is the magic wand!
What is the difference between sautéed onions and caramelized onions?
This is a really important distinction! Sautéed onions are cooked quickly—maybe five to ten minutes—over medium or higher heat. They become soft, translucent, and lose some of their pungency, but they still have a little snap to them. Caramelized onions, though? They need that slow, slow cook, usually 45 minutes or more. They go from pale white to deep golden brown, becoming incredibly sweet, jammy, and losing all that raw sharpness. Sautéed onions are a side; caramelized onions are a flavor foundation!
Can I use red onions for this recipe?
You absolutely can use red onions! They are delicious and often add a fantastic, almost wine-like complexity when cooked down. However, yellow onions are generally the gold standard here because their sugar content is so reliable. Red onions tend to have a slightly higher water content and can sometimes brown a little faster than yellow ones, so you have to watch the heat source extra closely. Also, they might end up looking a little less uniformly deep brown compared to the classic golden color you get with yellow onions, but the flavor boost will still be huge!
Nutritional Data for Caramelized Onions
Now, I always like to be transparent about what we’re putting into our bodies, even when we’re just adding a little punch of flavor! While the magic of these onions comes from slow cooking, remember that we are cooking them down, so the serving size is smaller than when you start. These numbers are just estimates based on dividing the total recipe yield by four servings, so please use them as a guideline rather than something set in stone. Cooking with real food always means the final count can vary slightly!
What shocks people most is how much natural sugar comes out of those humble onions, but look past that—the fiber and low-fat content are fantastic. This is a sign that you’re eating real, unprocessed flavor!
- Serving Size: 1/4 cup
- Calories: 75
- Sugar: 8g
- Sodium: 180mg
- Fat: 4g
- Saturated Fat: 2g
- Unsaturated Fat: 2g
- Trans Fat: 0g
- Carbohydrates: 10g
- Fiber: 2g
- Protein: 1g
- Cholesterol: 5mg
Keep in mind that these figures are based on the butter and oil we use and the natural sugars in the onions; if you add extra salt or sugar, the sodium and sugar counts will, of course, increase. But truly, a little bit of this goodness goes a long way in making your next meal absolutely memorable!
Share Your Sweet Savory Onion Topping Creations
Wow, we spent a whole hour together coaxing flavor out of a few yellow onions, but look what we ended up with! I sincerely hope you’re excited to start using your batch of homemade onion condiment. There is nothing better than knowing you have this amazing flavor source ready to go for whatever dinner throws at you this week. Whether it ends up melted onto a fantastic grilled cheese, mixed into a cheesy dip like my spinach artichoke dip, or layered over a roast, I want to hear about it!
Making food is always better when you share the results! Please take a moment after you’ve tried this recipe to leave me a star rating right here on the page. It helps other home cooks see that this technique for perfectly cooked onions is reliable. More importantly, tag me on social media when you use your sweet savory onion topping—I absolutely love seeing how you all incorporate these kitchen secrets into your family meals. It’s the best encouragement to keep developing new, simple, and delicious recipes!
If you’re looking for the next step in elevating your meals with deep flavor, maybe you’ll try checking out some quick inspiration from Beyond the Bayou Blog. Happy cooking, and I can’t wait to see what you create!
PrintThe Ultimate Guide: How to Perfectly Caramelize Onions
Learn the simple technique to transform sharp onions into sweet, golden, and tender caramelized onions. This rich flavor enhancer is perfect for burgers, sandwiches, or savory tarts.
- Prep Time: 10 min
- Cook Time: 50 min
- Total Time: 60 min
- Yield: About 1.5 cups 1x
- Category: Side Dish
- Method: Slow Cooking/Sautéing
- Cuisine: American
- Diet: Vegetarian
Ingredients
- 3 large yellow onions, thinly sliced
- 2 tablespoons unsalted butter
- 1 tablespoon olive oil
- 1 teaspoon salt
- 1/2 teaspoon sugar (optional, for faster browning)
Instructions
- Slice the onions thinly and uniformly. Uniform slicing helps them cook evenly.
- Place a large, heavy-bottomed skillet over medium-low heat. Add the butter and olive oil.
- Once the butter melts, add the sliced onions and the salt. Stir to coat the onions completely with the fat.
- Cook the onions slowly, stirring every 5 to 7 minutes. Keep the heat low to prevent burning. This initial stage will take about 15 to 20 minutes until the onions soften and become translucent.
- If you are using sugar, sprinkle it over the onions now.
- Continue cooking, stirring every 5 minutes. The onions will start to turn pale gold. If brown bits stick to the bottom of the pan (fond), add 1 tablespoon of water or broth and scrape the bottom of the pan to release the flavor back into the onions.
- Keep cooking, reducing the heat if necessary, until the onions reach a deep, rich brown color and have a jammy texture. This slow cooking process takes 45 to 60 minutes total.
- Remove from heat and taste. Adjust salt if needed. Your perfectly cooked onions are ready to use.
Notes
- Patience is key; rushing the process over high heat will burn the onions instead of caramelizing them.
- For meal prep, you can double or triple this recipe and store the finished onions in an airtight container in the refrigerator for up to one week.
- Use these sweet savory onion toppings on grilled cheese, roast beef, or mix them into pasta sauce for deep flavor.
Nutrition
- Serving Size: 1/4 cup
- Calories: 75
- Sugar: 8
- Sodium: 180
- Fat: 4
- Saturated Fat: 2
- Unsaturated Fat: 2
- Trans Fat: 0
- Carbohydrates: 10
- Fiber: 2
- Protein: 1
- Cholesterol: 5