
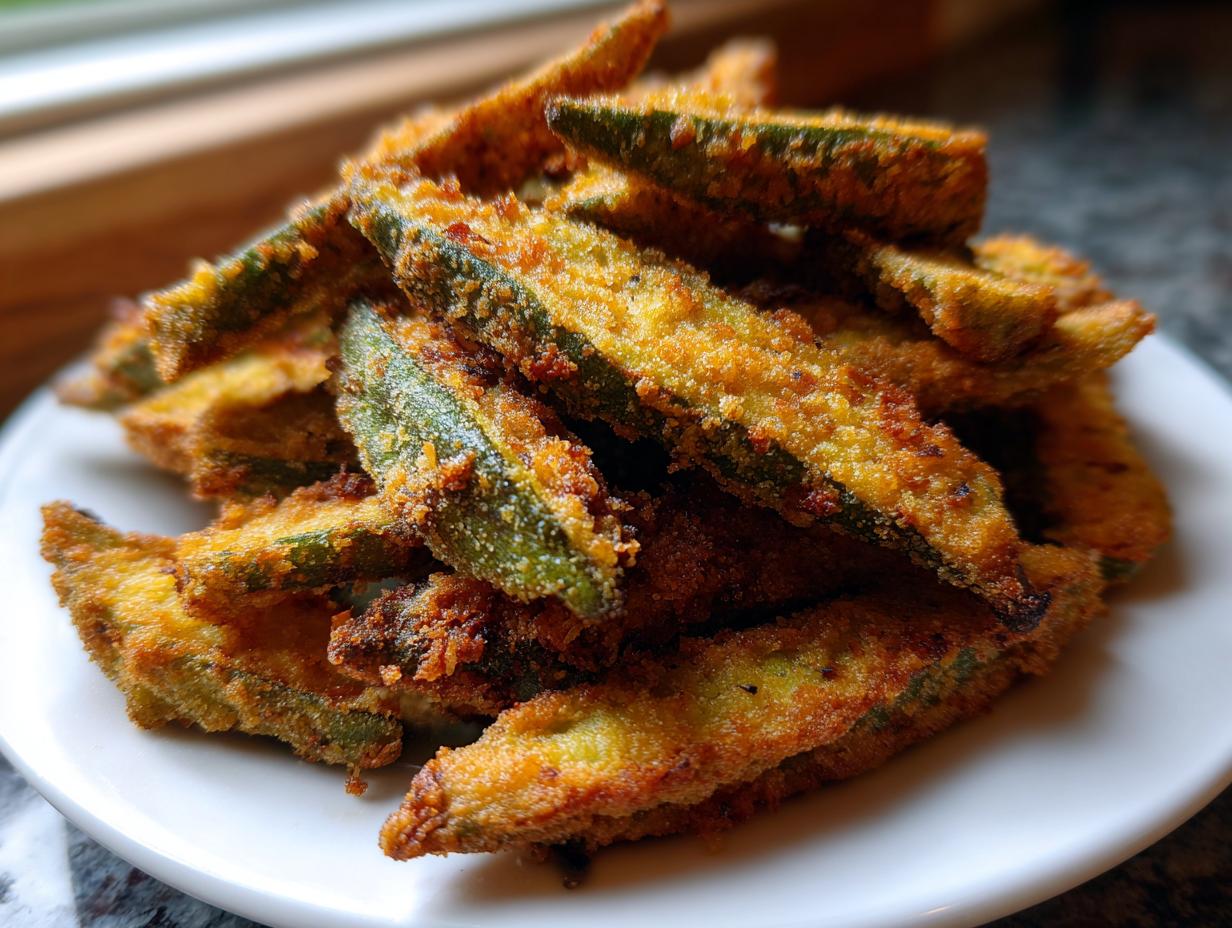

Oh, if there is one food that just screams “Southern comfort” louder than anything else, it’s fried okra. Whenever I smell that sizzle of cornmeal hitting hot oil, I’m instantly transported back to summer evenings on the porch. But let’s be honest, we all know the eternal struggle: we want that golden crunch, but we often end up with a slimy, sad mess in the middle. Well, friends, I’m Sarah Peterson, and after years of chasing that perfect crunch—testing every trick my Midwestern heart could muster—I finally nailed the absolute ultimate fried okra treatment. This recipe uses my secret weapon (it involves buttermilk!) to guarantee you get nothing but crispiness. Forget everything you thought you knew about making this classic; we’re getting it right!
- Why This is the Best Southern Fried Okra Recipe for Crispiness
- Ingredients for Classic Crispy Fried Okra
- The Best Fried Okra Technique: Step-by-Step Instructions
- Tips for Truly Crispy Fried Okra Every Time
- Variations: Air Fryer Fried Okra and Gluten Free Fried Okra
- Serving Suggestions for Your Okra Side Dish
- Storage and Reheating Instructions for Leftover Fried Okra
- Frequently Asked Questions About Making Fried Okra
- Share Your Homemade Fried Okra Experience
Why This is the Best Southern Fried Okra Recipe for Crispiness
Look, I totally get it. The word “okra” can sometimes feel synonymous with “slimy.” But that’s where this southern fried okra recipe shines! This isn’t your average coating job; we use a specific combination of steps that absolutely eliminates that sliminess. When you follow these techniques, you’re guaranteed to get the most incredibly crunchy, craveable snack.
- It delivers pure, undeniable crunch every single time.
- It’s truly the no slime okra recipe you’ve been searching for.
- It brings that authentic, soul-satisfying flavor you expect from southern comfort food recipes.
Key Steps for Perfect Homemade Fried Okra
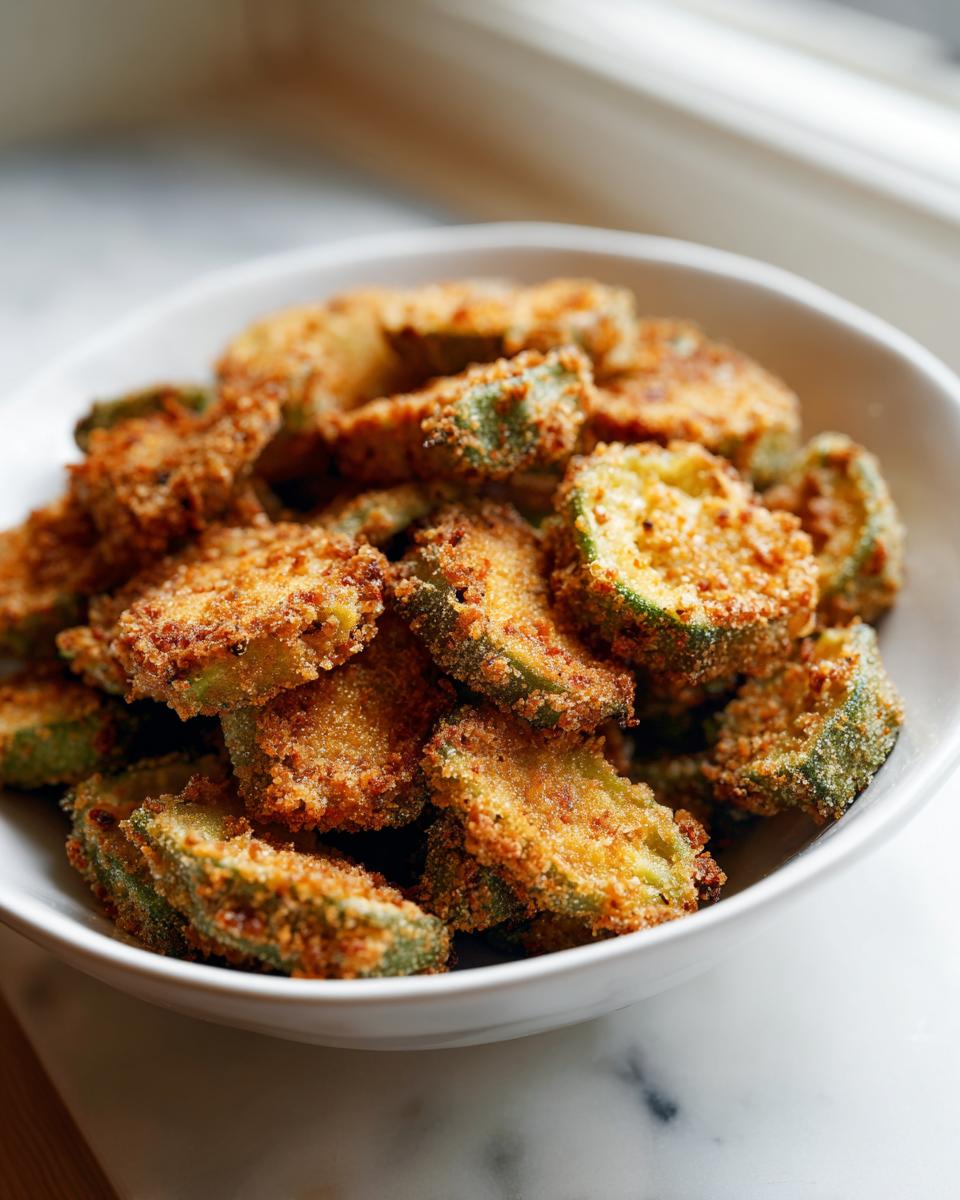
The secret isn’t just one thing; it’s how these three elements work together. First, we make sure the okra is bone-dry before it meets the buttermilk. Second, that buttermilk soak tenderizes the veggie and creates a perfect acidic environment for the coating to stick to. And finally, we rely on a hearty cornmeal dredge. If you master these three points, you’ll see why folks rave about this crispy fried okra. Honestly, one friend even said it was better than what they used to get at family gatherings—and you can see videos of people raving about the buttermilk trick over here!
Ingredients for Classic Crispy Fried Okra
Okay, let’s talk about what you need to gather for this incredible batch of homemade fried okra. Remember, the quality of your starting ingredients really matters, especially when you’re aiming for that top-tier crunch. Don’t skimp on the fresh produce!
Here is the list for this incredible fried okra side dish:
- 2 lbs fresh okra, washed and sliced into 1/2-inch rounds
- 1 cup buttermilk
- 1 cup yellow cornmeal
- 1/2 cup all-purpose flour
- 1 teaspoon salt
- 1/2 teaspoon black pepper
- 1/2 teaspoon garlic powder
- 1/4 teaspoon paprika
- Vegetable oil, for frying
Ingredient Notes and Substitutions for your Fried Okra
For the absolute best results in this fried okra recipe, please try to use fresh okra—frozen just gets too watery after thawing, and we don’t want any moisture surprises! If you absolutely must make it gluten free fried okra, you can swap the all-purpose flour for a good quality GF blend. Also, while vegetable oil is my standard go-to for frying, any neutral oil with a high smoke point will work just fine here. Remember, this coating is what locks in the flavor!
The Best Fried Okra Technique: Step-by-Step Instructions
This is where the magic happens, folks! You can have the best ingredients in the world, but if your technique is off, you’ll end up disappointed. Trust me when I say we are putting in just a little extra effort upfront to make sure this is the best fried okra you’ve ever made. Pay close attention to the resting times; they are non-negotiable for crispiness!
Prepping the Okra and Buttermilk Soak
First things first, you have to handle the okra gently. Wash it well, but then the most important part: pat those little rounds absolutely dry. I mean *dry*. This is huge for the fried okra recipe easy approach taking hold without getting gunky. Once they are dry, toss them in the buttermilk and walk away! You need to let them soak for at least a good 30 minutes. This tenderizes them beautifully and lets that buttermilk work its anti-slime charm. Don’t rush this bath!
Achieving the Perfect Cornmeal Breaded Okra Coating
While that okra is soaking, get your dredge mixture ready. Once the time is up, pull the okra out bit by bit, letting the extra buttermilk drip back into the bowl—we don’t want it soupy! Press those pieces firmly into that seasoned cornmeal mix until they are totally coated. This isn’t gentle tossing; you need to press to make sure you’ve got a solid layer. Now, here is the second non-negotiable step: place the coated okra on a wire rack and let it sit for 10 minutes. This resting time lets the breading set up, which is truly the best fried okra technique to keep it stuck on during frying.
Frying to Golden Brown Perfection
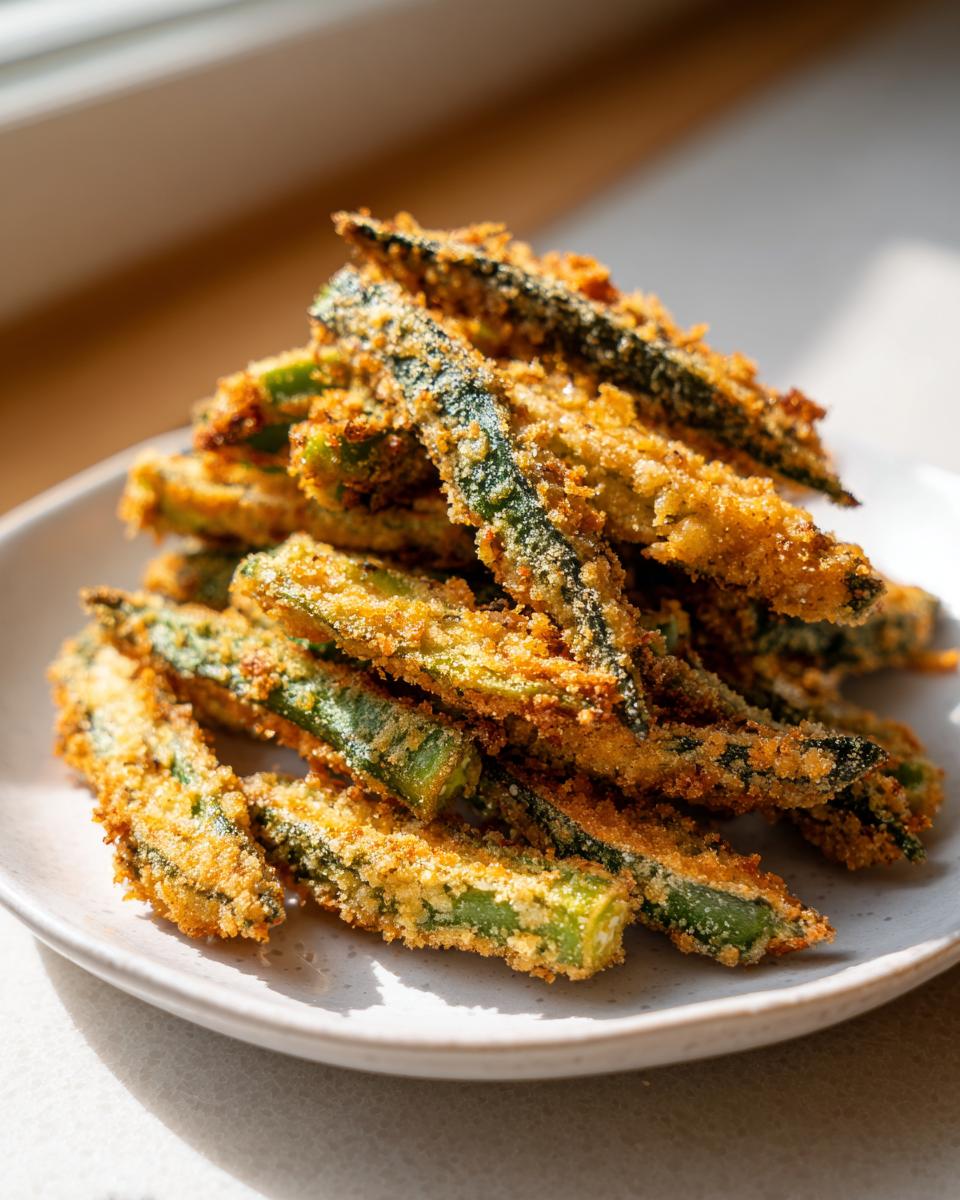
Time to heat up that oil! You want it hovering right around 375 degrees Fahrenheit. If it’s not hot enough, your beautiful okra soaks up grease instead of crisping up. Fry in small batches so you don’t drop the temperature too much. Keep them moving around for about 3 to 5 minutes until they hit that gorgeous, golden brown okra color. Scoop them out onto paper towels or a rack and get ready to eat them hot!
Tips for Truly Crispy Fried Okra Every Time
Okay, we talked about the main steps, but let me give you the real insider secrets for how to make fried okra crispy that just won’t quit. If you follow the recipe perfectly, you shouldn’t have issues, but sometimes you need a little extra tweak, right? The most important thing, I cannot stress this enough, is that 10-minute rest period after you dredge your okra in the cornmeal mix! That time lets the coating absorb a touch of the buttermilk moisture so it doesn’t just fall off in the hot oil. You can explore how others achieve perfection over at this crunchy recipe.
Another thing I learned the hard way: never, ever crowd the pan when frying! If you dump way too much okra in at once, the temperature of your oil drops instantly, and bam—soggy okra. Work in small, manageable batches so every single piece gets that instant heat it needs to puff up and crisp. If you’re looking for that perfect crunch, just remember those two things: set the dredge, and keep the oil hot! That’s how we get fantastic crispy fried okra every single time.
Variations: Air Fryer Fried Okra and Gluten Free Fried Okra
I love sticking to tradition, but I totally hear you—sometimes we need options that are a little lighter or fit specific diets! Since this recipe is so dependable, it adapts really well. If you’re trying to cut down on oil but still want that crunch, you absolutely can make air fryer fried okra. You’ll follow the exact same preparation and dredging steps we just covered, but instead of submerging it in oil, you’ll spray the coated okra lightly with cooking spray. Cook them in the air fryer basket at about 380 degrees Fahrenheit for 12 to 15 minutes, shaking the basket halfway through until they look beautifully crispy.
Now, if you’re aiming for gluten free fried okra, that’s simple too! Just swap out the all-purpose flour in the dredge mix for a quality gluten-free alternative. Make sure your cornmeal is certified GF as well, just to be safe! You can check out some great ideas for making this dish accommodating over at this gluten-free site. Honestly, switching to the air fryer method, as shown here, is a fantastic way to enjoy this classic Southern side dish with much less fuss!
Serving Suggestions for Your Okra Side Dish
This incredible, crunchy okra side dish really shines when it’s served piping hot right out of the fryer. It’s fantastic on its own as an easy okra snack, but it absolutely sings next to other quintessential Southern plates. Think about piling this next to some smoky pulled pork, crispy fried chicken, or maybe even serving it up as a crunchy appetizer alongside some spicy cocktail sauce.
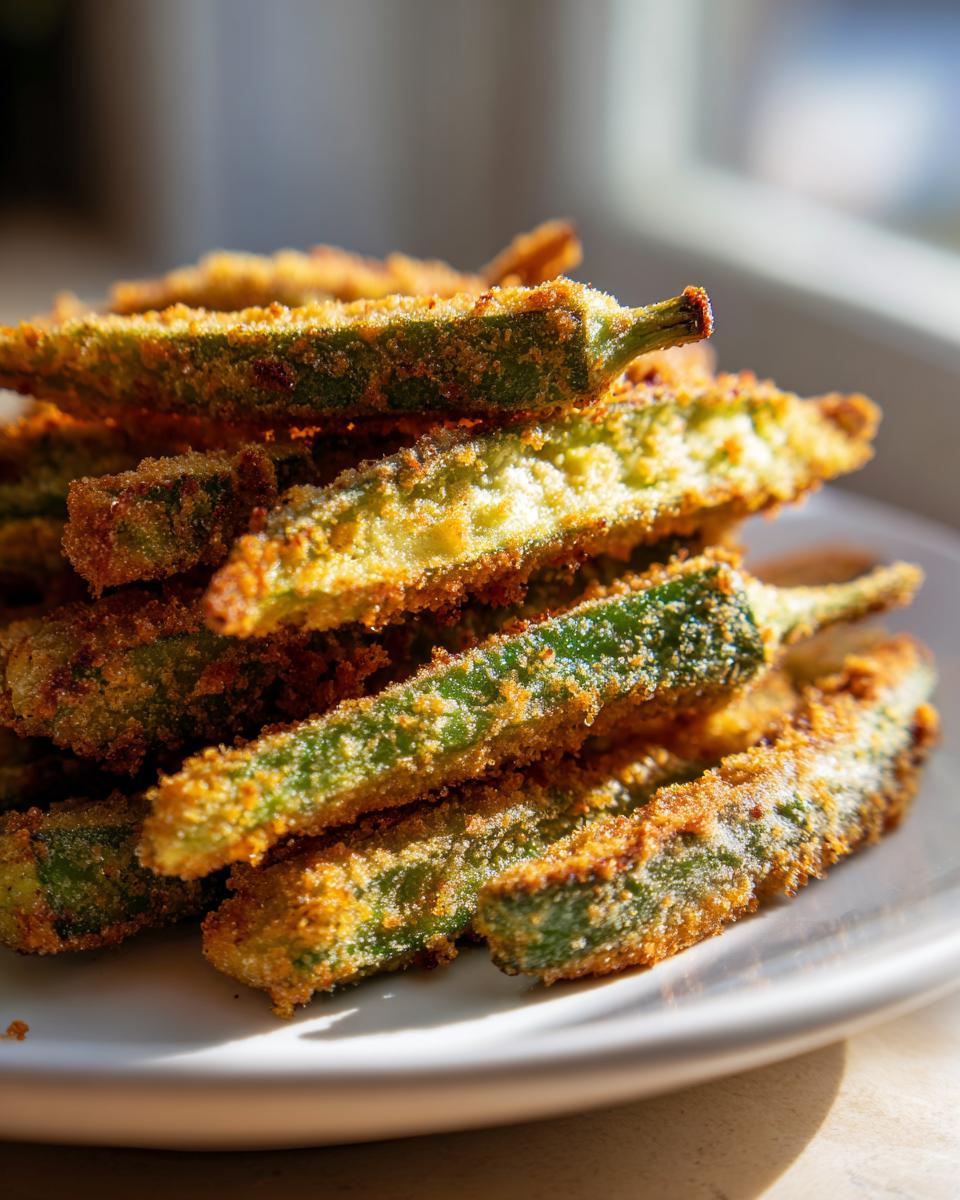
If you’re looking for other crunchy things to round out the meal, you absolutely have to check out my recipe for amazing fried pickles next! Seriously, don’t let these sit around—the whole point is that immediate, satisfying crunch, so make sure everyone grabs a handful while they’re hot!
Storage and Reheating Instructions for Leftover Fried Okra
Now, I hope there are no leftovers, because this fried okra is addictively good straight out of the oil! But life happens, and sometimes you’ve got a few too many little golden rounds left over. The truth is, no matter what magic trick you use, it just won’t taste exactly like it did fresh—that initial, perfect crunch is hard to replicate once the okra has cooled and rested.
If you do have some left, don’t stress! The key to keeping them around for a day or two is airflow management—sort of. Place the cooled okra in a truly airtight container. I sometimes use a zip-top bag and squeeze out as much air as possible. You only want to store them in the fridge for maybe a day or two, tops. After that, the coating starts to get really soft and spongy. I’ve learned that the fridge is just okay for short-term holding, but it’s definitely not the final destination for flavor!
Reheating is where you redeem yourself and bring back all that beautiful crispiness. Whatever you do, please, please, *please* skip the microwave. You’ll just end up with mushy, steamed okra, and honestly, that breaks my heart. The oven is your best friend here. Set your oven to about 375 degrees Fahrenheit, spread those little guys out on a baking sheet (maybe line it with parchment if you like, though I rarely bother for leftovers), and let them bake for about 6 to 8 minutes. They’ll heat right through and crisp up nicely.
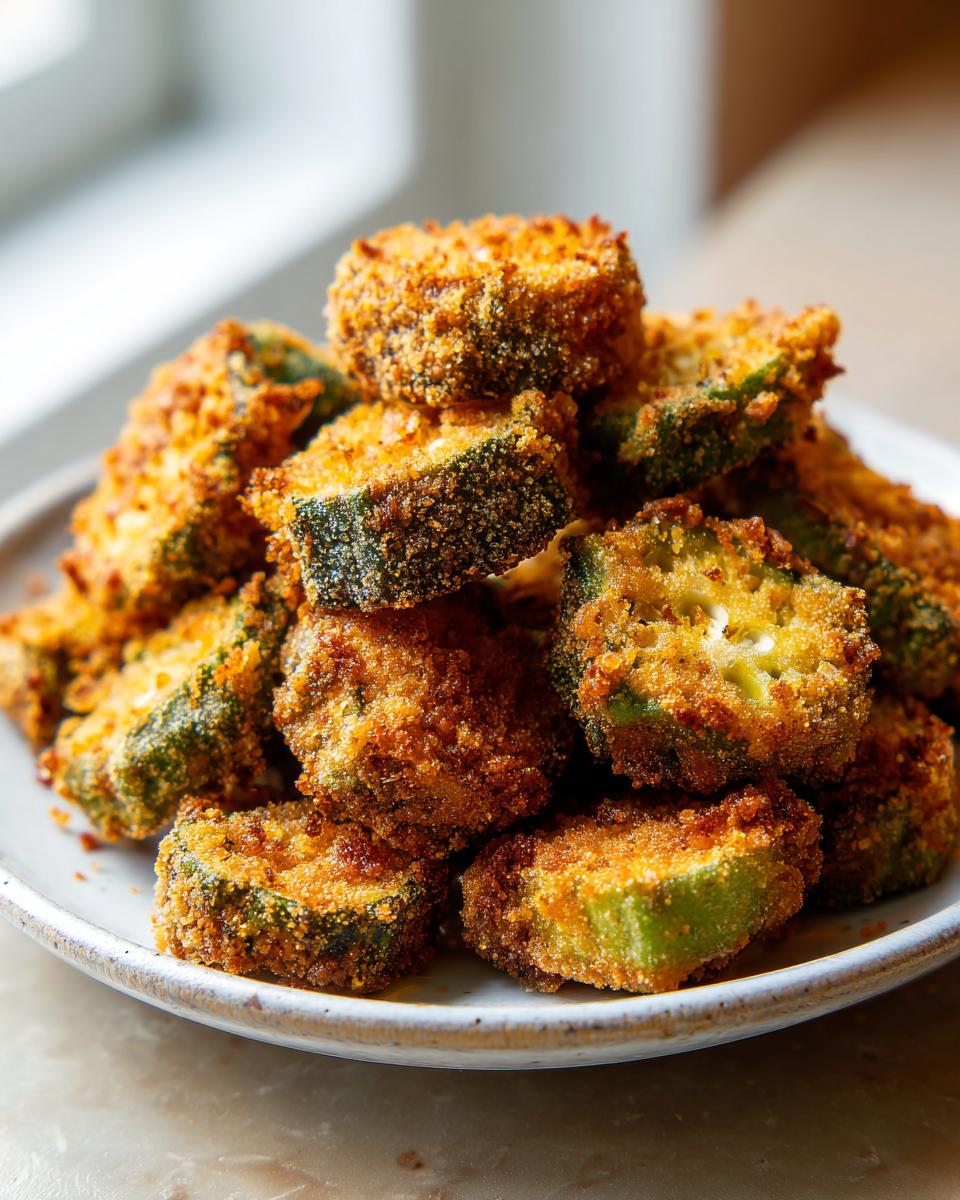
If you have an air fryer, even better! That’s my preferred method for second-day homemade fried okra. Pop them in there for about 4 minutes at 350 degrees. It’s super fast and gives you a crunch that’s almost as good as the first batch. If you’re looking for more handy tips and tricks for keeping your kitchen running smoothly after a big meal, you can always check out my main blog page!
Frequently Asked Questions About Making Fried Okra
I get so many great questions emailed to me after people try making this recipe, and honestly, they are usually all focused on the texture! It’s totally normal to wonder about the little details when it comes to getting that perfect Southern flavor just right. Here are the top three things folks ask me about when trying to master their fried okra!
How do I stop my okra from getting slimy when frying?
This is the number one concern, and I’m happy to share the dual defense system that works every single time! First, right after you wash it but before the soak, you need to pat the okra slices as dry as you possibly can. Seriously dry! Then, the buttermilk soak is your secret weapon—it really works to neutralize that natural mucilage during the bath. If you follow those two simple steps, you’ll end up with genuinely crispy fried okra, not a stringy mess. You can find a fantastic overview of the process here!
Can I use frozen okra for this recipe?
Oh, honey, if you want that supreme, restaurant-quality crunch in your fried okra, you just need to stick with fresh okra for this one. Frozen okra is already packed with ice crystals, and no matter how hard you try to thaw and dry it, that excess water is simply going to fight the cornmeal coating. When the coating fights the moisture, it slides off in the oil, leaving you with sad, half-breaded fried bits. For the best adhesion and that perfect crust, always go fresh!
What is the best oil temperature for frying okra?
Temperature control is everything when deep frying, and with this cornmeal breaded okra, you want to hit that sweet spot! I always aim for 375 degrees Fahrenheit. If the oil is too cool—say, under 350 degrees—the coating sits there and soaks up way too much oil before it can set. That is how you get greasy okra, not crispy. On the other hand, if you overheat it past 385, the coating will burn to a dark brown before the inside of the okra is even warm. Stick right around 375°F for that beautiful, even, golden brown finish!
Share Your Homemade Fried Okra Experience
Well, folks, that’s it! You now have my absolute, most treasured method for making fried okra that tastes like pure summer happiness. I hope you’re heading straight to the kitchen because this is one easy okra snack that needs to be enjoyed immediately while it’s still sizzling hot!
I want to hear all about it! Did you manage to get that incredible crunch? Did the buttermilk soak work its magic for you? Please, please leave a comment down below and let me know how your batch turned out. Did you pair it with BBQ or fried chicken? If you snap a picture of your perfectly golden brown okra, share it with me! I adore seeing your creations link back to my original recipes, and you can see what others are making over at this lovely site for inspiration.
Don’t forget to rate this recipe with stars if you loved it—that feedback really helps others trust the method, too. Now go on and enjoy that beautiful Southern comfort food you just made!
PrintClassic Crispy Southern Fried Okra Recipe
Welcome! I’m Sarah, and I’m happy you are here. This recipe delivers the ultimate crispy, golden fried okra, a true Southern comfort food staple. We use a buttermilk soak and cornmeal dredge to ensure you get that perfect crunch without any sliminess.
- Prep Time: 15 min
- Cook Time: 15 min
- Total Time: 45 min
- Yield: 6 servings 1x
- Category: Side Dish
- Method: Deep Frying
- Cuisine: Southern American
- Diet: Vegetarian
Ingredients
- 2 lbs fresh okra, washed and sliced into 1/2-inch rounds
- 1 cup buttermilk
- 1 cup yellow cornmeal
- 1/2 cup all-purpose flour
- 1 teaspoon salt
- 1/2 teaspoon black pepper
- 1/2 teaspoon garlic powder
- 1/4 teaspoon paprika
- Vegetable oil, for frying
Instructions
- Prepare the okra: Wash the okra well and pat it completely dry. Slice the okra into 1/2-inch rounds. If you notice any sliminess, you can briefly rinse the cut okra in cold water and dry it again, but drying thoroughly is key.
- Soak the okra: Place the sliced okra in a medium bowl and cover it completely with buttermilk. Let it soak for at least 30 minutes. This step helps tenderize the okra and prepares it for a better coating.
- Prepare the dredge: In a shallow dish, whisk together the cornmeal, flour, salt, pepper, garlic powder, and paprika. This seasoned cornmeal breading is essential for crispy fried okra.
- Coat the okra: Working in batches, remove the okra from the buttermilk, letting excess drip off slightly. Toss the wet okra directly into the cornmeal mixture. Press the coating onto the okra pieces to make sure they are fully covered. Place the coated okra on a wire rack set over a baking sheet. Let it rest for 10 minutes; this helps the coating adhere.
- Heat the oil: Pour vegetable oil into a large, heavy-bottomed skillet or Dutch oven to a depth of about 1 to 1.5 inches. Heat the oil over medium-high heat until it reaches 375 degrees Fahrenheit. Use a thermometer to check the temperature for the best results.
- Fry the okra: Carefully add the coated okra to the hot oil in a single layer, being careful not to overcrowd the pan. Fry for 3 to 5 minutes, turning occasionally, until the okra is golden brown and crisp.
- Drain: Use a slotted spoon to remove the fried okra from the oil. Place the cooked okra on a clean wire rack lined with paper towels to drain excess oil.
- Serve immediately: Serve your homemade fried okra hot as an easy okra snack or a delicious okra side dish.
Notes
- To achieve the best no slime okra recipe result, make sure your okra is very dry before the buttermilk soak, and do not skip the 10-minute rest period after dredging.
- For a gluten free fried okra option, substitute the all-purpose flour with a gluten free all-purpose blend and ensure your cornmeal is certified gluten free.
- If you prefer a lighter cooking method, you can adapt this recipe for an air fryer by spraying the coated okra lightly with cooking spray and air frying at 380 degrees Fahrenheit for 12-15 minutes, shaking halfway through.
Nutrition
- Serving Size: 1 cup
- Calories: 250
- Sugar: 3
- Sodium: 450
- Fat: 15
- Saturated Fat: 3
- Unsaturated Fat: 12
- Trans Fat: 0
- Carbohydrates: 25
- Fiber: 6
- Protein: 5
- Cholesterol: 15