
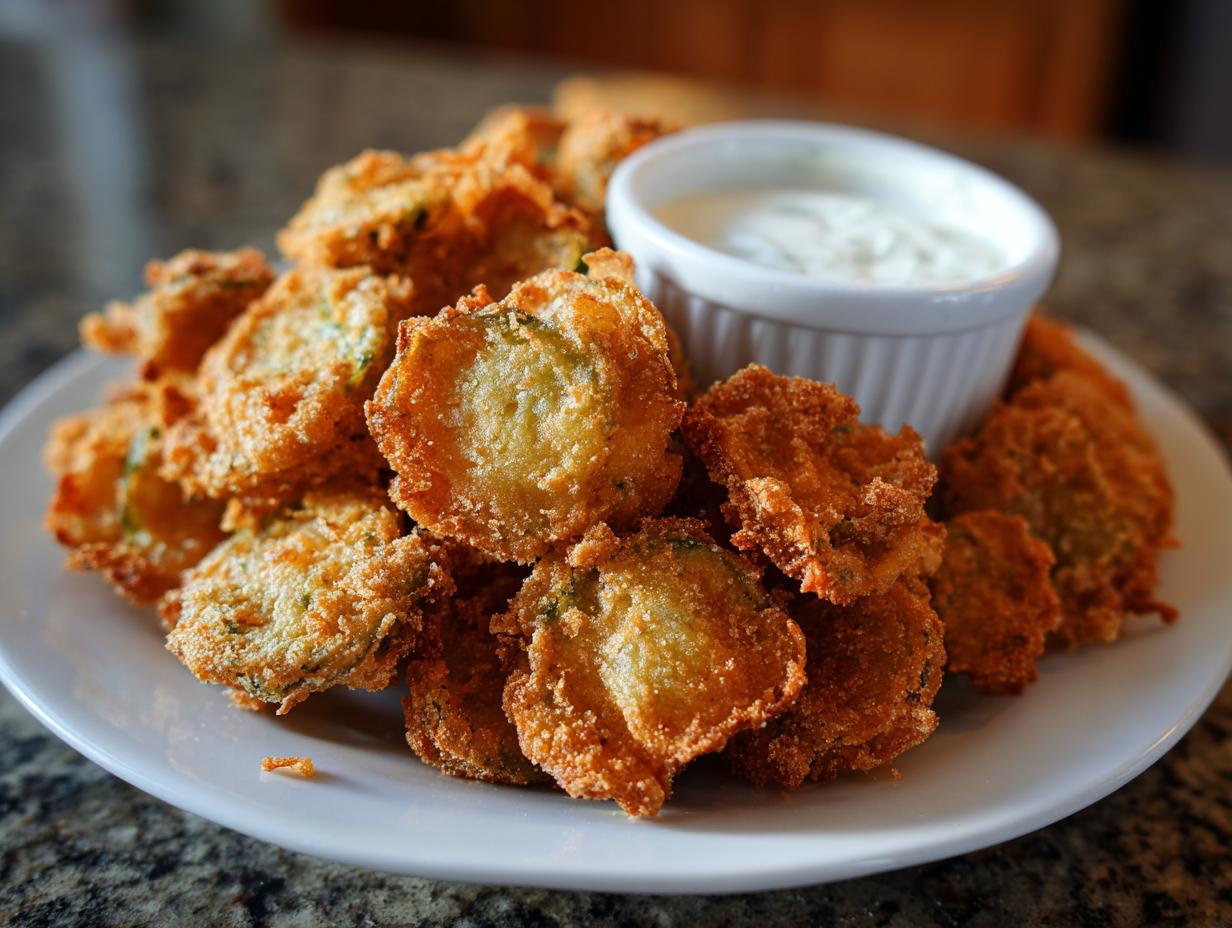

Welcome! I’m Sarah, and I’m so happy you’re here. If there’s one snack that instantly transports me back to a fun Friday night gathered with friends, it’s a basket piled high with perfectly golden, crunchy, tangy delights. Finding that elusive restaurant-quality crunch at home can feel impossible, but trust me, I’ve spent way too many evenings in my kitchen perfecting this one for you. This is my ultimate copycat recipe for those famous Texas Roadhouse Fried Pickles. We’re talking about unbelievably crispy exteriors hiding that perfectly tangy dill pickle chip inside. As someone who loves taking classic American comfort food and making the best-ever homemade version, unlocking the secret to these unforgettable Fried Pickles was a real victory for the appetizer lineup here at Cut Cook Taste. You are absolutely going to love these!
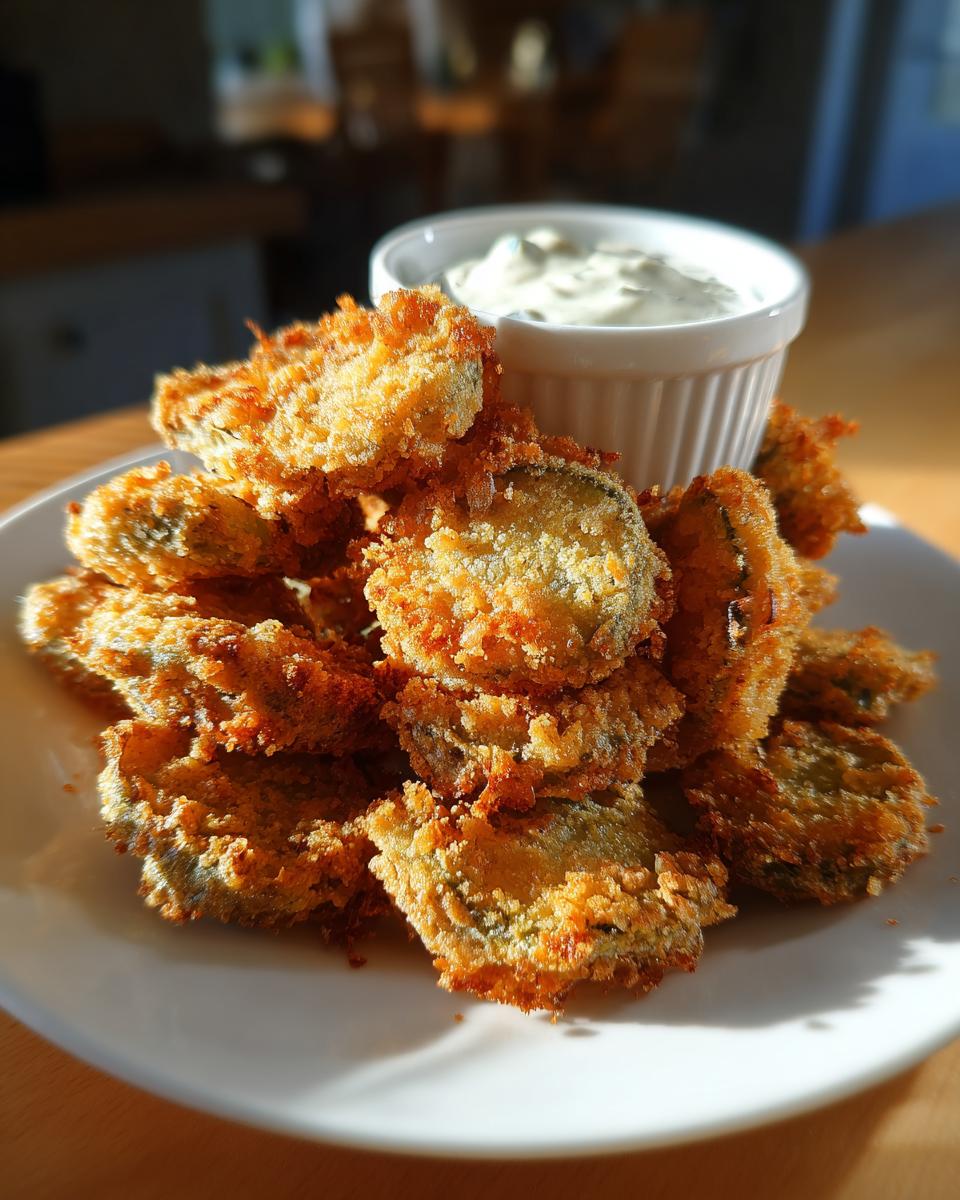
Head over to my main appetizer page to see all the other party favorites I can’t live without!
- Why You Will Make the Best Fried Pickles Copycat Recipe
- Essential Ingredients for Crispy Fried Pickles
- How to Prepare Restaurant Style Fried Pickles
- Making Air Fryer Fried Pickles for a Healthier Snack
- Ranch Dipping Sauce for Fried Pickles
- Tips for Perfect Crunchy Fried Pickles Every Time
- Storing and Reheating Your Homemade Fried Pickles
- Frequently Asked Questions About Fried Pickles
- Share Your Tangy Snack Bites
Why You Will Make the Best Fried Pickles Copycat Recipe
I know you’ve got a few recipes saved already, but this one is different. When you nail the technique in this recipe, you get appetizer perfection every single time. Seriously, you won’t settle for less after this!
- Ultra-Crispy Perfection: That crunch you dream about? We capture it with a double-dredge method that locks out sogginess.
- Just the Right Tang: The seasoning blend perfectly complements the acidity of the dill chips—it’s that addictive balance you look for.
- Quick Assembly: These are ready faster than ordering them out, making them the ideal last-minute Game Day Snacks.
- Restaurant Quality Guaranteed: This copycat recipe knocks it out of the park for that authentic, craving-crushing flavor.
Essential Ingredients for Crispy Fried Pickles
Okay, friends, let’s talk about what makes these the best Fried Pickles you’ll ever taste. It’s really about quality and making sure you listen to my biggest plea: the starting quality of your pickles matters a ton! You’ll need standard dill pickle chips—the slightly flatter ones work great for dipping.
The spice mix might look long, but it’s just a whisper of flavor blending into that coating. Don’t skip the cayenne! It gives you a little warmth but doesn’t make them spicy. Remember, success hinges on Step One: draining those chips until they are bone dry before they even meet the flour.
If you want even deeper inspiration on that satisfying crunch, check out this great recipe for crispy dill fried pickles too.
Here is what you need to gather up:
- One 24-ounce jar of dill pickle chips. Make sure you drain every last drop out of that jar!
- One cup of all-purpose flour—this is our base for the coating.
- Simple seasonings: salt, black pepper, garlic powder, onion powder, paprika, cayenne pepper for that little kick, plus oregano and thyme.
- One large egg and about a half cup of milk for the wet dip.
- Vegetable oil, which needs to be deep enough for frying—I usually use about 2 inches in my pot.
- And perhaps the most important element: a cool bowl of your favorite ranch dipping sauce for serving!
How to Prepare Restaurant Style Fried Pickles
This is where the magic happens—turning plain dill slices into the crunchy, deeply satisfying appetizer everyone fights over! Remember, this is mostly about timing and making sure every single surface gets that wonderful seasoned coating. Once we get the oil really hot, things move fast, so have your wire rack ready to go.
I have a little trick here that really makes them restaurant style. After you bread the pickles, don’t fry them right away. Lay them out on a baking sheet and pop them in the freezer for about 15 minutes. Trust me, chilling that coating solidifies it just enough so it sticks perfectly when it hits the hot oil. It’s my secret weapon for making sure you get truly Crispy Fried Pickles!
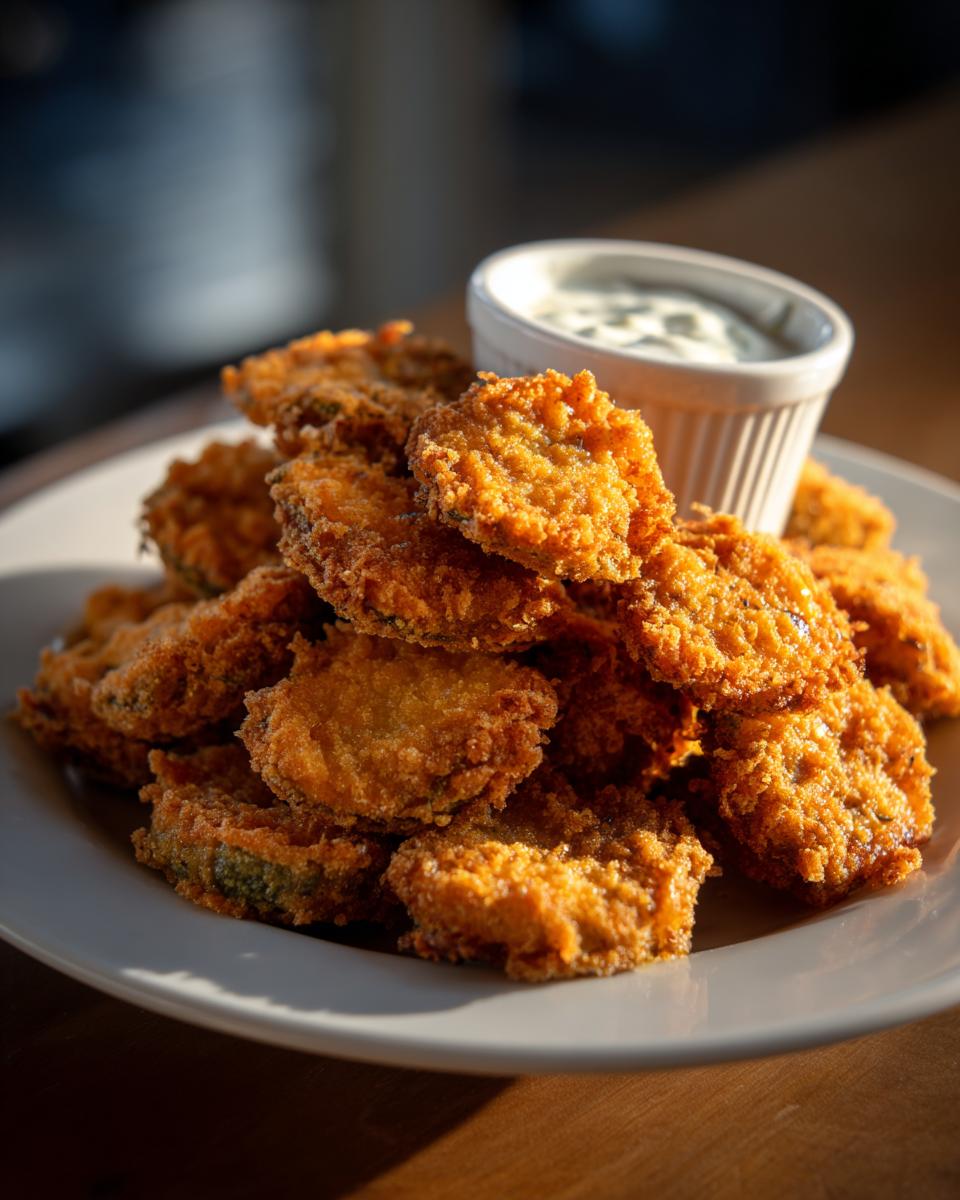
Make sure you check out that amazing stuffed mushroom dip if you need another quick party dish! And if you want to dive deep into the original inspiration, this link to the Texas Roadhouse copycat analysis is fantastic: this recipe shows off a few similar tricks.
Drying the Pickles: The Key to Crispy Fried Pickles
This first step is non-negotiable, truly! If the pickles are wet, the flour won’t stick properly, and you end up with soggy spots. We need to press out every bit of excess brine moisture using those paper towels. This ensures the breading adheres tight and guarantees those beautiful crunchy edges we are aiming for.
The Double Dredge Technique for Perfect Fried Pickles
We want that thick, craggy crust, right? That comes from giving the pickle two baths. First, a nice toss in the seasoned flour to absorb surface dampness. Then, dip it quickly into the milk/egg mix. Finally, back into the flour mixture, pressing down firmly like you are packing snowballs. This second coating builds the texture that fries up golden and stays crunchy.
Making Air Fryer Fried Pickles for a Healthier Snack
Okay, I totally hear you! Sometimes you want that amazing tang and crunch, but you don’t want to deal with a big pot of hot oil. That’s why I always stash away the air fryer-friendly notes from my testing. Deep frying gives you that classic texture, there’s no doubt, but the air fryer really cuts down on the fat while keeping things incredibly snappy.
If you’re leaning toward the lighter route for your next batch of Fried Pickles, this method is fantastic for quick game day snacks. You’ll coat them exactly the same way—don’t skip that double-dredge! But instead of dropping them into oil, you just give them a light spritz with cooking spray. It helps them brown up beautifully.
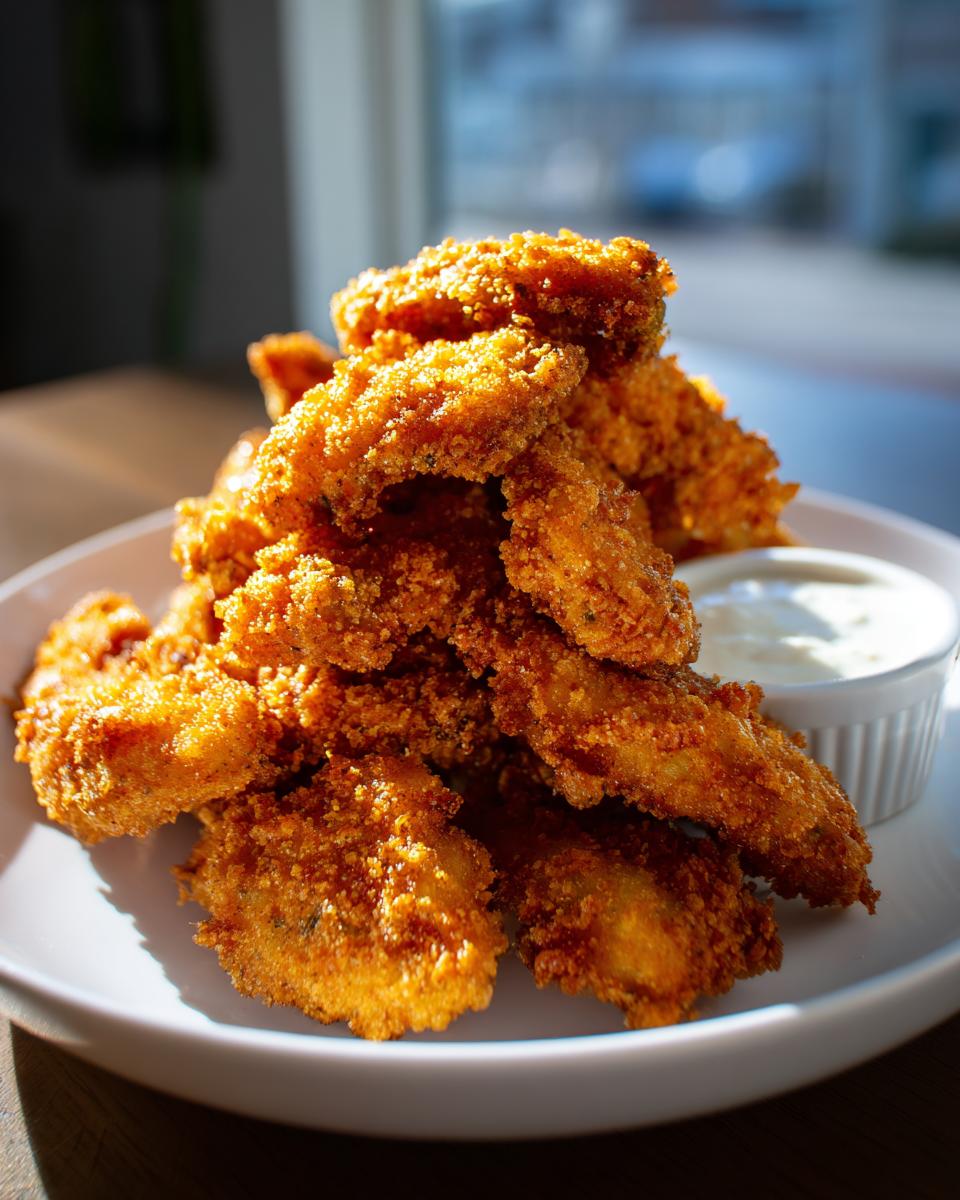
You can check out more of my favorite lighter snacks, like these Buffalo Cauliflower Bites, or follow along with the dedicated air fryer instructions for this recipe found here—they tell you exactly what temp and time to use for golden results! This guide is really helpful if you’re new to the air frying game.
Ranch Dipping Sauce for Fried Pickles
Well, you can’t serve these crispy gems without a proper cooling dip, right? Ranch dressing and these tangy bites are just meant to be together. They are the ultimate pairing for any game day snacks situation!
I keep things super simple here. You don’t need a complicated sauce when the pickles carry so much flavor on their own. All you really need is a good quality, thick ranch dressing. If you want to get fancy, I have a recipe for a killer homemade version that skips the buttermilk if that’s easier for you to whip up!
Just grab that irresistible ranch right here—it only takes about five minutes. A side bowl of that cool, herby dressin’ next to the hot, crunchy pickles? Perfection, I tell you!
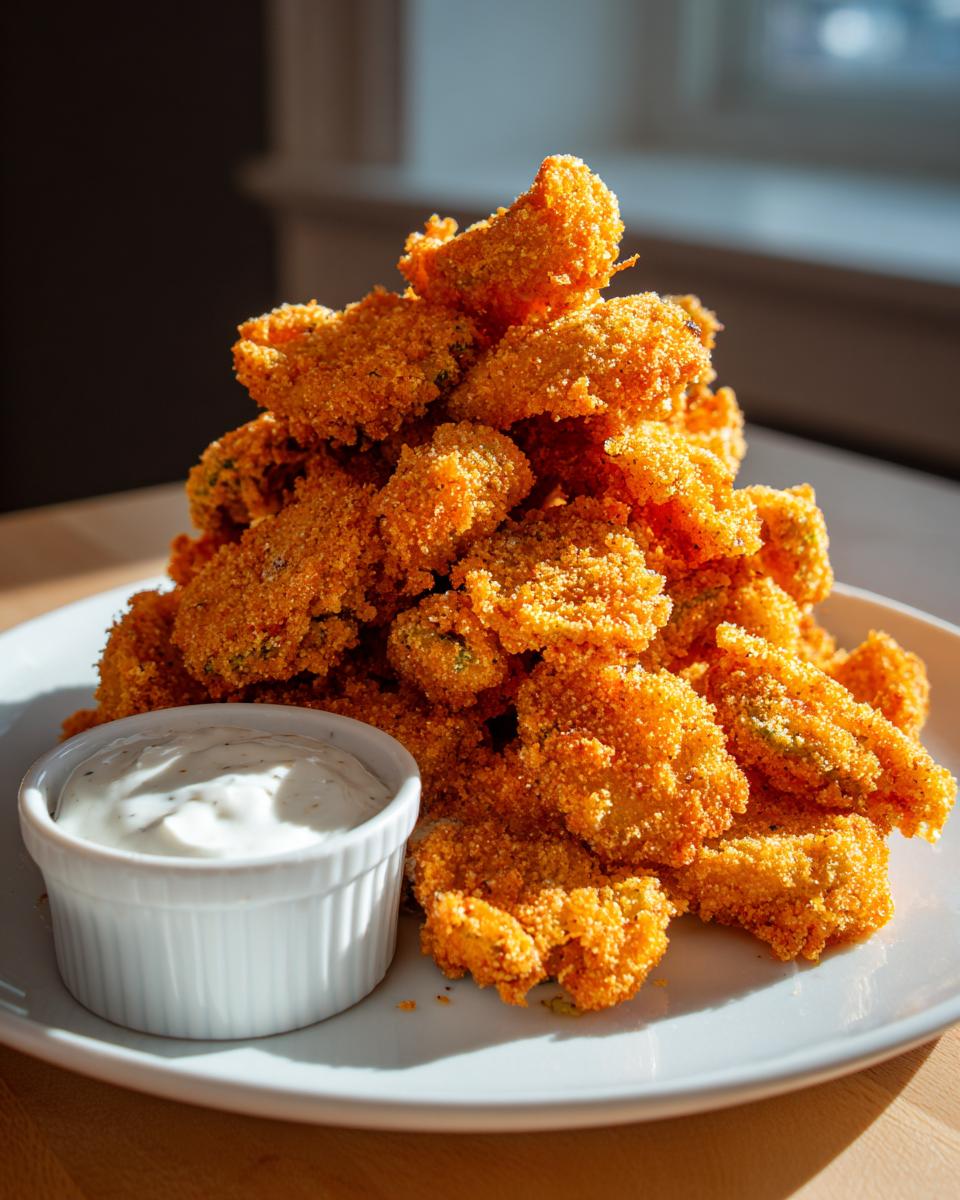
Tips for Perfect Crunchy Fried Pickles Every Time
Getting those amazing, crunchy Fried Pickles that rival any restaurant takes just a few careful habits. It’s not just about the breading, although we nailed that! It’s about managing the heat and getting them served right away.
First, keep that oil temperature locked in at 375°F. If it drops too low when you add the pickles, that coating soaks it up like a towel, and suddenly you’re eating oily mush instead of crunch. That’s why we fry in small batches—never overcrowd the pot!
Also, remember what I mentioned about the pickle cut? Chips give you the maximum coating-to-pickle ratio, which is pure crunch satisfaction. If you use spears, just know they take a little longer to crisp up. The absolute last tip is seasoning: sprinkle just a little extra salt over them the second they come out of the oil and onto the rack. That salt sticks best when they are piping hot!
Storing and Reheating Your Homemade Fried Pickles
Look, I’m going to be honest with you: these are absolutely, one hundred percent, best enjoyed the second they come out of the oil. That fresh, hot crunch is honestly unbeatable. If you have leftovers, though, don’t toss them!
The microwave is the enemy of crispiness, so keep that thing off-limits for reheating these. The very best way to bring back that golden crunch is in a preheated oven or, even better, an air fryer set to about 375 degrees for just a few minutes until they feel hot and snappy again. They won’t be *quite* as perfect as fresh from the fryer, but they’ll be a wonderful snack nonetheless!
Frequently Asked Questions About Fried Pickles
I always get questions when I post this recipe because everyone wants to make sure they nail that perfect crunch! Don’t worry, I’ve pulled the most common things folks ask me about making these Fried Pickles and answered them right here so you can feel totally confident while cooking.
Can I use pickle spears instead of chips for these Fried Pickles?
Yes, absolutely! You can definitely use spears, but you need to watch your frying time closely. Since spears are much thicker than the chips, they need a little extra time in the hot oil to ensure the dense pickle inside gets warmed through before the crust burns. I usually add about 30 to 60 seconds extra per batch when using spears. You are looking for that deep golden color on the outside, just like with the chips!
What is the ideal oil temperature for the crispiest results?
This is critical, seriously. If your oil isn’t hot enough, the fried coating will soak it up, and you’ll have greasy pickles, which we definitely don’t want! We need that oil sizzling hot, right at 375 degrees Fahrenheit before anything goes in. Make sure you’re using a thermometer to check it, and don’t add too many pickles at once. If the oil temperature drops below 350°F after you add your batches, let it come back up to 375°F before dropping in the next load.
What seasonings work well with these tangy snack bites?
Our main flavor really comes from that fantastic dry rub we mix up! We use a hearty blend of garlic powder and onion powder to give it that savory, almost savory-onion ring vibe, combined with a little kick from cayenne and earthiness from paprika, oregano, and thyme. If you happen to be looking for the ultimate pairing dip, check out my recipe for creamy dill dip—it’s amazing for dipping these!
Share Your Tangy Snack Bites
Wow, we did it! We took simple dill chips and turned them into something spectacular—the ultimate copycat restaurant appetizer that’s guaranteed to be the star of your next gathering. I am so proud of you for stepping into the kitchen and frying up a batch of these perfect, crunchy bites.
Now, here’s where you come in! I truly love hearing about your kitchen adventures. Did you serve them up for a big game day? Did your folks love that salty, spicy coating?
Please take a moment to leave a rating below—even just a quick five stars tells me you loved them! And if you snapped a picture of your beautiful basket of homemade Fried Pickles, tag me on social media! Seeing your creations always makes my day and reminds me why I love sharing these recipes with you all. Happy cooking, and I can’t wait to see what you make next!
PrintCopycat Texas Roadhouse Fried Pickles Recipe
Make crispy, tangy fried pickles at home that taste just like the restaurant favorite. This recipe delivers crunchy dill pickle chips perfect for game day snacks or parties.
- Prep Time: 20 min
- Cook Time: 10 min
- Total Time: 30 min
- Yield: 6 servings 1x
- Category: Appetizer
- Method: Deep Frying
- Cuisine: American
- Diet: Vegetarian
Ingredients
- 1 (24 ounce) jar dill pickle chips, drained and patted very dry
- 1 cup all-purpose flour
- 1 teaspoon salt
- 1 teaspoon black pepper
- 1 teaspoon garlic powder
- 1 teaspoon onion powder
- 1/2 teaspoon cayenne pepper
- 1/2 teaspoon paprika
- 1/4 teaspoon dried oregano
- 1/4 teaspoon dried thyme
- 1 large egg
- 1/2 cup milk
- Vegetable oil, for frying
- Ranch dipping sauce, for serving
Instructions
- Drain the dill pickle chips thoroughly. Place them between several layers of paper towels and press firmly to remove as much moisture as possible. Excess moisture prevents crispiness.
- In a shallow bowl, whisk together the flour, salt, black pepper, garlic powder, onion powder, cayenne pepper, paprika, oregano, and thyme. This is your dry coating mixture.
- In a separate shallow bowl, whisk together the egg and milk until combined. This is your wet mixture.
- Heat about 2 inches of vegetable oil in a heavy-bottomed pot or deep fryer to 375 degrees Fahrenheit. Use a thermometer to monitor the temperature.
- Take a small handful of dried pickle chips and dredge them first in the flour mixture, shaking off any excess.
- Dip the floured pickles into the egg and milk mixture, allowing excess liquid to drip off.
- Return the wet pickles to the flour mixture and press firmly to coat them completely with a thick layer of breading. Place the coated pickles on a wire rack while you finish the rest.
- Carefully drop the breaded pickles into the hot oil in small batches, ensuring you do not overcrowd the pot. Overcrowding lowers the oil temperature.
- Fry for 2 to 3 minutes, turning occasionally, until the coating is golden brown and crispy.
- Remove the fried pickles with a slotted spoon and place them immediately on a clean wire rack set over a baking sheet to drain excess oil. Sprinkle lightly with extra salt if desired.
- Serve the crispy fried pickles immediately with your favorite ranch dipping sauce.
Notes
- For the best results, chill the coated pickles on a baking sheet in the freezer for 15 minutes before frying. This helps the coating adhere better.
- If you prefer an air fryer fried pickles method, toss the coated pickles lightly with cooking spray and air fry at 380 degrees Fahrenheit for 8 to 10 minutes, shaking halfway through, until golden.
- You can substitute pickle spears for chips, but adjust the frying time slightly.
Nutrition
- Serving Size: 1/2 cup
- Calories: 250
- Sugar: 3
- Sodium: 650
- Fat: 18
- Saturated Fat: 4
- Unsaturated Fat: 14
- Trans Fat: 0
- Carbohydrates: 18
- Fiber: 1
- Protein: 5
- Cholesterol: 55