
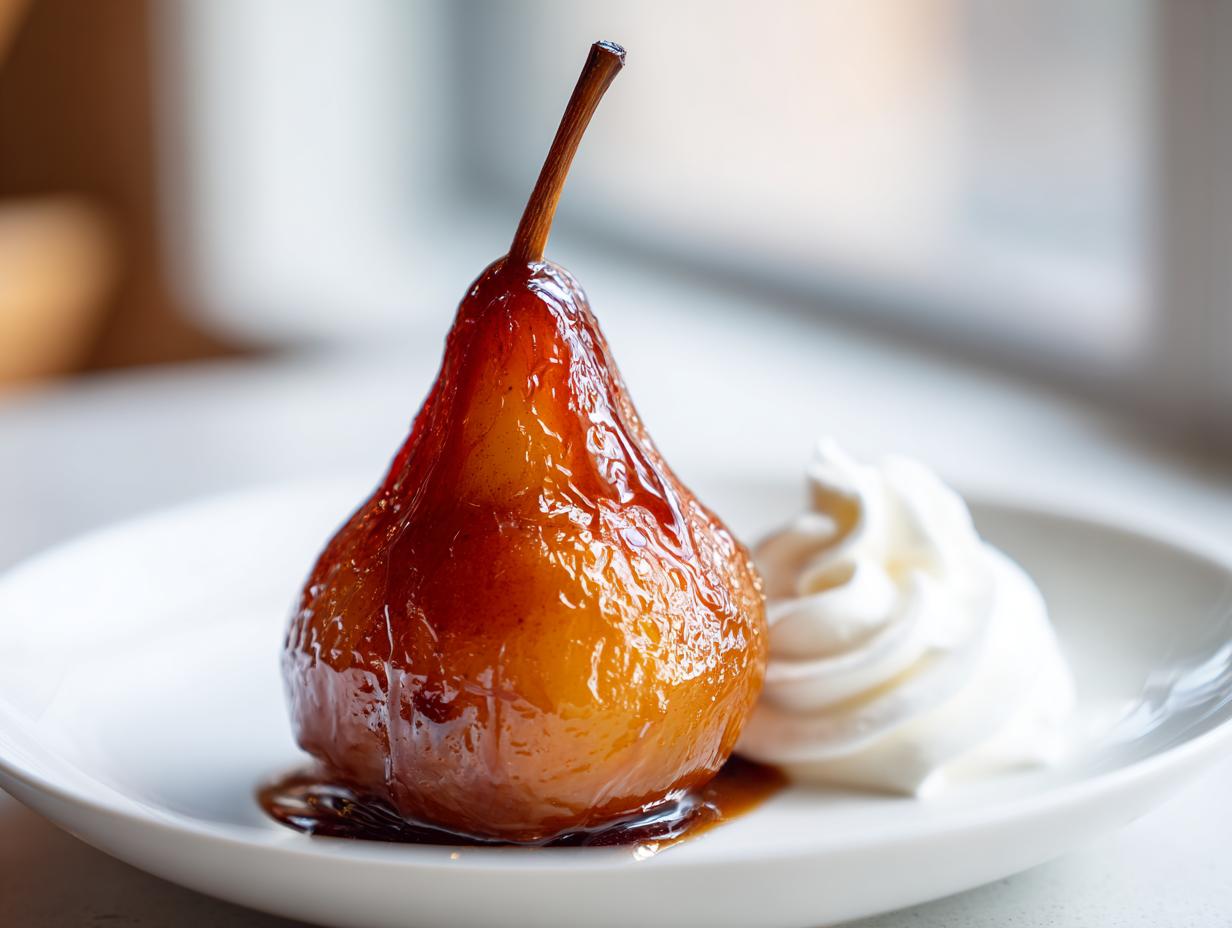

When I have company coming over, especially around the holidays, I always want a dessert that feels incredibly special, but honestly, I don’t always have time for fussy pastry work. That’s why I keep coming back to these elegant Vanilla Bourbon Poached Pears. Truly, they are my secret weapon for looking like I spent hours in the kitchen when, in reality, they are incredibly straightforward! My background working backward from simple ingredients to create restaurant-worthy results means I can promise you these poached pears are simple, yet they deliver that sophisticated look you crave. The combination of warm spices and a hint of bourbon makes them smell divine right on the stovetop. They are the perfect light, elegant fruit dessert to cap off a big meal.
- Why These Vanilla Bourbon Poached Pears Are Your New Favorite Elegant Pear Dessert
- Gathering Ingredients for Your Poached Pears Recipe
- How to Prepare Simple Poached Pears Step-by-Step
- Flavor Absorption: The Secret to Tender Poached Fruit
- Serving Suggestions for Your Vanilla Bourbon Poached Pears
- Make Ahead Dessert and Storage Tips for Poached Pears
- Variations on Poached Pears: Beyond Vanilla Bourbon
- Essential Equipment for Perfect Poached Pears
- Frequently Asked Questions About Poached Pears
Why These Vanilla Bourbon Poached Pears Are Your New Favorite Elegant Pear Dessert
You simply cannot beat how impressive these look versus how little effort they require. If you’re looking for that perfect, foolproof recipe for holiday entertaining, stop scrolling—this is it. These Simple Poached Pears manage to be both refined and deeply comforting all at once.
- They make your whole house smell incredible while they simmer gently.
- The final syrup drizzle is pure magic—no complicated sauces needed!
- They hold their shape beautifully, making them a stunning centerpiece for a plate.
Flavor Profile: Spiced Poached Pears Perfection
The flavor depth is all about layering those cozy notes. We use cinnamon sticks, fresh orange slices, and that gorgeous scraped vanilla bean, all bathing the fruit as it cooks. The bourbon warms everything up without tasting boozy at all. The result is wonderfully Spiced Poached Pears that turn out completely tender. I promise, it’s the most **Elegant Pear Dessert** you’ll whip up all year!
Gathering Ingredients for Your Poached Pears Recipe
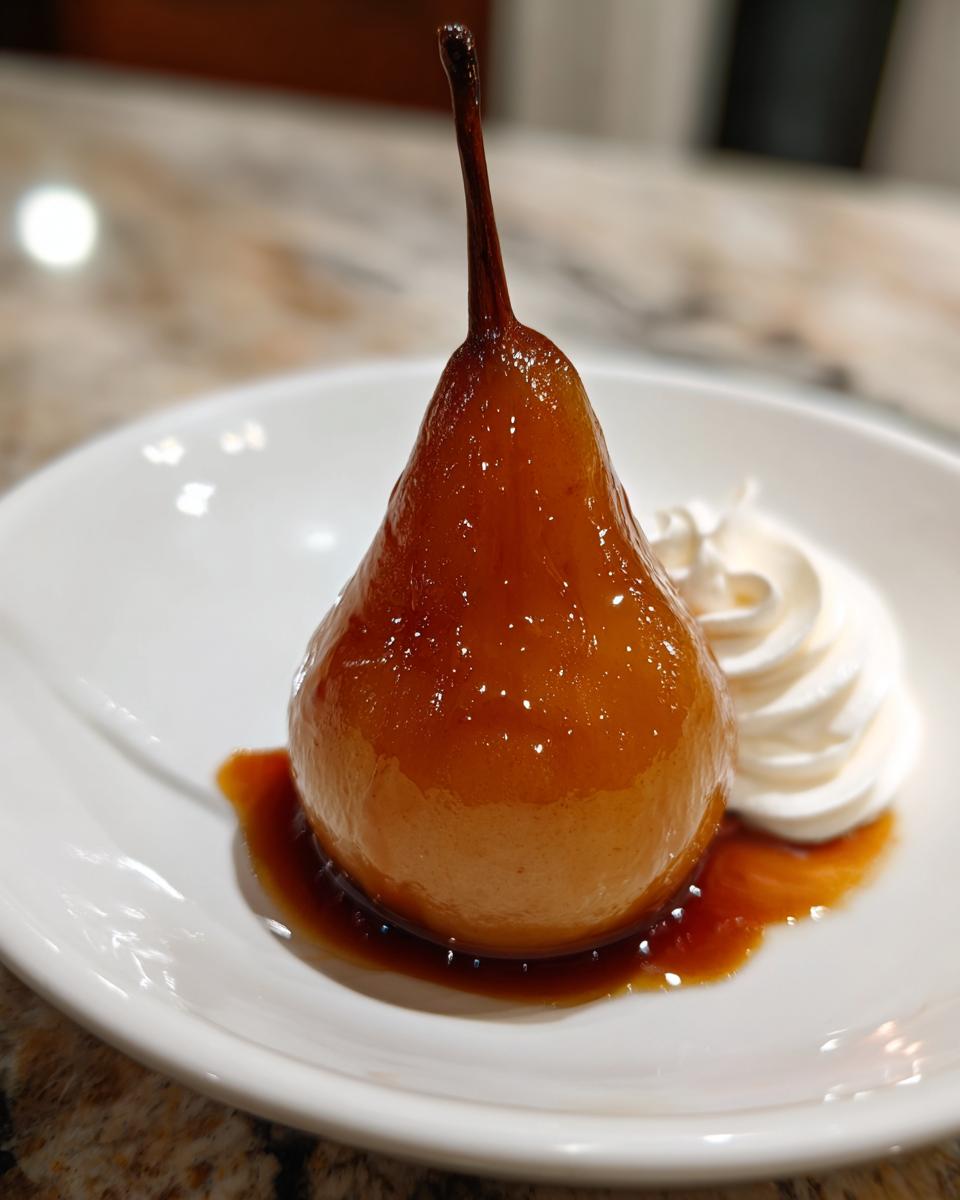
Okay, let’s talk ingredients! The beauty of these poached pears is that you probably have most of this stuff lying around already. I always grab Bosc or Anjou pears because they are firm enough to hold their lovely shape during the long, slow simmer. You only need four pears, which is small batch perfection, right?
- 4 firm pears (Bosc or Anjou recommended)
- 4 cups water
- 1 cup granulated sugar
- 1 cup good quality bourbon
- 1 vanilla bean, split and scraped
- 1 orange, sliced
- 2 cinnamon sticks
- 1 teaspoon whole black peppercorns
Ingredient Notes and Substitutions for Poached Pears
Because this recipe is so simple, the quality matters! If you don’t have that beautiful vanilla bean, don’t stress—just use 1 tablespoon of pure vanilla extract, but you have to stir it in after you take the pot off the heat. Also, if you happen to want to switch to my Red Wine Poached Pears variation, just swap out 3 cups of the water and 1 cup of the bourbon for a nice dry red wine. Easy swaps for fantastic **poached pears**!
How to Prepare Simple Poached Pears Step-by-Step
Alright, let’s get down to the actual cooking! This is where the magic happens, and honestly, it’s less effort than baking cookies. The goal here is getting the fruit ready and then letting that flavorful liquid do all the hard work for us. Follow these steps closely, and you’ll have perfectly tender **poached pears** for dessert tonight.
Preparing the Pears: Peeling and Coring
First things first: we need to beautify our fruit! Peel the pears carefully, but whatever you do, leave those stems on! They are essential for presentation later. Then, you need to core them out from the bottom. I use a small melon baller, but a tiny spoon works too. Just scoop out the seeds—we don’t want those floating around! This little bit of prep ensures your **poached pears** look absolutely restaurant-worthy.
Simmering the Poached Pears in Aromatic Liquid
Next, grab your biggest saucepan. Combine your water, sugar, bourbon, the scraped vanilla bean (seeds and all!), your orange slices, cinnamon sticks, and those sneaky peppercorns. Get that liquid going over medium heat until the sugar dissolves. Once it’s simmering sweetly, gently nestle your pears right in there so they are mostly submerged. If they try to float up, just cut a small circle of parchment paper and rest it right on top of the liquid—that little raft keeps everything submerged for even cooking. Turn the heat way down to a low, gentle simmer, and let them cook for about 20 to 35 minutes. You’ll know they’re ready when a knife slides in easily, but they still feel like they have some structure.
If you’re looking for something richer to serve alongside, make sure you check out my recipe for easy pear butter! It uses similar spice notes.
Flavor Absorption: The Secret to Tender Poached Fruit
We are almost done, but this next step is the one most people skip, and that’s why their fruit isn’t as good as yours will be! Once the pears are perfectly tender after their 35-minute simmer, you must turn off the heat and let them cool completely right there in that amazing poaching liquid. Don’t rush this part!
This soaking time is when the magic really happens. The pears slowly absorb all those warm bourbon, vanilla, and spice notes, which keeps them incredibly moist and creates that melt-in-your-mouth texture we are aiming for. Allowing them this long bath is the key to achieving truly **Tender Poached Fruit**. Once they are completely cool, you can carefully pull them out. If you want an extra sweet drizzle, remember you can simmer that syrup down a bit more, like they do with their honey versions here!
Serving Suggestions for Your Vanilla Bourbon Poached Pears
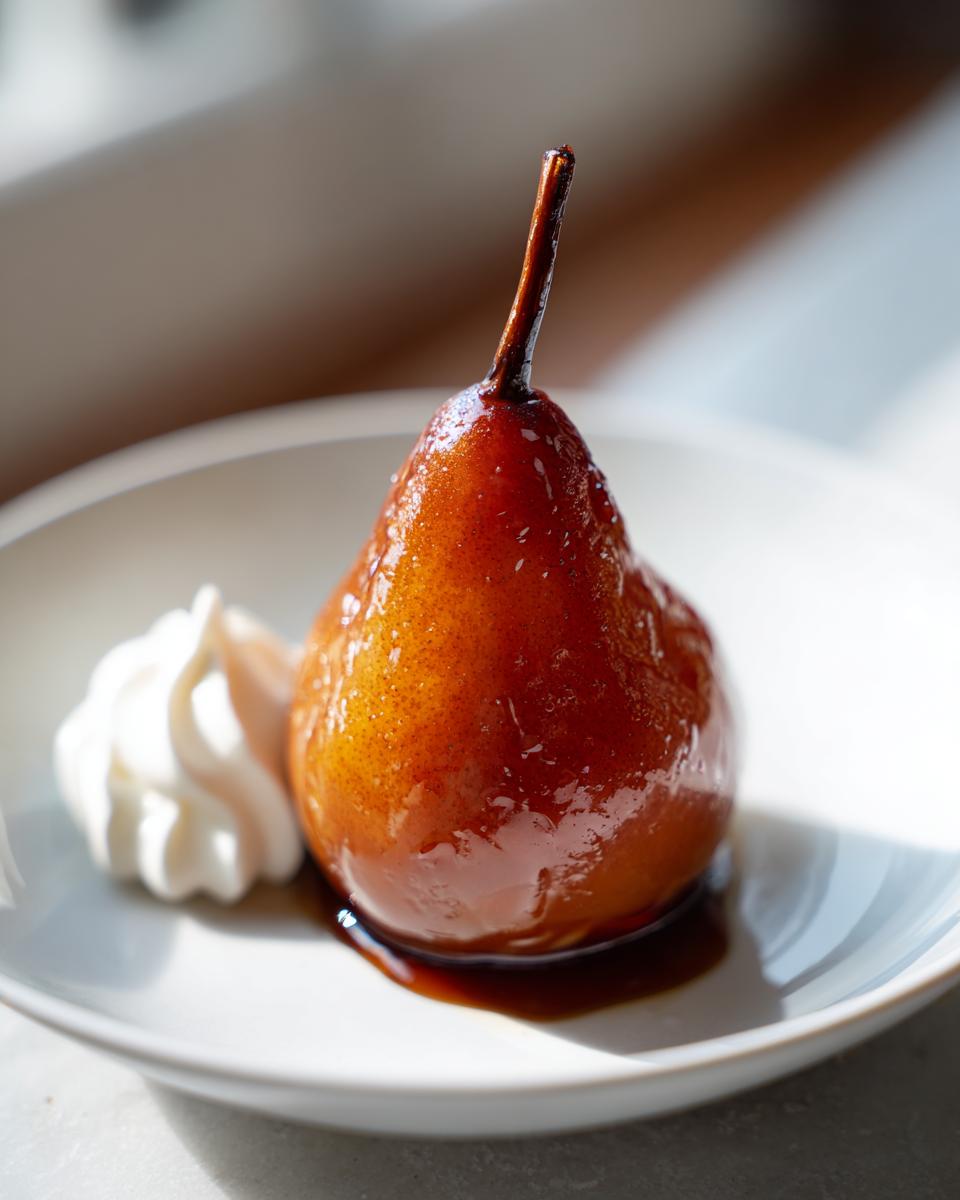
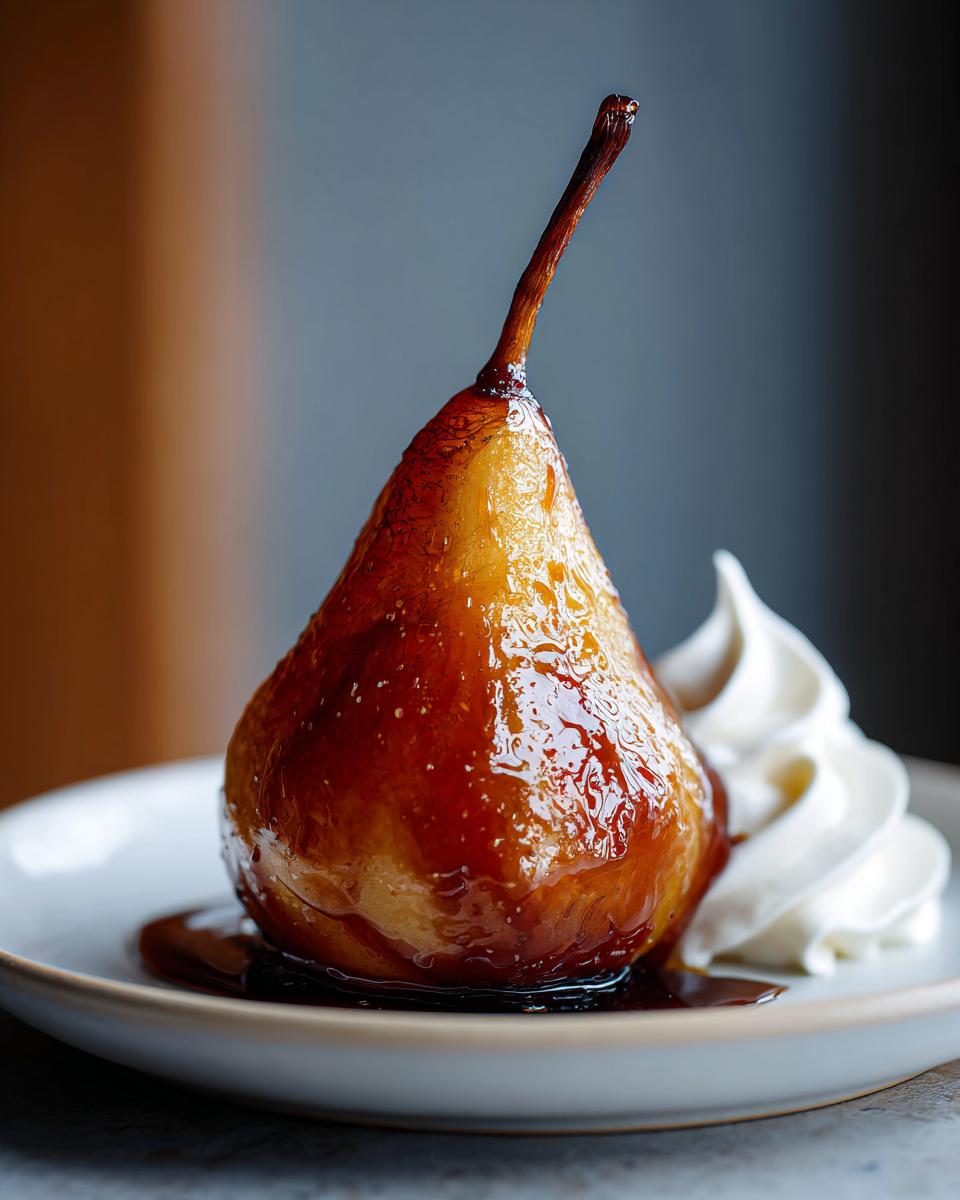
Now that you’ve got these gorgeous, deeply flavored fruits, how do you serve them up? That leftover liquid you kept? Don’t waste a drop! Take that poaching syrup, return it to the stove, and let it simmer until it thickens up a bit. That gorgeous, rich glaze is one of the best Dessert Topping Ideas for Pears you can imagine! You can serve these warm with a big scoop of vanilla bean ice cream, or chill them down and serve them with a sophisticated dollop of slightly sweetened mascarpone cheese. They are fantastic either way.
Transforming Poached Pears into a Showstopper Dessert
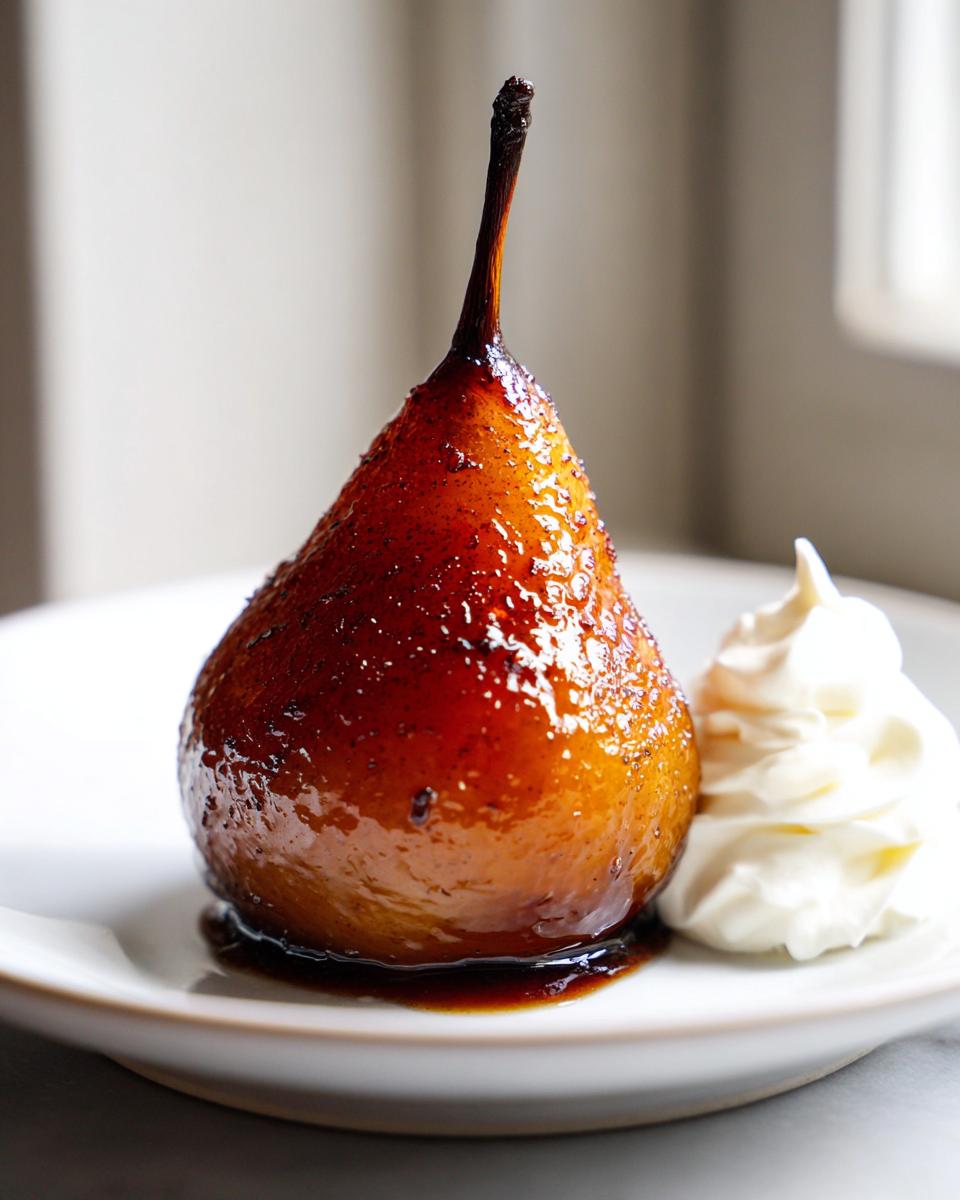
For a real showstopper look, I like to plate them standing up—like they are still swimming in the pot! Drizzle that thickened syrup generously over the top of the **poached pears**. If you want a little crunch to contrast that tender fruit, scatter some toasted, slivered almonds around the plate. Trust me, chilling them slightly before plating enhances the rich flavors, making them perfect for a grand finale to any dinner party!
Make Ahead Dessert and Storage Tips for Poached Pears
One of the best things about making these delectable poached pears is that they are designed to be a **Make Ahead Dessert**! If you’re hosting during the busy holidays, this saves so much stress. After the pears have cooled completely in their liquid, you just need to strain the spices and orange pieces out, store the pears submerged in the saved syrup in an airtight container right in the fridge, and they are good for up to a whole week!
When it’s time to serve, you don’t even have to cook them—just pull them out and heat them up very gently on the stovetop, or even microwave them briefly. They absorb even more flavor the next day, I swear!
Variations on Poached Pears: Beyond Vanilla Bourbon
While I absolutely adore the warmth of vanilla and bourbon, one thing I love about poached pears is how versatile they are! Once you master the basic technique, you can pivot the entire flavor profile just by swapping out the liquid. It’s so fun experimenting to find your new favorite version, especially when you have guests who might prefer something zero-proof or maybe just richer.
Trying Red Wine Poached Pears
If you want that gorgeous, deep ruby color and a slightly less sweet finish, you have to try the Red Wine Poached Pears variation. It feels extra festive and special, making it a perfect holiday pear dessert. Remember what I wrote in the notes? You simply replace most of the water and all of the bourbon with a dry red wine. The spice blend stays the same, and the pears take on this stunning hue. It’s basically the same foolproof method, just a different outfit!
Essential Equipment for Perfect Poached Pears
You don’t need a ton of fancy gadgets for this recipe, which is part of why I love it so much! Having the right simple tools makes the process smooth enough that you won’t even break a sweat. Remember, we’re aiming for foolproof preparation here, darling!
For peeling and presentation, make sure you have these basics ready to go:
- A sharp vegetable peeler—no one wants gnarly edges!
- A nice sturdy ladle or tongs for gently lifting the pears out later.
- A deep saucepan that is wide enough to hold all four pears standing up snuggly. If your pan is too wide, the liquid won’t surround them properly.
- A melon baller or a very small spoon for that crucial coring step from the bottom.
- Parchment paper—you’ll need a small circle to act as a lid if your pears try to pop up out of the liquid during simmering.
That’s really it! Good tools just make the job easier, but the technique is what locks in that incredible flavor!
Frequently Asked Questions About Poached Pears
I know you might have a few little questions lingering—that’s totally normal when trying a new elegant dessert for the first time! Poached pears seem simple, but getting that perfect texture takes a little know-how. Don’t worry, I’ve collected the questions I get most often from readers who are just starting out with this **gourmet fruit recipe**.
What is the best pear to use for poaching?
For any **easy fruit dessert** where you need the fruit to hold its shape nicely and not turn to mush halfway through cooking, you need a firm pear! I always recommend Bosc or Anjou. They have enough density to stand up to the simmering in the bourbon syrup. If the pear is already slightly soft to the touch when you buy it, it might be better for eating fresh rather than poaching.
Can I make these poached pears without alcohol?
Yes, absolutely! You can skip the bourbon entirely and just use extra water or even some good quality apple juice instead. To make up for that missing depth of flavor, I suggest adding a tablespoon of lemon juice or maybe a tiny pinch more of black pepper to the liquid. You’ll still get fantastic results with these **simple poached pears**!
If you have other cooking questions after trying this, please reach out on my contact page! I’m always happy to help my fellow home cooks.
PrintElegant Vanilla Bourbon Poached Pears
Make these tender, aromatic Vanilla Bourbon Poached Pears. This simple recipe yields an elegant dessert perfect for holidays or special occasions, served warm with a creamy topping.
- Prep Time: 15 min
- Cook Time: 35 min
- Total Time: 50 min
- Yield: 4 servings 1x
- Category: Dessert
- Method: Simmering
- Cuisine: American
- Diet: Vegetarian
Ingredients
- 4 firm pears (Bosc or Anjou recommended)
- 4 cups water
- 1 cup granulated sugar
- 1 cup good quality bourbon
- 1 vanilla bean, split and scraped
- 1 orange, sliced
- 2 cinnamon sticks
- 1 teaspoon whole black peppercorns
Instructions
- Peel the pears, leaving the stems intact. Use a melon baller or small spoon to carefully core the pears from the bottom, removing the seeds.
- In a saucepan large enough to hold the pears standing up, combine the water, sugar, bourbon, vanilla bean seeds and pod, orange slices, cinnamon sticks, and peppercorns.
- Bring the liquid to a simmer over medium heat, stirring until the sugar dissolves completely. This creates your aromatic poaching liquid.
- Gently place the prepared pears into the simmering liquid. The liquid should mostly cover the pears. If needed, place a small piece of parchment paper directly on top of the liquid to keep the fruit submerged.
- Reduce the heat to low. Poach the pears gently for 20 to 35 minutes, depending on the ripeness and size of your fruit. You want them tender when pierced with a knife, but not mushy.
- Remove the pan from the heat. Let the pears cool completely in the poaching liquid. This step allows the pears to absorb maximum flavor.
- Once cool, carefully remove the pears. If you wish to reduce the syrup, return the liquid to the stove and simmer until it thickens slightly into a glaze consistency.
- Serve the poached pears warm or chilled, drizzled generously with the reduced syrup. Pair with a dollop of mascarpone cheese or vanilla ice cream for a showstopper dessert.
Notes
- For a Red Wine Poached Pears variation, substitute 3 cups of the water and 1 cup of the bourbon with a dry, full-bodied red wine.
- You can make these ahead of time. Store the cooled pears submerged in the strained poaching liquid in an airtight container in the refrigerator for up to one week. Reheat gently before serving.
- If you do not have a vanilla bean, use 1 tablespoon of pure vanilla extract, added only after removing the liquid from the heat.
Nutrition
- Serving Size: 1 pear with syrup
- Calories: 350
- Sugar: 65
- Sodium: 5
- Fat: 1
- Saturated Fat: 0.5
- Unsaturated Fat: 0.5
- Trans Fat: 0
- Carbohydrates: 75
- Fiber: 8
- Protein: 1
- Cholesterol: 0