
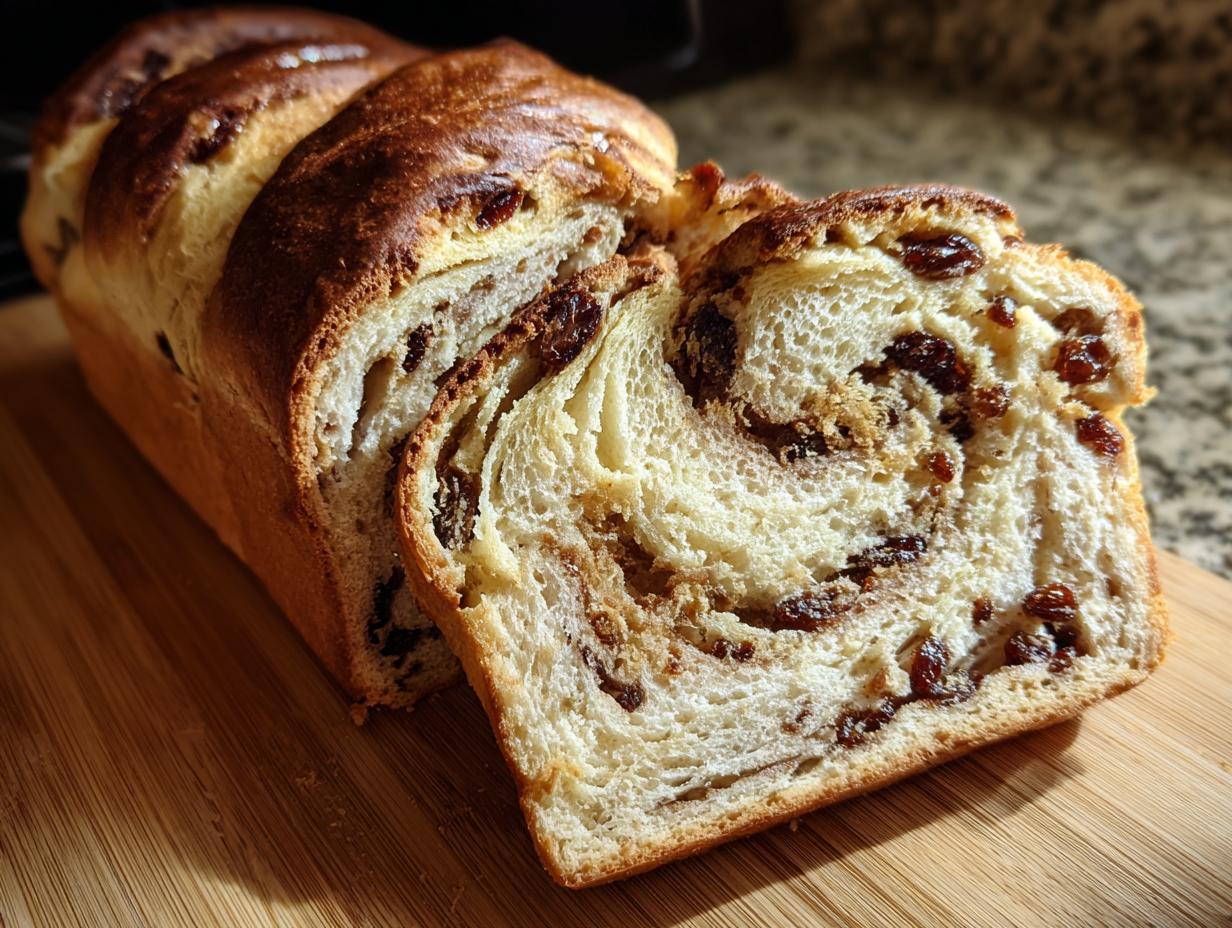

Honestly, is there anything better than walking into your kitchen and smelling warm, yeasty cinnamon just taking over the house? I practically float on air until the loaf comes out! Forget that dry stuff you buy wrapped in plastic; this is the recipe for the absolute fluffiest homemade cinnamon raisin bread you will ever eat. Seriously, if you’ve been intimidated by yeast before, this is the easy raisin bread recipe that will change everything for you. I make this raisin bread almost every weekend because it’s just pure comfort baked into a slice.
- Why This Soft Raisin Bread Loaf is Your New Favorite Breakfast Bread Recipes
- Ingredients for the Best Homemade Cinnamon Raisin Bread
- How to Prepare the Easiest Raisin Bread Recipe Step-by-Step
- Tips for Success When Baking Artisan Raisin Bread
- Storage and Reheating Instructions for Your Sweet Raisin Bread
- Variations on Classic Raisin Bread
- Serving Suggestions: Pairing with Your Homemade Raisin Bread
- Frequently Asked Questions About This Raisin Bread Recipe
- Estimated Nutritional Data for One Slice of Raisin Bread
Why This Soft Raisin Bread Loaf is Your New Favorite Breakfast Bread Recipes
When I say this is the best raisin bread, I mean it! This isn’t just bread; it’s a fluffy cloud designed specifically for soaking up softened butter on a chilly morning. We’re aiming for that bakery-style texture, but doing it completely from scratch, which is way more satisfying. It’s a foolproof yeast triumph, so don’t let the yeast scare you off!
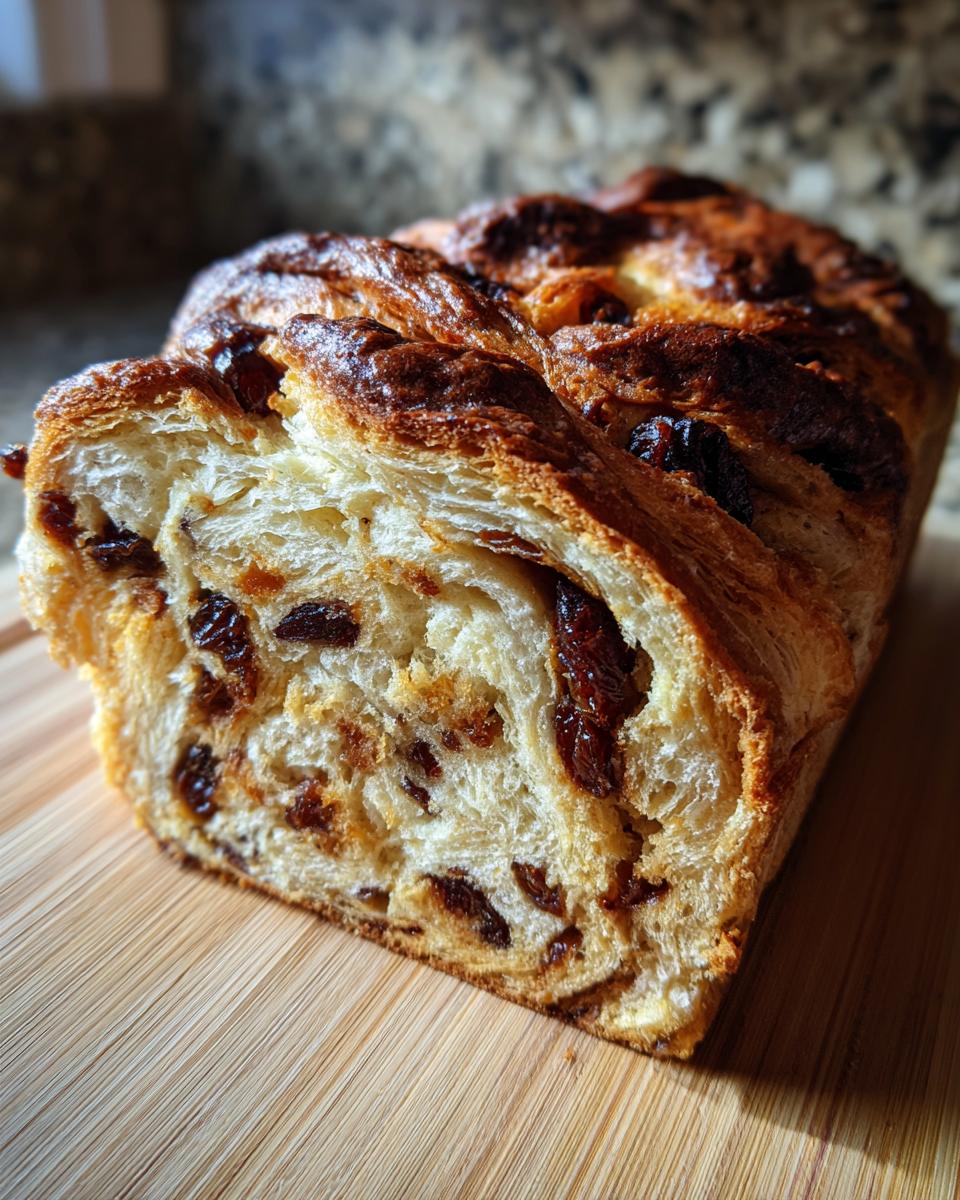
- The secret to the ultimate soft raisin bread loaf is using warm milk and ensuring all your wet ingredients are room temperature before mixing.
- We use just enough kneading time—not too much! That keeps the texture elastic and prevents it from getting tough when it bakes.
- It’s perfect for beginners looking at baking from scratch projects, trust me. If you love this incredibly soft loaf, you might also adore my easy milk bread recipe, which uses a similar soft dough technique!
Achieving the Perfect Cinnamon Swirl in Your Raisin Bread
The swirl, oh my goodness, the swirl! This is where the magic happens and why this is such a fantastic cinnamon swirl bread. We roll the dough out really thin—like a big rectangle—before sprinkling on that glorious mixture of brown sugar and spice. Then, we roll it up super tight, starting from the long side.
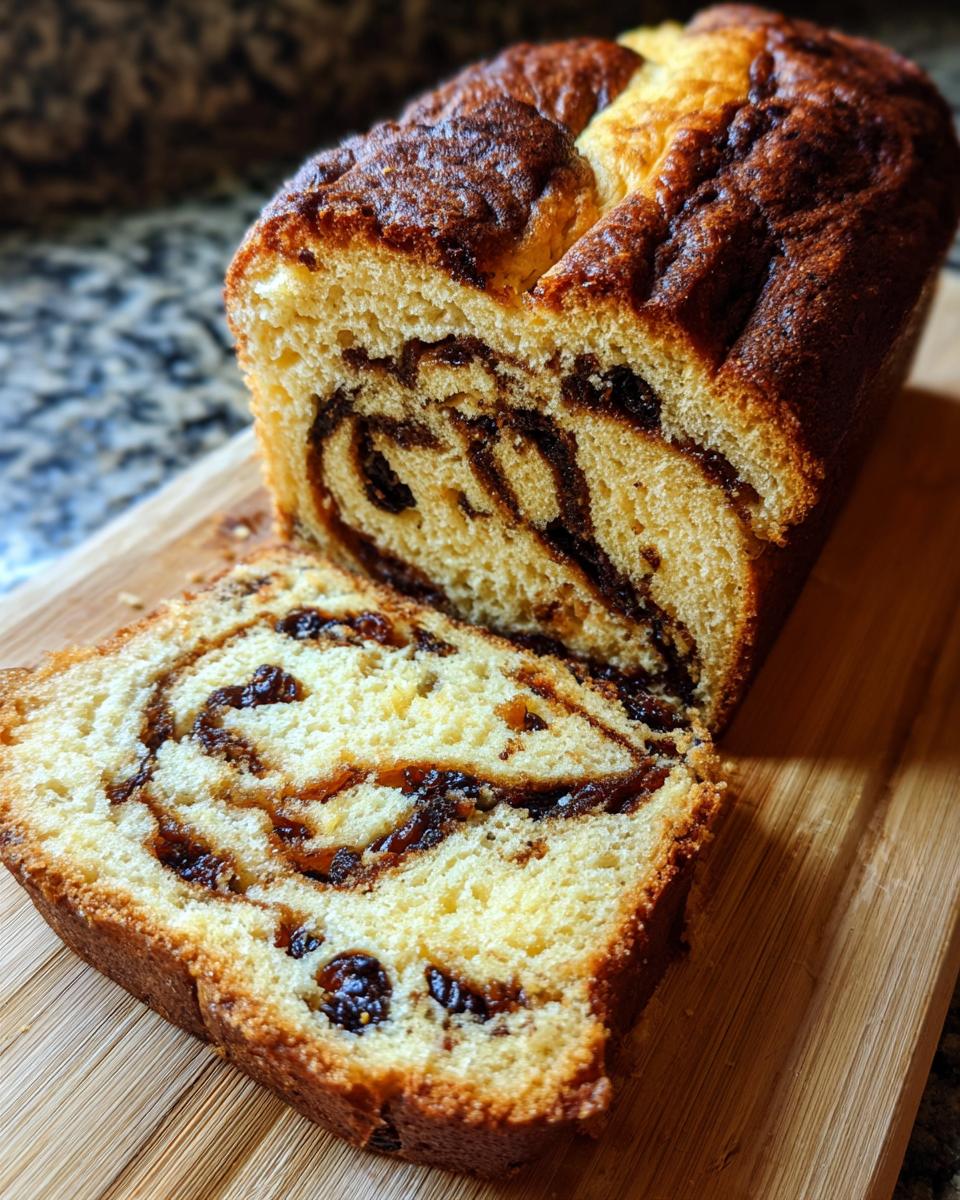
Rolling tightly ensures that when you slice into it later, you get those beautiful, distinct layers of cinnamon color running all the way through the loaf. It makes every single bite of your sweet raisin bread worth the effort!
Ingredients for the Best Homemade Cinnamon Raisin Bread
Okay, let’s talk about what goes into making this genuinely best homemade cinnamon raisin bread. The ingredient list isn’t long, which is why it’s such a fantastic recipe when you’re just starting out with yeast raisin bread. Everything needs to be measured carefully, especially the temperature of your liquids—that’s non-negotiable for happy yeast!
- You need 1 cup of warm milk (get that thermometer—it must be between 105°F and 115°F), and 2 1/4 teaspoons of active dry yeast to make it foam up nicely.
- For the structure, we’re using 3 cups of all-purpose flour and 1 teaspoon of salt.
- The flavor comes from that 1/4 cup of granulated sugar, 1 large egg that has been sitting on the counter to warm up, and 1/4 cup of melted unsalted butter.
- And of course, the stars: 1 cup of plumped raisins, 1/4 cup packed light brown sugar, and that essential 1 tablespoon of ground cinnamon for the swirl.
If you happen to have leftover cinnamon mixes, you might want to check out my easy apple cinnamon overnight oats for a different kind of treat!
Ingredient Notes and Substitution Tips for Raisin Bread
I always use active dry yeast for this recipe because I like seeing that foam—it’s my signal that everything is alive and ready to work! If you only have instant yeast, you can skip the foaming step and mix it right in with the flour, but you’ll miss out on that satisfying visual cue.
The raisins must be plumped! I usually soak them in hot water for about ten minutes and make sure they are totally dry before adding them to the dough. Wet raisins will mess up the dough’s hydration. As for flour, sticking to all-purpose is best for this soft loaf, but if you must substitute, maybe try swapping out maybe 1/4 cup for whole wheat, but don’t go beyond that or you lose the fluff factor.
How to Prepare the Easiest Raisin Bread Recipe Step-by-Step
This is where the process feels like actual baking magic, but trust me, it’s totally straightforward. We start small and build up to that gorgeous, soft loaf. Getting the yeast happy is step one—we let it bloom in the warm milk until it looks foamy, usually about five minutes. After that, we just mix in the rest of the wet stuff: that room-temp egg, the melted butter, and the sugar.
Then we slowly marry the dry ingredients in there. It’s going to look messy and shaggy at first—that’s exactly what you want! Don’t panic. We only add just enough flour so you can turn it out onto a lightly floured counter to start kneading. This whole process needs about 1.5 hours for the first rise, so give it time in a warm spot. If you want something faster for another time, check out my easy homemade French bread recipe, but this one needs patience!
Mixing and Kneading Your Fluffy Loaf Recipe Dough
When you turn the shaggy dough out, it’ll feel sticky, and that’s normal for a soft raisin bread loaf. Don’t add a ton of extra flour! Just dust your hands and the counter lightly. Now, you need to work it for 5 to 7 minutes using the heel of your hand—push, fold, turn, repeat. When it’s ready, it won’t stick to your hands and it will feel smooth and elastic, like a baby’s cheek. Set it aside in an oily bowl, cover it up, and let it double in size.
The Second Rise and Baking Temperature for Perfect Raisin Bread
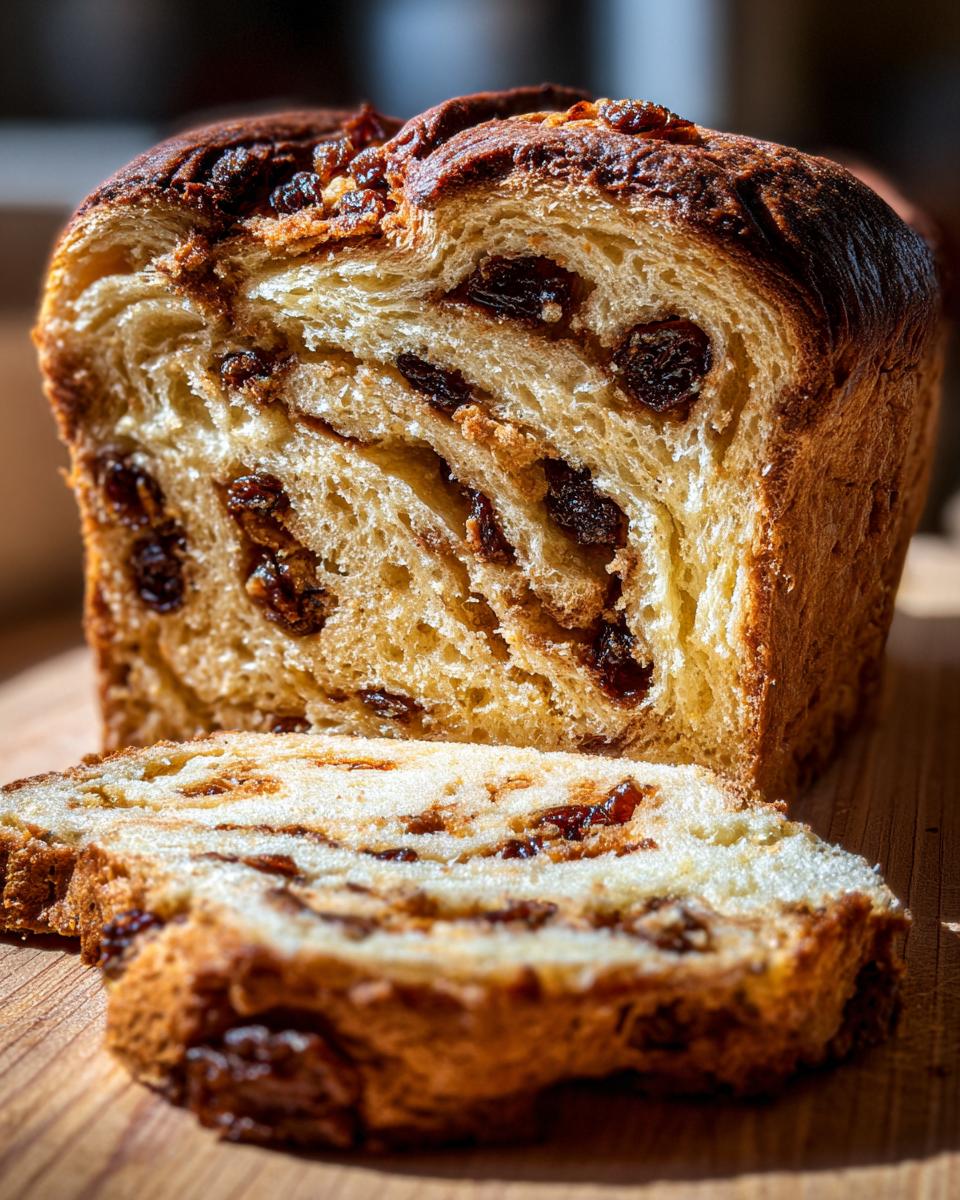
Once punched down, you roll it flat, load it up with the cinnamon sugar and those plumped raisins, and roll it tight! This tight roll is what gives you that beautiful cross-section later. After placing it in the greased pan, we let it do its second, shorter rise—usually 30 to 45 minutes. You’re looking for it to crest about one inch above the rim of the pan. While it’s doing that, crank your oven up to 375°F (190°C). For the most accurate baking, use a thermometer; you want the inside center to hit 200°F (93°C) before you pull this beautiful breakfast bread out.
Tips for Success When Baking Artisan Raisin Bread
Even though we aren’t making something truly “artisan” in the crusty sense, applying a few professional tricks guarantees this loaf performs like it came from a high-end bakery. The most important thing? Don’t skimp on the pan prep! Because this is a sweet loaf, it loves to stick, so make sure you grease and flour that 9×5 inch pan really well. I’ve even found using a little parchment sling on the bottom helps for easy release later.
For great oven spring—that beautiful rise right when it hits the heat—make sure your oven is fully preheated, like I mentioned. A cold oven equals a sad, flat bread. Also, to get that perfect golden brown top that looks so inviting, brush the top with a little melted butter right after you pull it out of the oven and let it cool.
If you’ve had trouble with bread sticking before, you can see how I handle pan prep for other baked goods like my easy artisan bread—the same heavy greasing works wonders here for this soft loaf!
Storage and Reheating Instructions for Your Sweet Raisin Bread
We never manage to eat this whole loaf in one day, which is a blessing because it stays so yummy for days! Once it cools completely—and I mean completely, don’t slice it hot or it will look gummy—you need to store it right. An airtight container or a tightly sealed zip-top bag works best to hold in all that moisture we worked so hard to create.
It stays soft on the counter for about three days. If you need it to last longer, wrap it well and freeze it; just pull slices out as you need them! If you’re reviving a day-old slice, I highly recommend a quick zap in the microwave (about 10 seconds) if you like it soft, or just pop it in the toaster for that perfect crispy edge. If you love warm baked goods like this, you should try my banana chocolate chip muffins recipe for quick snacks!
Variations on Classic Raisin Bread
Part of the fun of baking from scratch is making a recipe your very own, right? This base dough is so sturdy and delicious, it takes kindly to additions. If you want a little crunch, fold in about a half cup of toasted walnuts or pecans right when you add the raisins—they pair perfectly with the cinnamon.
I also love swapping out some of the dried fruit. Sometimes, I’ll replace half the raisins with dried cranberries for a slightly tarter flavor, especially around the holidays. You can even give it a bright, citrusy twist by grating the zest of one whole orange right into your cinnamon and brown sugar mix. It wakes up the whole loaf!
For another great citrus-spice combination, check out how I use those flavors in my cranberry orange scones recipe. It’s the same comforting vibe, just in a different shape!
Serving Suggestions: Pairing with Your Homemade Raisin Bread
This warm bread is just begging for something creamy and delicious on top. Honestly, a thick slice, still slightly warm so the butter melts instantly, is all you need. That is the ultimate comfort food baking moment.
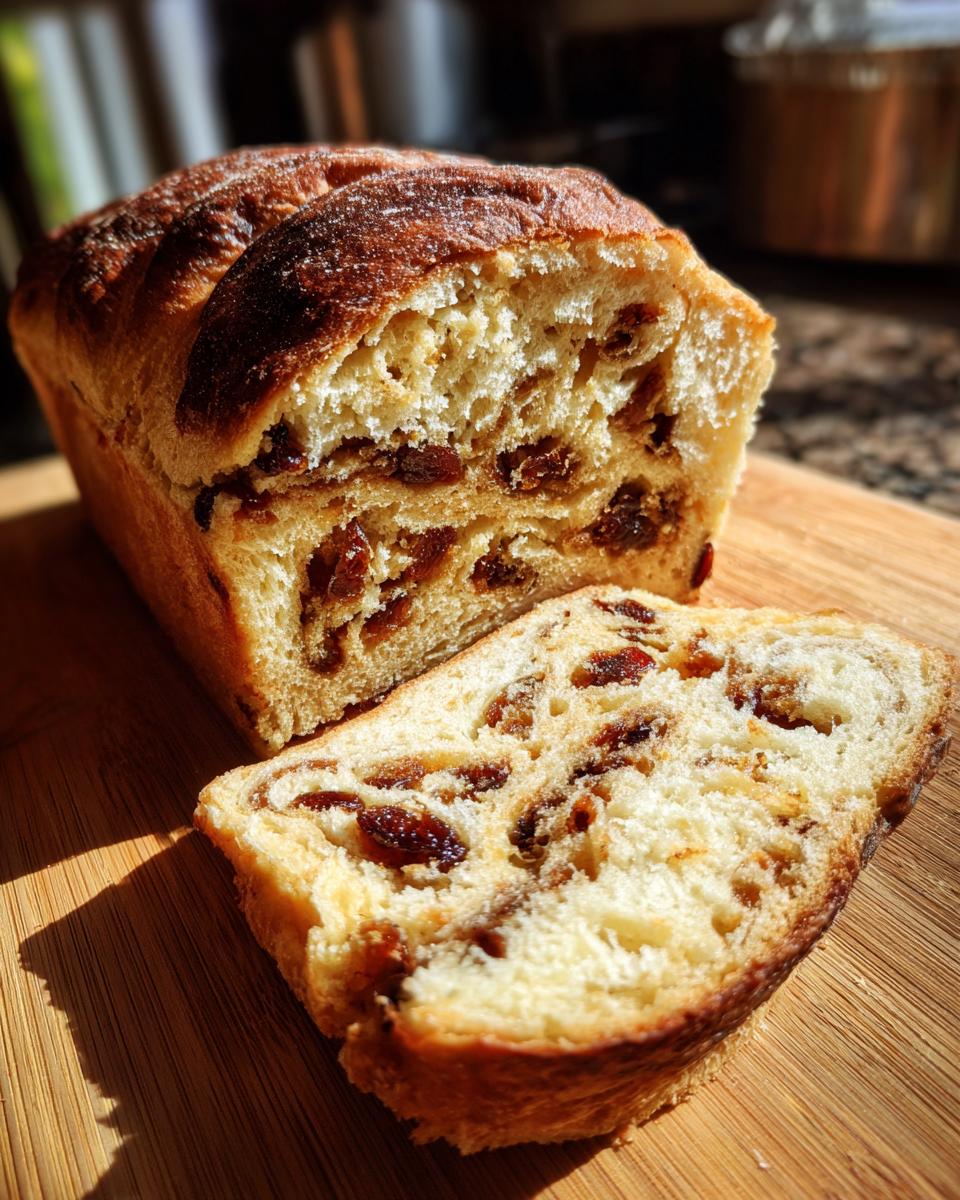
My go-to is always salted butter, but I know a lot of folks love a smear of plain cream cheese—it’s so good with the cinnamon! If you want something fruitier, a good quality raspberry jam or apricot preserves really sings with this loaf. Speaking of fruit and cinnamon, I often have leftover cinnamon spice that I throw right into my morning apple cinnamon oatmeal!
Frequently Asked Questions About This Raisin Bread Recipe
I always get so many great questions, especially from people new to making yeast bread. It’s funny how a few little tweaks can make such a difference in your loaf! Here are some things I hear most often about achieving that perfect soft raisin bread every time.
Can I use bread flour instead of all-purpose flour for this recipe?
That’s a common question for anyone wanting a slightly chewier texture! You absolutely can substitute bread flour for the all-purpose flour, but I wouldn’t do it for the entire 3 cups. Bread flour has more protein, which means more gluten development, and that can make your loaf a bit too structured and slightly less fluffy than what we are aiming for with this easy raisin bread recipe. I’d try substituting just half a cup of the AP flour for bread flour if you want a little extra chew.
Is the kneading step necessary for this beginner bread baking recipe?
Yes, sadly, you really shouldn’t skip the kneading entirely if you want that perfect texture advertised! Since this isn’t a true no-knead recipe, kneading for those 5 to 7 minutes develops the gluten network needed to trap those yeast gases and hold the cinnamon and raisins in place. Skipping it makes for a dense, crumbly loaf instead of a soft one. If you’re looking for true no-knead recipes, check out my tips on beginner bread baking, but for this one, roll those sleeves up!
What if I don’t have time for two long rises?
Yeast thrives on time, so you can’t really rush the physics, unfortunately! If you are short on time, you can speed up the first rise by placing the dough in a slightly warmer place, like an oven that has been turned off after being preheated for just a couple of minutes. Never let the dough get hot, though! However, for the absolute best flavor and structure for your homemade raisin bread, sticking to the suggested times is so worth it.
Can I use instant yeast instead of active dry yeast?
You certainly can, and it makes things a little quicker! If you use instant yeast, you don’t need to proof it first in the warm milk. Just whisk the instant yeast right into your dry flour mixture (with the salt). Then, proceed with mixing the melted butter and warm milk into your dry ingredients. It should still rise beautifully!
Estimated Nutritional Data for One Slice of Raisin Bread
I always feel a little guilty posting nutrition facts because, let’s be honest, we eat this bread because it tastes amazing, not because it’s calorie-free! But for those of you who like to keep track, here is the breakdown based on my testing and standard ingredient measurements for one serving slice. Remember, this is just an estimate, and if you use extra butter or different types of sugar, the numbers are going to shift!
- Serving Size: 1 slice
- Calories: 220
- Sugar: 12g
- Sodium: 250mg
- Fat: 5g
- Saturated Fat: 3g
- Unsaturated Fat: 2g
- Trans Fat: 0g
- Carbohydrates: 40g
- Fiber: 2g
- Protein: 5g
- Cholesterol: 25mg
Please remember these values can change dramatically depending on the brand of milk, the amount of butter you brush on the top, or how generous you are when sprinkling that cinnamon sugar mixture! So treat this as a general guide for enjoying your perfect soft raisin bread loaf.
PrintSoftest Homemade Cinnamon Raisin Bread
Make a soft, fluffy loaf of homemade cinnamon raisin bread with a distinct cinnamon swirl. This easy yeast recipe is perfect for breakfast or a warm snack.
- Prep Time: 25 min
- Cook Time: 35 min
- Total Time: 2 hr 45 min
- Yield: 1 loaf 1x
- Category: Breakfast
- Method: Baking
- Cuisine: American
- Diet: Vegetarian
Ingredients
- 1 cup warm milk (105-115°F)
- 2 1/4 teaspoons active dry yeast
- 1/4 cup granulated sugar
- 1 large egg, room temperature
- 1/4 cup unsalted butter, melted
- 3 cups all-purpose flour, plus more for dusting
- 1 teaspoon salt
- 1 cup raisins, plumped
- 1/4 cup packed light brown sugar
- 1 tablespoon ground cinnamon
Instructions
- Combine the warm milk and yeast in a large bowl. Let stand for 5 minutes until foamy.
- Stir in the granulated sugar, egg, and melted butter into the yeast mixture.
- In a separate bowl, whisk together the flour and salt. Gradually add the dry ingredients to the wet ingredients, mixing until a shaggy dough forms.
- Turn the dough out onto a lightly floured surface. Knead for 5 to 7 minutes until the dough is smooth and elastic.
- Place the dough in a lightly oiled bowl, turning to coat. Cover and let rise in a warm place for 1 to 1.5 hours, or until doubled in size.
- While the dough rises, soak the raisins in hot water for 10 minutes to plump them. Drain well and pat dry.
- Punch down the risen dough. On a lightly floured surface, roll the dough into a rectangle about 10 by 16 inches.
- In a small bowl, mix the brown sugar and cinnamon. Sprinkle this mixture evenly over the dough. Scatter the drained raisins over the cinnamon sugar.
- Tightly roll the dough up lengthwise, starting from the long edge. Pinch the seam closed.
- Place the rolled dough, seam-side down, into a greased 9×5 inch loaf pan.
- Cover the pan loosely and let the dough rise again for 30 to 45 minutes, or until it crests about 1 inch over the rim of the pan.
- Preheat your oven to 375°F (190°C) during the last 15 minutes of the second rise.
- Bake for 30 to 35 minutes, or until the top is golden brown and the internal temperature reaches 200°F (93°C).
- Remove the loaf from the pan immediately and let it cool completely on a wire rack before slicing.
Notes
- To plump the raisins quickly, soak them in hot water or strong black tea for 10 minutes, then drain and dry them thoroughly before adding to the dough.
- For a sweeter crust, brush the top of the loaf with melted butter immediately after removing it from the oven.
- If you prefer a tighter swirl, roll the dough thinner before sprinkling with the cinnamon sugar mixture.
Nutrition
- Serving Size: 1 slice
- Calories: 220
- Sugar: 12g
- Sodium: 250mg
- Fat: 5g
- Saturated Fat: 3g
- Unsaturated Fat: 2g
- Trans Fat: 0g
- Carbohydrates: 40g
- Fiber: 2g
- Protein: 5g
- Cholesterol: 25mg