
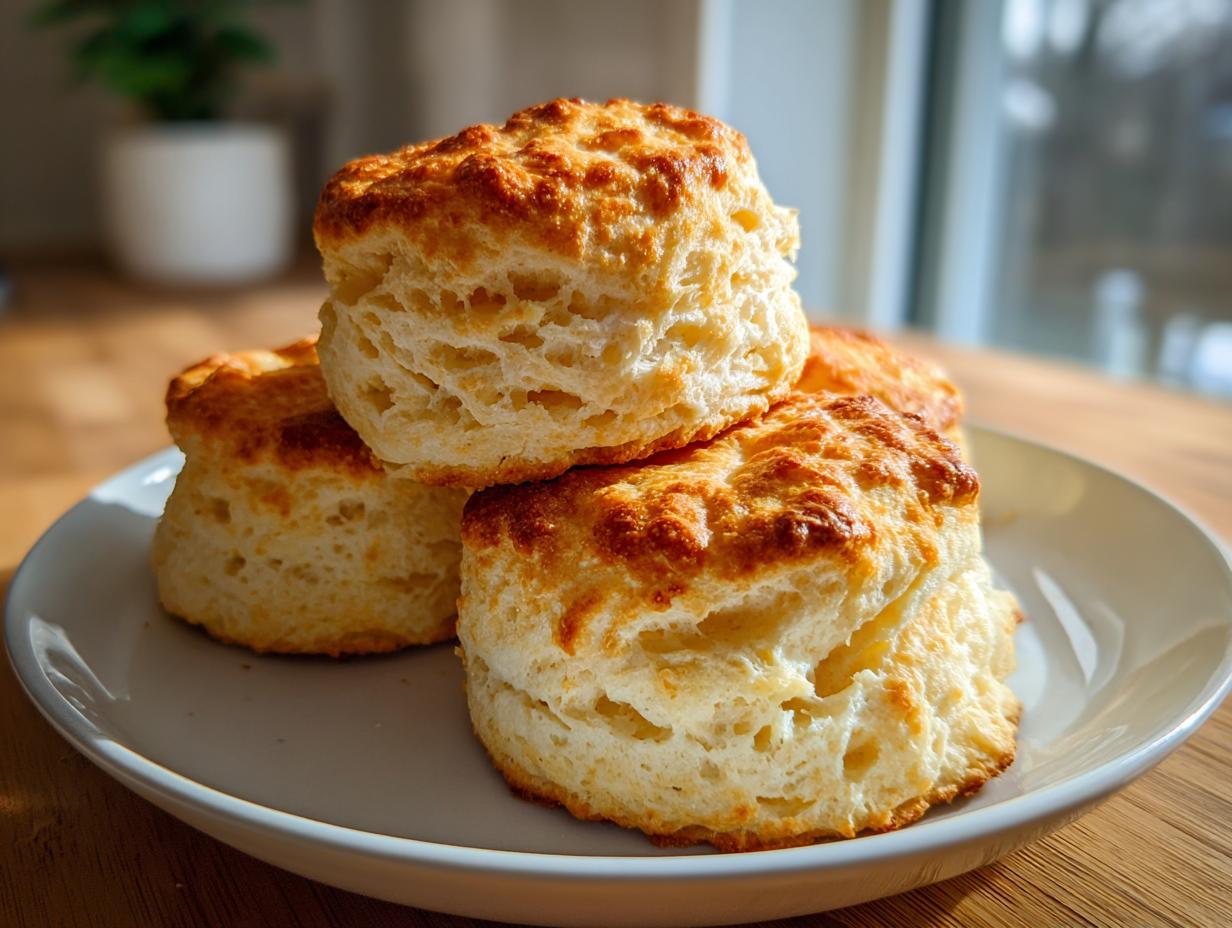

Oh, honey, let me tell you something right now: if you think making perfect, towering, ridiculously fluffy buttermilk biscuits from scratch is hard, you’ve just been using the wrong technique! I spent years wrestling with flat, dense hockey pucks before I finally cracked the code for true Southern style baking. This recipe, I promise you, is the absolute easiest, most reliable way to get those beautiful, flaky layers. It’s what saved my reputation at every potluck, and I’ve used it so many times that the flour dust on my counter practically knows the measurements by heart. Forget the dry, sad versions you’ve had. We are making melt in your mouth biscuits today that disappear in seconds!
- Why This is the Best Easy Buttermilk Biscuit Recipe (Fluffy Homemade Biscuits)
- Gathering Ingredients for Perfect Buttermilk Biscuits
- Mastering Southern Style Baking: How to Make Tall Flaky Biscuits
- Tips for Success with Your Buttermilk Biscuits
- Serving Suggestions for Classic Comfort Food Recipes
- Storage and Reheating Instructions for Buttery Homemade Bread
- Frequently Asked Questions About Buttermilk Biscuits
- Nutritional Estimates for This Buttermilk Biscuit Recipe
- Share Your Experience Making These Fluffy Biscuits
Why This is the Best Easy Buttermilk Biscuit Recipe (Fluffy Homemade Biscuits)
What makes this the ultimate recipe? It’s the guaranteed texture, seriously. We get those tall, flaky layers that Southern style baking is famous for, without needing a food processor or any fancy tricks. This is the real deal for baking recipes for beginners because the steps are so clear, yet the payoff is incredible. You’re going to end up with buttery homemade bread that rivals any bakery!
Achieving Melt in Your Mouth Biscuits: The Cold Ingredient Secret
The magic isn’t in a specialized flour; it’s in the temperature department! Seriously, trust me on this one: your butter and buttermilk have to be ice cold. When those cold cubes of fat hit the hot oven, they melt and create steam, which pushes the dough layers apart. That’s what gives you those incredible, airy pockets. If your butter is even slightly soft, you lose the layers and get a denser biscuit. It’s physics, but it tastes like heaven.
Quick Breakfast Biscuits Ready in 30 Minutes
Another huge win for this recipe is the speed. I know sometimes you just need some amazing comfort food fast, right? After a quick 15 minutes of prep—which goes fast when you’re cutting in cold butter—you pop these babies in the oven. Fourteen minutes later, you have warm, tender biscuits ready to go. That’s why I call them my go-to quick breakfast biscuits. Ready faster than you can run to the drive-thru!
Gathering Ingredients for Perfect Buttermilk Biscuits
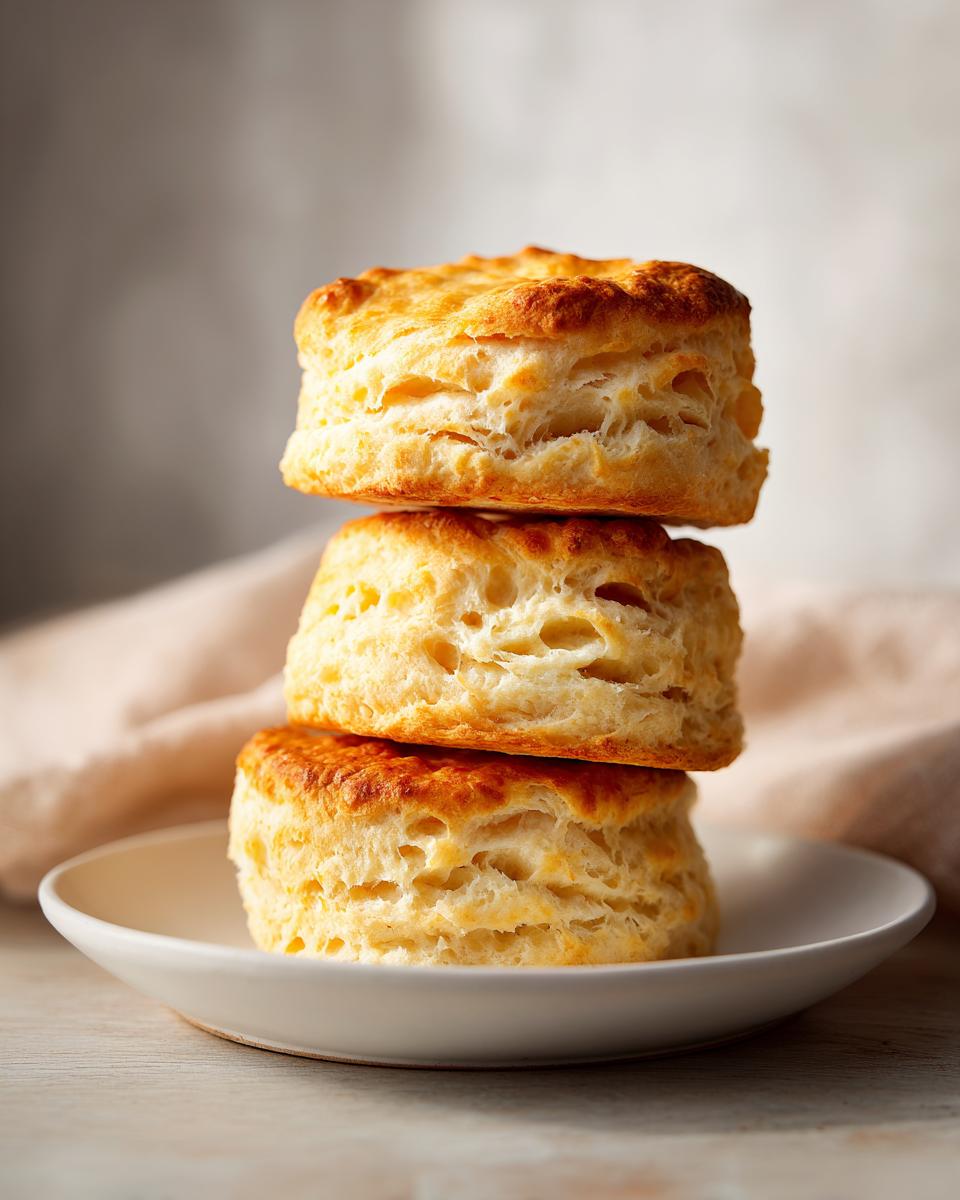
Before we get to the folding and layering magic, we need to talk specifics about our supplies. Look, you don’t need 15 strange things for this recipe, but the few items we do use absolutely have to be the right temperature. I cannot stress this enough: everything needs to be frigid! We’re aiming for that explosive steam reaction, so keep that butter chilled until the very second you need it.
Ingredient List for Fluffy Homemade Biscuits
Here are the few things you need to grab for your baking with buttermilk adventure. Don’t substitute the baking soda along with the powder; they work together to get that great rise!
- 2 cups all-purpose flour
- 1 tablespoon baking powder
- 1 teaspoon salt
- 1/2 teaspoon baking soda
- 1/2 cup (1 stick) cold unsalted butter, cut into small cubes
- 3/4 cup cold buttermilk
- 1 tablespoon melted butter for brushing (optional)
Mastering Southern Style Baking: How to Make Tall Flaky Biscuits
Okay, this is where we stop dreaming about tall flaky biscuits and actually build them, layer by glorious layer! Remember that this process is all about kindness—we want to handle the dough as little as possible so those layers stay distinct. We are going to use a trick called ‘lamination’ without actually kneading, which gives you those incredible ribbons of butter running through the bread.
Preparing Dry Ingredients and Cutting in the Butter
First things first: grab that large bowl and give your flour, baking powder, salt, and soda a good whisk. We want everything combined evenly, like a well-practiced choir. Now for the cold butter cubes! Drop them into the dry mix. You need a pastry blender, or honestly, just use your fingertips if you work fast. You’re aiming for coarse crumbs—some bits should be tiny, but keep checking for those little pea-sized chunks of butter. Those chunks are your future steam pockets, so don’t obliterate them!
Mixing the Dough for Your Buttermilk Biscuits
Pour in all that ice-cold buttermilk at once. This is important! You’re going to stir it with a fork, and I mean gentle stirring. Stop the absolute second the flour looks incorporated. It should look shaggy, like it barely wants to hold together. If you stir until it’s smooth, you’ve already developed too much gluten, and your biscuits will be tough. We want texture, not elastic dough!
The Layering Technique for Tender Biscuits
Time for the real secret sauce of from scratch biscuit recipe masters! Turn the craggy dough out onto a lightly floured surface. Gently pat it into a rough rectangle, maybe three-quarters of an inch thick. Now, fold it like a letter: take the bottom third up to the middle, and the top third over that, sealing it. Turn that whole packet 90 degrees, pat it down again to the same thickness, and repeat the folding process one more time. That’s two folds! This builds those amazing, visible layers that make them so tender.
Cutting and Baking Your Buttermilk Biscuits
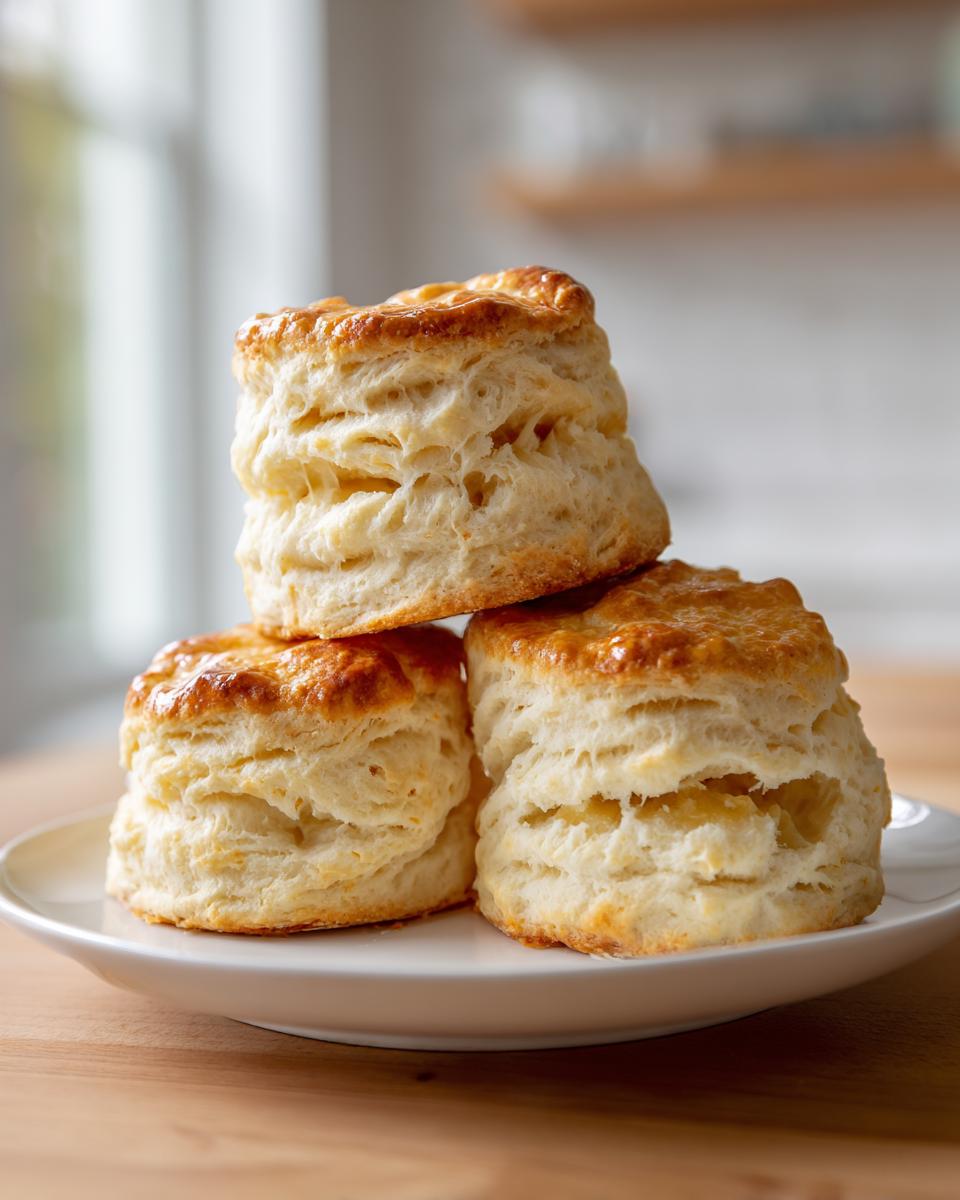
Get your 2-inch biscuit cutter (flour it up first!). Press straight down through the dough—and this is huge—do not twist the cutter! Twisting seals the edges and stops your biscuits from rising tall. Place them close together on the sheet if you like soft sides, or spaced out if you want crispier edges. Pop them into that 425°F oven for about 12 to 15 minutes until they look beautifully golden brown. Brush with melted butter right when they come out for that extra buttery finish!
Tips for Success with Your Buttermilk Biscuits
Even with the best recipe, sometimes things can go sideways, right? I’ve learned a few crucial little tricks over the years that guarantee you get those perfect, buttery homemade bread results every time you pull these out of the oven. If you follow these few points from my notes on this from scratch biscuit recipe, you’ll be a champion baker instantly.
Buttermilk Substitution for Easy Buttermilk Biscuit Recipe
Okay, so maybe you’re mid-baking session and realize you’re out of actual buttermilk—don’t panic! It happens to the best of us. You can easily whip up a substitute that works perfectly for these quick breakfast biscuits. Just take your 3/4 cup of regular milk and stir in about 3/4 teaspoon of plain white vinegar or lemon juice. Let that sit on the counter for five minutes. That little bit of acid will curdle the milk just enough to do the job of the buttermilk, reacting beautifully with the baking soda for a great lift.
Achieving Maximum Rise in Your Buttermilk Biscuits
I know I mentioned it before, but it bears repeating because people always want taller biscuits! To get those dramatic heights and really show off those flaky layers, two things are non-negotiable. First, your cutter must be floured, and second, you must press down hard and straight—no rocking or twisting allowed! Twisting seals the edges of your dough, trapping the steam inside and preventing a beautiful vertical rise. Be firm, be straight, and watch them soar!
Serving Suggestions for Classic Comfort Food Recipes
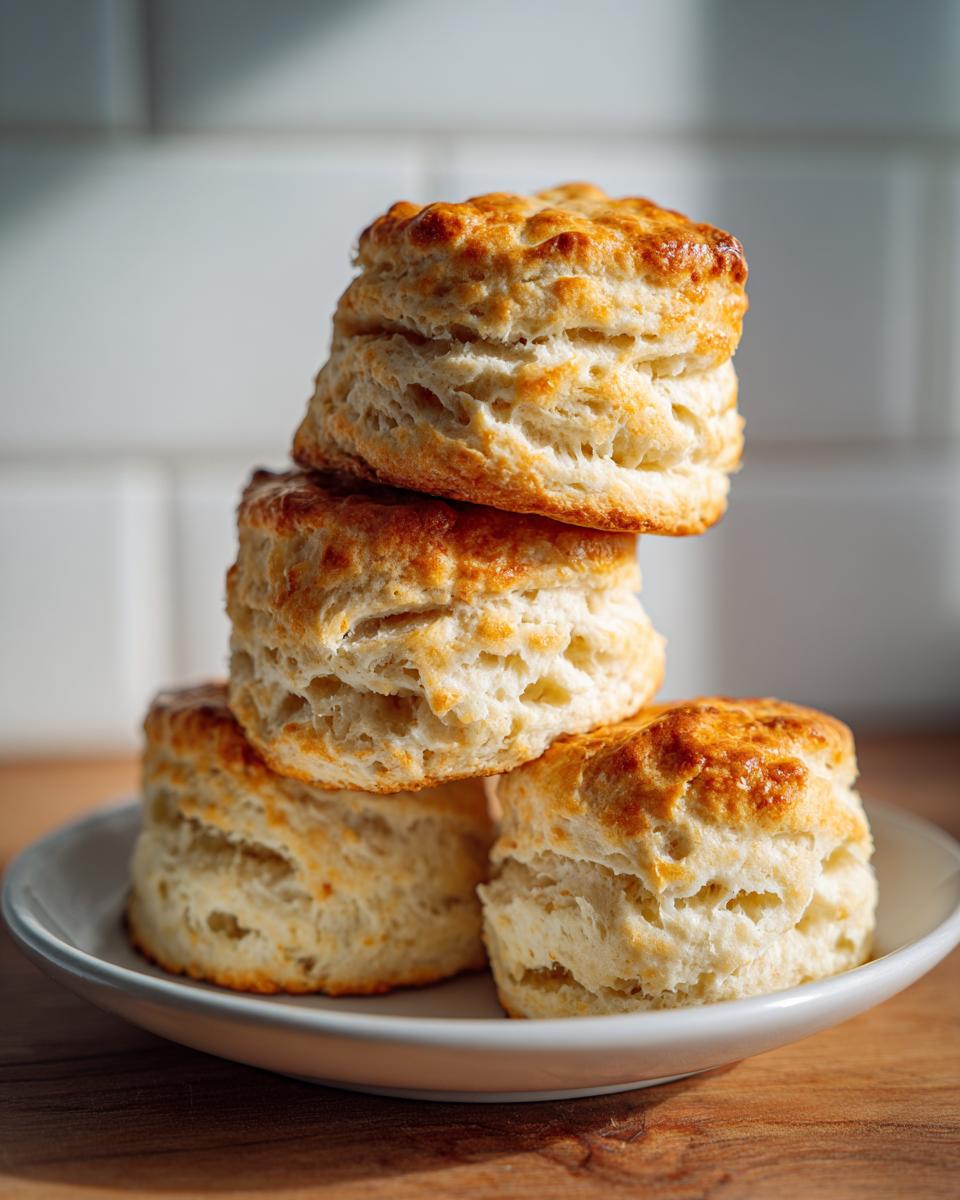
Now that you’ve achieved perfection in classic comfort food recipes, the real fun begins—eating them! Honestly, these buttery biscuits are so tender they can handle anything you throw at them. If you’re making a big batch for dinner, slice them open and slather them with savory sausage gravy. Oh, it’s non-negotiable for a true Southern breakfast!
But don’t stop there! For a simpler treat, they are absolutely divine with just a smear of good quality strawberry jam or maybe some homemade apple butter. They are also the absolute best side dish for fried chicken or chili. Trust me, once you have these melt-in-your-mouth biscuits on the table, everyone forgets about whatever else you were planning on serving!
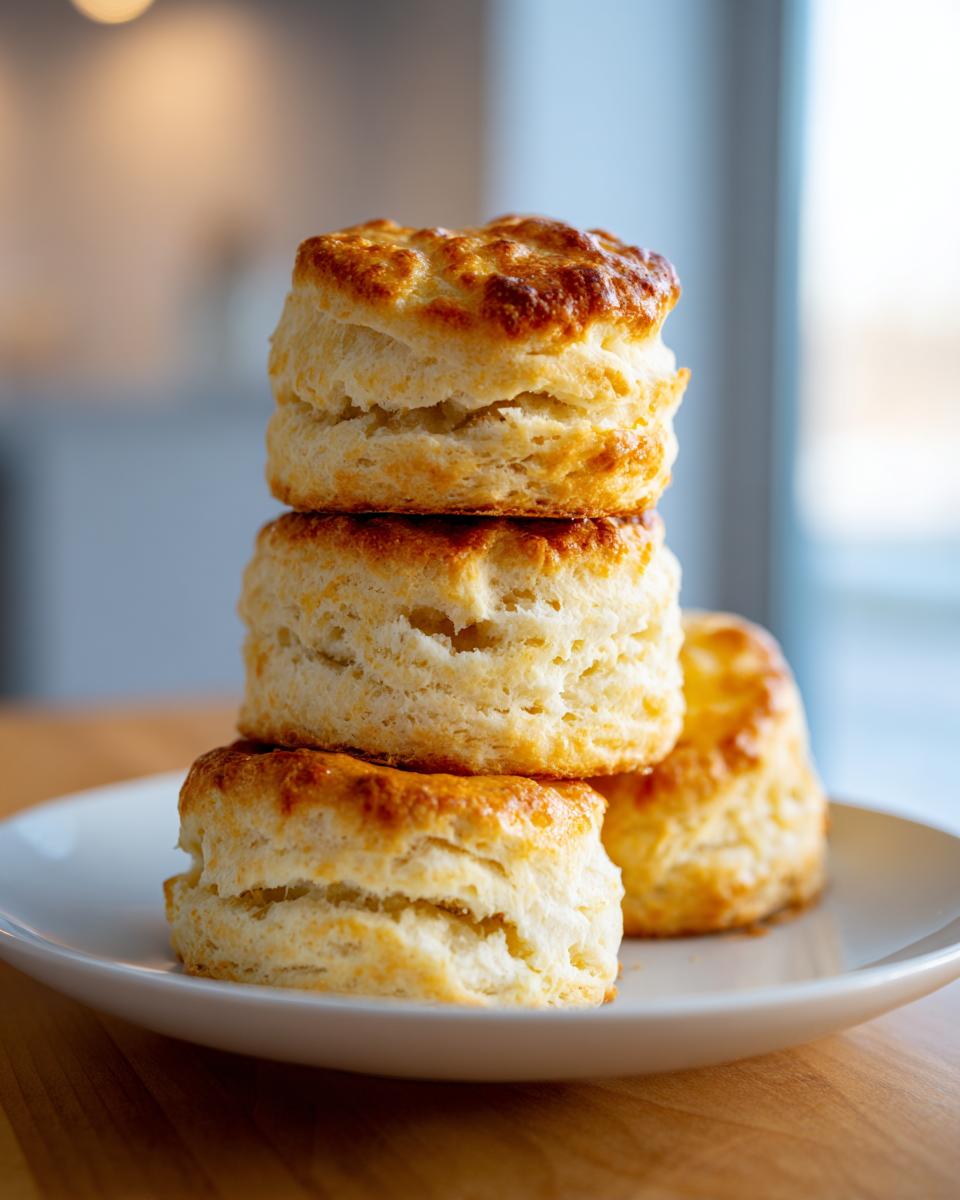
Storage and Reheating Instructions for Buttery Homemade Bread
These amazing biscuits are so good that you rarely have leftovers, but if you do manage to save a few of your fluffy treats, you need to handle them right! Store any extra buttery homemade bread in an airtight container at room temperature. They stay perfectly good for about two days, but after that, they start losing that initial freshness. Don’t even think about putting them in the fridge; that just speeds up the staling process.
When you’re ready to bring them back to life, the oven is your best friend. Wrap them tightly in foil—this traps the steam—and warm them at about 350 degrees Fahrenheit for about 8 to 10 minutes. Trust me, the foil keeps them moist while the heat revives that tender interior. They’ll taste almost as fresh as when they first came out of the oven. For a quicker fix, a quick splash of water and 15 seconds in the microwave works too, though the texture isn’t quite as wonderful as the foil method.
Frequently Asked Questions About Buttermilk Biscuits
I get so many questions about making these! It’s normal when you’re trying to achieve that perfect balance between fluffy and flaky. Here are the things folks ask me most often when they are tackling this amazing from scratch biscuit recipe for the first time. Don’t worry about any hiccups; we’ll sort them out!
Can I use cold cream instead of buttermilk for these biscuits?
That’s a smart question! Yes, you absolutely can substitute heavy cream in a pinch, but here’s the catch: pure cream doesn’t have the necessary acid that buttermilk brings. That acid is what reacts with the baking soda to give us that serious lift we need for fluffy homemade biscuits. If you use cream, you *must* add a teaspoon of vinegar or lemon juice to the cream first and let it sit for five minutes to create that necessary sour component. Otherwise, they won’t puff up properly.
What is the secret to making melt in your mouth biscuits that aren’t dry?
If you’ve been getting dry biscuits, I can tell you exactly where the problem usually lies: overworking the dough! Remember how I stressed mixing the buttermilk in just until it comes together? That’s the key to melt in your mouth biscuits. The moment you start kneading or overmixing, you build gluten strands, and gluten is strong—it makes bread tough, not tender. Also, make sure that butter is rock solid! If the fat smears into the flour instead of staying in defined chunks, they will dry out.
Can I prepare the dough for these quick breakfast biscuits ahead of time?
You totally can prep the dough ahead of time, which is fantastic if you’re trying to make these quick breakfast biscuits ahead of a busy morning. Once you cut out your shapes, here’s my pro tip: place the cut biscuits on your baking sheet, cover them loosely with plastic wrap, and stick the whole tray in the refrigerator for up to 12 hours. Keeping them cold lets the fat stay firm. Then, just before baking, let them sit on the counter for about 15 minutes while the oven preheats. They bake just as beautifully!
Nutritional Estimates for This Buttermilk Biscuit Recipe
Now, I know most of us aren’t making these tender biscuits for a health kick, but since you asked, I pulled out the estimated nutritional data from the recipe card! I’m terrible at math, so I relied on one of those online calculators, but keep in mind that every oven and every brand of butter will change these numbers a tiny bit. Please treat these figures as a general guideline for one perfect, fluffy biscuit, okay?
It’s an older recipe, so it’s got that rich, comforting quality we love. They are certainly not low-fat, but that’s just the price you pay for that amazing buttery flavor!
- Serving Size: 1 biscuit
- Calories: 220
- Fat: 12g
- Saturated Fat: 7g
- Carbohydrates: 25g
- Protein: 4g
- Sugar: 1g
Remember, if you skip brushing them with that extra melted butter, you’re already saving a little bit of fat and calories! Enjoy them warm, smothered in gravy, or with a dollop of homemade jam!
Share Your Experience Making These Fluffy Biscuits
I’ve shared every single secret I know about getting those perfect, towering layers and that melt-in-your-mouth texture in these buttermilk biscuits. Now it’s your turn! I truly want to know how they turned out for you. Did they rise high? Were they perfectly tender? Please come back here and leave a star rating when you get a chance—it helps other folks know this recipe is the real deal!
If you snapped a photo of your golden brown beauties—maybe slathered in honey or piled high with breakfast gravy—please tag me on social media! Seeing your creations makes my day and reminds me why I love sharing these classic comfort food recipes. Drop your best tips or any questions you still have down in the comments below. Happy baking!
PrintUltra Flaky & Fluffy Southern Buttermilk Biscuits
Follow this simple recipe to make tender, buttery buttermilk biscuits from scratch. This method yields tall, flaky layers perfect for any meal.
- Prep Time: 15 min
- Cook Time: 15 min
- Total Time: 30 min
- Yield: 8 biscuits 1x
- Category: Breakfast
- Method: Baking
- Cuisine: American
- Diet: Vegetarian
Ingredients
- 2 cups all-purpose flour
- 1 tablespoon baking powder
- 1 teaspoon salt
- 1/2 teaspoon baking soda
- 1/2 cup (1 stick) cold unsalted butter, cut into small cubes
- 3/4 cup cold buttermilk
- 1 tablespoon melted butter for brushing (optional)
Instructions
- Preheat your oven to 425 degrees Fahrenheit. Line a baking sheet with parchment paper or lightly grease it.
- In a large bowl, whisk together the flour, baking powder, salt, and baking soda.
- Add the cold butter cubes to the flour mixture. Use a pastry blender or your fingertips to cut the butter into the flour until the mixture resembles coarse crumbs with some pea-sized pieces of butter remaining.
- Pour in the cold buttermilk all at once. Stir gently with a fork until the dough just comes together. Do not overmix.
- Turn the dough out onto a lightly floured surface. Gently pat the dough into a rectangle about 3/4 inch thick.
- Fold the dough into thirds, like a letter. Turn the dough 90 degrees and gently pat it down again to about 3/4 inch thick. This folding creates the layers. Repeat this fold and pat process one more time.
- Use a 2-inch biscuit cutter to cut straight down through the dough. Do not twist the cutter. Place the cut biscuits close together on the prepared baking sheet for softer sides, or further apart for crispier sides.
- Bake for 12 to 15 minutes, or until the tops are golden brown.
- If desired, brush the tops immediately with melted butter when they come out of the oven. Serve warm.
Notes
- Keep your butter and buttermilk very cold. This is key to achieving flaky layers.
- For the tallest biscuits, dip your biscuit cutter in flour before each cut and press straight down without twisting.
- If you do not have buttermilk, mix 3/4 cup of regular milk with 3/4 teaspoon of white vinegar or lemon juice and let it sit for 5 minutes before using.
Nutrition
- Serving Size: 1 biscuit
- Calories: 220
- Sugar: 1
- Sodium: 350
- Fat: 12
- Saturated Fat: 7
- Unsaturated Fat: 5
- Trans Fat: 0
- Carbohydrates: 25
- Fiber: 1
- Protein: 4
- Cholesterol: 25