
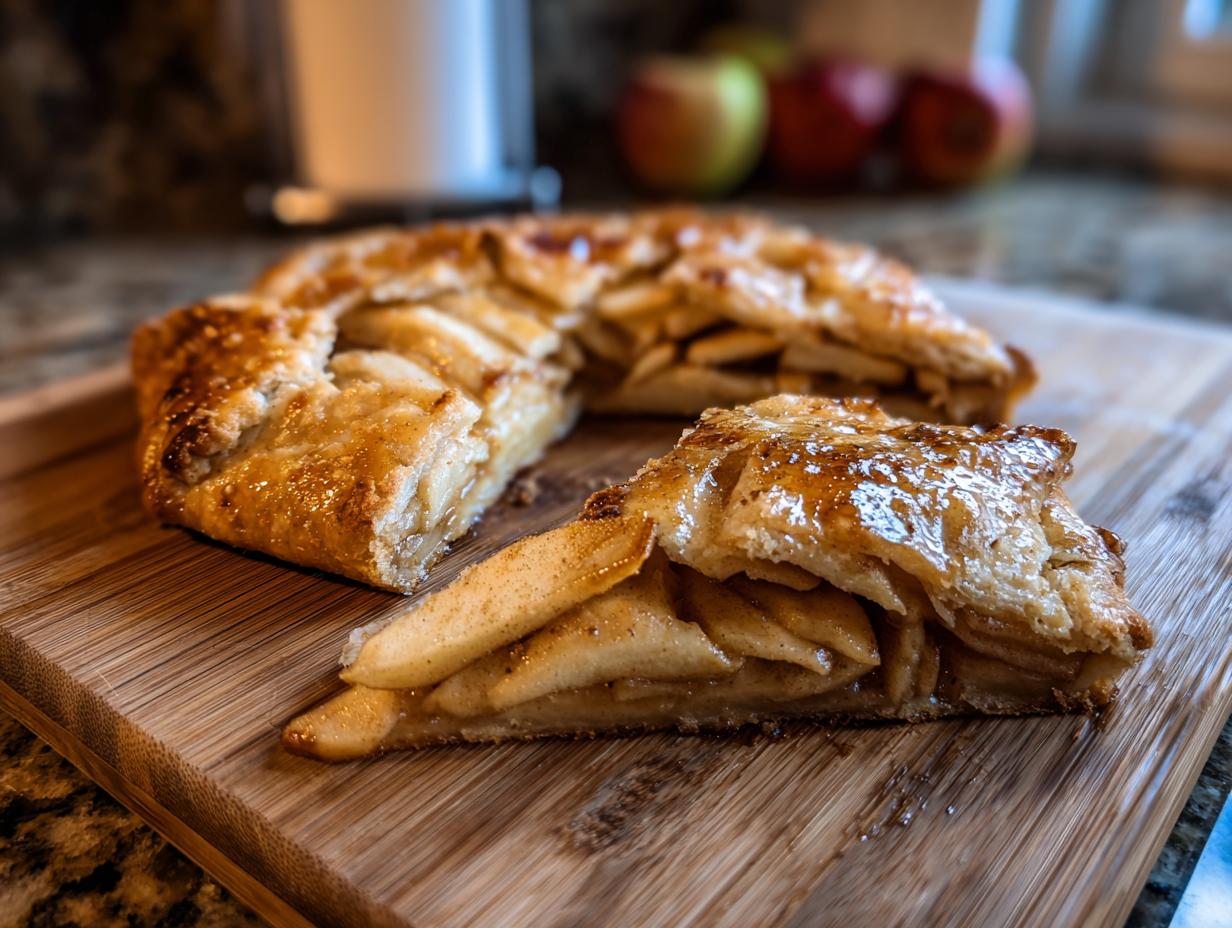

There’s something truly magical about a rustic apple galette, especially when the holidays roll around and the house is filled with that incredible scent of cinnamon and baked apples. I still remember standing on a stool in my grandmother’s kitchen, flour dusting her apron and mine, as she showed me how to gently coax pie dough into place. This apple galette recipe is my nod to those cherished memories – a free-form tart that’s just as beautiful and delicious as any fancy pie, but honestly, so much easier! It’s the perfect holiday dessert, bringing that homemade charm without all the fuss. Trust me, your family will rave about this simple yet stunning apple galette.
- Why You'll Love This Rustic Apple Galette
- Gather Your Ingredients for the Perfect Apple Galette
- Crafting Your Easy Galette Dough
- Preparing the Spiced Apples for Your Apple Galette
- Assembling Your Free-Form Pie
- Baking the Perfect Flaky Pastry Tart
- Tips for a Perfect Apple Galette Every Time
- Serving and Storing Your Holiday Apple Dessert
- Frequently Asked Questions about Apple Galettes
- Nutritional Information (Estimated)
Why You’ll Love This Rustic Apple Galette
Honestly, there are so many reasons to adore this apple galette, but here are a few of my favorites:
- SO Easy! Forget fussy pie dishes. This is a free-form tart, meaning you just roll out the dough and fold the edges. Rustic charm means imperfections are beautiful!
- Holiday Ready: It’s got all those wonderful spiced apple flavors that just scream Thanksgiving and Christmas. Plus, it looks gorgeous on a dessert table.
- Crowd Pleaser: This beauty slices up nicely and is perfect for feeding a hungry group. Serve it warm with a scoop of vanilla ice cream – it’s pure bliss!
- Super Versatile: You can use whatever apples you have on hand, and it’s forgiving enough for even a beginner baker.
Gather Your Ingredients for the Perfect Apple Galette
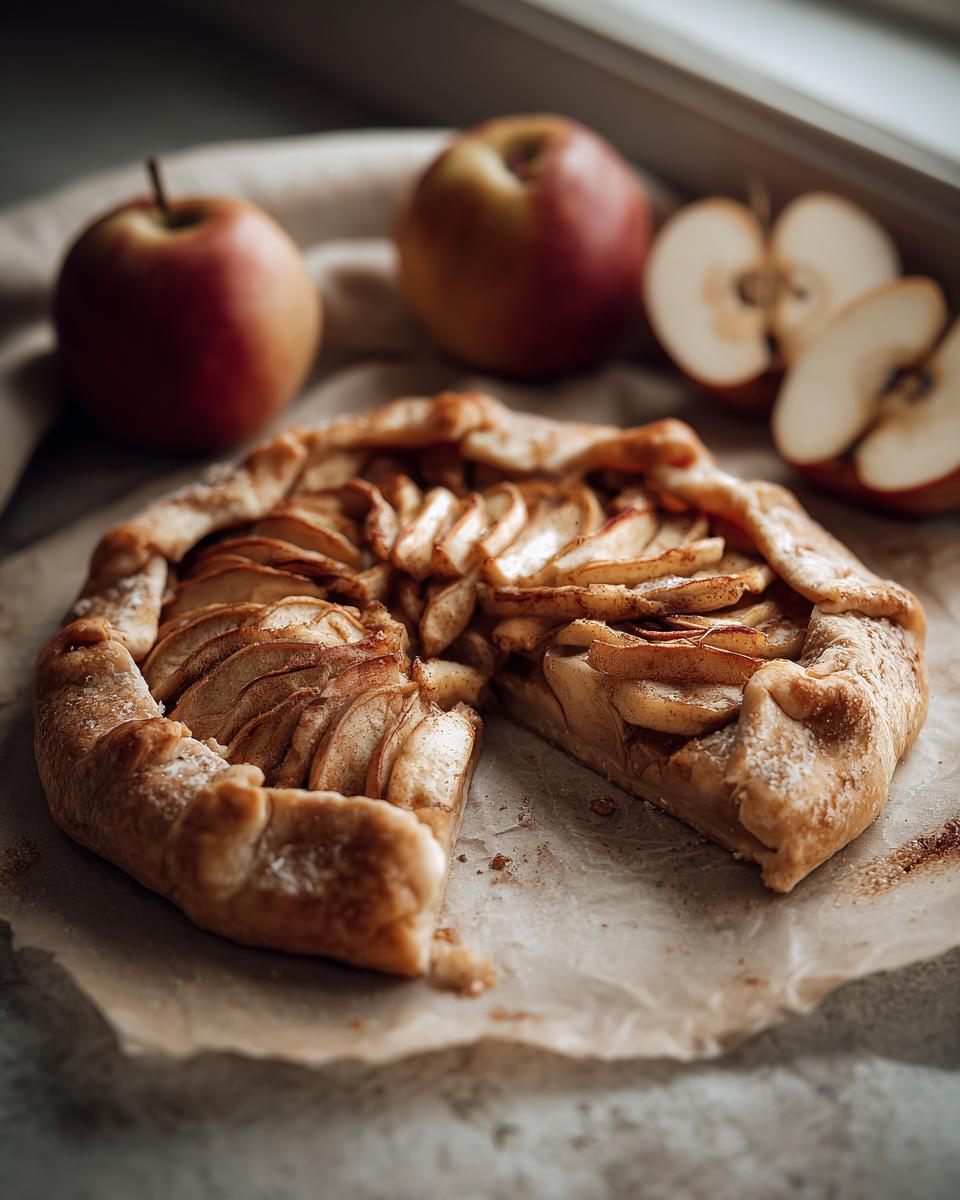
Alright, let’s talk ingredients! The beauty of this rustic apple tart is that it uses simple things you probably already have in your pantry or fridge. Think of it like this: less fuss in the ingredient hunt means more time for, you know, actually enjoying that amazing smell filling your kitchen!
- For the Dough:
- 1 ½ cups all-purpose flour
- ½ teaspoon salt
- ½ cup (1 stick) cold unsalted butter, cut into ½-inch pieces (make sure it’s cold, that’s key for flakiness!)
- 4 to 6 tablespoons ice water (start with 4, you might not need it all!)
- For the Filling:
- 3 pounds apples (I love Honeycrisp, Gala, or Fuji for a nice balance of sweet and tart, but use what you have!), peeled, cored, and sliced about ¼-inch thick
- ¼ cup granulated sugar
- 1 tablespoon lemon juice (this brightens everything up and keeps the apples from getting too brown)
- 1 teaspoon ground cinnamon
- ½ teaspoon ground nutmeg
- ¼ teaspoon ground allspice
- For the Finishing Touches:
- 1 large egg, beaten (this is our “egg wash” for a beautiful golden crust)
- 2 tablespoons turbinado sugar (for that lovely sparkle and crunch!)
Crafting Your Easy Galette Dough
Okay, let’s talk dough! This is where we get that wonderful, flaky pastry for our apple galette. Honestly, this is my favorite dough to work with because it’s so forgiving. We’re talking about an easy galette dough here, not some fussy pie crust that requires surgical precision. First, grab a big bowl and whisk together your flour and salt. Then, toss in that cold butter. I like to cut it into little chunks – think about half-inch pieces. You can use a pastry blender if you have one, but honestly, my fingertips work just fine! You want to work it in until it looks like coarse crumbs with a few bigger, pea-sized pieces of butter still hanging out. Don’t you dare overwork it! Those little butter pockets are our secret to flakiness.
Now, for the water. Start with about 4 tablespoons of ice water and add it a little at a time, mixing gently. You’re looking for the dough to just start coming together. If it still feels too dry, add another tablespoon, but stop as soon as it forms a rough ball. Seriously, don’t add too much water, or you’ll end up with tough dough. I learned that the hard way ages ago! Once it’s together, shape it into a disk, wrap it tightly in plastic wrap, and pop it in the fridge for at least 30 minutes. This chilling step is super important; it lets the gluten relax and ensures a beautiful, flaky crust for your apple galette. For more tips on making this fantastic dough, check out my easy galette dough guide!
Preparing the Spiced Apples for Your Apple Galette
Now for the star of the show – those gorgeous apples! I like to use a mix of firm, flavorful apples like Honeycrisp, Gala, or Fuji for my apple galette. They hold their shape beautifully and offer a perfect sweet-tart balance. Peel, core, and slice them about a quarter-inch thick; too thin and they get mushy, too thick and they won’t cook through. Then, just toss them in a bowl with granulated sugar for sweetness, a splash of lemon juice to make everything bright, and my favorite spice blend: cinnamon, nutmeg, and a pinch of allspice. This simple mix makes the whole apple galette smell heavenly!
Assembling Your Free-Form Pie
Now for the fun part – putting it all together! This is where the magic of a free-form pie really shines. Grab that chilled dough disk and plop it onto a lightly floured surface. Roll it out into a rough circle, about 12 inches across. Don’t worry if it’s not perfectly round; that’s the charm! Carefully transfer the dough to a baking sheet lined with parchment paper – this makes life SO much easier later. Now, pile those beautifully spiced apples right into the center of the dough, leaving about a two-inch border all the way around. Try to spread them out evenly.
Your mission? Fold that border up and over the apples. Just gently grab sections of the dough, pull it up and towards the center, then pleat it as you go around. It’s okay if it looks a little messy; that’s what makes it rustic! My trick for an even border is to just keep turning the baking sheet as I fold, so I can see where I’m at all around. It helps it look more uniform. Once all the edges are folded and pleated, give that folded crust a nice brush with your beaten egg. This is our egg wash, and it’ll give us that gorgeous golden-brown color. Finally, sprinkle that turbinado sugar all over the egg-washed crust for a little sparkle and a delightful crunch. Easy peasy! For more on making these beauties, check out my guide on free-form pies!
Baking the Perfect Flaky Pastry Tart
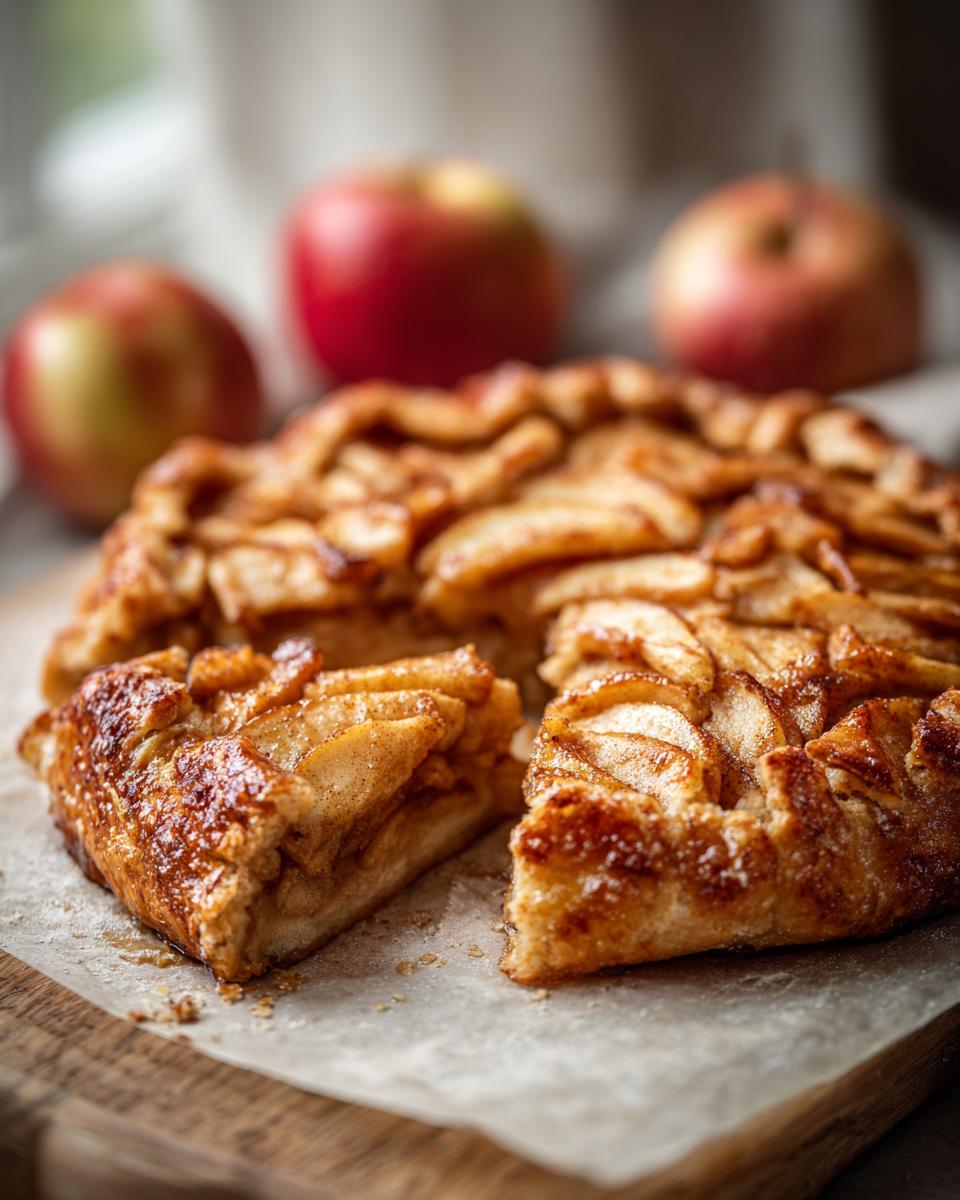
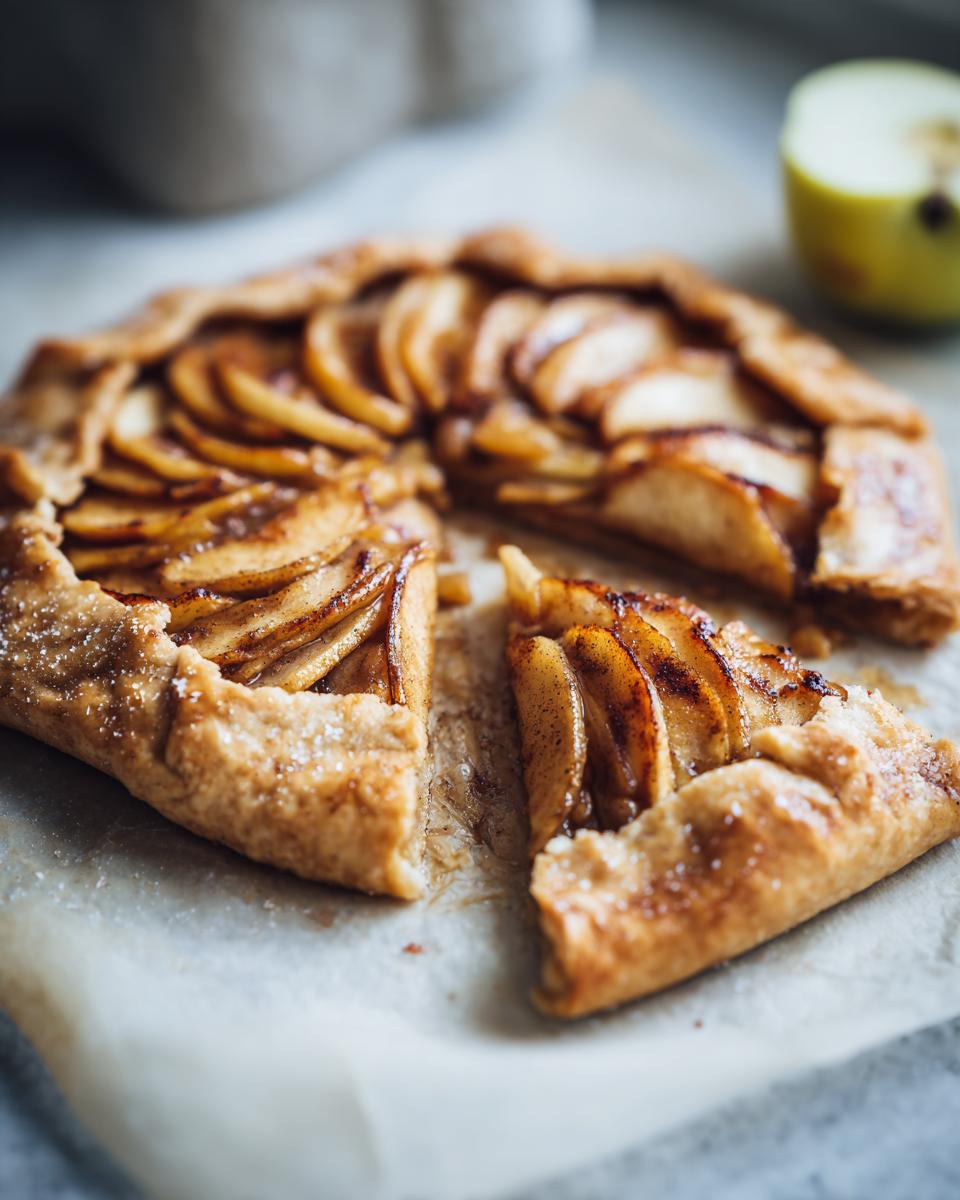
Alright, you’ve assembled this beautiful creation, and now it’s time for the best part: baking! We’re going to pop this rustic apple galette into a preheated oven set at 400°F (200°C). It usually takes about 35 to 45 minutes. You’ll know it’s ready when the crust is a gorgeous golden brown, looking perfectly flaky, and you can see those tender apples bubbling just a bit. The whole kitchen will smell absolutely divine, trust me! It’s that comforting aroma that just signals happy times. Once it’s out of the oven, let it cool on the baking sheet for about 10-15 minutes. This is super important because it lets everything set up nicely. Trying to slice into it too soon might end up in a bit of a delicious mess, and while that’s not the worst thing, we want those beautiful slices to hold together!
Tips for a Perfect Apple Galette Every Time
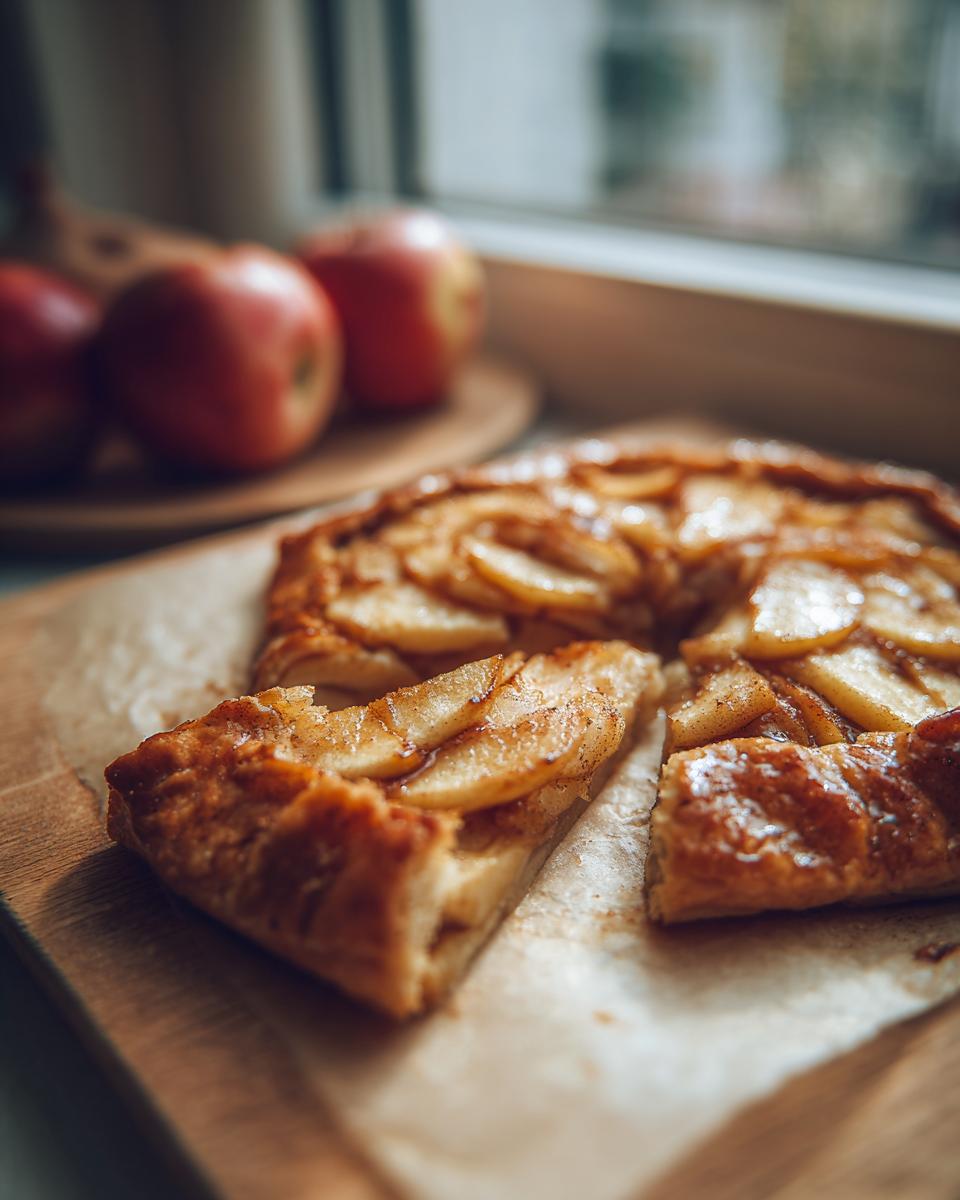
Making a truly spectacular apple galette is all about a few simple tricks that turn a good dessert into a great one. I’ve learned over the years that the best way to ensure that flaky pastry and incredibly tender apple filling is to pay attention to a few key details. And don’t worry, these are easy tweaks that make a world of difference! My goal for every apple galette is that perfect balance – a crisp, buttery crust that holds up to the juicy apples, and no dreaded soggy bottom!
One of my biggest secrets for achieving that perfect texture? Chilling! If you’ve got the time, pop the whole assembled galette (yes, with the apples and folded crust) back into the fridge for about 15 minutes before it goes into the oven. This really helps to firm up the butter in the dough. This step is a game-changer for preventing a soggy bottom and ensuring a beautifully crisp crust. You can even prepare the dough and apple filling separately and chill them overnight if you’re planning ahead. This recipe is incredibly forgiving, so don’t stress if your folding isn’t perfect – that’s what makes this apple galette so wonderfully rustic and charming. For even more guidance, I’ve got a whole separate post on nailing the perfect apple galette!
Serving and Storing Your Holiday Apple Dessert
This glorious chocolate apple dessert is absolutely divine served warm. Honestly, that’s when the crust is at its absolute crispiest and the apples are perfectly tender. A scoop of creamy vanilla ice cream melting over the top? Pure heaven! Whipped cream is also a fantastic choice if you want something a little lighter. If you happen to have any leftovers (which is rare in my house!), just store them in an airtight container at room temperature for a day or two, or pop them in the fridge if it’s warm out. To reheat, just pop a slice in a warm oven for a few minutes until it’s cozy again. It’s the perfect way to enjoy this holiday apple dessert all week long!
Frequently Asked Questions about Apple Galettes
Got questions about making your apple galette dreams come true? I’ve got answers! It’s always good to know a few extra tips, and I’m happy to share what I’ve learned over the years of baking this wonderful, rustic apple tart.
What are the best apples to use for a galette?
Oh, this is a fun one! For a truly fantastic apple galette, you want apples that hold their shape when baked and have a good balance of sweet and tart. My go-to faves are Honeycrisp, Gala, and Fuji. They give you that perfect texture without getting mushy. Granny Smith is great if you like things a bit tangier, or you can even mix a couple of varieties for more complex flavor. Just avoid apples that tend to cook down to applesauce, like Red Delicious, unless you really love that super soft texture!
Can I make the dough ahead of time?
Absolutely! The beauty of this easy galette dough is that it’s perfect for making ahead. You can prepare the dough, wrap it well, and keep it in the refrigerator for up to 3 days. Just make sure it’s well-wrapped so it doesn’t dry out. If it gets a little too firm when you pull it out to roll, just let it sit on the counter for about 10-15 minutes until it’s pliable enough to roll without cracking. It’s a lifesaver when you’re prepping for holiday baking!
How do I prevent the bottom crust from being soggy?
This is the number one question I get about any fruit tart, and it’s totally understandable! For the best flaky pastry tart experience, the trick is to keep things cool. First, make sure your butter and water are super cold when you’re making the dough. Second, chilling the assembled galette for about 15-20 minutes before baking can really help firm up the crust. Also, using parchment paper on your baking sheet is a must, and if you’re worried, you can even pre-bake the crust for about 5-10 minutes before adding the apples. That extra step means a perfectly crisp bottom every single time!
Can I substitute other fruits for apples?
Yes, you totally can! This free-form pie dough is wonderful with all sorts of fruits. Think about berries like blueberries or raspberries, sliced peaches or plums in the summer, or even pears. You might need to adjust the sugar and lemon juice slightly depending on the sweetness and tartness of the fruit you choose. For berries, you might want to add a tablespoon or two of cornstarch to help thicken up any juices. It’s all about experimenting and finding your favorite combinations!
Nutritional Information (Estimated)
Just a little heads-up: the nutritional info below is an estimate, as baking can be a bit of a science experiment that varies! This is just for a single slice of our lovely apple galette, and the exact numbers can change based on your specific ingredients and apple varieties. Happy baking!
- Serving Size: 1 slice
- Calories: 350
- Fat: 18g
- Saturated Fat: 11g
- Unsaturated Fat: 7g
- Trans Fat: 0g
- Carbohydrates: 45g
- Fiber: 3g
- Protein: 4g
- Cholesterol: 45mg
- Sugar: 25g
- Sodium: 200mg
Rustic Apple Galette
A free-form tart with flaky pastry and spiced apples, perfect for a holiday dessert.
- Prep Time: 30 min
- Cook Time: 45 min
- Total Time: 75 min
- Yield: 8 servings 1x
- Category: Dessert
- Method: Baking
- Cuisine: American
- Diet: Vegetarian
Ingredients
- 1 ½ cups all-purpose flour
- ½ teaspoon salt
- ½ cup (1 stick) cold unsalted butter, cut into ½-inch pieces
- 4 to 6 tablespoons ice water
- 3 pounds apples (such as Honeycrisp, Gala, or Fuji), peeled, cored, and sliced ¼-inch thick
- ¼ cup granulated sugar
- 1 tablespoon lemon juice
- 1 teaspoon ground cinnamon
- ½ teaspoon ground nutmeg
- ¼ teaspoon ground allspice
- 1 large egg, beaten
- 2 tablespoons turbinado sugar
Instructions
- In a large bowl, whisk together the flour and salt. Cut in the cold butter using a pastry blender or your fingertips until the mixture resembles coarse crumbs with some pea-sized pieces of butter remaining.
- Gradually add the ice water, 1 tablespoon at a time, mixing until the dough just comes together. Do not overmix.
- Gather the dough into a ball, flatten it into a disk, wrap it in plastic wrap, and refrigerate for at least 30 minutes.
- In a large bowl, toss the sliced apples with granulated sugar, lemon juice, cinnamon, nutmeg, and allspice.
- On a lightly floured surface, roll out the chilled dough into a 12-inch circle. Transfer the dough to a baking sheet lined with parchment paper.
- Arrange the apple slices in the center of the dough, leaving a 2-inch border.
- Fold the dough border up and over the edges of the apples, pleating as needed.
- Brush the folded dough with the beaten egg and sprinkle with turbinado sugar.
- Bake in a preheated oven at 400°F (200°C) for 35-45 minutes, or until the crust is golden brown and the apples are tender.
- Let the galette cool slightly on the baking sheet before slicing and serving.
Notes
- For a crispier bottom crust, chill the assembled galette for 15 minutes before baking.
- Serve warm with vanilla ice cream or whipped cream.
- This recipe is a great alternative to traditional pie, offering a rustic charm and simpler preparation.
Nutrition
- Serving Size: 1 slice
- Calories: 350
- Sugar: 25g
- Sodium: 200mg
- Fat: 18g
- Saturated Fat: 11g
- Unsaturated Fat: 7g
- Trans Fat: 0g
- Carbohydrates: 45g
- Fiber: 3g
- Protein: 4g
- Cholesterol: 45mg