
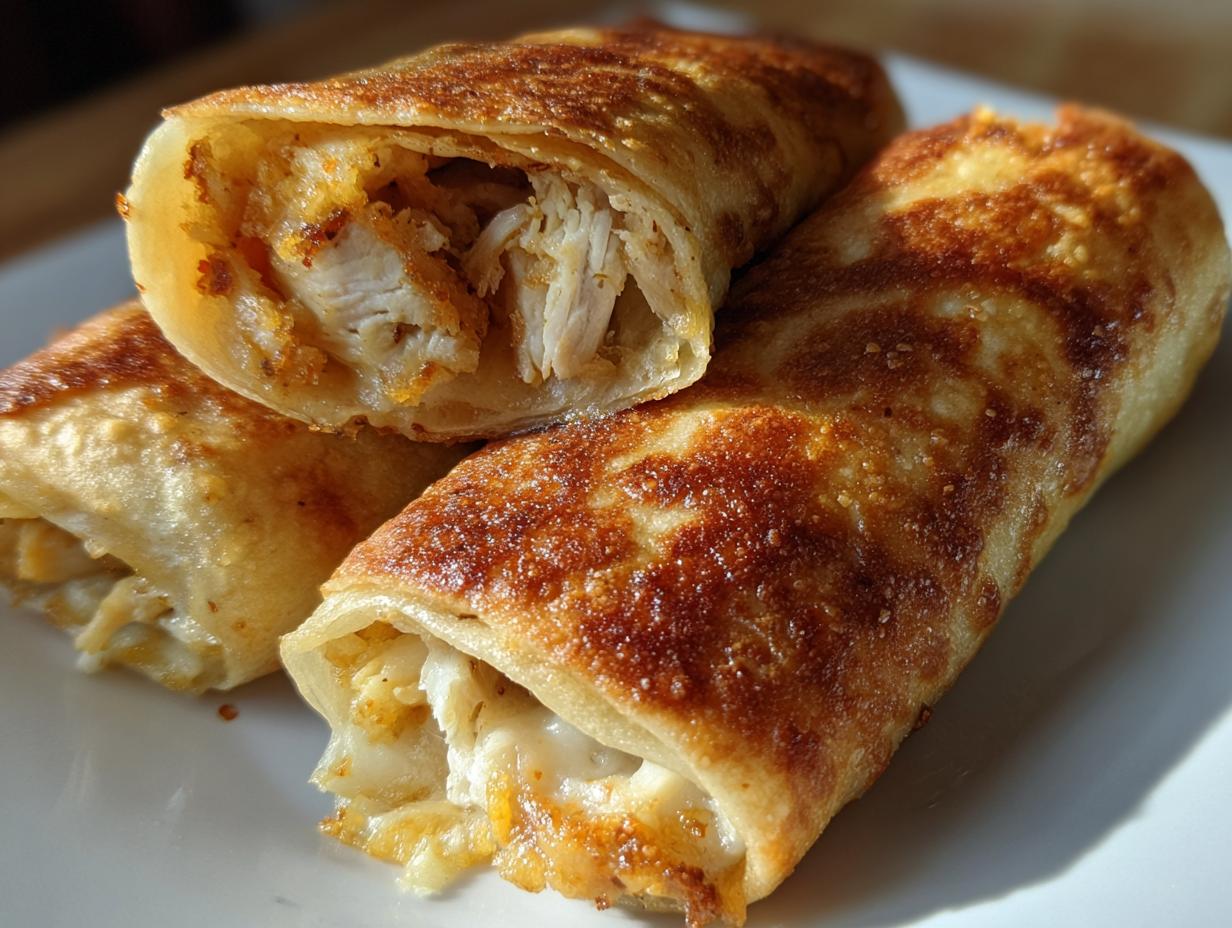

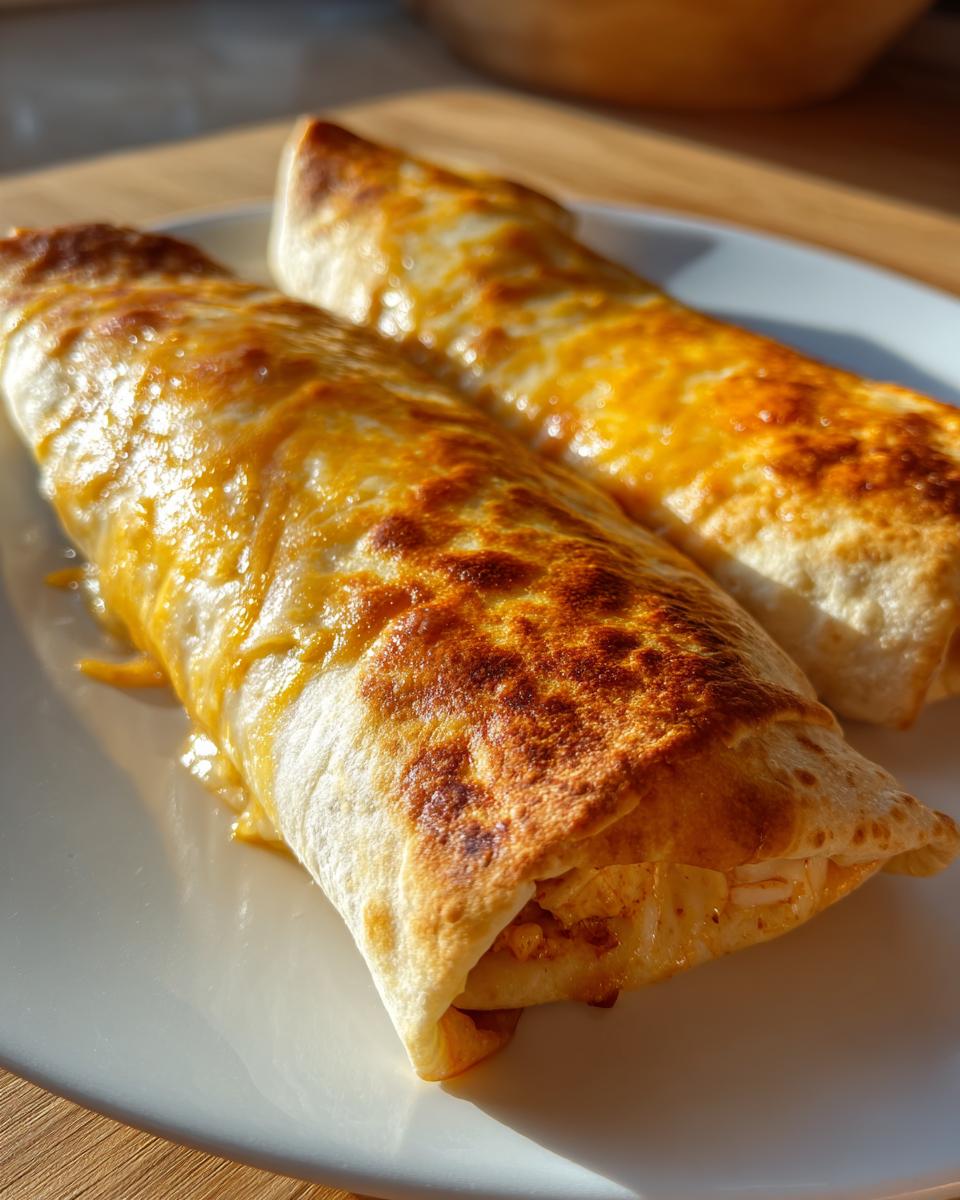
Oh my gosh, do you ever get that huge, undeniable craving for restaurant-style Tex-Mex, but then you remember how heavy and greasy fried food makes you feel? That used to be my weekend struggle! I love big flavor, but eating that way every time just doesn’t work for my busy life. That’s why I spent so much time perfecting this version. I wanted that satisfying crunch, that cheesy interior, and all that great seasoning, but served up guilt-free. Trust me when I say that these Baked Chicken Chimichangas—which I lovingly call my Crispiest Guilt-Free, Chi-Chi’s Style Chimichangas—are the answer! They taste just like takeout, but they come straight from my trusty oven. It’s always a victory when I can make comforting classics healthier for my family.
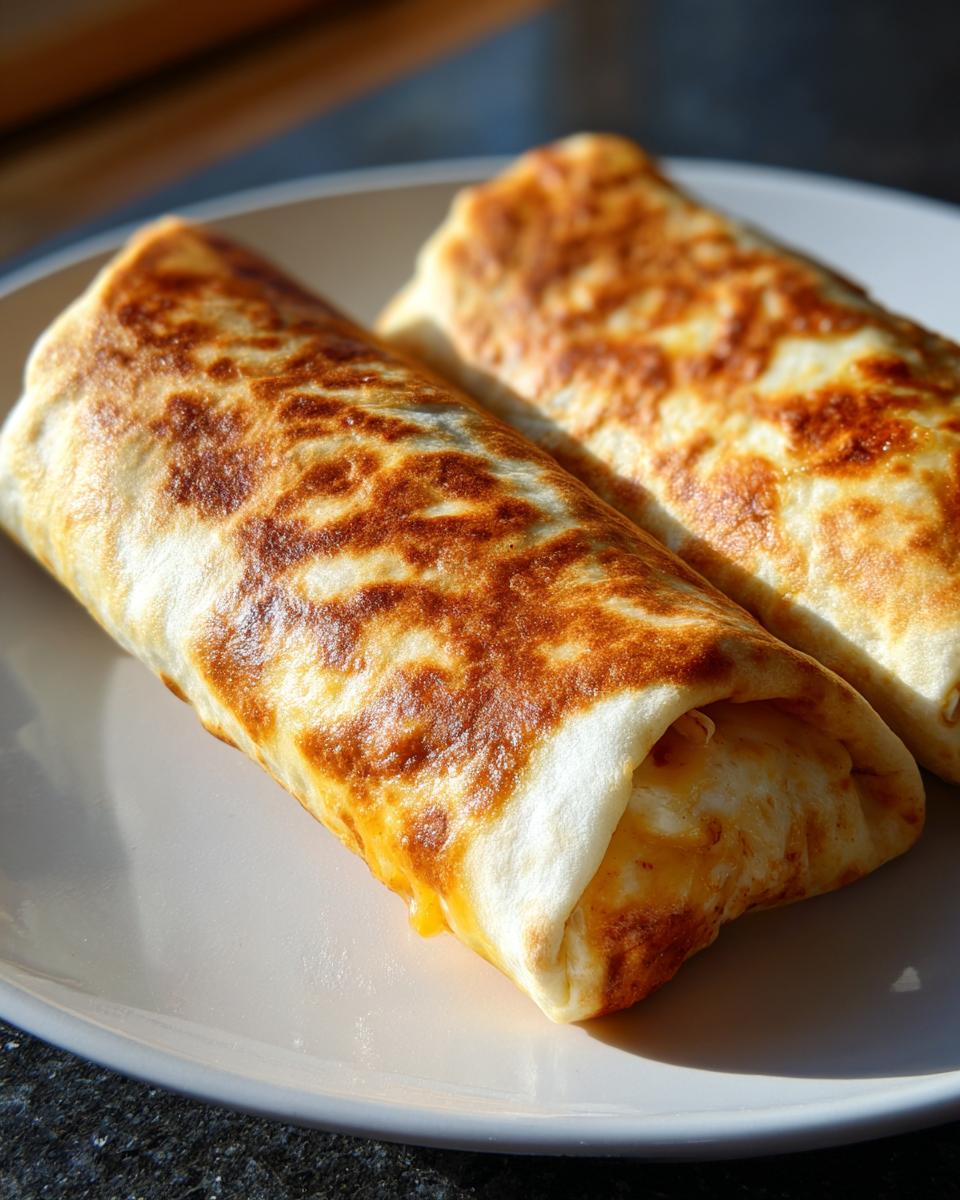
- Why You Will Make These Baked Chicken Chimichangas Weekly
- Gathering Ingredients for Your Baked Chicken Chimichangas Recipe
- The Simple Steps to Oven Fried Chicken Chimichangas
- Expert Tips for Restaurant Style Chimichangas at Home
- Serving Suggestions for Your Baked Chicken Chimichangas
- Storage and Reheating Instructions for Baked Chimichangas Recipe
- Frequently Asked Questions About Baked Chicken Chimichangas
- Nutritional Estimate for Guilt-Free Chimichangas
- Share Your Crispy Baked Chicken Chimichangas Success
- Nutritional Estimate for Guilt-Free Chimichangas
- Share Your Crispy Baked Chicken Chimichangas Success
Why You Will Make These Baked Chicken Chimichangas Weekly
I honestly can’t tell you how many times I’ve made these Baked Chicken Chimichangas since I nailed the technique. They hit every single craving mark we talked about in the intro. You get that rich, savory flavor that feels like a weekend treat, but you can easily have them on the table while Tuesday night’s homework is still getting finished!
Achieving Maximum Crunch Without Frying
The biggest fear people have with baked versions is a floppy tortilla, right? Don’t you worry! We use a specific little oil trick that turns the outside golden brown and super crunchy. This isn’t just some sad attempt at being healthy; this is actually the secret to Oven Fried Chicken Chimichangas that stand up to any dipping sauce. It truly delivers that signature crispiness.
Perfect for an Easy Chicken Mexican Dinner
When I say this is quick, I mean it. We’re talking about getting the whole thing done—filling, rolling, and baking—in under 45 minutes. That makes it the ultimate Weeknight Tex Mex Idea when you’re tired but really want something way better than just plain chicken and rice. It’s a total flavor upgrade for minimal effort!
Gathering Ingredients for Your Baked Chicken Chimichangas Recipe
Okay, getting the ingredients together is actually the easiest part! Because we aren’t deep-frying, we keep the ingredient list short and focused on making that filling pop. The spice blend is what really makes these Shredded Chicken Chimichangas taste like they came from your favorite spot.
- 2 cups cooked, shredded chicken breast
- 1 teaspoon chili powder
- 1 teaspoon ground cumin
- 1/2 teaspoon garlic powder
- 1/2 teaspoon onion powder
- 1/4 teaspoon dried oregano
- 1/4 teaspoon salt
- 1/8 teaspoon black pepper
- 1 cup shredded Monterey Jack cheese
- 1 cup shredded cheddar cheese
- 8 large (10-inch) flour tortillas
- 2 tablespoons olive oil or cooking spray
- Cooking spray for baking
Ingredient Notes and Substitutions
A couple of quick notes here so you get the best result! That 2 cups of chicken usually comes from about one pound of raw chicken breast, which cooks up easily and shreds beautifully. We use both Jack and Cheddar for the perfect balance of meltiness and sharp, cheesy color, but if you like a little burn, swap out the Cheddar for Pepper Jack! Make sure you use those large, pliable 10-inch tortillas; the smaller ones won’t hold up to the rolling.
The Simple Steps to Oven Fried Chicken Chimichangas
This is where the magic happens, and I promise you, it’s not complicated! We’re turning simple ingredients into amazing Baked Chicken Chimichangas that satisfy that deep Tex-Mex craving. Get that oven warmed up to 400°F (200°C) first, and make sure you’ve got your baking sheet ready—I always use parchment paper because cleanup is essential for any Quick Mexican Dinner! If you ever want another super fast meal, you should check out my recipe for easy 30-minute pepper steak stir-fry!
Preparing the Flavorful Shredded Chicken Filling
Grab that bowl with your pre-seasoned filling, which should be packed with cumin and chili powder. Now, here’s a little secret from my kitchen to yours: I always toast my cumin lightly in a dry pan for about 30 seconds before mixing—it deepens the flavor profile significantly and really elevates the whole experience. Mix that spiced chicken with every bit of your cheese blend until it looks glorious. Divide that filling as evenly as you can across those eight tortillas.
Rolling and Sealing Your Cheesy Chicken Chimichangas
Rolling is key to making them look restaurant-style! Take that filled tortilla and fold the sides inward first, just like you’re hugging the filling tight. Then, starting from the bottom, roll it up as snugly as you possibly can. If you’re playing it safe or your tortillas feel a little stubborn, go ahead and secure the seam with a toothpick. It holds everything together beautifully while baking!
Baking for Crunchy Baked Tortillas
This step is crucial for achieving those desired Crunchy Baked Tortillas! Lightly brush or spray the outside of every single chimichanga with that olive oil or cooking spray—don’t skip this; it helps them crisp up, making them true Crispy Baked Chimichangas. Get them seam-side down onto your prepared sheet. Bake them for about 10 to 15 minutes until they start to brown nicely, carefully flip them over, and pop them back in for another 5 to 10 minutes. We are aiming for 20 to 25 minutes total baking time so they are gorgeously golden all around.
Expert Tips for Restaurant Style Chimichangas at Home
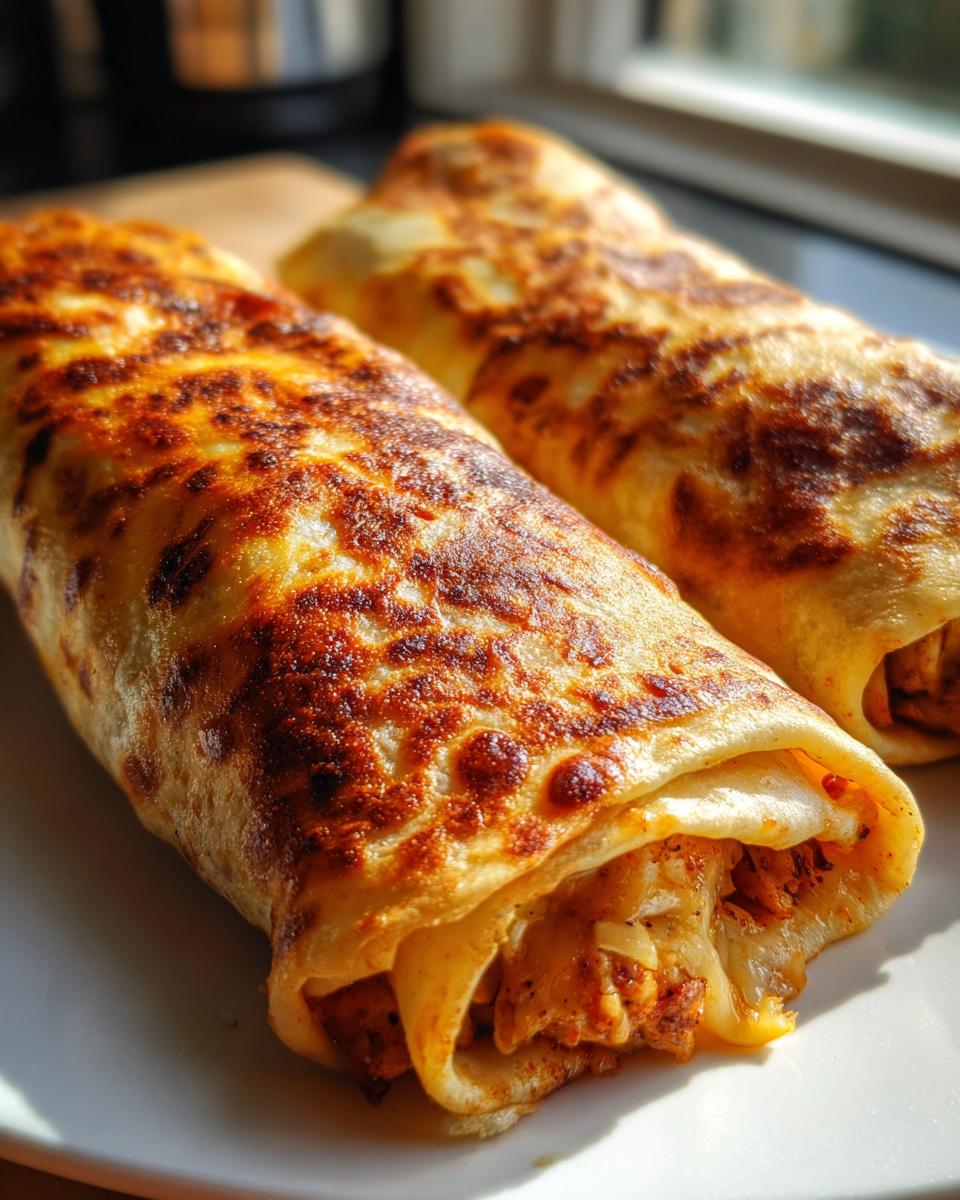
Now that you have the basic steps down for perfectly **Baked Chicken Chimichangas**, I want to share the little tricks that take this from a weeknight meal to something you’d happily order at your favorite Tex-Mex spot. You know, the things that make them worthy of being called **Chi-Chi’s Style Chimichangas** even though they came out of your oven! I learned so much testing different batches; sometimes the smallest change makes the biggest impact. Dive into these tips for getting that perfect crispness!
The Secret to Guilt-Free Chimichangas Texture
The texture is everything here, and it all comes down to how you manage that oil. Since we are shooting for the **Crispy Baked Chimichangas** goal without drowning them, you need to coat them thoroughly before they hit the heat. Don’t just drizzle! If you’re using a spray bottle, use a very fine mist to coat the whole surface—that gives you a more even, bubbly crunch. If you’re brushing, make sure you get into every single crease! This light coating is exactly what keeps this recipe in the **Less Oil Dinner Recipes** category while still achieving that crunch we love. Getting that beautiful golden color we see in recipes, like this great one over at Toppie Kitchen, is all about that light oil barrier!
Elevating the Chicken Flavor Profile
While the cumin and chili powder we used earlier are fantastic, sometimes I feel like the filling needs just one more vibrant lift to really scream “restaurant-quality.” My favorite move? Add just a tiny splash of fresh lime juice right into the seasoned chicken mixture at the end. It brightens everything up instantly. Also, throw in about half a teaspoon of smoked paprika—it doesn’t add heat, but it brings a gorgeous smoky depth that pairs so well with the cheese. Even if you’re making these for a simple family-friendly chicken dinner, these tiny additions make a huge difference.
Serving Suggestions for Your Baked Chicken Chimichangas
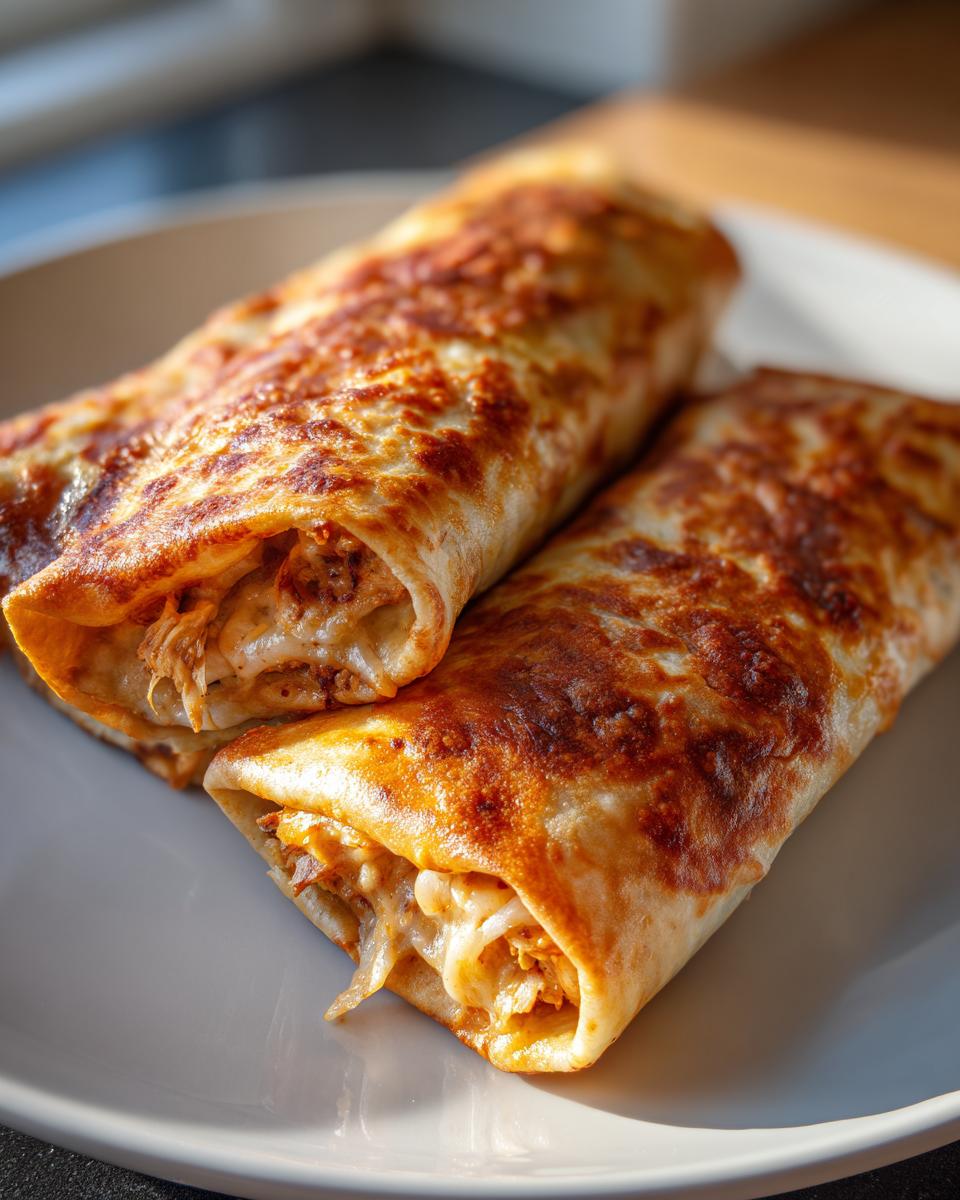
Okay, the chimichangas are out of the oven and golden perfection, now what? You can’t eat these amazing Cheesy Chicken Chimichangas naked, honey! They deserve the whole shebang. Since the filling is savory and cheesy, we want cool, bright toppings to cut through that richness. Think about grabbing some fresh salsa—the chunkier the better, in my opinion. Guacamole is never optional, and a dollop of sour cream or plain Greek yogurt cools everything down nicely.
If you are looking to make this a truly epic meal, I sometimes serve these alongside my simple easy oven-roasted Mexican potatoes. It makes for a fantastic, filling Easy Southwest Dinner!
Storage and Reheating Instructions for Baked Chimichangas Recipe
One of the best things about making a big batch of these Baked Chicken Chimichangas is having leftovers! Since they are such a fantastic, hands-off **Family Friendly Chicken Dinner**, making extras for lunch the next day or for meal prep later in the week is how I handle busy schedules. You can totally make the filling ahead of time, which I definitely recommend for those crazy busy nights.
If you have leftovers that are already baked, you need to store them properly to keep that crunch factor alive. Store them in an airtight container in the fridge for up to three days. Now, here’s the crucial part: reheating! Please, for the love of good Tex-Mex, skip the microwave if you want them crispy. Microwaving them just brings back all that moisture we worked so hard to get rid of!
For reheating, you have two great options. The absolute best way is in the air fryer—set it to about 350°F and cook them for about 5 to 7 minutes, just until they are hot all the way through and the exterior has crisped back up. If you don’t have an air fryer, the regular oven works great too! Pop them on a wire rack over a baking sheet at 375°F for about 10 minutes. It takes a little longer, but you’ll get that awesome **Crunchy Baked Tortillas** texture back without any sogginess!
Frequently Asked Questions About Baked Chicken Chimichangas
I know when you look at a recipe, you always have a few little questions buzzing around in your head, especially when you’re trying to adapt a classic, rich dish like this into a Guilt-Free Chimichangas weeknight dinner. I tried to cover pretty much everything in the main recipe, but here are some of the questions I get the most about achieving that perfect crunch!
Can I freeze these Baked Chicken Chimichangas?
Oh, absolutely! This is fantastic for meal prepping. If you plan to freeze them, I truly recommend freezing them *before* you bake them. Assemble them completely, brush them lightly on the outside with oil (or just coat them lightly with spray), wrap each one tightly in plastic wrap, and then foil before tossing them in a freezer bag. I have a whole post about the details on my make ahead chicken chimichangas guide! Cooked chimichangas don’t freeze nearly as well because the crispiness won’t come back perfectly.
What is the best way to reheat Baked Chimichangas to keep them crispy?
This is the million-dollar question! You have to revive that crunch, and a microwave just won’t cut it. The best method is the air fryer—blast them at 350°F (175°C) for about 5 to 7 minutes. If you don’t have an air fryer, use your regular oven at 375°F (190°C) on a wire rack over a baking sheet. That allows air to circulate all around, which is key for getting that golden shell back, just like the ones Elise talks about over on her site!
Can I use corn tortillas instead of flour for this recipe?
You technically *can*, but I’m going to steer you away from it unless you really love a challenge! Corn tortillas are much more brittle than flour tortillas, especially when trying to achieve that roll without them cracking under pressure. If you must use them for a gluten-free option, you absolutely have to steam them first until they are super floppy and pliable. Even then, they don’t get that satisfyingly seamless crunch like the flour ones do when baked.
Nutritional Estimate for Guilt-Free Chimichangas
As promised, here is the estimated nutritional information for these **Guilt-Free Chimichangas**. Remember, the magic of this recipe is using the oven instead of deep frying, which significantly cuts down on the fat compared to traditional versions. Please keep in mind these are just estimates based on the average ingredients I use—your final count will change depending on the cheese brand or how much oil spray you really use!
- Serving Size: 2 chimichangas
- Calories: 450
- Sugar: 3g
- Sodium: 550mg
- Fat: 18g
- Saturated Fat: 8g
- Unsaturated Fat: 10g
- Trans Fat: 0g
- Carbohydrates: 45g
- Fiber: 3g
- Protein: 30g
- Cholesterol: 85mg
Share Your Crispy Baked Chicken Chimichangas Success
I put so much work into making sure this **Baked Chimichangas Recipe** delivers that restaurant ‘wow’ factor at home, and honestly, the best part of my entire day is seeing your results! If you tried these easy **Weeknight Tex Mex Ideas** and loved the texture, please hop down to the rating section below and let me know how you scored that crispiness!
Did you manage to keep them crunchy? Did you add any special toppings? I always love hearing about your kitchen experiments, so don’t forget to leave a comment and tell me all about your dinner success! If you feel inspired, snap a picture and tag me on social media—you can always reach out to me through my contact page if you have more lingering recipe questions!
Nutritional Estimate for Guilt-Free Chimichangas
As promised, here is the estimated nutritional information for these Guilt-Free Chimichangas. Remember, the magic of this recipe is using the oven instead of deep frying, which significantly cuts down on the fat compared to traditional versions. Please keep in mind these are just estimates based on the ingredients I use—your final count will change depending on the cheese brand or how much oil spray you really use!
- Serving Size: 2 chimichangas
- Calories: 450
- Sugar: 3g
- Sodium: 550mg
- Fat: 18g
- Saturated Fat: 8g
- Unsaturated Fat: 10g
- Trans Fat: 0g
- Carbohydrates: 45g
- Fiber: 3g
- Protein: 30g
- Cholesterol: 85mg
Share Your Crispy Baked Chicken Chimichangas Success
I put so much work into making sure this Baked Chimichangas Recipe delivers that restaurant ‘wow’ factor at home, and honestly, the best part of my entire day is seeing your results! If you tried these easy Weeknight Tex Mex Ideas and loved the texture, please hop down to the rating section below and let me know how you scored that crispiness!
Did you manage to keep them crunchy? Did you add any special toppings? I always love hearing about your kitchen experiments, so don’t forget to leave a comment and tell me all about your dinner success! If you feel inspired, snap a picture and tag me on social media—you can always reach out to me through my contact page if you have more lingering recipe questions!
PrintThe Crispiest Guilt-Free Baked Chicken Chimichangas (Chi-Chi’s Style)
You can make restaurant-quality chicken chimichangas at home without deep frying. This easy recipe delivers a satisfyingly crispy, golden tortilla shell filled with seasoned shredded chicken and cheese, perfect for a quick weeknight Tex Mex dinner.
- Prep Time: 15 min
- Cook Time: 25 min
- Total Time: 40 min
- Yield: 4 servings 1x
- Category: Dinner
- Method: Baking
- Cuisine: Tex-Mex
- Diet: Vegetarian
Ingredients
- 2 cups cooked, shredded chicken breast
- 1 teaspoon chili powder
- 1 teaspoon ground cumin
- 1/2 teaspoon garlic powder
- 1/2 teaspoon onion powder
- 1/4 teaspoon dried oregano
- 1/4 teaspoon salt
- 1/8 teaspoon black pepper
- 1 cup shredded Monterey Jack cheese
- 1 cup shredded cheddar cheese
- 8 large (10-inch) flour tortillas
- 2 tablespoons olive oil or cooking spray
- Cooking spray for baking
Instructions
- Preheat your oven to 400°F (200°C). Lightly grease a baking sheet or line it with parchment paper.
- In a medium bowl, combine the shredded chicken, chili powder, cumin, garlic powder, onion powder, oregano, salt, and pepper. Mix well until the chicken is evenly coated with the seasonings.
- Divide the seasoned chicken mixture evenly among the 8 tortillas, placing the filling slightly off-center. Sprinkle about 1/4 cup of the combined cheese over the chicken in each tortilla.
- Fold the sides of the tortilla inward over the filling. Then, tightly roll the tortilla up from the bottom edge to create a sealed chimichanga. Secure with toothpicks if necessary.
- Lightly brush or spray the outside of each rolled chimichanga with olive oil or cooking spray. This step helps achieve the crispy texture.
- Place the chimichangas seam-side down on the prepared baking sheet.
- Bake for 10 to 15 minutes. Carefully flip the chimichangas over and bake for another 5 to 10 minutes, or until they are golden brown and crispy on all sides.
- Remove from the oven and let them cool slightly before serving. Remove any toothpicks before serving.
Notes
- For extra crispiness, you can lightly spray the tortillas again with cooking spray halfway through the baking time.
- You can prepare the filling ahead of time and store it in the refrigerator for up to 3 days.
- Serve these oven fried chicken chimichangas with your favorite toppings like salsa, guacamole, sour cream, or shredded lettuce.
Nutrition
- Serving Size: 2 chimichangas
- Calories: 450
- Sugar: 3
- Sodium: 550
- Fat: 18
- Saturated Fat: 8
- Unsaturated Fat: 10
- Trans Fat: 0
- Carbohydrates: 45
- Fiber: 3
- Protein: 30
- Cholesterol: 85