
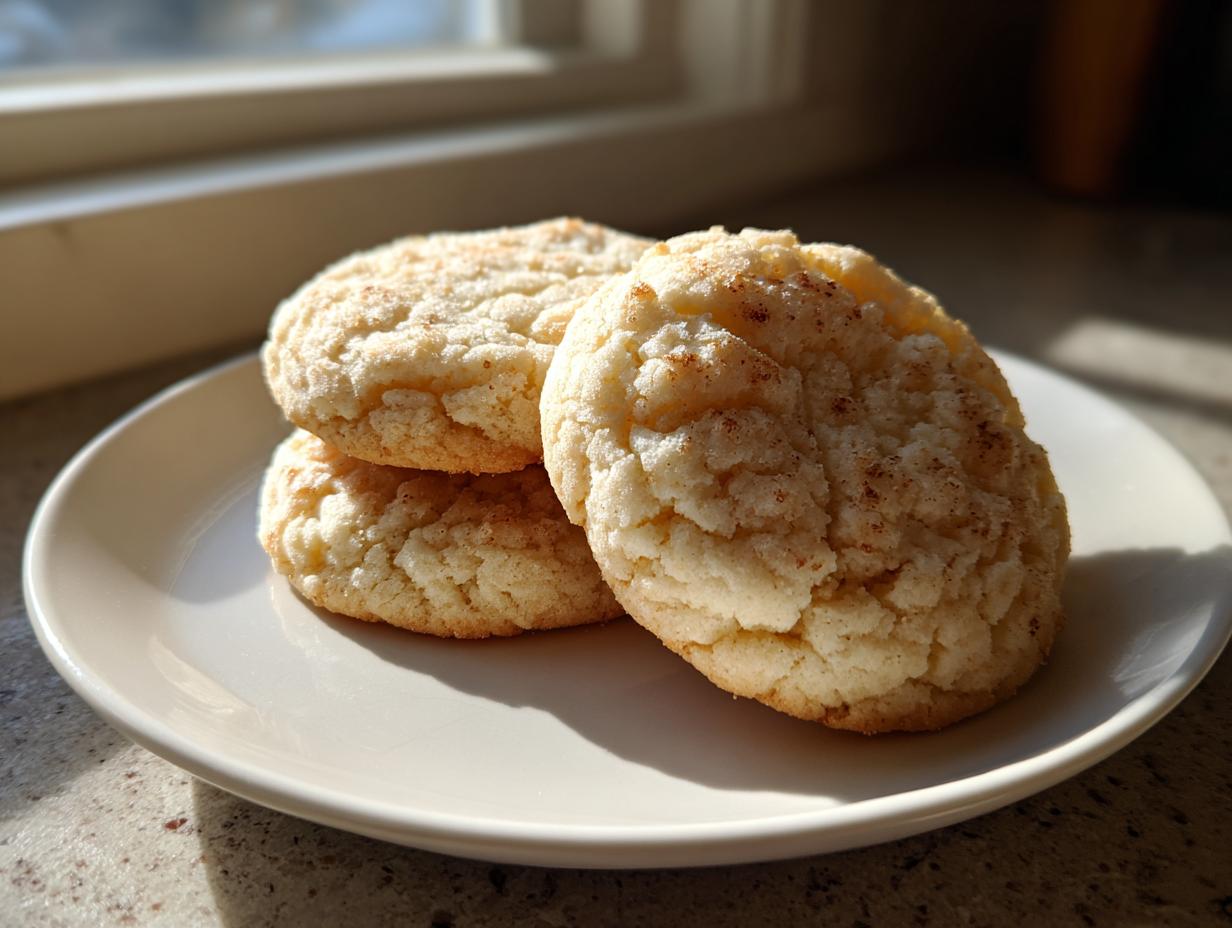

Hello there, and welcome to Cut Cook Taste! I’m Sarah Peterson, and seeing new faces here who are ready to bake up something wonderful always makes my day. If you’re on the hunt for that one, definitive recipe—the one that finally solves all your troubles—then you’ve landed in the right spot. I live for reliable home baking, and after years of trial and error so you don’t have to, I can finally share what I think is the absolute **Best Soft Cutout Sugar Cookies (No-Chill Recipe)**.
These aren’t just any sugar cookies; they are designed to be buttery, easy enough for a busy weeknight, yet sturdy enough to hold the cutest festive shapes you can imagine. They bake up soft every single time. Forget waiting hours for dough to chill! Let’s skip the stress and get straight to the sweet stuff.
- Why This is the Best Sugar Cookie Recipe You Will Ever Make
- Gathering Ingredients for Perfect Sugar Cookies
- Step-by-Step Instructions for Easy Sugar Cookies
- Baking Tips for Ideal Cut and Bake Cookies
- Mastering Decoration for Your Sugar Cookies
- Storage and Making Ahead with Sugar Cookies
- Frequently Asked Questions About Classic Sugar Cookies
- Nutritional Estimates for These Sugar Cookies
- Share Your Sweet Treats for Any Occasion
Why This is the Best Sugar Cookie Recipe You Will Ever Make
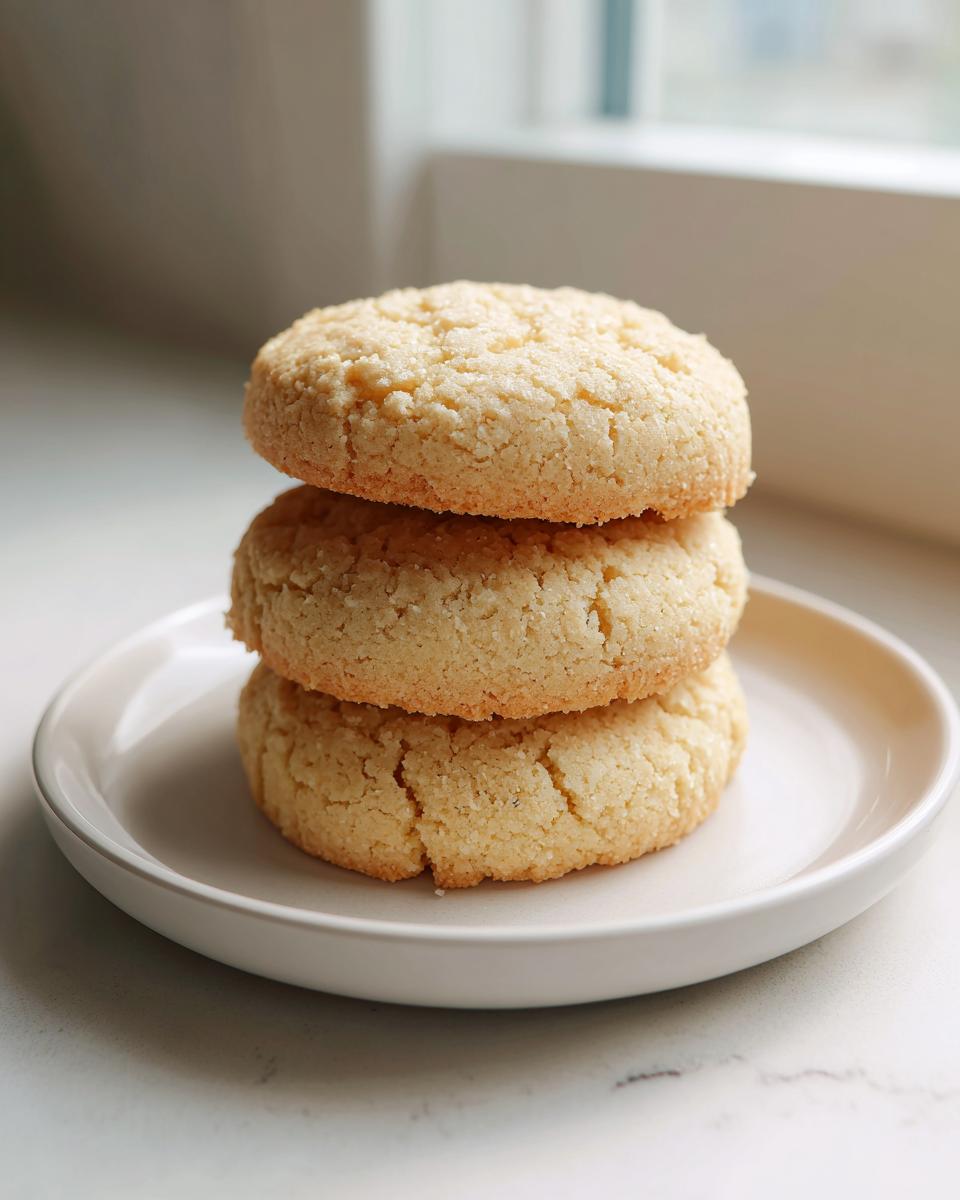
I know, I know—everyone claims to have the *best* recipe for sugar cookies. But seriously, I have tested dozens of versions, and this hybrid approach ticks every single box. This dough is magic because it respects tradition while saving you time!
- The texture is melt-in-your-mouth soft—we don’t want rock-hard discs!
- They are sturdy enough to cut into detailed shapes without major spreading.
- That pure, honest buttery vanilla flavor really shines through.
- And perhaps the best part? We keep the chill time super short—just 30 minutes!
Achieving Soft Sugar Cookies That Hold Their Shape
How do we get supreme softness *and* clean edges? It’s all in the ratios, my friends. We use just enough flour and a quick, efficient chill time—not an all-day wait. This process firms the fat just enough so your festive shapes don’t balloon into blobs when they hit the heat. You get beautiful, thick, bakery-style Soft Sugar Cookies that practically dissolve when you eat them.
Gathering Ingredients for Perfect Sugar Cookies
Okay, let’s talk about what goes into these beauties! The secret to making sure these sugar cookies are reliable and taste rich isn’t just about mixing—it’s about starting with quality components. When you gather your ingredients, precision matters, especially when we’re aiming for that bakery-style perfection. Keep everything measured out before you even think about turning on the mixer; that keeps the magic going smoothly!
Here is exactly what you’ll need from your pantry to capture that ultimate Buttery Vanilla Cookies flavor:
- 3 cups all-purpose flour
- 1 teaspoon baking powder
- 1/2 teaspoon salt
- 1 cup (2 sticks) unsalted butter, softened
- 1 1/2 cups granulated sugar
- 1 large egg
- 1 teaspoon vanilla extract
- 1/4 teaspoon almond extract (optional, for that bakery flavor)
Ingredient Notes and Substitutions for Your Sugar Cookies
Don’t get tempted to swap things out on the main ingredients if you want them soft! The most common mistake I see folks make is using butter that’s too warm. The butter absolutely must be softened—meaning you can easily press a finger into it, but it shouldn’t look greasy or shiny, which usually means it’s too warm and will cause spreading. Trust me on this one!
Now, about that secret sauce: the almond extract. It is totally optional, but if you add that little drop, it changes the game. It gives the cookies that faint, nostalgic, slightly exotic taste that professional bakeries always seem to have. If you skip it, we’re still making fantastic Classic Sugar Cookies, but if you add it, you get that extra wow factor. Also, make sure your baking powder is fresh so your cookies get just the right puff!
Step-by-Step Instructions for Easy Sugar Cookies
Alright, let’s roll up our sleeves and get baking! I designed this method to give you that amazing, reliable dough without requiring you to put your life on hold waiting for it to chill solid. We are making Easy Sugar Cookies that taste premium but come standard with straightforward directions. Just follow these steps, and you’ll have the best sugar cookies ready for the oven in under an hour!
Mixing the Perfect Sugar Cookie Dough
First things first: whisk together your dry ingredients—that’s the flour, baking powder, and salt—in a medium bowl. Setting that aside keeps everything organized. The real work happens when you cream the butter and sugar. You want this mixture to go pale yellow and really look fluffy! That takes about three minutes with an electric mixer, and it’s vital because it’s creating those tiny air pockets that keep the final cookie from being totally flat and dense. Once the egg and flavorings are mixed in, start adding that dry mixture slowly. The second the flour disappears, stop mixing! Overmixing at this stage is how we accidentally turn this soft dough into something tough. We are aiming for the **Perfect Sugar Cookie Dough**, and gentle handling is the key.
Rolling and Cutting Out Your Festive Sugar Cookies
Once the dough is together, divide it into two disks, wrap them tight, and pop them in the fridge. Seriously, just 30 minutes. This quick chill makes the dough firm enough to resist serious puffing when baked, which is what makes ours great **Cutout Sugar Cookies**. When you pull the dough out, work with one disk at a time to keep the other cold.
Flour your surface lightly, roll the dough out evenly to about 1/4-inch thickness—this thickness ensures they are wonderfully thick and soft, not thin snaps. Grab those cookie cutters, press down firmly, and move them quickly to your prepared baking sheets. Speed is your friend here so the dough doesn’t warm up too much on the counter!
Baking Tips for Ideal Cut and Bake Cookies
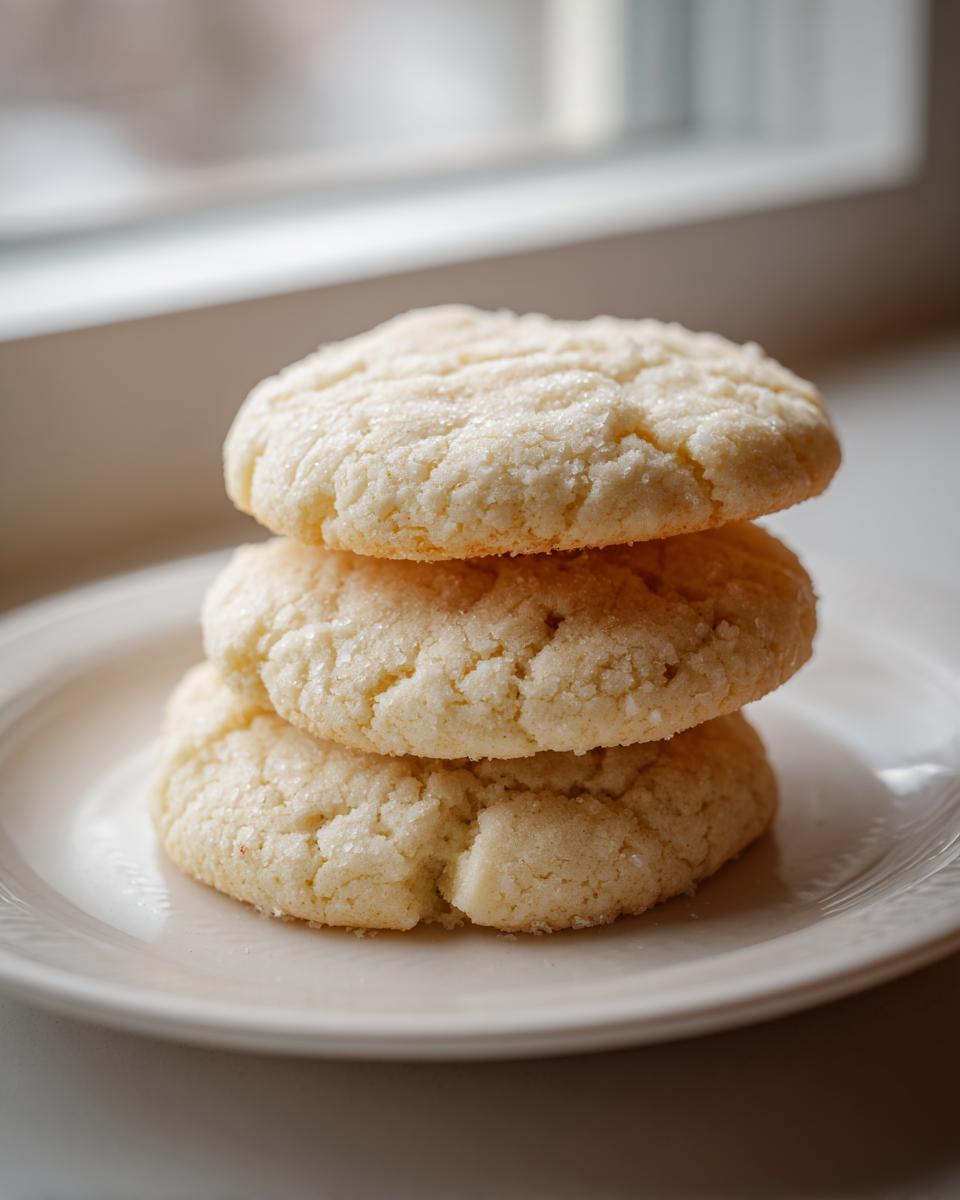
Now that our festive shapes are all lined up beautifully on their parchment-lined sheet, it’s time for the moment of truth! Baking time is brief, but paying attention during these few minutes is what separates a good cookie from a great one, especially with delicate sugar cookies. Remember, we are going for that signature soft texture, so we aren’t looking for dark, crisp edges here.
Preheat your oven to 375°F (190°C) before you even start rolling. This ensures the oven is hot and ready to set the outside of the cookie quickly, which helps lock in the moisture inside. As for timing, watch them closely between 8 and 10 minutes. You’re looking for the moment the cookie edges just start to look faintly set and maybe, just maybe, you notice a tiny hint of gold around the rim. If you keep them in too long, they will harden up as they cool off, which defeats the whole purpose of a Cut and Bake Cookies approach!
When they come out, the cookies will still feel a little soft in the center—that’s completely normal and exactly what we want. Leave them right on the hot baking sheet for about five minutes. This five-minute slow-down period lets the structure settle without over-baking them on the hot surface. After that, gently transfer them to a wire rack to cool completely before you go anywhere near them with a spatula or icing. Patience right at the end makes all the difference!
Mastering Decoration for Your Sugar Cookies
Okay, the baking part is done, and you have these gorgeous, soft, buttery rounds. Now for the fun part—turning them into showstoppers! If you’ve spent all this time making the perfect sugar cookie dough, you don’t want to ruin the look with a gloppy frosting, right? We want that crisp, clean finish, especially if these are for special events or parties. Being successful at Decorating Sugar Cookies comes down to two things: having the right consistency in your icing and letting the cookie cool completely.
Simple Icing Ideas for Holiday Sugar Cookies
When it comes to the ultimate finish for your Holiday Sugar Cookies, you really have two reliable friends: a simple glaze or proper royal icing. For me, if I’m making tons of cookies for an exchange or if I need sharp lines that hold up for days, I go straight for royal icing. It dries hard and smooth, which is exactly what you need for detailed work.
If you’re looking for that hard-setting icing, I have a fantastic formula you can check out for royal icing recipe that I use all the time. It’s foolproof!
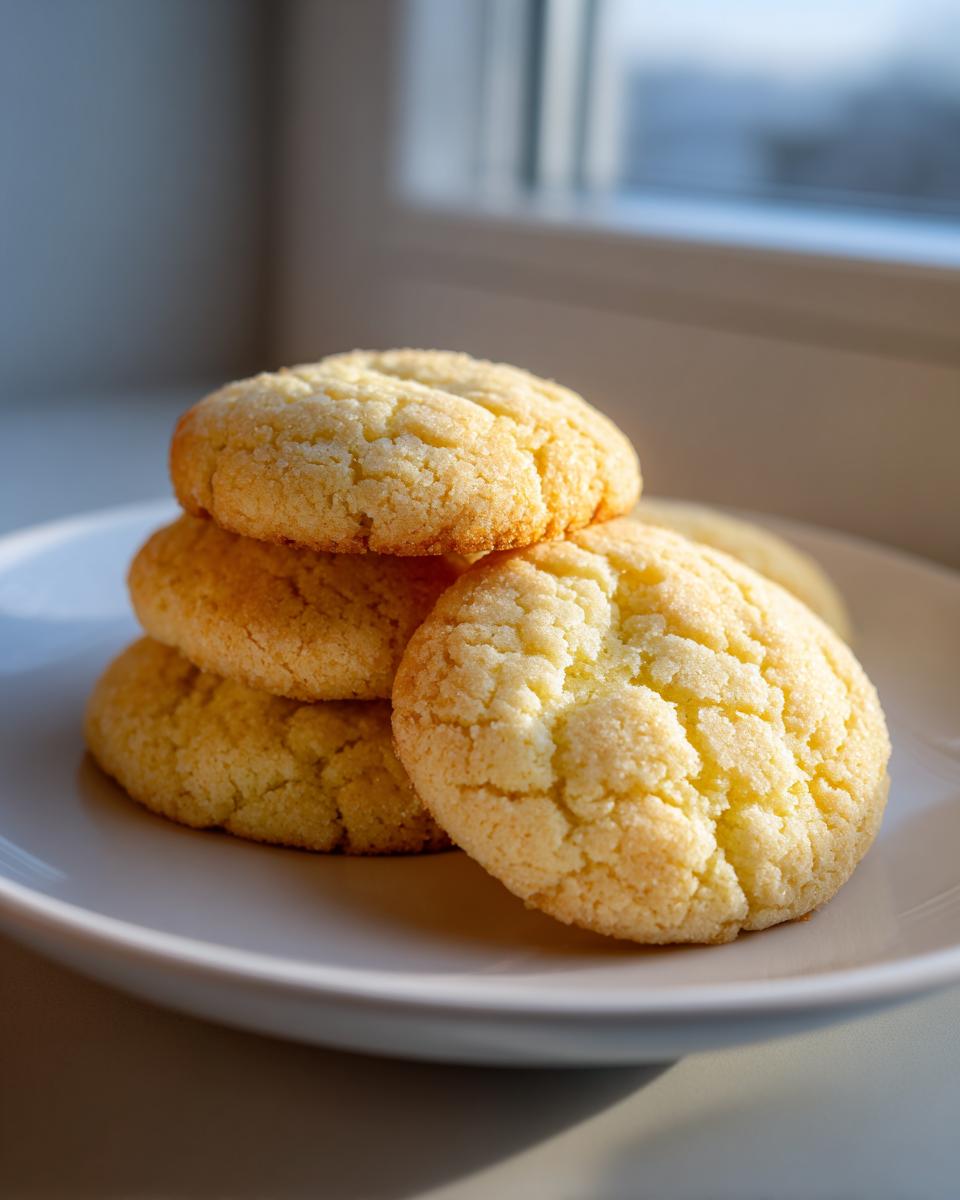
However, if you’re keeping things super simple or just want that gorgeous, soft, slightly shiny finish that seeps into the cracks—a thin glaze is your friend. Just mix powdered sugar with a splash of milk or citrus juice until it’s pourable but not watery. A light brush of this simple topping on a completely cool cookie is divine and so much faster!
Pro Tip: If you are using a glaze rather than royal icing, don’t overdo the liquid. A thin glaze will soak right into the soft cookie and make it super decadent, but too much liquid and you’re back to square one—a soggy bottom! We want happy, melt-in-your-mouth goodness, not a puddle!
Storage and Making Ahead with Sugar Cookies
We all know that the best part of making these sugar cookies is enjoying them later, right? The good news is, these hold up so well! For the absolute freshest Melt in Your Mouth Cookies, store them tightly packed in an airtight container at room temperature—no fridge needed here. They stay perfectly soft for about five days! If you bake for the holidays early, freeze baked, unfrosted cookies between layers of parchment paper; they last perfectly well for up to three months!
Frequently Asked Questions About Classic Sugar Cookies
I get so many questions about these beauties after people bake them—which is great! It means you’re busy in the kitchen trying them out. The main concerns usually revolve around things spreading in the oven or the dough being tricky to handle. Don’t worry, we can fix most issues with a quick check of your technique. These Classic Sugar Cookies are forgiving, but a few tweaks can make them perfect every time!
Troubleshooting Common Sugar Cookies Issues
The two biggest heartbreaks when making cutout cookies are spreading (where your cute squirrel now looks like a melted puddle) or the dough being impossibly sticky. If your cookies spread drastically, I’d put money on your butter being too warm when you creamed it, or you might have packed your flour measurements too tightly. When you scoop flour directly into the cup, you pack it down, and suddenly you have way too much flour, which changes the dough structure. Always spoon your flour into the measuring cup and level it off!
If you’re finding that even after the quick chill, your dough is too soft for clean cutting, pop it back in for another 15 minutes. It’s better to have dough that’s slightly too firm than too soft when you’re cutting shapes! Also, while this is designed to be a no-chill cookie, if you live somewhere super warm, a longer chill will turn this recipe into excellent Chewy Sugar Cookies, but it might flatten them slightly more during baking.
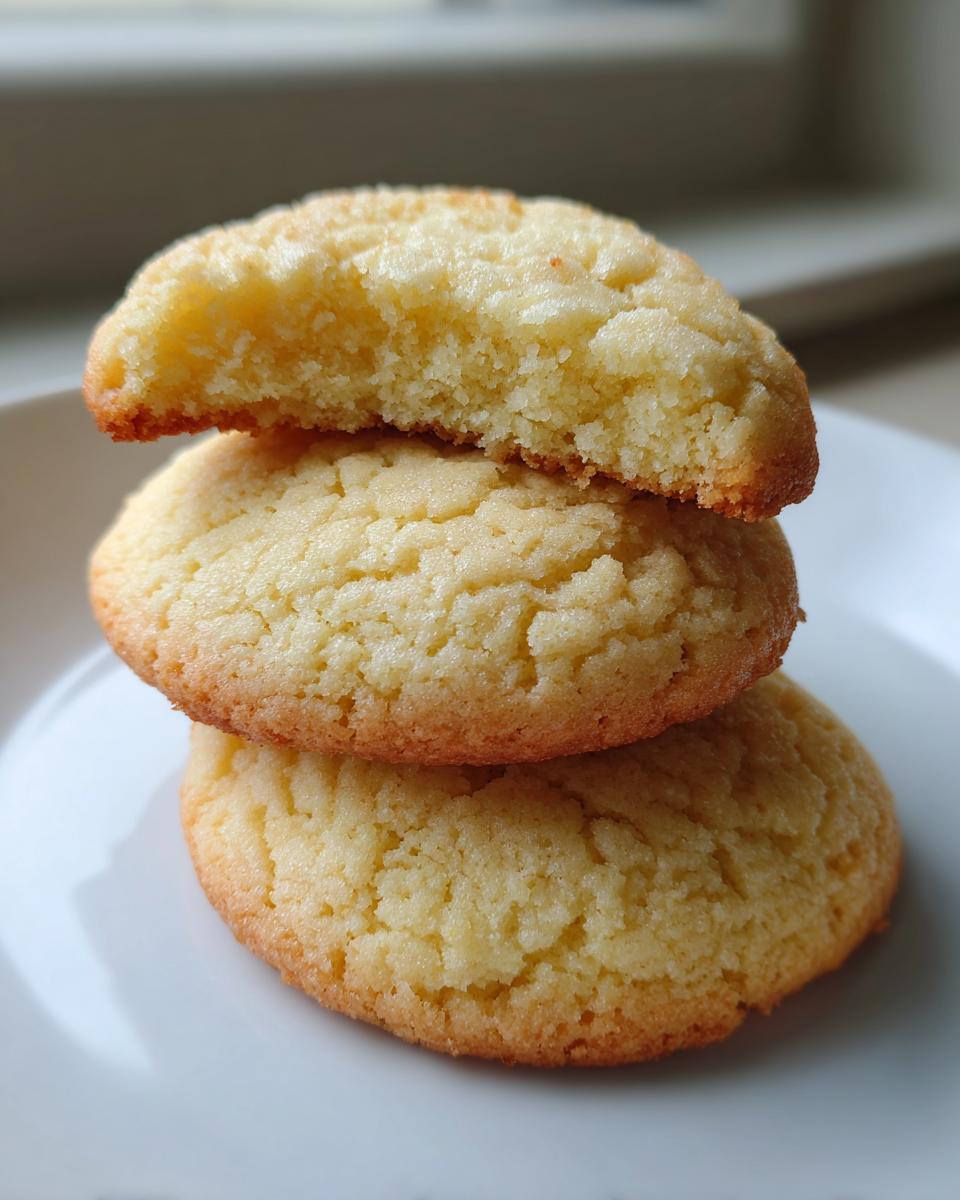
One more thing: If your cookies look flat but aren’t spreading, it’s almost always from overmixing after the flour went in. As soon as you see those white streaks disappear, stop right there! You want the dough just combined.
Nutritional Estimates for These Sugar Cookies
I always like to give you folks a heads-up on what’s in our treats! Now, remember, because we are talking about home baking—and you might be using slightly different butter or sugar brands—these numbers are just a general guideline for one cookie. They are based on making about 24 of these wonderful sugar cookies. If you’re skipping the optional almond extract, your values might shift just a tiny bit, but this gives you a good ballpark figure!
- Serving Size: 1 cookie
- Calories: 160
- Sugar: 15g
- Fat: 8g (5g saturated)
- Carbohydrates: 21g
- Protein: 2g
Enjoy them guilt-free—life is too short not to have a fantastic, buttery cookie once in a while!
Share Your Sweet Treats for Any Occasion
Well, that’s it! You have officially mastered the art of the soft, sturdy, never-fail sugar cookies. I am so excited for you to try this recipe, whether you’re making a giant batch for your next big party or just whipping up a small tray of Simple Holiday Baking treats because you needed a sweet moment. If you have any sticky questions as you go along, don’t hesitate to drop me a line over on the contact page!
Now, for the most important part: I need to see what you’ve made! Seriously, seeing your perfectly cut shapes and creative decorating sends me over the moon. Did you use sprinkles? Did you pipe amazing royal icing flowers? Please, head down to the comments below and tell me which cookie cutters you grabbed first. Did you try adapting them? I love learning how you make this recipe your own!
If you made these and I mean *really* loved them—if they’re officially your new go-to—could you do me a huge favor and give the recipe five stars right at the top of the page? That little bit of feedback helps other bakers find this reliable recipe, and it means the world to me that you trust my kitchen advice. For more foolproof baking ideas, don’t forget to check out some other posts on the site, or maybe see how others are decorating their amazing holiday treats over here: cut out sugar cookies inspiration.
Let’s keep that happy kitchen tradition going! Happy Baking, and come back soon!
PrintThe Best Soft Cutout Sugar Cookies (No-Chill Recipe)

Welcome! I’m Sarah, and I’m so happy you’re here. You asked for the ultimate sugar cookie recipe—one that is easy, buttery, holds its shape for cutting, and stays soft after baking. This is my go-to recipe for perfect holiday sugar cookies that deliver that melt-in-your-mouth texture every time.
- Prep Time: 20 min
- Cook Time: 10 min
- Total Time: 50 min
- Yield: 24 cookies 1x
- Category: Dessert
- Method: Baking
- Cuisine: American
- Diet: Vegetarian
Ingredients
- 3 cups all-purpose flour
- 1 teaspoon baking powder
- 1/2 teaspoon salt
- 1 cup (2 sticks) unsalted butter, softened
- 1 1/2 cups granulated sugar
- 1 large egg
- 1 teaspoon vanilla extract
- 1/4 teaspoon almond extract (optional, for bakery flavor)
Instructions
- In a medium bowl, whisk together the flour, baking powder, and salt. Set this dry mixture aside.
- In a large bowl, use an electric mixer to beat the softened butter and granulated sugar together until the mixture is light and fluffy, about 3 minutes. This step builds air for a soft cookie.
- Beat in the egg and vanilla extract (and almond extract, if using) until just combined. Scrape down the sides of the bowl as needed.
- Gradually add the dry ingredient mixture to the wet ingredients, mixing on low speed until the dough just comes together. Do not overmix.
- Divide the dough in half, flatten each half into a disk, wrap tightly in plastic wrap, and chill in the refrigerator for at least 30 minutes. This quick chill helps the dough handle cutting cleanly.
- Preheat your oven to 375°F (190°C). Line baking sheets with parchment paper.
- Remove one disk of dough from the refrigerator. On a lightly floured surface, roll the dough out to about 1/4-inch thickness.
- Use your favorite cookie cutters to cut out shapes. Place the cut shapes onto the prepared baking sheets, leaving about 1 inch between them.
- Bake for 8 to 10 minutes, or until the edges are just set and lightly golden. For soft sugar cookies, err on the side of underbaking slightly.
- Let the cookies cool on the baking sheet for 5 minutes before transferring them to a wire rack to cool completely. Decorate once fully cooled.
Notes
- For the best results when cutting shapes, chill your cookie cutters in the freezer for 10 minutes before using them.
- If you want a chewier cookie, reduce the baking time by one minute.
- This dough is excellent for making cut and bake cookies; you can wrap the rolled-out dough around a clean can or bottle, chill until firm, and slice for uniform rounds.
- For decorating sugar cookies, a simple royal icing or a glaze made with powdered sugar and milk works well.
Nutrition
- Serving Size: 1 cookie
- Calories: 160
- Sugar: 15
- Sodium: 85
- Fat: 8
- Saturated Fat: 5
- Unsaturated Fat: 3
- Trans Fat: 0
- Carbohydrates: 21
- Fiber: 0
- Protein: 2
- Cholesterol: 30