
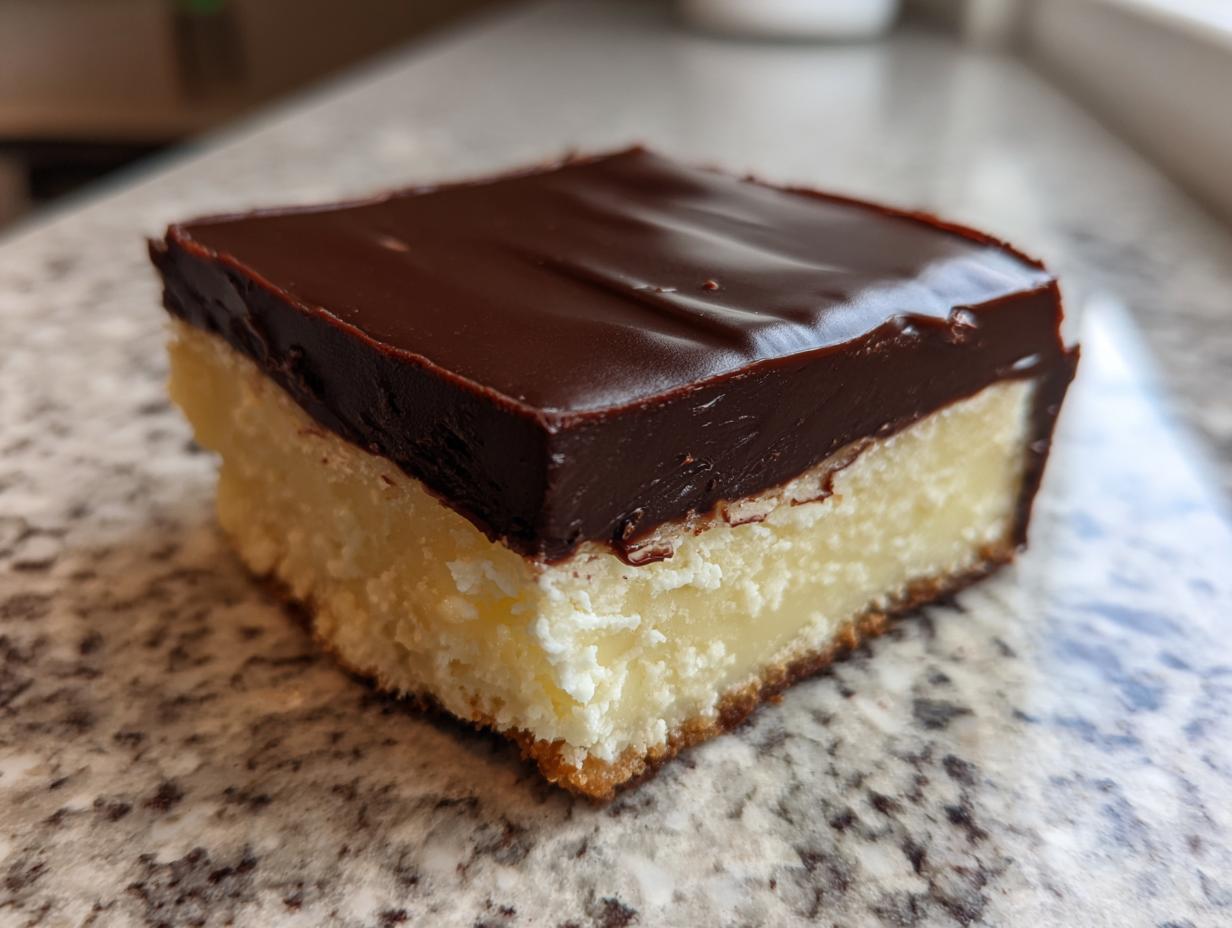

Oh, you guys, I have to tell you about my latest obsession! You know how much I adore diving into those classic flavors we all grew up with, right? My grandma’s kitchen was always filled with the most magical smells, and honestly, some of my fondest memories are tied to those simple, comforting baked goods. That nostalgic feeling is exactly what inspired this incredible boston cream pie fudge. Seriously, it’s like capturing a little piece of heaven in every bite. It’s a total no-bake wonder, layered with creamy vanilla fudge and topped with a luscious chocolate ganache. Trust me, this is the kind of treat that makes any day feel like a special occasion, just like the desserts my grandma used to whip up when we were all together. You can even find more about my kitchen philosophies over on my about page!
- Why You'll Love This Boston Cream Pie Fudge
- Ingredients for Boston Cream Pie Fudge
- Crafting Your Layered Fudge Recipe
- Tips for Perfect Vanilla Custard Fudge
- Ingredient Notes and Substitutions
- Frequently Asked Questions about Boston Cream Pie Fudge
- Serving and Storing Your Homemade Fudge
- Nutritional Information (Estimate)
- Share Your Boston Cream Pie Fudge Creations!
Why You’ll Love This Boston Cream Pie Fudge
It’s totally no-bake – seriously, no oven required!
You get that classic Boston cream pie flavor in a delicious fudge form.
It’s super easy to whip up, perfect for busy bakers.
The layers of creamy vanilla and rich chocolate are just divine.
It’s a showstopper for holiday candy trays or any party dessert spread.
Makes for a fantastic homemade gift that people will adore.
Ingredients for Boston Cream Pie Fudge
You’ll need just a few pantry staples to bring this dreamy dessert to life. Here’s what to grab:
- 1 (14 ounce) can sweetened condensed milk
- 1 1/2 cups granulated sugar
- 1/2 cup (1 stick) unsalted butter, cut into pieces
- 1 teaspoon pure vanilla extract
- 1/4 teaspoon salt
- 1 cup powdered sugar, sifted
- 1/2 cup semi-sweet chocolate chips
- 1 tablespoon unsalted butter (for the ganache)
Crafting Your Layered Fudge Recipe
Alright, let’s get down to the good stuff – making this dream of a boston cream pie fudge! It’s really not complicated at all, and the results are SO worth it. You’ll be amazed at how easily these delicious layers come together. This is where the magic happens, transforming simple ingredients into a decadent, no-bake treat. For more easy fudge ideas, check out my easy homemade fudge recipe!
Preparing Your Pan and Base Layer
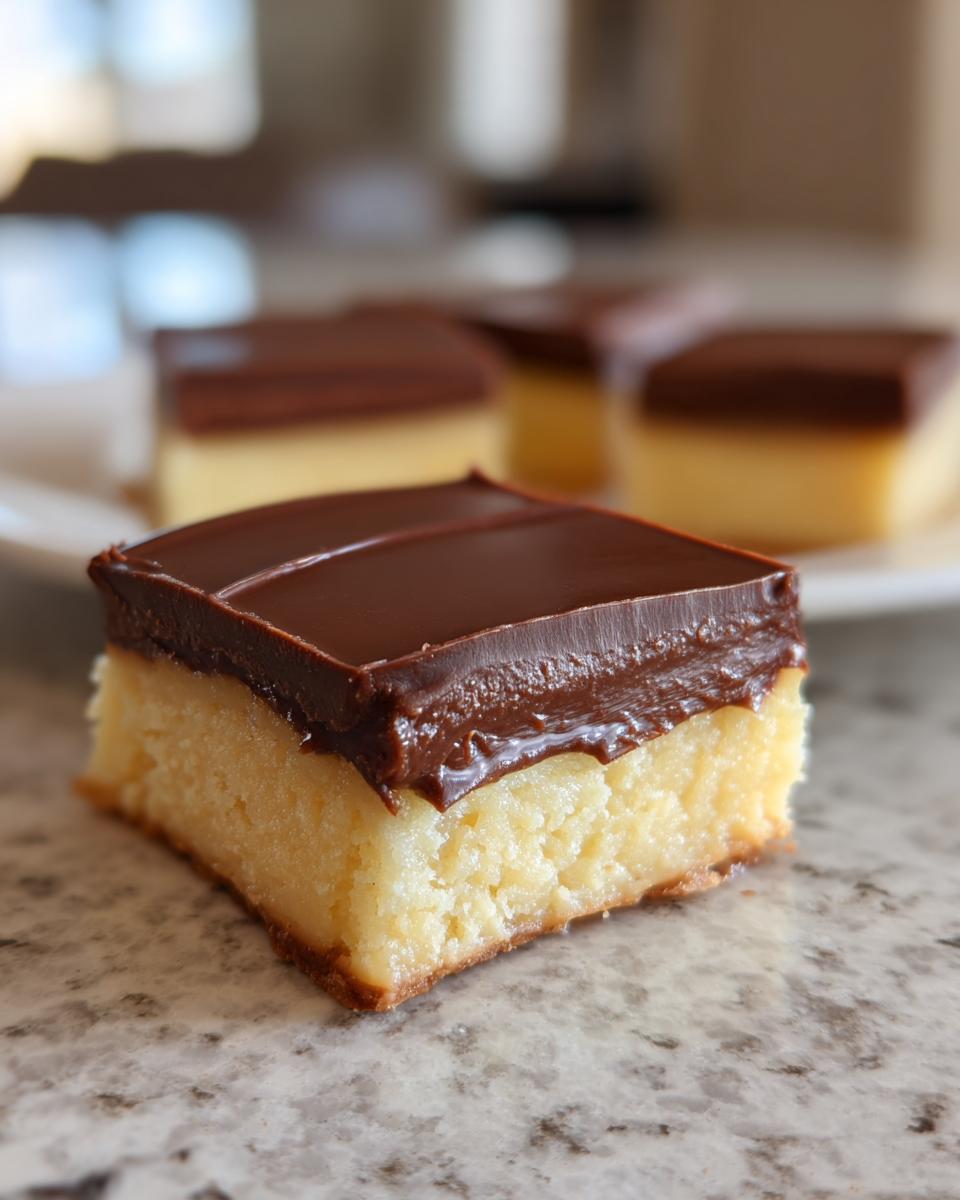
First things first, grab an 8×8 inch baking pan. Line it really well with parchment paper, making sure to leave a nice overhang on the sides. This is your secret weapon for lifting the fudge right out later – no sticking, no fuss! Now, in a medium saucepan, we’re going to combine the sweetened condensed milk, granulated sugar, about half a cup of butter (that’s one stick!), a good splash of vanilla extract, and that pinch of salt. Give it a whirl over medium heat. Stir it constantly – no slacking off now! – until it thickens up nicely and reaches that soft-ball stage. That usually takes about 10-15 minutes. Once it’s there, take it off the heat and stir in the powdered sugar until it’s smooth as silk. Pour about half of this gorgeous mixture into your prepared pan and spread it out as evenly as you can. This is your creamy base!
Creating the Chocolate Ganache Topping
Next up, the decadent chocolate layer! It’s super simple. Grab a small microwave-safe bowl and toss in your chocolate chips along with that extra tablespoon of butter. Microwave them in short bursts, like 30 seconds at a time, stirring in between each interval. Keep going until it’s all melted and wonderfully smooth. You want it just right, not too hot. Carefully pour this luscious chocolate ganache right over that first fudge layer in the pan. Gently spread it out so it covers the base perfectly. It should look so tempting already!
Completing the Boston Cream Pie Fudge Layers
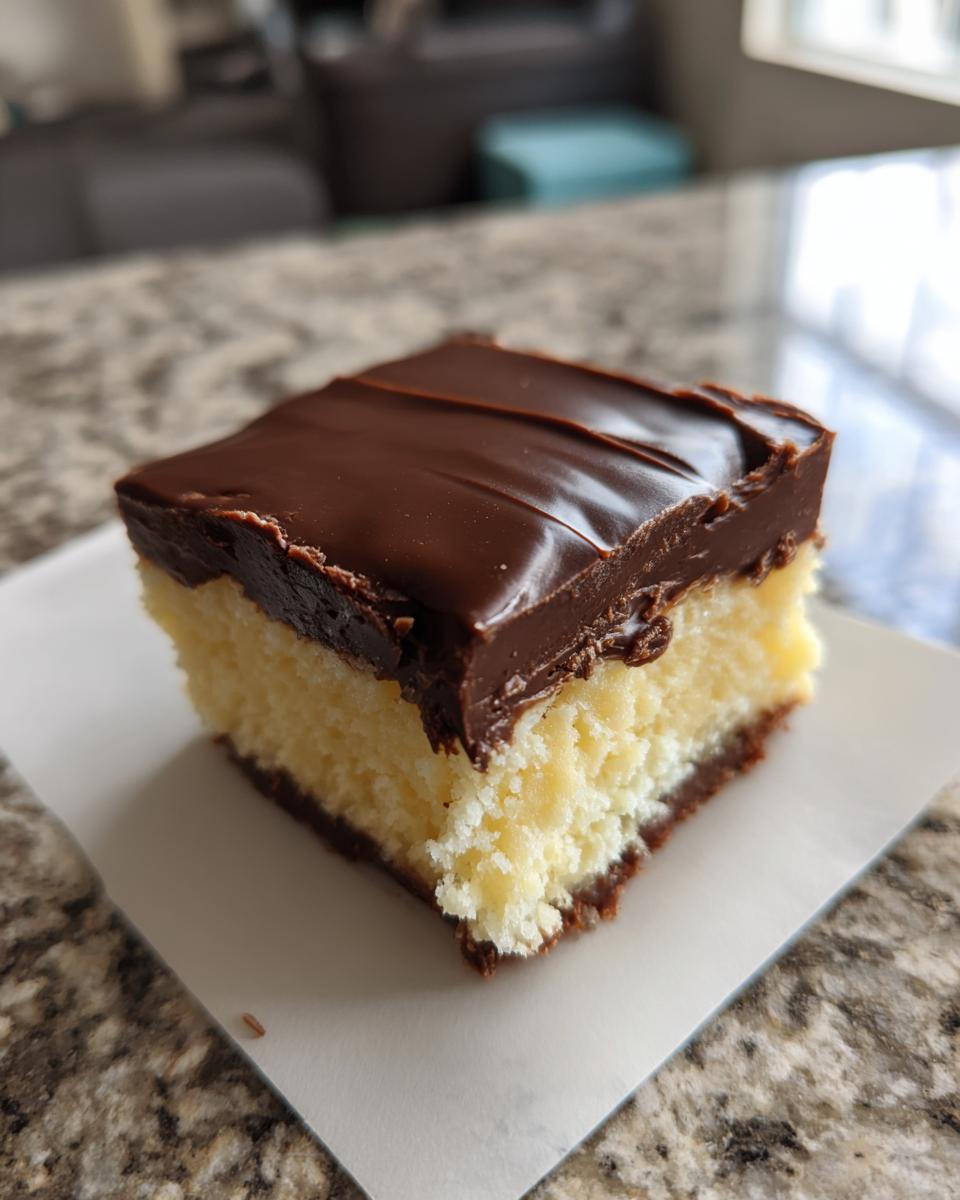
Now for the grand finale of the layers! Take the remaining half of that wonderful fudge mixture you set aside and dollop it right on top of the chocolate ganache. Again, spread it out evenly so you have a beautiful, smooth top layer. This is starting to look like actual Boston cream pie, just in fudge form! Once it’s all spread out, we need to be patient. Cover the pan and pop it into the refrigerator. Let it chill for at least 2 solid hours, or until it’s completely firm. You want it to be nice and solid before you cut into it.
Cutting and Serving Your Layered Fudge
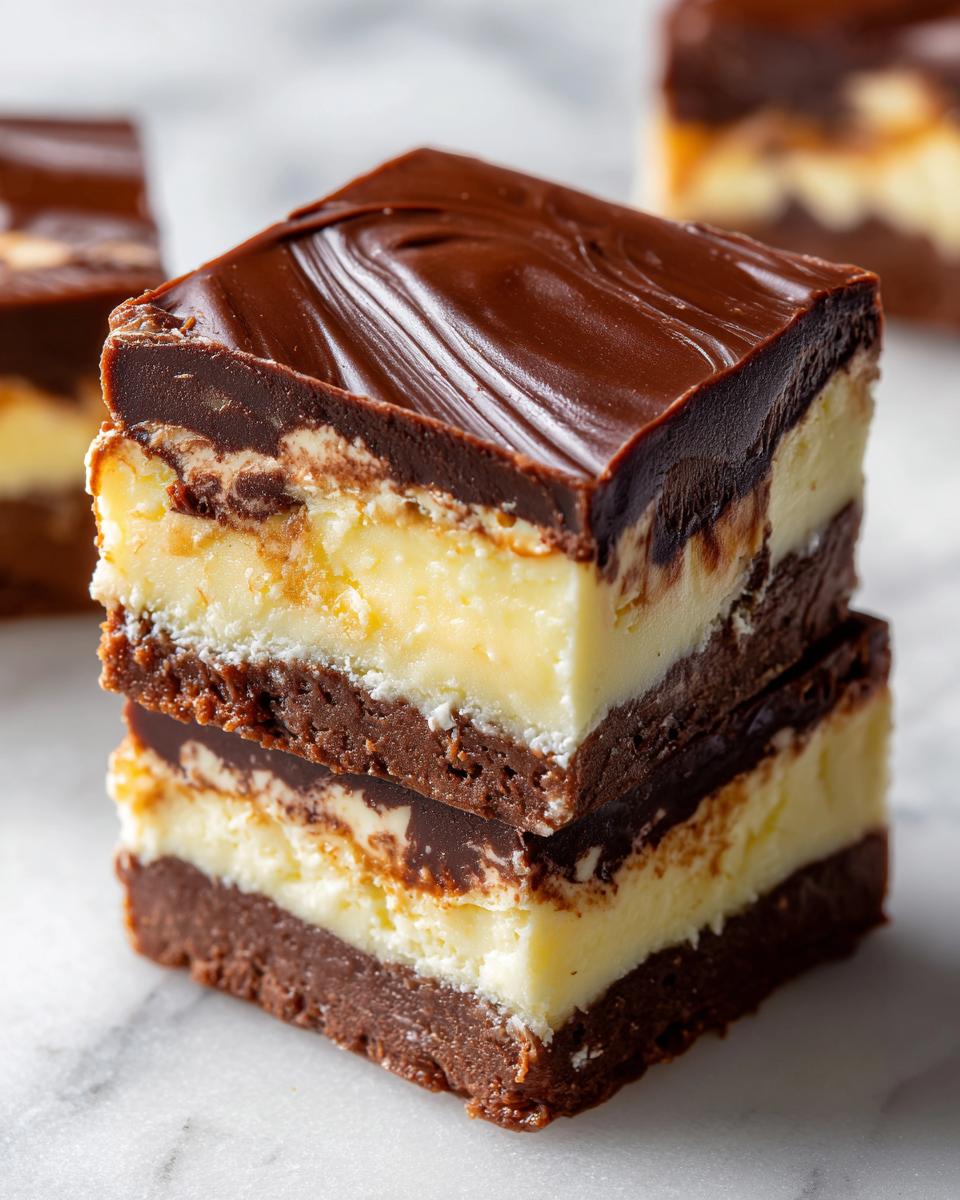
Once it’s perfectly chilled and firm, it’s time for the best part – cutting! Grab those parchment overhangs you left earlier and carefully lift the whole slab of fudge right out of the pan. You can place it on a cutting board. For the cleanest cuts, I like to use a sharp knife. Sometimes, warming the knife under hot water and drying it between cuts can help create super neat squares. Just slice it up into bite-sized pieces, about 1-inch squares, and marvel at those beautiful layers! For a richer chocolate kick, you could try using dark chocolate chips for your ganache, it’s a little trick I learned. For more frosting fun, check out my chocolate buttercream frosting!
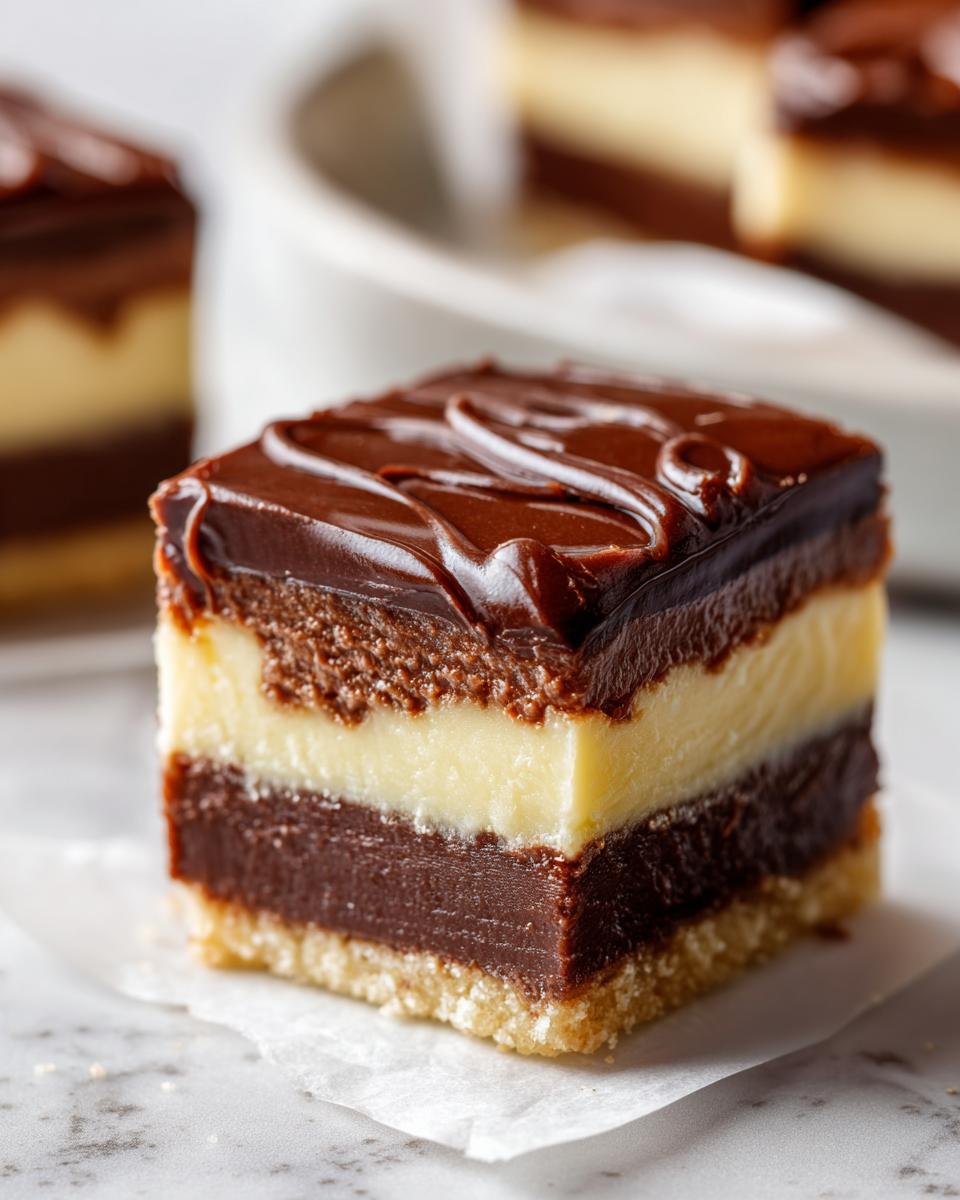
Tips for Perfect Vanilla Custard Fudge
Making the perfect batch of this boston cream pie fudge really comes down to a few little things. You know, it’s like my grandma used to say, “It’s all in the details!” First off, don’t skimp on the quality of your ingredients. Using real butter and pure vanilla extract makes a HUGE difference in that custardy flavor. Also, when you’re cooking the fudge mixture on the stove, stir, stir, STIR! Seriously, constant stirring is key to getting that super smooth texture and preventing it from scorching on the bottom. I learned this the hard way once when I got distracted and almost ruined a whole batch – never again! Make sure you hit that soft-ball stage temperature; it might seem fussy, but it’s what gives the fudge that perfect soft, chewy consistency without being too runny or too hard. And for that dreamy chocolate ganache, make sure your chocolate chips are good quality, or your fudge might end up tasting a little waxy. For more awesome fudge adventures, you’ve gotta check out my peanut butter fudge recipe!
Ingredient Notes and Substitutions
Alright, let’s talk ingredients! When I’m whipping up this boston cream pie fudge, I try to stick to the list, but I know sometimes you’re in a pinch. That sweetened condensed milk is crucial for that creamy texture, so don’t try to substitute that unless you absolutely have to (and let me know how it goes!). For the chocolate chips in the ganache, semi-sweet is my go-to for that classic balance, but feel free to use milk chocolate for something sweeter or dark chocolate for a richer, more intense flavor. If you don’t have unsalted butter, salted will work in a pinch, just maybe skip the extra salt in the fudge mixture. It’s all about making it work for you!
Frequently Asked Questions about Boston Cream Pie Fudge
Got questions about whipping up this yummy boston cream pie fudge? I’ve got answers for you! Let’s dive into some of the common things folks wonder about when making this layered fudge recipe.
Can I make this boston cream pie fudge without a candy thermometer?
Oh, totally! Don’t let a candy thermometer scare you away. My grandma never even owned one! You can totally test for that soft-ball stage the old-fashioned way. Just carefully drop a tiny bit of the hot fudge mixture into a glass of ice-cold water. If it forms a soft, pliable ball that you can squish between your fingers, you’re good to go! It takes a little practice, but it works like a charm for this easy homemade fudge.
How long does boston cream pie fudge last?
This layered fudge recipe is pretty forgiving! Stored in an airtight container at room temperature, it’ll stay deliciously fresh for about 3 days. If your kitchen is on the warmer side, or you want it to last longer, just pop it in the fridge. In an airtight container in the refrigerator, it can keep for up to a week. It’s perfect for making ahead for parties or holiday candy platters!
Can I freeze this layered fudge recipe?
You sure can! If you want to make this layered fudge recipe even further in advance, freezing is totally an option. Just make sure it’s completely firm and cut into squares. Wrap each square individually in parchment paper, then place them all in a freezer-safe airtight container or a heavy-duty freezer bag. It should keep well for a couple of months. When you’re ready to enjoy it, just let it thaw out in the refrigerator overnight. Easy peasy!
My fudge seems a little soft, what did I do wrong?
Don’t you worry one bit! If your fudge is a little softer than you expected, it might be because it didn’t quite reach the correct temperature while cooking on the stove. The soft-ball stage is super important for fudge; it’s what gives it that perfect texture. You can always try to gently re-warm it and cook it a little longer, making sure to test that soft-ball stage again. Or, you can just embrace the gooier texture and call it a delightful, spreadable fudge! If you ever have more questions, feel free to reach out via my contact page!
Serving and Storing Your Homemade Fudge
Once your beautiful boston cream pie fudge is all cut into little squares, they’re ready to be served! They are truly perfect just as they are, showcasing those lovely layers. If you want to get fancy for a party, you could sprinkle a few extra chocolate shavings on top, but honestly, they’re stunning just plain. For storing, keep them in an airtight container. At room temperature, they’ll be delicious for about 3 days. If it’s really warm where you are, or you want them to last a bit longer, pop them in the fridge where they’ll keep nicely for up to a week!
Nutritional Information (Estimate)
Here’s a little peek at the estimated nutritional info for each square of this yummy boston cream pie fudge. Keep in mind these numbers are just a guideline and can vary a bit depending on the exact brands of ingredients you use. But, as a general idea, a single piece usually has around 250 calories, with about 12g of fat (7g of that is saturated), 38g of carbohydrates, and 35g of sugar. It also has a little bit of protein and sodium. It’s definitely a treat, so enjoy every bite!
Share Your Boston Cream Pie Fudge Creations!
I absolutely love hearing from you guys and seeing what you create in your own kitchens! So, if you make this incredible boston cream pie fudge, please, please, PLEASE leave a comment below and let me know how it turned out for you. Did you love those layers? Did it disappear in minutes? Share your thoughts, rate the recipe, and if you snap any pics, tag me on social media! You can see more of my kitchen adventures over on my blog!
PrintBoston Cream Pie Fudge
A no-bake layered fudge recipe that captures the flavors of Boston cream pie with vanilla custard fudge and a chocolate ganache topping.
- Prep Time: 20 min
- Cook Time: 15 min
- Total Time: 2 hours 35 min
- Yield: 16 servings 1x
- Category: Dessert
- Method: No-Bake
- Cuisine: American
- Diet: Vegetarian
Ingredients
- 1 (14 ounce) can sweetened condensed milk
- 1 1/2 cups granulated sugar
- 1/2 cup (1 stick) unsalted butter
- 1 teaspoon vanilla extract
- 1/4 teaspoon salt
- 1 cup powdered sugar
- 1/2 cup semi-sweet chocolate chips
- 1 tablespoon unsalted butter
Instructions
- Line an 8×8 inch baking pan with parchment paper, leaving an overhang on the sides.
- In a medium saucepan, combine sweetened condensed milk, granulated sugar, 1/2 cup butter, vanilla extract, and salt.
- Cook over medium heat, stirring constantly, until the mixture thickens and reaches the soft-ball stage (235°F on a candy thermometer). This will take about 10-15 minutes.
- Remove from heat and stir in the powdered sugar until smooth.
- Pour half of the fudge mixture into the prepared pan and spread evenly.
- In a small microwave-safe bowl, combine chocolate chips and 1 tablespoon butter. Microwave in 30-second intervals, stirring in between, until melted and smooth.
- Pour the chocolate ganache over the fudge layer and spread evenly.
- Pour the remaining fudge mixture over the chocolate ganache and spread evenly.
- Chill in the refrigerator for at least 2 hours, or until firm.
- Lift the fudge out of the pan using the parchment paper overhang. Cut into squares.
Notes
- For a richer chocolate flavor, use dark chocolate chips for the ganache.
- If you don’t have a candy thermometer, you can test for the soft-ball stage by dropping a small amount of the mixture into cold water. It should form a soft, pliable ball.
- Store the fudge in an airtight container at room temperature for up to 3 days, or in the refrigerator for up to a week.
Nutrition
- Serving Size: 1 square
- Calories: 250
- Sugar: 35g
- Sodium: 40mg
- Fat: 12g
- Saturated Fat: 7g
- Unsaturated Fat: 5g
- Trans Fat: 0g
- Carbohydrates: 38g
- Fiber: 1g
- Protein: 3g
- Cholesterol: 25mg