
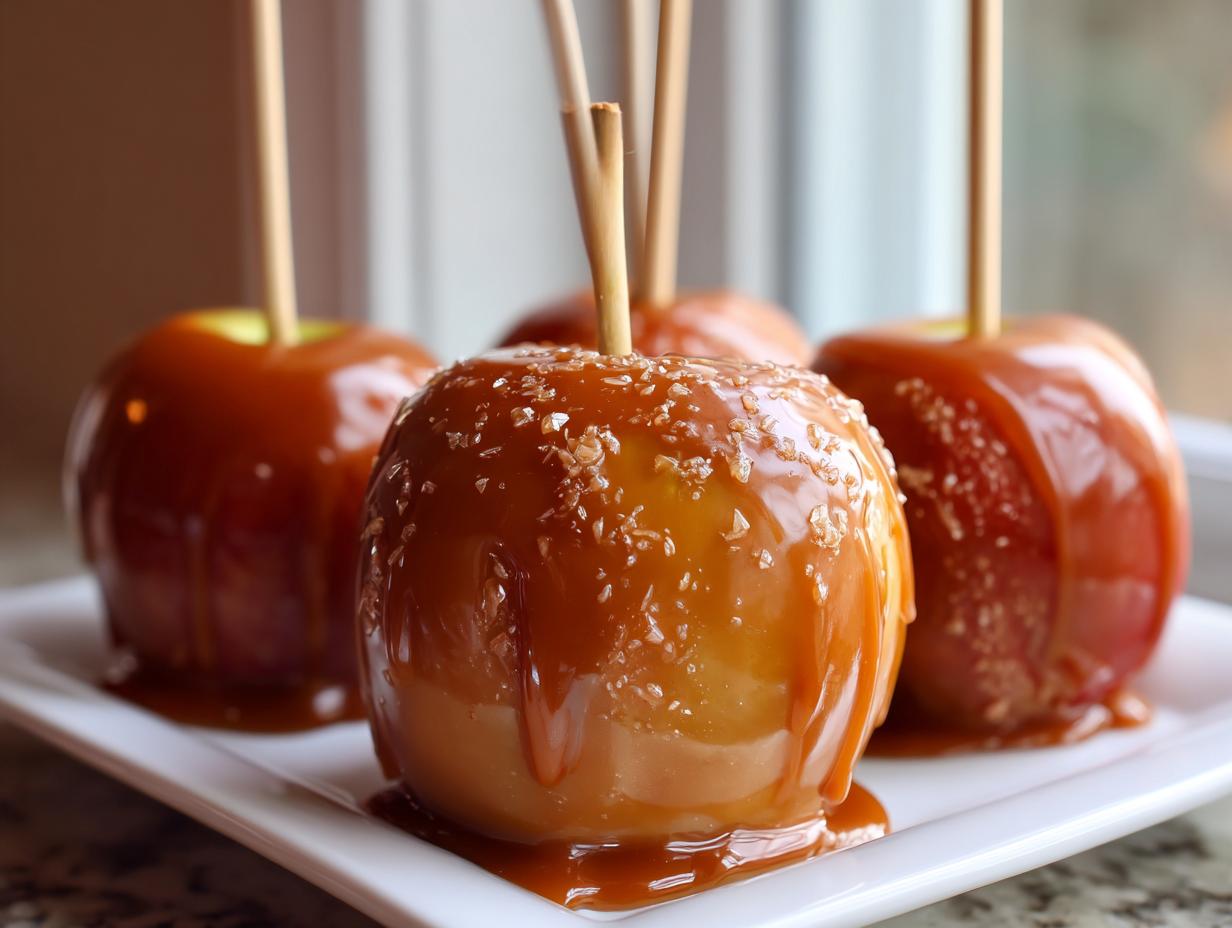

Oh, the classic caramel apple! Doesn’t the memory of that sweet, tart combination just transport you right back to crisp autumn days? But let’s be honest, making them at home can be an absolute disaster. You spend all that time on the perfect caramel just to watch it slide right off the apple onto the parchment paper. No thank you! My family history is filled with tales of sticky kitchen floors, but I promise you, after years of testing and tweaking, I finally cracked the code. This is hands-down the BEST foolproof homemade caramel apple recipe you’ll ever try—it guarantees that rich, wonderfully chewy caramel coating will stick beautifully every single time. Welcome to Cut Cook Taste; let’s make a tradition you can trust. If you’re looking for more great inspiration, check out the rest of my recipes over at my blog!
- Why This Homemade Caramel Apple Recipe is Foolproof (The Secrets to Sticking)
- Gathering Ingredients for Classic Caramel Apples
- The Chewy Caramel Apples Tutorial: Step-by-Step Instructions
- Making Gourmet Caramel Apples: Flavor Variations and Topping Ideas
- Essential Caramel Apple Making Tips for Success
- Storing Your Classic Caramel Apples
- Frequently Asked Questions About Caramel Apples
- Estimated Nutrition for This Caramel Apple Recipe
- Share Your Homemade Caramel Apple Creations
Why This Homemade Caramel Apple Recipe is Foolproof (The Secrets to Sticking)
If you’ve sworn off making caramel apples forever because the caramel just slides off, trust me, I get it. That’s the absolute worst! We are going to fix that permanently here. The reason this recipe works so well, giving you these beautiful homemade caramel apples that stick, comes down to two non-negotiable steps before you even reach the stovetop. Don’t skip these, or you’ll regret it! If you want to look at another amazing fall recipe while you wait for the caramel to cool, check out my flaky apple pie recipe.
Apple Preparation: Removing the Wax for Perfect Caramel Apple Adhesion
First up, we need to address the waxy coating on the apples. Even those gorgeous Granny Smiths you buy at the store have a protective layer, and caramel hates wax! It just won’t grip. My trick, which I learned from my Aunt Clara, is to give them what I call a little vinegar bath. Just soak those apples—sticks already inserted, of course—in hot tap water mixed with a splash of white vinegar for about five minutes. Rinse them off, but here’s the critical part: they absolutely must be bone dry afterward. Use paper towels, give them a good wipe down, or even let them air dry on a clean kitchen towel. If there is even a drop of moisture, the caramel won’t grab hold!
The Crucial Cooling Step for Chewy Caramel Apples
The second huge secret, especially if you want that satisfying chew, happens after you take the pot off the heat. Once you stir in that dreamy condensed milk mixture, you must let the caramel sit for about five to ten minutes. I know, I know, patience is hard when something smells that good! But this cooling time thickens the sauce perfectly; it moves from being runny to having that gorgeous, thick consistency needed for a proper coating. If you dip too soon while it’s piping hot, it will just drip right down. Letting it cool just a little bit ensures that thick, chewy caramel layer sets up right where you want it. My friend shared a great trick for dealing with overly runny caramel, but trust me, letting yours cool will save you the trouble!
Gathering Ingredients for Classic Caramel Apples
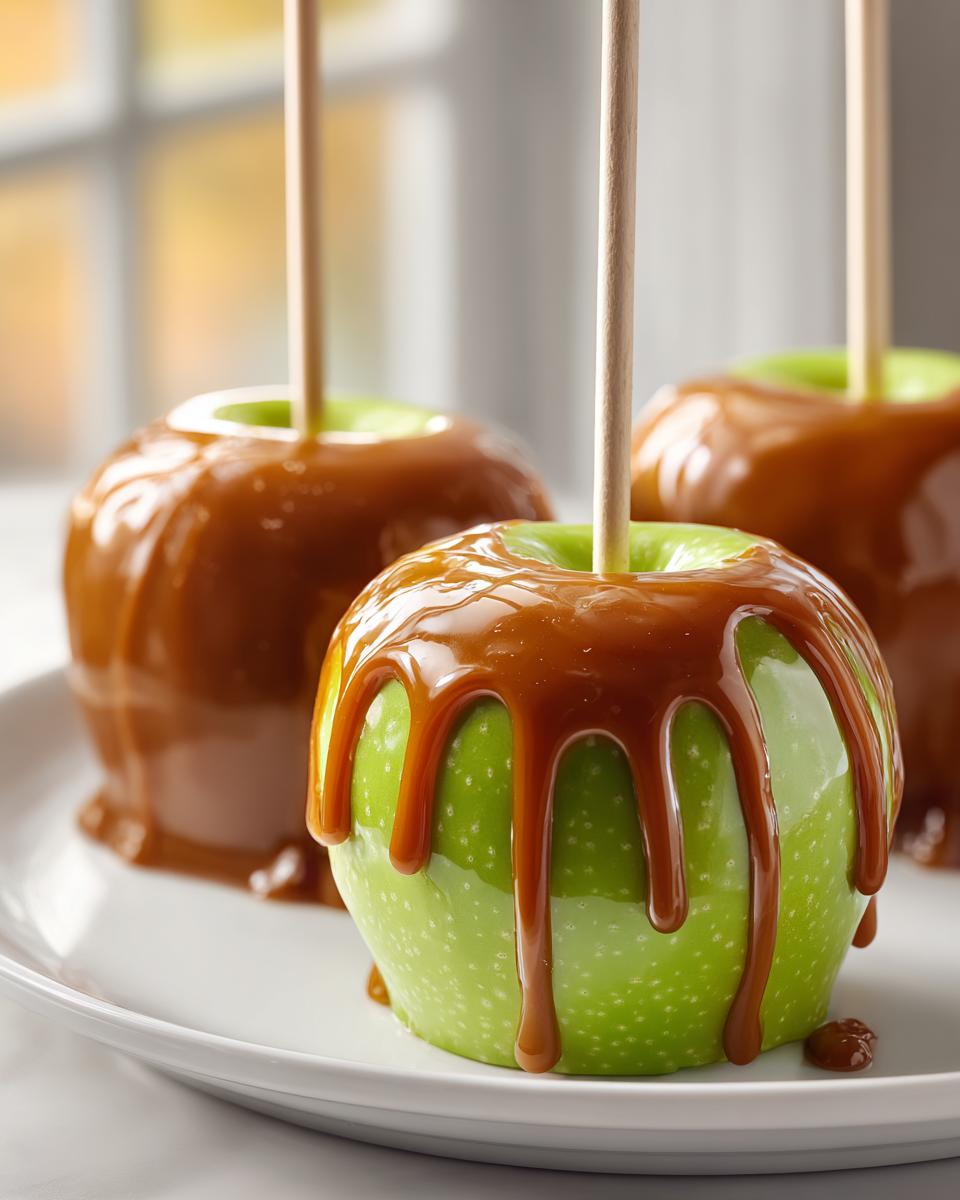
Okay, now that we’ve mastered the prep work—hello, bone-dry apples!—we need to gather our components for the star of the show: the caramel itself. Remember, the quality of your ingredients really shines through here, especially with such a simple recipe. We are aiming for that rich, gooey texture, so make sure you have everything ready to go before you turn the burner on low. You’ll be amazed at how these simple pantry staples come together for such a gourmet result!
- 6 medium tart apples, like Granny Smith
- 12 wooden sticks or skewers
- 1 cup (which is 2 full sticks) unsalted butter
- 2 1/2 cups packed light brown sugar—make sure it’s packed!
- 1 cup light corn syrup
- 1 (14 ounce) can sweetened condensed milk
- 1 teaspoon pure vanilla extract
- 1/2 teaspoon sea salt
- 1/4 teaspoon ground cinnamon (only if you want that little warm spice kick!)
The Chewy Caramel Apples Tutorial: Step-by-Step Instructions
Alright, deep breaths! This is where we see all that prep work pay off. Making the caramel from scratch is what separates the serious treat-makers from the casual dabblers, and I’m going to walk you through the science so you get that perfect, chewy caramel apples tutorial result. I absolutely love the rich, buttery smell that fills my kitchen during this stage. When you’re ready for a different kind of decadence later, try my chocolate caramel toffee crunch cake!
Cooking the Caramel to Firm Ball Stage for Rich Gooey Caramel Recipe
Get a heavy-bottomed saucepan—this helps prevent scorching, which is a total nightmare! Combine your butter, brown sugar, and corn syrup. Heat it gently until the butter melts and the sugar is gone. Once it starts to boil, you listen to me: stop stirring! You absolutely must use a candy thermometer here; precision is key for that rich gooey caramel recipe. Let it bubble away undisturbed until it hits exactly 245 degrees Fahrenheit. That’s the firm ball stage, and it’s the absolute magic number for achieving that signature chewiness instead of a hard candy shell.
Dipping and Setting Your Perfect Caramel Apple
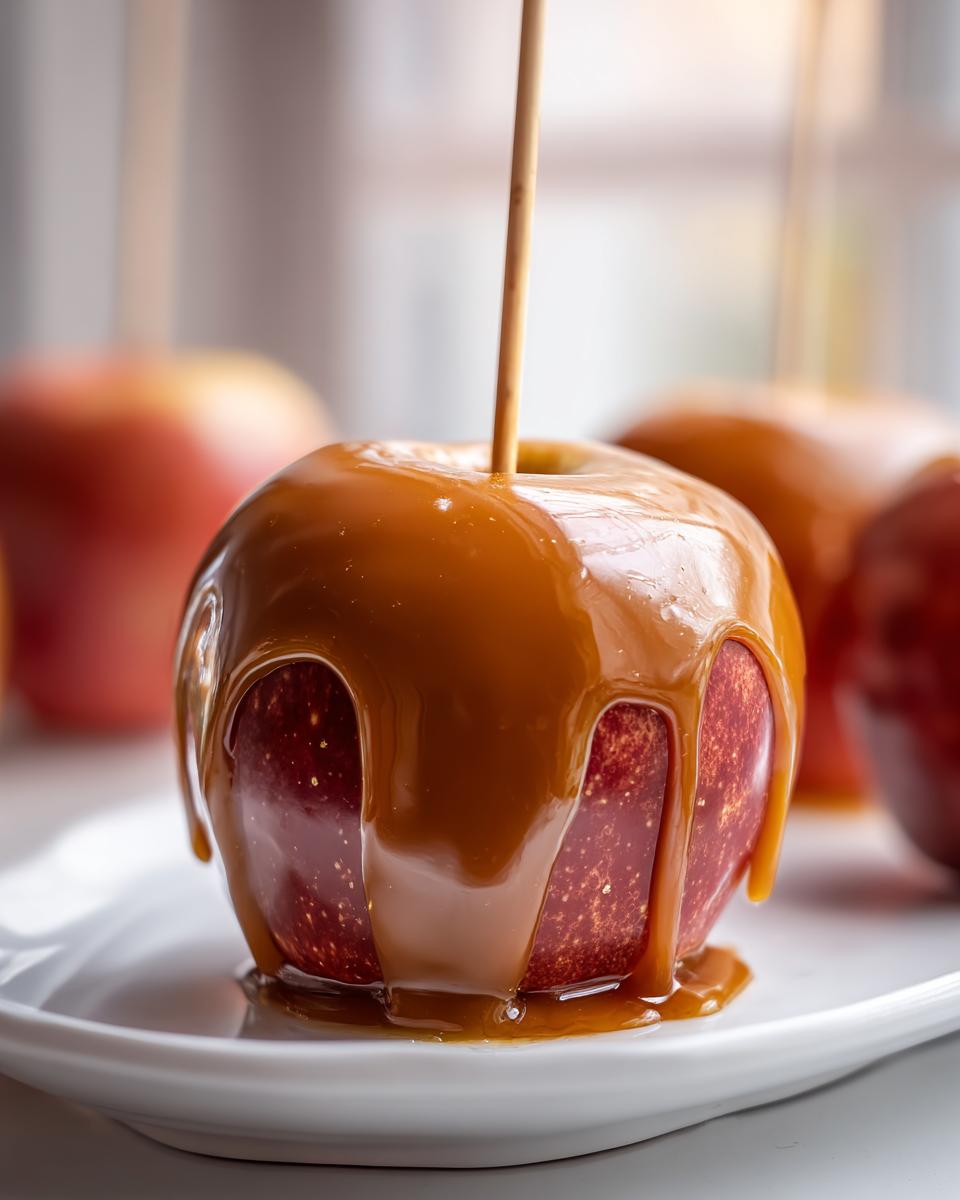
When your thermometer hits 245°F, pull that pot right off the heat! Now, remember that cooling step we talked about? Let it rest for about five to ten minutes so it thickens up a bit. Once it’s cooled slightly, tilt the pan so the caramel pools nicely on one side. Dip your prepared apple in, turning it gently to coat the whole thing. Let the extra drip back in—don’t linger too long! Then, place it immediately onto your parchment-lined sheet. If you’re adding pecans or salt flakes, sprinkle right now before it sets! If you want to see how other bakers manage their gourmet versions, you can check out Chef Alba’s take on spiced apples.
Making Gourmet Caramel Apples: Flavor Variations and Topping Ideas
This recipe is fantastic as a classic, but honestly, customizing them is where the real fun begins! Once you master the base, you can venture into making truly gourmet caramel apples that taste like they came from an artisanal candy shop. I always love having a tray of toppings ready to go because those few minutes while the caramel is still warm are precious. If you enjoy baking with nuts—and I do!—you might want to look at my favorite soft butter pecan cookies, too.
Creating Spiced Caramel Apples Recipe
Did you notice that tiny bit of ground cinnamon in the ingredients list? That’s my secret to a quick flavor boost, resulting in a lovely spiced caramel apples recipe variation! Just stir that quarter teaspoon in right after you mix in the sweet condensed milk. It adds such a warm, autumn hug to the flavor profile. If you really want to go bold, a pinch of nutmeg or even a tiny dash of ground cloves works wonders, though you have to be disciplined not to add too much! It perfectly complements the tartness of the Granny Smith.
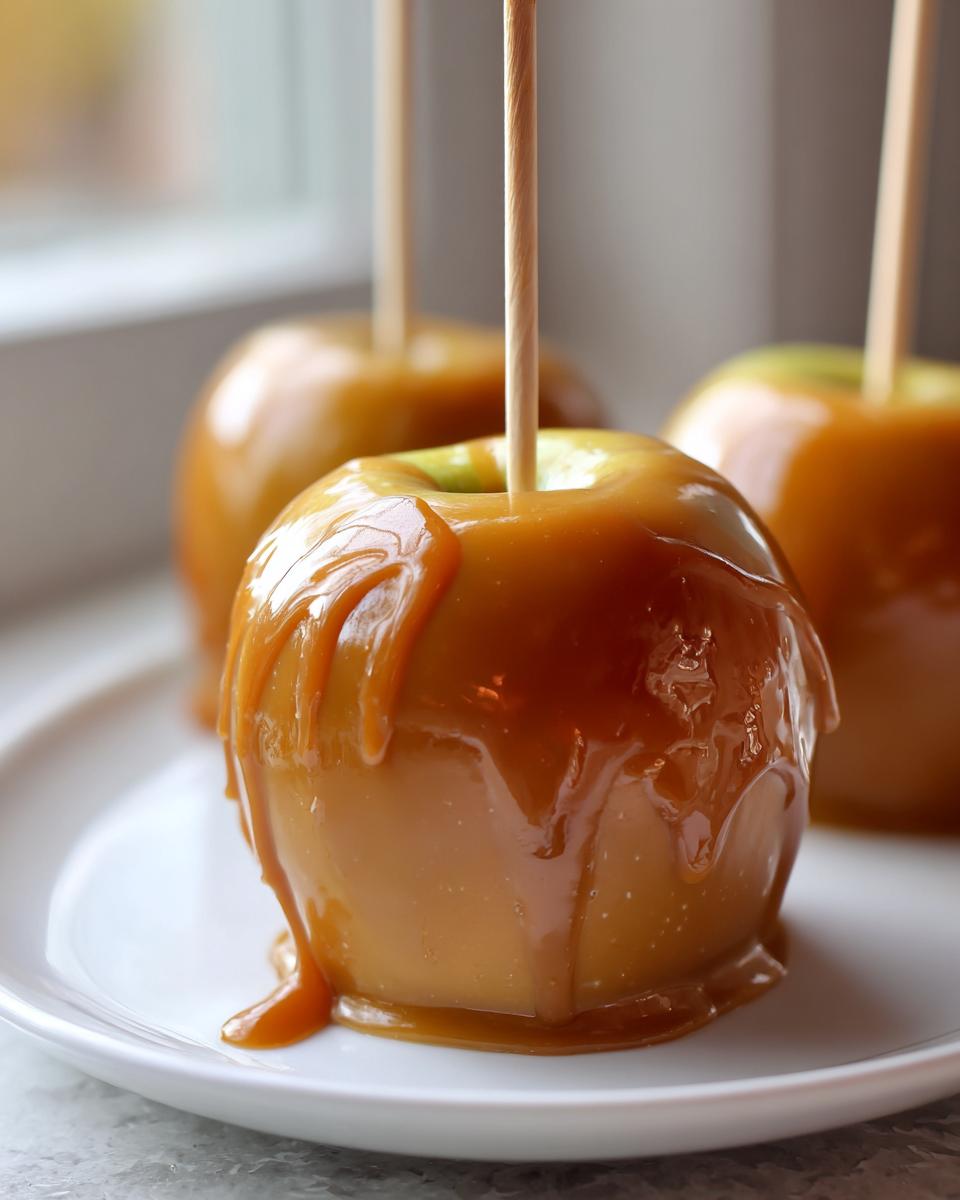
Now for the ultimate presentation: caramel apple topping ideas! Beyond the pecans mentioned earlier, think about texture contrasts. Crushed salty pretzels are divine against the sweet chew. Or, pour a thin drizzle of high-quality dark chocolate over the finished caramel layer. If you want even more inspiration for decorating these beauties, remember to check out that huge list of ideas over here!
Essential Caramel Apple Making Tips for Success
Even with my perfect recipe, sometimes little things can throw a wrench in the works, right? So, let’s talk about some crucial caramel apple making tips to ensure everything goes smoothly. Remember what I said about drying? If you are using apples freshly washed, wipe them down with paper towels dipped in vinegar—that wax has to go for the caramel to stay put! Also, never, ever forget to let the caramel cool for those tense few minutes after you stir in the condensed milk. That cooling time is what transforms it into that chewy layer we are obsessed with.
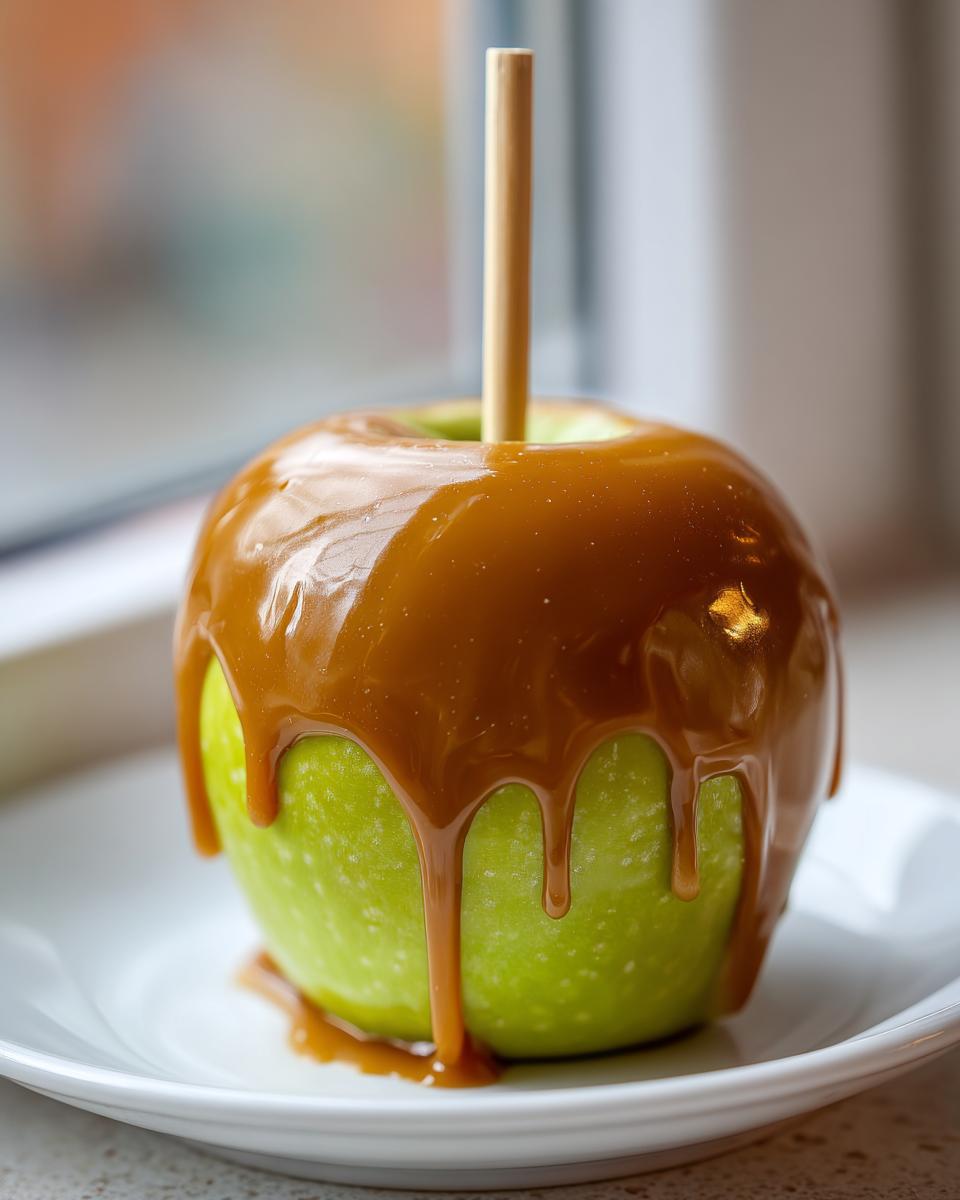
If your caramel seems too stiff while you’re dipping, don’t panic! Just gently warm the whole pot over the lowest setting for maybe sixty seconds, stirring constantly. That brings it back just enough to coat beautifully. For storage, while the fridge sets the caramel fast, I actually prefer them set up on the counter if I can manage to wait! If your kitchen is super warm, though, pop them in the fridge, but take them out about half an hour before serving so the caramel softens up just a tad. For more baking wisdom, you can always check out my simple apple strudel recipe!
Storing Your Classic Caramel Apples
Now that you have your beautiful batch of classic caramel apples, you need to know how to keep them perfect! The goal is keeping that caramel firm but not rock-hard. If your kitchen isn’t too tropical, you can actually let them set up completely on the counter at room temperature. They should be fine for a day or two as long as they are covered loosely.
If you need them to last longer, wrapping them individually in plastic wrap and storing them in the refrigerator is the way to go. Just remember my one little rule: pull them out about thirty minutes before you plan to serve them. That little bit of time lets the caramel soften back up just enough so it doesn’t crack when you take that first glorious bite!
Frequently Asked Questions About Caramel Apples
Whenever I post these amazing treats, I get so many questions, which totally makes sense! Candy making has a few tricky bits, but I’m happy to share what I know to help you succeed. If you want to see the next dessert I’m working on, come check out my apple dapple cake!
Can I use store-bought caramel instead of making the caramel apple recipe easy?
You certainly can if you’re in a huge hurry, but I have to be honest: my recipe has the best guarantee for sticking, and that comes from cooking the sugar and syrups to that precise 245°F. Store-bought caramel is often too soft or too thin straight from the jar, and it usually slides right off, no matter how dry your apple is. If you use store-bought, put it in a small saucepan, heat it slowly until it gets slightly looser, and then make absolutely sure you let it cool down for those crucial five minutes before dipping. It’s less reliable, but sometimes you just need a shortcut!
What is the best type of apple for making caramel apples from scratch?
When you’re learning how to make caramel apples from scratch, the apple choice is huge! You need something that can handle the coating and offers a great, tart contrast to the heavy sweetness of the caramel. Granny Smith apples are my hands-down favorite; they are firm and acidic. If you can’t find those, any crisp, tart apple will work well. Avoid soft Red Delicious apples because they tend to bruise easily and can turn mealy once the caramel sets up.
Estimated Nutrition for This Caramel Apple Recipe
Now, let’s talk numbers. I always feel a little guilty looking at these, but knowing what’s in what you eat is important, right? Remember that these figures are just estimates based on the ingredients listed, and they change slightly depending on the exact size of your apples or how thick you dip. But for reference, here is the breakdown for one glorious apple coating!
- Serving Size: 1 apple
- Calories: 550
- Sugar: 85g
- Sodium: 180mg
- Fat: 22g (with 14g of that being saturated fat)
- Carbohydrates: 90g
- Protein: 3g
It’s a treat, for sure, but oh my goodness, it’s worth every single number when you take that first fantastic bite!
Share Your Homemade Caramel Apple Creations
I truly hope you loved making these as much as I love sharing them with you! The greatest joy for me as a home cook isn’t just making the recipes, but hearing how they turn out in your kitchens. So, please, don’t be shy when you’re done! If you loved how perfectly that caramel stuck—and I’m betting you did—please come back here and give this recipe a solid 5 stars. It helps other bakers know this is the real deal!
More importantly, I want to know what you topped yours with! Did you go classic salt, or did you get adventurous with sprinkles or dark chocolate? Drop a comment down below and fill me in on your gourmet choices. And if you snapped a picture of your beautiful bounty sitting on your kitchen counter, tag me on social media! Seeing your work and hearing that you’ve created new traditions around food is what makes all this testing and tweeting worthwhile. If you are looking for another fun, chocolatey treat to try next, check out my chocolate-covered cherries recipe!
PrintThe BEST Foolproof Homemade Caramel Apples: Chewy and Guaranteed to Stick

Learn the simple secrets to making homemade caramel apples with a perfectly chewy texture that adheres flawlessly to crisp apples. This no-fail tutorial guides you to gourmet fall desserts.
- Prep Time: 20 min
- Cook Time: 20 min
- Total Time: 40 min
- Yield: 6 servings 1x
- Category: Dessert
- Method: Stovetop Cooking
- Cuisine: American
- Diet: Vegetarian
Ingredients
- 6 medium tart apples (like Granny Smith)
- 12 wooden sticks or skewers
- 1 cup (2 sticks) unsalted butter
- 2 1/2 cups packed light brown sugar
- 1 cup light corn syrup
- 1 (14 ounce) can sweetened condensed milk
- 1 teaspoon pure vanilla extract
- 1/2 teaspoon sea salt
- 1/4 teaspoon ground cinnamon (optional, for spiced flavor)
Instructions
- Prepare the apples: Wash the apples thoroughly to remove any wax coating. You can soak them in hot water with a splash of vinegar for 5 minutes, then dry them completely. Insert one wooden stick firmly into the stem end of each apple.
- Prepare your workspace: Line a baking sheet with parchment paper or a silicone mat. Have your toppings ready if you plan to use them (like chopped nuts or sprinkles).
- Make the caramel: In a heavy-bottomed saucepan, combine the butter, brown sugar, and corn syrup. Heat over medium heat, stirring constantly until the butter melts and the sugar dissolves.
- Cook the caramel: Stop stirring once it boils. Insert a candy thermometer. Continue to cook, without stirring, until the mixture reaches 245 degrees Fahrenheit (firm ball stage). This usually takes 10 to 15 minutes.
- Finish the caramel: Remove the pan from the heat immediately when it reaches 245°F. Carefully stir in the sweetened condensed milk, salt, and cinnamon (if using). Stir until smooth. The mixture will bubble vigorously.
- Cool slightly: Let the caramel cool for about 5 to 10 minutes. This cooling period is crucial for achieving a thick, chewy coating that sticks well. If the caramel is too hot, it will run off the apple.
- Dip the apples: Tilt the saucepan to pool the caramel. Dip each apple into the caramel, turning to coat completely. Lift the apple and let excess caramel drip back into the pan.
- Set the apples: Place the coated apples on the prepared baking sheet. If using toppings, sprinkle them on immediately before the caramel sets.
- Chill: Allow the caramel apples to set completely at room temperature for several hours, or chill them in the refrigerator for about 1 hour until the caramel is firm.
Notes
- For the caramel to stick, the apples must be completely dry and free of wax. Wiping them with a paper towel dipped in white vinegar helps remove the wax.
- Do not rush the cooling process after adding the condensed milk; this step develops the chewy texture you want.
- If the caramel becomes too stiff while dipping, gently reheat the pan over very low heat for a minute or two, stirring constantly.
- For a gourmet touch, roll the dipped apples in chopped pecans, crushed toffee bits, or shredded coconut.
Nutrition
- Serving Size: 1 apple
- Calories: 550
- Sugar: 85
- Sodium: 180
- Fat: 22
- Saturated Fat: 14
- Unsaturated Fat: 8
- Trans Fat: 0
- Carbohydrates: 90
- Fiber: 2
- Protein: 3
- Cholesterol: 55