
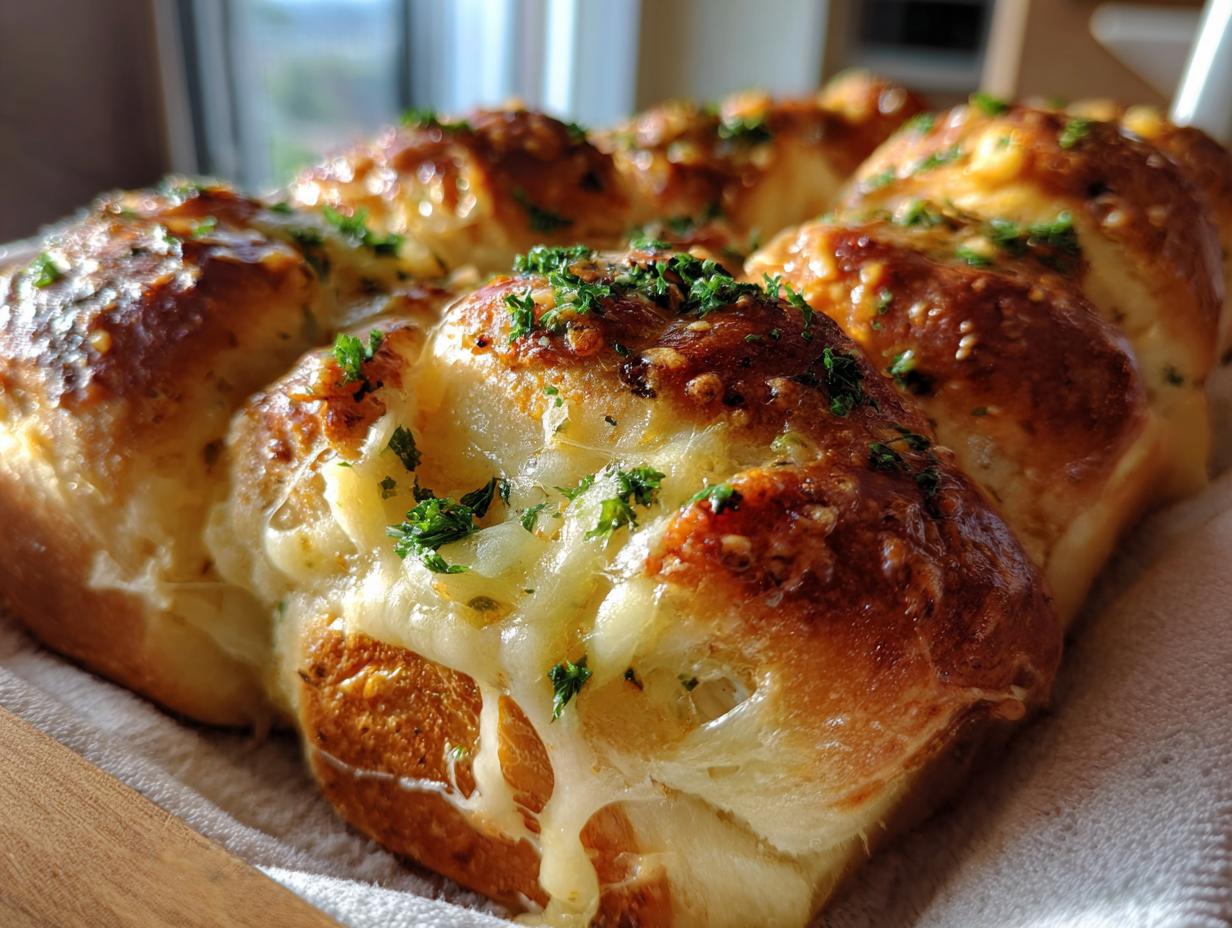

Oh, let me tell you about my absolute favorite side dish, the kind that disappears the second you put them on the table: my Cheesy Garlic Rolls! Seriously, these aren’t just bread; they’re little pillows of heaven. Imagine the softest, most cloud-like dough you’ve ever had, swimming in fragrant garlic butter and loaded with gooey, melty cheese. My dad used to make these amazing garlic toast wedges for our barbecues, and I think I channeled some of that magic into these rolls. They’re the ultimate family dinner side, perfect for soaking up all the good stuff on your plate, or honestly, just gobbling up on their own. Get ready, because these cheesy garlic rolls are about to become your new obsession.
- Why You'll Love These Cheesy Garlic Rolls
- Ingredients for the Best Cheesy Garlic Rolls
- How to Make Cheesy Garlic Rolls: Step-by-Step
- Tips for Perfectly Soft Cheesy Garlic Rolls
- Ingredient Notes and Substitutions for Garlic Cheese Rolls
- Make-Ahead and Freezer Tips for Holiday Dinner Rolls
- Serving Suggestions for Your Cheesy Garlic Rolls
- Nutritional Information for Cheesy Garlic Rolls
- Frequently Asked Questions About Cheesy Garlic Rolls
Why You’ll Love These Cheesy Garlic Rolls
These cheesy garlic rolls are a total game-changer for any meal. Here’s why you’ll bake them over and over:
- Crazy Soft Texture: They’re unbelievably soft and fluffy, like little clouds of deliciousness.
- Amazing Flavor: That perfect combo of garlic butter and melty cheese? Pure magic!
- Super Easy: Even if you’re new to yeast doughs, you can totally nail these.
- Perfect for Sharing: That pull-apart quality makes them so fun to share, and they’re ideal for family dinners or holiday spreads.
Ingredients for the Best Cheesy Garlic Rolls
Okay, getting these Cheesy Garlic Rolls just right starts with good stuff. Don’t skimp here, trust me! It’s all about balancing that fluffy dough with a killer garlic butter topping and plenty of melty cheese.
For the Dough:
- 1 cup warm milk (make sure it’s about 105-115°F, like a nice warm bath)
- 2 ¼ teaspoons active dry yeast (that’s one packet!)
- 1 tablespoon granulated sugar (this feeds the yeast)
- 3 ½ cups all-purpose flour, plus some extra for dusting
- 1 teaspoon salt (for flavor, of course!)
- ¼ cup unsalted butter, softened (leave it out for a bit so it’s squishy)
- 1 large egg (room temperature is best, but don’t stress if it’s not)
For the Garlic Butter Topping:
- ½ cup unsalted butter, melted (melt it gently!)
- 4 cloves garlic, minced (fresh garlic is key here!)
- 2 tablespoons chopped fresh parsley (for a pop of color and freshness)
- ½ teaspoon salt
- ¼ teaspoon black pepper
- 1 ½ cups shredded mozzarella cheese (or a mix! We’ll talk about that later!)
How to Make Cheesy Garlic Rolls: Step-by-Step
Alright, let’s get down to business! Making these ultimate cheesy garlic rolls is easier than you think, and trust me, the smell that fills your kitchen is absolutely heavenly. Follow these steps, and you’ll have a pan of pull-apart perfection in no time. We’re going to build these amazing rolls layer by delicious layer! Just like my cheesy garlic bread, these rolls capture all those amazing flavors.
Preparing the Dough for Cheesy Garlic Rolls
First things first, let’s get that dough going! In a big bowl, mix your warm milk, yeast, and sugar. Give it a stir and let it sit for about 5 to 10 minutes. You’ll see it get all foamy and happy – that means your yeast is alive and ready to work its magic! Then, toss in your flour, salt, softened butter, and that egg. Mix it all up until it looks like a shaggy dough. Turn it out onto a lightly floured surface and knead it for about 8-10 minutes until it’s super smooth and elastic. You want it to feel soft and supple, not sticky.
The First Rise: Letting Your Cheesy Garlic Rolls Dough Proof
Pop that beautiful dough into a lightly oiled bowl. Cover it up with plastic wrap, and find a nice warm spot for it to chill out. Give it about 1 to 1.5 hours. You’ll know it’s ready when it’s puffed up and doubled in size – it’s like magic happening right before your eyes!
Shaping and Assembling the Pull-Apart Garlic Rolls
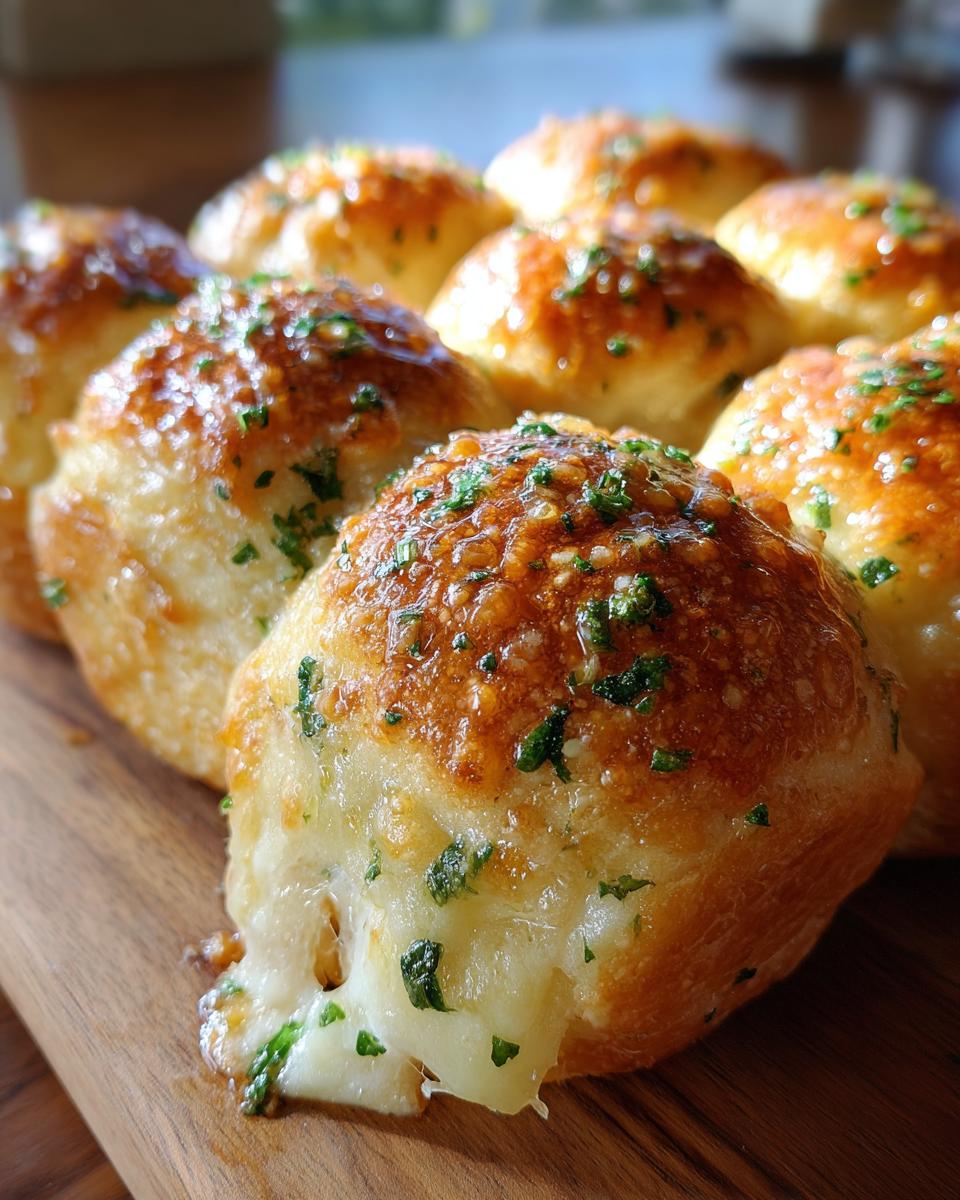
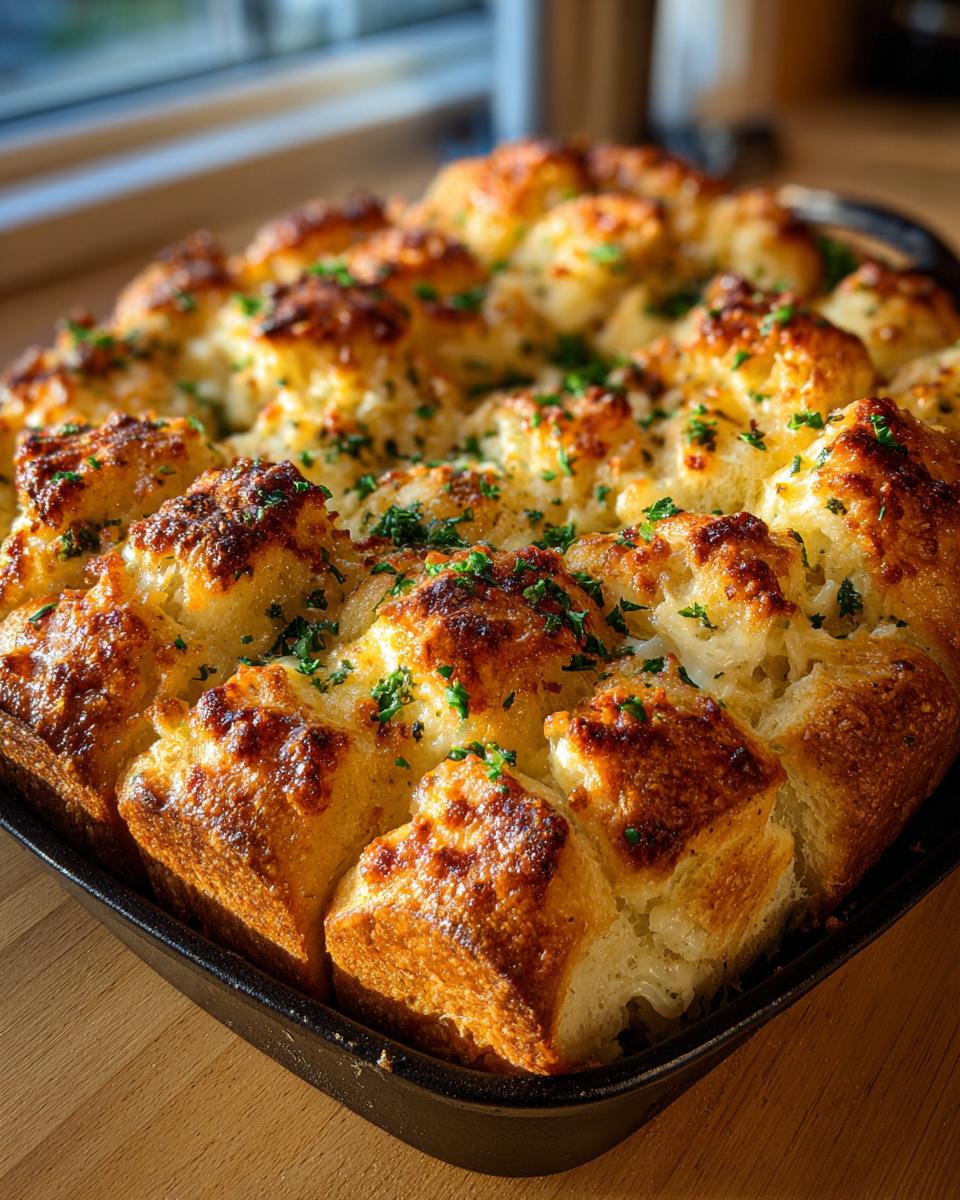
Once your dough has had its nap, punch it down gently. On a floured counter, roll it out into a big rectangle, about 12 by 18 inches. Now for the best part! Whisk together that melted butter, minced garlic, fresh parsley, salt, and pepper. Brush about half of this glorious garlic butter all over your dough. Then, pile on that shredded mozzarella cheese evenly. Cut the dough into 12 strips, stack two strips on top of each other, and cut those in half – repeat with the rest. These little stacks create that amazing pull-apart effect we love on our pull-apart garlic rolls.
The Second Rise and Baking Your Cheesy Garlic Rolls
Arrange your cut dough pieces cut-side up in a greased 9×13 inch baking pan. Cover them again and let them have another little nap for about 30-45 minutes. While they’re puffing up, preheat your oven to 375°F (190°C). Pop that pan into the hot oven and bake for 20-25 minutes. You’re looking for a beautiful golden brown color and bubbly, melted cheese!
Finishing Touches for the Best Cheesy Garlic Rolls
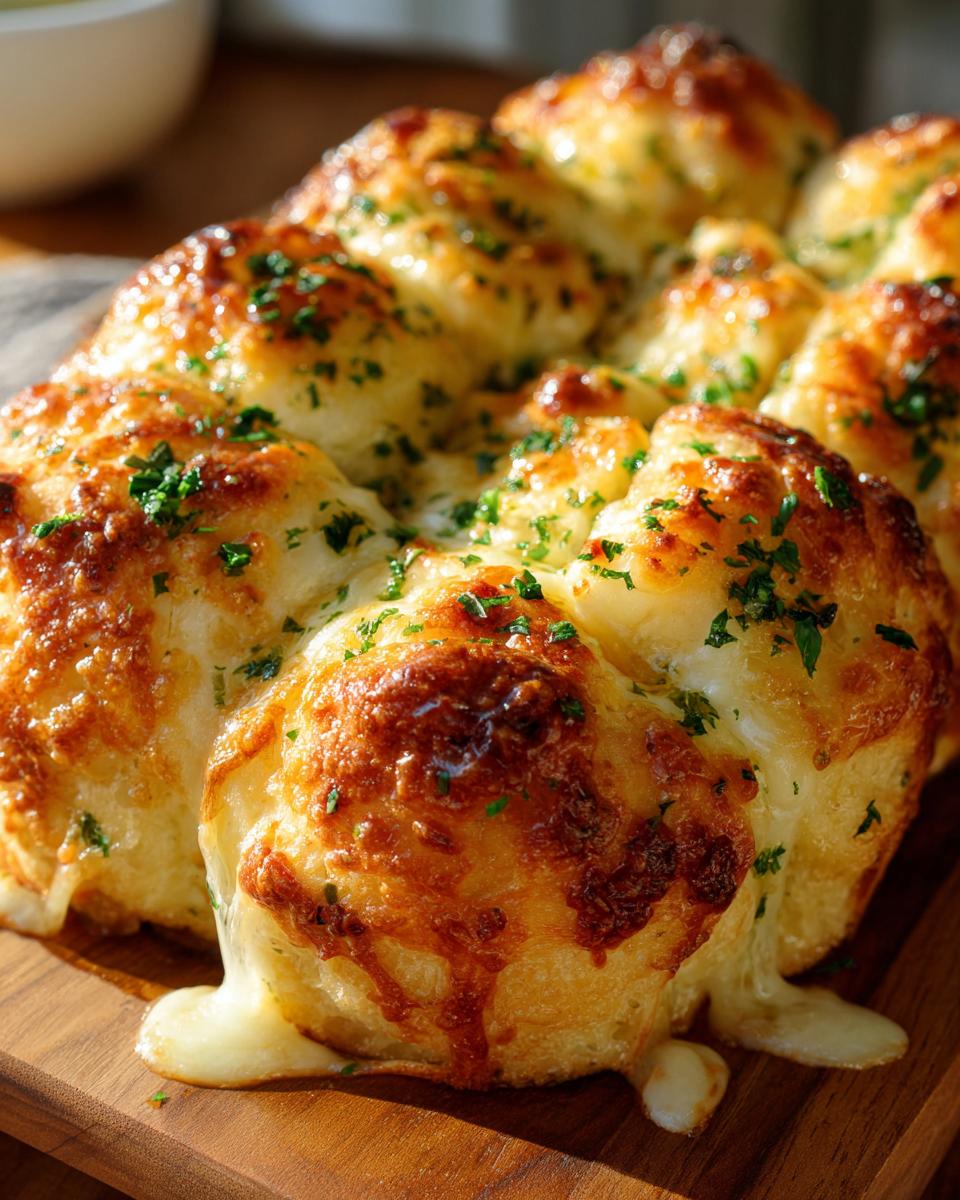
The moment they come out of the oven? Grab that remaining garlic butter mixture and brush it all over those hot, glorious rolls. It’ll soak right in and make them even more irresistible. Serve them warm right away – they’re guaranteed to disappear faster than you can say “more rolls, please!” They’re the perfect companion to dishes like garlic mashed potatoes or any hearty meal.
Tips for Perfectly Soft Cheesy Garlic Rolls
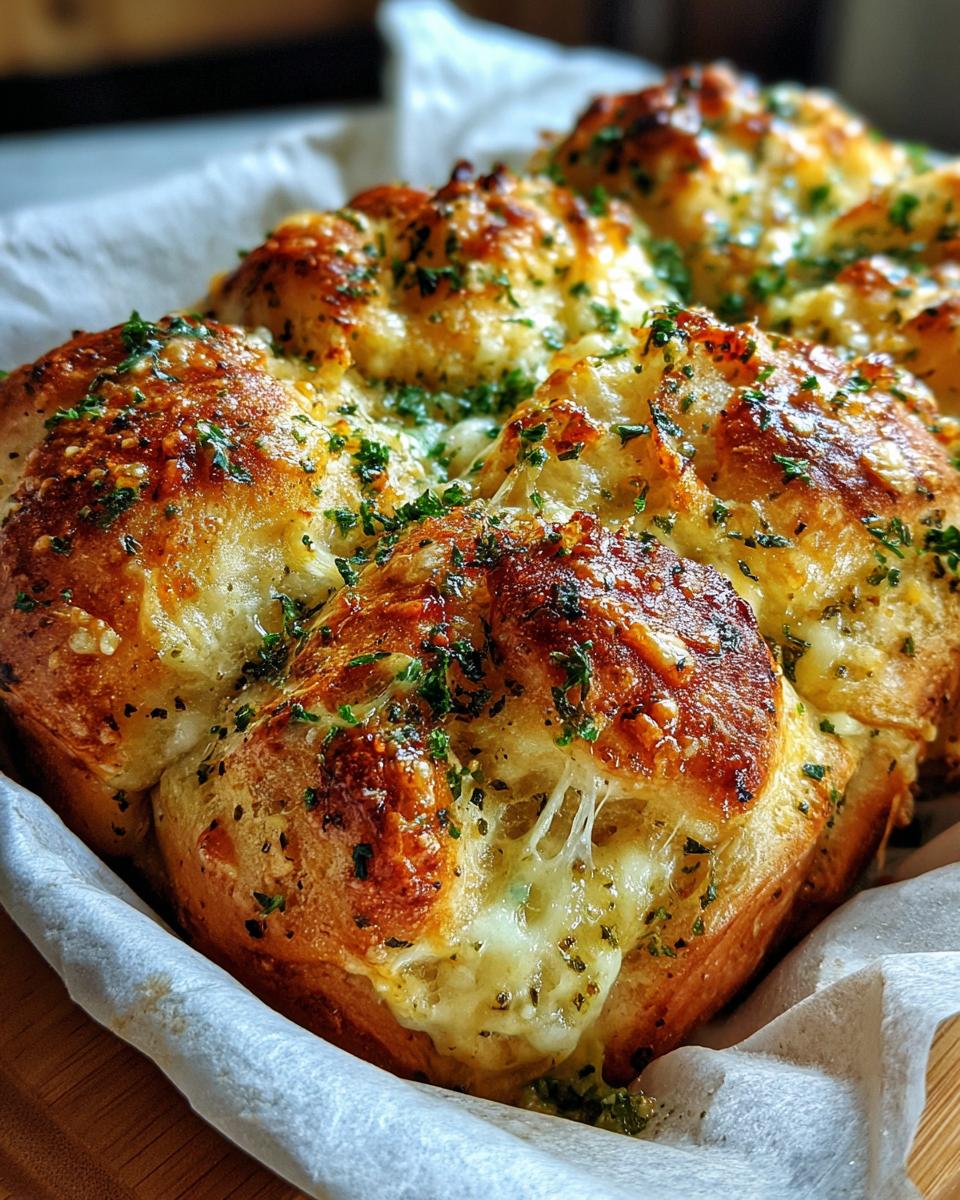
Okay, so you’ve got the recipe, but let’s talk about making these Cheesy Garlic Rolls absolutely *perfect* every single time, shall we? It’s all in the little things! First off, don’t rush the kneading. Really work that dough until it’s smooth and springy; it makes all the difference in softness. And for the love of all that’s cheesy, use fresh garlic! That jarred stuff just doesn’t have the same punch. Make sure your milk isn’t too hot when you proof the yeast – lukewarm is the sweet spot. Too hot and it’ll kill the yeast, too cold and it just won’t get happy. For that ultimate fluffy texture, cover your dough in a warm, draft-free spot for its rises – I sometimes pop mine in a slightly warm oven that’s turned off. Also, resist the urge to overbake! Golden brown and bubbly cheese is perfect, but keep them in too long and you’ll lose that precious softness. For more tips on wonderful doughs, check out my guide to easy yeast rolls!
Ingredient Notes and Substitutions for Garlic Cheese Rolls
Let’s chat about making these garlic cheese rolls your own! For the dough, all-purpose flour works like a charm, but if you’re feeling adventurous, you could try a bread flour for a chewier bite, though it might make them a tad less airy. For the cheese, mozzarella is my go-to for that classic gooey stretch, but don’t be afraid to mix it up! A sharp cheddar adds a nice tang, or Monterey Jack melts like a dream. You could even throw in some Parmesan for an extra nutty flavor boost. And if fresh parsley isn’t your jam, a little dried parsley works in a pinch – just use about a teaspoon. The key is to have fun and make these rolls exactly how you love them!
Make-Ahead and Freezer Tips for Holiday Dinner Rolls
You know, planning for big holiday dinners can be a whirlwind! That’s why I love that these cheesy garlic rolls are total superstars when it comes to making ahead. You can totally assemble them the day before. Just get them all cut and stacked in your baking pan, cover them tightly with plastic wrap, and pop them in the fridge. Let them sit out on the counter for about 30 minutes before you bake them off – they’ll finish their second rise. They freeze beautifully too! Let them cool completely after baking, then tuck them into an airtight container or freezer bag. They’ll stay yummy for up to 2 months. Just reheat them in the oven or even the microwave when you’re ready to serve. They’re also perfect for making a big batch of holiday dinner rolls or for any of your favorite family dinner sides!
Serving Suggestions for Your Cheesy Garlic Rolls
These amazing cheesy garlic rolls are more than just a side dish; they’re the star of the show sometimes! They’re absolutely divine alongside roasted chicken, a hearty beef stew, or even a simple pasta dish like my favorite pasta recipes. Imagine dunking them into a creamy tomato soup or serving them with a big, beautiful salad. They are the perfect addition to any holiday spread, your go-to for family dinners, or even just a thoughtful addition to a potluck. Honestly, they go with everything!
Nutritional Information for Cheesy Garlic Rolls
Just a heads-up, these are estimates, okay? Exactly how many calories or how much fat ends up in each of these amazing cheesy garlic rolls can change a bit depending on the exact ingredients you use and how generous you are with that garlic butter topping! But generally, you’re looking at around 250 calories, about 12g of fat, 7g of protein, and 30g of carbs per roll. Enjoy every single bite!
Frequently Asked Questions About Cheesy Garlic Rolls
Got questions about these glorious Cheesy Garlic Rolls? I’ve got you covered! Here are a few things folks often ask:
Can I use instant yeast instead of active dry yeast?
Absolutely! If you have instant yeast, you can totally use it here. Just mix it right in with the dry ingredients (flour, sugar, salt) instead of proofing it in the warm milk first. It makes things a little quicker, which is always a bonus!
Why are my rolls not fluffy?
Oh, that bummer! Usually, it comes down to a few things. Make sure your yeast was fresh and active – that foamy step is super important! Also, don’t skip the kneading time; you really need to develop that gluten for a fluffy texture. And try not to overbake them; that can make them tough instead of tender.
How long do these homemade garlic cheese rolls last?
Honestly, they’re best eaten the day they’re made because they’re just SO soft and delicious when warm. But if you have leftovers, they’ll keep okay in an airtight container at room temperature for a day or two. For longer, definitely follow my freezer tips!
Can I use different kinds of cheese?
You bet! While mozzarella is the queen of melty gooeyness for these garlic cheese rolls, feel free to get creative. Sharp cheddar, Monterey Jack, Colby Jack, or even a little sprinkle of Parmesan would be amazing additions or substitutions. Just go with what tickles your taste buds!
PrintCheesy Garlic Pull-Apart Rolls
Ultra-soft dinner rolls loaded with garlic butter and melty cheese, perfect as a side for family meals.
- Prep Time: 25 min
- Cook Time: 25 min
- Total Time: 50 min
- Yield: 12 servings 1x
- Category: Side Dish
- Method: Baking
- Cuisine: American
- Diet: Vegetarian
Ingredients
- 1 cup warm milk (105-115°F)
- 2 ¼ teaspoons active dry yeast
- 1 tablespoon granulated sugar
- 3 ½ cups all-purpose flour, plus more for dusting
- 1 teaspoon salt
- ¼ cup unsalted butter, softened
- 1 large egg
- For the Garlic Butter Topping:
- ½ cup unsalted butter, melted
- 4 cloves garlic, minced
- 2 tablespoons chopped fresh parsley
- ½ teaspoon salt
- ¼ teaspoon black pepper
- 1 ½ cups shredded mozzarella cheese
Instructions
- In a large bowl, combine warm milk, yeast, and sugar. Let stand for 5-10 minutes until foamy.
- Add flour, salt, softened butter, and egg to the yeast mixture. Mix until a shaggy dough forms.
- Turn the dough out onto a lightly floured surface and knead for 8-10 minutes until smooth and elastic.
- Place the dough in a lightly oiled bowl, cover with plastic wrap, and let rise in a warm place for 1-1.5 hours, or until doubled in size.
- Punch down the dough and turn it out onto a lightly floured surface.
- Roll the dough into a 12×18 inch rectangle.
- In a small bowl, whisk together melted butter, minced garlic, parsley, salt, and pepper for the topping.
- Brush about half of the garlic butter mixture over the dough.
- Sprinkle the shredded mozzarella cheese evenly over the buttered dough.
- Cut the dough into 12 equal strips. Stack 2 strips on top of each other and cut them in half. Repeat with the remaining strips, so you have 24 pieces.
- Arrange the dough pieces cut-side up in a greased 9×13 inch baking pan.
- Cover the pan and let the rolls rise for another 30-45 minutes.
- Preheat your oven to 375°F (190°C).
- Bake for 20-25 minutes, or until golden brown and the cheese is melted and bubbly.
- Brush the remaining garlic butter mixture over the hot rolls immediately after removing them from the oven.
- Serve warm.
Notes
- For make-ahead convenience, you can assemble the rolls, cover them, and refrigerate them overnight. Let them sit at room temperature for about 30 minutes before baking.
- These rolls freeze well. Let them cool completely, then store in an airtight container or freezer bag for up to 2 months. Reheat in the oven or microwave.
- You can substitute other cheeses like cheddar or Monterey Jack for the mozzarella.
Nutrition
- Serving Size: 1 roll
- Calories: 250
- Sugar: 4g
- Sodium: 350mg
- Fat: 12g
- Saturated Fat: 7g
- Unsaturated Fat: 5g
- Trans Fat: 0g
- Carbohydrates: 30g
- Fiber: 1g
- Protein: 7g
- Cholesterol: 30mg