
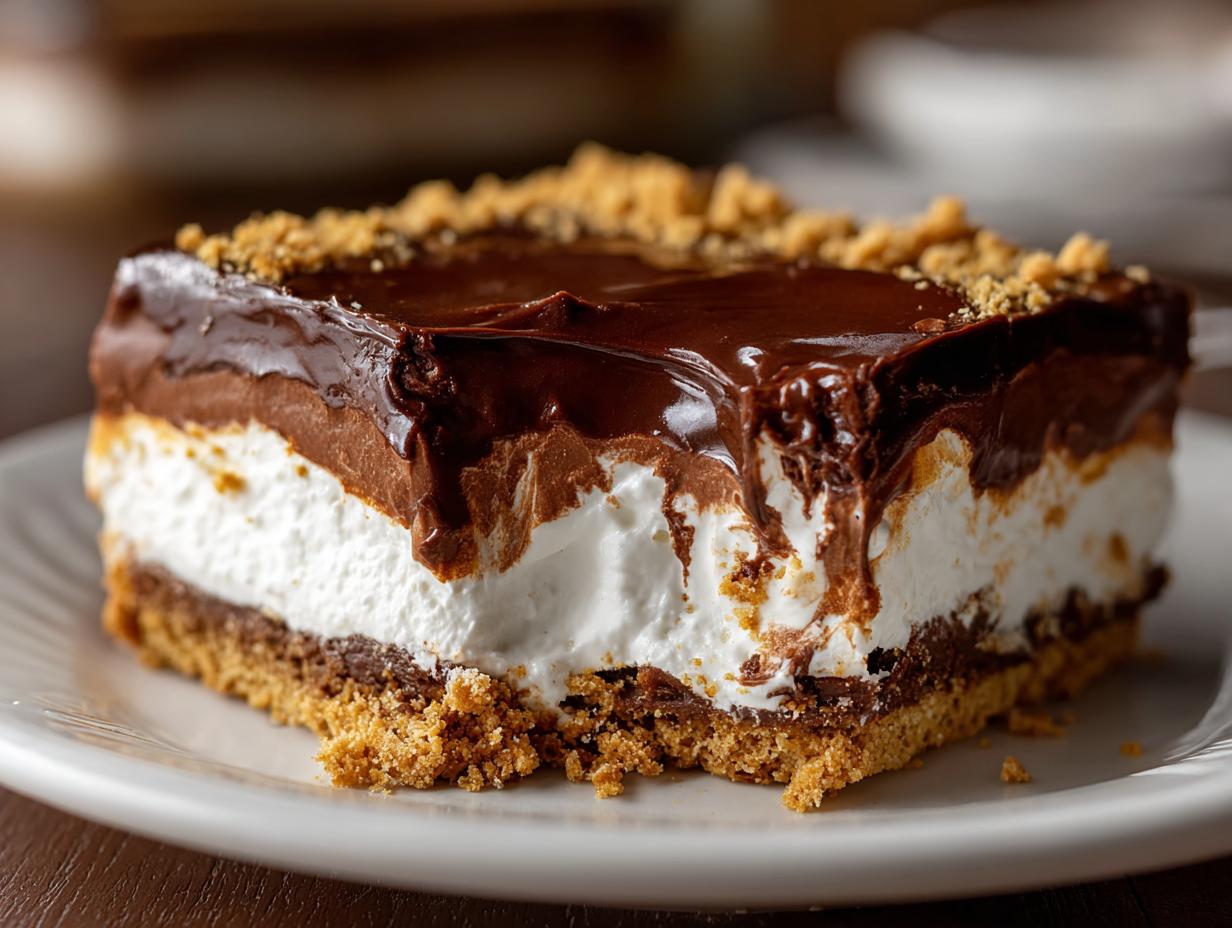

Oh my goodness, do I have a treat for you today! If you’re anything like me, you crave that perfect, decadent dessert that’s rich, creamy, and absolutely loaded with chocolate, but sometimes, you just don’t have the hours (or heck, sometimes the energy!) to spend baking. That’s where these Chocolate dream bars come in. They’re layers of pure bliss, all no-bake, and seriously, they taste even better the next day. You know how Sarah Peterson over at Cut Cook Taste talks about how recipes are really just stories and how good food brings people together? That’s exactly what I feel when I make these. They started as my go-to for potlucks and busy weeknights, a way to bring a little bit of joy without a fuss, and now they’re a family favorite!

- Why You'll Love These Chocolate Dream Bars
- Gather Your Ingredients for Chocolate Dream Bars
- Crafting Your Perfect Chocolate Dream Bars: Step-by-Step
- Tips for Perfect Chocolate Dream Bars Every Time
- Variations and Substitutions for your Chocolate Dream Bars
- Make-Ahead and Storage for Your Layered Chocolate Bars
- Serving Suggestions for Chocolate Dream Bars
- Frequently Asked Questions about Chocolate Dream Bars
- Estimated Nutritional Information
- Share Your Chocolate Dream Bar Creations!
Why You’ll Love These Chocolate Dream Bars
These bars are seriously a dream come true for so many reasons! First off, they’re totally no-bake, which is a lifesaver when you don’t want to turn on the oven. Plus, you get that amazing crunch from the crust, a super creamy middle layer, and that rich chocolate topping all in one bite. They’re also perfect for making ahead, which is SUCH a bonus when you’re entertaining. Honestly, they’re just a guaranteed crowd-pleaser for any occasion!
Gather Your Ingredients for Chocolate Dream Bars
Alright, let’s get our goodies lined up for these Chocolate Dream Bars! Seriously, gathering everything first makes the whole process so much smoother. You’ll need:
- 1 1/2 cups graham cracker crumbs (that’s about 10-12 full sheets, crushed up nice and fine!)
- 1/4 cup granulated sugar
- 1/2 cup unsalted butter, melted
- 8 ounces cream cheese, make sure it’s softened to room temp – this is key for a smooth layer!
- 1 cup powdered sugar
- 1 teaspoon vanilla extract
- 1 (8 ounce) container frozen whipped topping, make sure it’s thawed out
- 1 (3.4 ounce) package instant chocolate pudding mix (yep, the instant kind works best here!)
- 2 cups milk (any kind will do!)
- 2 cups milk chocolate chips (or semi-sweet if that’s what you have!)
- 1/4 cup heavy cream
Oh, and a little tip from me: if you’re craving something a bit different, you can totally swap out the graham cracker crumbs for about 2 cups of finely crushed Oreo cookies! Just make sure you get them nice and fine for the crust.
Crafting Your Perfect Chocolate Dream Bars: Step-by-Step
Okay, now for the fun part – actually making these glorious Chocolate Dream Bars! It’s pretty straightforward, and since there’s no baking involved, it’s seriously a breeze. Just follow along, and you’ll have a showstopper dessert in no time. Trust me, the layering is where the magic happens!
Creating the Graham Cracker Crust
First things first, we need our fabulous base. In a medium bowl, just mix up those graham cracker crumbs with the granulated sugar. Then, pour in that melted butter and give it a good stir until all those crumbs are nicely moistened. Now, press this mixture evenly into the bottom of your 9×13 inch baking dish. If you decided to go the Oreo route, just sub those crushed cookies in here!
Building the Cream Cheese Layer
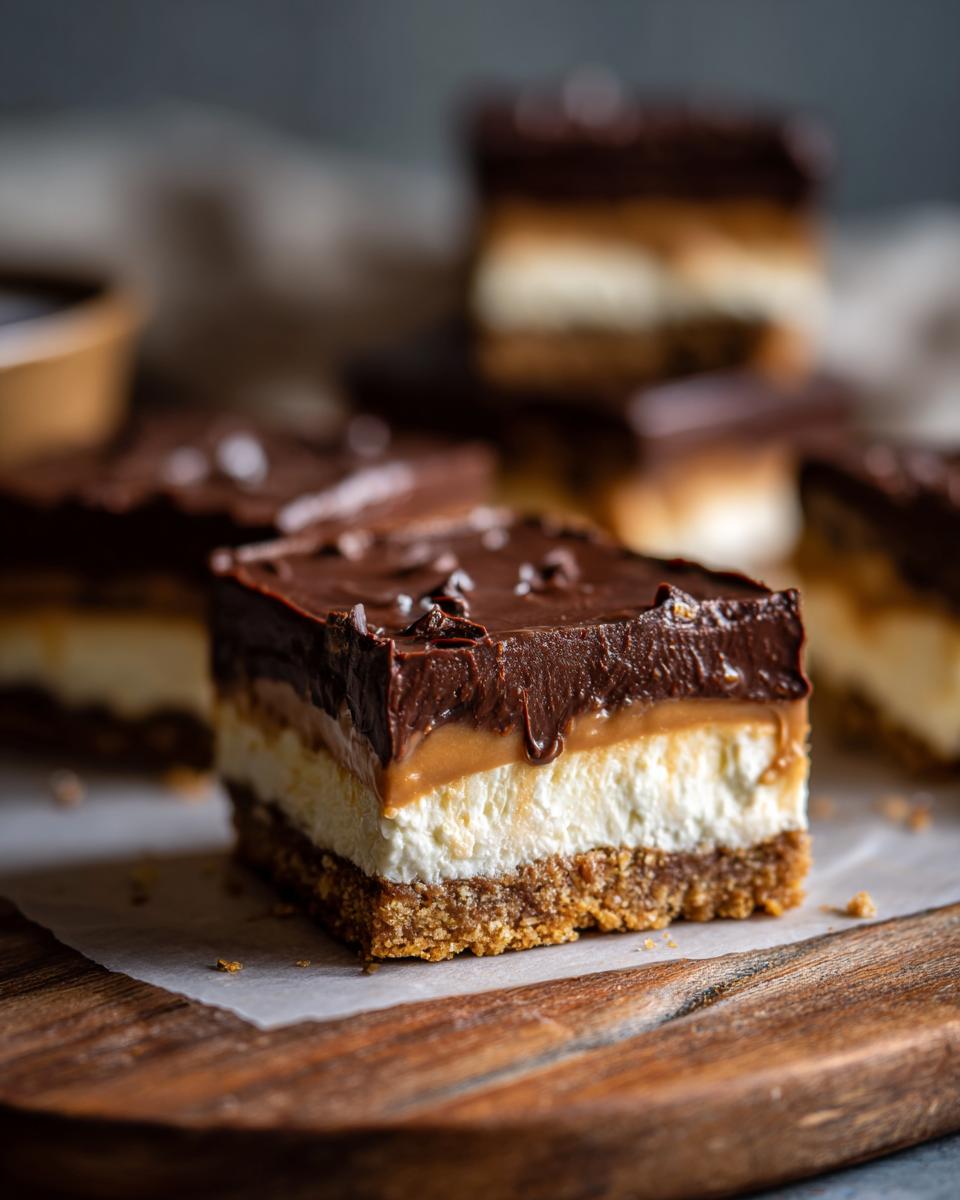
Next up is that unbelievably creamy layer. Grab a large bowl and beat your softened cream cheese until it’s nice and smooth – no lumps allowed! Then, beat in the powdered sugar and that splash of vanilla extract until it’s all combined. Gently, gently fold in your thawed whipped topping. Don’t overmix here; we want to keep it light and fluffy. Spread this mixture evenly all over that crust you just made.
Adding the Pudding Dessert Layer
Now for the pudding! In a separate bowl, whisk together the instant chocolate pudding mix and the milk. You only need to whisk it for about 2 minutes, really, until it starts to thicken up. It’ll get nice and luscious. Then, carefully spread this chocolate pudding over the cream cheese layer. You can peek at how I do something similar with rice pudding if you need a visual cue for layering!
The Rich Chocolate Ganache Topping
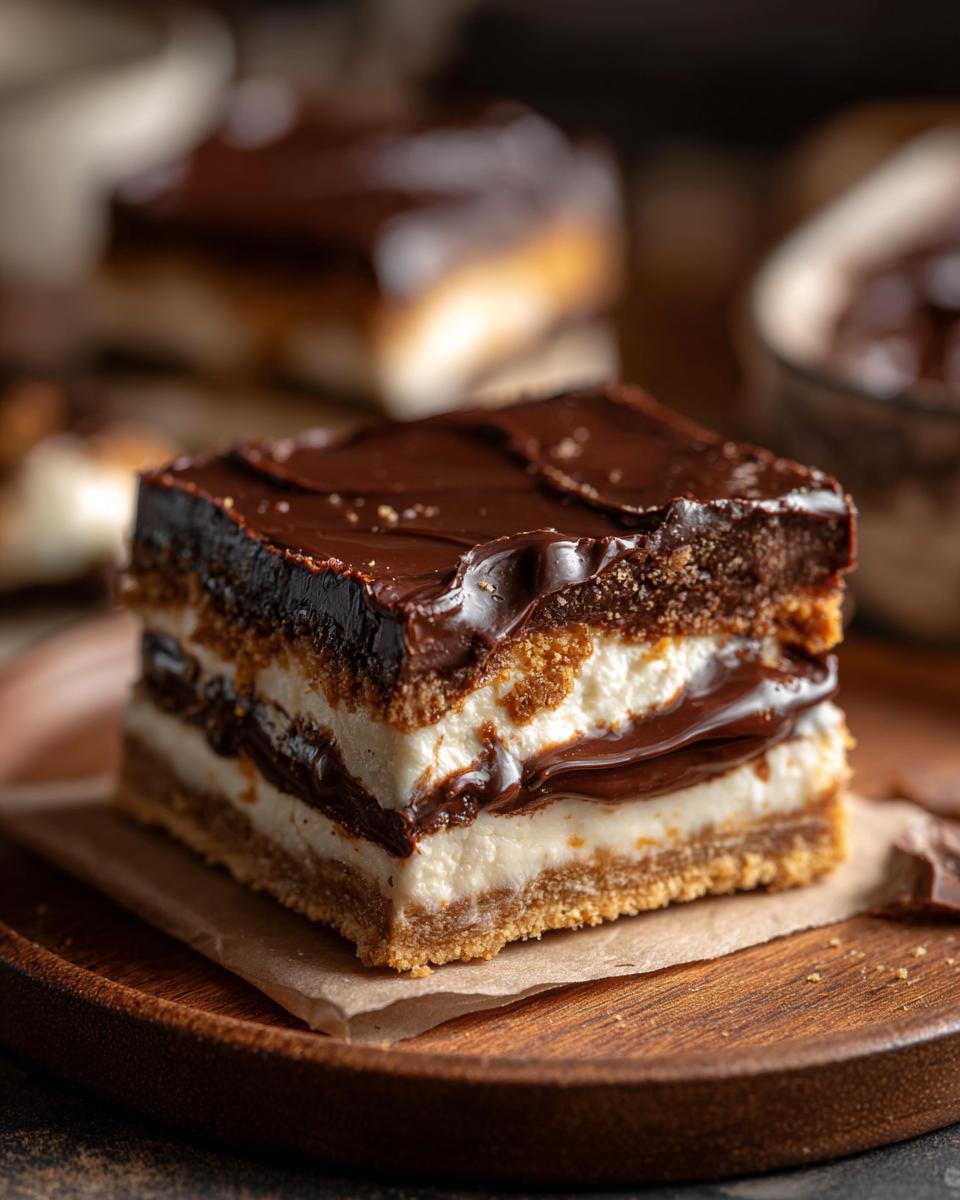
Almost there! For that decadent chocolate topping, grab a microwave-safe bowl. Toss in your milk chocolate chips and the heavy cream. Microwave it in 30-second bursts, stirring each time, until it’s all melted and super smooth. Oh, it smells so good at this stage! Pour this gorgeous chocolate ganache evenly over the pudding layer. It’s like the crowning jewel, just like my chocolate buttercream frosting!
Chilling Your Layered Chocolate Bars
This is the most important part for getting those perfect, clean slices! You need to cover that beautiful creation and pop it into the refrigerator for at least 4 hours. I usually let mine chill overnight because I’m patient like that… or maybe I just forgot about it until the next day! This chilling time is crucial for everything to set up properly. You’ll know it’s ready when it’s firm to the touch.
Tips for Perfect Chocolate Dream Bars Every Time
Okay, so you’ve made these gorgeous Chocolate Dream Bars, but how do you make sure they’re absolutely, perfectly, *flawless* every single time? Trust me, a few little tricks make all the difference. I’ve learned a thing or two from making these for countless birthdays and potlucks, and I want you to have the best results!
Ingredient Quality Matters
You know, you can really taste the difference when you use good stuff. Opt for a good quality cream cheese – the kind that’s nice and firm in the tub works best for that smooth layer. And grab some decent milk chocolate chips; they melt so much better and give you that lovely, rich ganache topping.
Achieving Smooth Layers
This is super important for that fancy layered look and smooth texture. Make *sure* your cream cheese is fully softened. Seriously, leave it on the counter for at least an hour, maybe more if your kitchen is cool. For the pudding, whisk it vigorously for those full two minutes until it’s really thickened up. That way, you won’t have any lumpy bits hiding in there!
Variations and Substitutions for your Chocolate Dream Bars
Now, I love these Chocolate Dream Bars just as they are, but you know me, I can’t resist playing around a little! The beauty of this recipe is how adaptable it is. If you’re not a graham cracker fan, definitely go for the Oreo crust! Just crush up a whole package of Oreos (filling and all!) and mix it with a little melted butter. It adds such a decadent chocolatey base. You could even try with some shortbread cookies or even some crunchy gluten-free cookie crumbs if you need to watch those carbs or dietary needs.
And for the chocolatey part? Feel free to swap out the milk chocolate chips for dark chocolate chips if you like things a little more intense, or even a mix of both! You could also try a different flavor of instant pudding – butterscotch or even cheesecake pudding would be interesting, though chocolate is my ultimate fave here. Just have fun with it and make it your own!

Make-Ahead and Storage for Your Layered Chocolate Bars
This is one of my favorite things about these Chocolate Dream Bars – they are absolute champions when it comes to making them ahead of time! Seriously, you can whip these up a day or even two days in advance and store them right in the fridge. Just make sure they’re covered up nice and tight with plastic wrap. That way, when party time rolls around or you just need a sweet treat, they’re all ready to go. They actually seem to taste even better after chilling for a bit, letting all those flavors just meld together. While you *could* try freezing them, they’re really best enjoyed fresh or made a little ahead and kept chilled, just like my breakfast burritos!
Serving Suggestions for Chocolate Dream Bars
These Chocolate Dream Bars are just begging to be shared, and they’re perfect for almost any occasion! They’re fantastic on a dessert spread at a potluck or family gathering. Honestly, I love to have a slice with my afternoon coffee, but a tall glass of cold milk is also a classic pairing. They’re impressive enough for a party, but easy enough for a quiet night in when you just need something sweet and comforting.
Frequently Asked Questions about Chocolate Dream Bars
Got questions about whipping up a batch of these yummy Chocolate Dream Bars? I’ve got you covered! Here are some of the things people ask me most often.
Can I use a different type of cookie for the crust?
Oh, absolutely! While the graham cracker crust is classic, the Oreo crust is a total game-changer. You can also try using crushed shortbread cookies or even some crunchy gluten-free butter cookies for a different twist. Just make sure they’re finely crushed!
How long do Chocolate Dream Bars need to chill?
This is super important for those perfect slices! You really need to let them chill in the fridge for at least 4 hours. I honestly prefer leaving them overnight because it ensures everything is totally firm and set, so you get those beautiful, clean cuts every single time.
Can these be made gluten-free?
Yes, you can totally make these gluten-free! Just use your favorite gluten-free cookies for the crust. Many gluten-free graham crackers or even some gluten-free chocolate sandwich cookies will work beautifully to create that base.
Estimated Nutritional Information
Just so you know, these numbers are estimates, because every brand and every batch can turn out a *little* differently! But, on average, each of these glorious Chocolate Dream Bars has about 250 calories, 25g of sugar, and 14g of fat. They’ve also got around 30g of carbs and a little bit of protein too. Pretty sweet deal for such a decadent treat, right?
Share Your Chocolate Dream Bar Creations!
I really hope you give these Chocolate Dream Bars a try! If you do, please come back and tell me all about it. Leave a comment below, or even better, share a photo of your amazing creation on social media! I absolutely LOVE seeing your bakes. You can also reach out via my contact page. Hearing from you just makes my day!
PrintChocolate Dream Bars
A no-bake, layered chocolate dessert with a cookie crust, creamy filling, and rich chocolate topping, perfect for making ahead.
- Prep Time: 20 min
- Cook Time: 0 min
- Total Time: 4 hr 20 min
- Yield: 24 bars 1x
- Category: Dessert
- Method: No-Bake
- Cuisine: American
- Diet: Vegetarian
Ingredients
- 1 1/2 cups graham cracker crumbs (about 10–12 full sheets)
- 1/4 cup granulated sugar
- 1/2 cup unsalted butter, melted
- 8 ounces cream cheese, softened
- 1 cup powdered sugar
- 1 teaspoon vanilla extract
- 1 (8 ounce) container frozen whipped topping, thawed
- 1 (3.4 ounce) package instant chocolate pudding mix
- 2 cups milk
- 2 cups milk chocolate chips
- 1/4 cup heavy cream
Instructions
- In a medium bowl, combine graham cracker crumbs and granulated sugar. Stir in melted butter until crumbs are moistened. Press mixture evenly into the bottom of a 9×13 inch baking dish.
- In a large bowl, beat softened cream cheese until smooth. Beat in powdered sugar and vanilla extract until well combined. Gently fold in thawed whipped topping. Spread this mixture evenly over the crust.
- In a separate bowl, whisk together instant chocolate pudding mix and milk until thickened, about 2 minutes. Spread the pudding mixture over the cream cheese layer.
- In a microwave-safe bowl, combine milk chocolate chips and heavy cream. Microwave in 30-second intervals, stirring between each, until smooth and melted. Pour the chocolate ganache evenly over the pudding layer.
- Cover the dish and refrigerate for at least 4 hours, or until firm.
- Cut into bars and serve chilled.
Notes
- For an Oreo crust, use 2 cups of finely crushed Oreo cookies (filling removed) instead of graham crackers.
- These bars can be made up to 2 days in advance and stored in the refrigerator.
- Ensure your cream cheese is fully softened for a smooth, lump-free layer.
Nutrition
- Serving Size: 1 bar
- Calories: 250
- Sugar: 25g
- Sodium: 150mg
- Fat: 14g
- Saturated Fat: 8g
- Unsaturated Fat: 6g
- Trans Fat: 0g
- Carbohydrates: 30g
- Fiber: 1g
- Protein: 3g
- Cholesterol: 30mg