
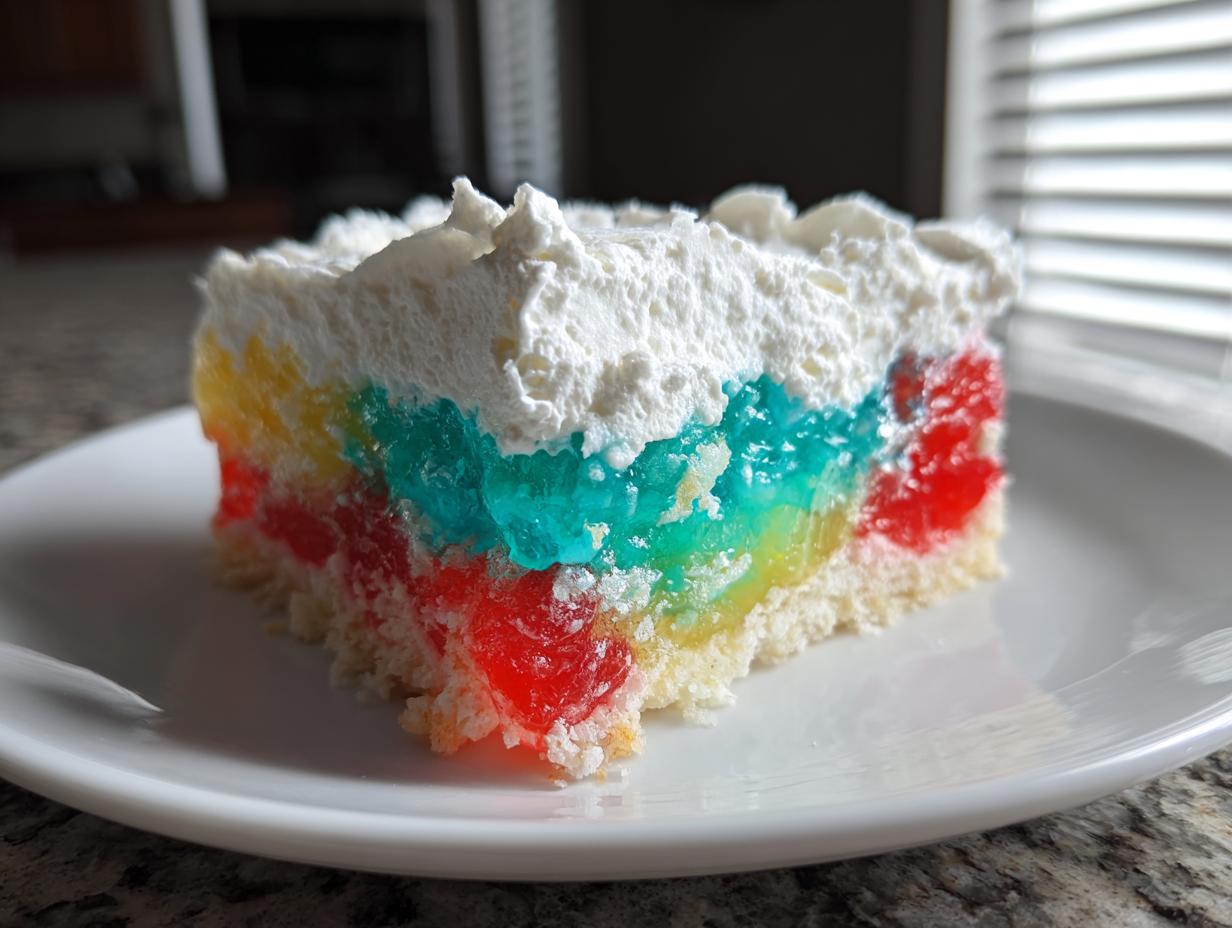

When I need a dessert that screams ‘party’ but whispers ‘zero stress,’ nothing beats a vibrant, jiggly slice of nostalgia. Seriously, if you want a showstopper that requires absolutely no complicated baking skills, you have to try this amazing jello poke cake recipe. This isn’t just cake; it’s a colorful, moist experience where liquid gelatin soaks right into every corner of the white cake base. It’s the ultimate summer chiller or a fantastic potluck centerpiece because it’s so easy to make ahead of time. I still make the exact version my aunt used for every birthday growing up—it’s pure comfort food that never fails to bring smiles!
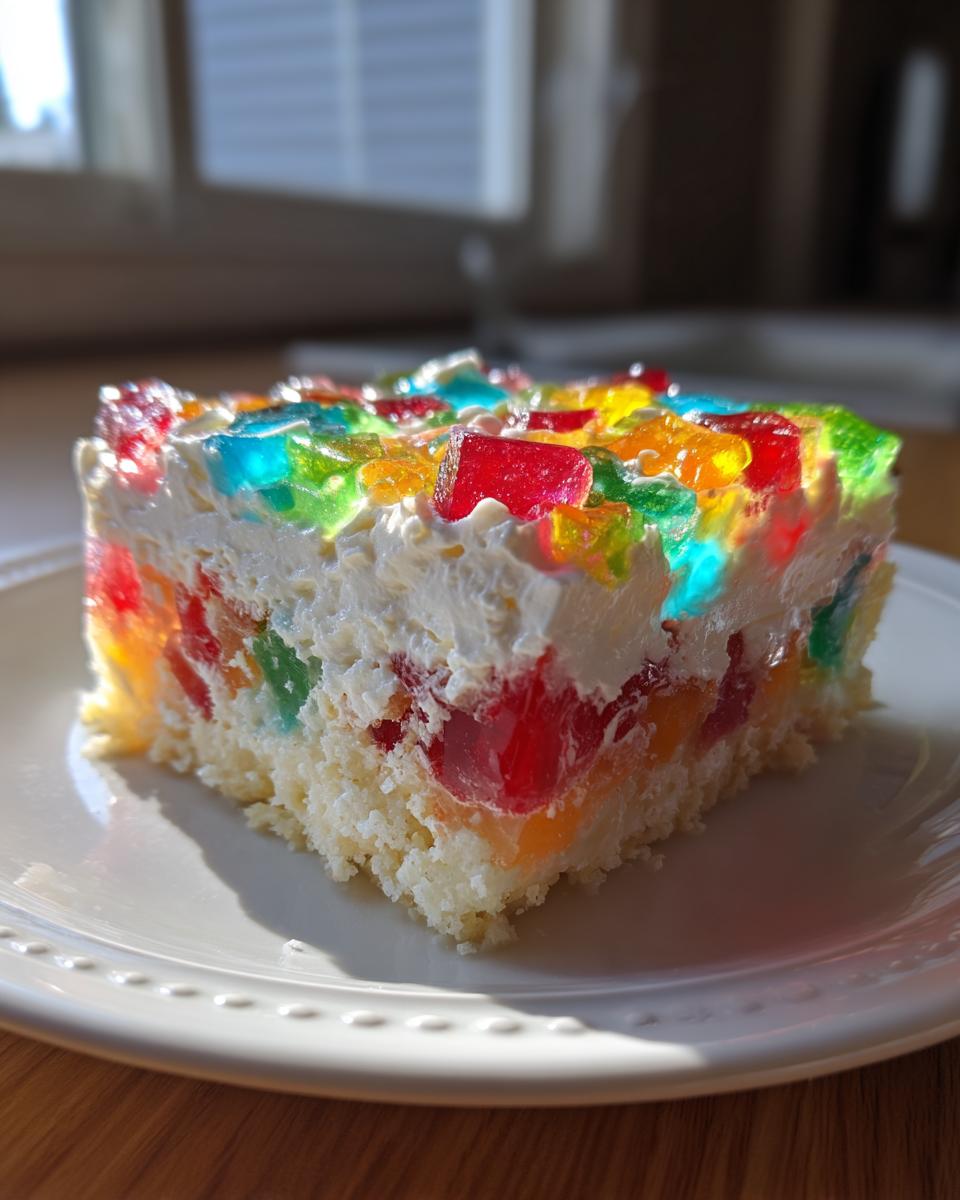
If you’re looking for other super simple sweet ideas, you can always browse my main collection of easy dessert recipes when you’re done here. Trust me, this poke cake is a keeper!
- Why This Classic Jello Poke Cake is a Must-Make
- Gathering Ingredients for Your Jello Poke Cake
- Step-by-Step Instructions for the Best Jello Poke Cake
- Tips for Success with Any Jello Poke Cake Flavor
- Creative Variations for Your Next Jello Poke Cake
- Storage and Make-Ahead Instructions for Your Jello Poke Cake
- Serving Suggestions for This Colorful Cake Recipe
- Frequently Asked Questions About the Jello Poke Cake
- Share Your Colorful Jello Poke Cake Creations
Why This Classic Jello Poke Cake is a Must-Make
Honestly, there’s no reason to skip this recipe unless you absolutely hate delicious, easy desserts! This version manages to be totally nostalgic yet still feels exciting when you cut into it. It hits all the right notes for busy cooks who still want something special.
- It’s stunningly bright and colorful, making it an instant hit visually. Say goodbye to boring sheet cakes!
- It’s one of the best easy dessert recipes you’ll ever find—just bake, poke, pour, chill. That’s it!
- It travels like a dream. This jello poke cake stays perfectly chilled and stable for any event.
The Secret to an Incredibly Moist Jello Poke Cake
The real magic that makes this one of the best jello cake recipes is the Jello soak. While the cake is baking, it’s setting up this beautifully dense structure. Then, pouring that liquid, cool gelatin right into the warm cake holes means the cake absorbs all that sweet moisture. It literally locks in a tender crumb that lasts for days.
Simple Steps for Perfect Potluck Desserts
I rely on this when I need a big batch for school events or neighborhood gatherings because it comes from a standard white cake mix. You don’t need fancy techniques or hours of layering. As long as you can follow directions on a box and use a fork to poke, you’ve got this! It’s truly one of the top potluck desserts because it feeds a crowd easily.
Gathering Ingredients for Your Jello Poke Cake
Okay, let’s talk supplies! This is where we prove just how simple this dessert really is. You probably have most of this stuff in your pantry right now. We’re keeping it super straightforward, so don’t panic about specialized equipment here. We need the base ingredients for a stunning, colorful result.
Here is exactly what you need for this classic version:
- One box of white cake mix—the 15.25 oz size is what I use.
- Whatever the box calls for: eggs, oil, and water for the batter.
- Three small boxes (the 3 oz size!) of gelatin in different colors. I always grab strawberry, lime, and berry blue for the best pop.
- One and a half cups of boiling water.
- One and a half cups of cold water total for dissolving the Jello.
- The whole 8 oz container of frozen whipped topping (you know, Cool Whip!), thawed out in the fridge overnight.
Ingredient Notes and Substitutions for Your Jello Poke Cake
Listen, while the white cake mix is the best base—it lets those bright Jello colors really shine—you *could* swap it for a yellow cake mix if you were desperate. Just avoid anything chocolate or spice-based; they totally clash with the bright fruit flavors we are going for here!
When it comes to the topping, if you aren’t a fan of the classic frozen stuff, you can absolutely substitute it with homemade stabilized whipped cream. Just make sure it’s firm before spreading it on top, or it’ll melt right into the Jello layer underneath. Also, don’t be afraid to mix up those Jello flavors! Using vibrant combinations is what makes these such great colorful cake recipes. Seriously, experiment!
Step-by-Step Instructions for the Best Jello Poke Cake
I know instructions can sometimes read like a chemistry textbook, but I promise you, making this easy dessert recipe is just goofing around with three colors of Jello. The key to making sure this jello poke cake is the absolute best one you’ve ever made is all about timing—we need the cake warm for the first part, and then super cold for the final part!
Baking and Poking the Warm Cake
First things first, mix up that white cake according to the box directions, and bake it in your 9×13 pan. Once it comes out of the oven, you have to be patient for about 15 minutes while it cools down just slightly. It needs to be warm enough for the gelatin to soak in, but not so hot that it melts whatever we pour over it!
This is the fun part! Grab the handle end of a wooden spoon—yes, the back end—or even a big, thick fork, and start poking. I mean *poking*. You need holes all over the top, spaced about an inch apart, and you need to push all the way down to the bottom of the pan. If you only poke the top layer, the Jello pools on the bottom, and that’s not what we want!
Preparing and Pouring the Gelatin Layers
Now we tackle the Jello! Since we are using three different colors, do these steps three times, one bowl for each color. Take your 3 oz box of Jello—maybe it’s lime—and dissolve it completely in half a cup of boiling water. Stir it for two full minutes; you want zero gritty bits left.
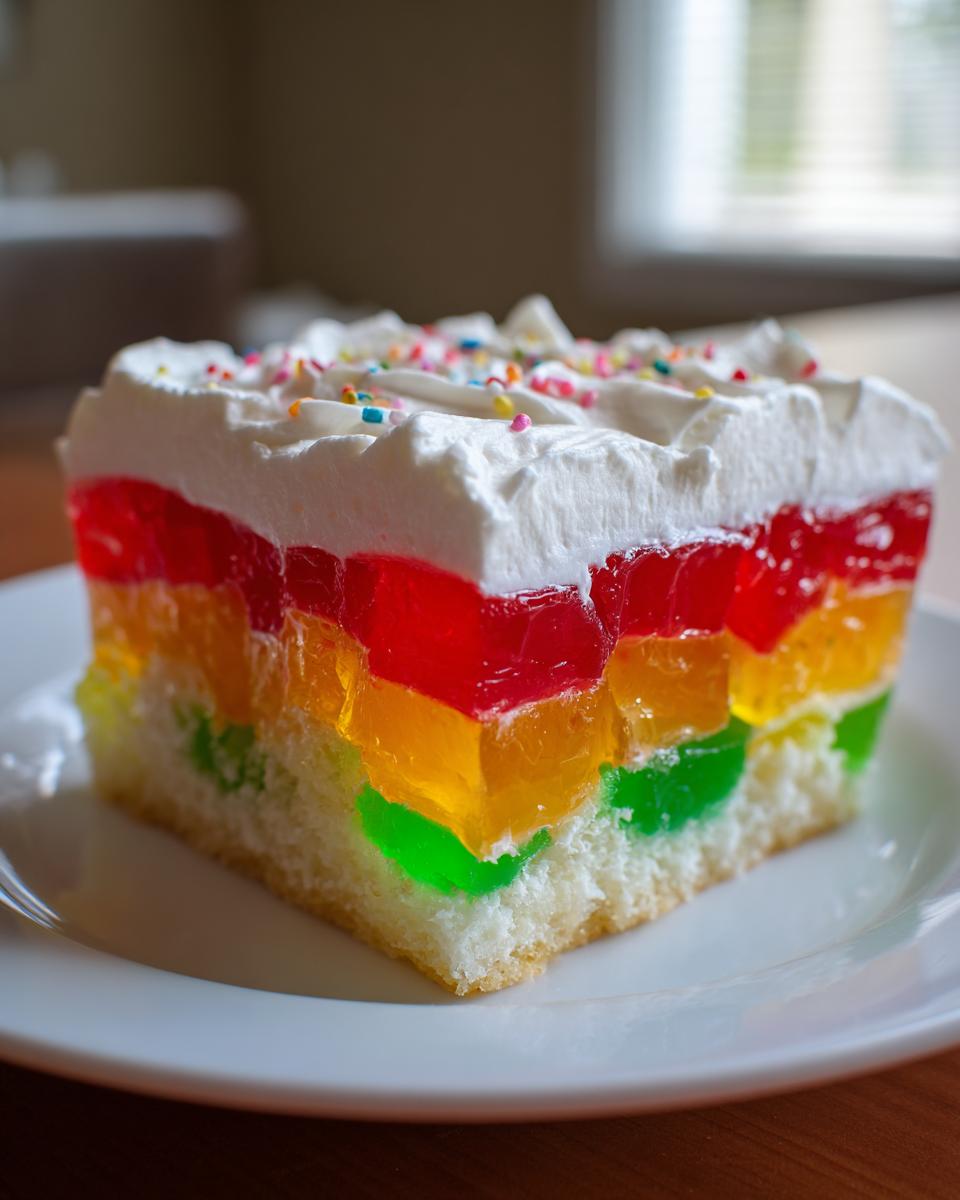
Once it’s fully dissolved, stir in half a cup of cold water for that specific color. Don’t worry, that’s exactly the right dilution for soaking—it lets the color seep deep! Then, carefully pour that liquid over the cake. I like to alternate the colors over different sections so when you slice it, you get those gorgeous, bright stripes running horizontally. Repeat this for the other two colors. Don’t stress if they mix a tiny bit; that just adds to the fun!
Chilling and Finishing Your Jello Poke Cake
This is the hardest part: waiting! Once all your liquid gelatin is poured in, cover that pan loosely with plastic wrap and put it straight into the fridge. You need a minimum of four hours, but seriously, if you can wait until the next day, it’s even better. The gelatin needs to be fully set so it’s jiggly, not runny.
Once it’s firm, right before you plan to serve it, spread that whole thawed tub of whipped topping right over the top, smooth it out nicely, and pop it back into the fridge for just 30 more minutes to firm up the topping. Then slice it thick, serve it cold, and watch people ask you for the recipe!
Tips for Success with Any Jello Poke Cake Flavor
Even though this recipe is famously forgiving, I have a few little tricks up my sleeve that turn a good jello poke cake into the absolute best one you’ll ever make. These aren’t in the main instructions because they are more like secret insider knowledge. If you follow these little jello dessert hacks, your cake will always be perfectly set and moist without fail!
First, let’s talk pan size. Always use that 9×13 inch pan, like the recipe calls for. If you try to cram this batter into an 8×8 pan because you think it’ll make taller slices, you are going to have a massive problem! The batter won’t cook evenly, and the center will be a sticky, gooey mess because the Jello won’t have enough surface area to absorb correctly. Keep it wide!
My second can’t-miss tip involves the temperature of the Jello mixture before you pour. Yes, you must dissolve the Jello in boiling water, but you absolutely cannot pour it onto the warm cake while it’s steaming hot! If it’s too hot, it starts turning back into actual liquid soup, and it can even melt the structure of your cake slightly. Let the dissolved Jello cool slightly at room temperature—just enough that it’s warm, but not hot to the touch—before you start pouring it into those poked holes. This makes sure it seeps down slowly and sets up beautifully rigid later.
And finally, here’s a little tip for that whipped topping layer: make sure your cake is completely, 100% chilled before you even think about touching the Cool Whip. If the cake is even slightly cool but not fridge-cold, the topping will get soupy and slide right off the jelly layer. A quick second chill after topping ensures that beautiful white layer stays perfectly fluffy and intact. It’s just one more thing that makes this one of the best jello cake options around!
Creative Variations for Your Next Jello Poke Cake
Okay, now that you’ve mastered the classic rainbow version, you’re probably thinking, “What else can I do with this magic combo?” The beauty of this recipe is how adaptable it is. The base is so neutral and easy to work with—it loves taking on new flavors and colors! You can completely transform this simple dessert into a specialized showstopper just by changing up the Jello bags.
It’s just so fun seeing what everyone comes up with. We can easily move this from a backyard picnic treat to a holiday table decoration with just a couple of ingredient swaps, making it one of my favorite year-round poke cake ideas.
Making a Strawberry Jello Poke Cake
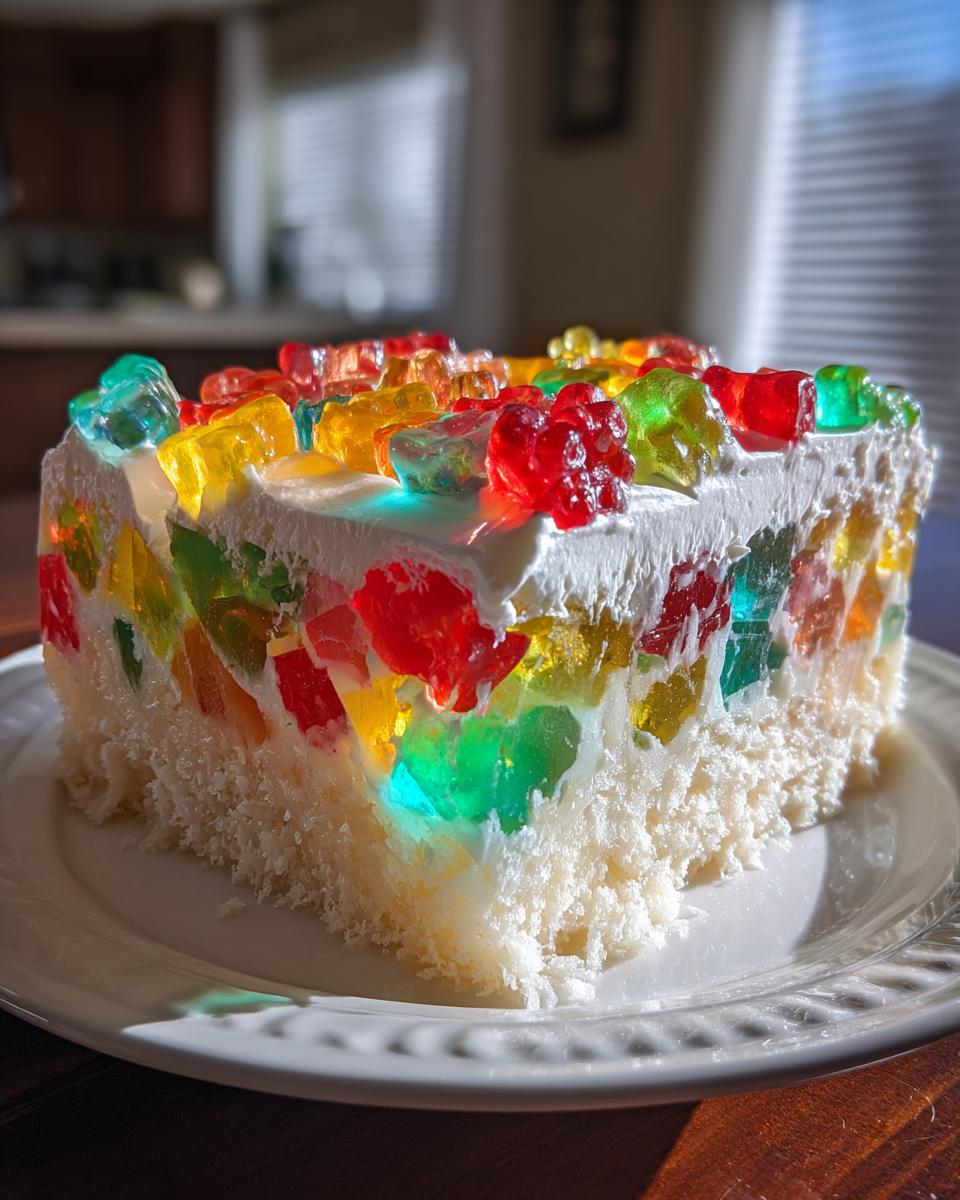
If you want something that just screams summer sweetness, sticking to just strawberry Jello is the way to go! Forget mixing three colors—just use the large boxes, or maybe use two boxes of strawberry and one box of raspberry if you want a slightly deeper pink hue. It’s faster because you only prepare two or three batches of Jello, depending on how much you want.
Here’s my little extra step for taking this strawberry version over the top: right after you pour the final layer of strawberry Jello in, but before you chill it, gently scatter thin slices of fresh strawberries or even sliced kiwi over the top. When the gelatin sets, those gorgeous berries get suspended right under the whipped topping. It looks so elegant, but honestly, it takes 30 seconds!
Easy Holiday Poke Cake Ideas
This is where you can really show off your planning skills! The Jello provides perfect, bright color for any themed event. You don’t need elaborate frosting when the cake is already this vibrant inside. This is perfect for making quick holiday poke cake treats!
For Christmas, it’s a no-brainer: use lime Jello (green) and strawberry Jello (red). Alternate them in stripes across the pan. When you chill it and top it with white whipped topping and some festive sprinkles, it looks like a little edible present waiting on the counter. For Easter or Mother’s Day, I love mixing in daffodil yellow and pale blue!
And don’t forget Halloween! Use grape (purple) and lime (green) or even orange if you can find it, and top it with chocolate shavings instead of plain whipped topping for a moody, spooky vibe. See? This recipe is built for fun and themes!
Storage and Make-Ahead Instructions for Your Jello Poke Cake
One of the absolute best things about this jello poke cake is that it is genuinely begging you to make it ahead of time! This is such a huge win when you’re organizing a big meal or need make ahead desserts for a party. You actually *have* to chill it for the texture to set properly, so you’re already ahead of the game!
The key to success here, especially with that fluffy whipped topping, is keeping the whole thing well-covered and cold. Because the Jello layers are so moist, they actually help keep the cake base fresher than if you just left the leftover plain cake out on the counter. It’s a built-in freshness booster!
So, here’s the deal on timing: You need at least four hours for that Jello to fully firm up underneath the topping. If you are making this the day before, go ahead and do the whole thing—bake, poke, pour Jello, and top with the Cool Whip—and wrap the whole 9×13 pan snugly with plastic wrap. I usually wrap it tightly once, and then maybe wrap it loosely again with foil just to make sure nothing drips onto it in the fridge.
When you store leftovers, the texture remains fantastic for about three days if it stays refrigerated. After that, the whipped topping layer starts to sacrifice its structure a little bit, and it can get pretty watery, unfortunately. I’ve tried freezing parts of it before, and let me tell you, that’s totally not worth it! The whipped topping gets icy, and the texture of the set Jello just doesn’t come back right when it thaws.
The best way to handle leftovers is to slice off what you need and serve it right away. If you need to store a half-eaten pan, make sure you press the plastic wrap directly onto the surface of the whipped topping before covering the edges of the pan. This stops that dreaded skin from forming on the Cool Whip dessert layer. Keep it cold, serve it cold, and enjoy that moist goodness!
Serving Suggestions for This Colorful Cake Recipe
Since this jello poke cake is already incredibly rich, sweet, and cold, you don’t need a ton of fanfare to serve it up! It really stands on its own as the star of the show, especially when you’ve got those bright colors showing off.
If I’m serving this as a casual backyard dessert during the warmer months, it’s perfect all by itself. It’s naturally refreshing, making it one of the best summer dessert ideas because it doesn’t need to be warmed up or drizzled with anything heavy.
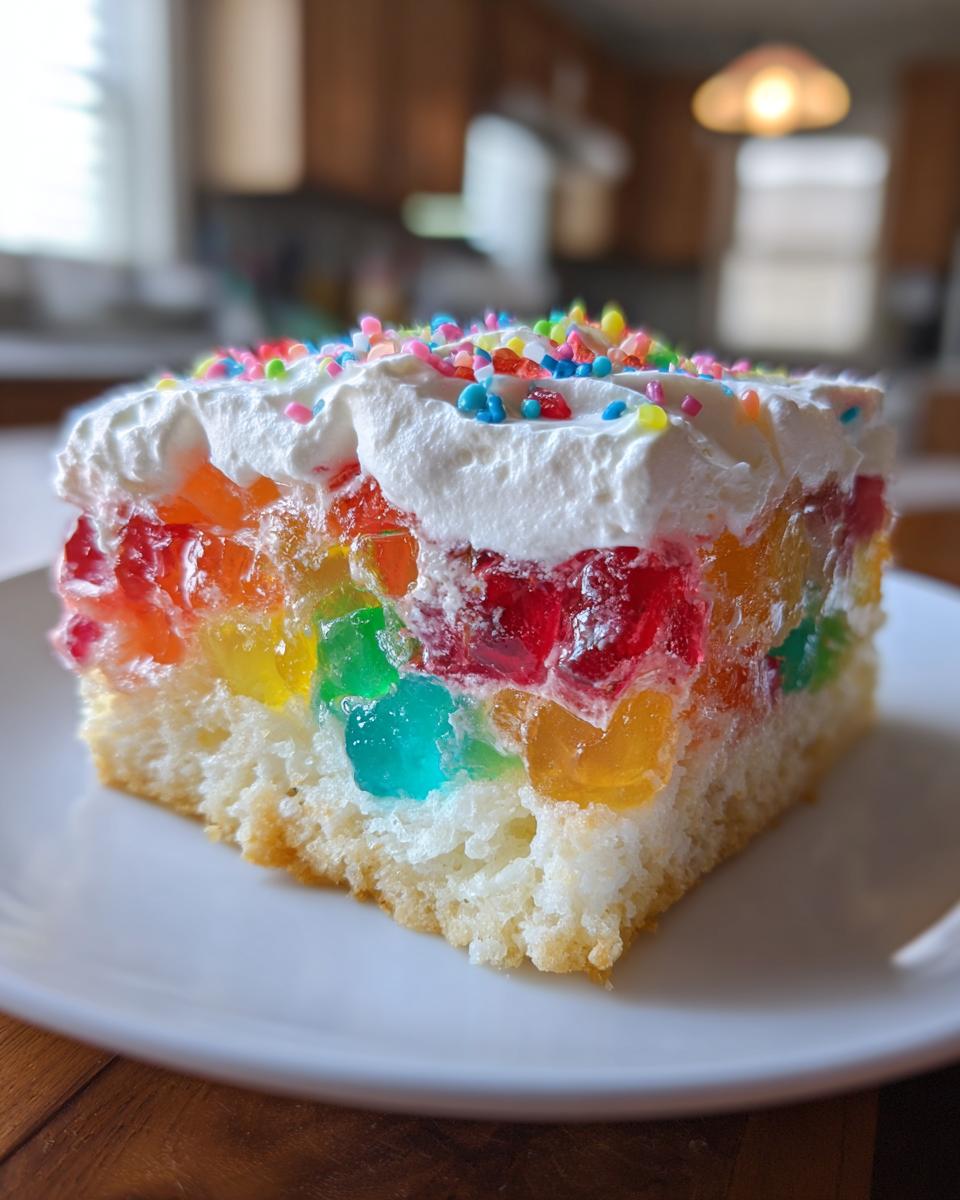
However, if you are serving a big holiday meal and need to break up the richness, I always suggest keeping the side pairing super light. A tiny dollop of extra whipped cream on the side is nice, but honestly, you don’t need much more. Sometimes, a little bowl of fresh, tart raspberries or blueberries on the table is perfect. The slight acid from the fresh berries cuts through the sweetness of the Jello and the cake mix beautifully. It’s a perfect, effortless finish to a big meal!
Frequently Asked Questions About the Jello Poke Cake
I get so many messages asking variations on this theme, and honestly, every variation is usually delicious! People get nervous about messing up a good thing, but I promise you, this recipe is so flexible. Here are the questions I get asked most often about nailing this perfect jello cake.
Can I use a different cake mix besides white cake for this jello poke cake?
That’s a great question because people always want to know if they can use chocolate! My definitive answer is this: stick to light-colored cakes if you want those vibrant, pretty Jello colors to show up. White or Yellow cake mix is the absolute best canvas because it’s neutral. Lemon cake is also a surprisingly fun swap for a summer version!
Now, chocolate? No, I really wouldn’t recommend it for this specific look. The dark cocoa powder muddies up the bright Jello colors, and you end up with a sort of murky brown-and-green color situation, which isn’t quite the fun visual we’re aiming for here. Stick to the white base if you want that classic colorful effect. If you want chocolate, you need a different recipe—maybe something with peanut butter!
How long must the jello poke cake chill before serving?
I know we’re all impatient, especially when we have a delicious easy holiday treat waiting in the fridge, but this is a non-negotiable step! You must chill this cake for a minimum of four hours after pouring the liquid gelatin over it. Seriously, set a timer!
Why the wait? The Jello has to go from liquid to perfectly set, firm jelly to soak properly into all those holes we poked. If you pull it too early, you’ll end up with a puddle where the Jello should be solid, and that’s not a fun slice to serve at a party. A four-hour minimum ensures the Jello is rigid enough to hold its shape. If you let it go overnight, even better! The longer it sits cold, the more the moisture from the Jello truly sinks into the crumb, making it even more tender. This isn’t a no bake gelatin dessert, so it needs that chill time to finish the process!
And don’t forget that half-hour chill after putting the Cool Whip on top. That final little rest makes spreading the topping much easier!
Share Your Colorful Jello Poke Cake Creations
Now you have all the tricks to make the absolute best, most colorful, and moistest jello poke cake anyone at your next gathering has ever seen! I really hope you get to try this recipe out soon because seeing those vibrant squares on a serving platter makes all that chilling time worth it.
I truly cannot wait to hear what you think! When you make this dessert, please head back over and leave a comment below. Tell me which Jello flavor combination you picked—did you stick to the classic rainbow, or did you try a fun holiday theme?
And if you post a picture of your finished, shimmering cake on social media, tag me! I absolutely live for seeing your creations. You can find me over at the blog’s main page, the main recipe hub, for all the latest updates, but please share your photos with me!
If this recipe saved your next party or became your new go-to simple dessert, do me a huge favor and give it a solid five stars right above the description. It helps other busy cooks find this fantastic, fuss-free recipe! Happy poking, everyone!
PrintEasy Classic Jello Poke Cake
Make a moist, colorful dessert by poking holes in a baked cake and pouring liquid gelatin over it, then topping with whipped cream.
- Prep Time: 20 min
- Cook Time: 35 min
- Total Time: 4 hours 55 min
- Yield: 12 servings 1x
- Category: Dessert
- Method: Baking and Chilling
- Cuisine: American
- Diet: Vegetarian
Ingredients
- 1 box (15.25 oz) white cake mix
- Ingredients listed on cake mix box (eggs, oil, water)
- 3 small boxes (3 oz each) different flavors of gelatin (e.g., strawberry, lime, berry blue)
- 1 1/2 cups boiling water
- 1 1/2 cups cold water
- 1 container (8 oz) frozen whipped topping, thawed
Instructions
- Prepare and bake the white cake according to the package directions using a 9×13 inch baking pan.
- Let the cake cool in the pan for 15 minutes after removing it from the oven.
- Use the handle end of a wooden spoon or a large fork to poke holes all over the warm cake, spacing them about 1 inch apart. Poke all the way to the bottom of the pan.
- Prepare the gelatin: In separate bowls, dissolve each 3 oz box of gelatin in 1/2 cup of boiling water. Stir for 2 minutes until completely dissolved.
- Add 1/2 cup of cold water to each gelatin mixture and stir briefly.
- Carefully pour one color of liquid gelatin mixture over the entire cake, allowing it to seep into the holes. Repeat this process with the remaining two colors, alternating colors over different sections of the cake for a colorful effect.
- Refrigerate the cake for at least 3 to 4 hours, or until the gelatin is completely set.
- Once the gelatin is set, spread the thawed whipped topping evenly over the top of the cake.
- Refrigerate for at least 30 minutes before slicing and serving.
Notes
- For a stronger color, you can reduce the cold water slightly in the gelatin mixture.
- You can use any combination of Jello flavors you prefer.
- This cake tastes best when served cold.
Nutrition
- Serving Size: 1 slice
- Calories: 280
- Sugar: 40
- Sodium: 250
- Fat: 8
- Saturated Fat: 4
- Unsaturated Fat: 4
- Trans Fat: 0
- Carbohydrates: 48
- Fiber: 1
- Protein: 3
- Cholesterol: 15