
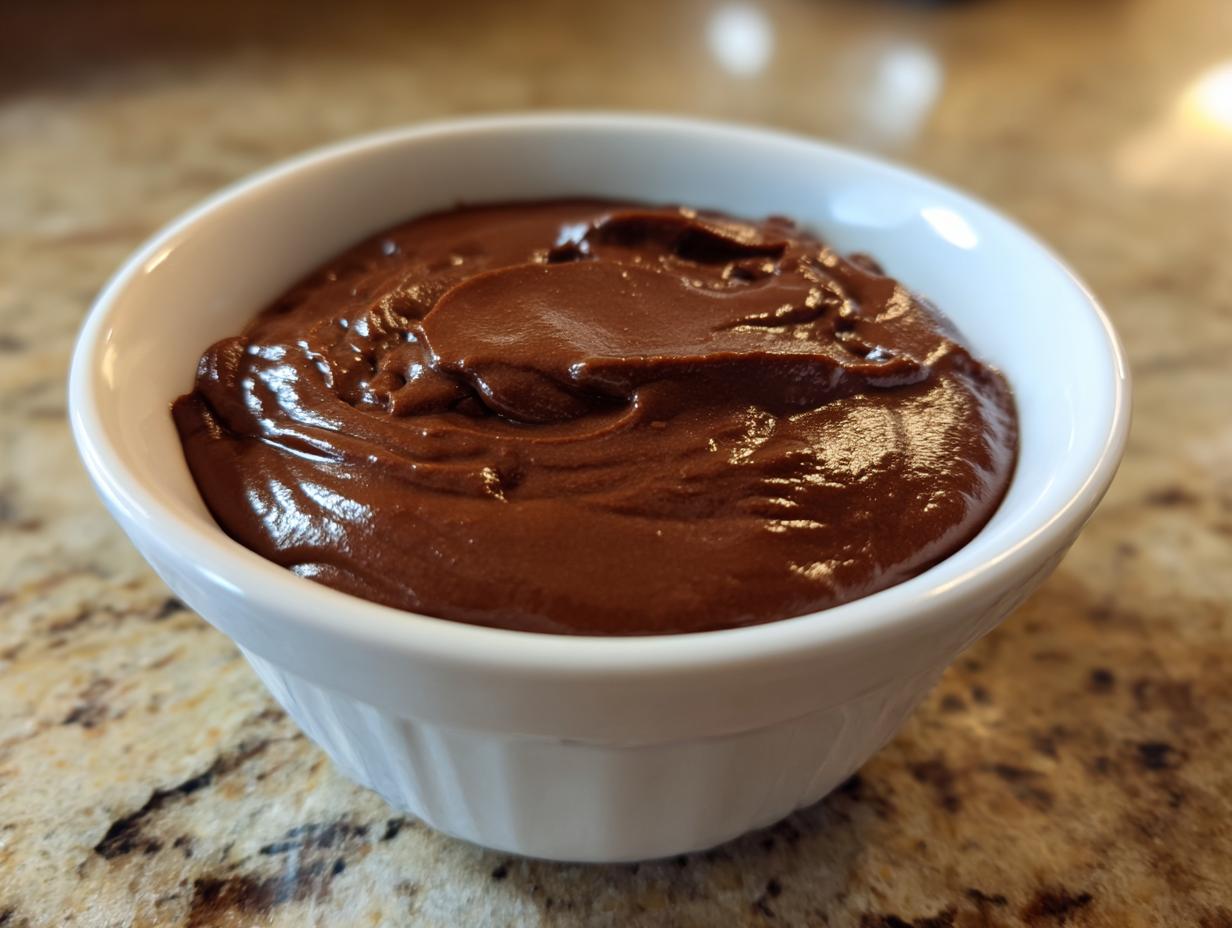

Forget everything you thought you knew about grainy, thin, or sad boxed mixes! If you’ve been searching for that deeply satisfying, truly velvety pudding recipe that tastes like pure, melted chocolate comfort, you’ve found it. I’m so excited to share my Ultra Creamy, Easy Homemade Chocolate Pudding From Scratch. This recipe is proof that the simplest pantry staples can become the most decadent chocolate treat. As someone who learned cooking from scratch watching my grandma, I promise this stovetop method is nearly foolproof and will quickly become your go-to easy chocolate dessert for cozy nights. You know how much I love sharing those timeless classics, just like my chocolate eclair cake!
Trust me, once you nail this technique, you’ll never look back. We’re aiming for the creamiest texture imaginable, and it happens faster than you think!
- Why This Homemade Chocolate Pudding Recipe Works So Well
- Gathering Ingredients for Your Velvety Chocolate Pudding Recipe
- Step-by-Step Guide: Making Quick Chocolate Dessert on the Stovetop
- Expert Tips for the Best Chocolate Pudding From Scratch
- Storage & Reheating Instructions for Your Chocolate Pudding
- Serving Suggestions for This Easy Creamy Dessert
- Frequently Asked Questions About Making Chocolate Pudding
- Nutritional Estimates for This Comfort Food Dessert
- Share Your Experience with This Easy Chocolate Pudding
Why This Homemade Chocolate Pudding Recipe Works So Well
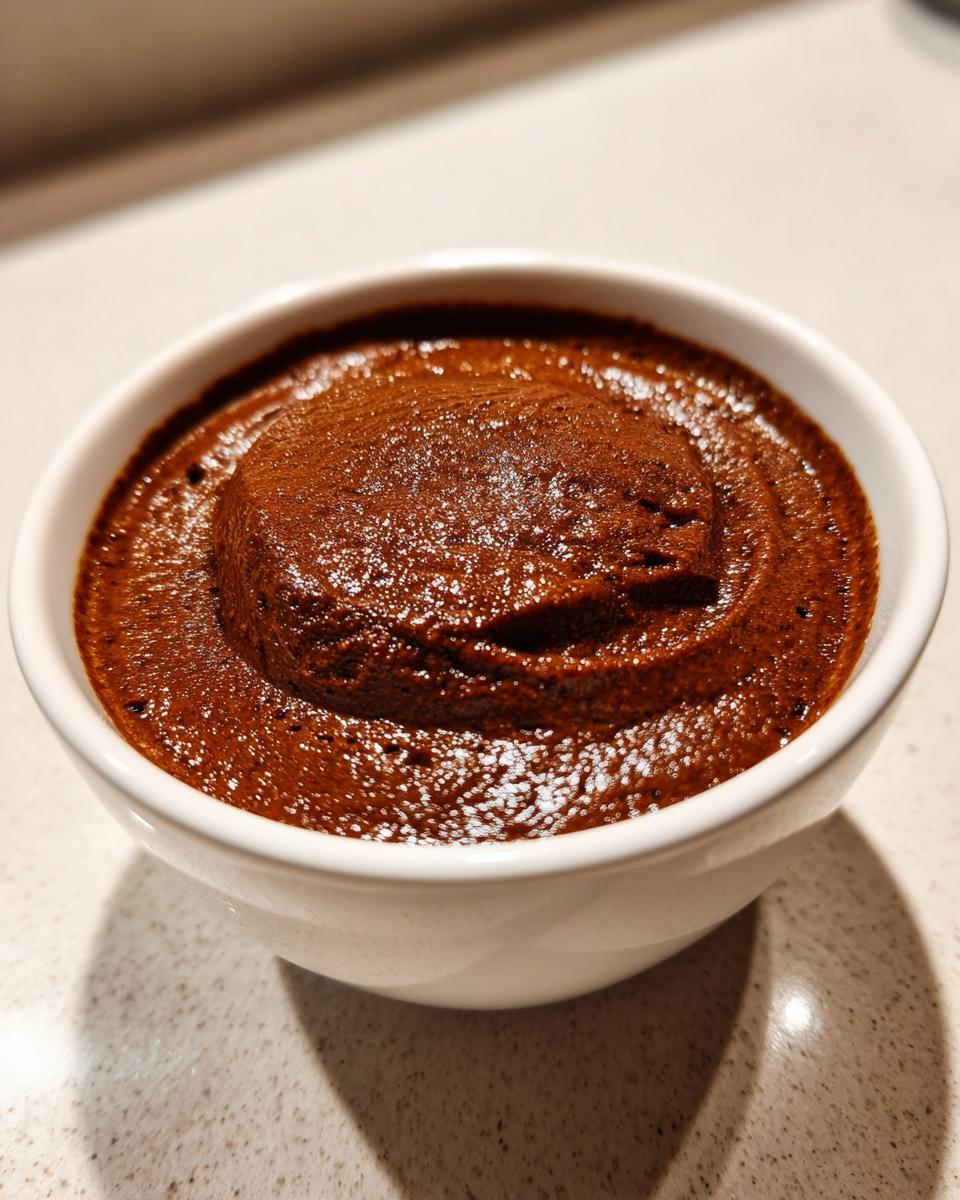
So, why do people rave about this recipe? It boils down to texture and simplicity, honestly. You get that deep, rich flavor without relying on any artificial stuff. I find that truly homemade chocolate pudding just hits different, especially when it’s this easy!
- It delivers that incredible, velvety pudding recipe mouthfeel you dream about.
- It’s all made right on the stovetop—no complicated baking required.
- We skip the box mixes entirely; this is pure, chocolate pudding from scratch flavor.
- The inclusion of heavy cream and real chocolate ensures it’s truly a rich chocolate dessert.
Gathering Ingredients for Your Velvety Chocolate Pudding Recipe
Okay, getting the right ingredients together is the first big step toward making the best chocolate pudding. Don’t worry, you won’t need a specialty store run; these are all pantry staples! What matters here is the cocoa and the chocolate—quality really shines through in a simple recipe like this one.
Ingredients for the Rich Chocolate Pudding
Here is everything you need to assemble this simple pudding recipe. Get your ingredients measured out, and we’ll move on to the easy stovetop magic!
- 1/4 cup granulated sugar
- 1/4 cup unsweetened cocoa powder – make sure it’s fresh!
- 2 tablespoons cornstarch – this is our secret weapon for thickening!
- 1/4 teaspoon salt
- 1 1/2 cups whole milk – I insist on whole milk; it gives the best creamy texture.
- 1/2 cup heavy cream
- 1 teaspoon vanilla extract
- 2 ounces bittersweet chocolate, finely chopped – chopping it fine helps it melt quickly and smoothly so we don’t end up with lumps.
If you want a little something extra on the side, check out my instructions for making easy chocolate sauce; you can drizzle that over the top!
Step-by-Step Guide: Making Quick Chocolate Dessert on the Stovetop
This is where the real magic happens! Making any stovetop pudding recipe is all about continuous movement, so don’t walk away from the stove here. We’re not just mixing here; we are building the structure for that creamy chocolate pudding recipe texture we love. Honestly, the constant whisking is my favorite part, it’s so meditative!
Combining Dry Ingredients and Milk
Grab your medium saucepan—this is where we build the base. First, you need to vigorously whisk together *all* your dry ingredients: the sugar, cocoa powder, cornstarch, and salt. I always give this a good minute to make sure everything marries together and there aren’t any sneaky cocoa clumps hiding in the corners. Once it’s fluffy, start slowly whisking in the whole milk until that mixture is completely smooth before you even think about turning on the heat.
Cooking the Chocolate Pudding Until Thick
Now, set the saucepan over medium heat. This part demands attention! You absolutely must whisk constantly. I can’t stress this enough—constant, steady whisking prevents those annoying lumps and keeps the bottom from scorching. It usually takes about five to eight minutes for the mixture to really thicken up and start bubbling, like a slow simmer. Here’s my big tip: once it starts bubbling, keep it going and whisk for one *full* extra minute. That minute burns off any raw cornstarch flavor, which is key for that beautiful, rich taste in your finished chocolate pudding from scratch.
Finishing Touches and Chilling for Velvety Texture
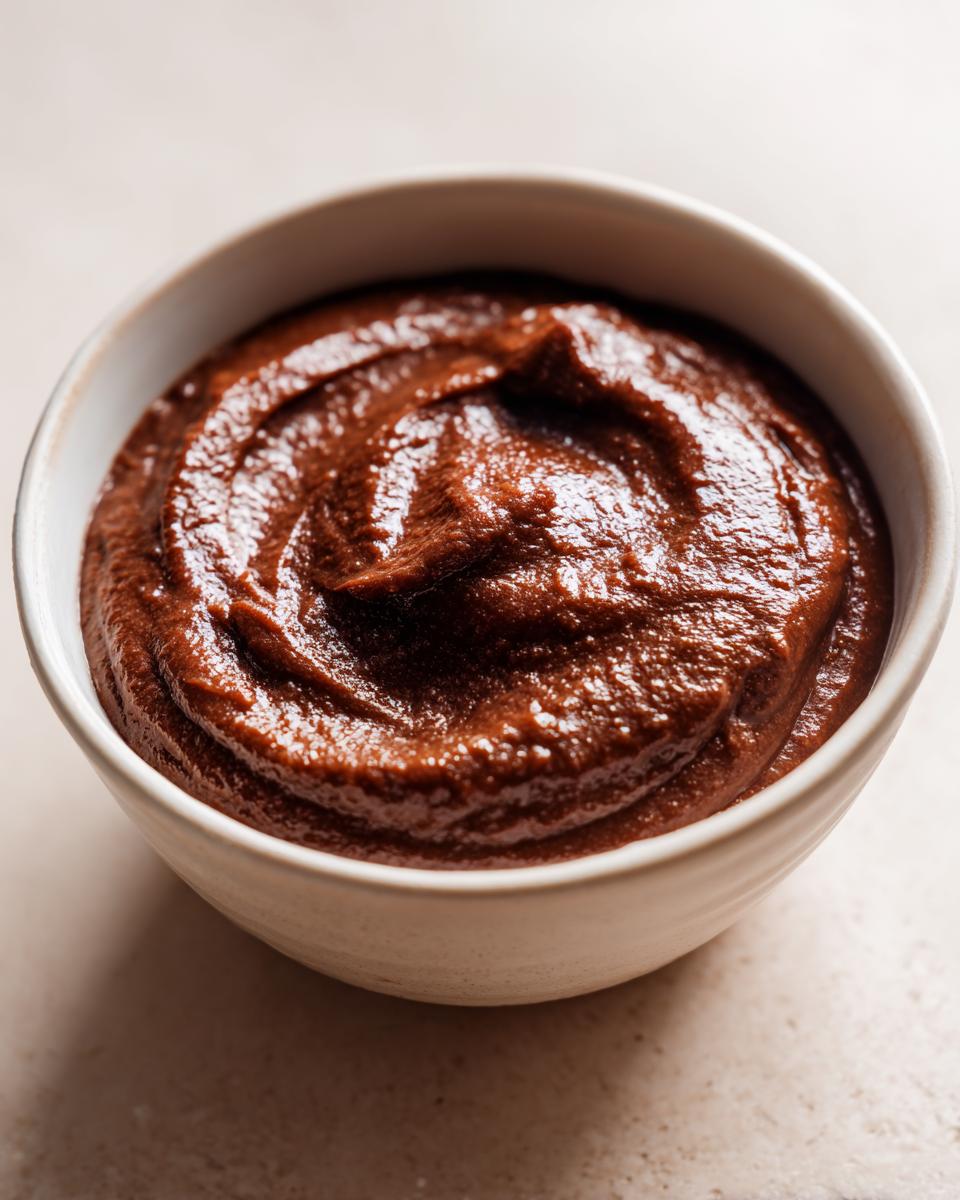
As soon as that minute is up, yank the pan right off the burner—we don’t want it getting too hot! Now, stir in your heavy cream, vanilla extract, and those finely chopped bittersweet chocolate pieces. Whisk gently until everything melts down into one impossibly smooth, glossy mixture. Next, pour the hot pudding right into your serving dishes. You MUST press plastic wrap directly onto the surface of the pudding in each cup—this is the only way to stop that sad skin from forming while it chills. Stick it in the fridge for at least two hours until it’s cold and beautifully set!
If you want to see another *truly* easy stovetop recipe, my stovetop mac and cheese uses a similar technique to get guaranteed creaminess!
P.S. If you’re looking for other quick dessert ideas, check out what the folks over at Budget Bytes are whipping up!
Expert Tips for the Best Chocolate Pudding From Scratch
Even though this is an easy recipe, putting in just a little extra thought guarantees that luxurious, silky texture. Remember, we are aiming for that decadent chocolate treat experience, not just something sweet! My grandmother always said if you take care in the blending, the cooking takes care of itself.
Achieving the Ultimate Creamy Chocolate Pudding Texture
The absolute key to avoiding graininess is dealing with that cornstarch correctly. Whisking the cornstarch thoroughly into the sugar and cocoa *before* adding any liquid prevents clumps from forming later. Then, when you add the milk, make sure you whisk that slurry until it is totally uniform before it even hits the heat. Also, make sure you remove the pan from the stove before stirring in that chopped bittersweet chocolate. The residual heat is exactly what you need to melt it into that perfect, glossy finish without shocking the milk base.
Flavor Variations for Your Homemade Chocolate Pudding
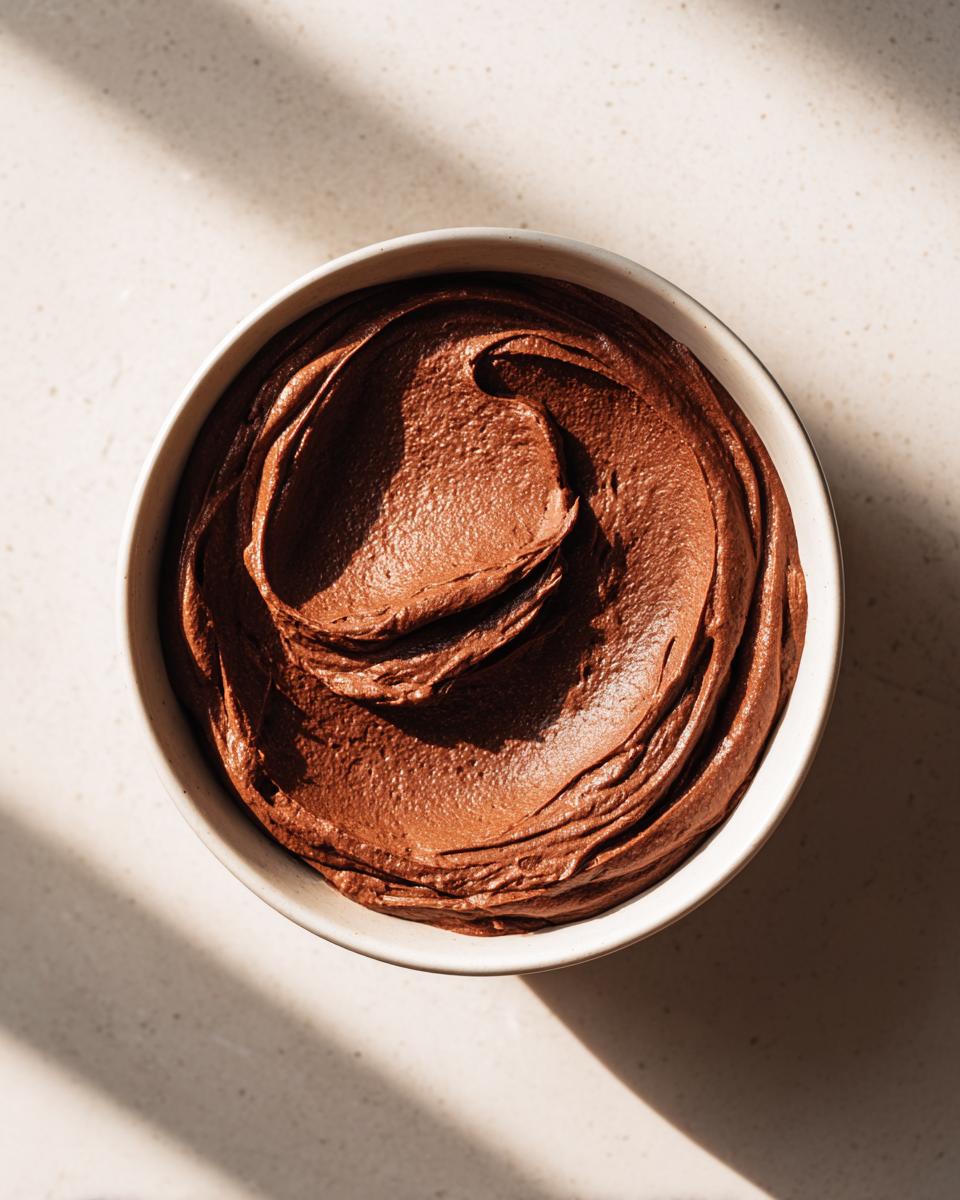
This chocolate pudding from scratch is fantastic as is, but if you want to elevate it into something truly restaurant-worthy, I have a few tricks up my sleeve! If you want a slightly milder, sweeter bite, go ahead and swap the bittersweet chocolate for semi-sweet chips—it works beautifully. For a real flavor booster, try adding just a tiny pinch of instant espresso powder right into the dry mix. It won’t make it taste like coffee, but it amps up the chocolate depth wonderfully. Or, for an adult twist, stir in just a splash of Kahlua right with the cream for a truly decadent chocolate treat.
If you’ve been tinkering with your own baking projects, maybe my thoughts on cream cheese brownies will give you some inspiration! And for more tips on achieving perfect texture in desserts, check out this great advice on velvety texture.
Storage & Reheating Instructions for Your Chocolate Pudding
Okay, you made this amazing creamy chocolate pudding recipe, and now you’ve got leftovers—lucky you! The hardest part about storing this is waiting until tomorrow to eat it again. Since this is a real, homemade treat without all those preservatives you find in the box mixes, it does have a bit of a shelf life, which is important to know for texture.
The absolute best texture—that smooth, velvety feel—is within the first 24 hours, but you can safely enjoy this rich comfort food for up to three days in the fridge. Any longer than that, and I find the cornstarch starts to change slightly, losing just a tiny bit of that perfect silkiness we worked so hard to achieve.
When you store it, you absolutely *must* keep that plastic wrap pressed directly onto the surface. If you skip that step, you’ll end up with a thick, rubbery skin on top, and trust me, that will ruin the whole experience. Just take the plastic off right before serving, and it’s good to go straight from the fridge!
Now, can you reheat it? Well, yes, technically. If you want something warm, you can gently heat a single serving in the microwave for about 15 to 20 seconds. Just stir constantly while heating, because it will heat unevenly. However, I really think this is one of those easy creamy desserts that shines when served cold. It turns into something closer to a very soft, light fudge when it’s super chilled, which I personally love!
For more tips on keeping baked goods and custards perfectly moist, don’t forget to check out my guide on making moist applesauce cake!
Serving Suggestions for This Easy Creamy Dessert
Now that you have achieved this incredibly rich, ultra-creamy chocolate pudding from scratch, we have to talk about topping it! I adore eating it plain straight out of the jar—it’s pure comfort food that way. But if you want to dial up the decadence for guests, a topping is necessary! You don’t need anything complicated; simple additions make this crowd-pleasing dessert even better.
Since the pudding itself is so deeply chocolatey, I like toppings that offer a textural contrast or a bit of freshness. Here are my top ways to dress up your bowls of velvety pudding recipe:
- Classic Whipped Cream: You can’t go wrong with a big dollop of homemade whipped cream. It adds lightness and a cool temperature contrast. If you want to get fancy, try adding a little almond extract to your cream before whipping!
- Shaved Chocolate: Take a vegetable peeler and run it down the side of a good quality chocolate bar—bittersweet or milk, whatever you prefer. Those delicate chocolate curls look elegant sprinkled right on top.
- Fresh Berries: A few bright raspberries or sliced strawberries really cut through the richness beautifully. It gives the whole thing a gorgeous look and a nice tart counterpoint.
- Crunch Factor: A tiny sprinkle of crushed pretzels or some toasted, slivered almonds adds a delightful crunch that makes this easy chocolate dessert so satisfying.
For reference on making my favorite topping, I always use my method for whipped cream when I need something quick and airy to serve over cold desserts like this!
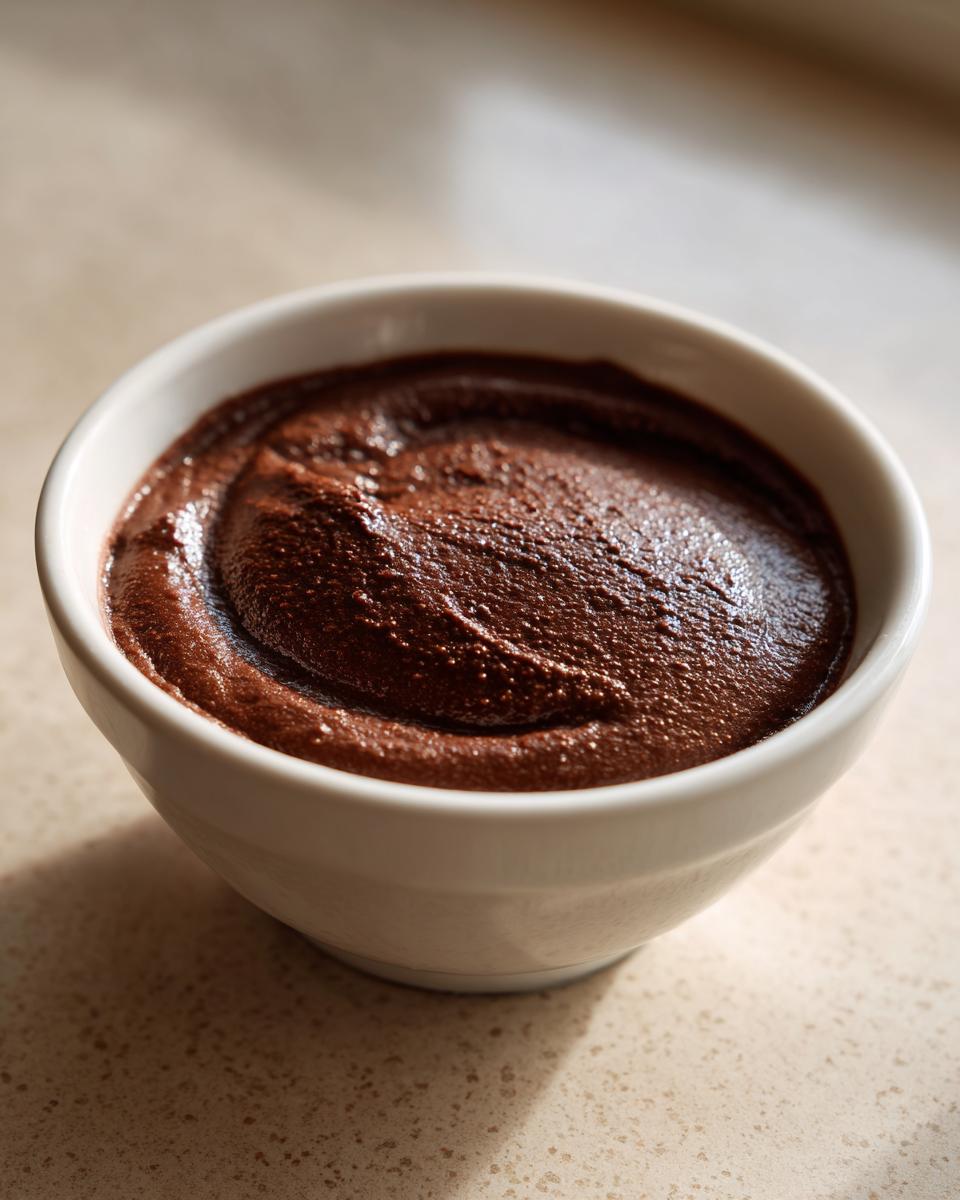
Frequently Asked Questions About Making Chocolate Pudding
I totally get it—when you’re making something this comforting for the first time, you want to make sure it comes out perfectly! I’ve gathered a few questions I always get when people try my homemade chocolate pudding for the first time. Hopefully, these quick answers help you achieve that flawless, creamy texture right away! If you want to see a great alternative approach, check out Sumara’s recipe for inspiration!
Can I make this chocolate pudding recipe vegan?
Oh, absolutely! If you want to adapt this recipe, the key is swapping out the dairy. You can use a good quality oat milk or soy milk instead of the whole milk, and swap the heavy cream for a full-fat canned coconut cream—just make sure you chill the can first and scoop out the thick top layer. And of course, check your chocolate chips; there are tons of fantastic dairy-free bittersweet options out there now for your rich chocolate dessert!
Why is my homemade chocolate pudding grainy?
This is the number one texture disaster, and usually, it’s a quick fix! Graininess almost always happens for two reasons: either you didn’t whisk the dry ingredients (especially the cornstarch) thoroughly enough before adding the milk, so little dry pockets formed, or you let the mixture scorch on the bottom of the pan. Remember I said keep whisking constantly? That’s not just for the lumps—it’s to keep the heat even! If the milk base gets too hot too fast, it can mess up the structure of the starch, leading to a grainy result.
How can I make a smaller batch of this rich chocolate dessert?
I love that you might be trying to make a small, special portion—maybe just an easy chocolate dessert for two! The math is simple: just halve all the ingredients listed in the recipe card. That gives you about two decent servings. The cook time doesn’t usually change much, but definitely watch it closely once it starts to thicken, since less volume heats up a bit faster! For more of my kitchen musings, always feel free to explore my full recipe index!
Nutritional Estimates for This Comfort Food Dessert
Now, I know some of us like to keep track of what we’re eating, and others just want to dive right in! For those curious about the makeup of this absolute gem of a comfort food dessert, here are the general nutritional estimates based on the ingredients list. Remember, this is just a ballpark figure, right? The final numbers will swing a bit depending on the exact fat content of your heavy cream or the type of bittersweet chocolate you choose to use, so take it as a friendly guide!
This super satisfying homemade chocolate pudding recipe breaks down roughly like this per serving (Yields 4 servings):
- Calories: 285
- Fat: 15g
- Carbohydrates: 33g
- Protein: 6g
It’s amazing that you get such a deeply rich chocolate dessert experience for so few ingredients and so little time! Honestly, knowing that this incredibly creamy pudding tastes so indulgent while keeping the ingredient list simple is half the fun. Enjoy every spoonful!
Share Your Experience with This Easy Chocolate Pudding
Well, we made it! You have successfully navigated the world of stovetop mixing and chilling times to produce what I truly believe is the best, most irresistible chocolate pudding from scratch you will ever make. Seriously, take a moment to appreciate that velvety triumph!
Now comes the best part of having a kitchen community—sharing feedback! I absolutely love hearing how this recipe turns out for all of you. Did you try the espresso powder trick? Did you serve it with fresh berries or just eat it plain with a spoon over the sink (don’t worry, I won’t tell!)?
I’d be so grateful if you’d drop a rating below—just let me know how many stars this easy creamy dessert earned at your table. And please, leave a comment sharing any fun twists or variations you tried. Maybe you think adding a tiny bit of cayenne pepper makes it a true decadent chocolate treat? I read every single comment, and sharing your culinary adventures keeps me inspired to create more classic comfort food here at Cut Cook Taste!
If you’re already thinking about what to make next, hop over and try my recipe for easy potato cheese soup—it’s another level of creamy comfort!
PrintUltra Creamy, Easy Homemade Chocolate Pudding From Scratch
You deserve truly creamy chocolate pudding that tastes heavenly. This easy stovetop recipe delivers a rich, velvety dessert using simple pantry ingredients. Forget the box mixes and make this classic comfort food treat tonight.
- Prep Time: 10 min
- Cook Time: 10 min
- Total Time: 20 min
- Yield: 4 servings 1x
- Category: Dessert
- Method: Stovetop
- Cuisine: American
- Diet: Vegetarian
Ingredients
- 1/4 cup granulated sugar
- 1/4 cup unsweetened cocoa powder
- 2 tablespoons cornstarch
- 1/4 teaspoon salt
- 1 1/2 cups whole milk
- 1/2 cup heavy cream
- 1 teaspoon vanilla extract
- 2 ounces bittersweet chocolate, finely chopped
Instructions
- In a medium saucepan, whisk together the sugar, cocoa powder, cornstarch, and salt until no lumps remain.
- Gradually whisk in the whole milk until the mixture is smooth.
- Place the saucepan over medium heat. Cook, whisking constantly, until the mixture thickens significantly and begins to bubble. This takes about 5 to 8 minutes.
- Once it bubbles, continue to cook and whisk for 1 more minute to cook out the cornstarch taste.
- Remove the saucepan from the heat. Stir in the heavy cream, vanilla extract, and the chopped bittersweet chocolate until the chocolate is completely melted and the pudding is smooth.
- Pour the hot pudding into individual serving dishes or a single bowl.
- Press plastic wrap directly onto the surface of the pudding to prevent a skin from forming.
- Chill in the refrigerator for at least 2 hours, or until completely cold and set. Serve cold.
Notes
- For an extra rich flavor, substitute the bittersweet chocolate with semi-sweet chocolate chips.
- If you want a double chocolate experience, sprinkle a little extra cocoa powder over the top before serving.
- This pudding is best eaten within three days for the creamiest texture.
Nutrition
- Serving Size: 1 serving
- Calories: 285
- Sugar: 28
- Sodium: 150
- Fat: 15
- Saturated Fat: 9
- Unsaturated Fat: 6
- Trans Fat: 0
- Carbohydrates: 33
- Fiber: 2
- Protein: 6
- Cholesterol: 45