
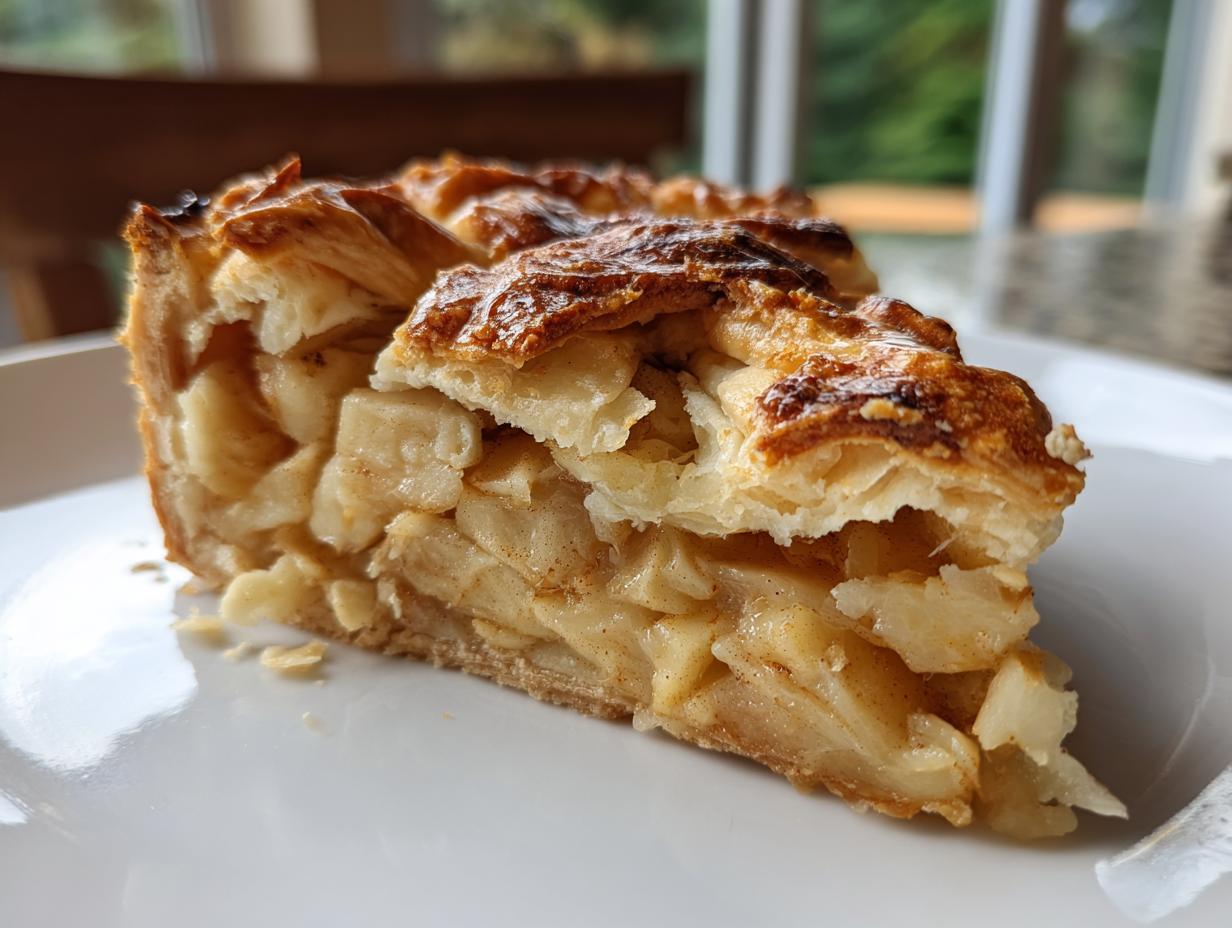

Sometimes, you just need a showstopper dessert that whispers, “I spent hours perfecting this,” when, honestly?, you spent maybe forty minutes assembling it. That’s exactly what we’re doing today! This classic apple dessert, the Easy Rustic French Apple Tart, is pure magic. My grandmother always showed me the beauty in classic techniques, but she also knew that sometimes you need a shortcut that doesn’t cheat on flavor. This apple tart gives you that delicate, flaky crust and beautiful presentation without fuss. It’s the kind of treat that makes a weeknight feel like a celebration, and trust me, everyone will ask for the recipe!
- Why This Easy Apple Tart Recipe Stands Out (E-E-A-T Focus)
- Gathering Ingredients for Your Rustic Apple Tart
- Step-by-Step Instructions for the Perfect Apple Tart
- Tips for Success When Making Your Homemade Apple Tart
- Variations for Your Apple Tart with Caramel
- Serving Suggestions for This Impressive Apple Dessert
- Storage and Reheating Your Leftover Apple Tart
- Frequently Asked Questions About Making an Apple Tart
- Estimated Nutritional Data for This Simple Apple Dessert
Why This Easy Apple Tart Recipe Stands Out (E-E-A-T Focus)
If you are looking for the best Apple Tart that doesn’t require you to spend all day wrestling with delicate pastry, this is it. This Easy Apple Tart Recipe is designed for the enthusiastic home baker, not the culinary school graduate. What I truly love about keeping it rustic is that it hides any little imperfection under those beautiful, seasoned apples. It lets you be perfectly imperfect, which is my favorite way to cook!
I’ve even linked to a classic take on the Tarte aux Pommes if you want to compare notes on tradition versus ease—but trust me, you’ll come back to this simple version every time. You can see a classic version here, but mine is much faster, especially for Weeknight Wonderfuls, or when I need a sweet drink pairing to go with it!
The Flaky, Buttery Crust Secret
The secret to this Buttery Crust Tart is keeping your butter small and icy cold. We’re just folding the dough a couple of times. That’s it! Those little chunks of butter melt in the oven, creating steam pockets that result in supreme flakiness. It’s honest-to-goodness pastry magic, and it couldn’t be simpler.
Perfect Apples for Your Apple Tart
Choosing the right apple is key when making any apple tart; you need something that won’t completely turn to mush. I lean on Honeycrisp or Granny Smith because they hold their shape nicely, offering just the right amount of sweet-tart balance after baking. They deliver that satisfying bite instead of instant sauce.
Gathering Ingredients for Your Rustic Apple Tart
Okay, let’s talk ingredients for this Homemade Apple Tart. Remember, success starts here! You don’t need a million fancy things, just a few quality items treated right. For the dough, you absolutely must start with very cold unsalted butter, cut into those little half-inch cubes. If they aren’t cold, the crust won’t flake—I learned that the hard way!
You’ll need the basics: flour and salt for the structure. For moisture and binding, we’re using just three or four tablespoons of ice water—be stingy with it! Then for the filling, it’s all about those baking apples, tossed immediately with lemon juice to keep them bright, plus our simple sugar and cinnamon mix. I also like to toss in a cup of cinnamon sugar pecans sometimes, but that’s a secret addition! And don’t forget that egg mixed with water for the wash that makes the crust golden brown.
Step-by-Step Instructions for the Perfect Apple Tart
Alright, let’s get this show on the road! Making this dessert is truly straightforward once the dough is ready. We tackle the pastry first, then the pretty apple arrangement, and finally, we wait for that gorgeous aroma to fill your kitchen. Remember, precision with cold items and gentle handling are your best friends here for this amazing apple tart. And when you’re done, for something completely different but just as easy, you should check out my recipe for soft lemon scones!
Making the Flaky Pastry Apple Tart Dough
Get your flour and salt whisked up, then it’s time to introduce the star: the cold butter cubes. You absolutely must use a pastry blender or your fingertips here. Work quickly so the butter doesn’t warm up! You’re aiming for a coarse crumb, and I mean it—you want some pieces of butter still visible, maybe looking like little peas. That’s what makes it flaky later on! Slowly dribble in that ice water, just a tablespoon at a time, mixing until the dough holds together when you squeeze it. Don’t knead it! Just pat it into a disc, wrap it up tight, and let it chill for at least 30 minutes. Seriously, don’t skip the chill time.
Assembling and Baking Your French Apple Tart
Once chilled, roll that dough out on a lightly floured surface into a rough 12-inch circle and slide it right onto a baking sheet lined with parchment. Now for the apples! Toss your spiced slices together—lemon juice, sugar, cinnamon—and start layering them onto the dough, leaving that 1 1/2-inch border around the edge. This is the rustic part: fold that border up and over the apples; it doesn’t need to be perfect! Dot the apples with the extra little pieces of butter, brush the folded crust really well with that egg wash we mixed up, and it’s ready for the oven. Bake at 400°F for about 35 to 45 minutes until the crust looks golden brown—that’s your signal that this beautiful French Apple Tart is done. I love watching how the edges brown up beautifully, almost like they’re glowing!
Tips for Success When Making Your Homemade Apple Tart
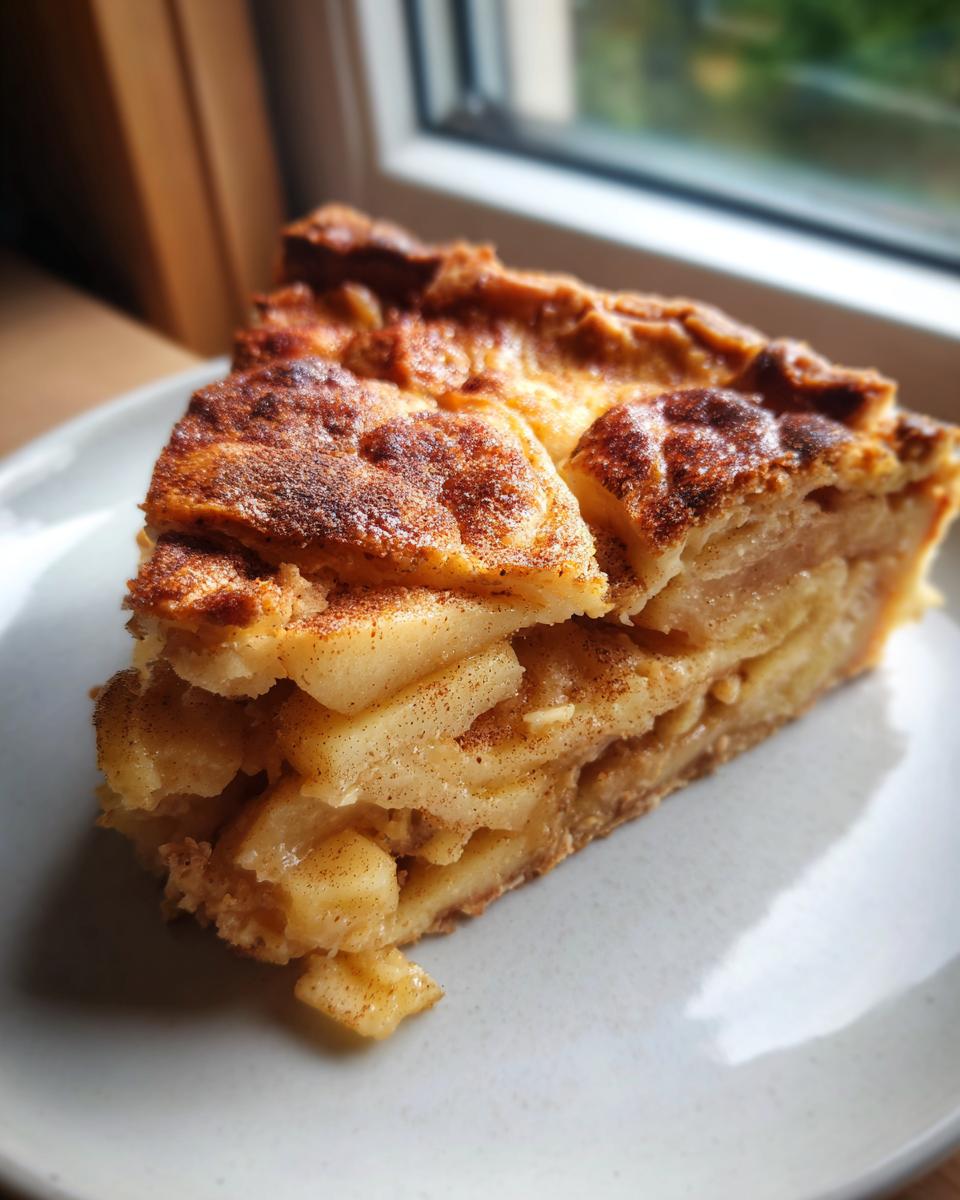
Making a spectacular Homemade Apple Tart really comes down to managing moisture and temperature, which is where my little notes come in handy! The absolute number one thing, I cannot stress this enough, is keeping that butter and water ice cold when you make the dough. If you don’t, you get tough pastry instead of flaky goodness! Secondly, if you’re worried about a soggy bottom, my favorite trick is brushing the dough right before the apples go on with a very thin layer of beaten egg white—it seals the crust right up! It worked wonders for my apple cider donut cake, too.
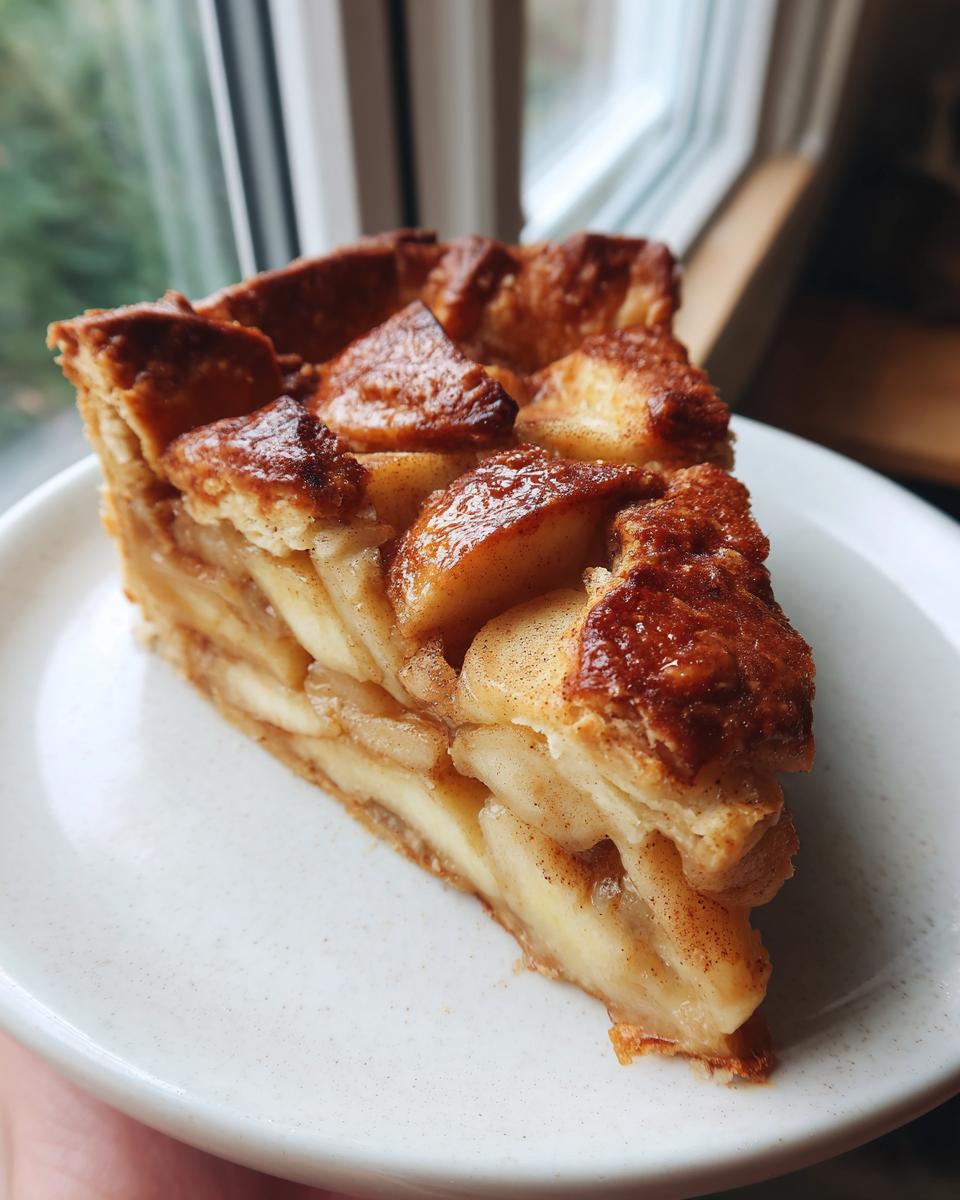
Also, if the crust browns too quickly before the apples look tender, just loosely tent some aluminum foil over the edge. And don’t forget that extra shine! I love brushing the warm tart with a quick apricot jam glaze; it makes it look professionally done and adds such a lovely sheen. You’ll find more great tips for rustic baking over at this great rustic recipe.
Variations for Your Apple Tart with Caramel
This apple tart is so robust it stands up beautifully to additions! If you’re feeling extra indulgent—and honestly, who isn’t when apples are involved?—you’ve got to try layering in some homemade caramel sauce right over the apples before you fold up the edges. Oh my goodness, the flavor explosion is real! You can easily make a super simple batch while your dough chills; check out my recipe for caramel apple dump cake for a great caramel base.
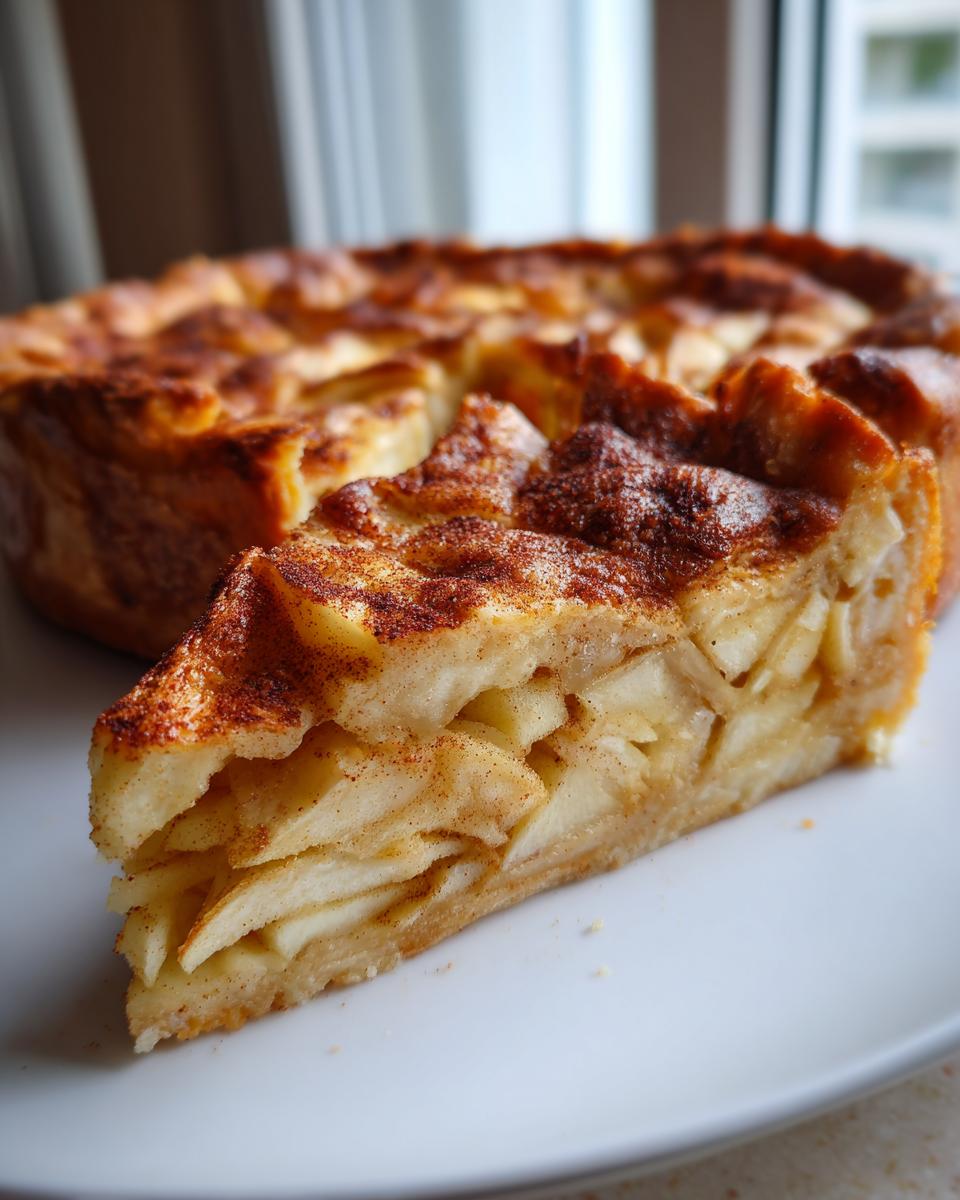
If caramel feels like too much, try swapping out the cinnamon for a pinch of cardamom or a bit of freshly grated nutmeg. Using brown sugar instead of white sugar in the apple toss also deepens that cozy, autumn feeling instantly. It transforms the whole thing!
Serving Suggestions for This Impressive Apple Dessert
This apple tart is absolutely perfect for when you need an Impressive Apple Dessert without the fuss of a multi-layered cake. My favorite, hands-down, is serving it just slightly warm with a big scoop of good quality vanilla bean ice cream. The contrast in temperatures is just heavenly!
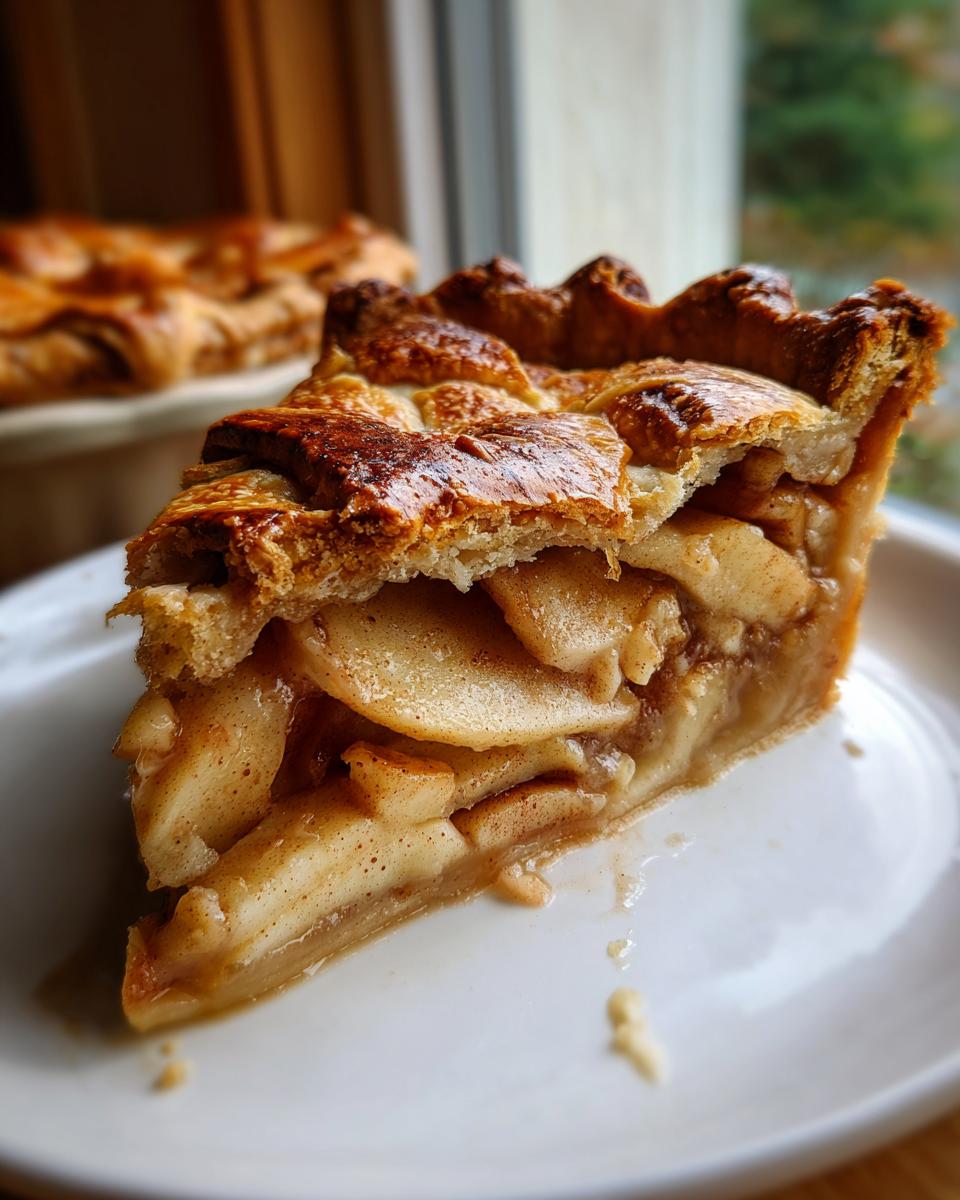
If you’re serving a crowd at a gathering, nothing beats a generous dollop of freshly whipped cream—maybe lightly sweetened with a little vanilla. It looks incredibly elegant, and it lets the buttery crust really sing. For something richer than cream, sometimes I whip up my butter pecan topping idea and sprinkle it over the top instead of plain whipped cream!
Storage and Reheating Your Leftover Apple Tart
Oh, I know how tempting it is to eat the whole thing, but if you have leftovers of this gorgeous apple tart, we need to treat that crust right! Keep it loosely tented at room temperature for up to two days. Resist the fridge if you can, since that cold air steals the crispness right out of a good crust. If you must refrigerate, wrap it tightly.
The best way to revive it? Pop individual slices in a toaster oven or a very low oven (about 300°F) for about five to eight minutes. You want to gently warm the apples and re-crisp that bottom. It makes it taste almost freshly baked—perfect for a quick snack later! For more tips on keeping things fresh like my moist pumpkin bread, just check out the baking archives.
Frequently Asked Questions About Making an Apple Tart
I always get the same questions about this recipe, and honestly, they are great ones because they help you nail the process! People want to know how to get that flaky crust without spending half a day working the butter. Don’t worry, this is an incredibly forgiving recipe, so much so that it really qualifies as a genuine Quick Apple Tart option if you prep right!
Can I use store-bought puff pastry for this apple tart?
You certainly *can* use puff pastry if you are in a major rush—it’s great for those “emergency dessert” moments. However, remember that we are striving for that specific, dense, rustic look which comes from folding our homemade, all-butter dough. Puff pastry is lighter and gives you a different lift than this classic Tarte aux Pommes style. Stick to the recipe’s dough for the best texture match!
How far ahead can I prepare the apple tart dough?
This is where you can totally save time! You can make the dough up to two days in advance. Just make sure it’s wrapped tightly in plastic wrap and kept in the coldest part of your fridge. Keeping it cold is non-negotiable, though! If you’re looking for other great baking tips, check out my full recipe index here. For comparison on crust integrity, this baker also talks about crust structure.
Estimated Nutritional Data for This Simple Apple Dessert
Just like every home baker, I have to give you a little disclaimer here: these numbers are an estimate! They are based on dividing the entire recipe into six reasonable slices, using the exact ingredients listed. Since we all use apples that vary slightly in size and how much sugar they absorb, your numbers might shift a tiny bit, but this should give you a good overall idea when planning!
Overall, this Simple Apple Dessert is wonderfully balanced, hitting that perfect spot between sweet indulgence and honoring the fruit it features. Here’s the breakdown for one slice of our wonderful apple tart:
- Serving Size: 1 slice
- Calories: 350
- Fat: 18g
- Saturated Fat: 11g
- Carbohydrates: 45g
- Sugar: 22g
- Protein: 5g
- Cholesterol: 55mg
- Fiber: 3g
See? Not too bad for something that tastes this incredible! It’s a fantastic way to end any meal without feeling overly heavy, leaving just enough room for a cup of coffee afterward.
PrintEasy Rustic French Apple Tart with Flaky, Buttery Crust
This recipe shows you how to make an impressive yet simple French apple tart, or Tarte aux Pommes, featuring tender apples and a flaky, buttery crust. It is a classic apple dessert perfect for any gathering.
- Prep Time: 25 min
- Cook Time: 45 min
- Total Time: 80 min
- Yield: 6 servings 1x
- Category: Dessert
- Method: Baking
- Cuisine: French
- Diet: Vegetarian
Ingredients
- 1 1/4 cups all-purpose flour
- 1/2 teaspoon salt
- 8 tablespoons (1 stick) cold unsalted butter, cut into small cubes
- 3 to 4 tablespoons ice water
- 4 medium baking apples (like Honeycrisp or Granny Smith)
- 2 tablespoons lemon juice
- 1/4 cup granulated sugar
- 1 teaspoon ground cinnamon
- 1 tablespoon unsalted butter, cut into small pieces (for topping)
- 1 large egg, beaten with 1 teaspoon water (for egg wash)
Instructions
- Prepare the crust: In a large bowl, whisk together the flour and salt. Cut in the cold butter using a pastry blender or your fingertips until the mixture resembles coarse crumbs with some pea-sized pieces of butter remaining.
- Add the ice water, one tablespoon at a time, mixing until the dough just comes together. Do not overmix. Form the dough into a disk, wrap it in plastic wrap, and chill it in the refrigerator for at least 30 minutes.
- Prepare the apples: Peel, core, and thinly slice the apples. Place the slices in a medium bowl and toss them gently with the lemon juice, granulated sugar, and cinnamon until evenly coated.
- Preheat your oven to 400 degrees Fahrenheit (200 degrees Celsius). Line a baking sheet with parchment paper.
- Roll out the dough: On a lightly floured surface, roll the chilled dough into a rough 12-inch circle. Carefully transfer the dough to the prepared baking sheet.
- Arrange the apples: Arrange the apple slices over the dough, leaving a 1 1/2-inch border around the edge. You can overlap them slightly in a decorative pattern, like a rose apple tart, or simply layer them evenly.
- Fold the edges: Fold the dough border up and over the edges of the apples to create a rustic crust.
- Add butter and egg wash: Dot the top of the apples with the small pieces of butter. Brush the folded crust edges with the egg wash.
- Bake the tart: Bake for 35 to 45 minutes, or until the crust is golden brown and the apples are tender.
- Cool and serve: Let the tart cool on the baking sheet for about 10 minutes before sliding it onto a wire rack to cool further. Serve warm or at room temperature.
Notes
- For the flakiest crust, keep your butter and water as cold as possible when making the dough.
- If you want a shiny finish, brush the warm baked apples with a little apricot jam mixed with a teaspoon of water after removing the tart from the oven.
- This rustic apple tart pairs well with vanilla ice cream or a dollop of fresh whipped cream.
Nutrition
- Serving Size: 1 slice
- Calories: 350
- Sugar: 22
- Sodium: 180
- Fat: 18
- Saturated Fat: 11
- Unsaturated Fat: 7
- Trans Fat: 0
- Carbohydrates: 45
- Fiber: 3
- Protein: 5
- Cholesterol: 55